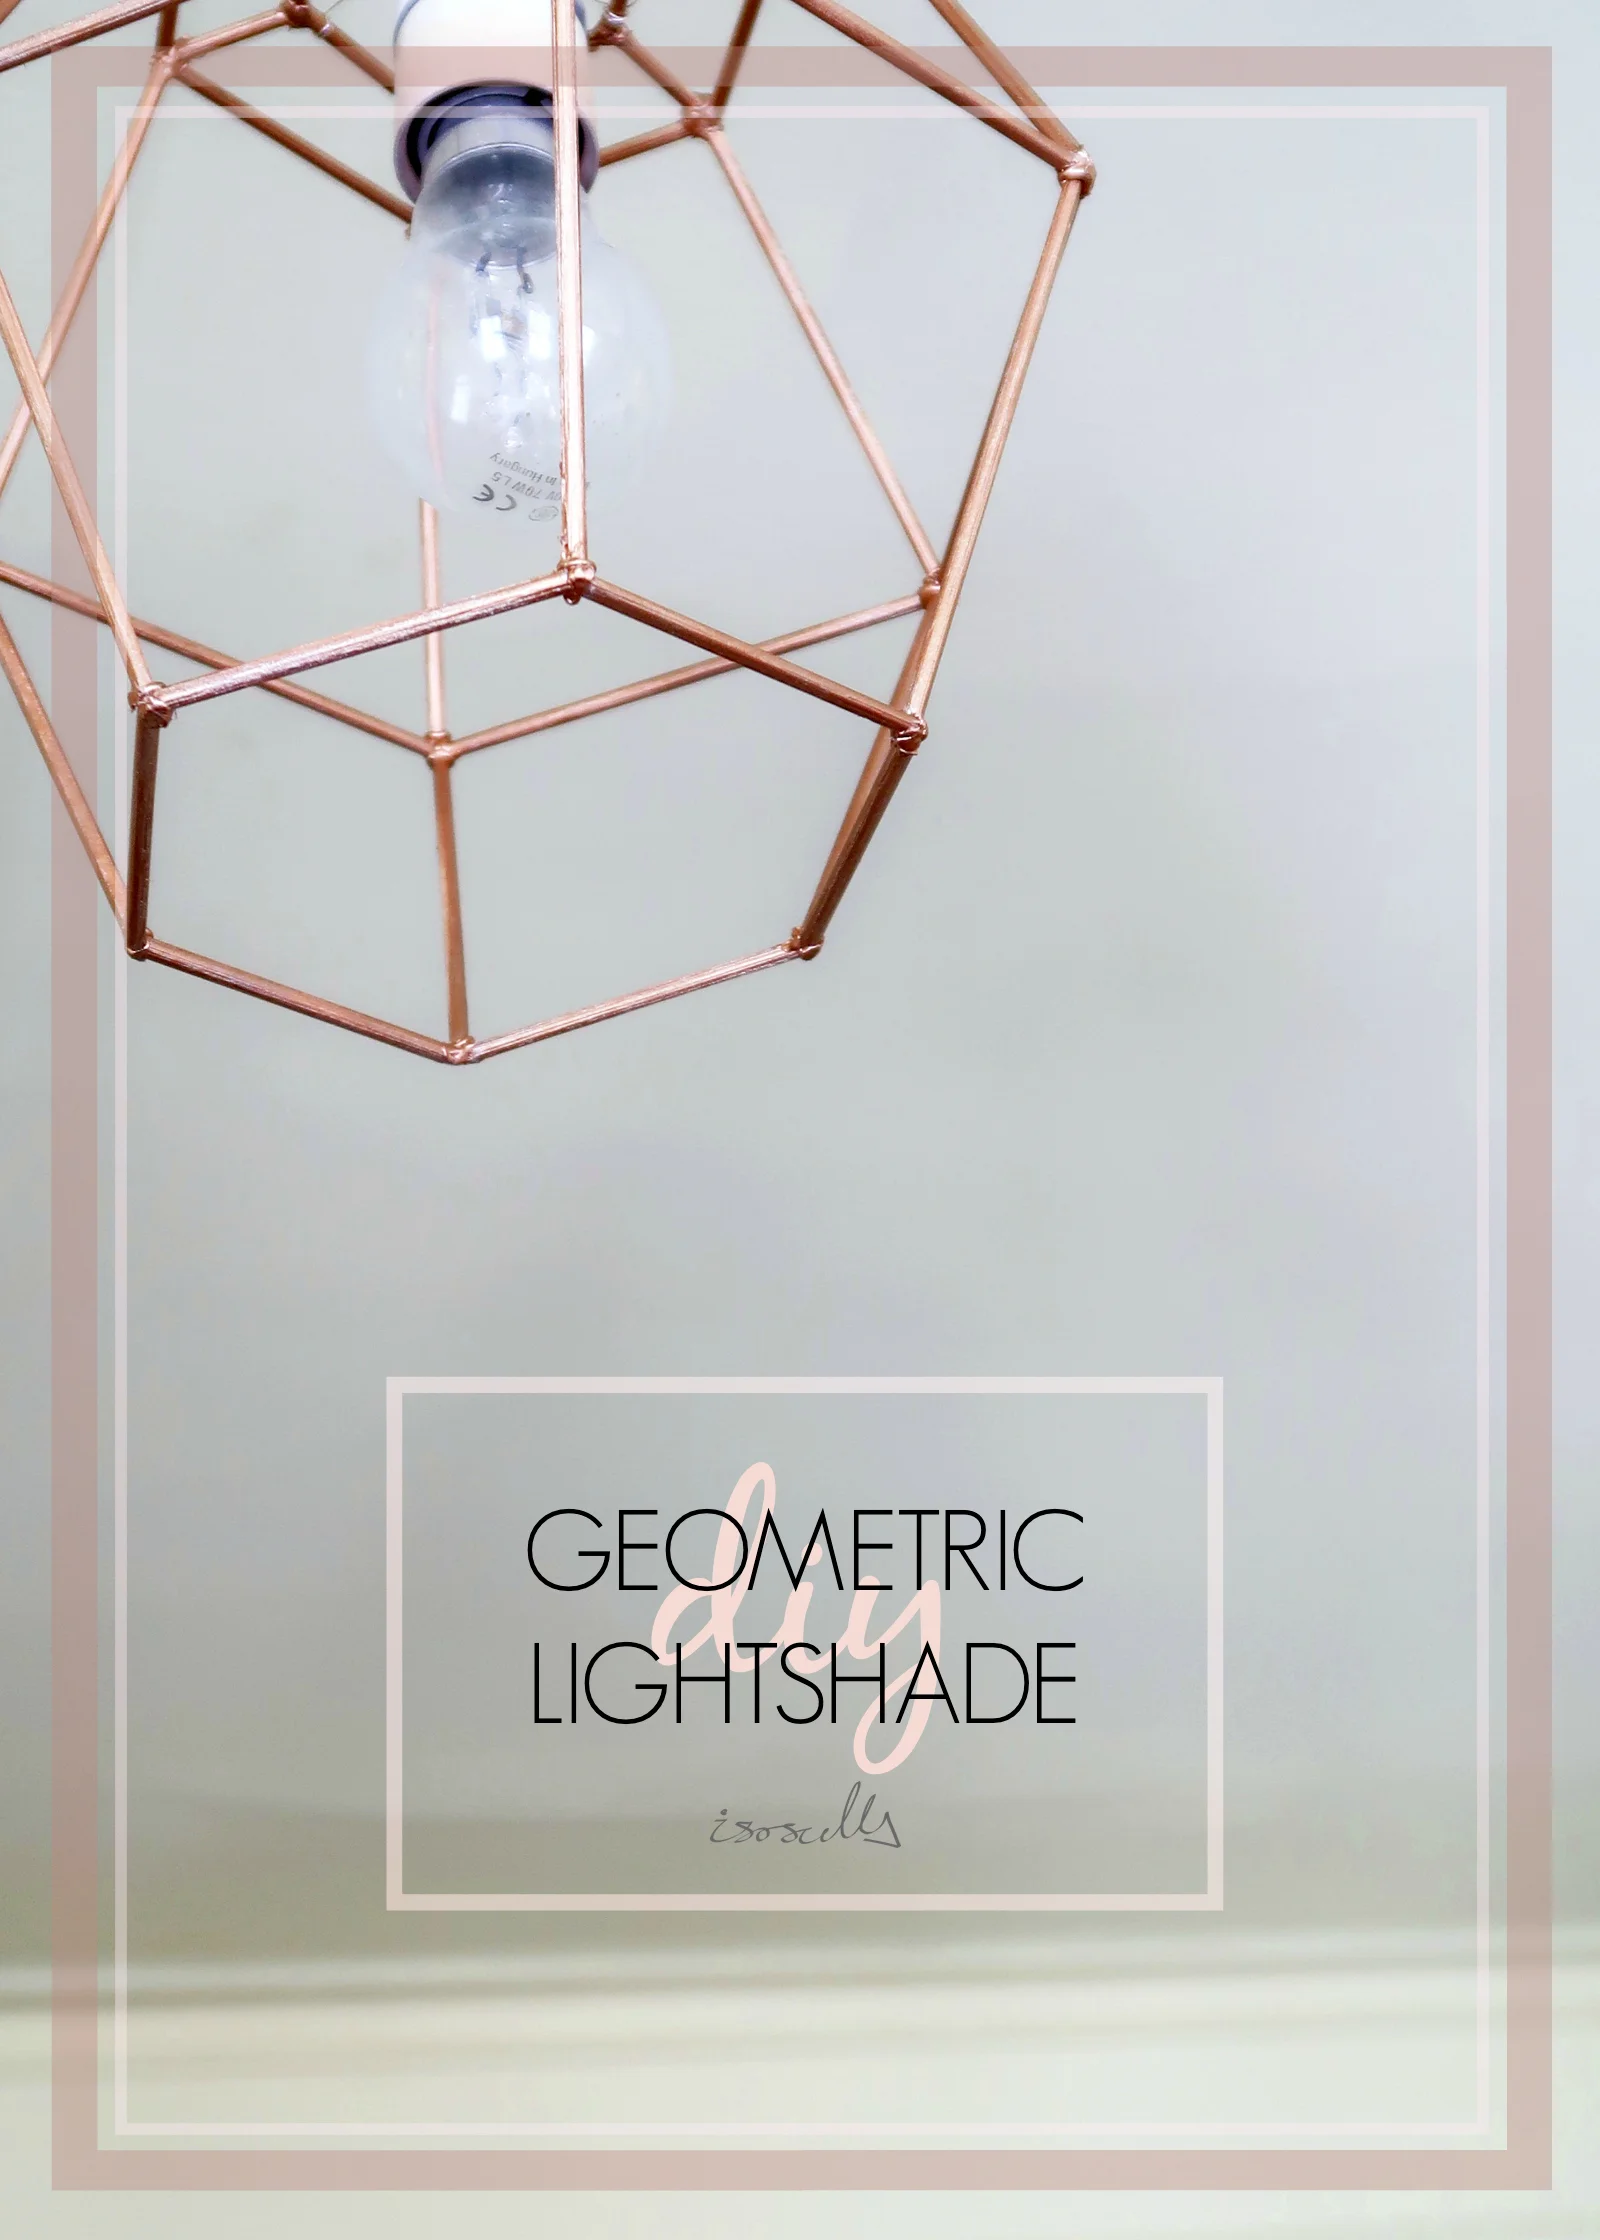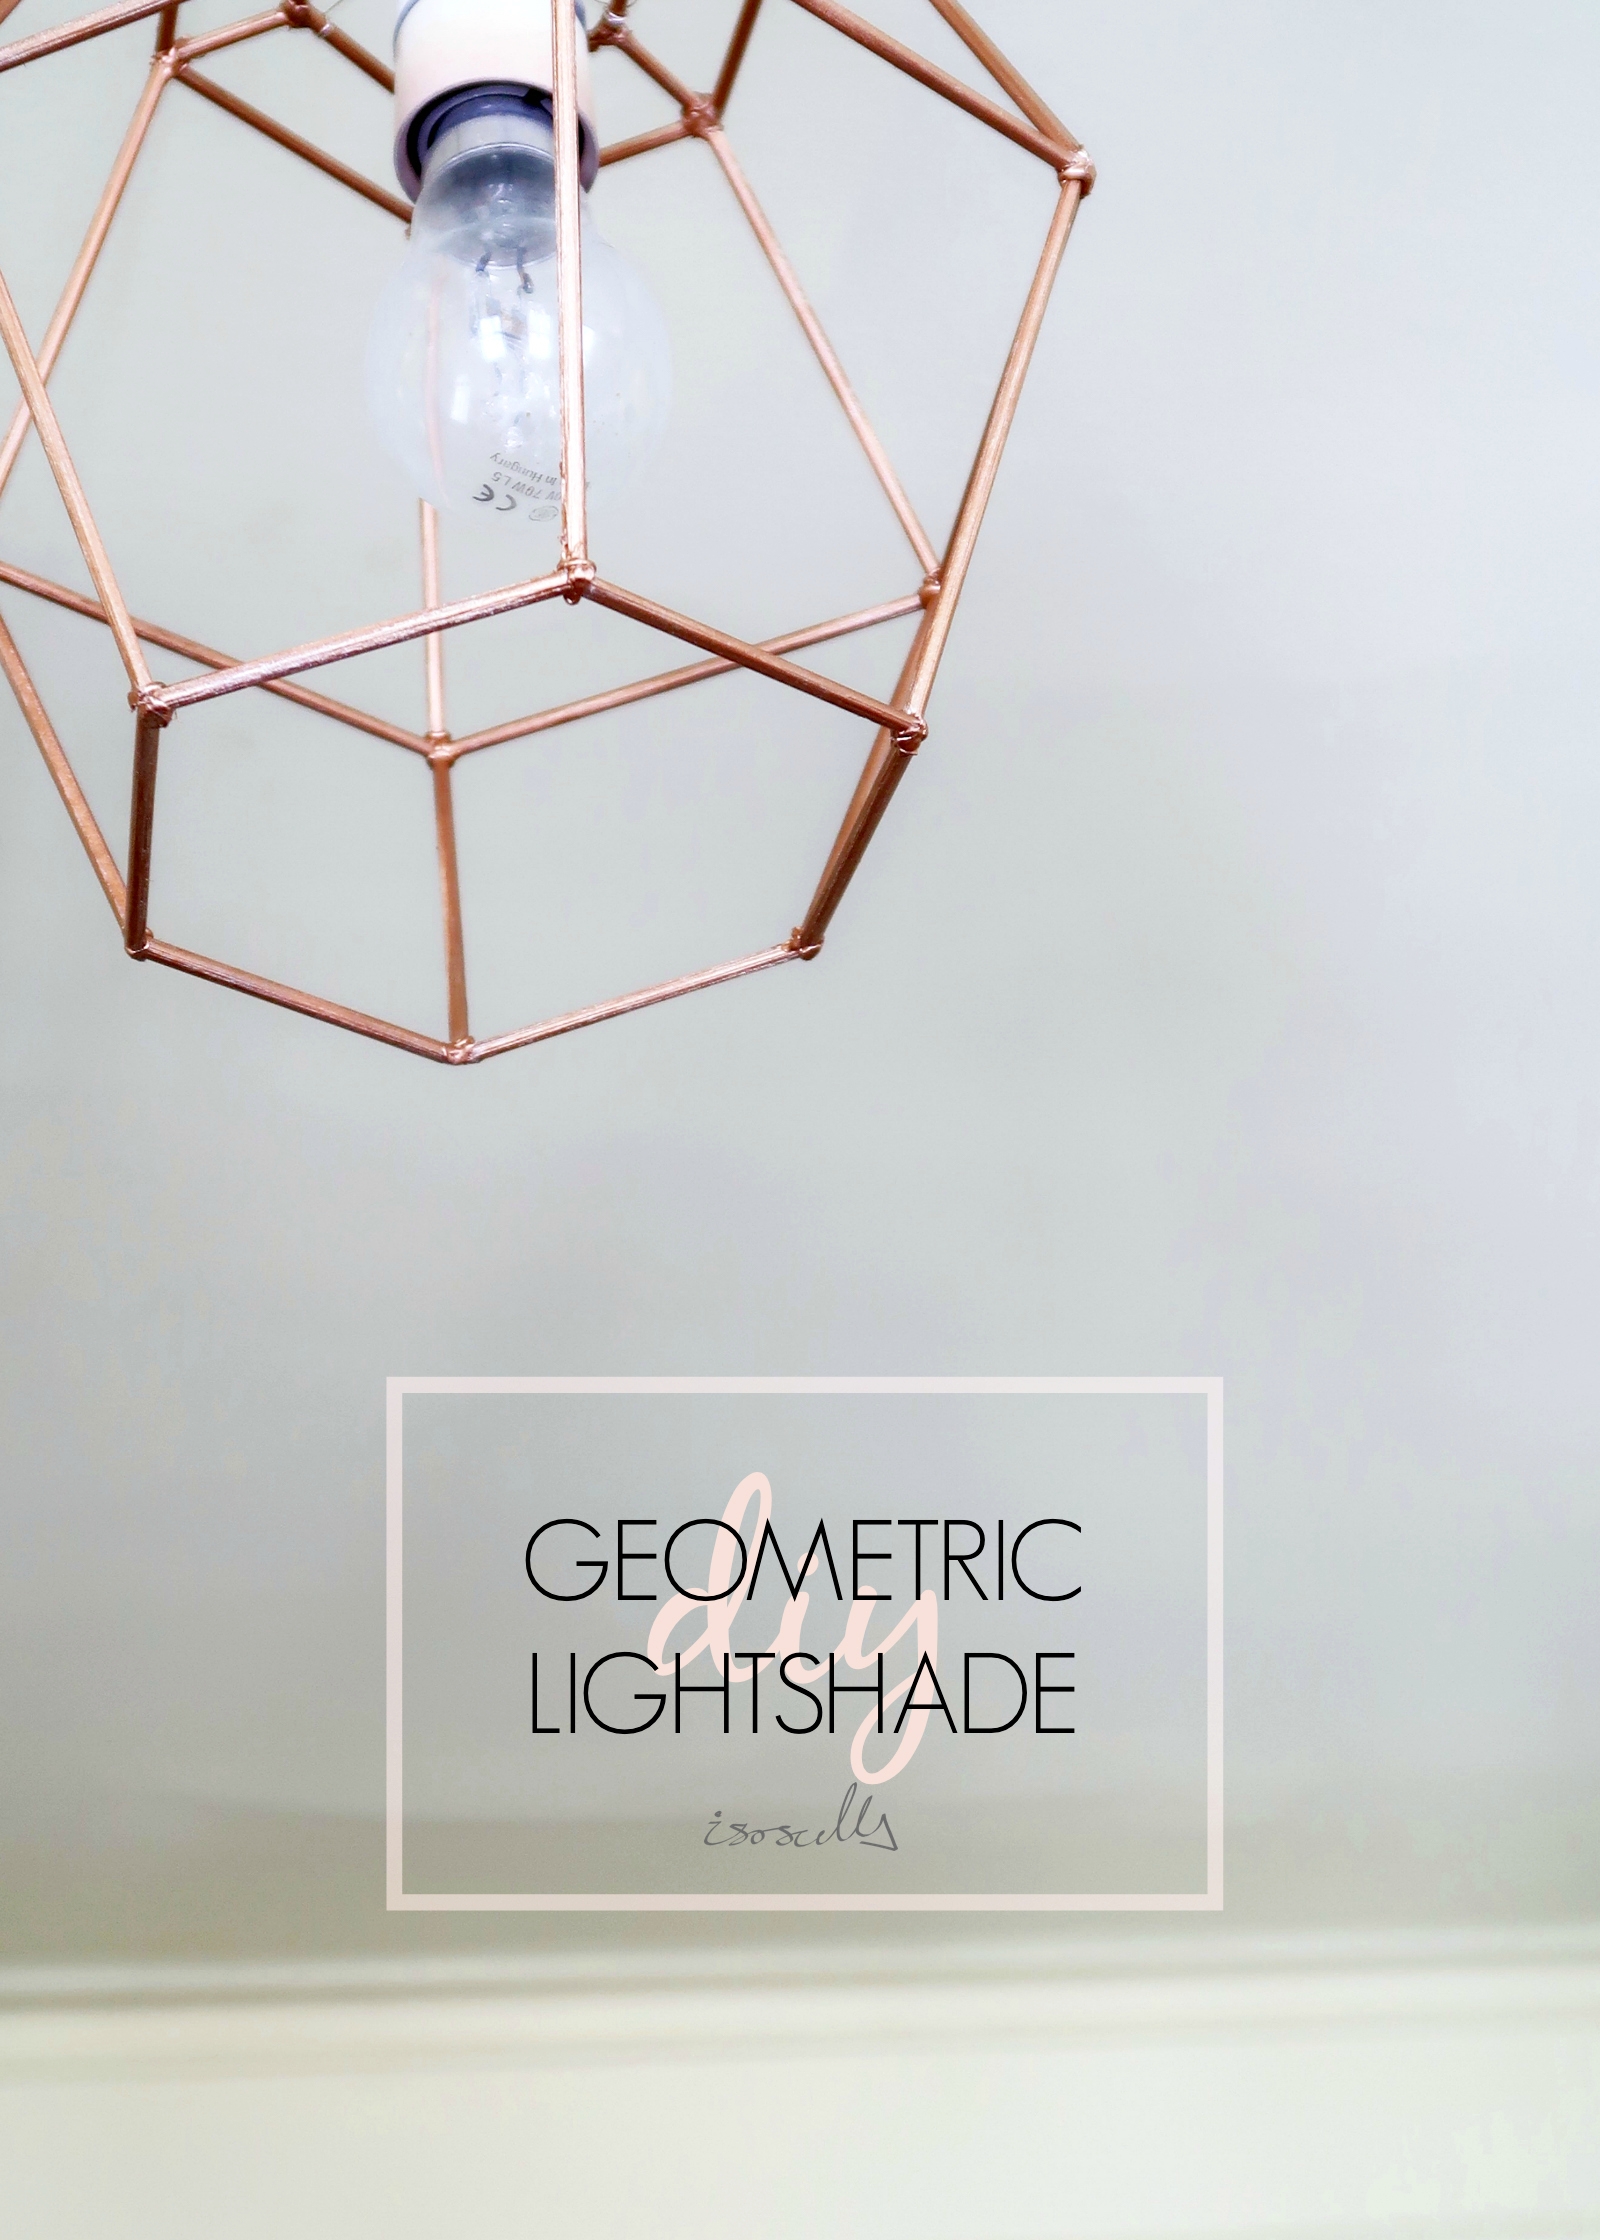


A few years ago, you'd be hard pressed not to find a DIY geometric light shade made from plastic straws on Pinterest. If like me, you never quite got on board with using plastic straws to make your decor but still love the idea of making your own geometric light shade, then this may be just the DIY for you!
Pendant light shades in all sorts of geometric shapes are still everywhere and it's not difficult to see why; they add a touch of modern minimalism to any room, allow lots of light into the room and create beautiful shadow patterns on your ceiling. Even better, this DIY light shade doesn't require any obscure materials (I had all of the materials already!) and although it may not look it, is super easy to make. Keep reading to find out what I used and how I made it...


1.
The first thing you want to do is to measure and cut your skewers to the right length. I used a pair of wire cutters to cut lengths of 2.5cm (x6), 6cm (x 12) and 10cm (x 18).

2.
Its helpful to draw out a hexagon first to guide your glueing. Once you're happy with your drawing, grab the 6cm skewers and glue them together. Do this one piece at a time, leaving them to dry in between, so that you can get the angle precise.

3.
Repeat this process all the way around until you have closed the shape and have a nice sturdy hexagon with 6cm sides. You'll need two hexagons of this size, as these will form the top and bottom of the light shade so once you've done one, crack on with another!

4.
Next you'll need to make a larger hexagonal shape using six 10cm skewers and a miniature hexagon using the 2.5cm skewers. The hexagon we drew out is helpful here to guide the angle you glue the pieces together at.

5.
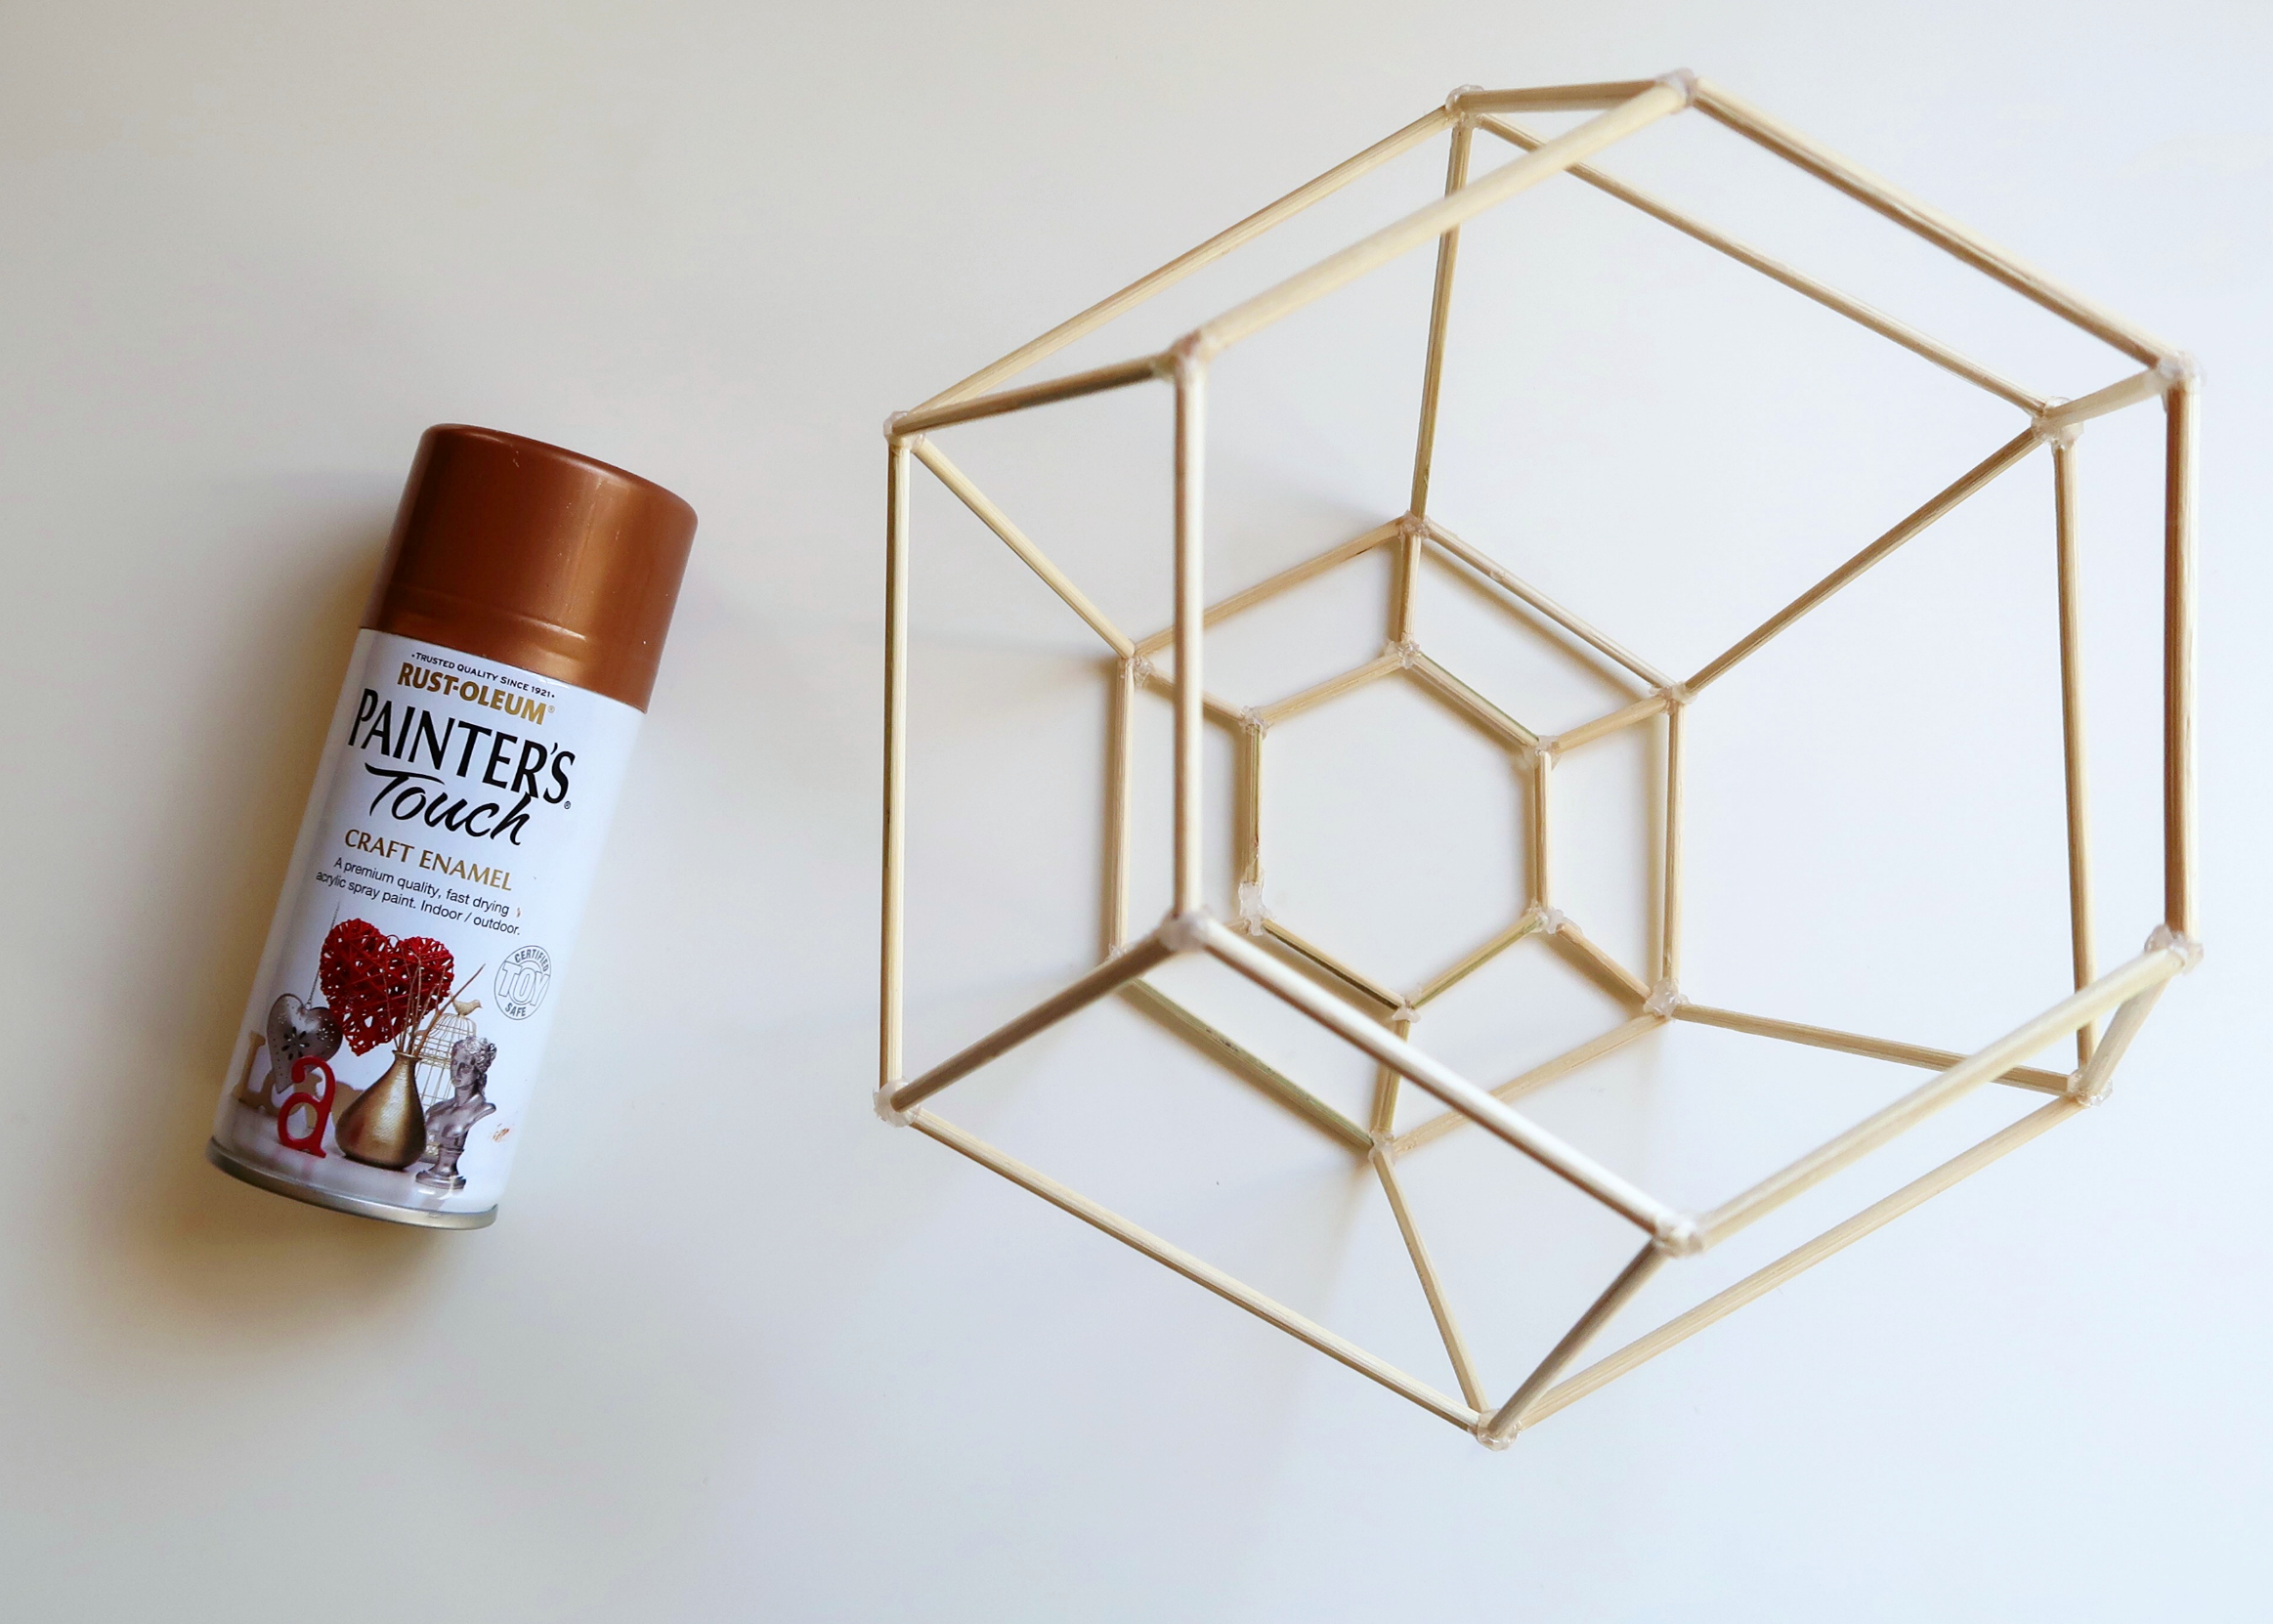
At this point you should have one large hexagon, two smaller hexagons, one miniature hexagon and twelve 10cm skewers. If you do, you're ready to assemble!
6.
Place the large hexagon flat and stick two of the 10cm skewers to opposite corners with hot glue, angling them slightly inwards as you do.
7.
Once dry, stick one of the small hexagons on top of the two 10cm skewers you just glued to the large hexagon. When these are secure, stick the other four 10cm lengths between the large and small hexagon at each angle.

8.
You need to do the other side now, so turn your structure over so that the small hexagon is flat against your work surface and the large hexagon is on top. As you did in Step 6, glue two 10cm lengths to opposite corners with hot glue, angling them slightly inwards.
9.
Take the second (unused) small hexagon and as before, glue this on top of the two 10cm skewers you just glued to the large hexagon. Once secure, stick the other four 10cm lengths between the large and small hexagon at each angle.
10.
Next, take the miniature hexagon and place it in the middle of the small hexagon forming the top of your shade. Using leftover bits of skewer, glue this miniature hexagon to the small hexagon. This will form the structure on which your shade hangs from your light fixture.
11.
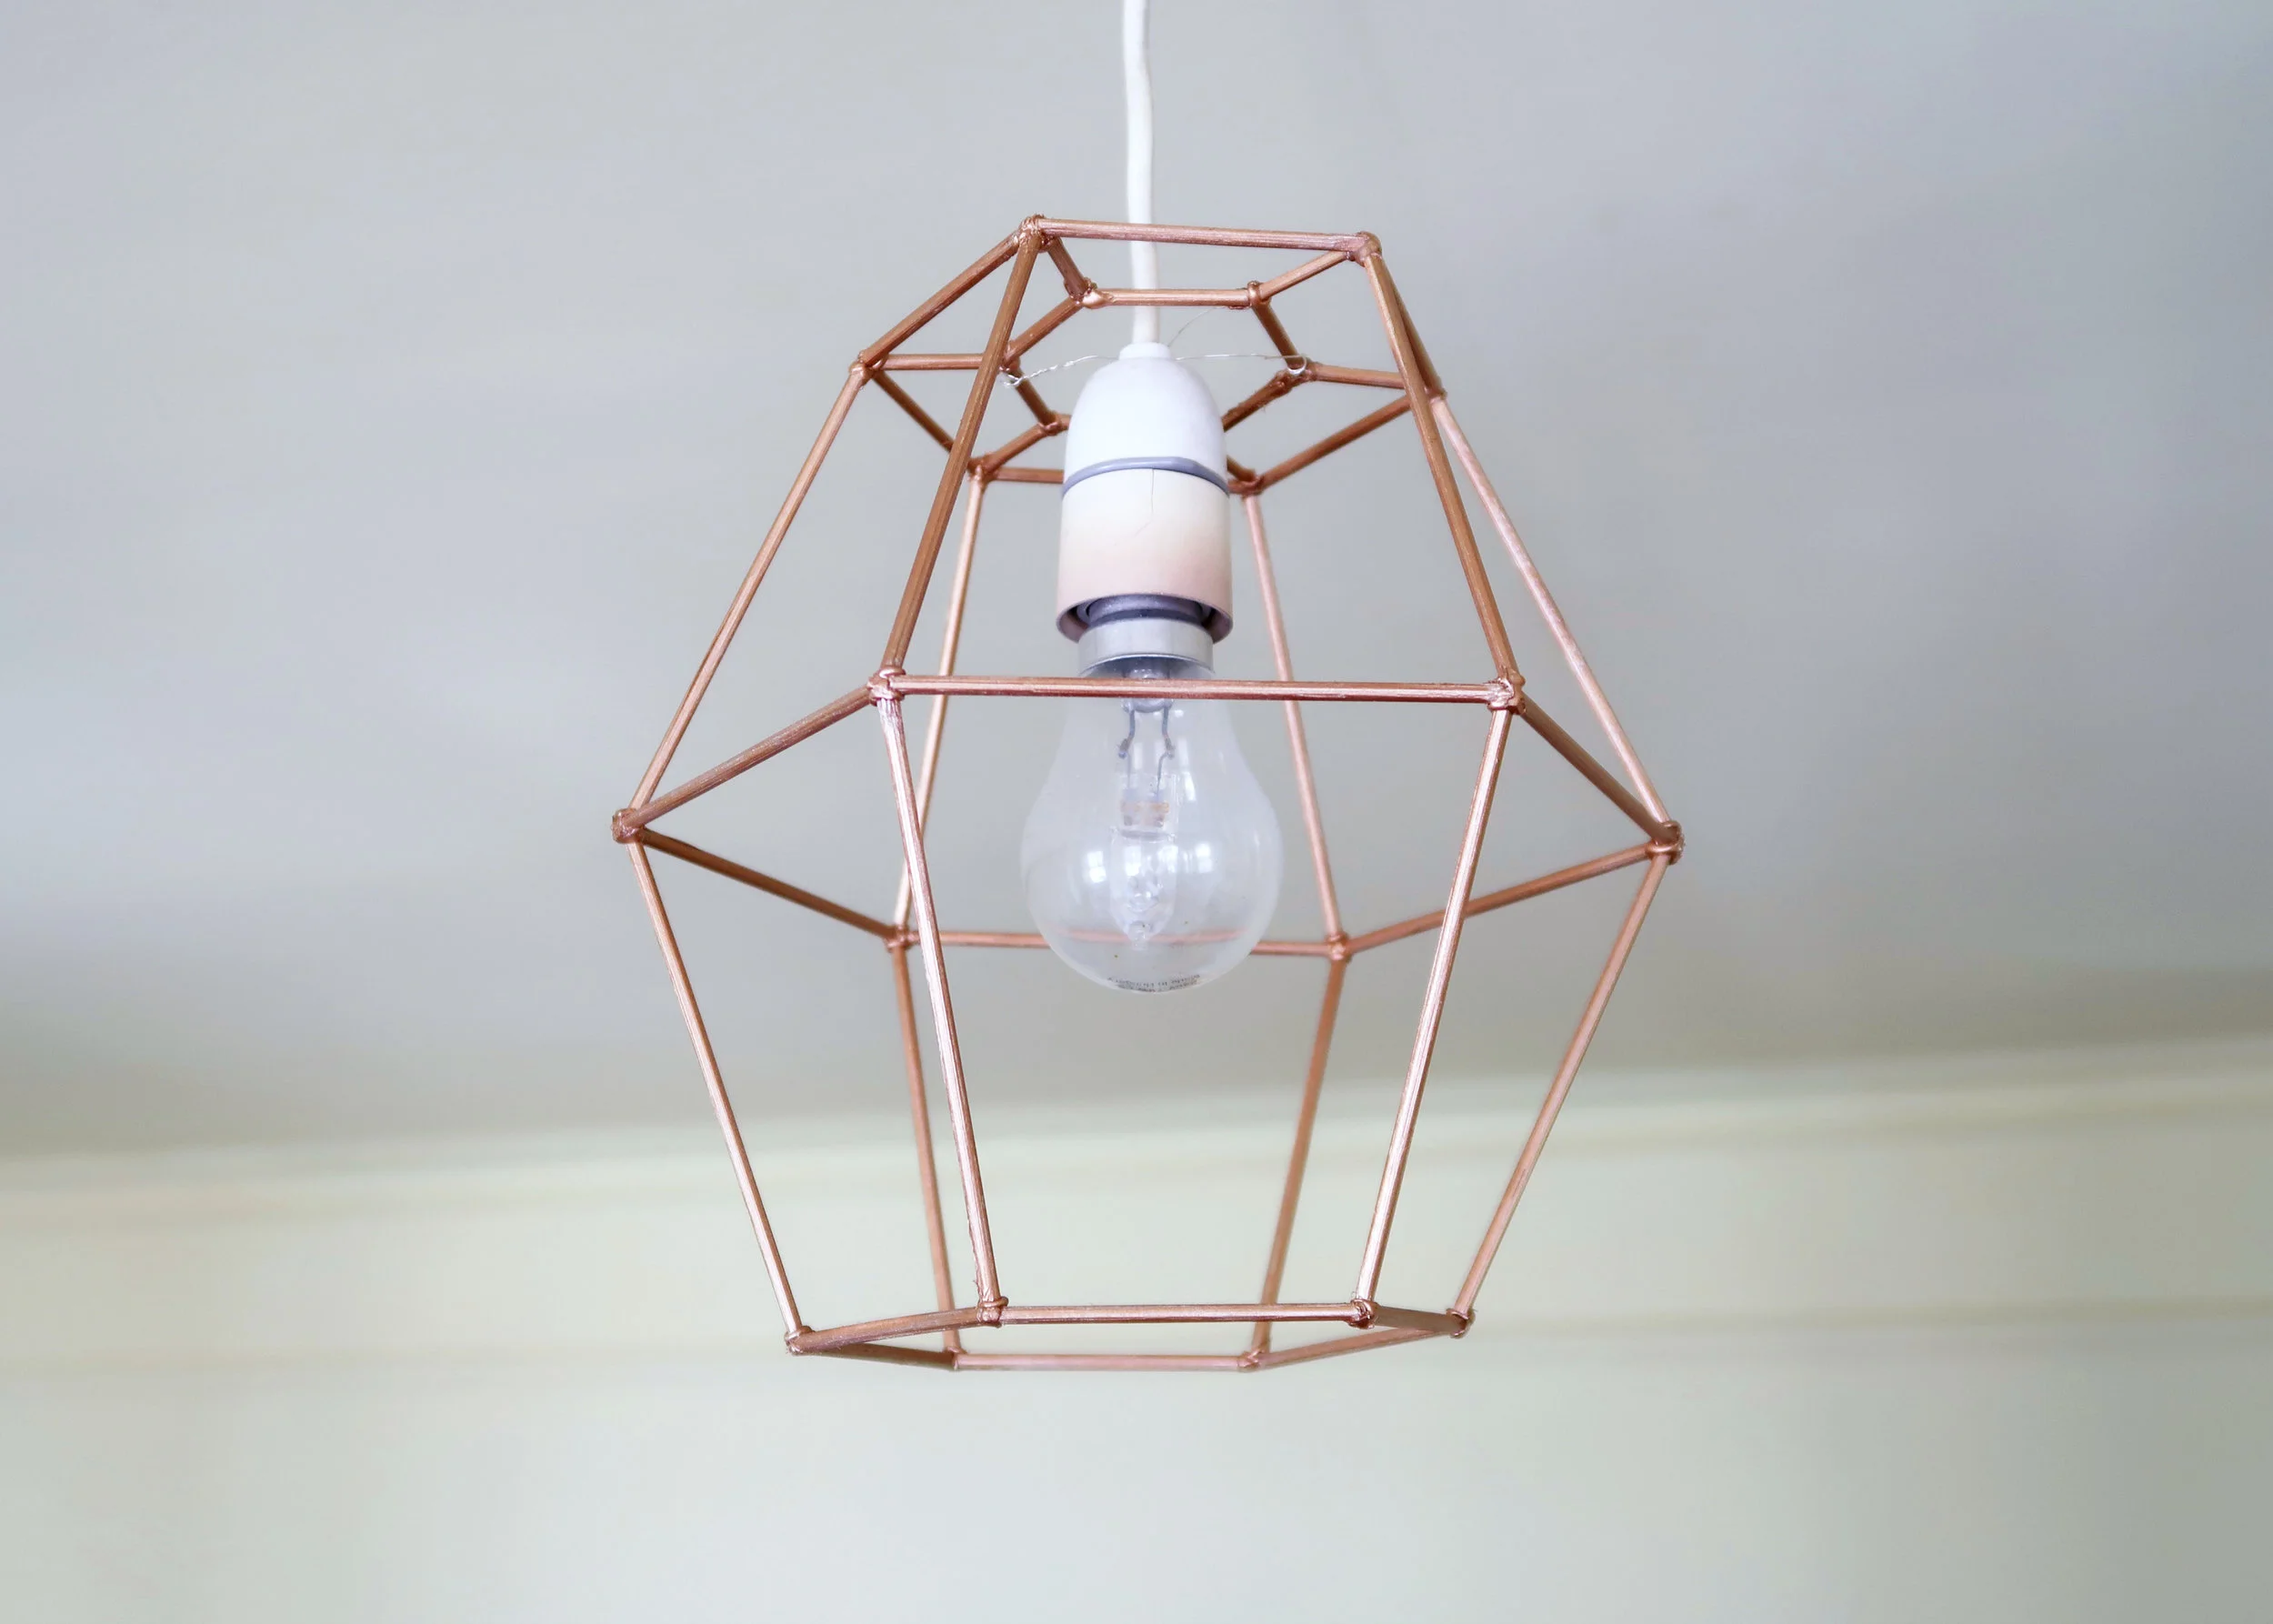
Your structure is now done so all that is left to do is to spray it with a few coats of spray paint. I chose copper (you all know how much I love copper!) but it's entirely up to you what colour you go for.

12.
Lastly, cut two lengths of wire and tie each at one end to the miniature hexagon. You want to tie them to that when died at their other end they'll form a cross. Next, push the structure up and over the light fixture (make sure the light is off and remove the bulb if need be!) and tire the wires to the shade at the other end on the opposite side.