


Create a magical feature wall in just a few steps!
Decorating the nursery for our baby has been a slow but steady process and finally I find myself with a bit of time to share with you how I did some of it. It’s probably my favourite room in the house now, I feel like I was really able to let go and enjoy myself in here, and it was part because of installing a peel and stick mural behind the cot.
PEEL AND STICK MURAL
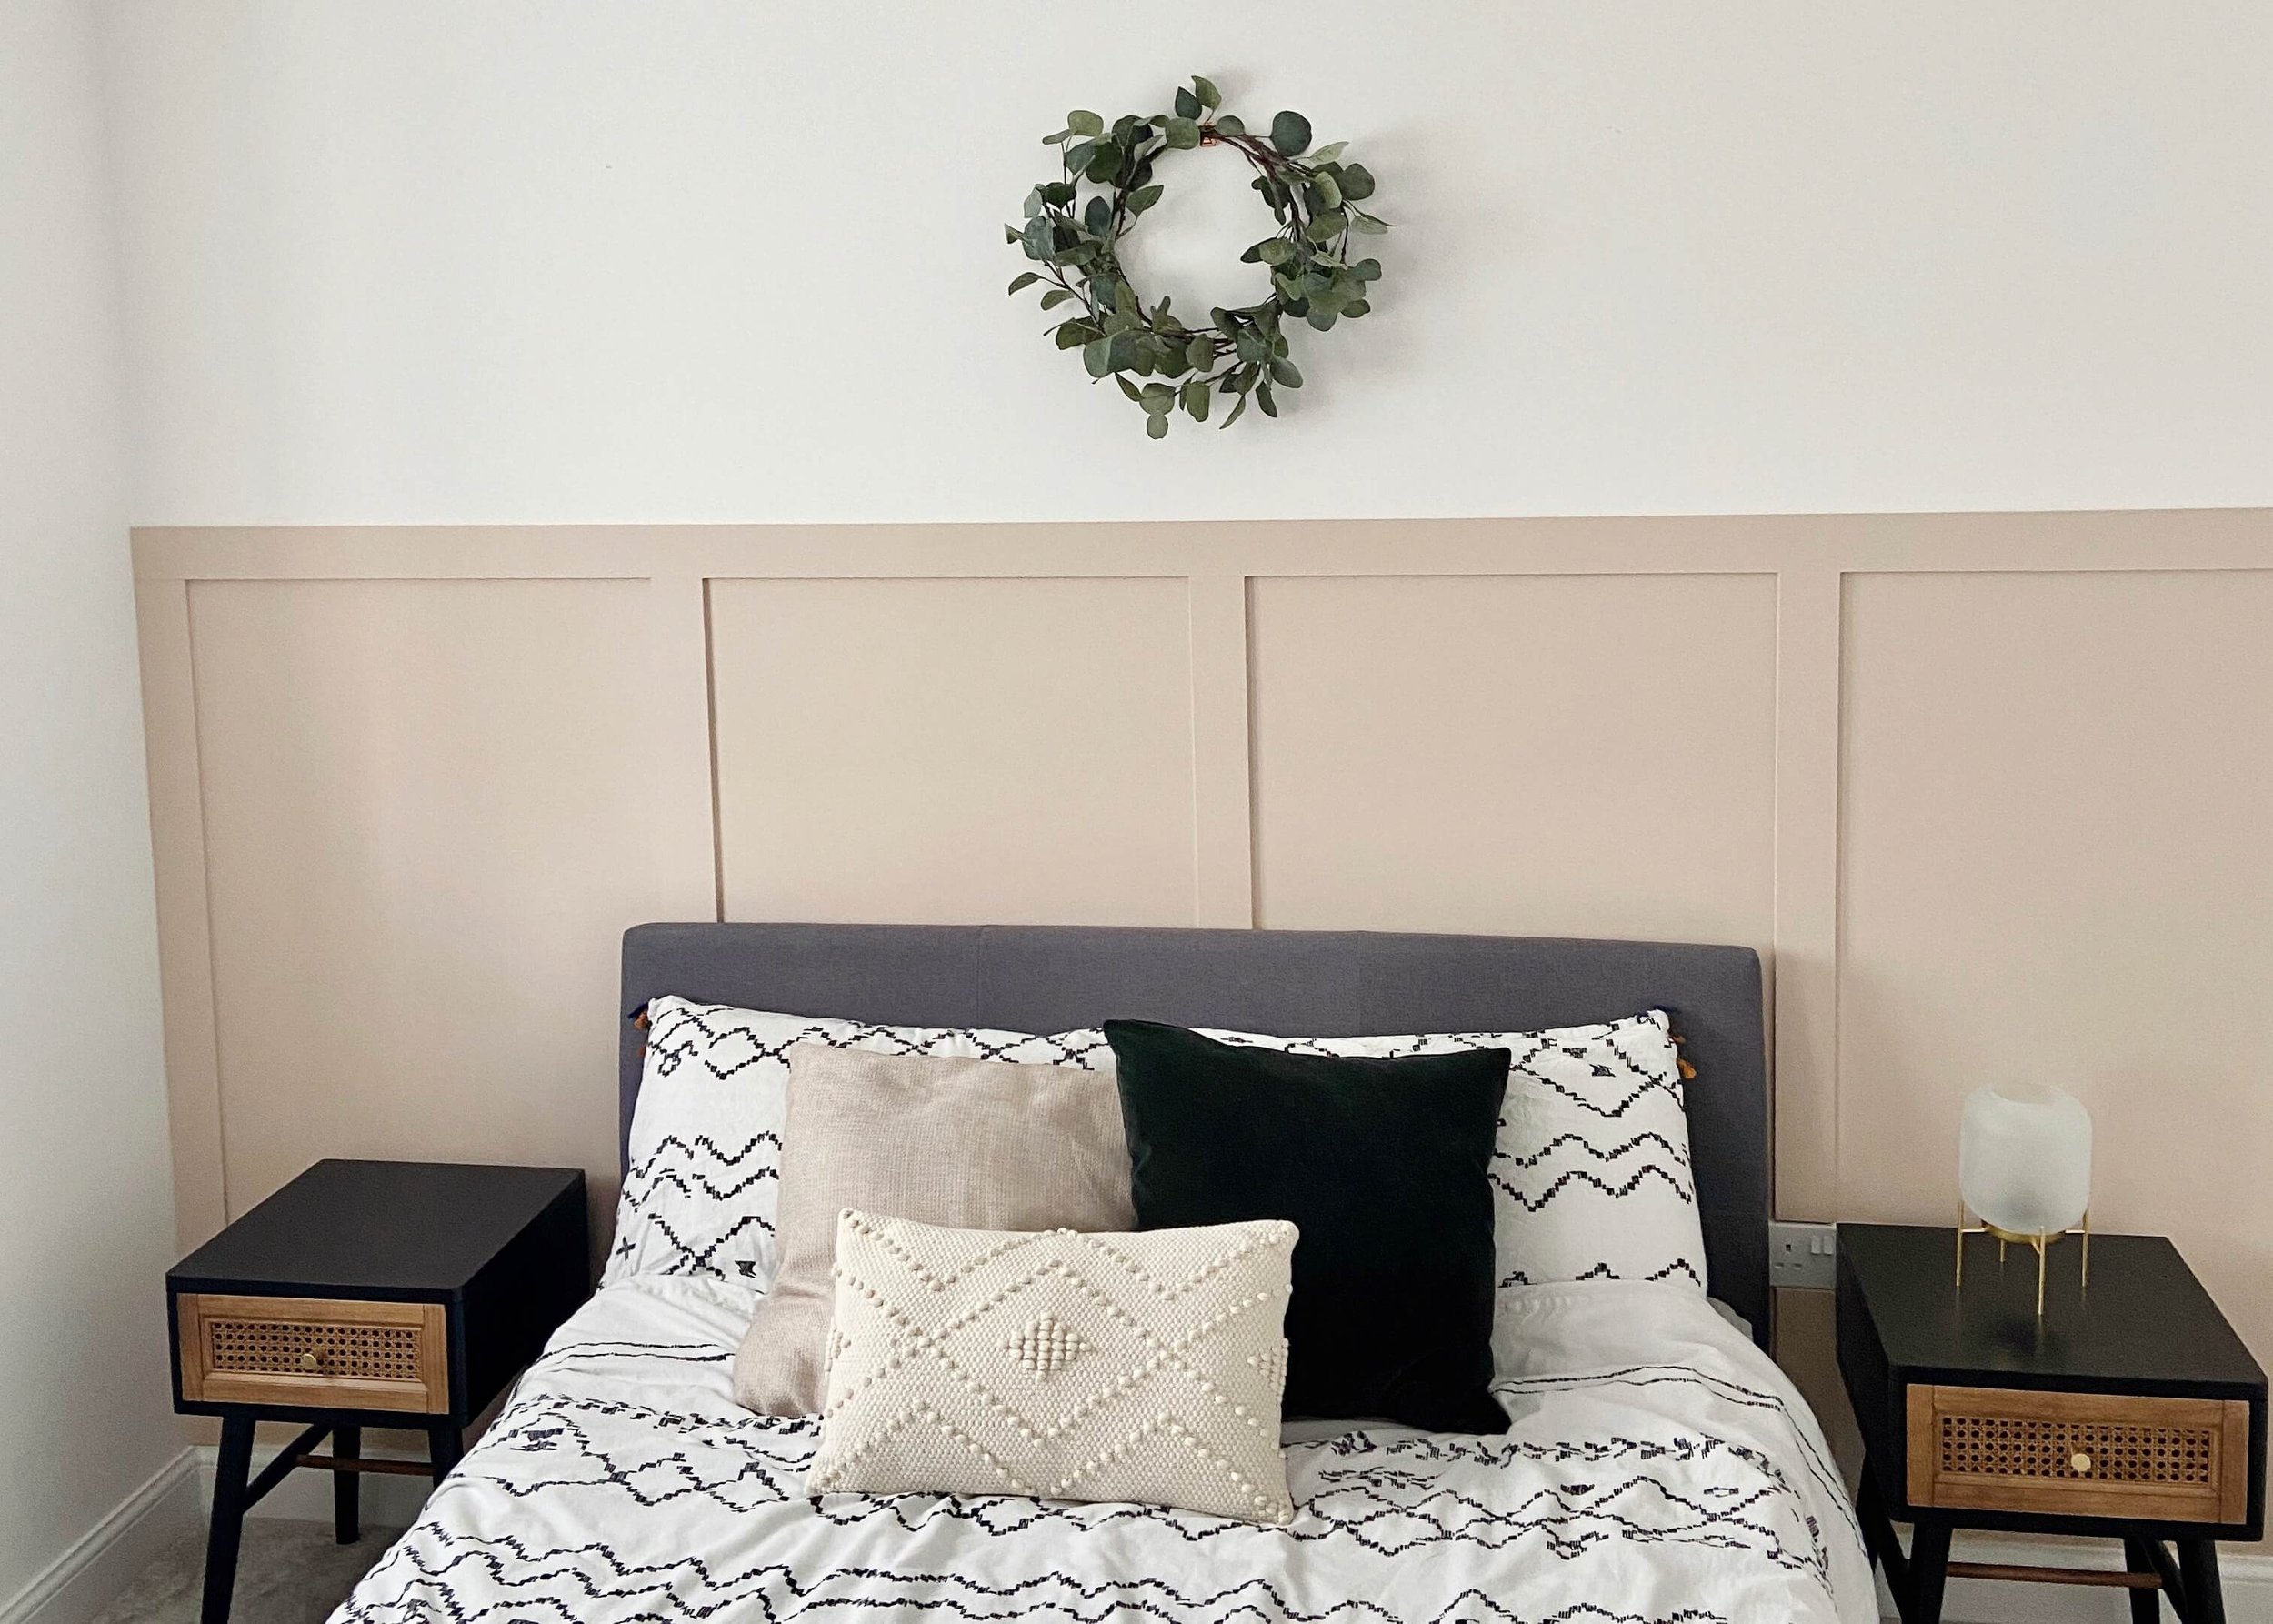
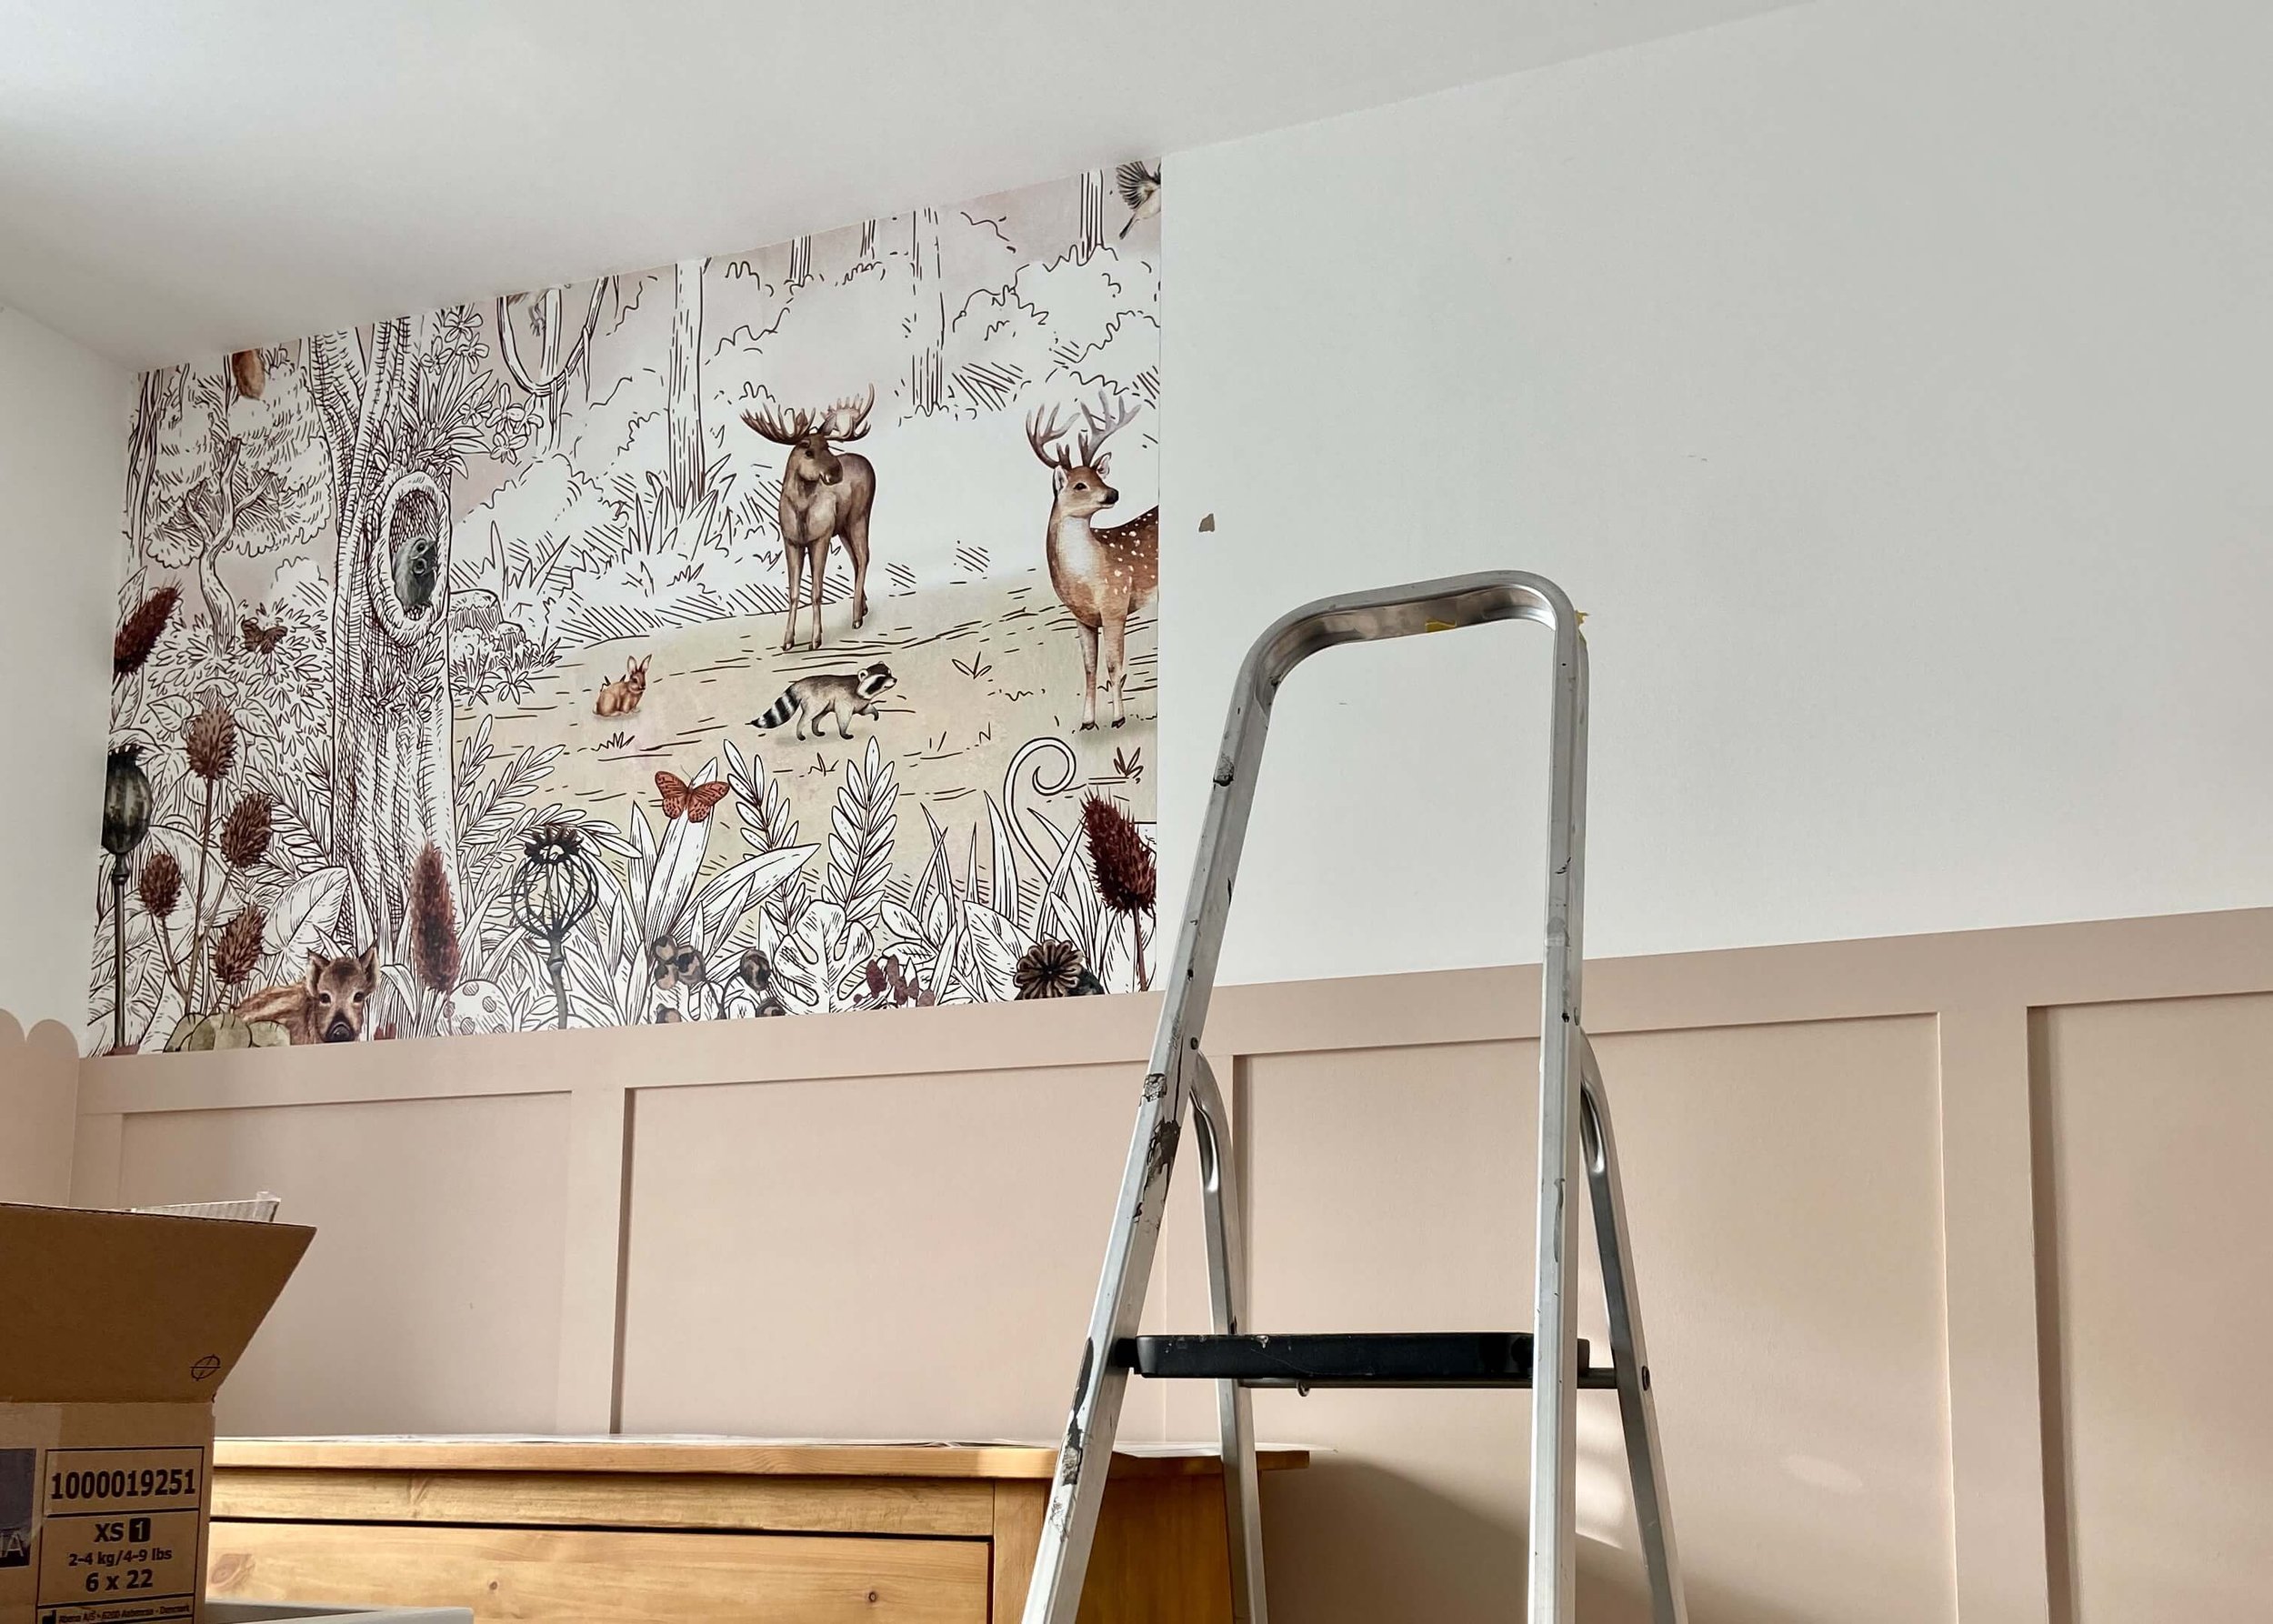
As I’ve never tried peel and stick wallpaper or anything before, I was a bit apprehensive about it and whether I’d make a mistake, but the paper was really robust and forgiving, and so I was able to unpeel and restick parts as I needed. I chose a woodland scene in Autumn, as my baby’s room has a woodland (and slightly celestial) theme, and I love how the colours are warm, not too girly and not too neutral. The room was previously painted in a beigey pink colour (Homespun by Rustoleum) before we converted it into the nursery, and so I stuck with that for the rest of the walls and the panelling. The panelling was also already here, but once I had the mural in place. I added a ledge above the panelling to be able to add decorative bits and pieces.
The mural really makes the room for me. If I had had an easy pregnancy and had been able to decorate before baby’s arrival then I would have loved to have painted a mural on this wall myself, but now she’s here I definitely don’t have time to paint a space this size, and so a peel and stick mural was perfect. That isn’t to say that I haven’t been painting on the walls since (one nap at a time!). Keep reading to see how I installed this mural and added the ledge to the panelling…


1.
As I’ve already mentioned before, this room was previously our guest room and I deocrated it by adding this half-wall panelling. We liked this colour and didn’t want to make too many changes, and so we decided to just add to this. You can see more details of what we did here.
2.
To install the peel and stick mural, I made sure the wall was nice and clean, and then started by getting all my pieces in order. I hten started in the top left corner. The mural I bought was made to fit the space with some overhang and so it’s a good idea to use the overhang to give yourself some leeway incase you don’t get the first piece on perfectly straight.

3.
For each piece, you want to line up the pattern where needed, and then unpeel some of the backing from the top left. I used painteres tape to hold the piece in place to free up some hands. You then want to slowly stick the mural to the wall moving from top left to bottom right, whilst peeling more backing off as you go.

4.
The mural I bought included a scraper which was great at using to stick the paper down and to ensure there were no air bubbles. It was also really useful to use the edge on the tops and bottom to create a neat fold.
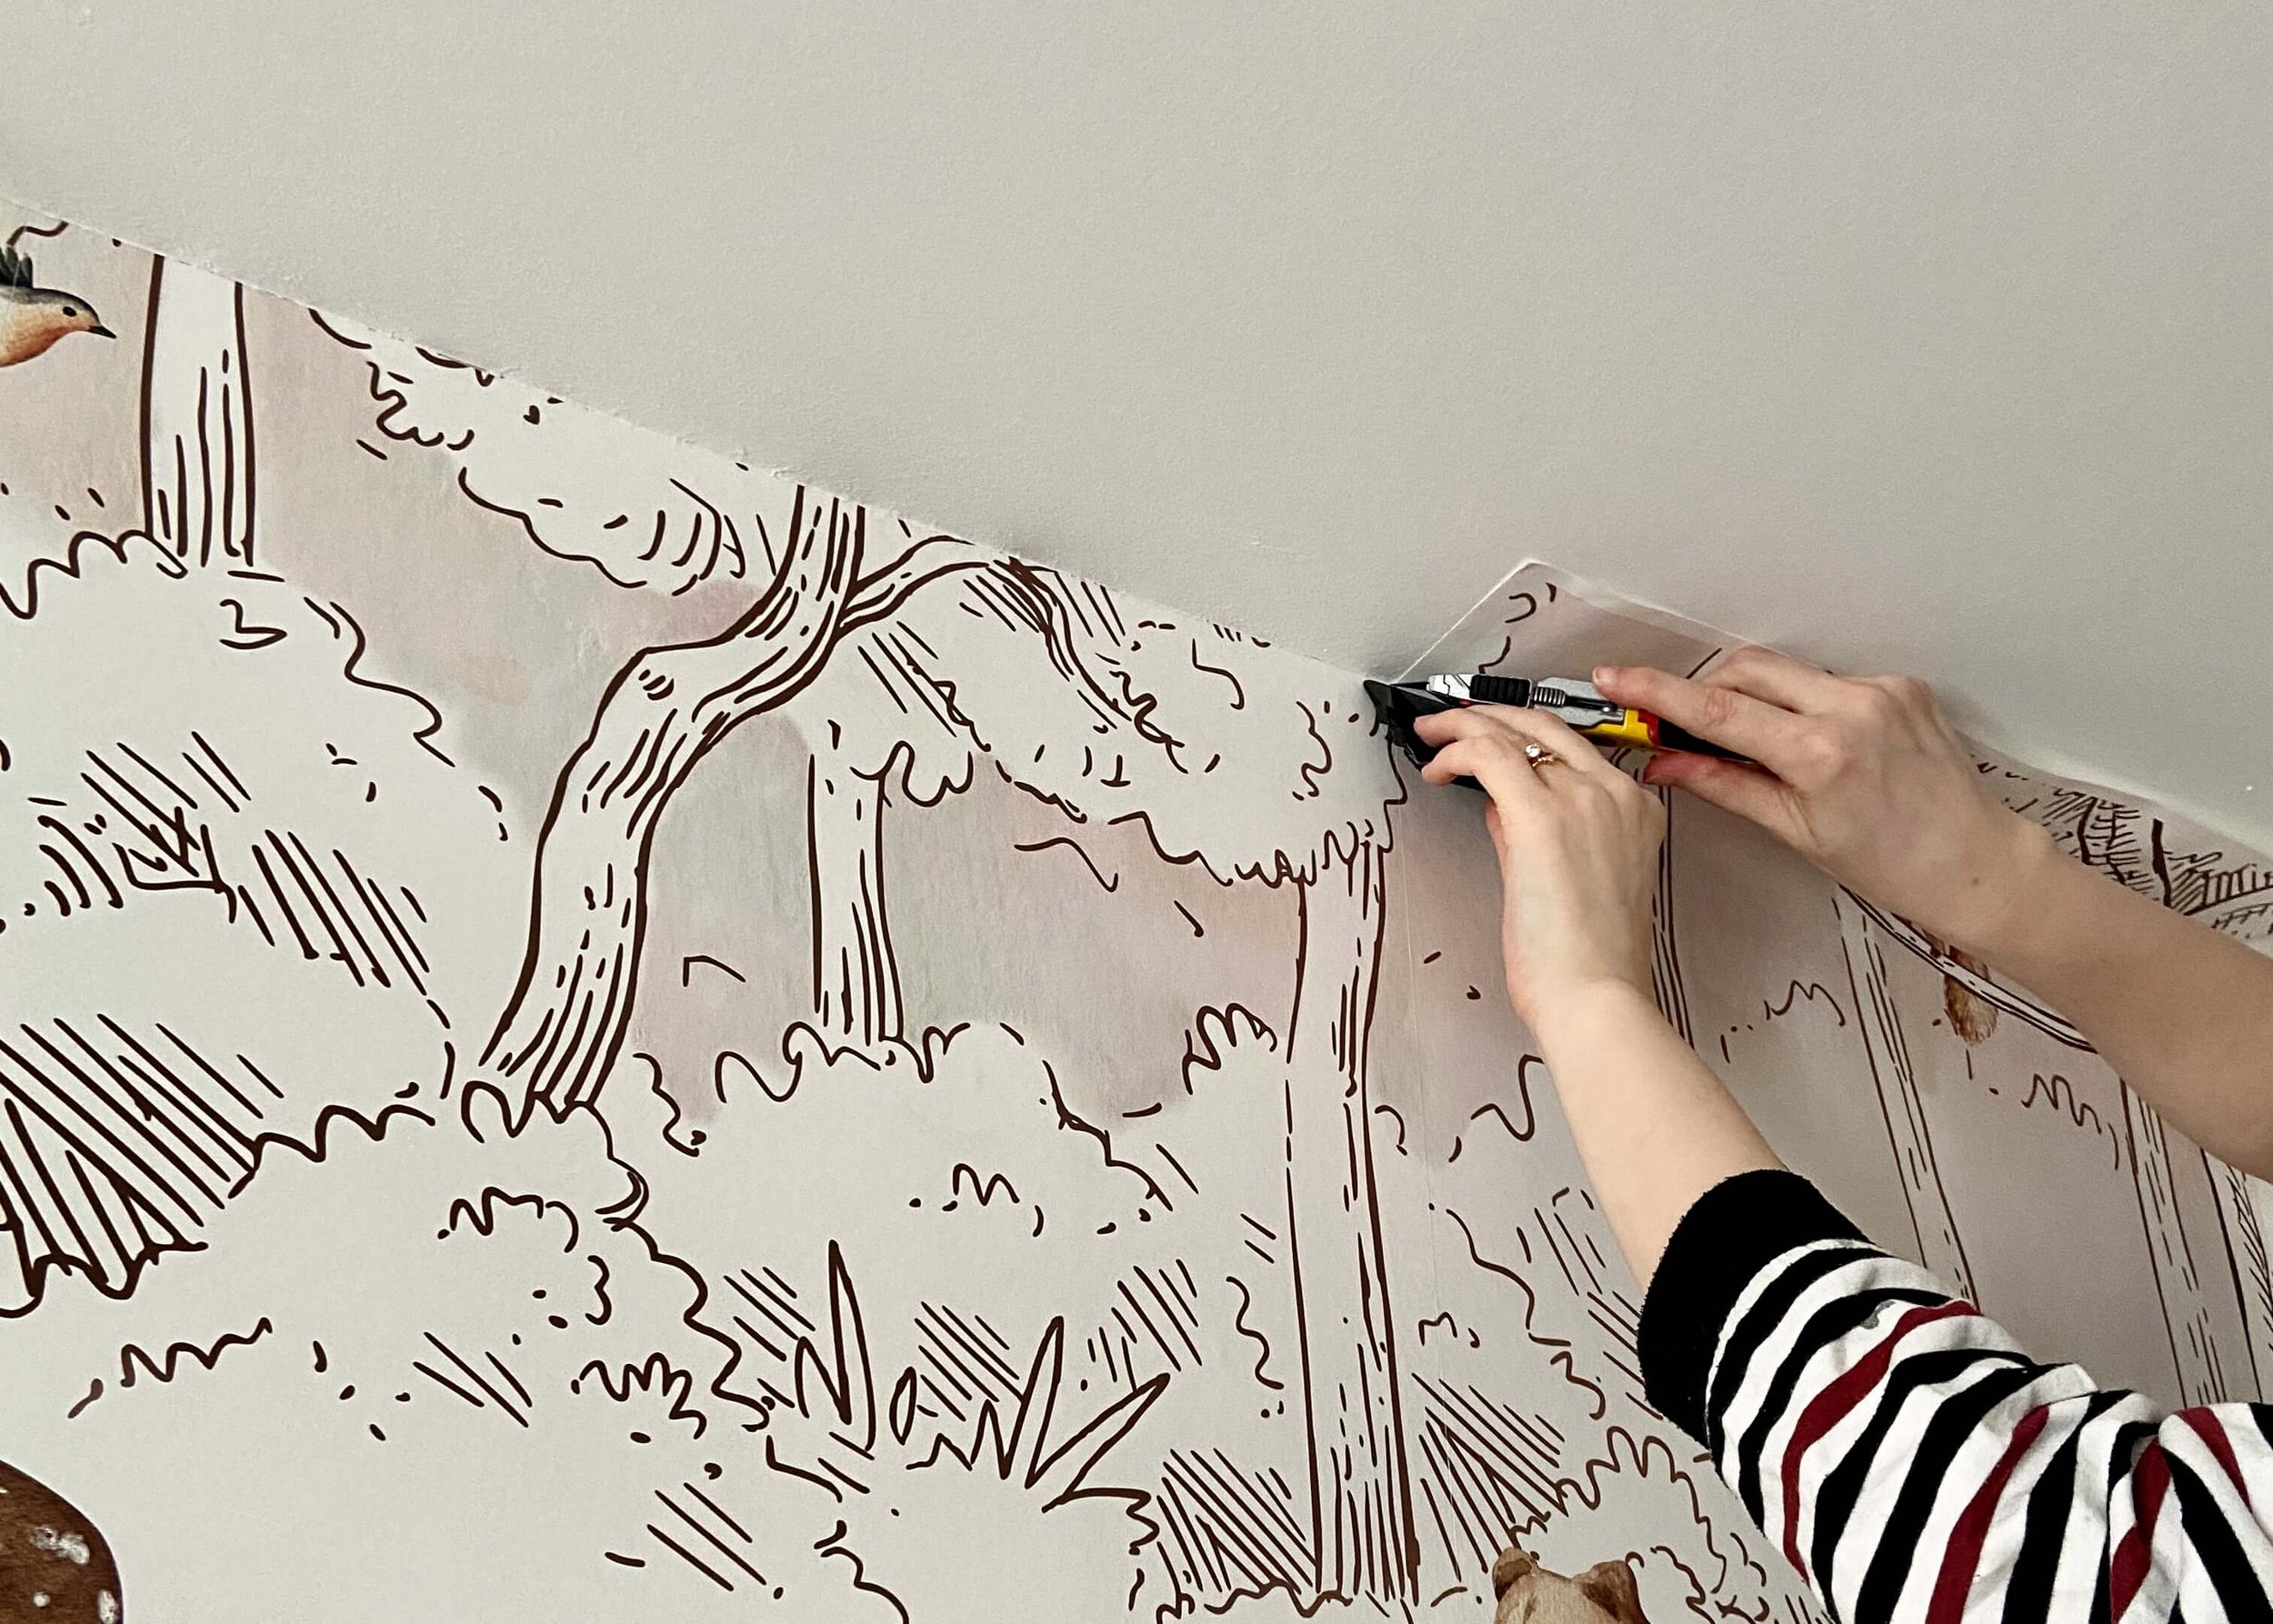
5
Next I used a stanley knife and the scraper together to cut off any excess from the top and bottom of each piece. I did this as I went.
6.
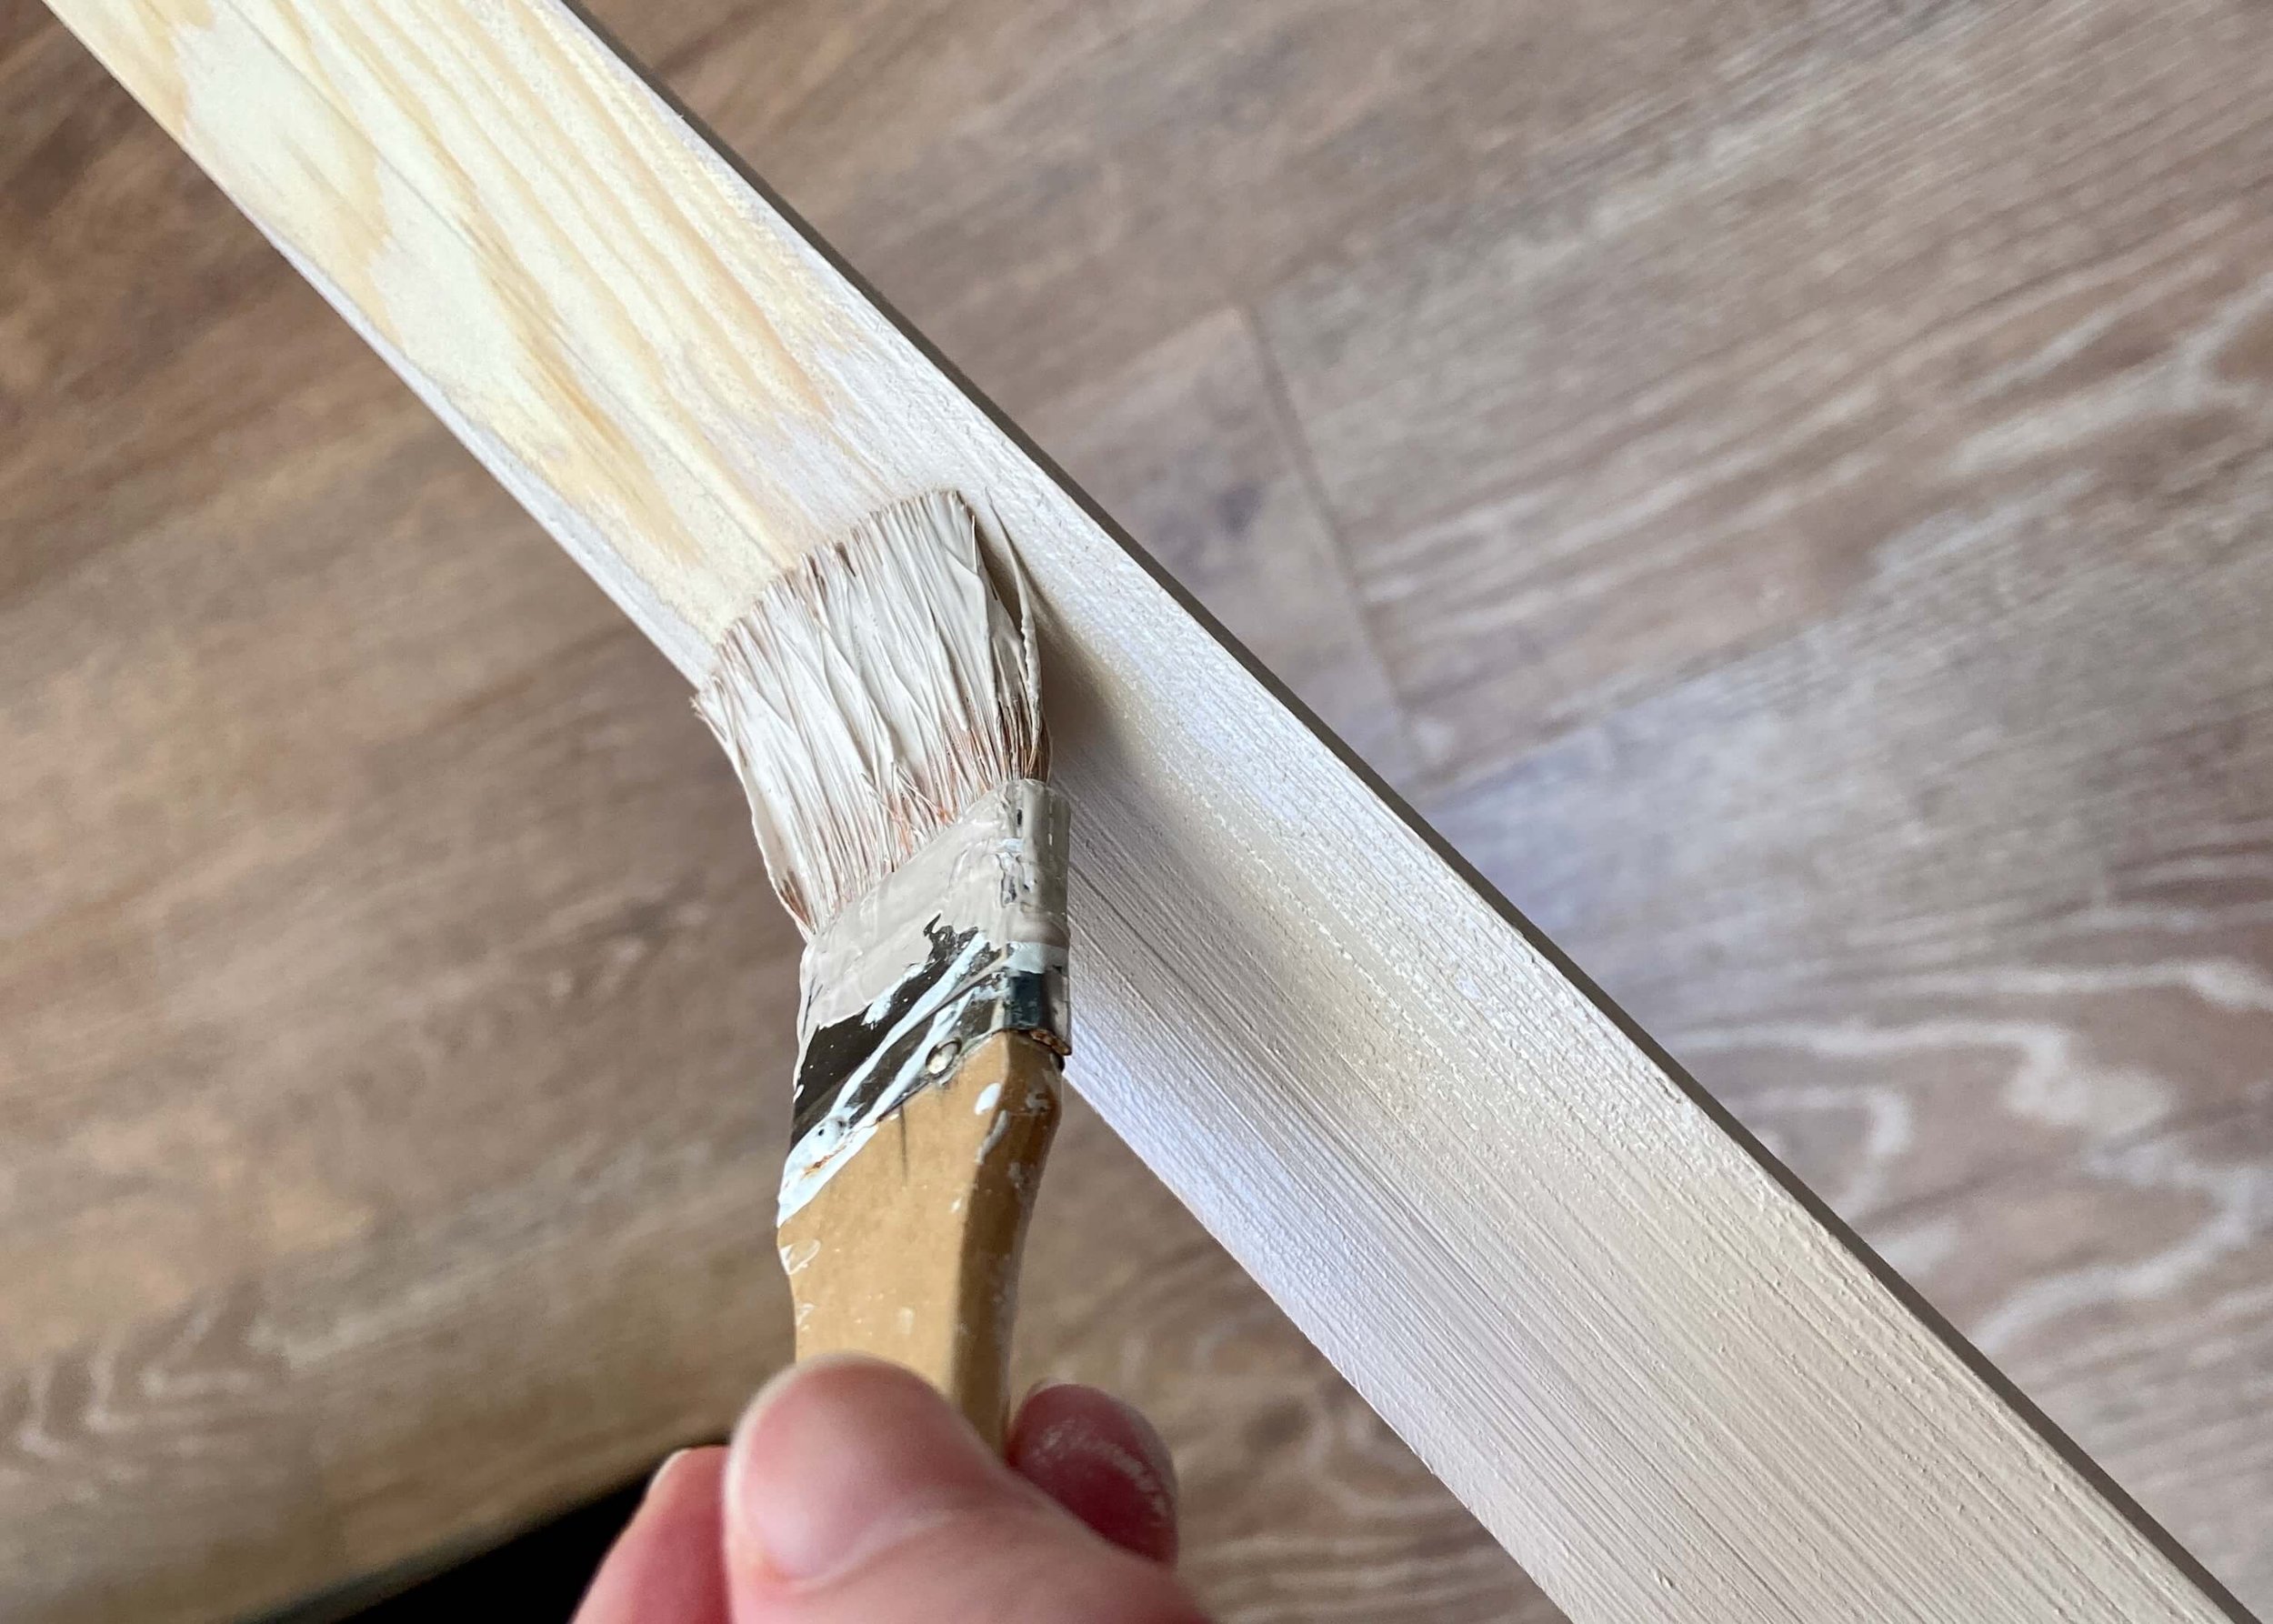
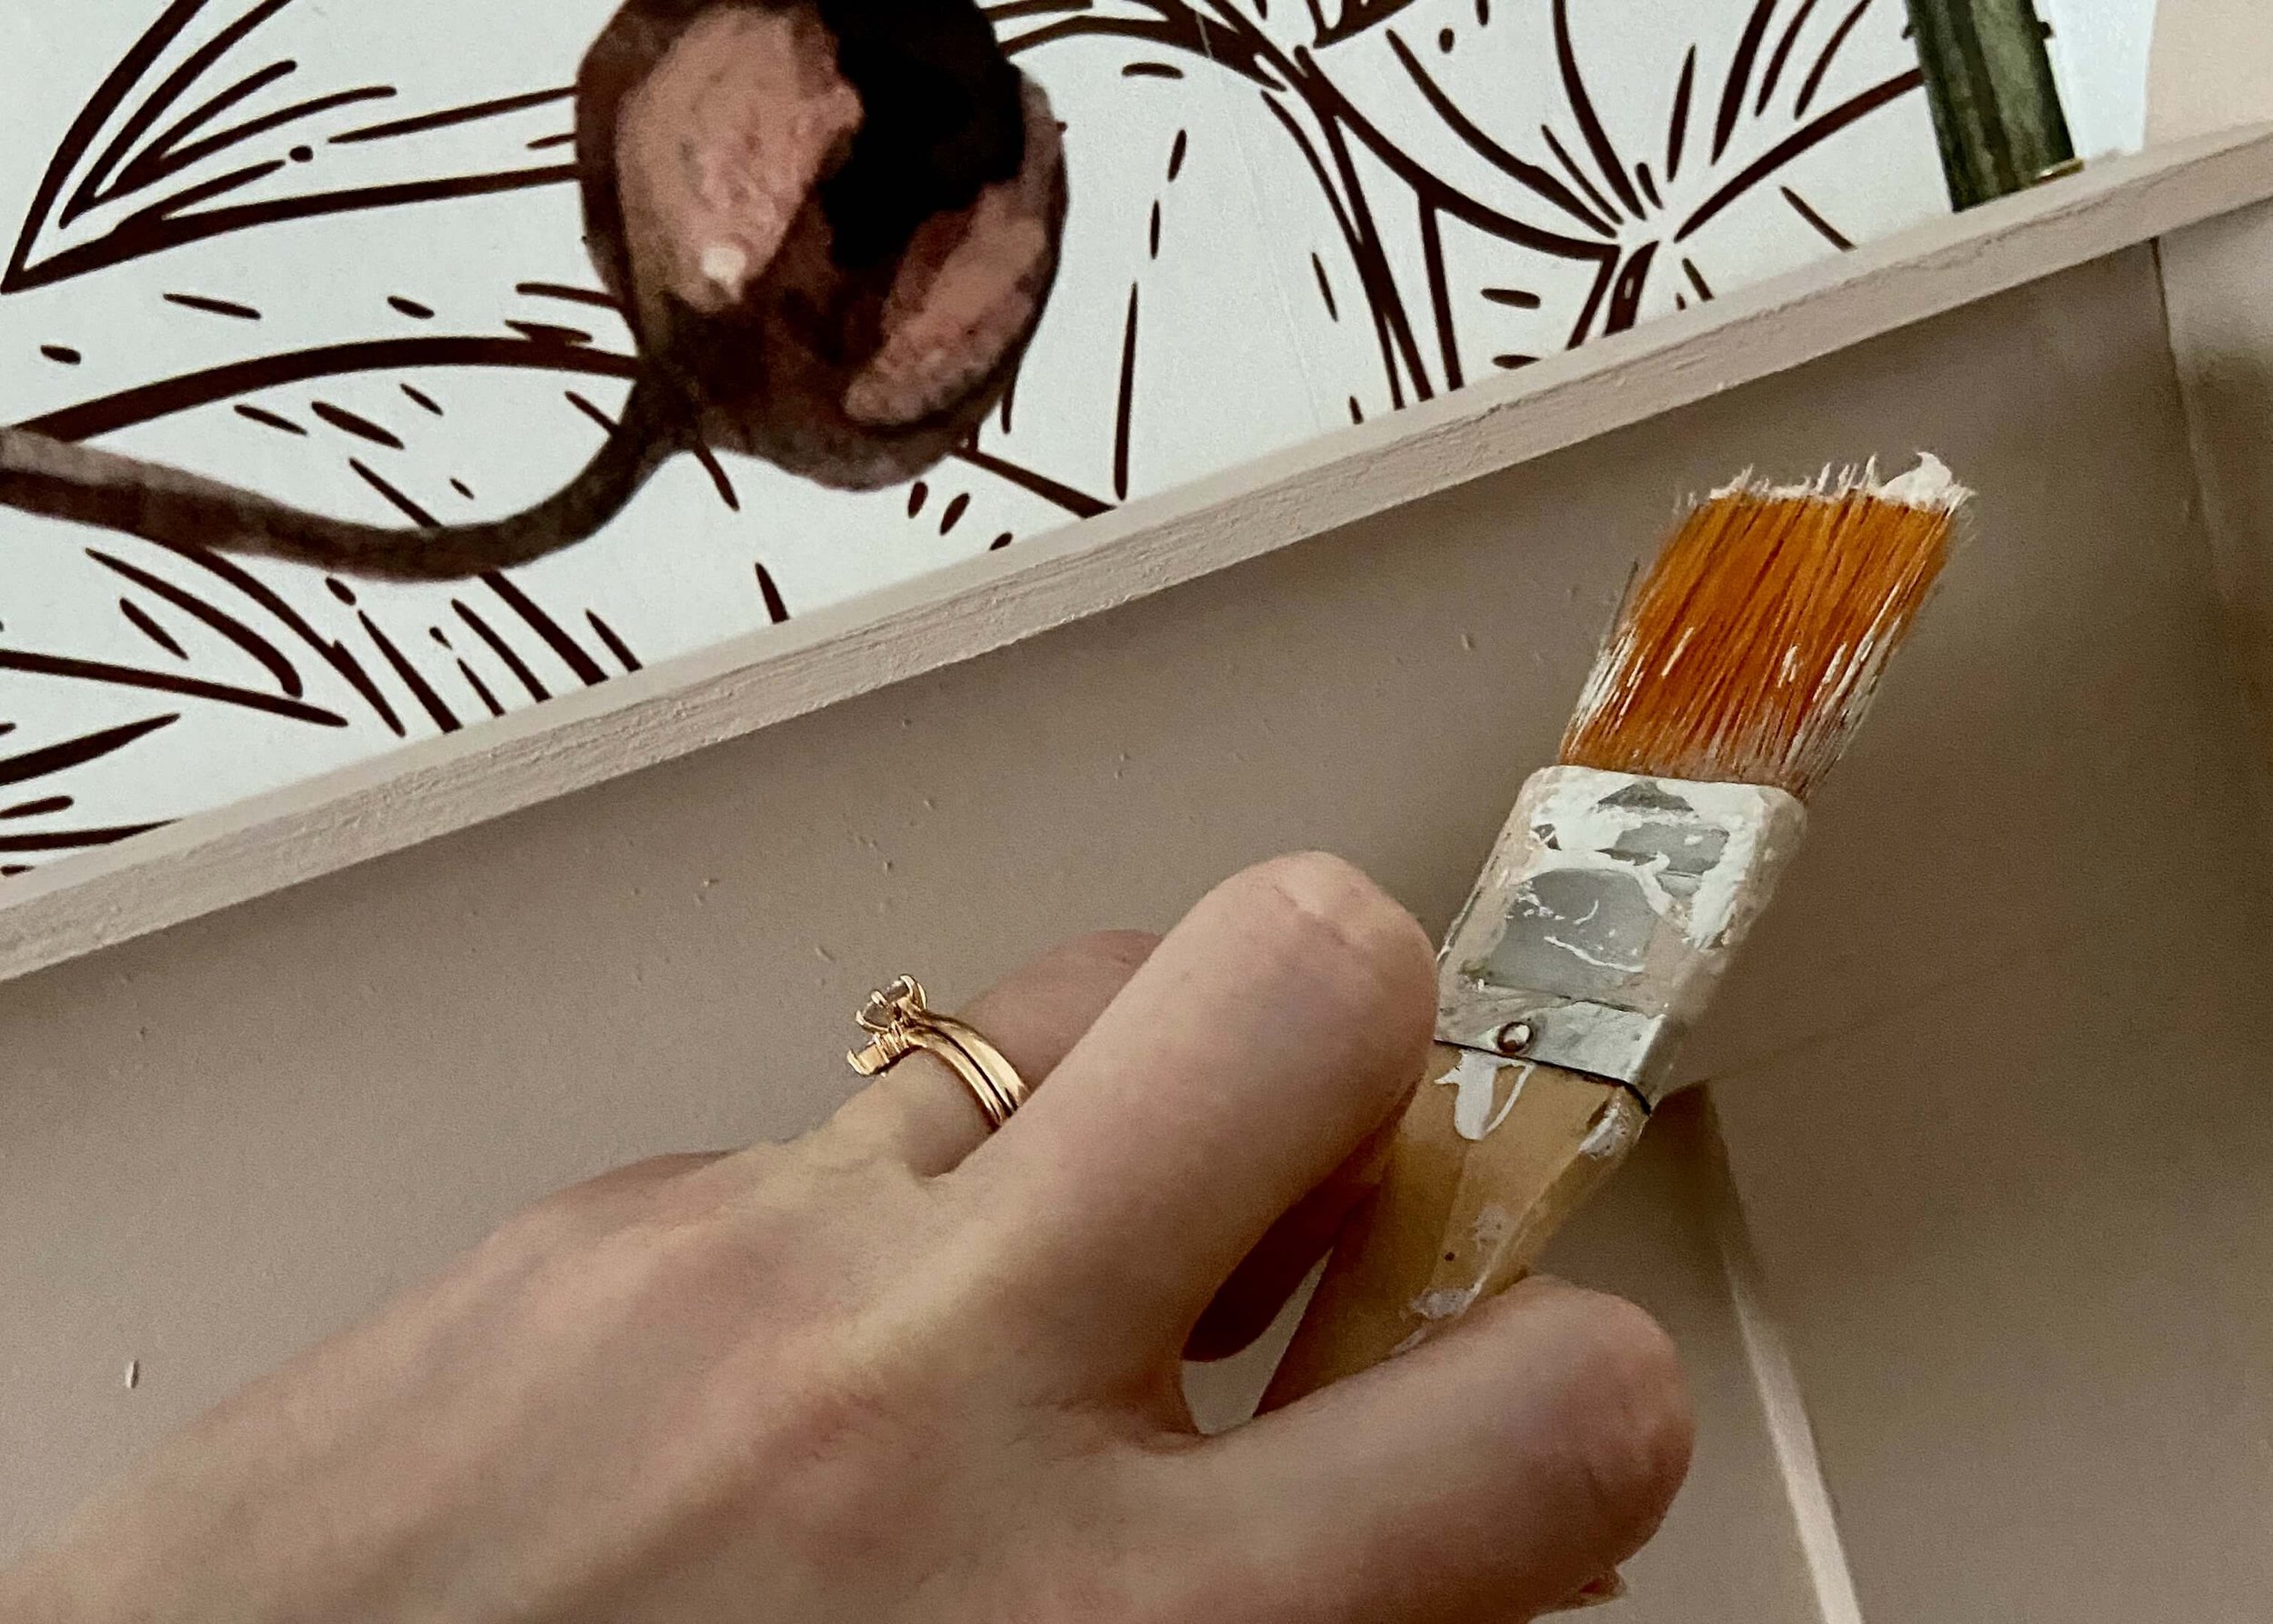
Next, I measured the width of my wall, and bought some pine stripwood to create a little ledge on top of my panelling. I painted this in the same colour as the panelling.

7.
I then held up my stripwood in position and using a pencil drew onto the stripwood where the panelling wood and the stripwood would meet. Using a drill, I then created some pilot holes. If you have a nail gun you can skip this step.

8.
Next, I added some wood glue in between the stripwood and panelling, and screwed the stripwood into the panelling below. I then used wood filler where my stripwood met another piece and sanded this once dry.
9.
Finally, I caulked the seam between the ledge and the panelling and once dry painted over the caulk and wood filler.


