Create a beautiful leaf shelf from air-dry clay and MDF for your little one’s nursery or bedroom!
I’ve got another nursery DIY for you this week - the nursery really has been a labour of love for me and I’m really enjoying creating bits and bobs for every corner of it. With our little one now 6 months old, she’s technically ready to move into her own room (even if we aren’t yet!) and so I’ve been thinking about getting a baby monitor for her room to keep an eye on her overnight. I’ve seen lots of baby monitors with wall brackets, which is more appealing to me than a stand, but to be honest both aren’t quite what I wanted for the nursery. I really wanted every item placed into the nursery to add some magic to it, but after a quick look, I couldn’t find anything that fit the bill, and so of course, I got thinking about how to make exactly what I was looking for.
Air-dry clay
It’s my favourite medium as it’s just so versatile, and so when I was thinking about how I could create what I wanted, I immediately thought of air dry clay. I knew that I wouldn’t trust air-dry clay to hold a monitor safely near her cot, so I wanted any weight bearing part of the shelf to be made from wood and proper brackets, but then to decorate around this using air-dry clay. I love working with air-dry clay as well, and feel pretty confident in getting the effect I’m after. I left my air-dry clay pieces to dry for several days, and would advise not attempting to speed the drying process up as this can cause cracks.
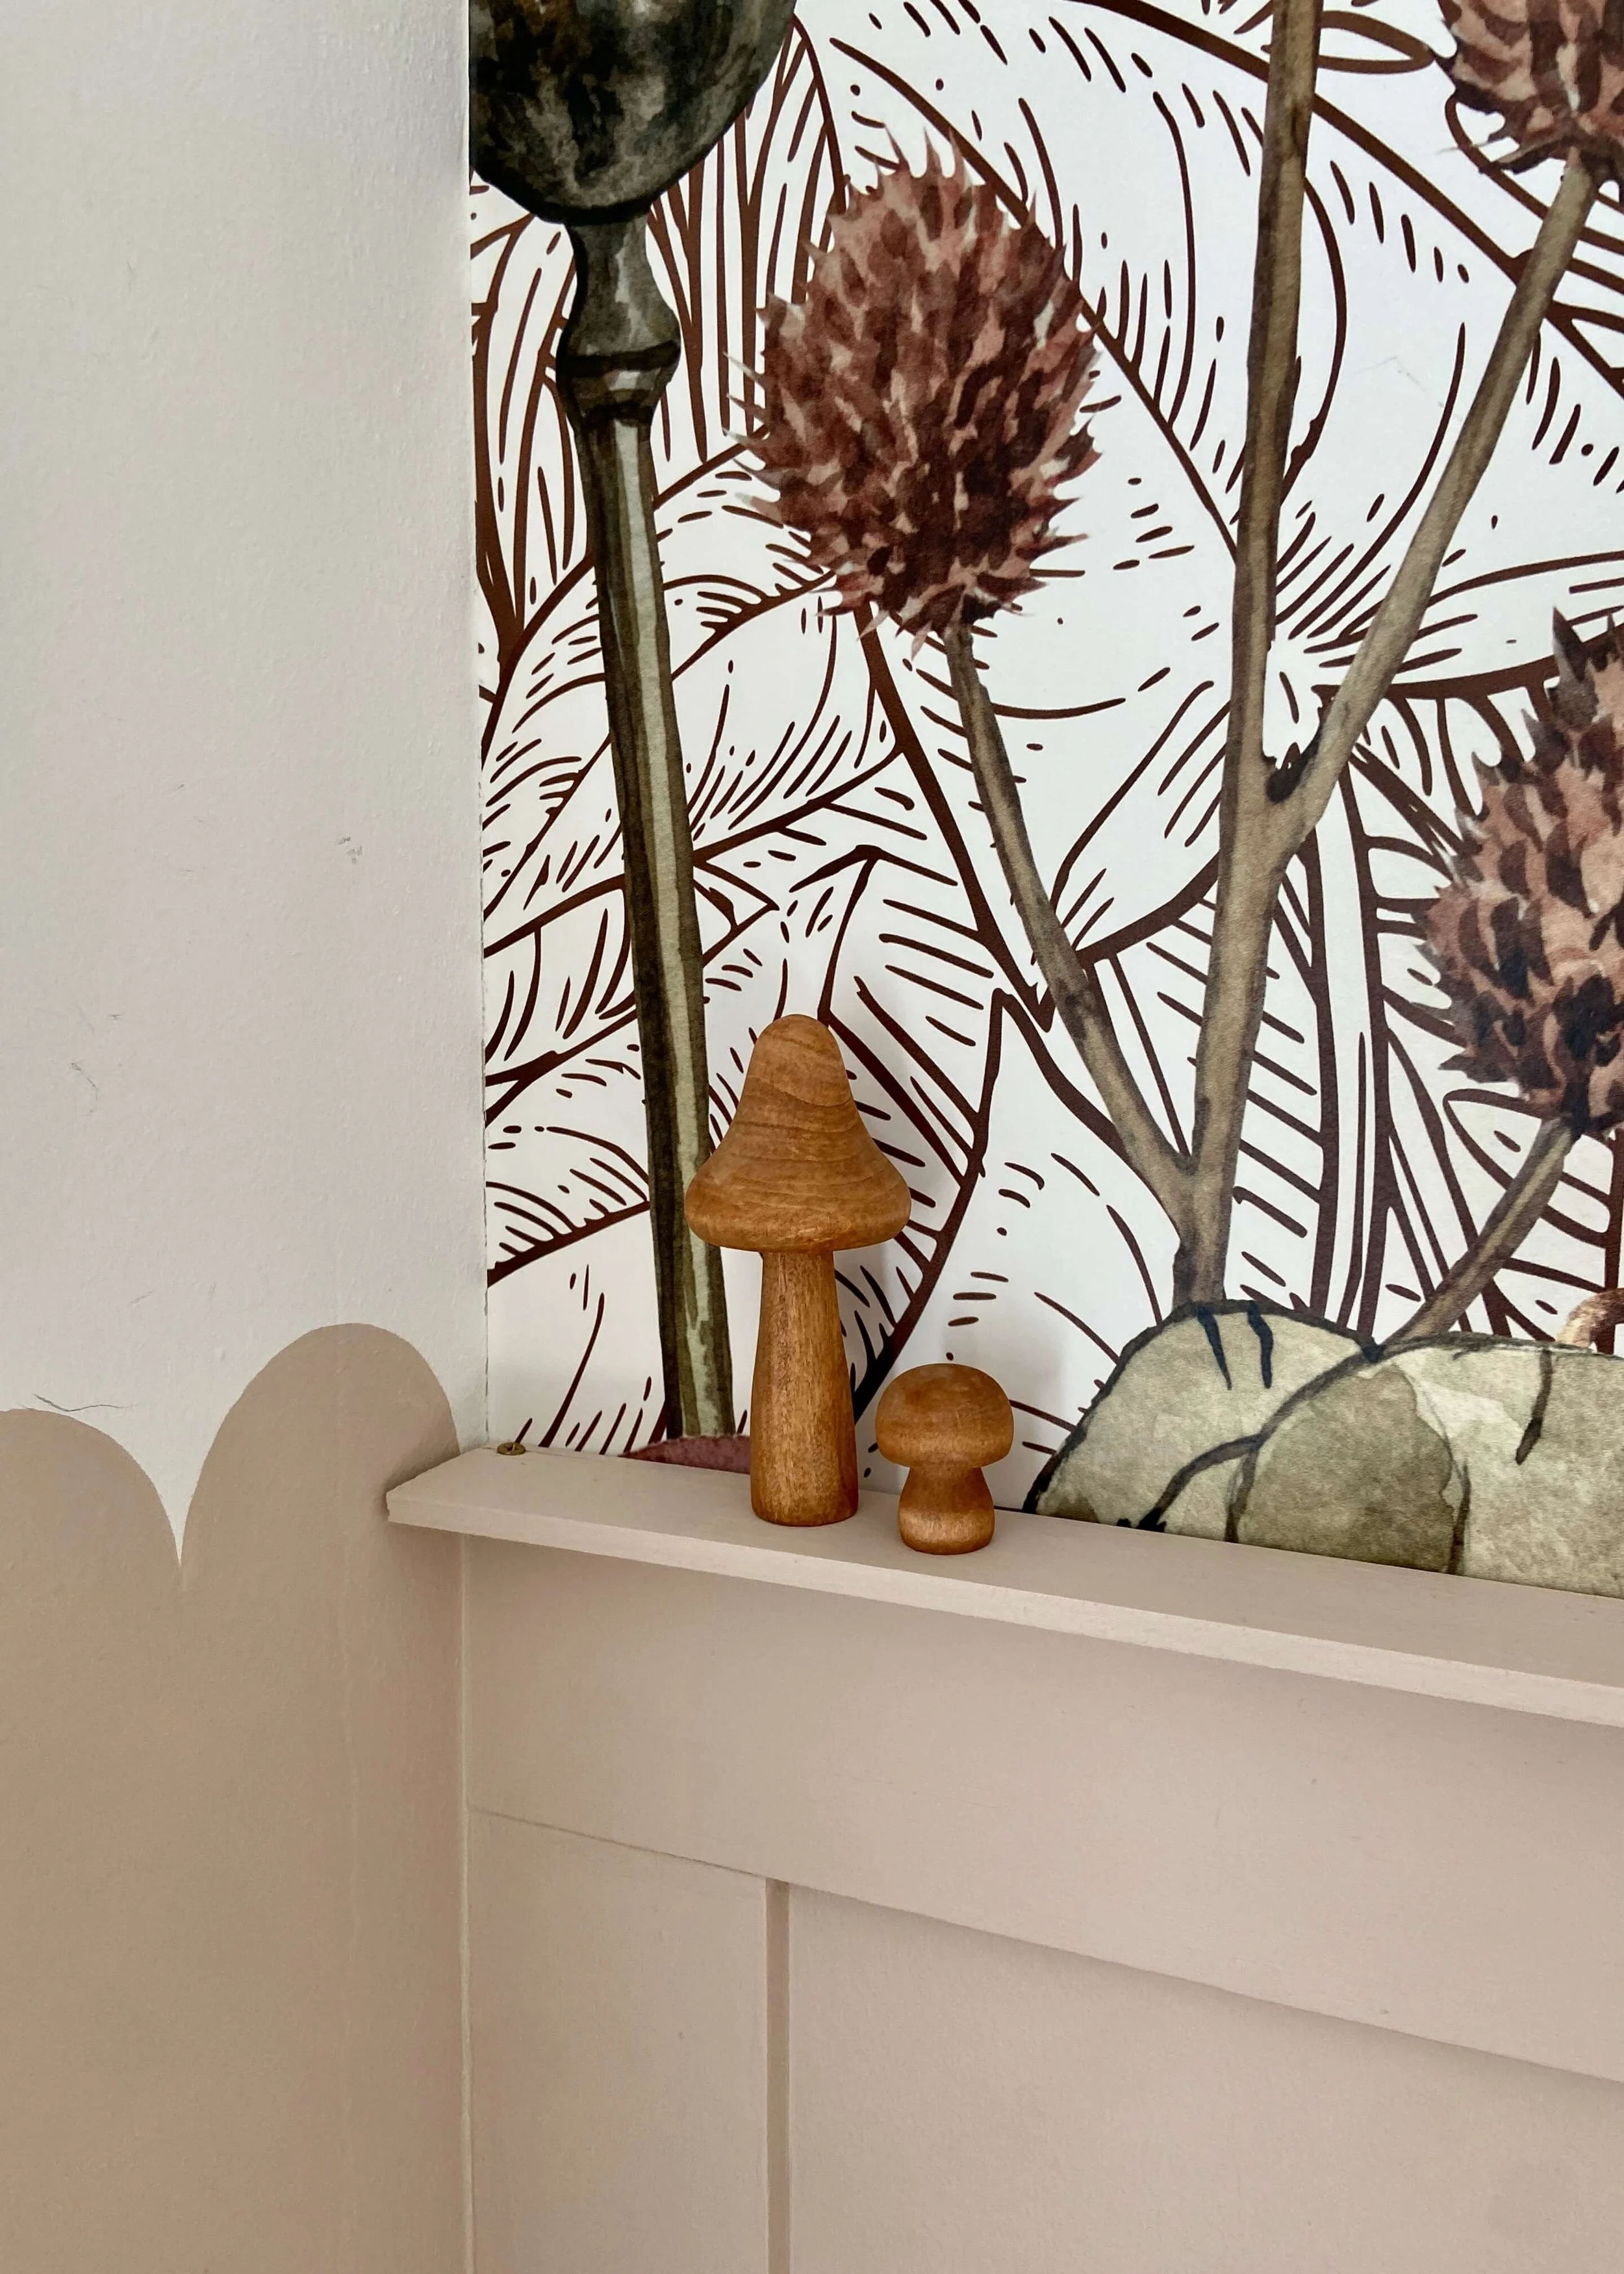
I’m so happy with how this little shelf turned out. It’s pretty, whimsical but also practical. Let me know what you think of this, keep reading for the materials I used and the step by step process…
1.
First of all, work out how large you want your shelf and draw it out on paper. I stuck two pieces of A$ together to create a piece of A3 and drew out my design on this. Once I was happy, I drew a thick outline in a felt tip and stuck my design with tape to a piece of wood. You could also just stick it to a table.
2.
Next, I cut a plastic sleeve in half and stuck this on top of my paper and design. I secured it around the edge using tape.
3.
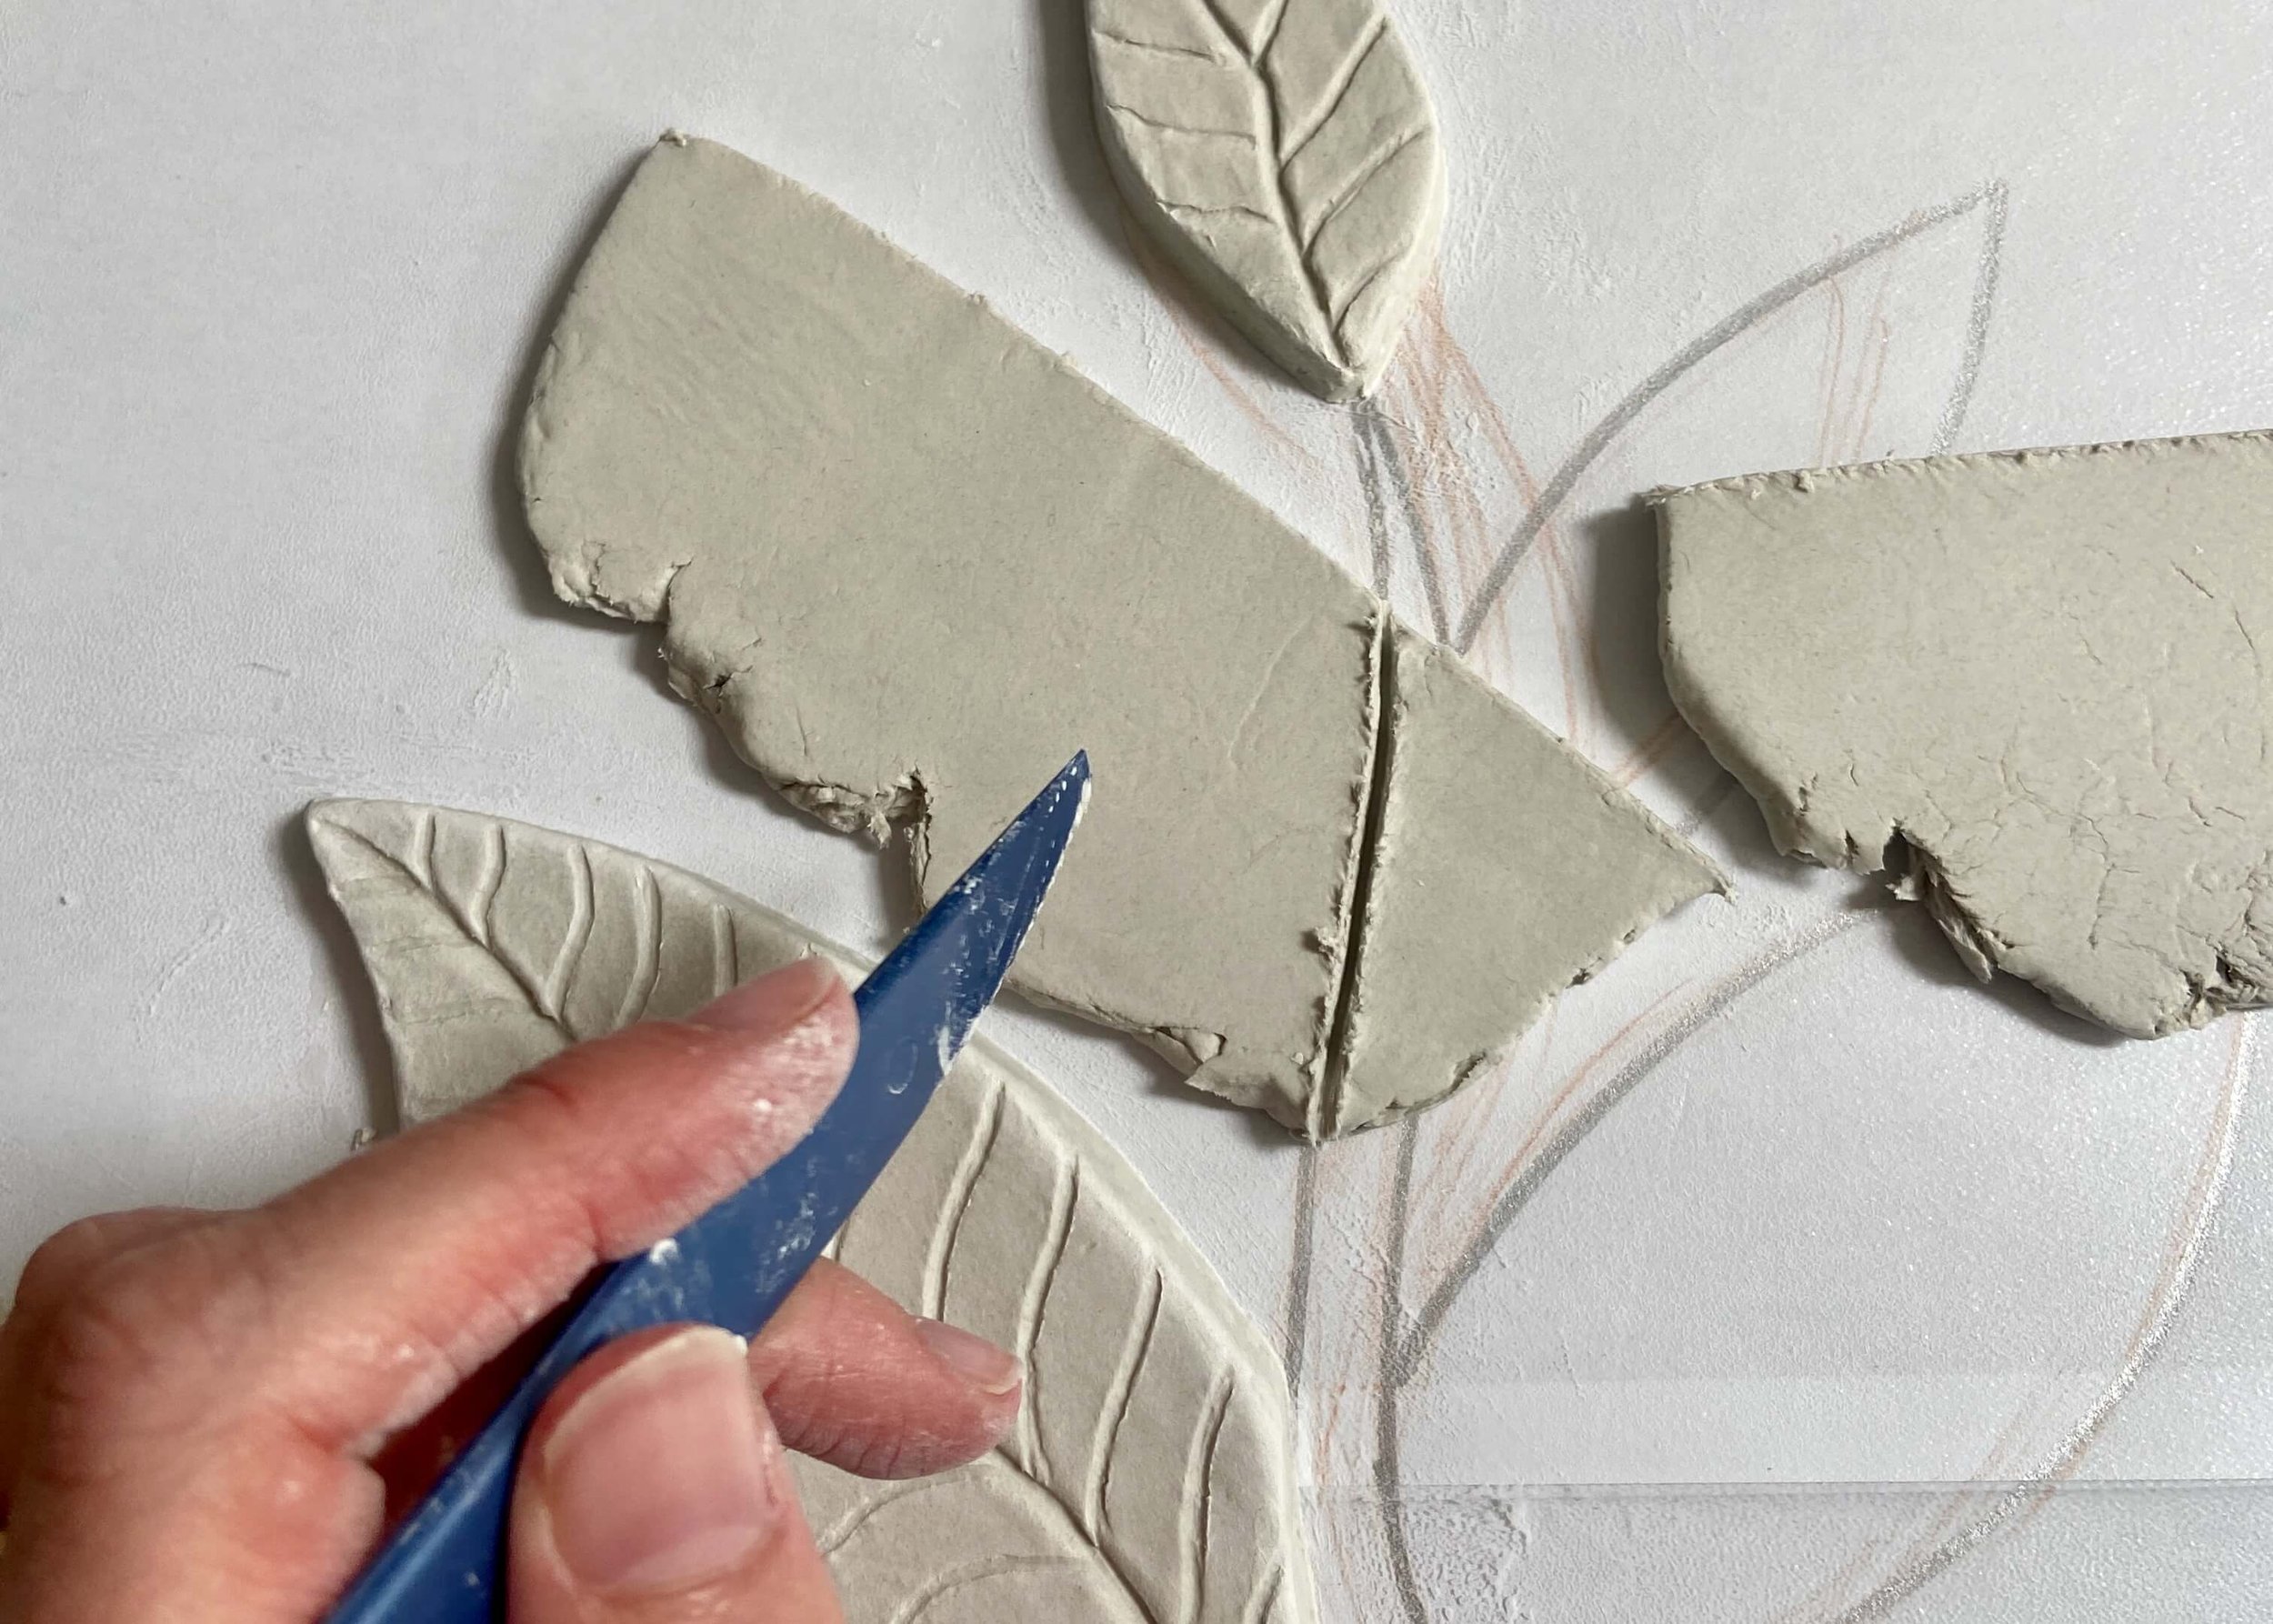
I then took pieces of air dry clay and softened them up in my hands. I rolled out pieces to my desired thickness and so that they were big enough to cover each aspect of my design.
4.
I then placed each piece of clay over each leaf on the plastic and cut them out using a clay scalpel. I smoothed the edges with my finger and some water, and then created details on the leaf using a clay sculpting tool. I kept smoothing any jagged edges with my finger and a little bit of water.
5.
To create the stalk of the plant, I softened and then rolled a piece of air dry clay into a long sausage. I put it in position on my drawing and then cut it where the MDF shelf would sit. I used my sculpting tools, fingers and water to smooth and add some texture to this. I did my best to stick this to the leaves but I wasnt too worried as I planned to adhere each part to the wall seperately for safety anyway.
6.
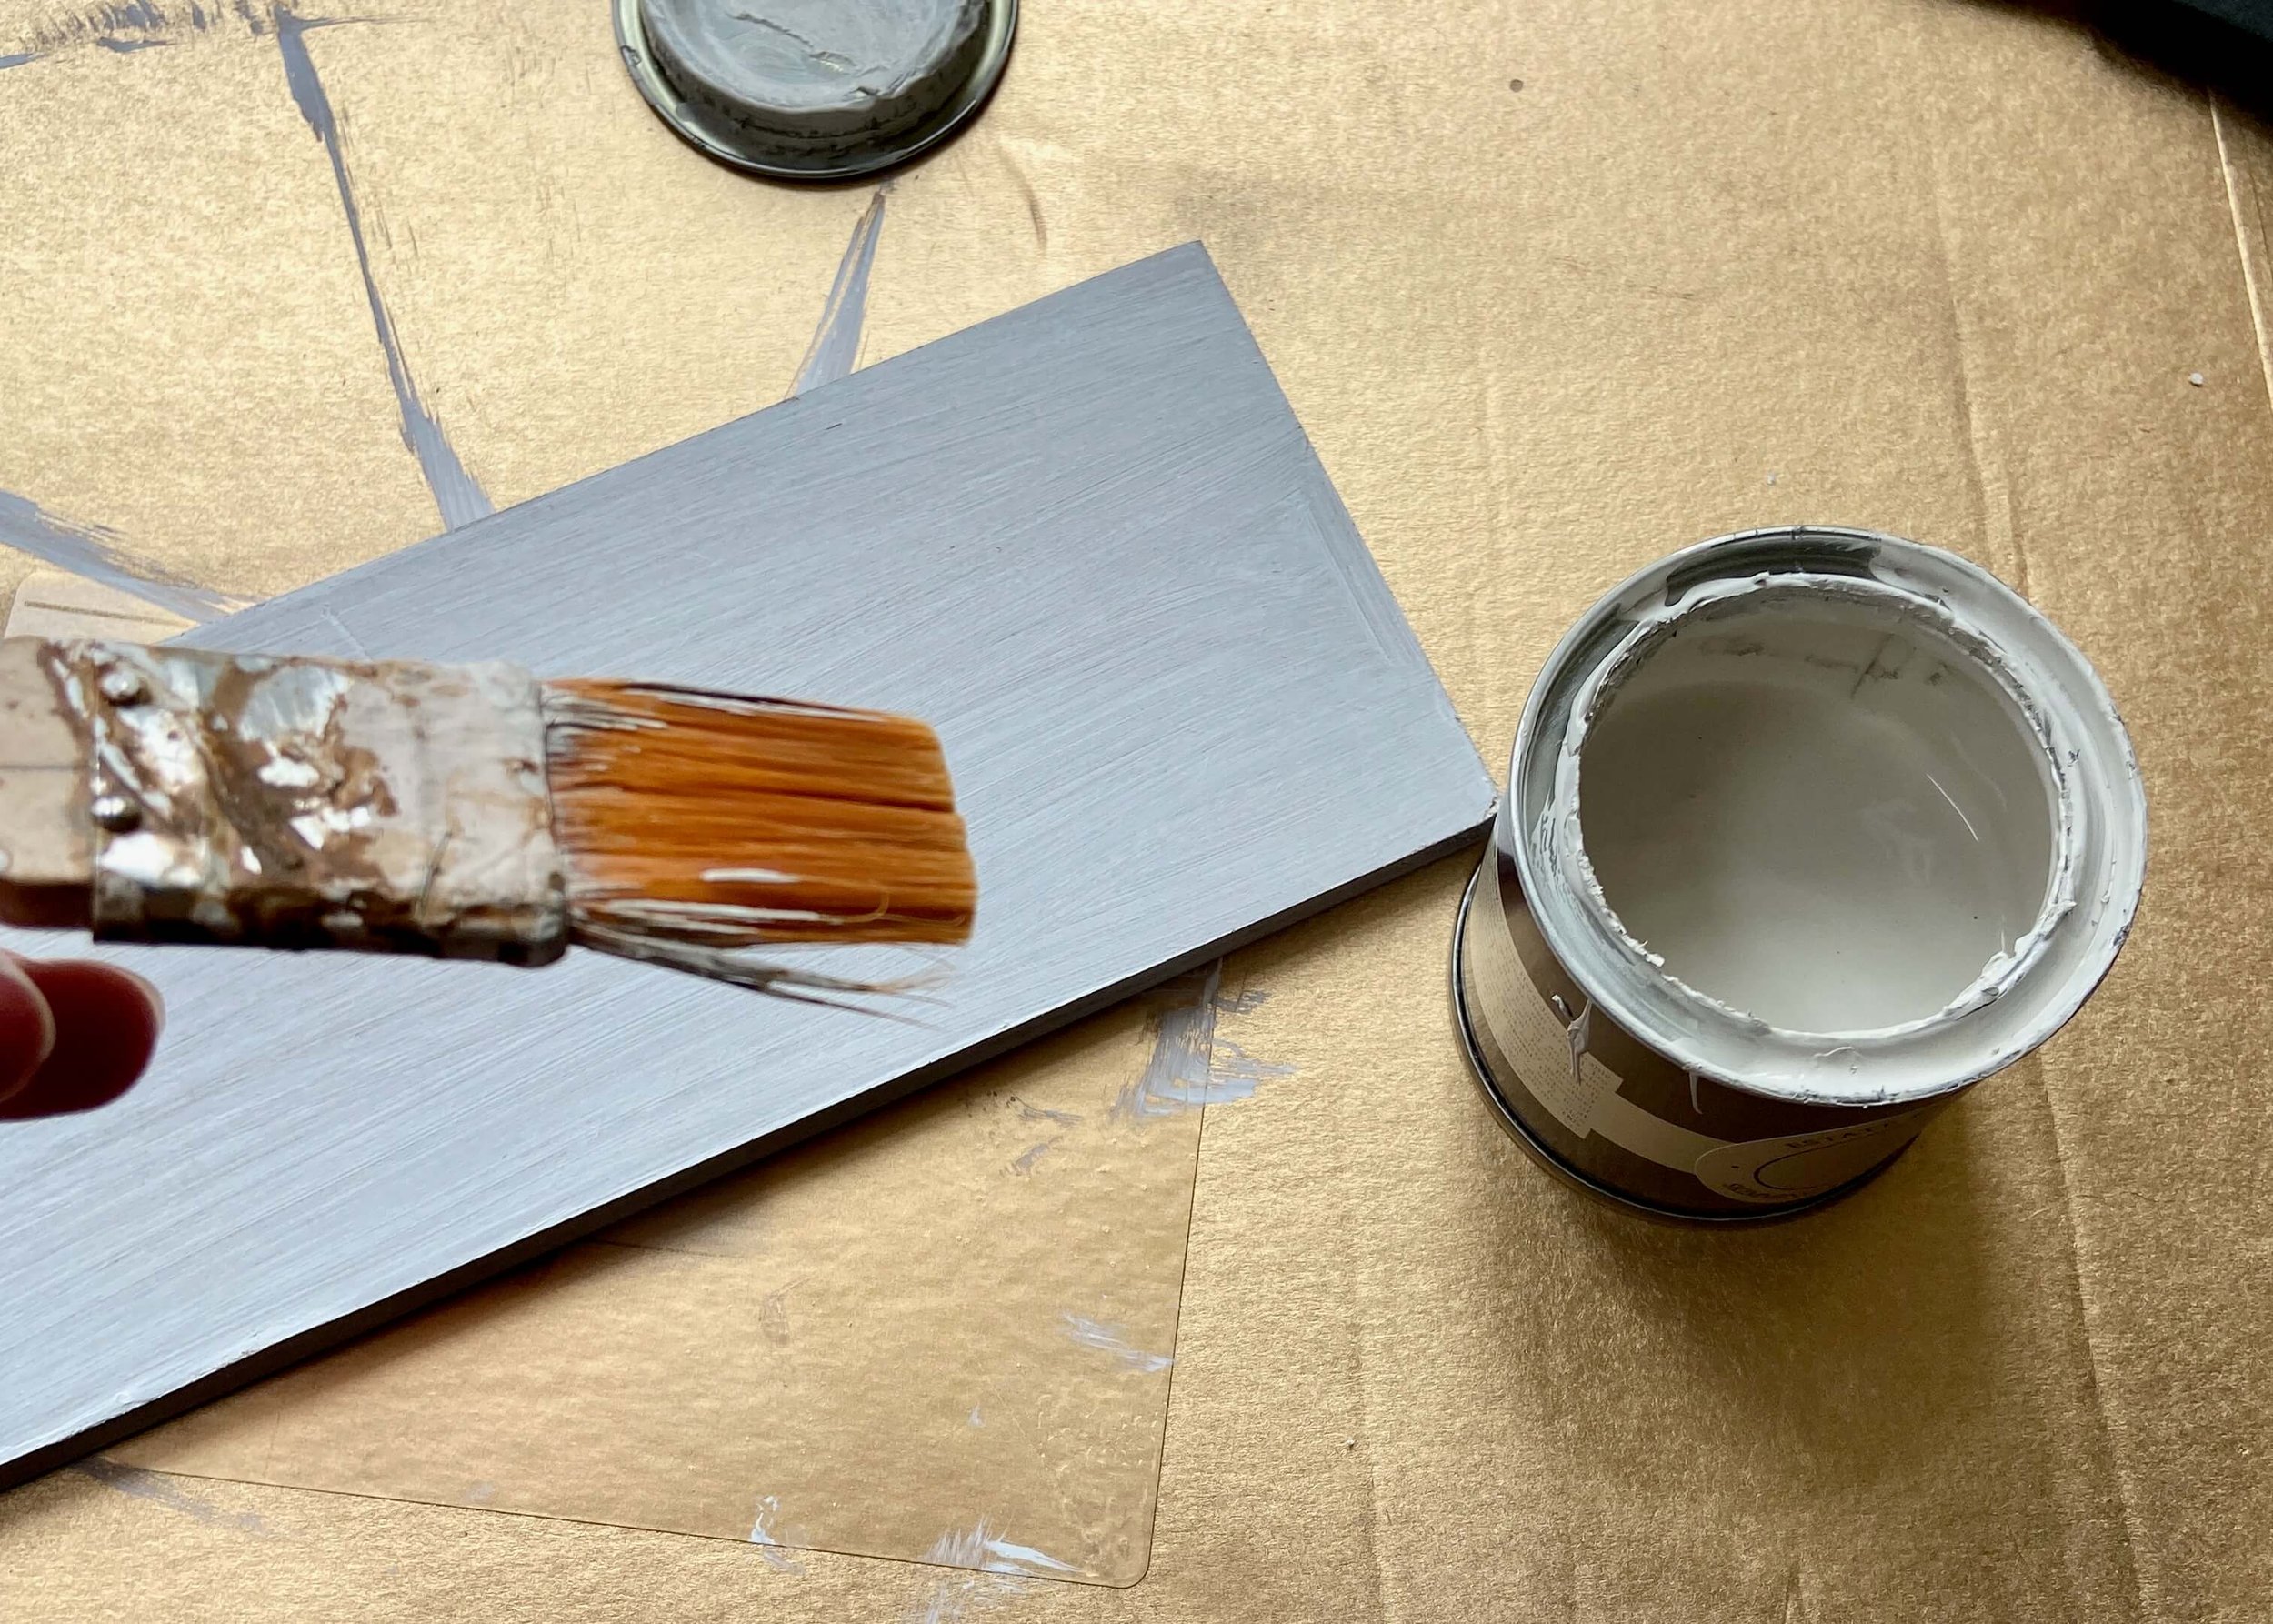
Whilst my clay dried, which took several days, I cut a piece of MDF to length. I then primed it using a special MDF primer and painted two coats on it of Farrow & Ball’s Skimming Stone.
7.
Once everything was dry, I removed the clay pieces from my drawing and put the MDF shelf in place on it. I then popped the shelf bracket against the shelf and where the bottom clay leaf was (as I wanted the bracket to be hidden) and drew onto the shelf where to drill pilot holes.
8.
Next, I screwed the brackets to the shelf and then held up the shelf in position on the wall and marked where to drill pilot holes. We then drilled pilot holes and scrwed the brackets and shelf into the wall.
9.
I then painted my clay pieces in greens and browns, and left the entired thing to dry. The leaves and stalk did break away from each other but I wasn’t too worried about this as I planned to stick each individual piece to the wall for safety anyway.
10.
Using command strips, cut into smaller pieces and stuck all over the back of each part of the clay, I added the leaves and stalk at the bottom. I made sure to position it so that the leaves were over the brackets and the stalk was up touching the shelf.
11.
I then used more command strips to stick the top leaves and stalks to the wall above the shelf. I made sure to line the stalk at the top up with the stalk at the bottom.


