


If you follow this blog or my instagram account, you'll know that I love drawing mandala designs. It seemed only right to extend my obsession to jewellery and so after discovering how easy it can be to make jewellery from shrink plastic in an earlier post, I decided to give another piece a go and to decorate it with a mandala design. If you love mandalas, then you're going to love this DIY!
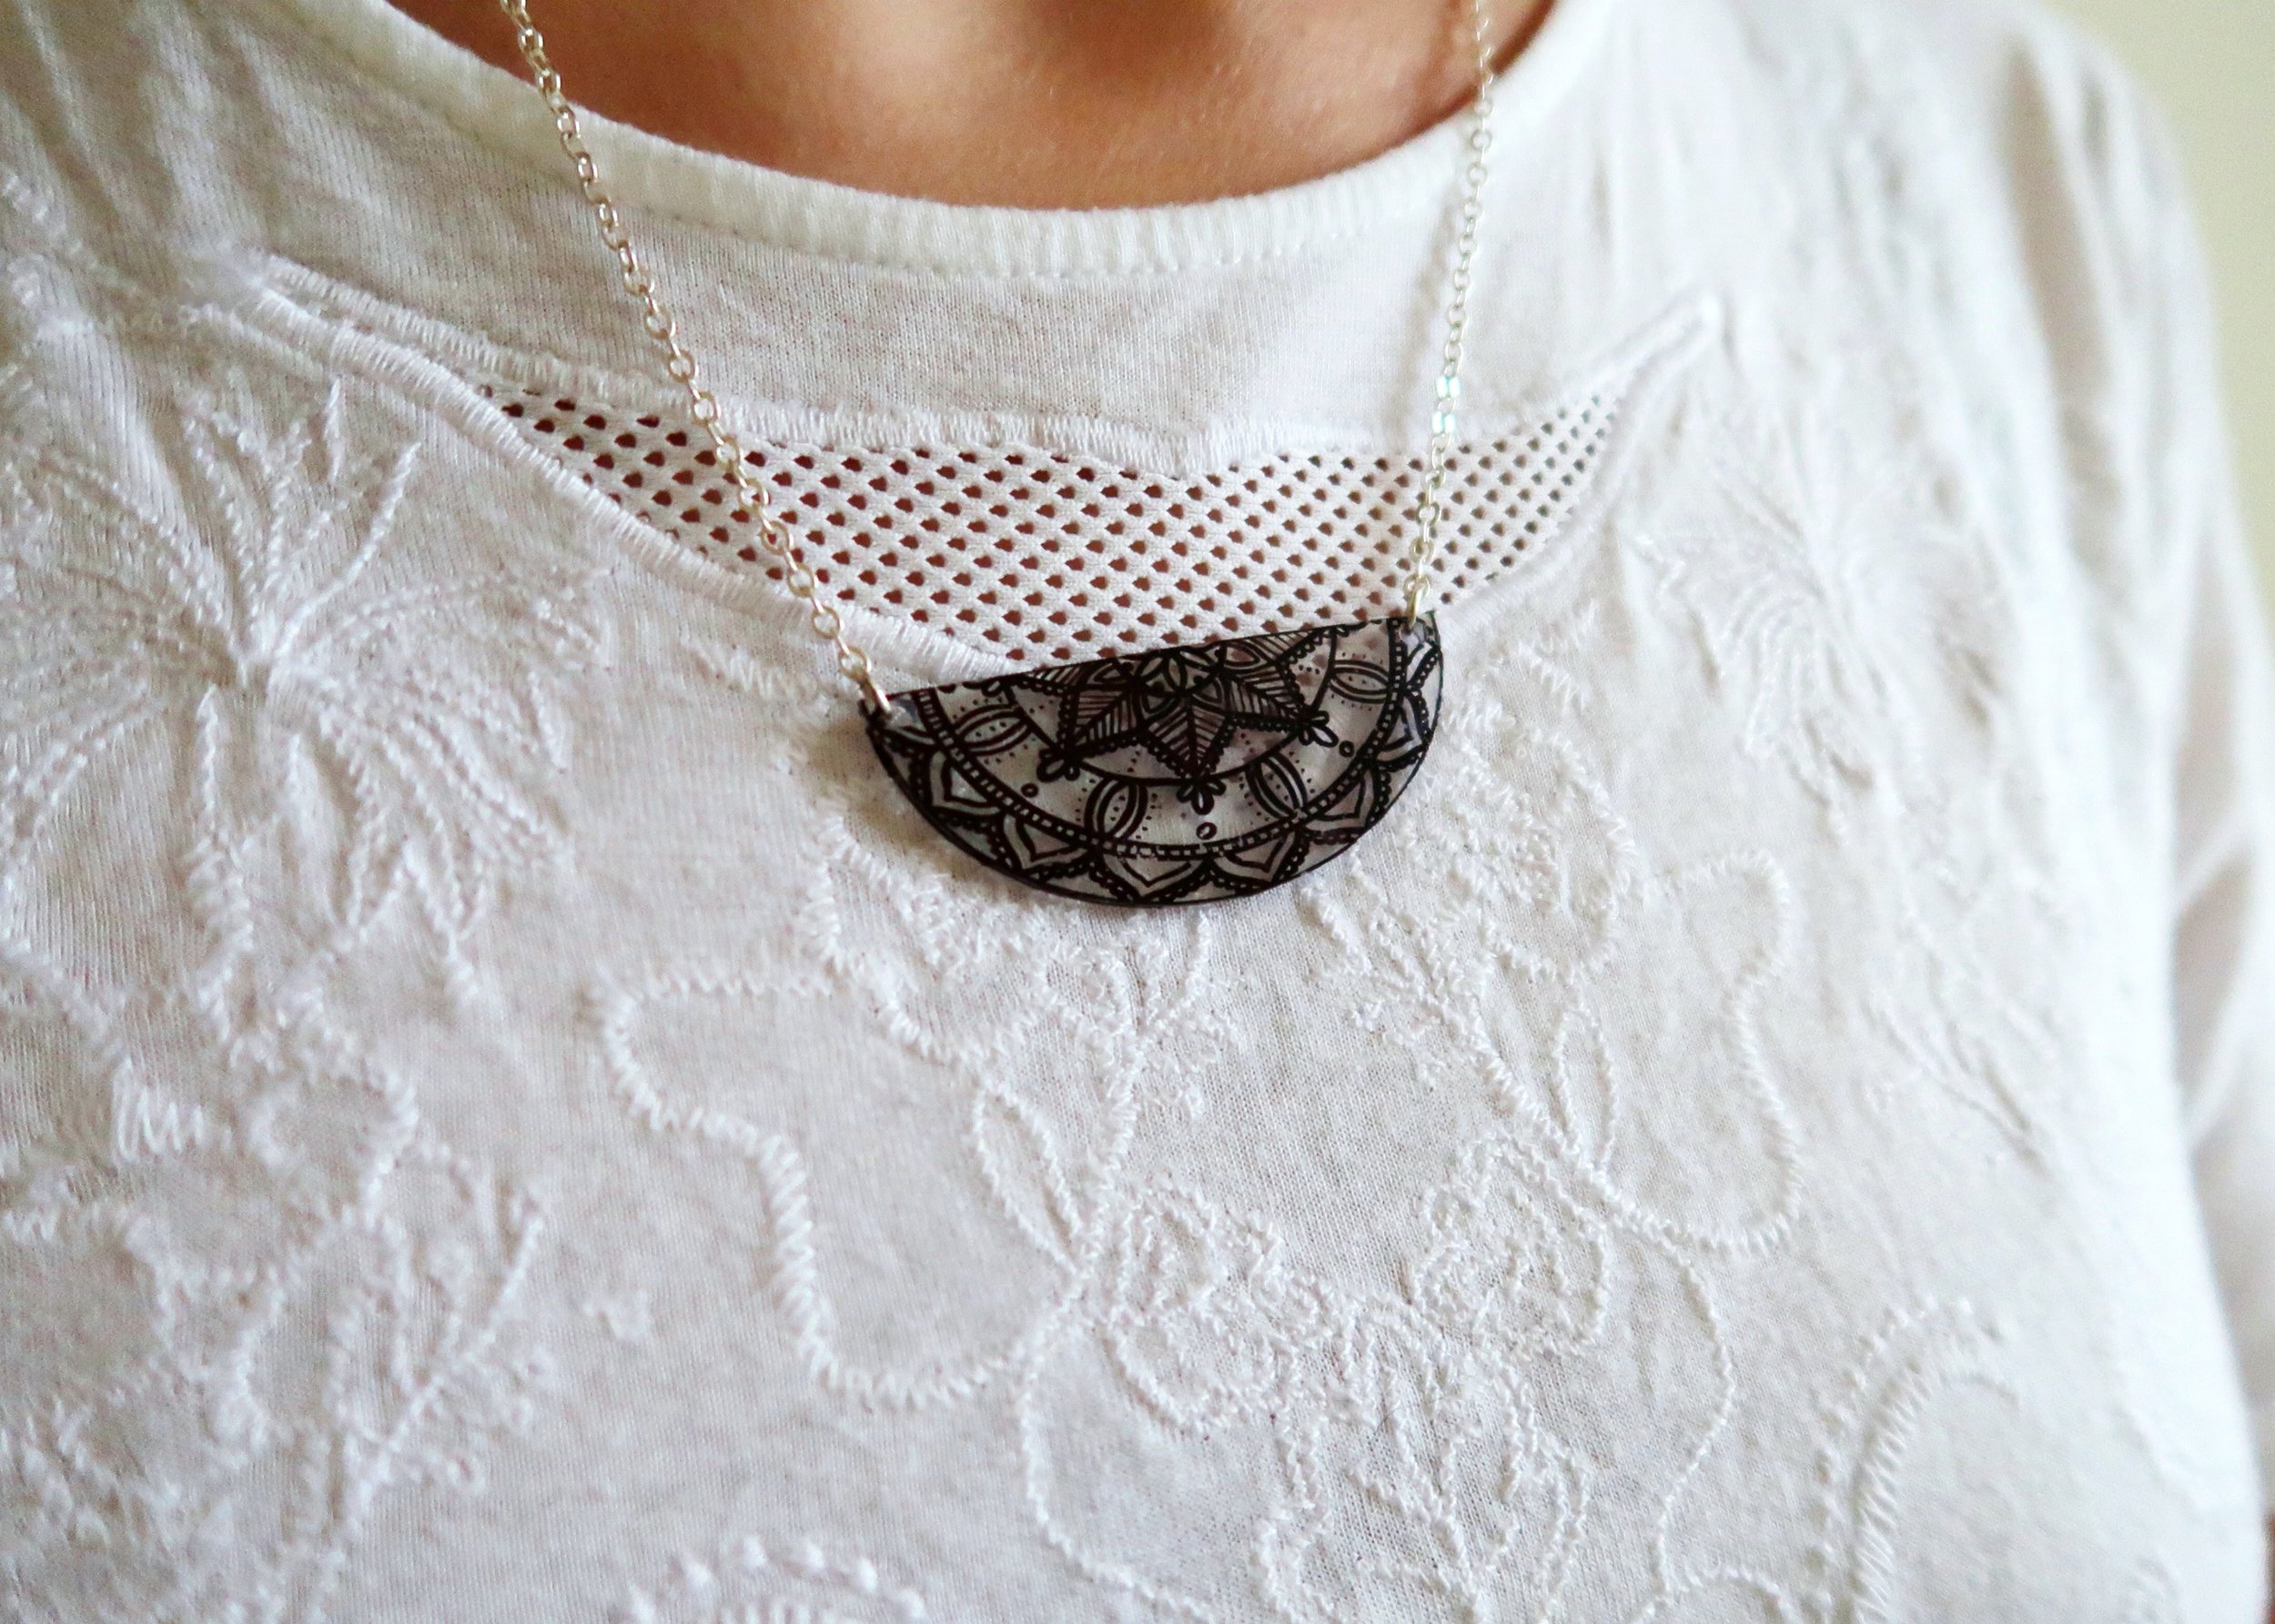
I'm so in love with how this necklace turned out - the pattern looks really intricate and the fact it's plastic gives it a much more professional look - so much so that I gave it to a friend as a belated birthday gift. She was really impressed with it, but I have to say that making a necklace like this is actually really easy (though don't tell her that!) and so it would make a great birthday or Christmas gift. Keep reading to find out what I used and how I made it...


1.
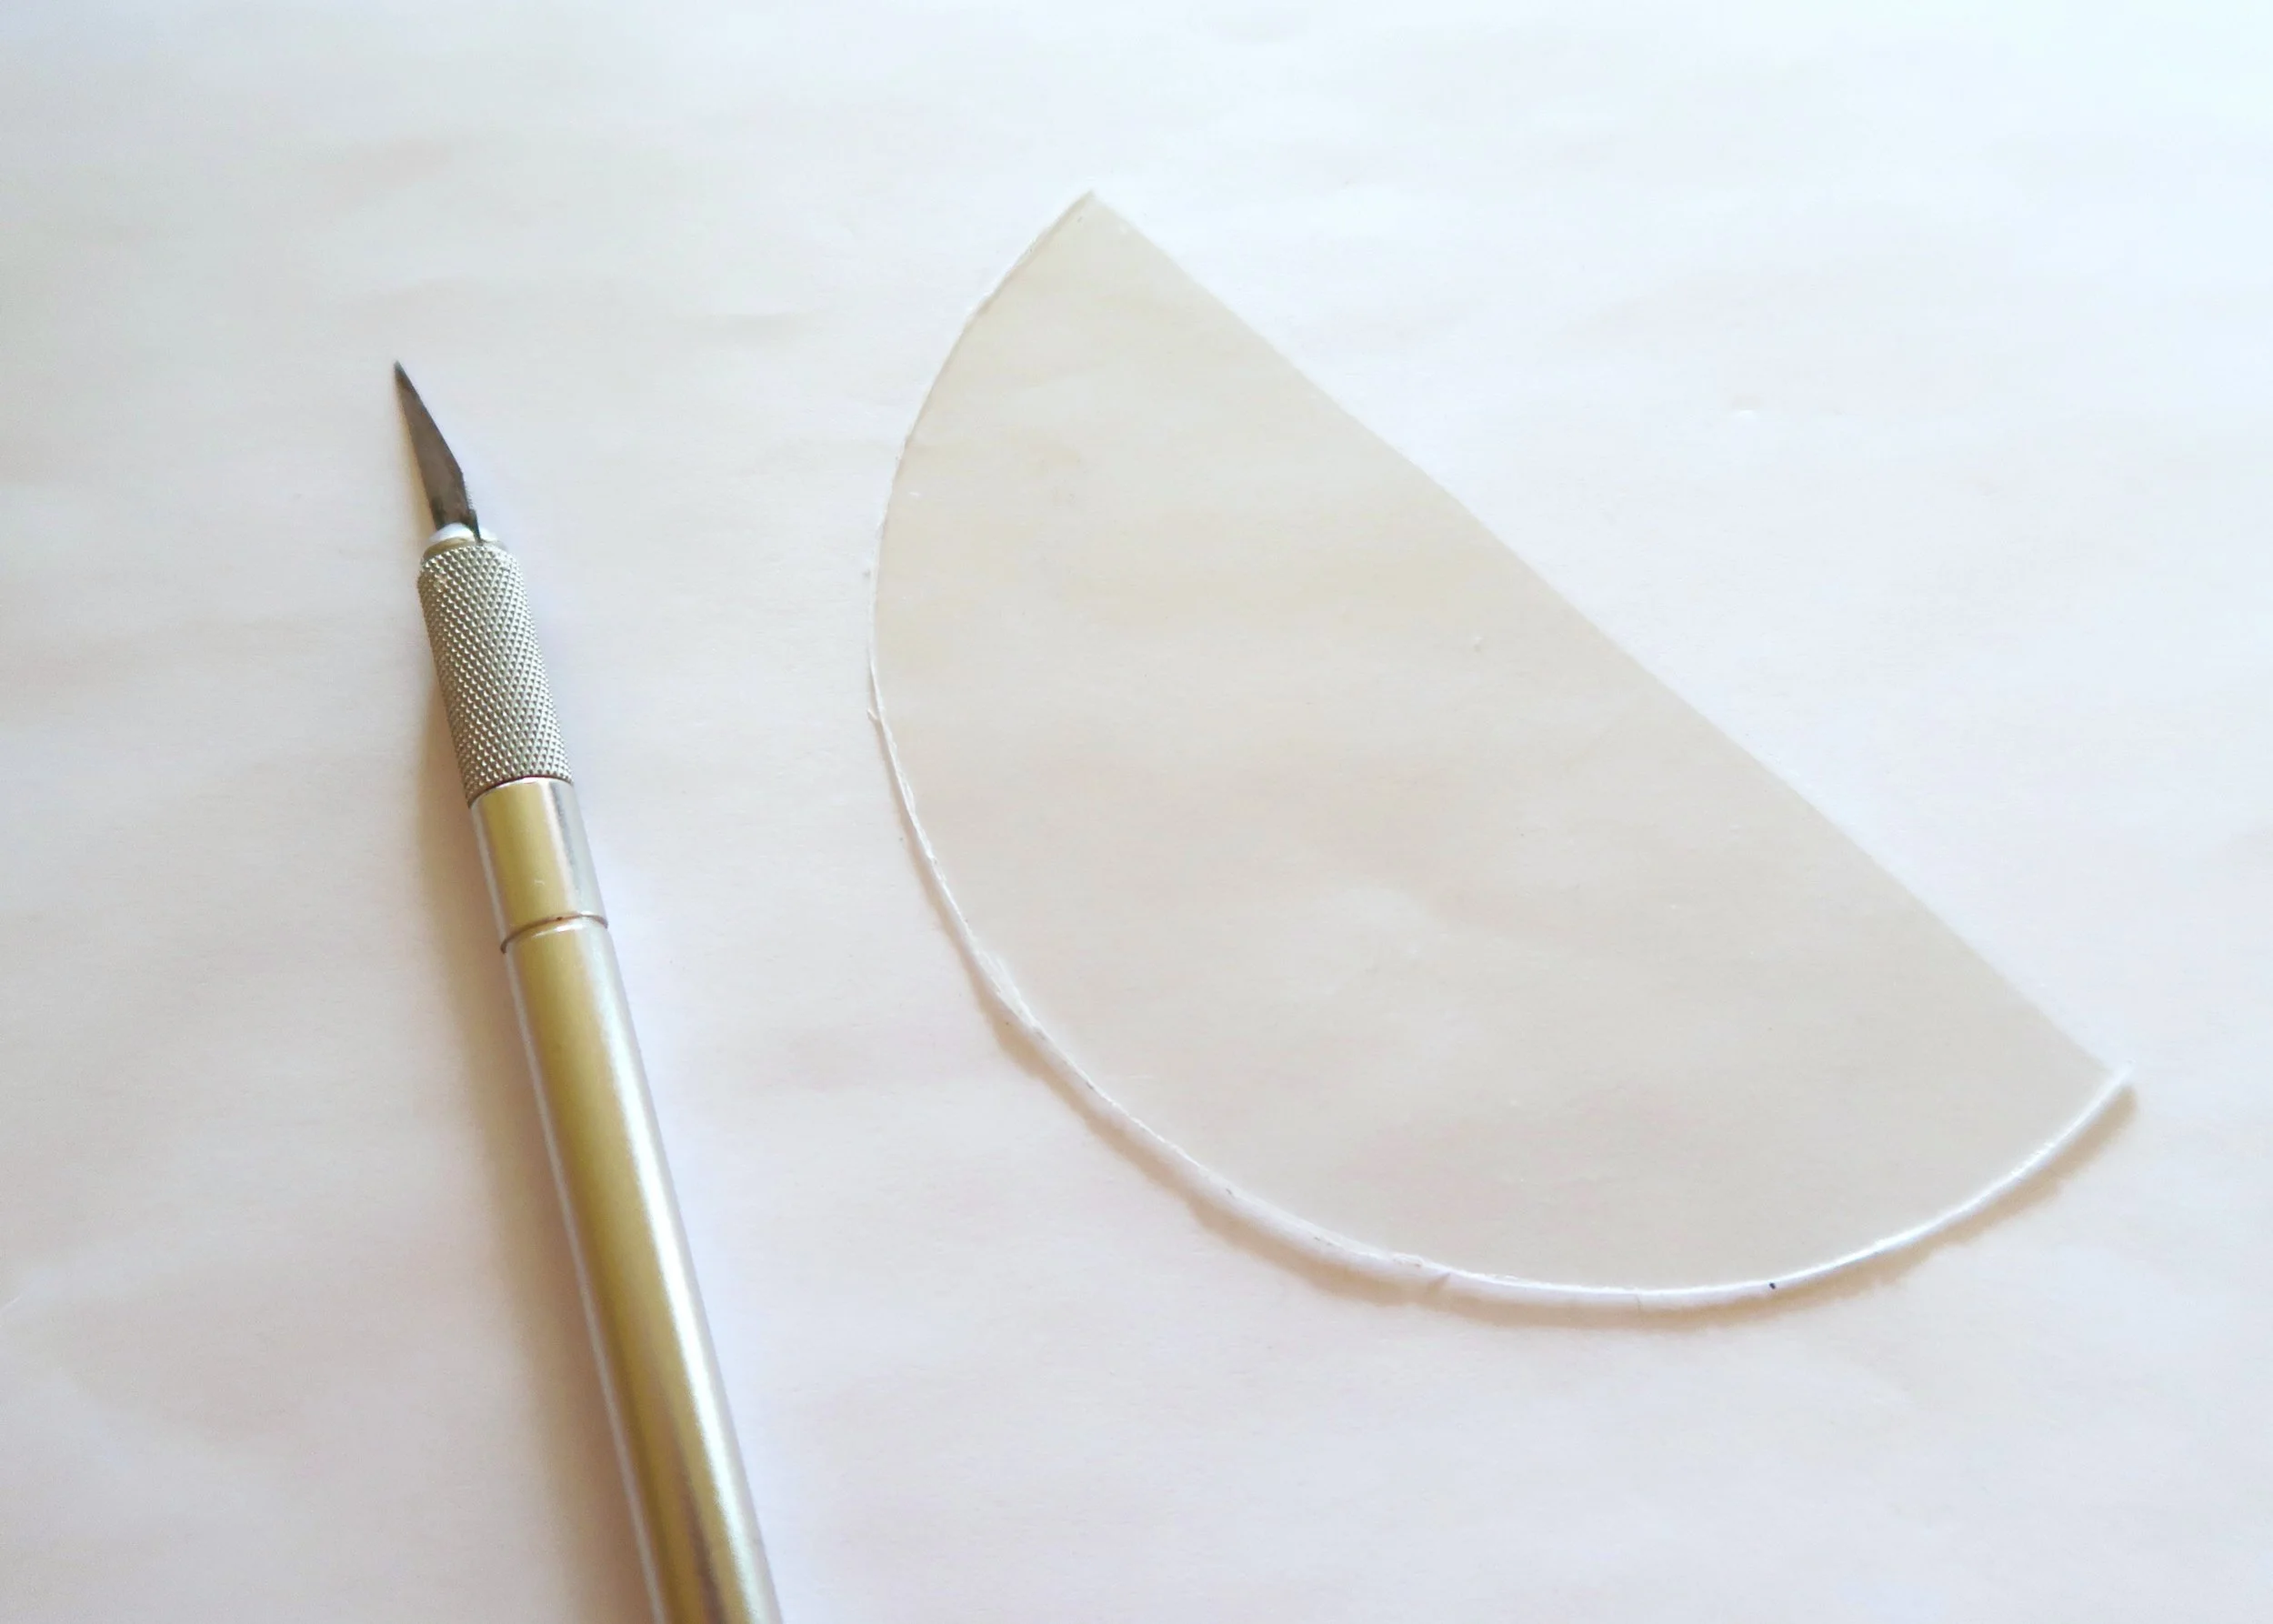
First, draw out a semi-circle shape on a sheet of clear shrink plastic. Once you're happy with how it's looking, carefully cut it out using a craft knife or pair of scissors.

2.
Grab a fine tipped sharpie (I used a black one but let your imagination run wild!) and start by splitting the shape by drawing more arches (like a rainbow). In each of the segments, draw repeating patterns to create a mandala.

3.
Once you've finished drawing, leave to draw completely before punching a hole in each of the bottom corners of the semi-circle. Then, pop it into a pre-heated oven (160 degrees) on a baking tray for 1-3 minutes. You'll know when it's done because it'll curl up and then flatten itself.

4.
Once flat, take out the plastic out of the oven and leave to completely cool. Grab two jump rings and attach these to the pendant through the holes we punched earlier.

5.
Cut two equal lengths of chain and attach these to the jump rings on the pendant. Finally, attach a lobster clasp to the end of one of the lengths of chain and a jump ring to the end of the other length.


