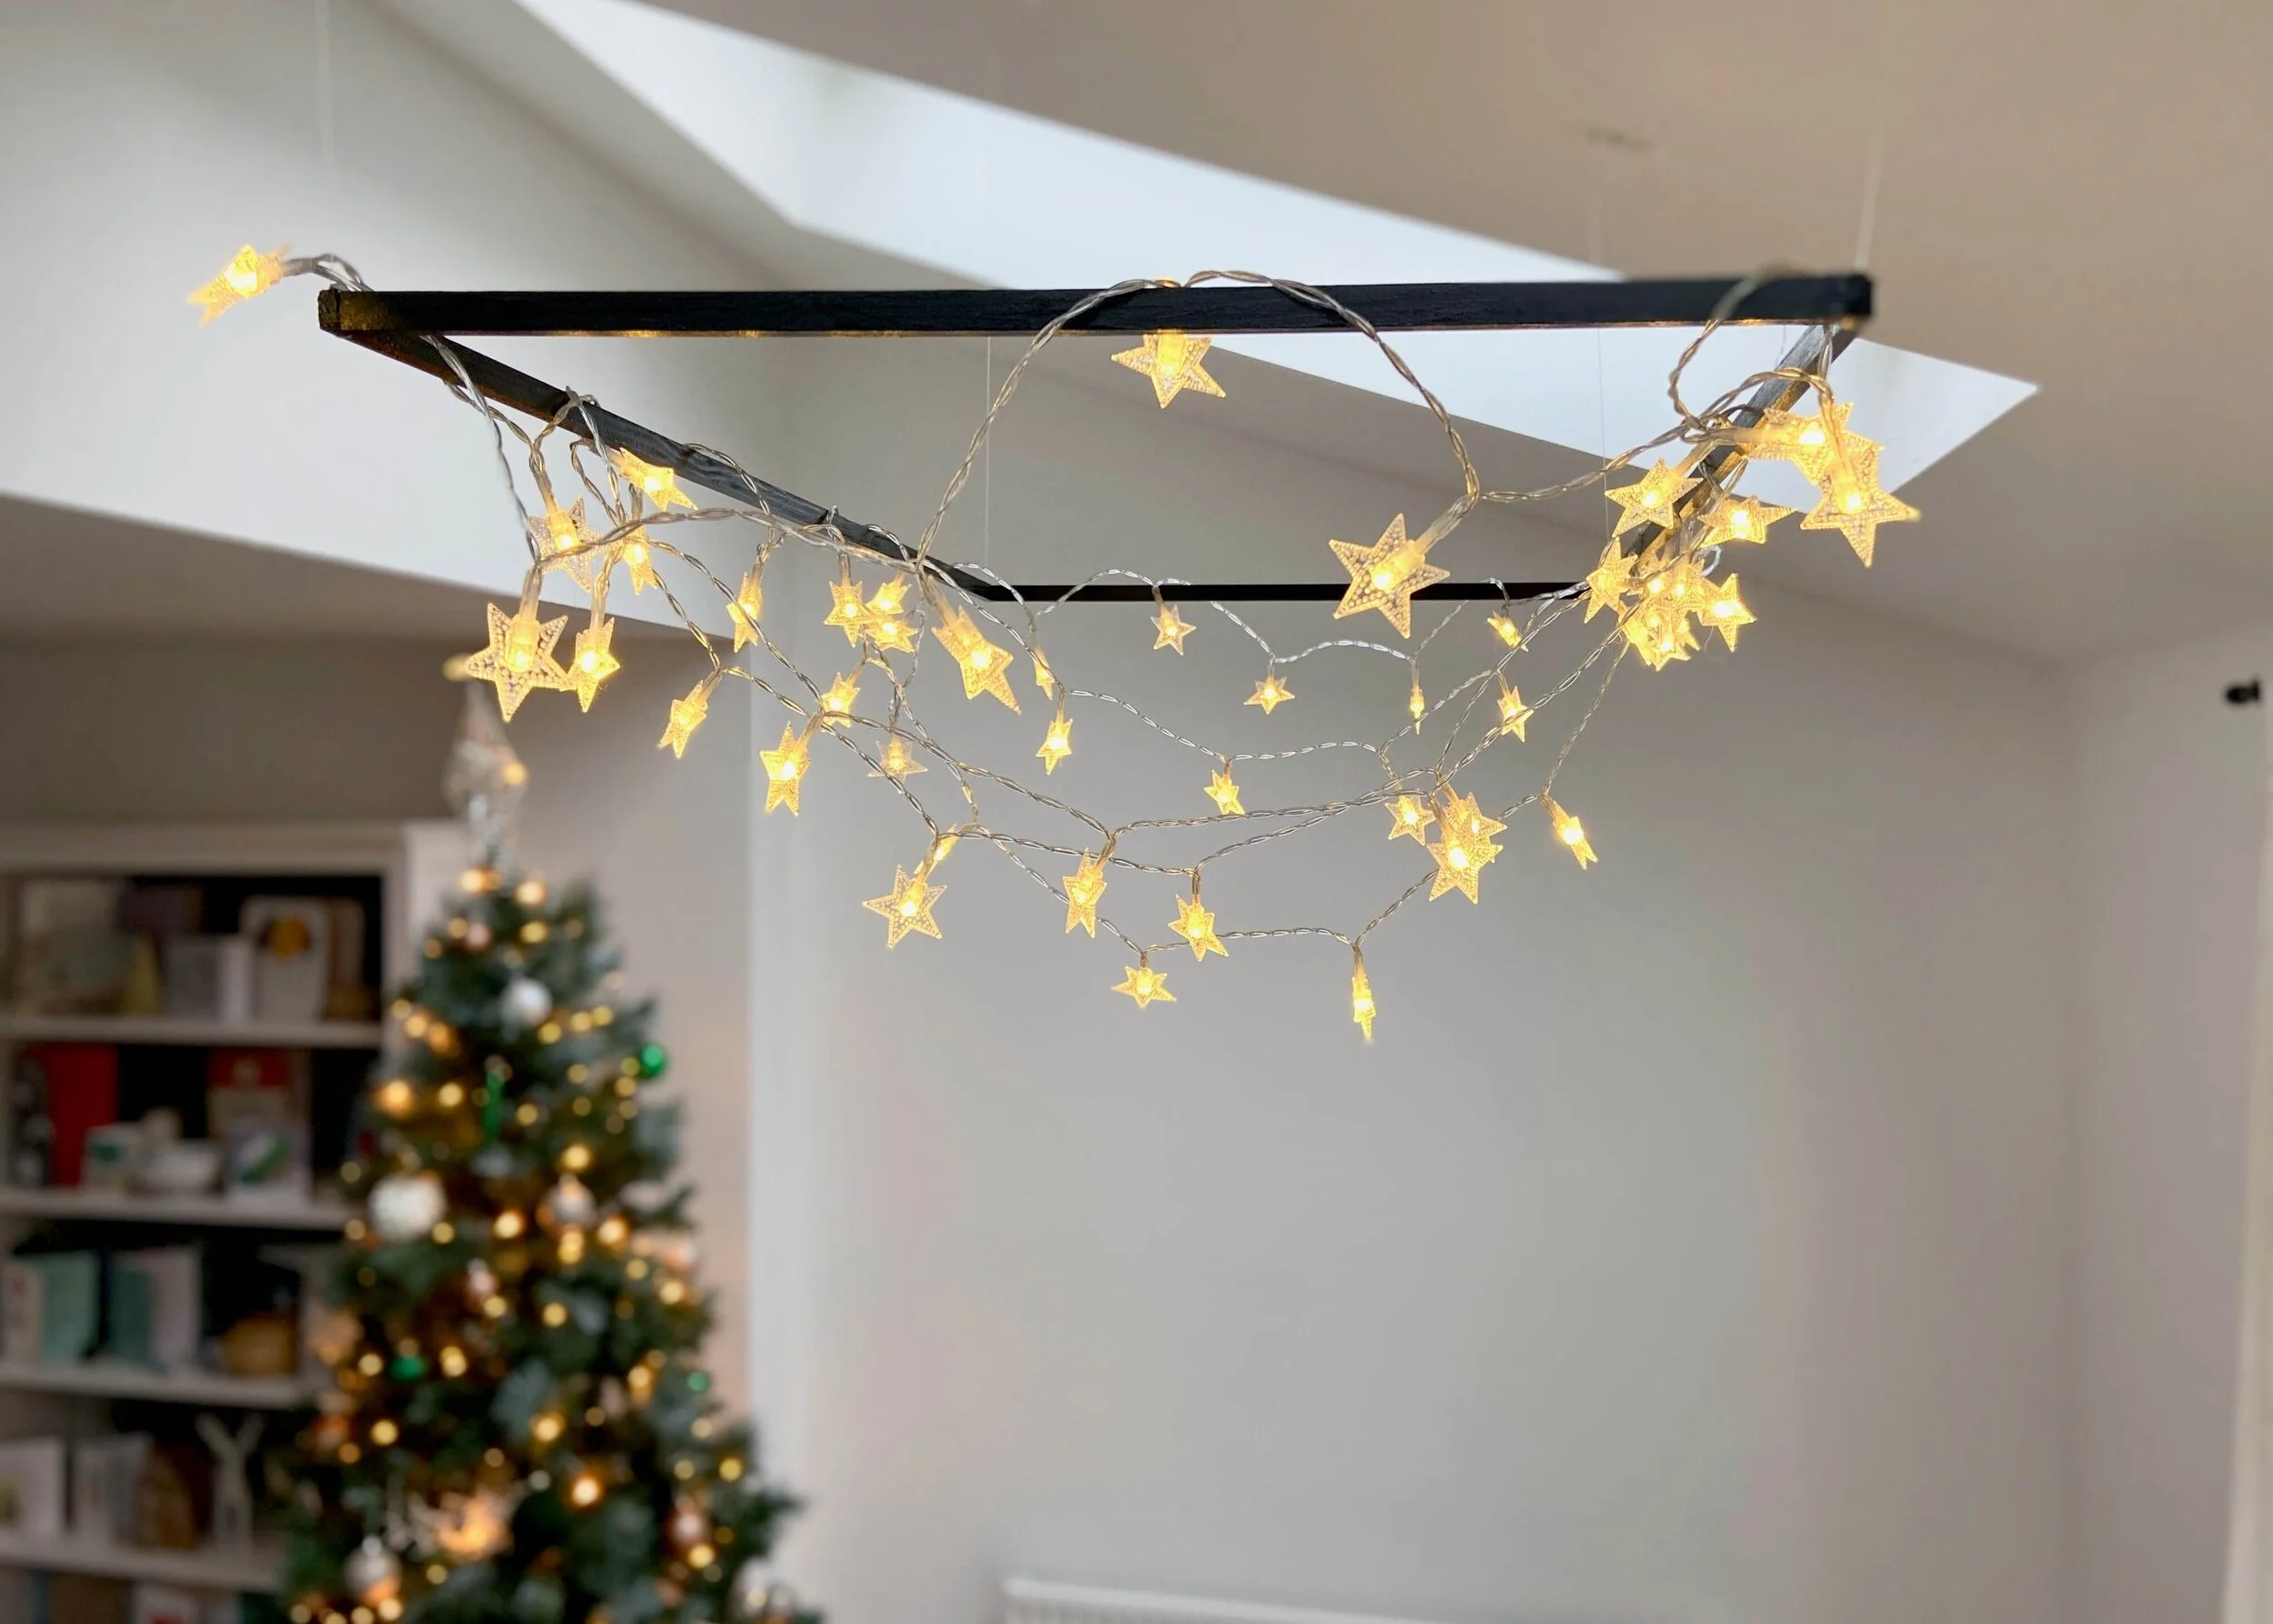
Celebrate New Year’s Eve in style with this faux metal NYE decor, ideal for any backdrop!
Another cardboard craft! Is there anything we can’t make from cardboard? I always have soo many cardboard boxes after Christmas and it always feel so good to be able to repurpose them in some way. Last year, I used some of my boxes to make this cardboard star garland and this year, I decided to use up some to make a New Year’s Eve decoration. Based on the rising Omicron numbers I wasn’t too sure if we’d be able to celebrate with our chums like we’re hoping to, but I thought that either way these would provide a nice backdrop if our plans ended up going digital. I’ve teamed them up with a really affordable star garland from Amazon, as well some DIY christmas decor, and I love how this all looks together. I was really on the fence how to decorate these and glitter is usually a pretty good and classic option for NYE, but microplastics are terrible for the environment and so I went for a rustic and metallic effect instead. Have to say, I’m so glad I did! Keep reading to find out what I used and how I made them…


Cardboard
Glue
Foil
Metallic paint
Acrylic paint
Mod Podge


1.
First of all, dismantle your boxes and collect pieces that are large enough for the size you’d like your numbers.

2.
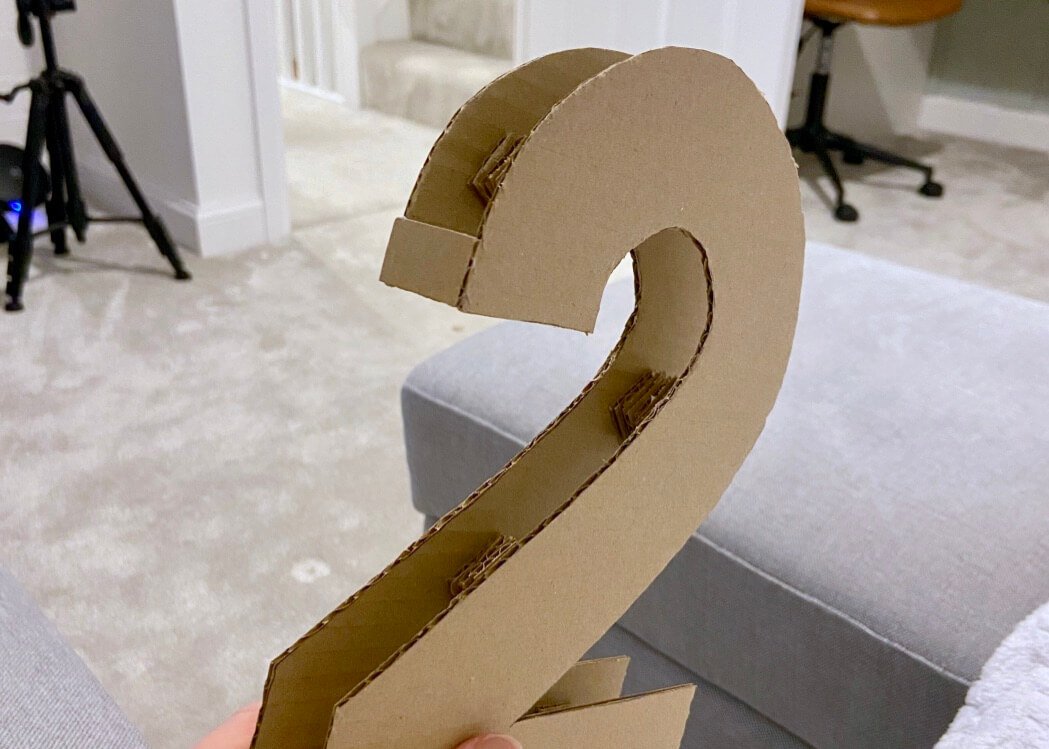
Draw out a ‘2’ and ‘0’ and once happy cut them out. Trace and cut out the ‘2’ another five times, and the ‘0’ just one more time. These will make the front and back of your 3D numbers.

3.
Cut up any leftover bits of cardboard into little squares.

4.
On the back of each of your letters, stick a stack of ten squares together.

5.
Stick the front of your number on top of these stacks.
6.
Use lengths of cardboard and glue to then fill in the sides. For the curved parts it really helps to bend your cardboard first.

7.
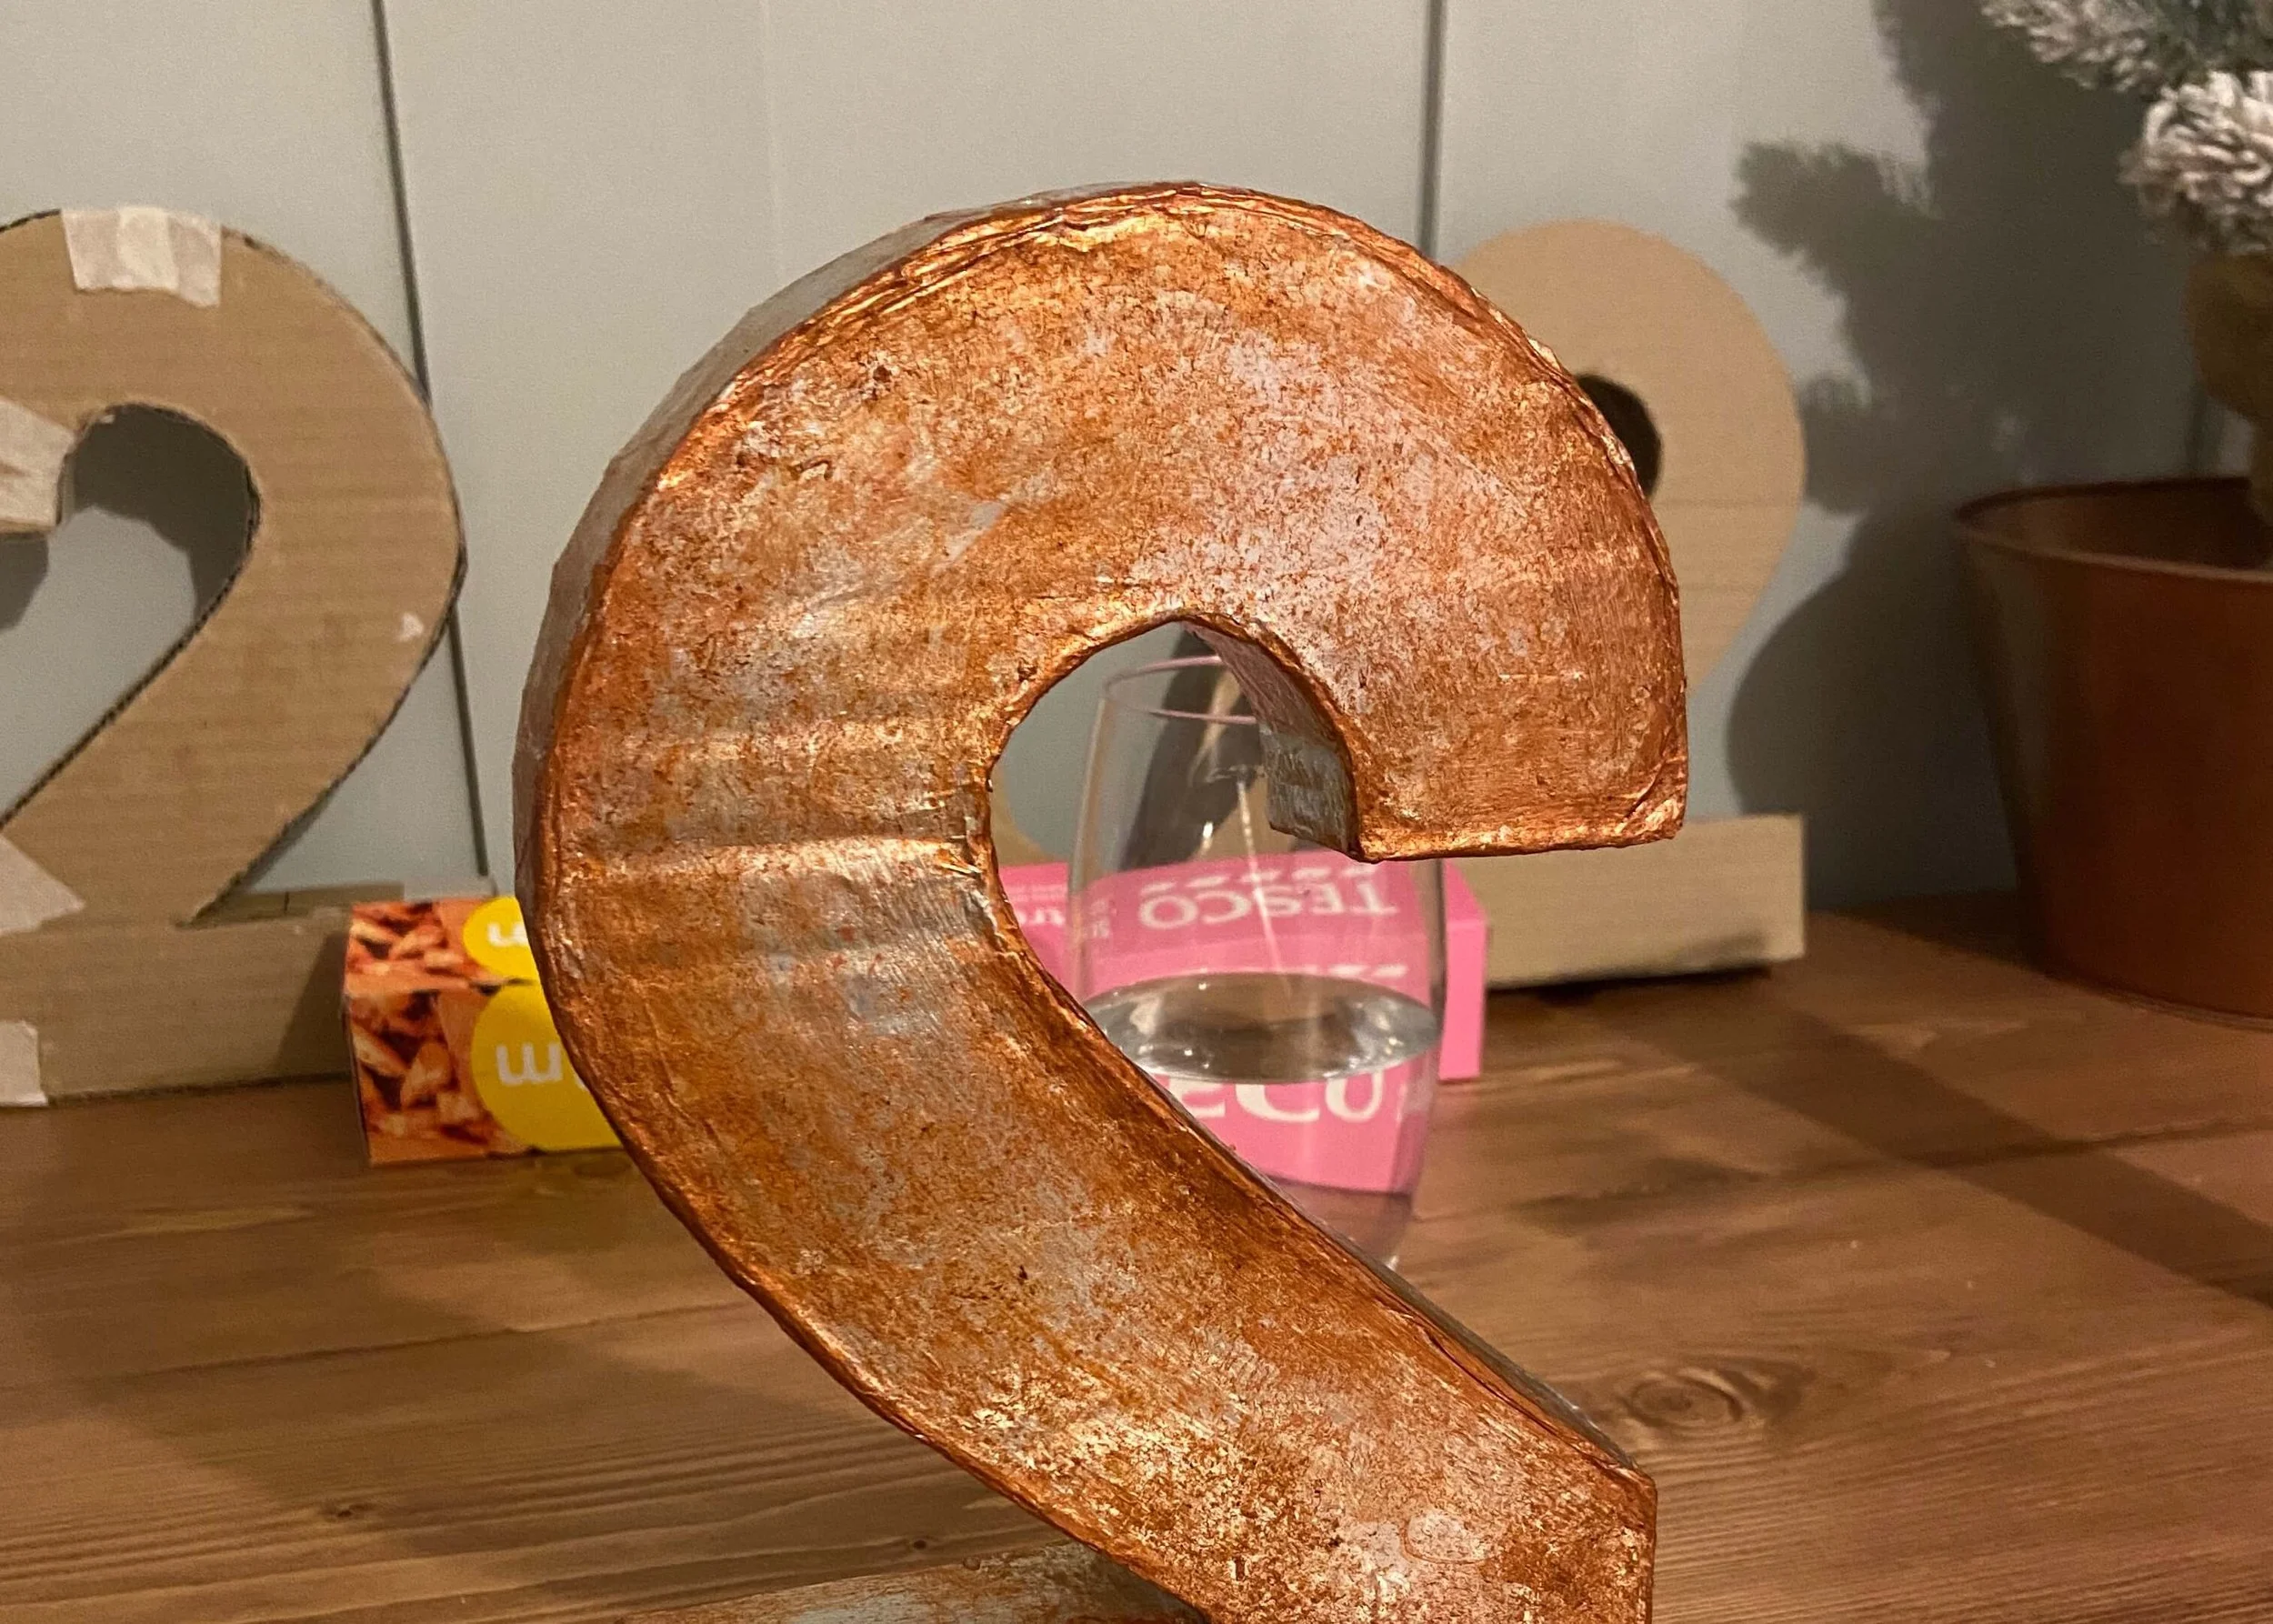
Once the glue is set, cover your cardboard in mod podge and apply aluminium foil. I found it neater to do each side as a separate section.
8.
Dab copper paint all over, concentrating on the edges, and then add a dark brown and yellow to give some depth and detail. Finally, protect your paint with a layer of mod podge, and once dry, put out on display.