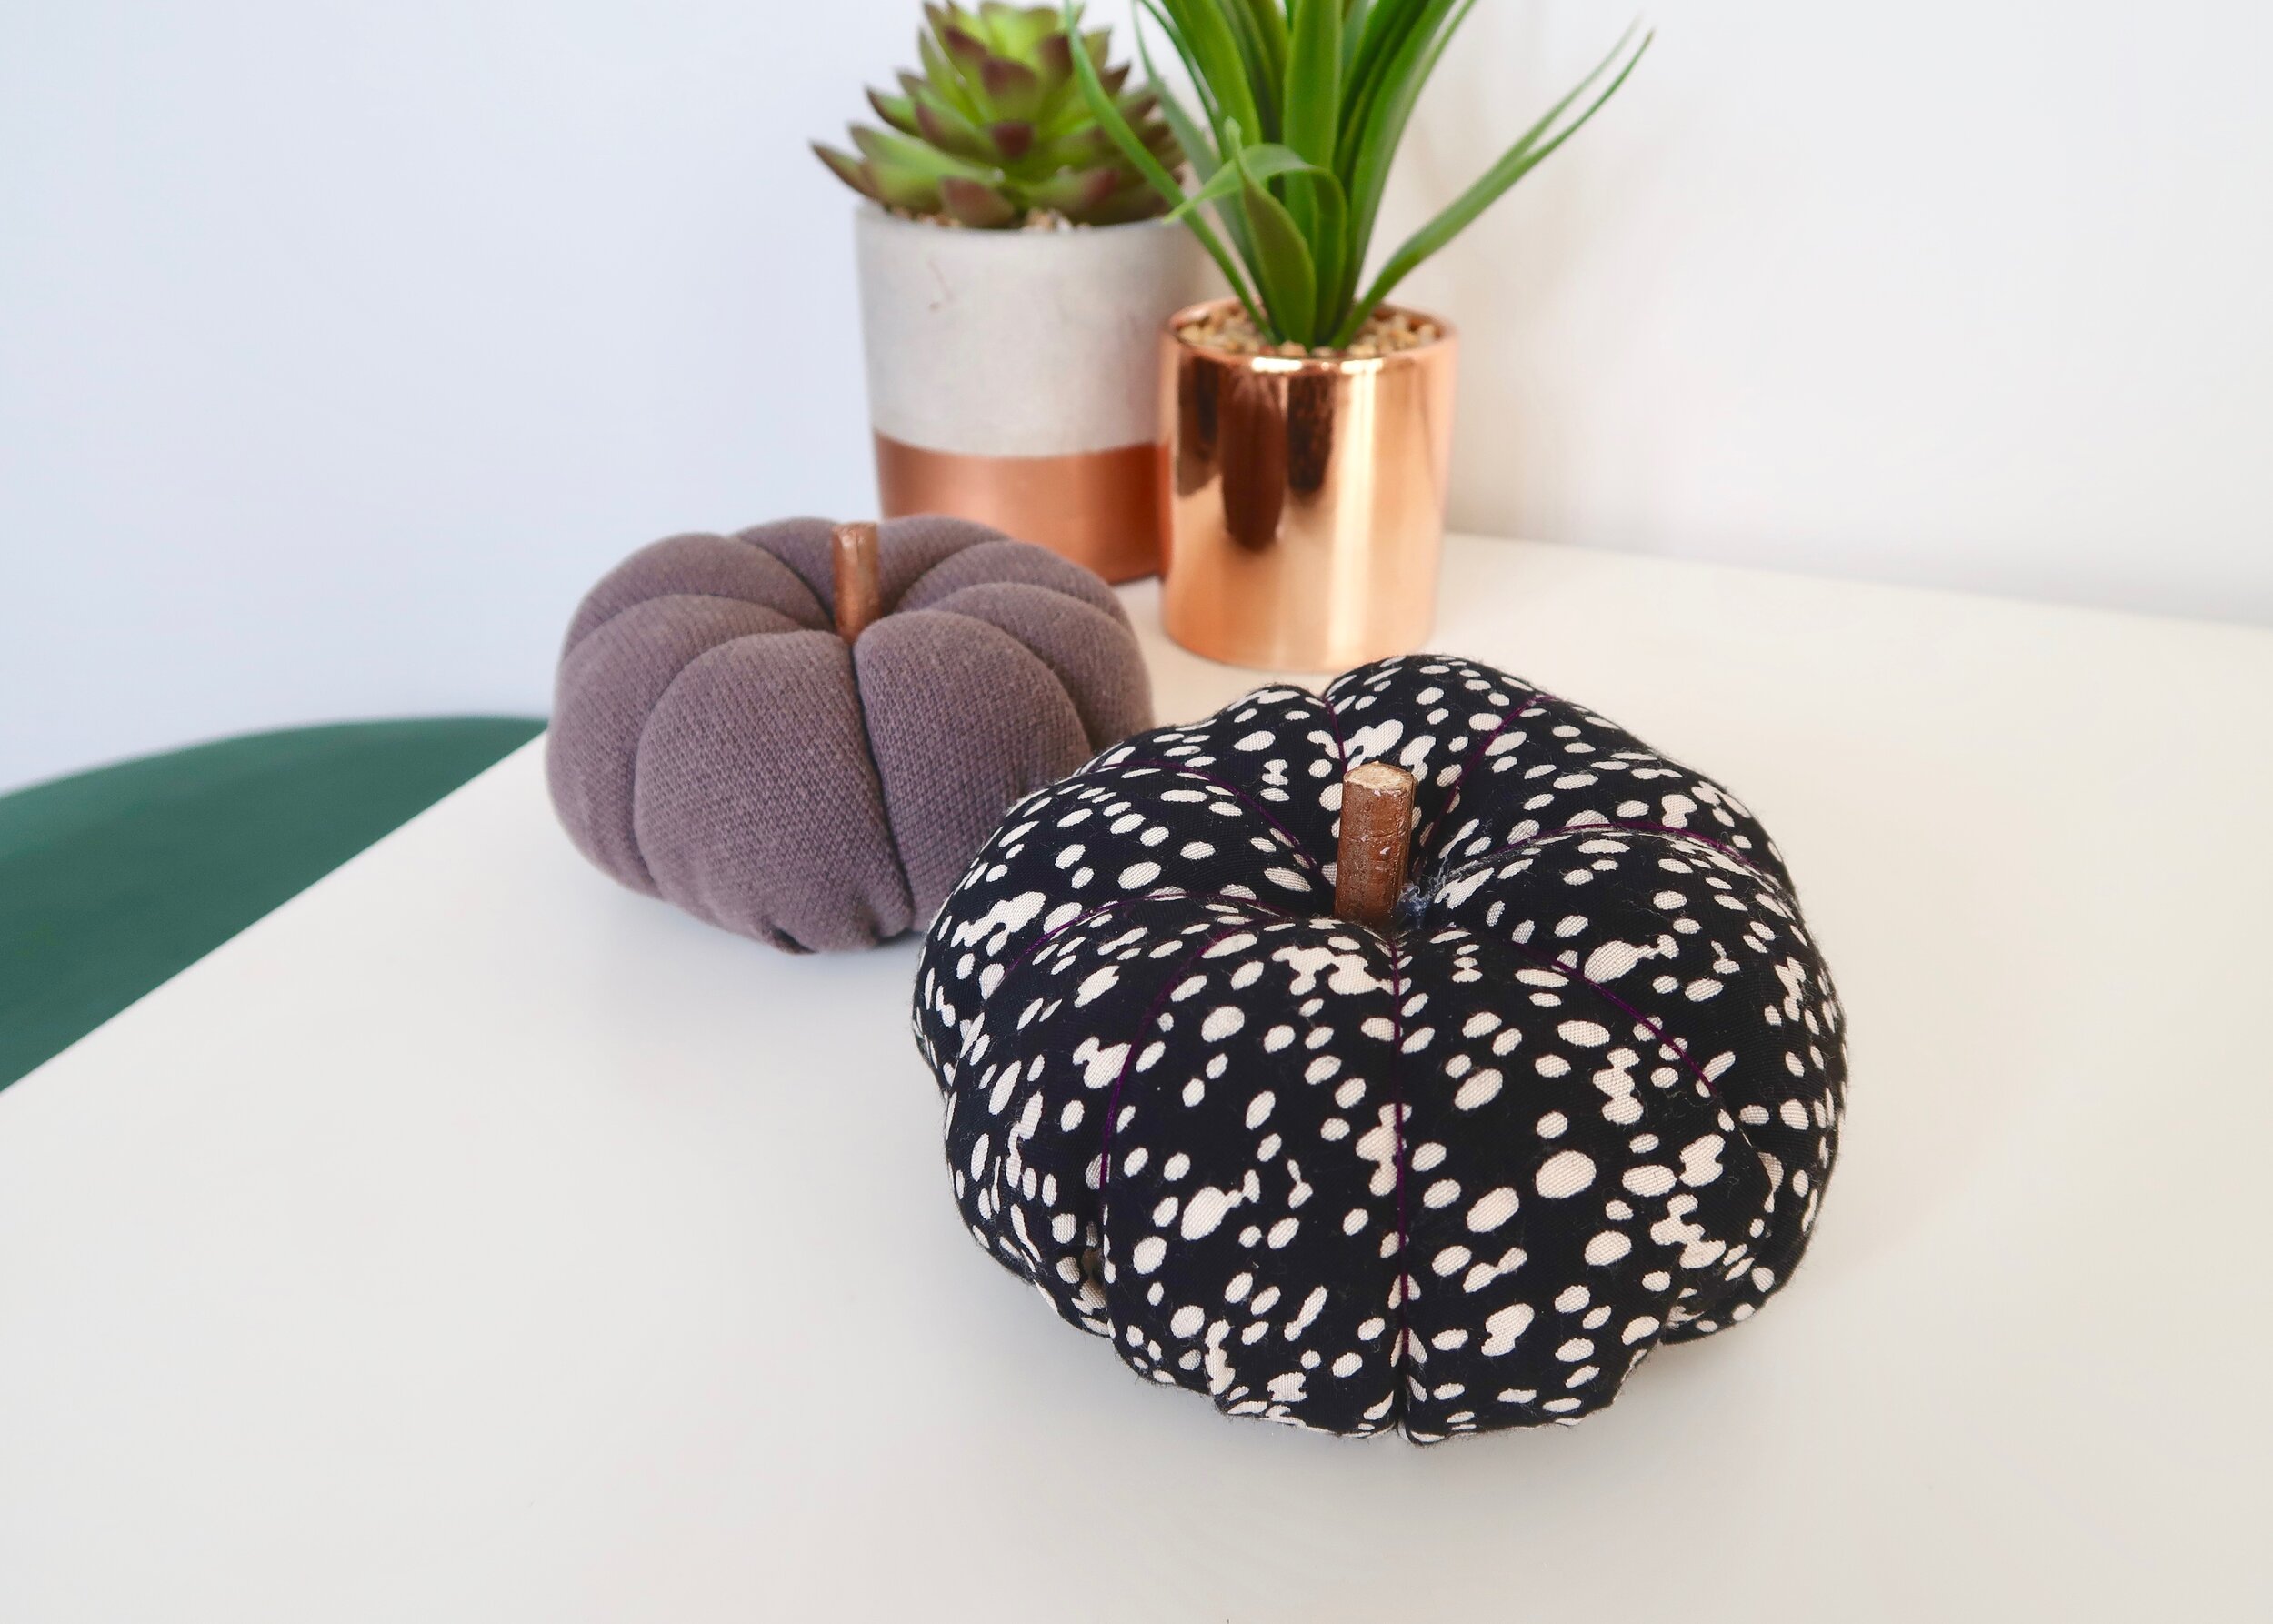
Decorate your home for Autumn with these easy fabric mumpkins!
Is it just me or has Christmas come earlier this year?! My instagram feed is full of festive crafts, treats and decor, and the shops started advertising for Christmas in September (ok, maybe not all of them). But whatever happened to just enjoying the mood/season/time we’re actually in? As this is just a hobby for me, part of the fun of crafting and blogging is making and writing about what I feel like making at that time. If you follow me on instagram, you might be aware that it took me a while to get into Autumn this year, so now that I’m here and enjoying it, I’m determined to make the most of it. I’ve been wanting to make fabric pumpkins for a while after seeing them all over Pinterest for the last few years. I’ve never been that confident sewing, but when I came across some old clothes that were a bit worse for wear and a cushion that was on it’s last legs, I decided to repurpose them into these fabric mumpkins. Keep reading to find out exactly what I used and how I made them…


Fabric
Craft/cushion stuffing
Wooden stick
Needle & thread


1.
First of all, lie your old fabric out flat. If it’s very creased, you may need to iron it. Next, draw around a bowl or plate to create a circle and cut this out using scissors.
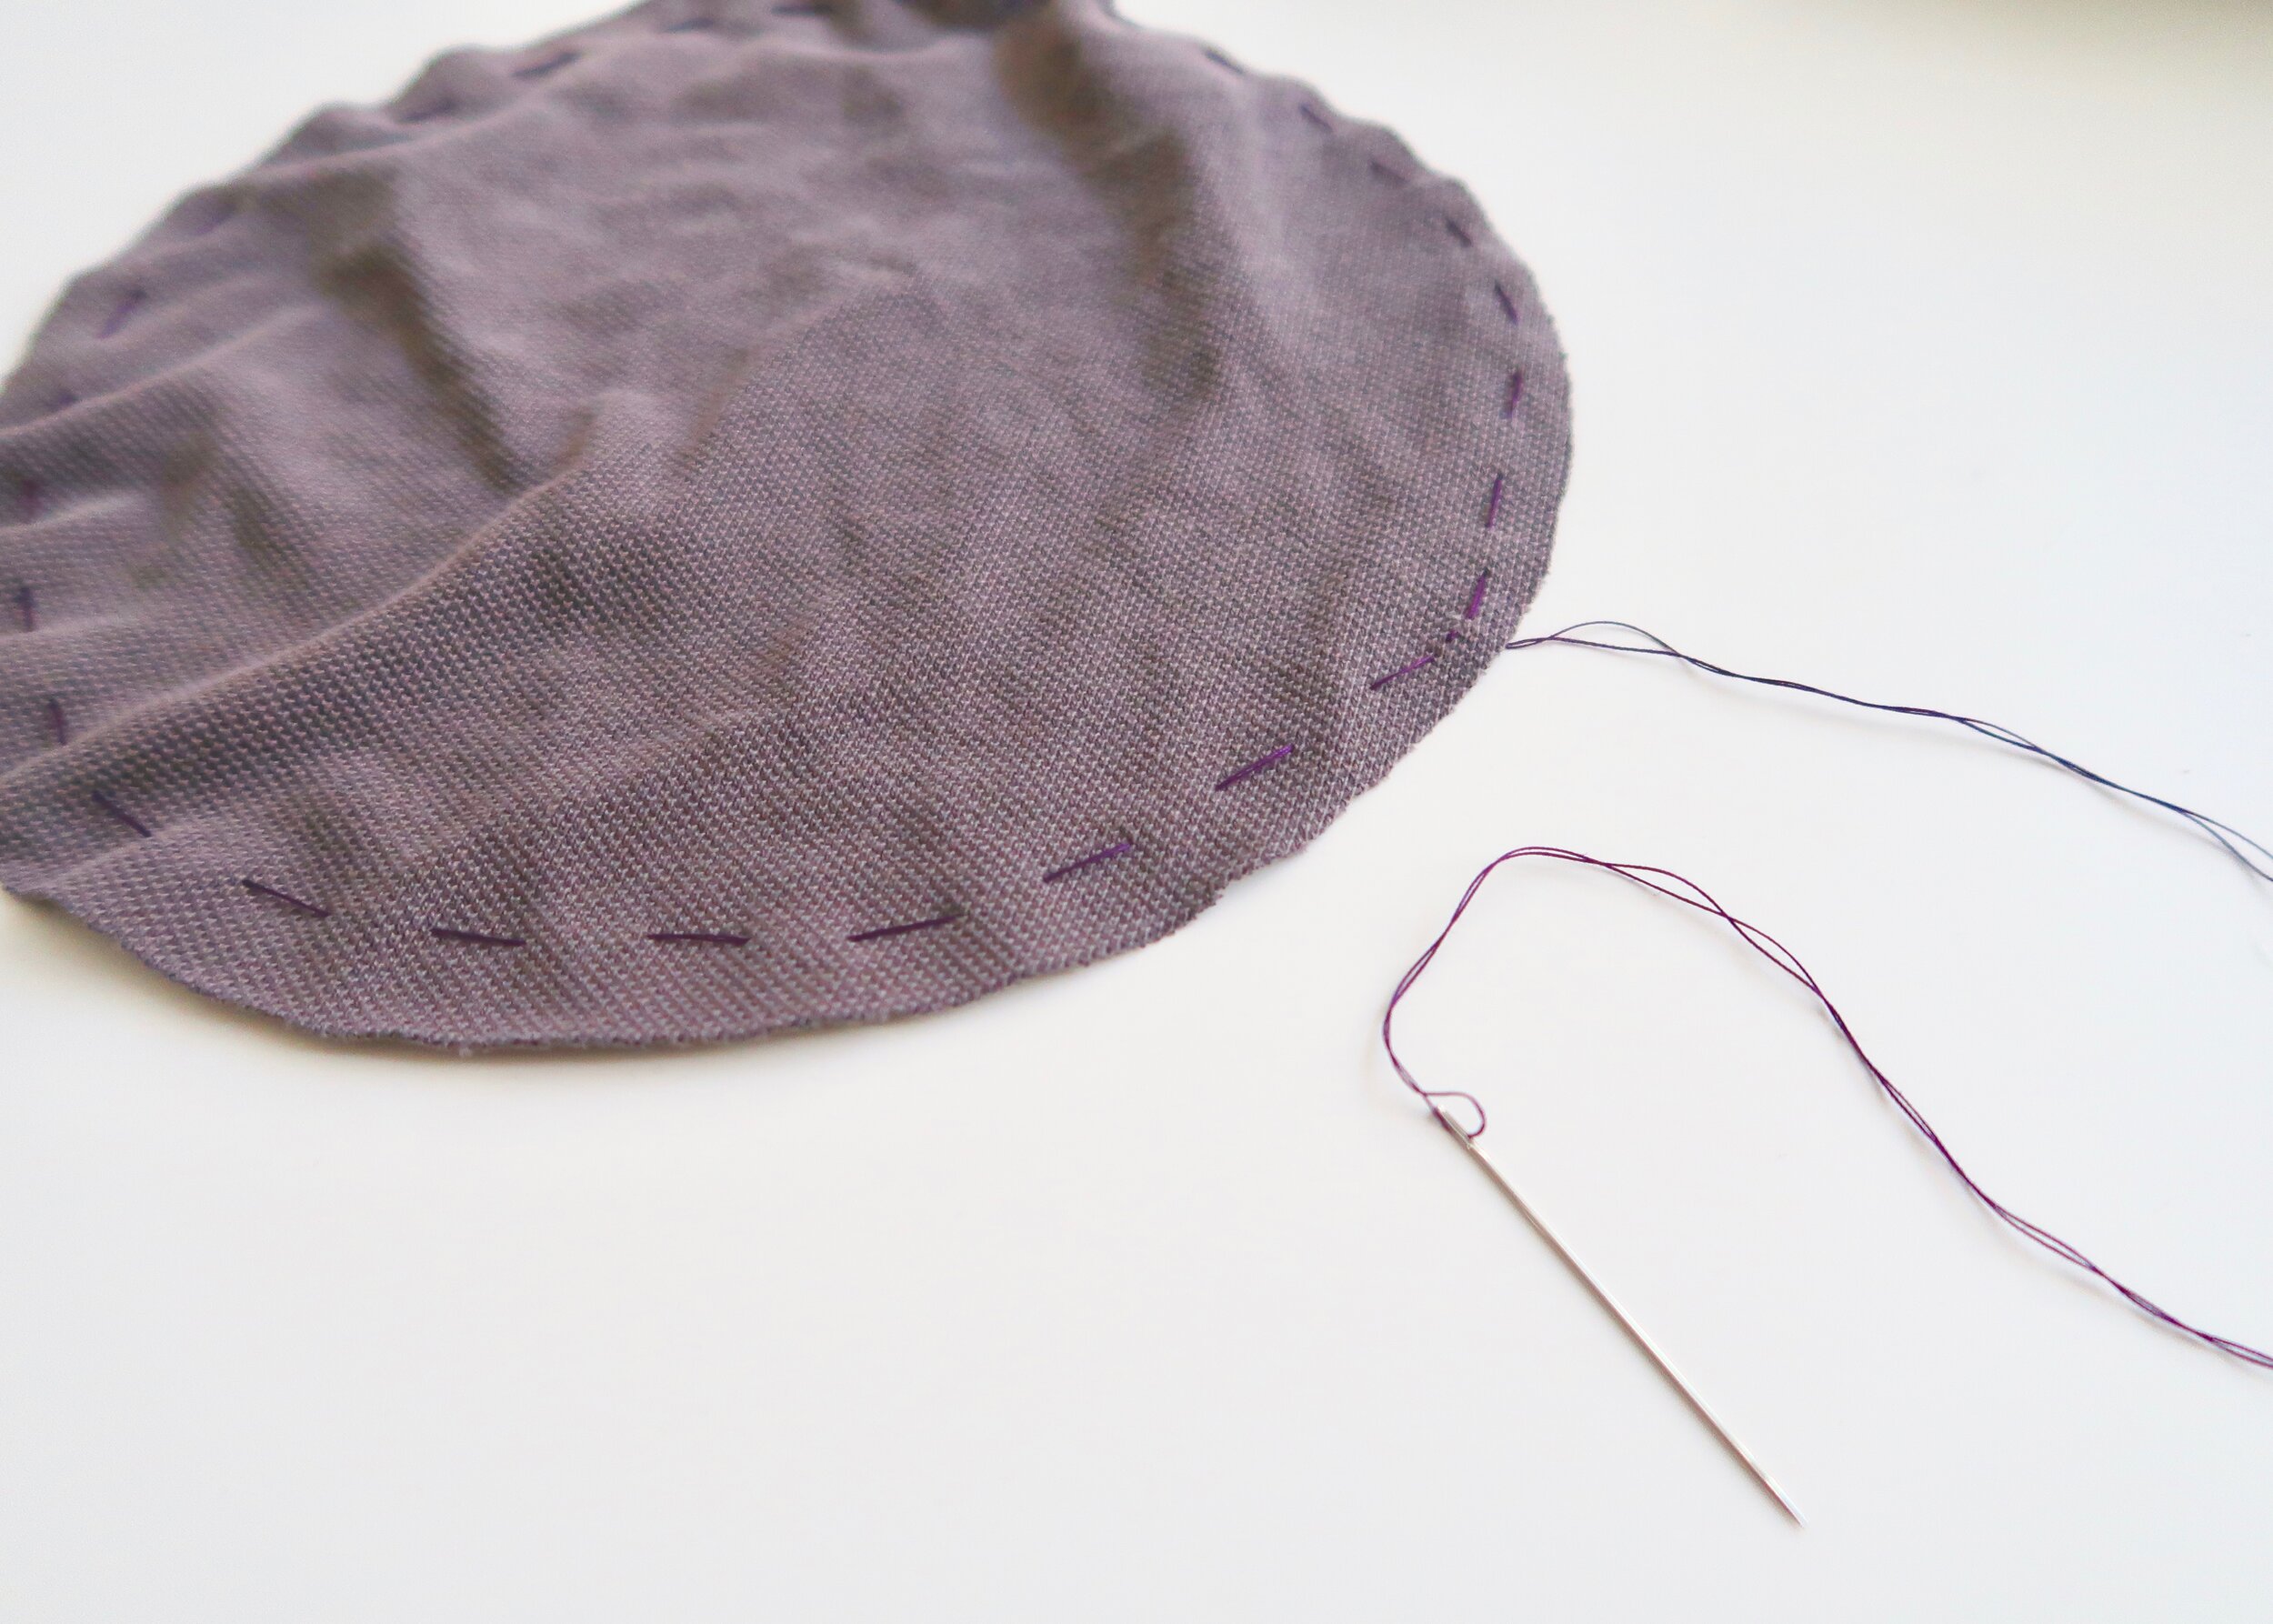
2.
Cut a length of thread that is at least two times the length of the perimeter of the circle, and thread this through your needle. Tie a knot in the end, and using a loose running stitch, sew all around the edge of the circle.

3.
Once you have sewn all the way around, pull the thread so that the circle edge bunches together creating a pocket. Leave a gap at the top and push your stuffing/filling in until the pocket.

4.
Once as full as possible, pull the thread so that the gap is closed, and use the excess thread to stitch these holes closed. This will be the bottom of your mumpkin.
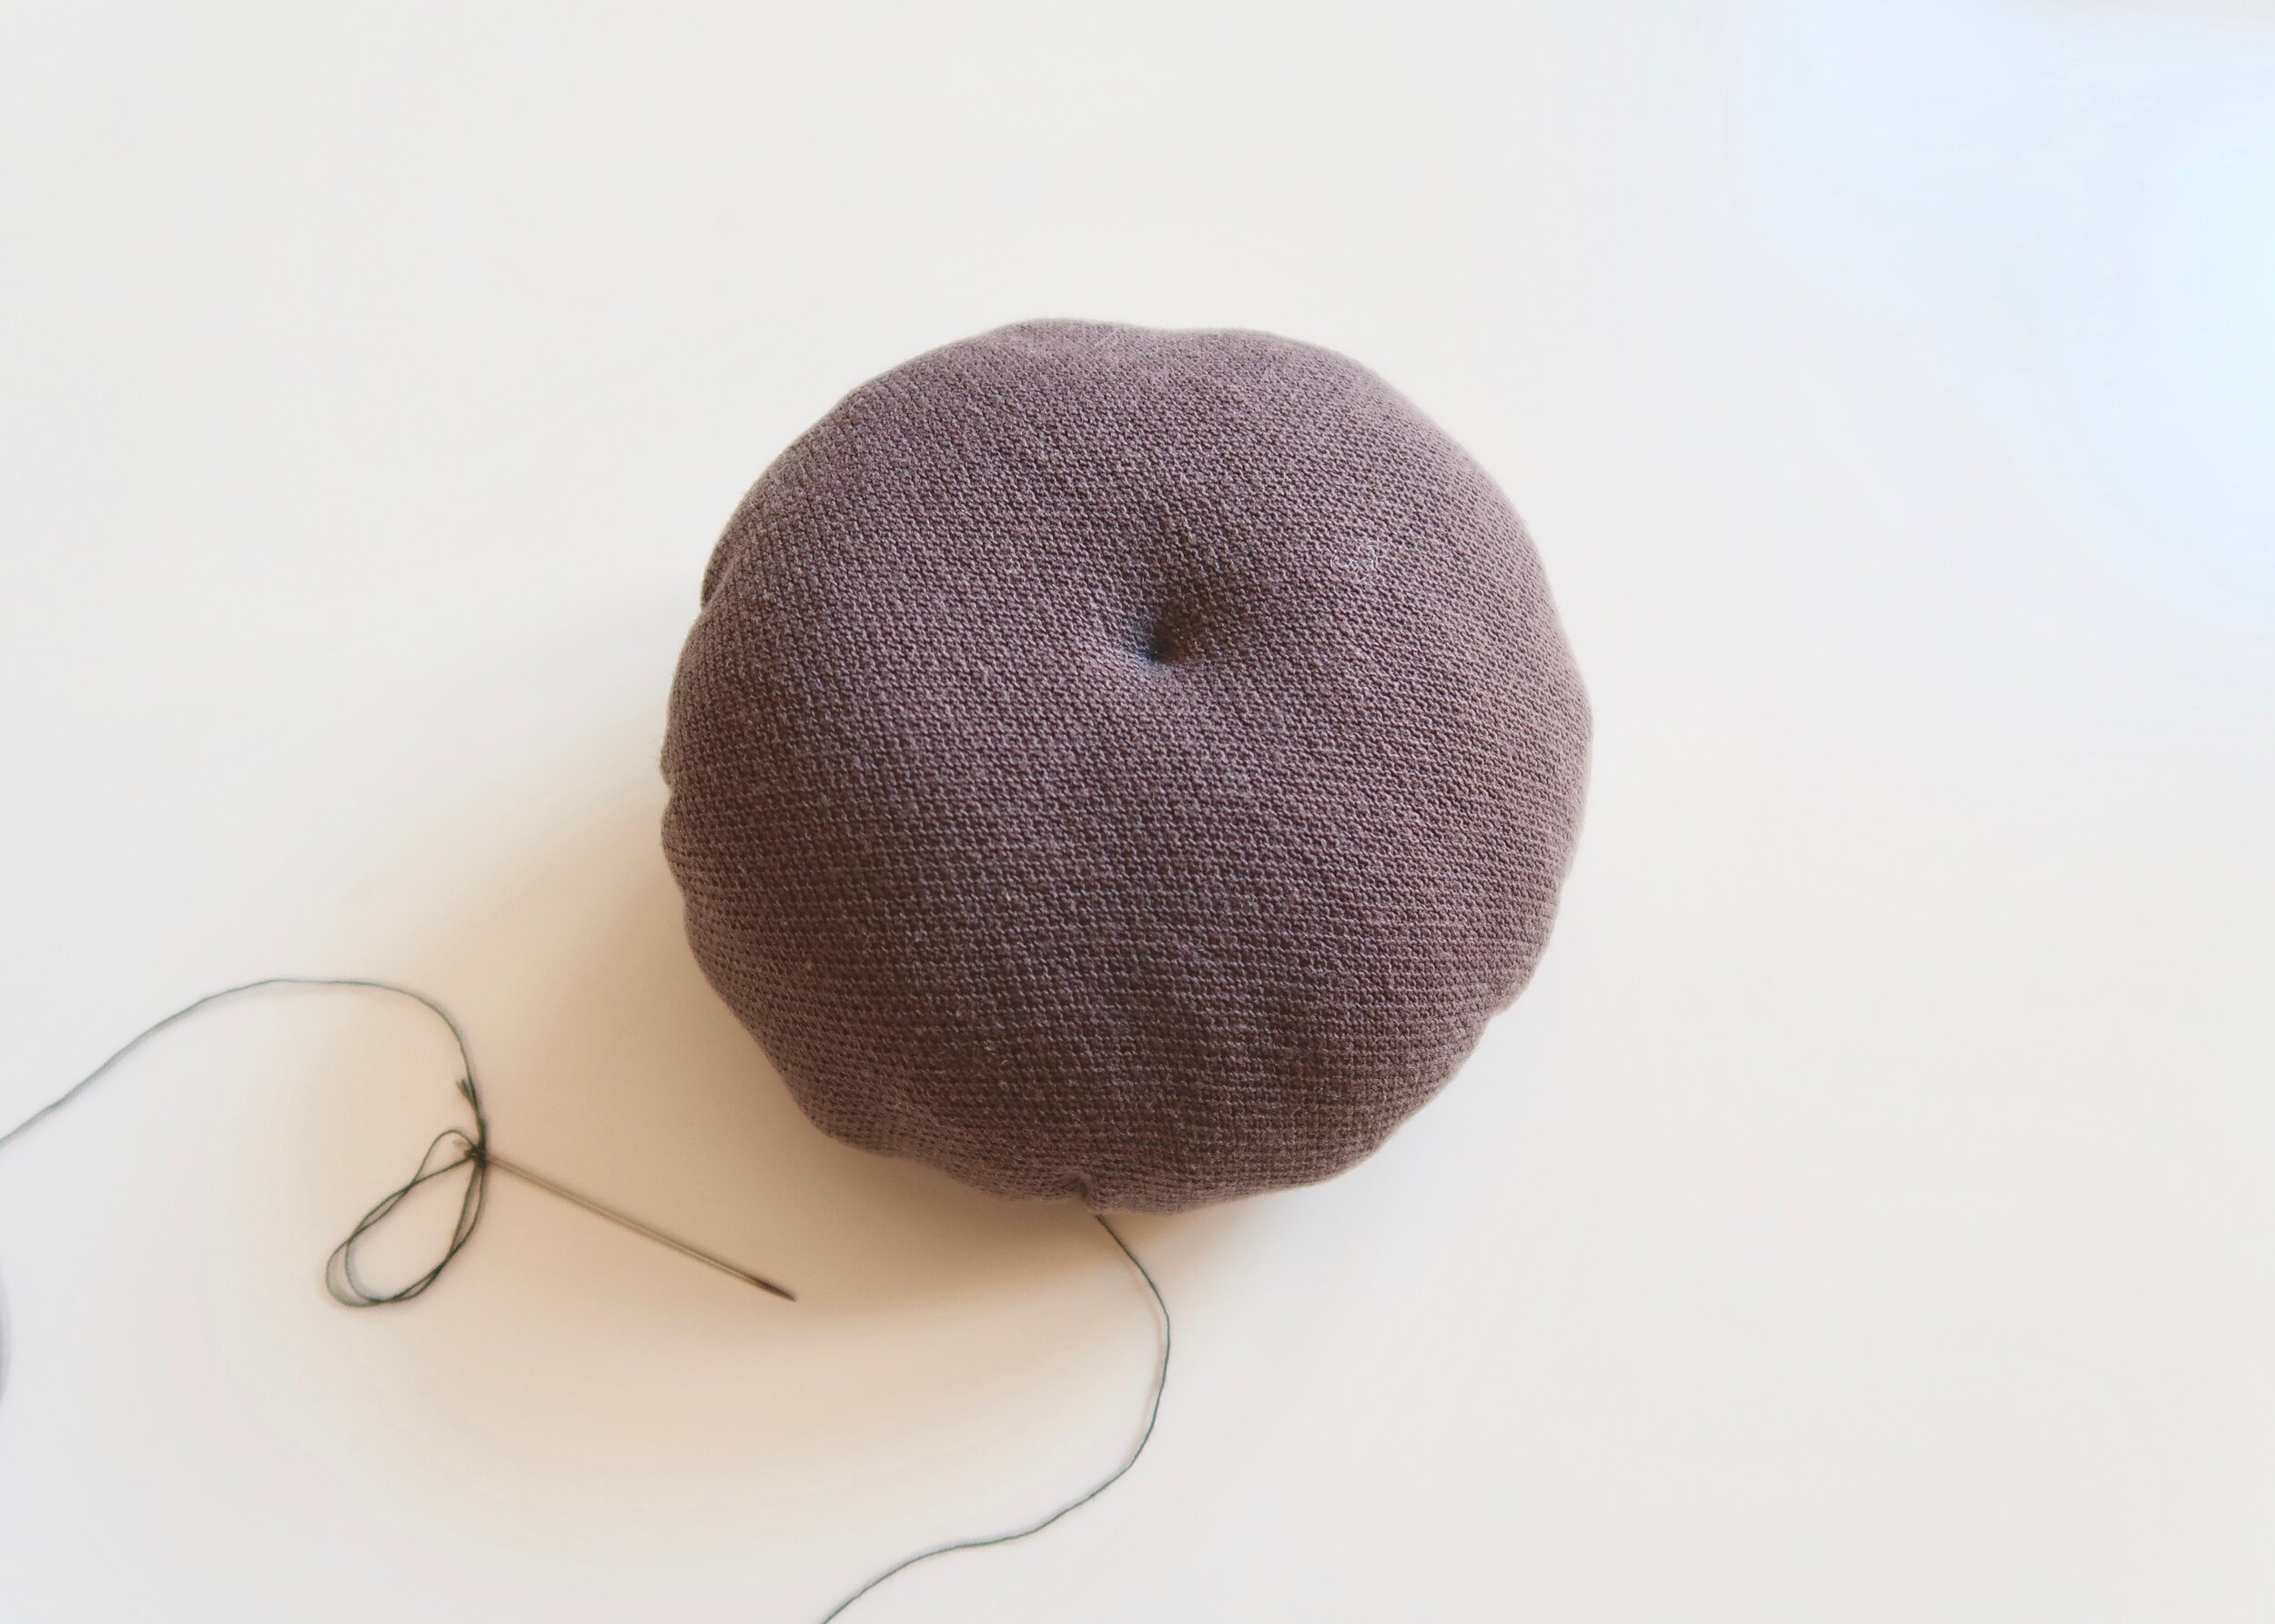
5.
Cut off another length of thread, and thread your needle. Tie a knot in the end. Push your needle up through the bottom of the mumpkin, through the stuffing and out of the fabric at the top. Push the needle back down just besides this, and all the way back through and out the bottom of the mumpkin. Pull this tight to create the dipped centre that pumpkins have.

6.
Next, divide your pumpkin into segments by pushing the needle back through the centre spot created in step 5 (without going back up through the pumpkin). Instead, the thread on the outside, once pulled taut, will give your mumpkin it’s shape. An easy way to do this is to first divide it in half, then quarters and then eighths.

7.
When you’re happy with the number of segments, end your stitching on the bottom of the mumpkin. Next, cut a wooden stick to size, and hot glue it into the dipped centre of your mumpkin to create a stem or stalk. I decided to spray paint mine copper (of course), and so I hot glued them in place once dry.