With just a couple of weeks to go until Valentine’s day, now is the time to start crafting, and if you’re looking for a quick, cheap and easy way to jazz up your decor for Valentine’s or Galentine’s, then this DIY Heart Ping Pong Lights idea might be just what you’re looking for!

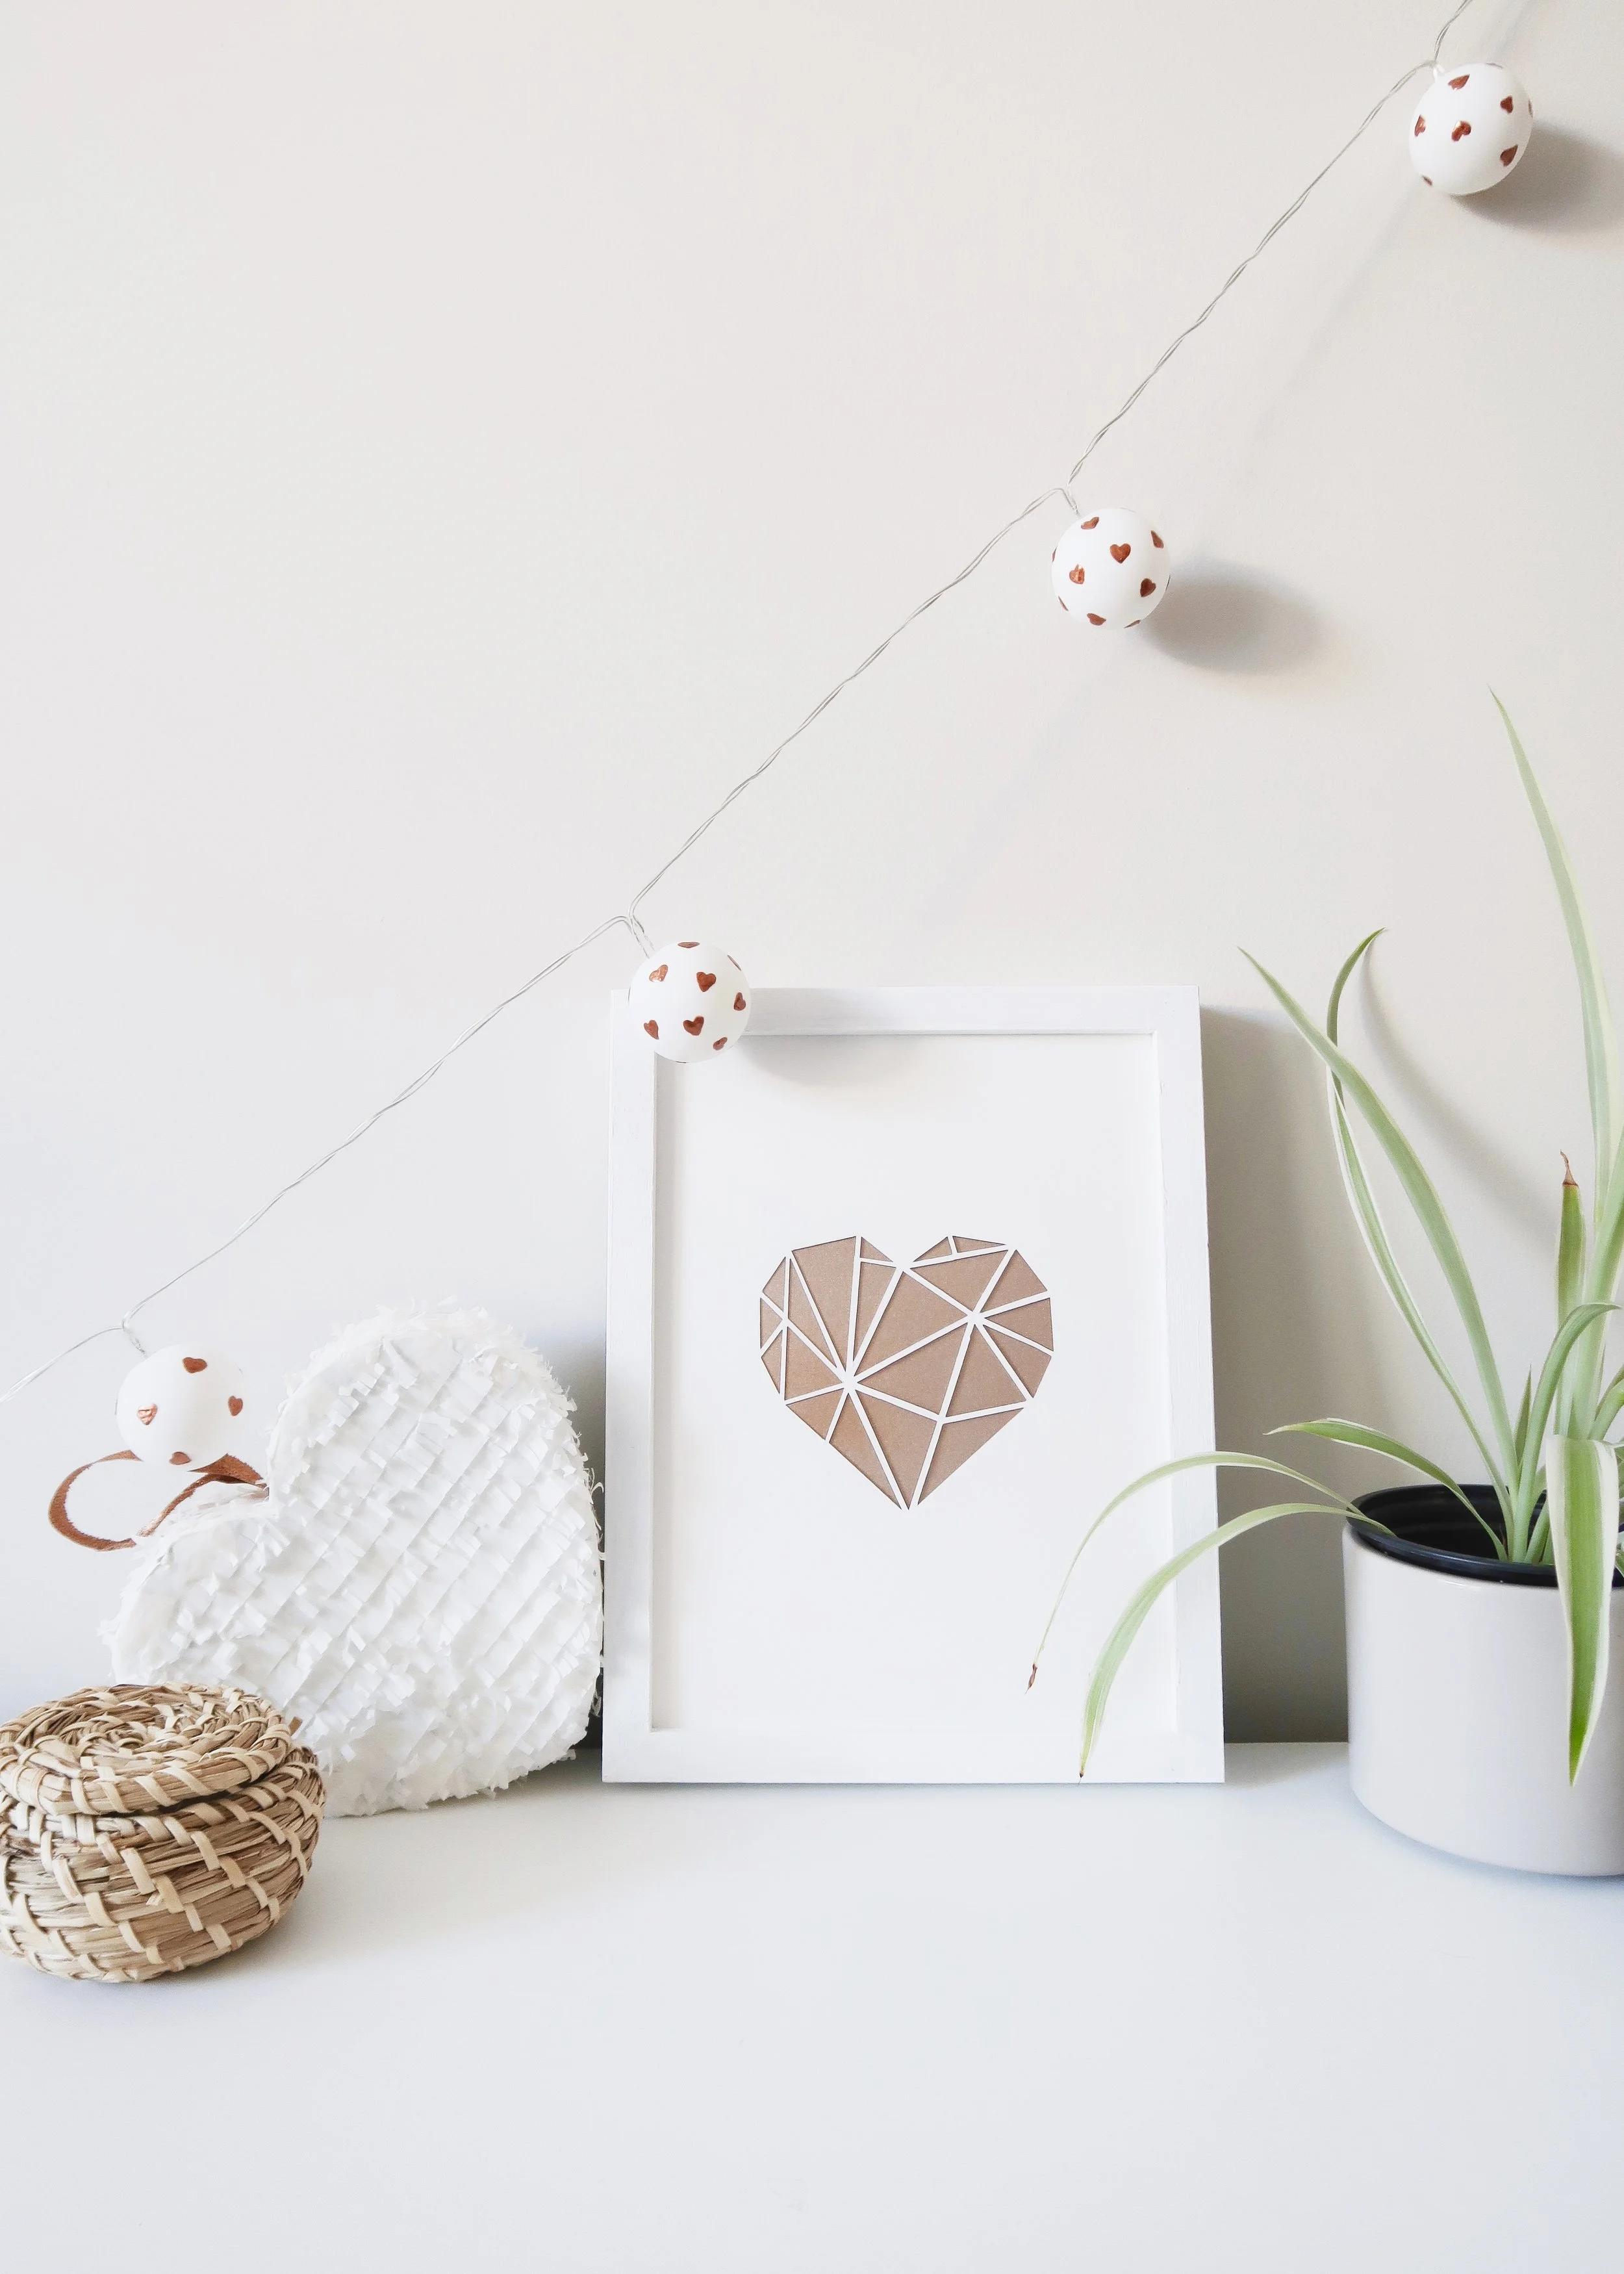
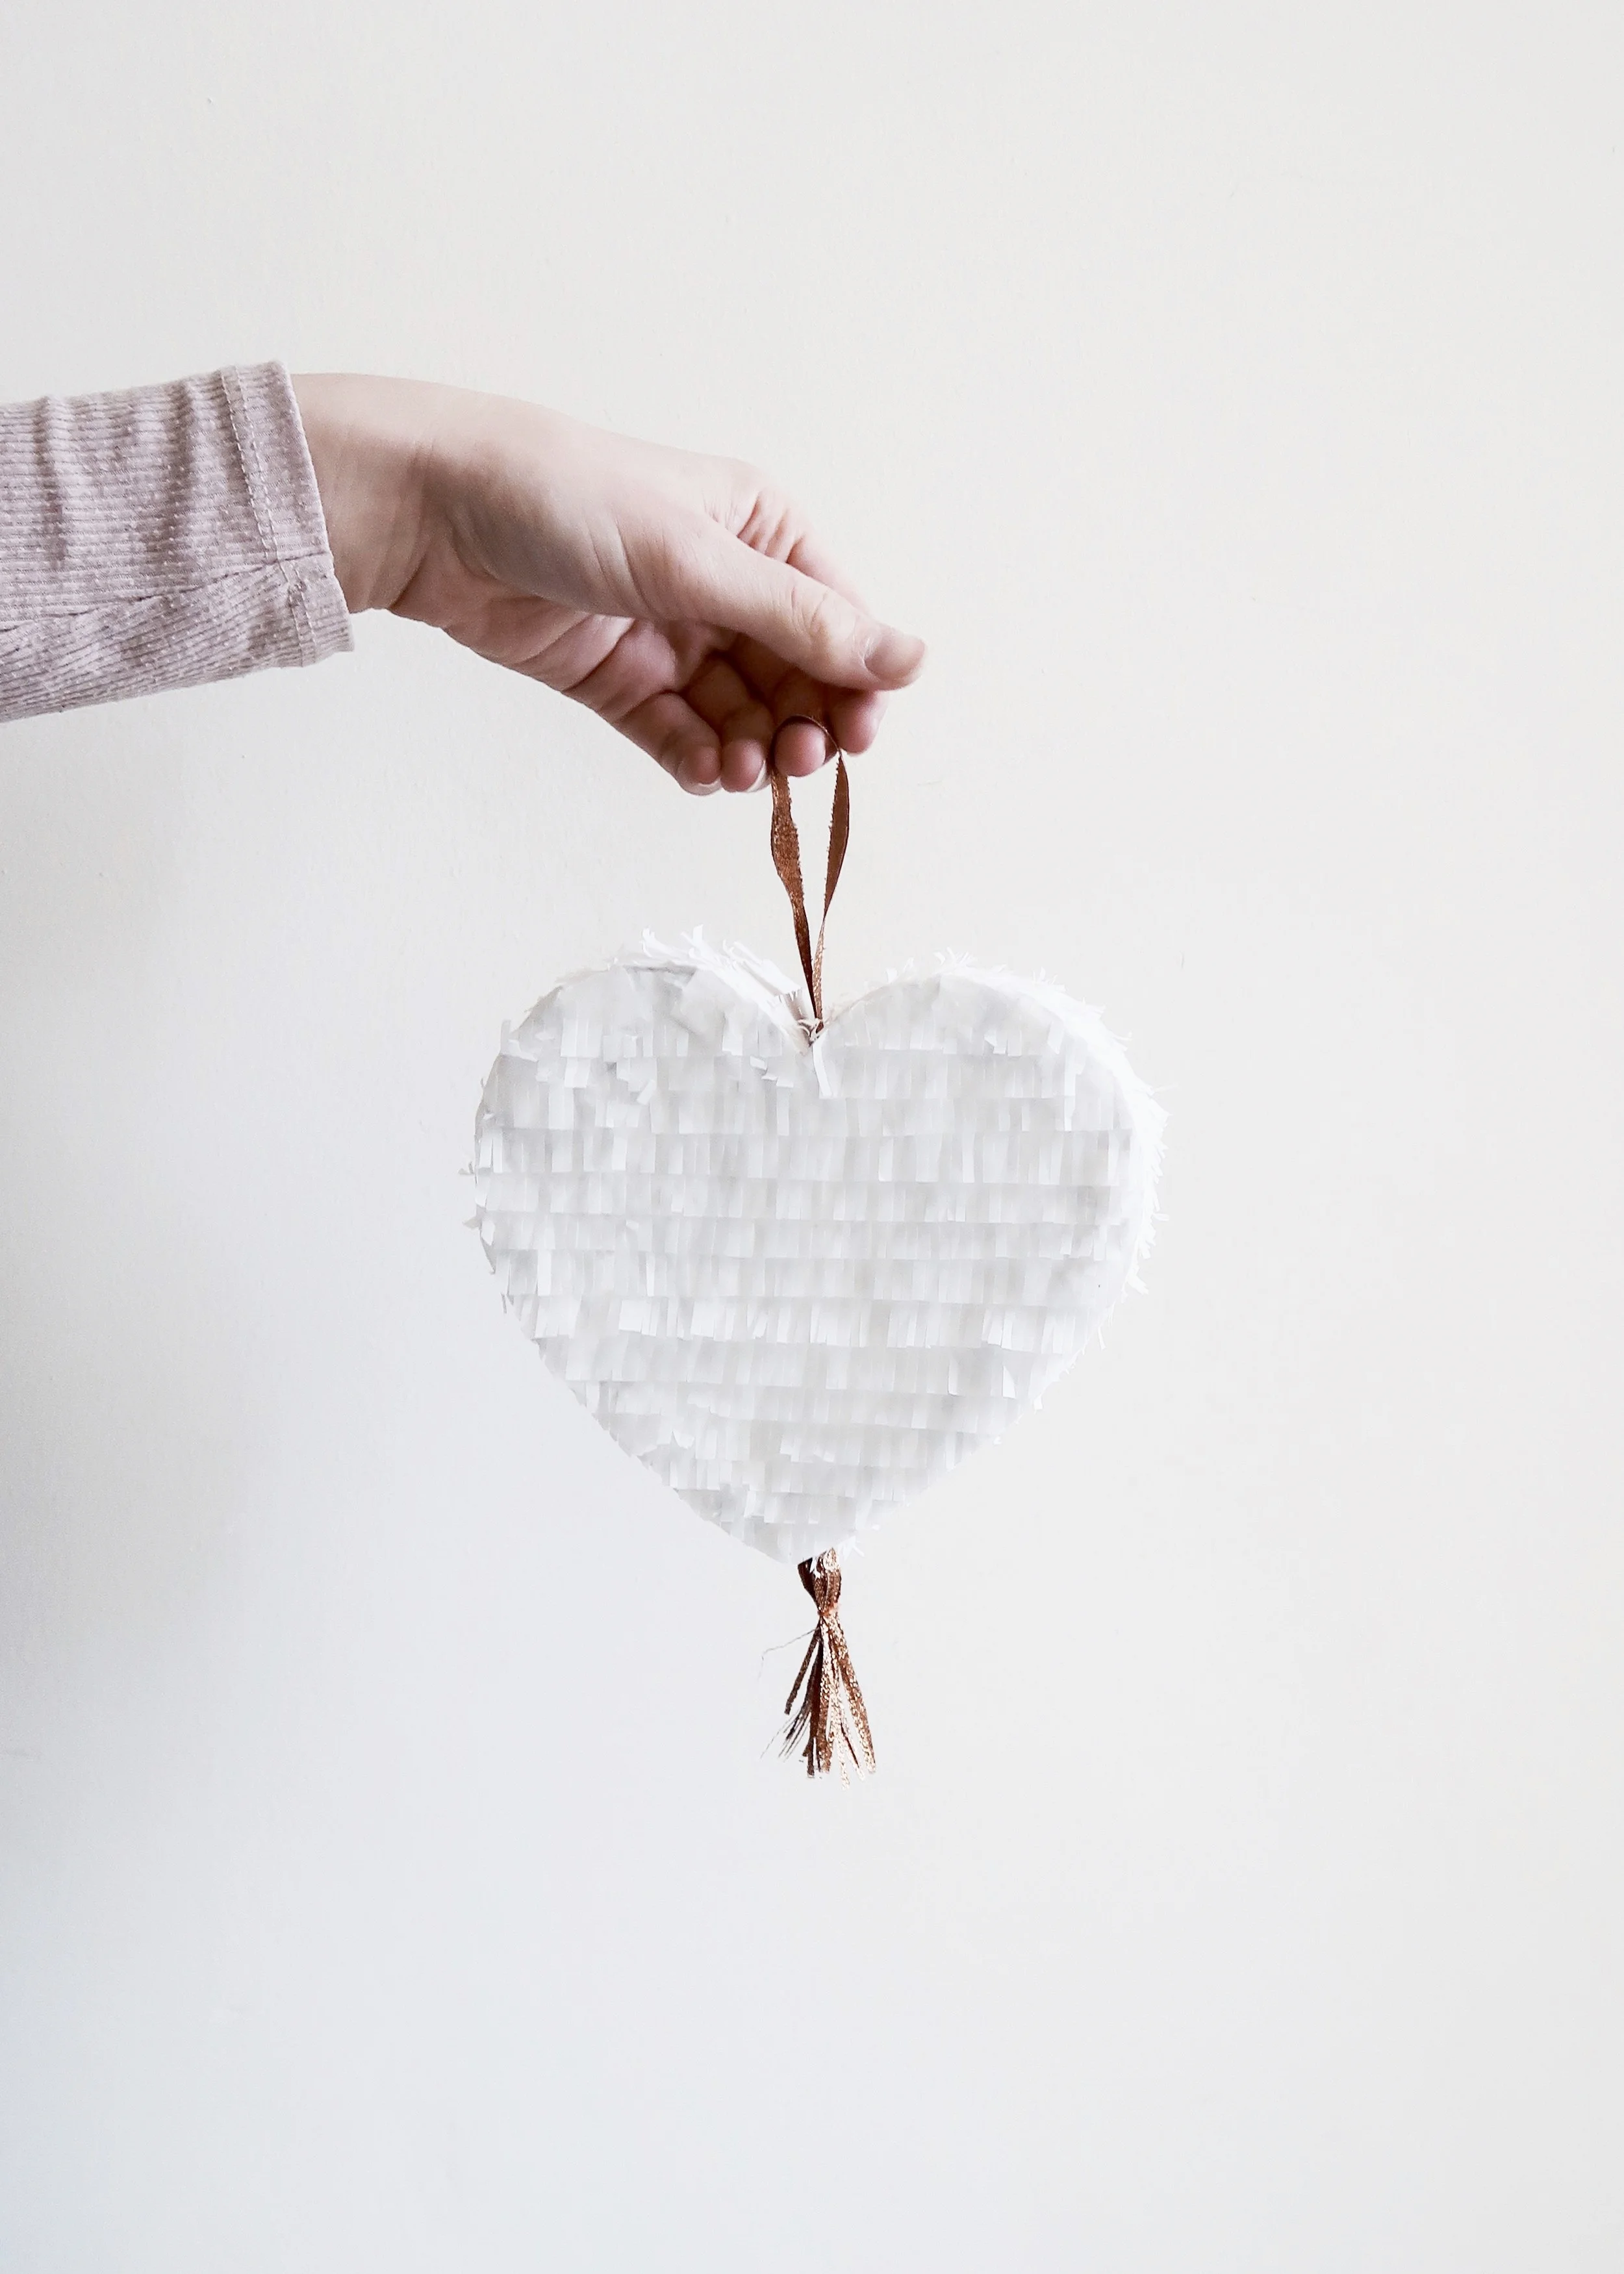
I try hard not to buy craft materials too often, and so before I throw anything away, I always ask myself if it is something I can use to make something else. It’s not always possible, but when it is, it’s so satisfying to know that I’ve managed to get a little bit more use out of something that would otherwise just be adding to our waste. Recently, I was going through a bag I found from a sports-themed hen party I had helped arrange for one of my best friends, and I stumbled across a whole lot of ping pong balls. We got good use out of a few of them at the party itself; using them for ‘wine pong’, a less sensible version of ‘beer pong’, and so aside from some of them being a little grubby, they were pretty much brand new. It seemed a shame to throw them away, which was when it occurred to me that I could use them with some battery-powered LED lights, to create some decorative lights for Valentine’s. They turned out much better than I was expecting them to, and I’ve pictured them here with last years DIY Heart Piñata and DIY Paper-cut Heart Wall Art. Keep reading to find out what I used and how I made them...


Ping Pong Balls
LED Fairy Lights
Copper Paint
Craft Knife


1.
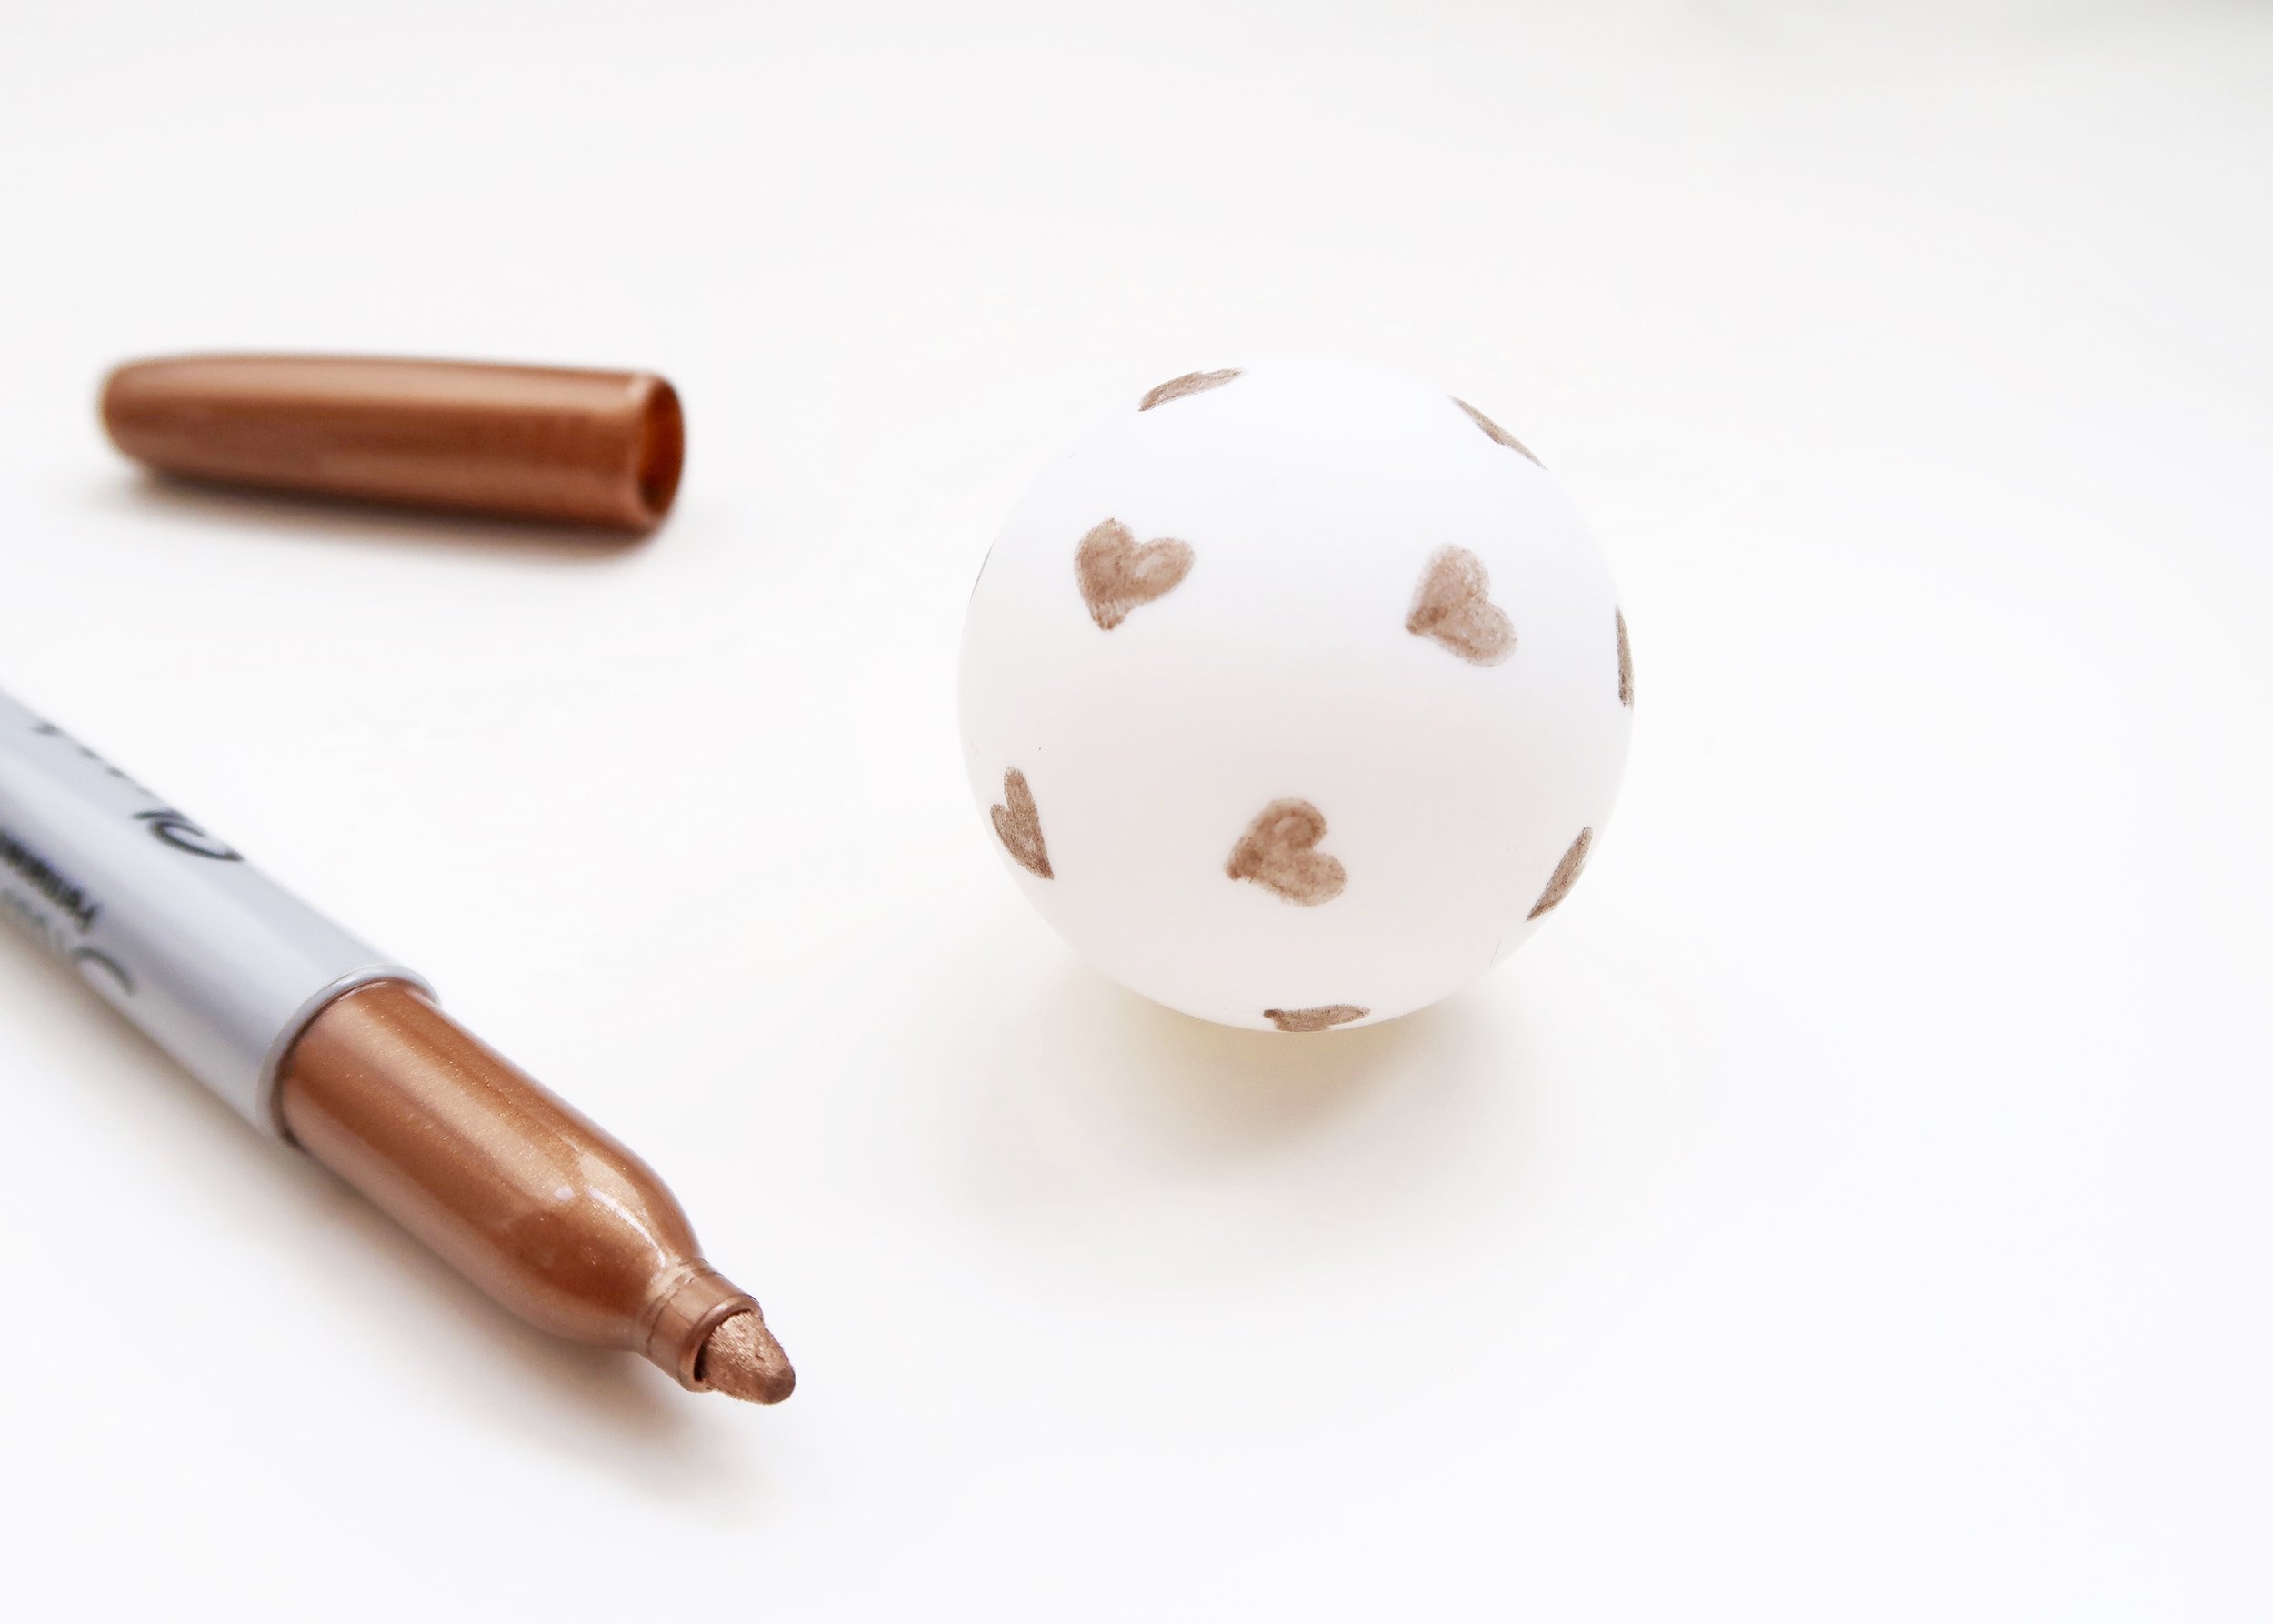
If like me your ping pong balls have had to endure a hen party, before anything else, give them a good wash and let them dry. Next, grab a sharpie and start drawing heart shapes all over.

2.
Once you’re happy with your heart print design, decide where the top of the light will be and make a mark here. If you have a logo,on your ping pong ball, take this into account when deciding on the top so that this isn’t seen from the front or sides. Using a craft knife, cut an x shape over your mark.

3.
Next, grab some acrylic paint (obviously and completely predictably I chose copper) and whilst holding one part of the ball, paint over each of the heart shapes on the other side. I used quite a lot of paint to give some texture.

4.
Grab a skewer or something similar, and carefully push this into the x shaped cut at the top of the ball. Holding the ball by the skewer, you can now continue painting over the heart shapes on the other side.

5.
Leave each ping pong until they are completely dry. Once they are, grab a pencil and use this to push the sides of the x shaped cut at the top inwards and to widen the hole a little. Finally, push the LED light into this hole being careful not to damage it.