

Decorate for the season of love with this easy folded paper heart garland!
If you follow me on instagram, you’ll know that the past couple of weeks I have been priming, sanding and painting a wardrobe we had built by a local joiner. With full time work and plans last weekend, it’s taking me what feels like forever to finish it. I’m slowly sanding and painting the doors, and then I need to sand and paint the inside of the wardrobe. With all that going on, the house is a bit chaotic, especially the lounge. In fact we still have our Christmas tree up as we need to sort the wardrobe so that we can empty our cupboards to make room for the tree and decorations. And as much as I love Christmas, I’ve well and truly reached my limit this year and cannot wait to have a good tidy up (who knew I had a Christmas limit!).
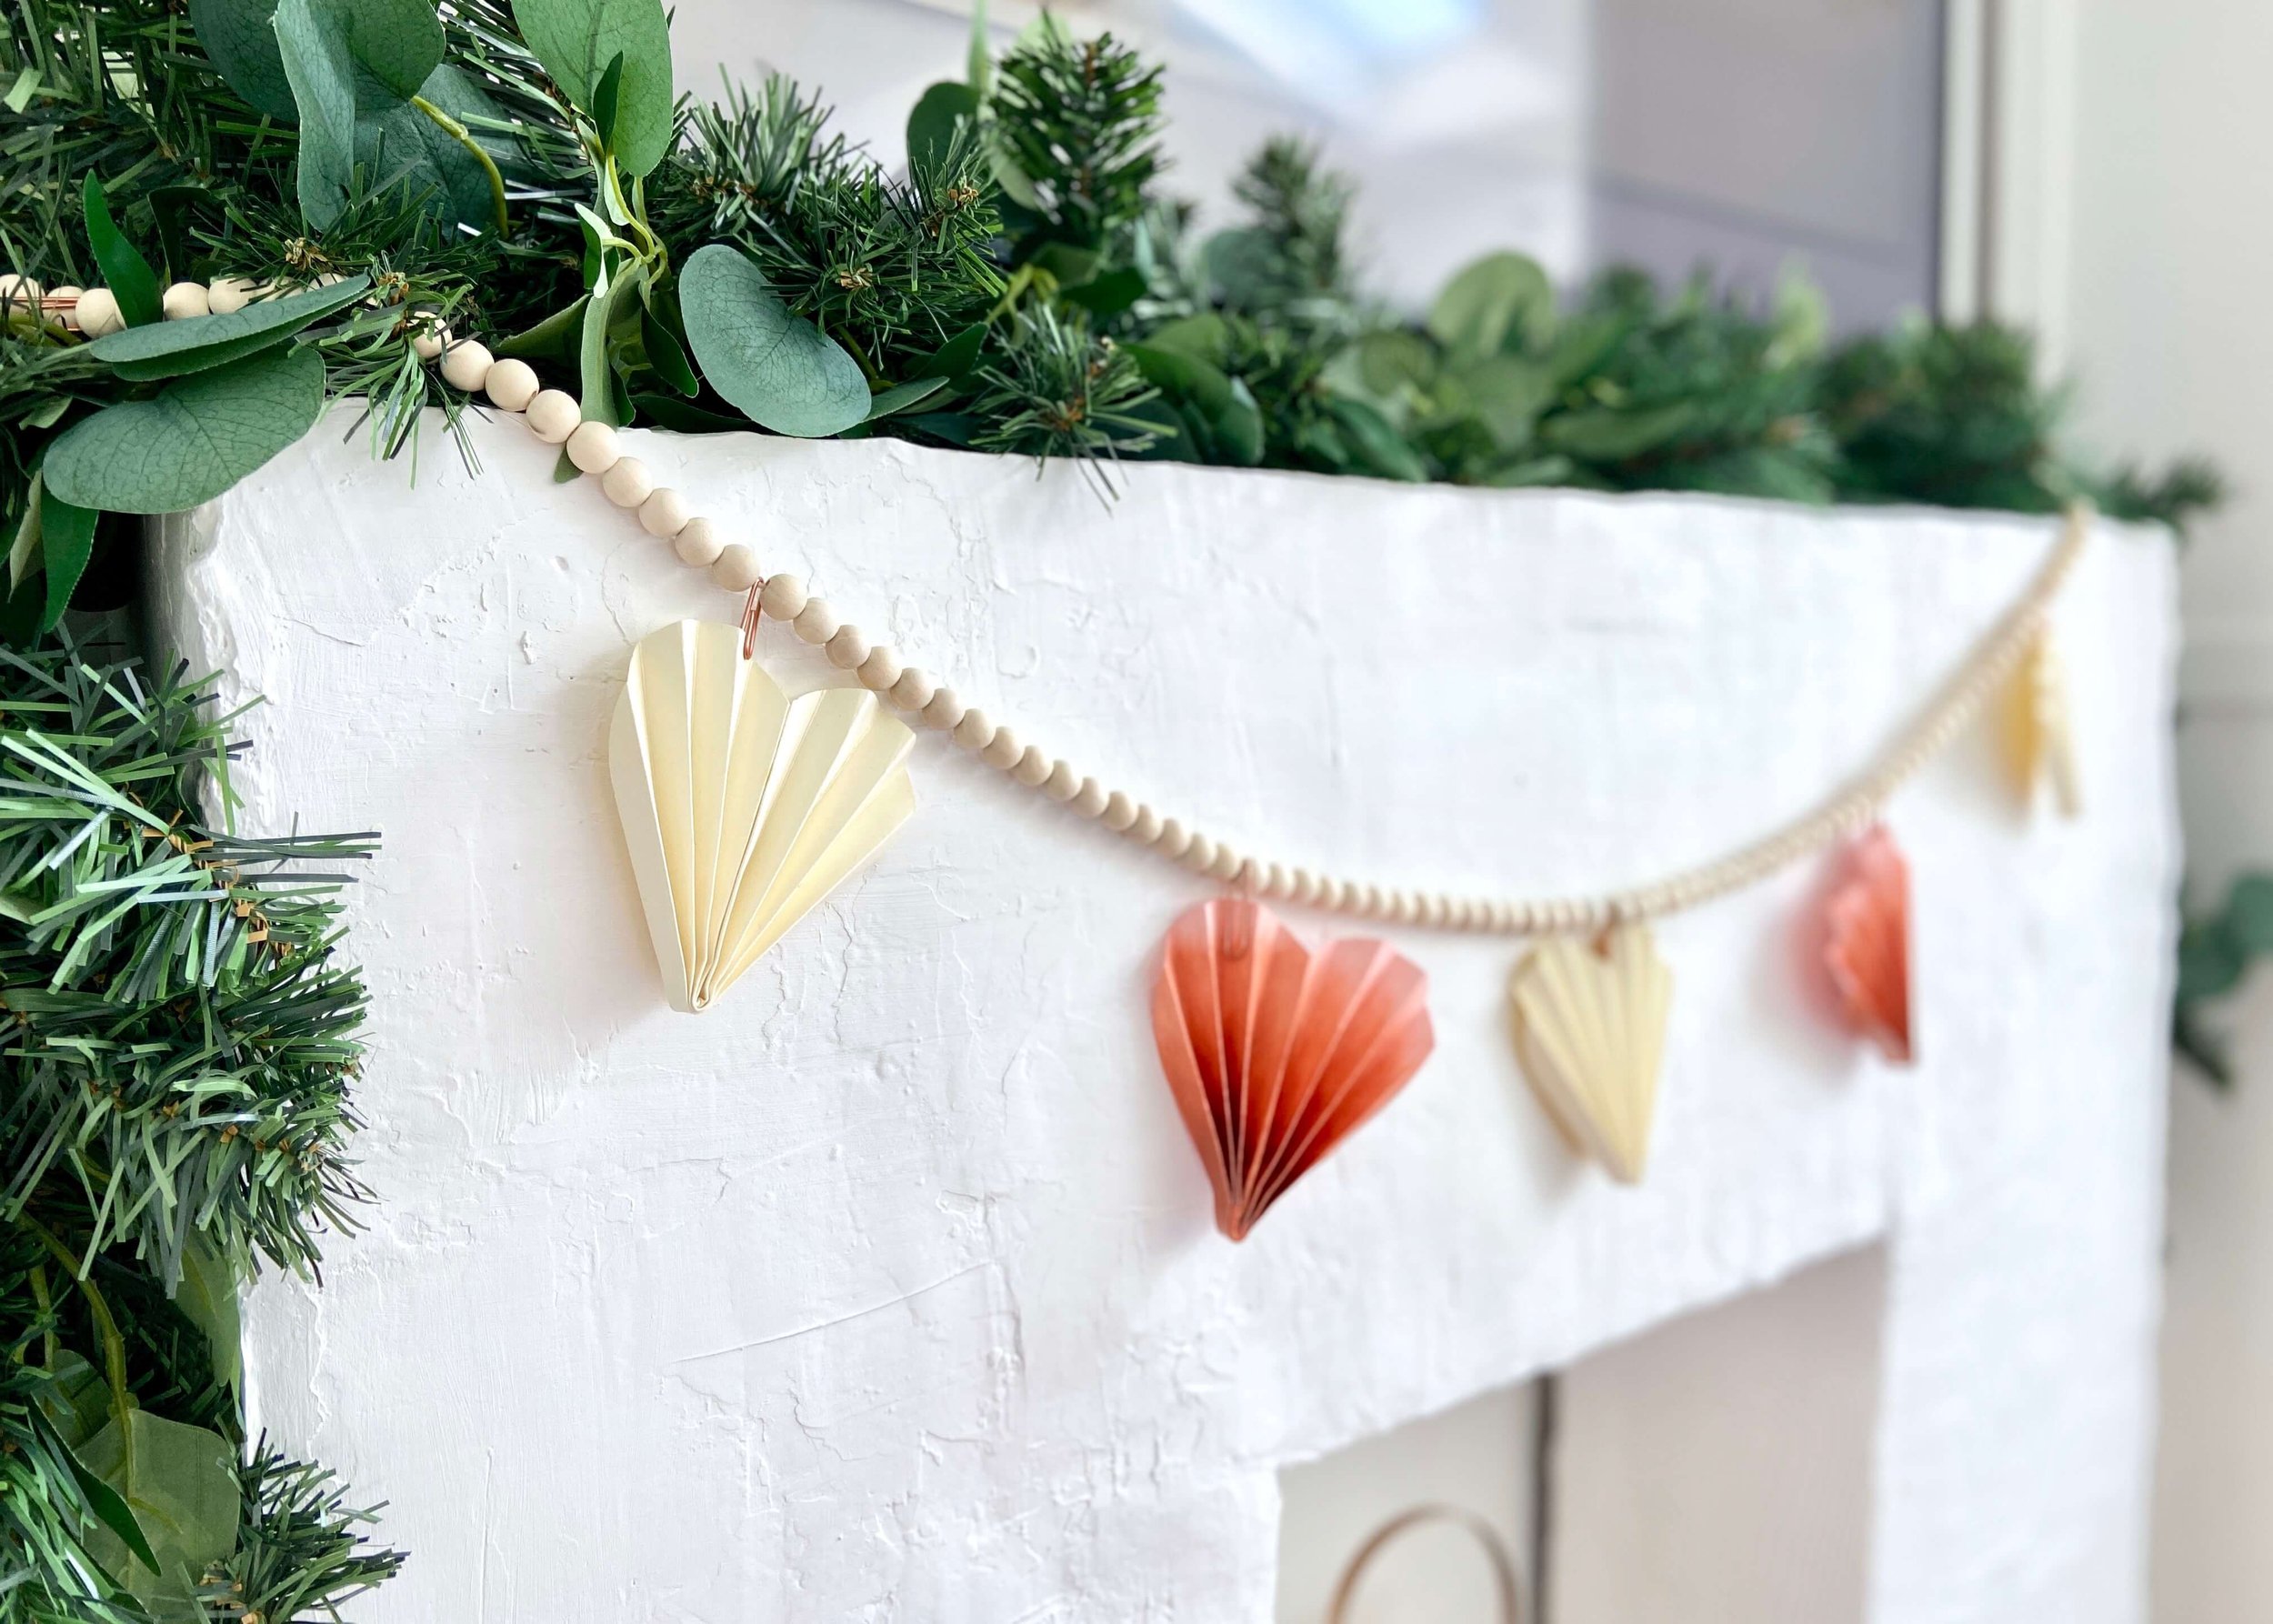
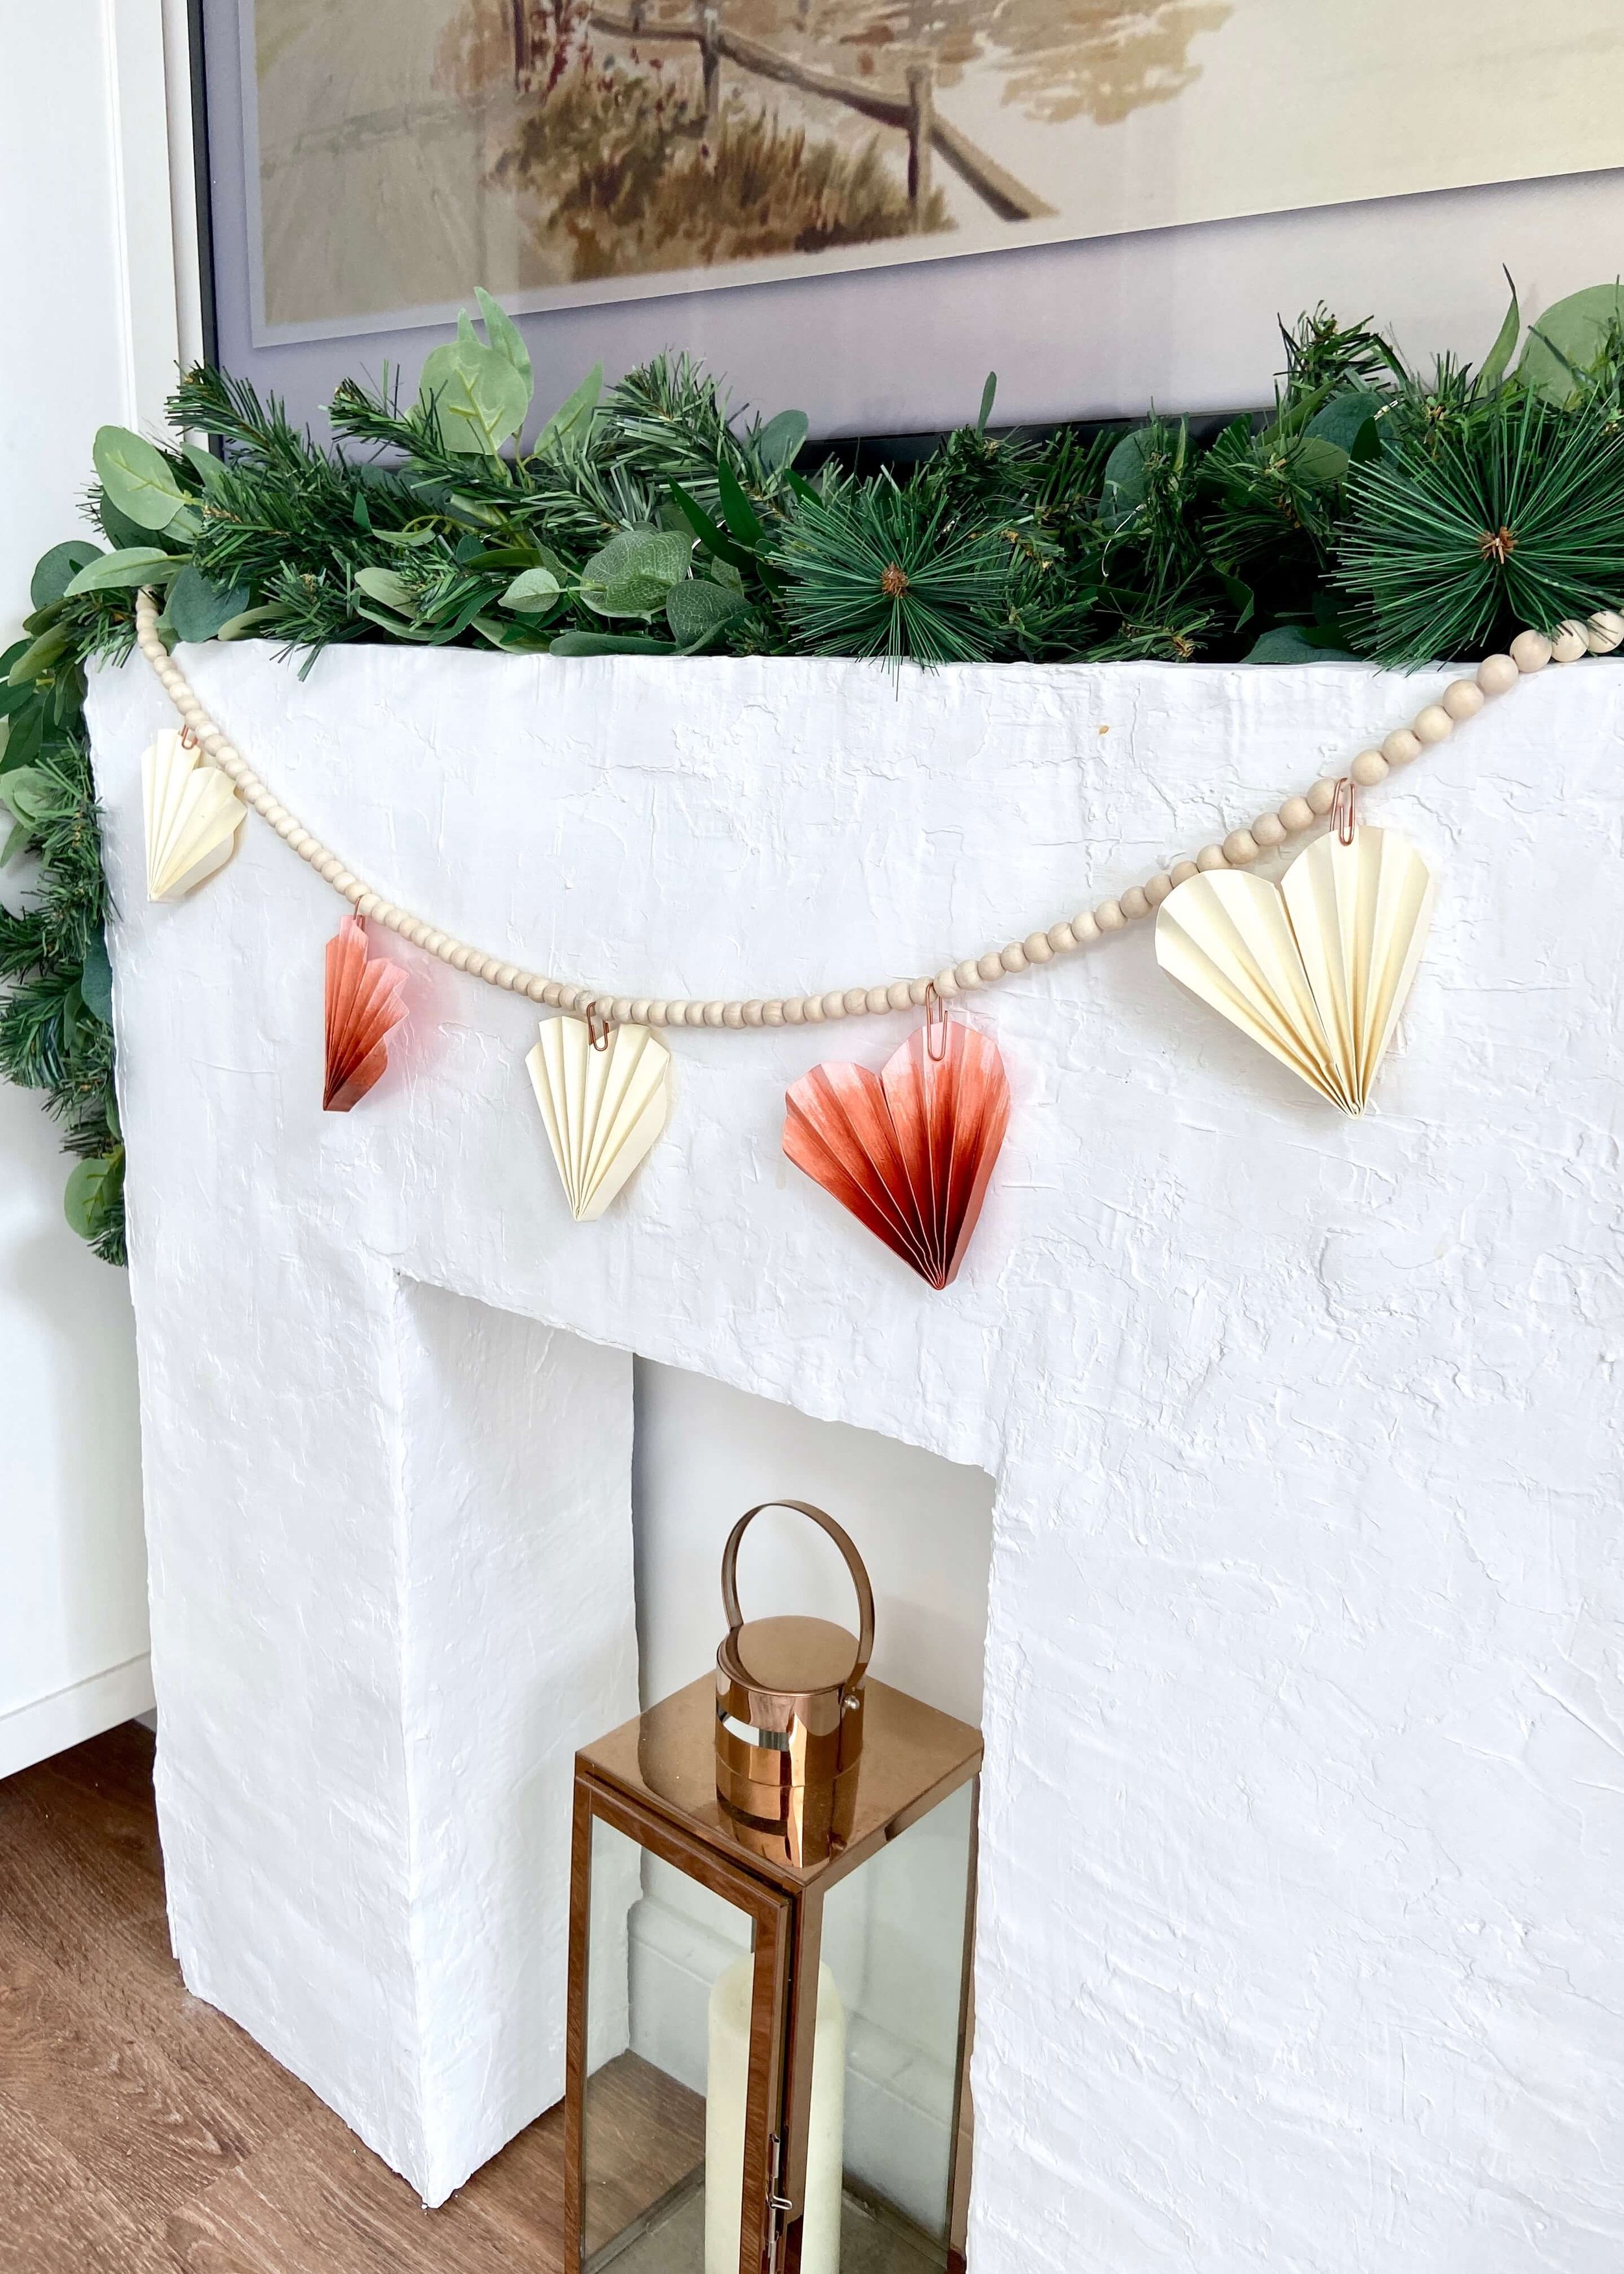
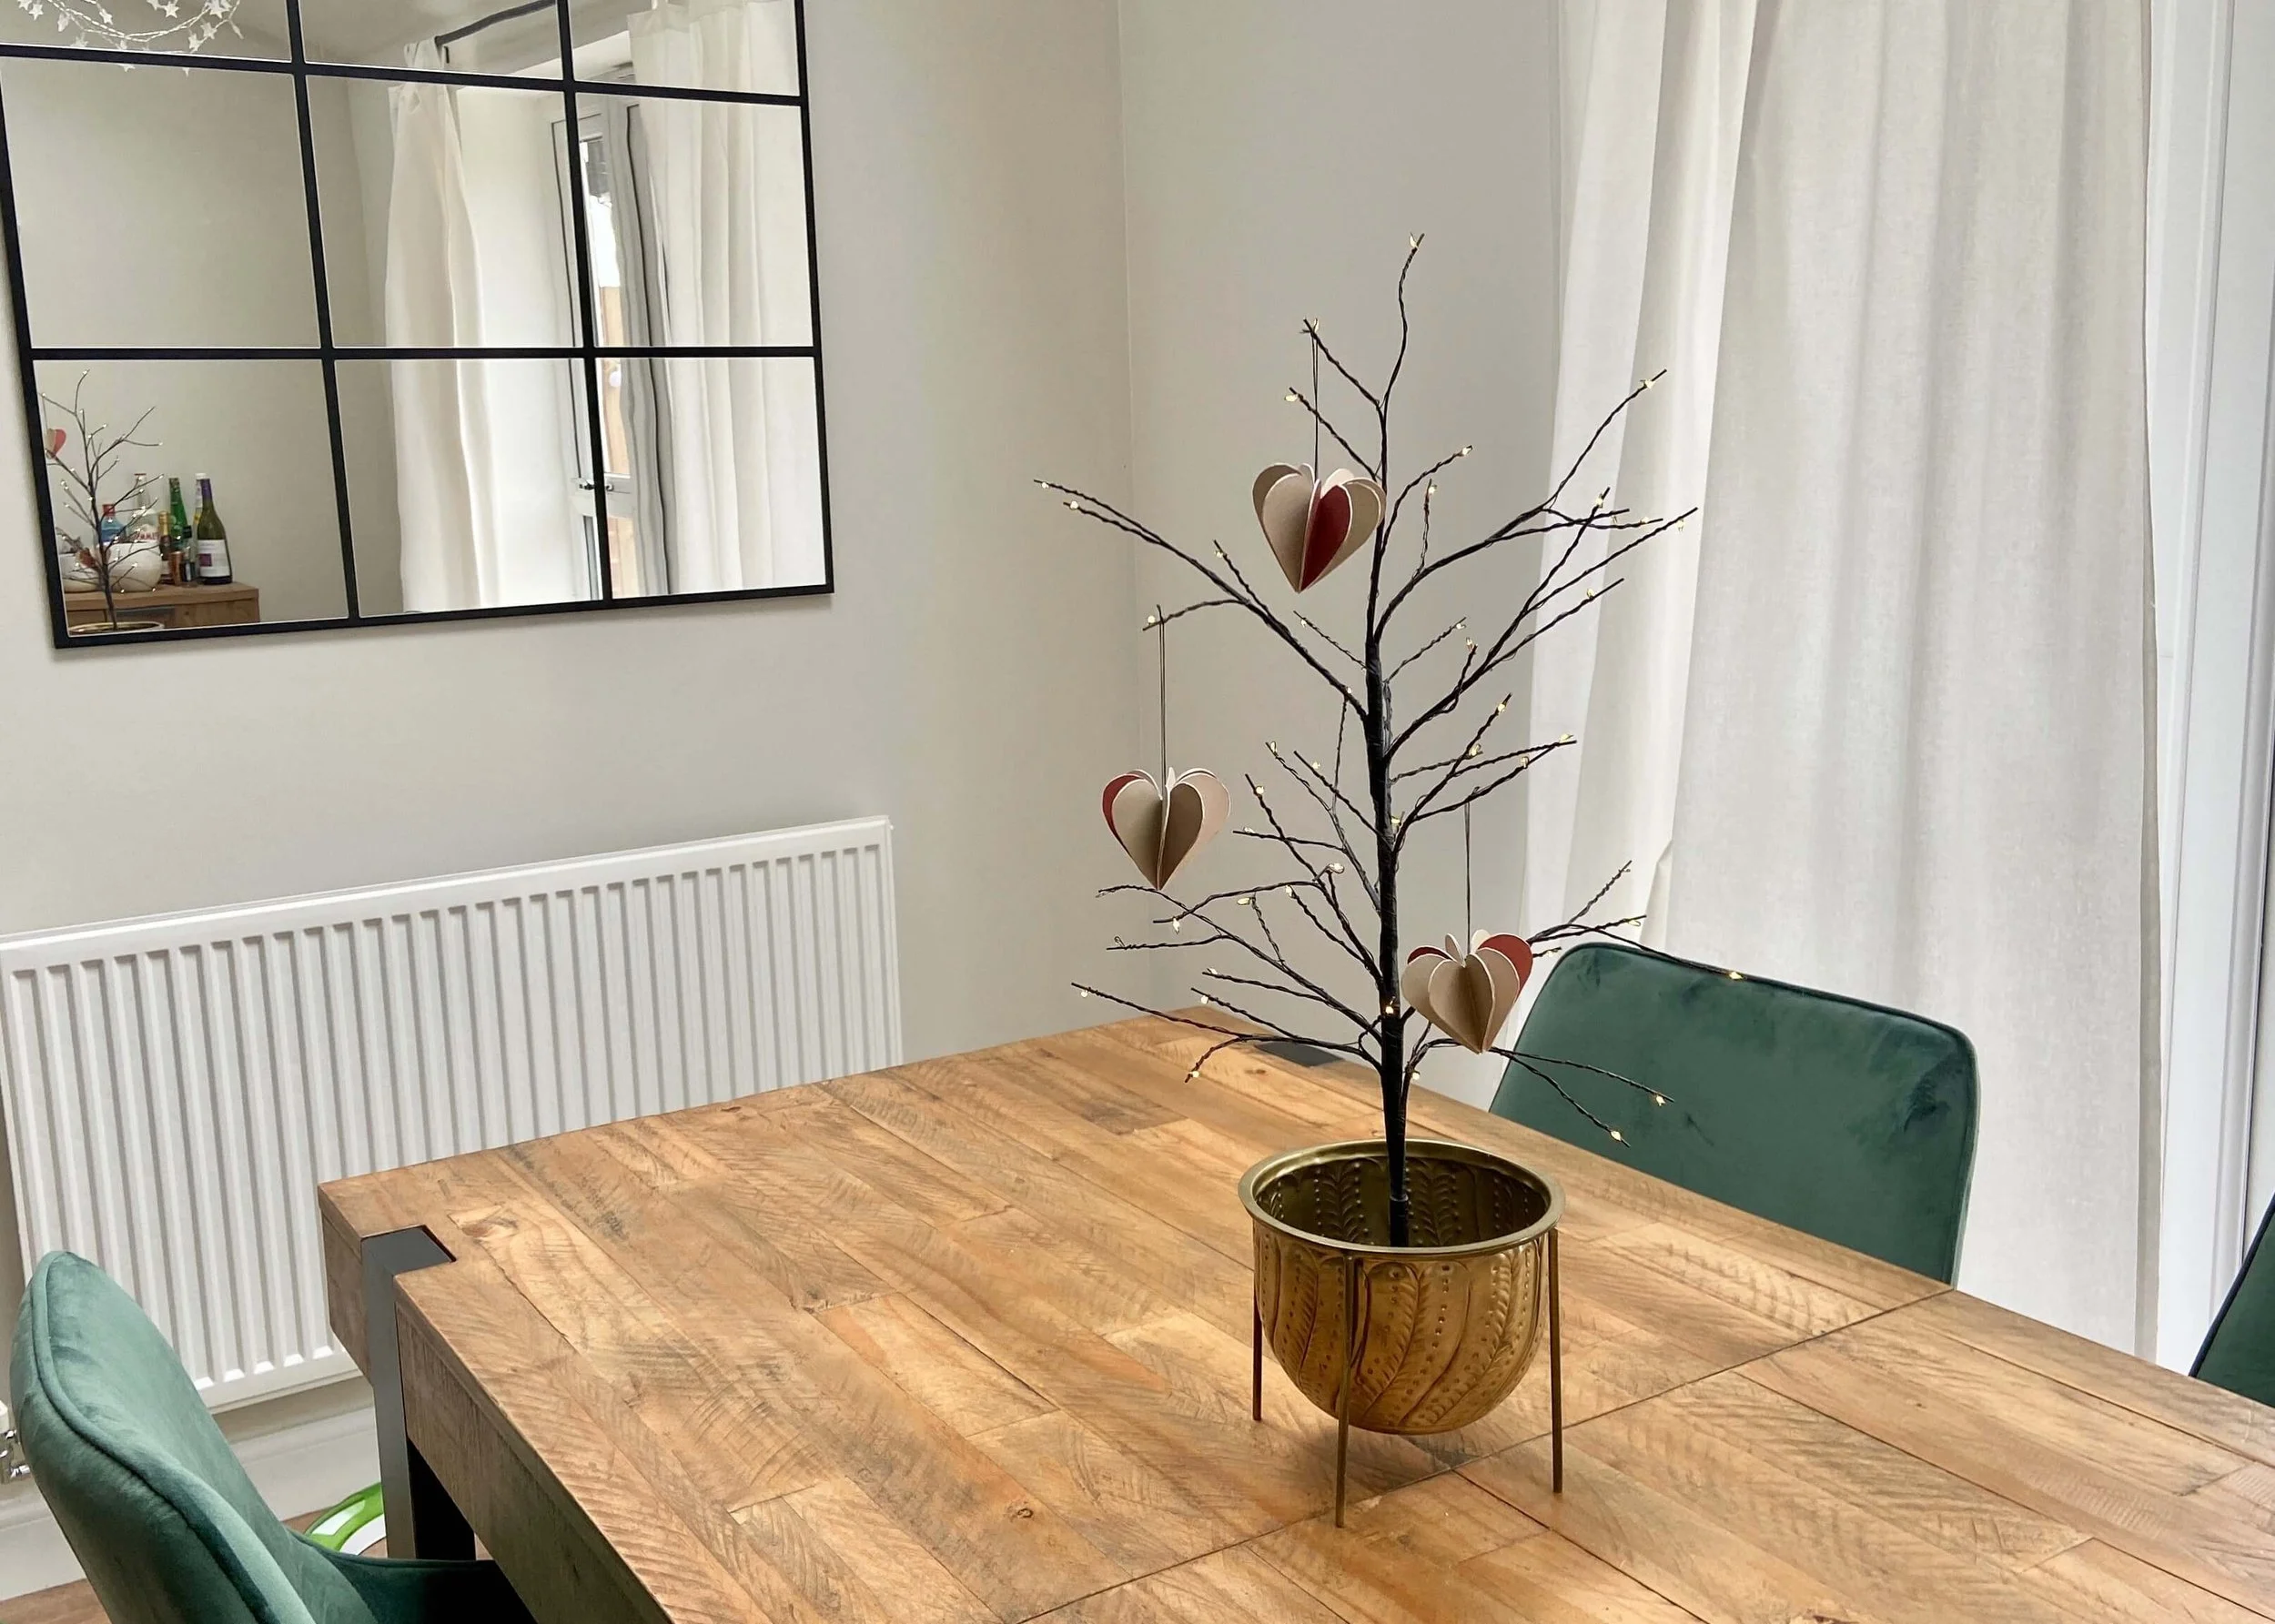
To help things feel a bit more seasonally appropriate, I decided to make some of these folded paper hearts that I’ve seen on Pinterest, and to put my own spin on them. Red and pink are not really my aesthetic, and so I used off white card and then painted some pastel pink card I had with a copper gradient effect. I then removed the clay shapes I had on this Christmas garland I made, and replaced them with my paper hearts. It’s not too sickly but updates the living room a bit and gives a little nod to Valentines or Galentines! Even better, you can download the printable below to make your own for FREE and you can just cut it out with scissors if you don’t have a Cricut.
Happy crafting! If you love this idea too, let me know below, share on social media and don’t forget to subscribe to updates!


1.
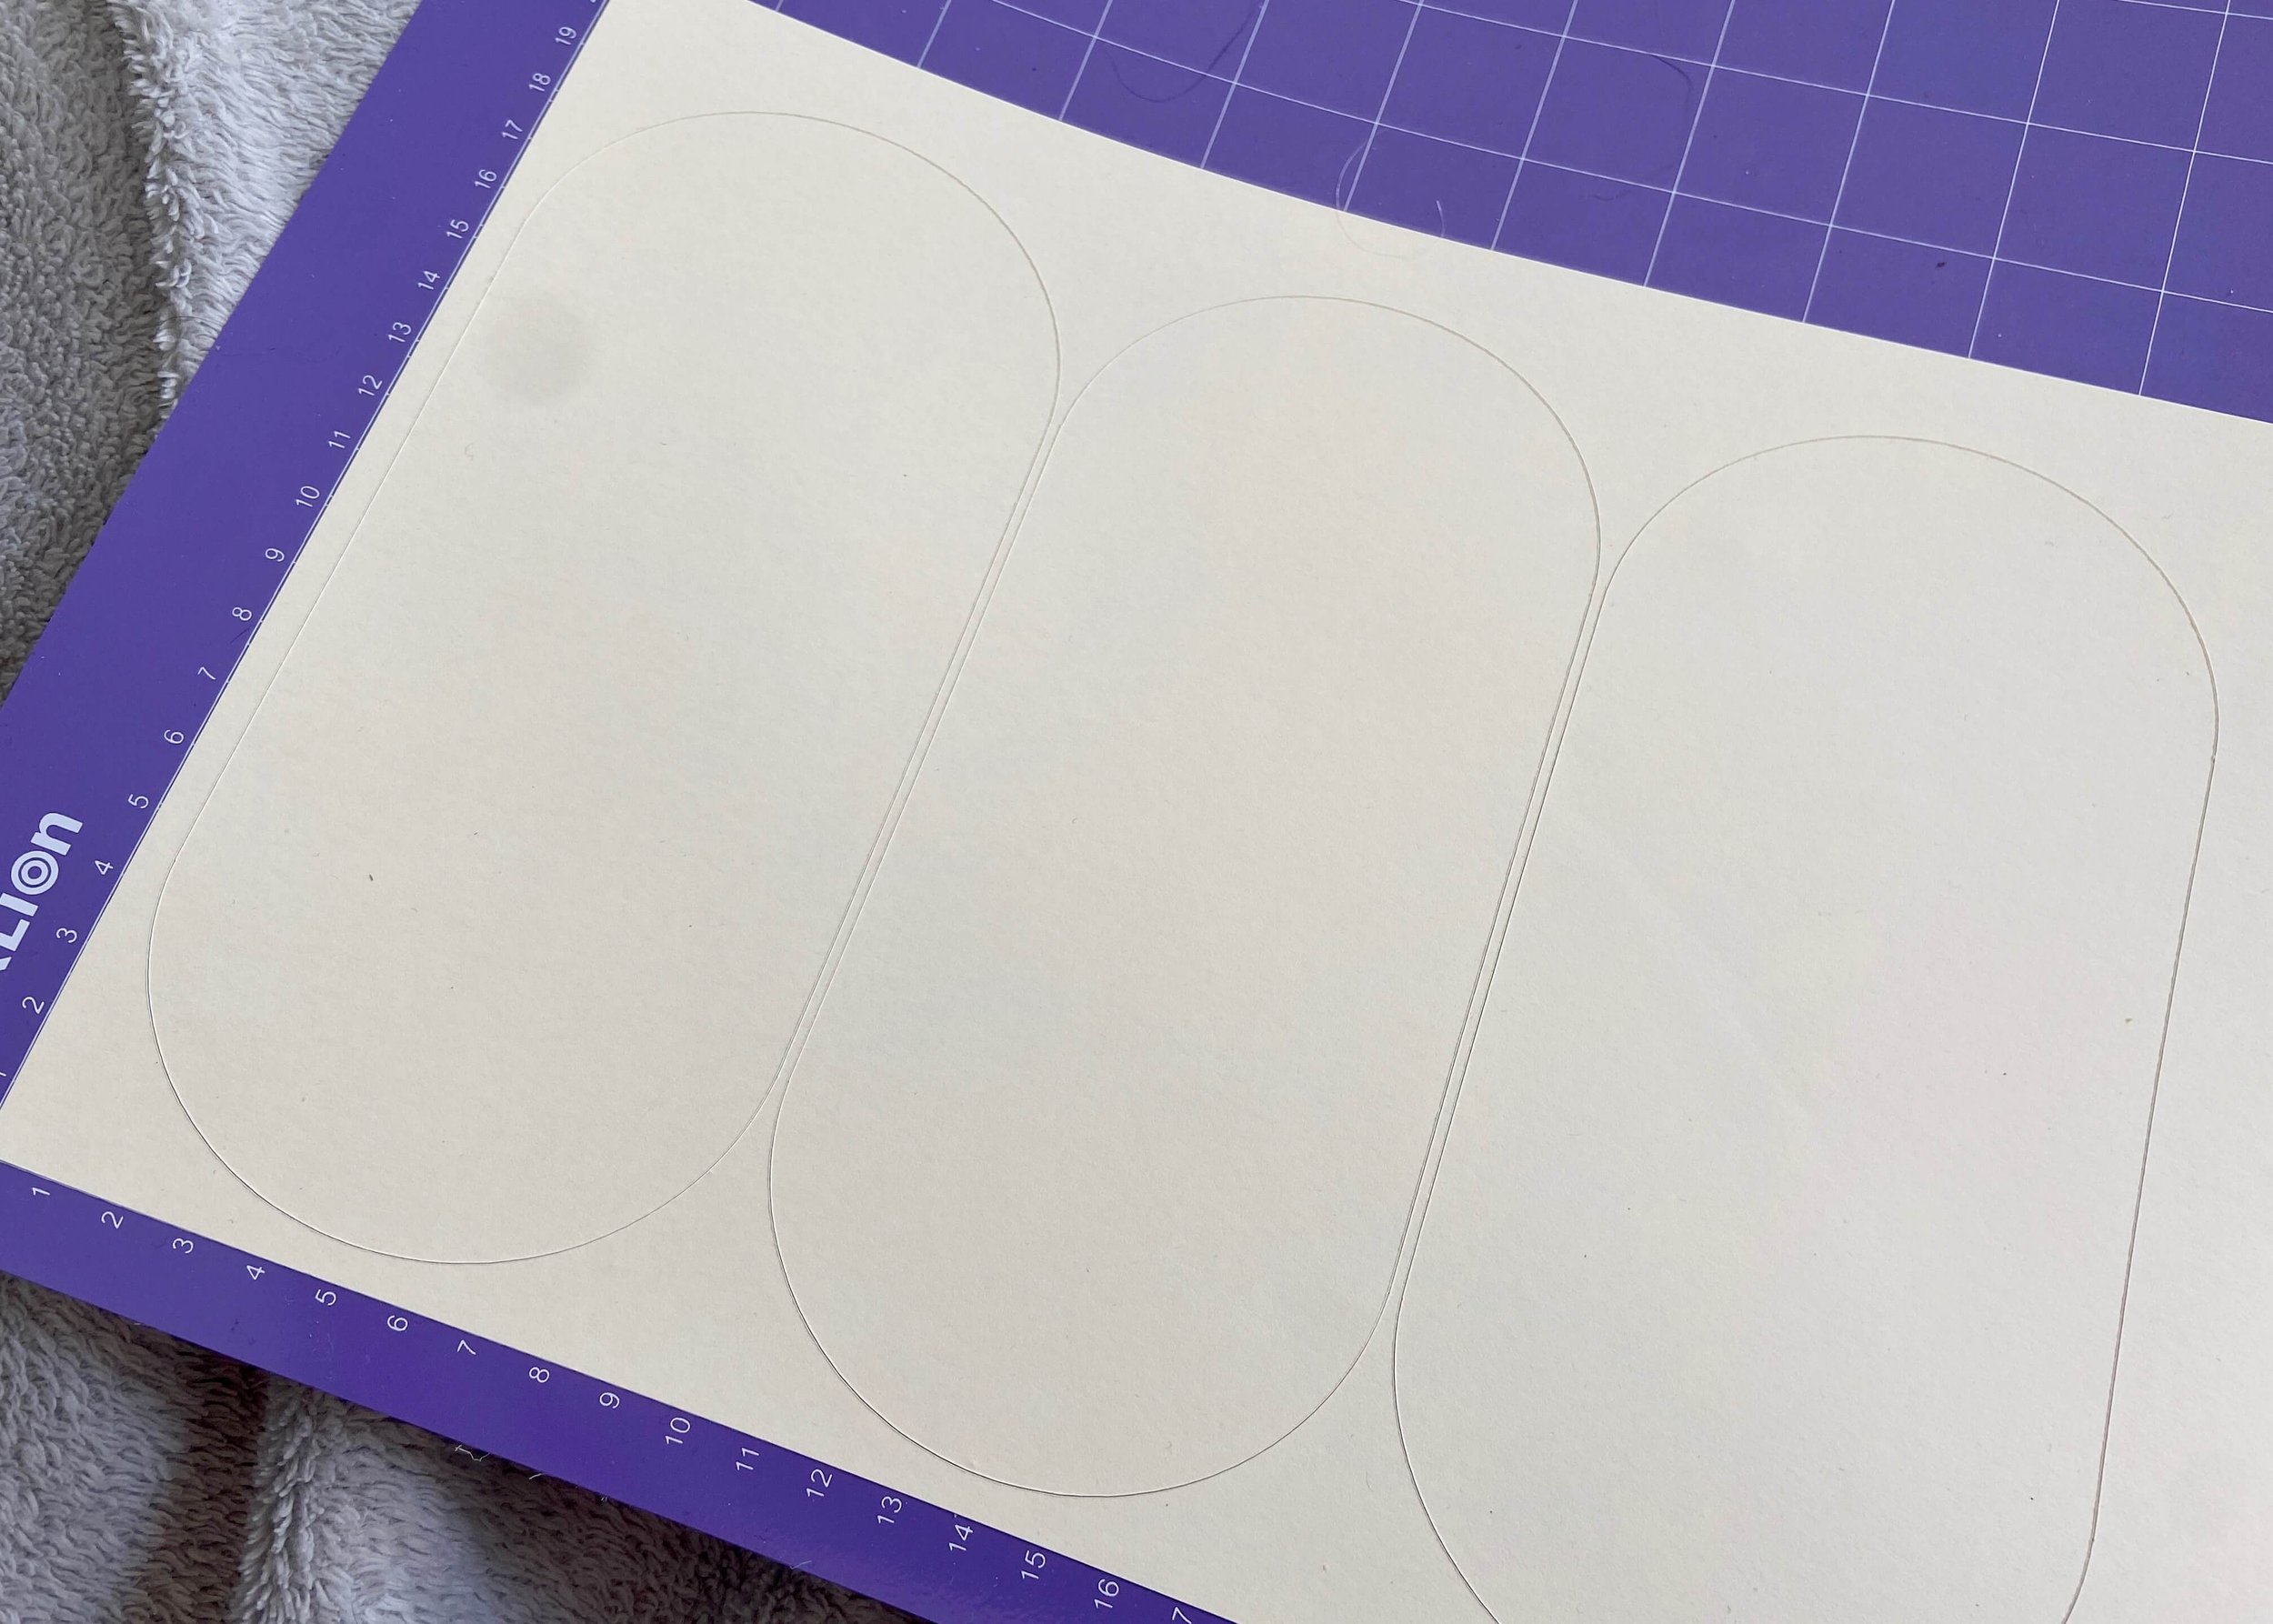
First of all, download the printable below. If you are cutting this out with scissors, print it out onto your cardstock. If you are using a Circut, upload it to Cricut Design Space and cut.
2.
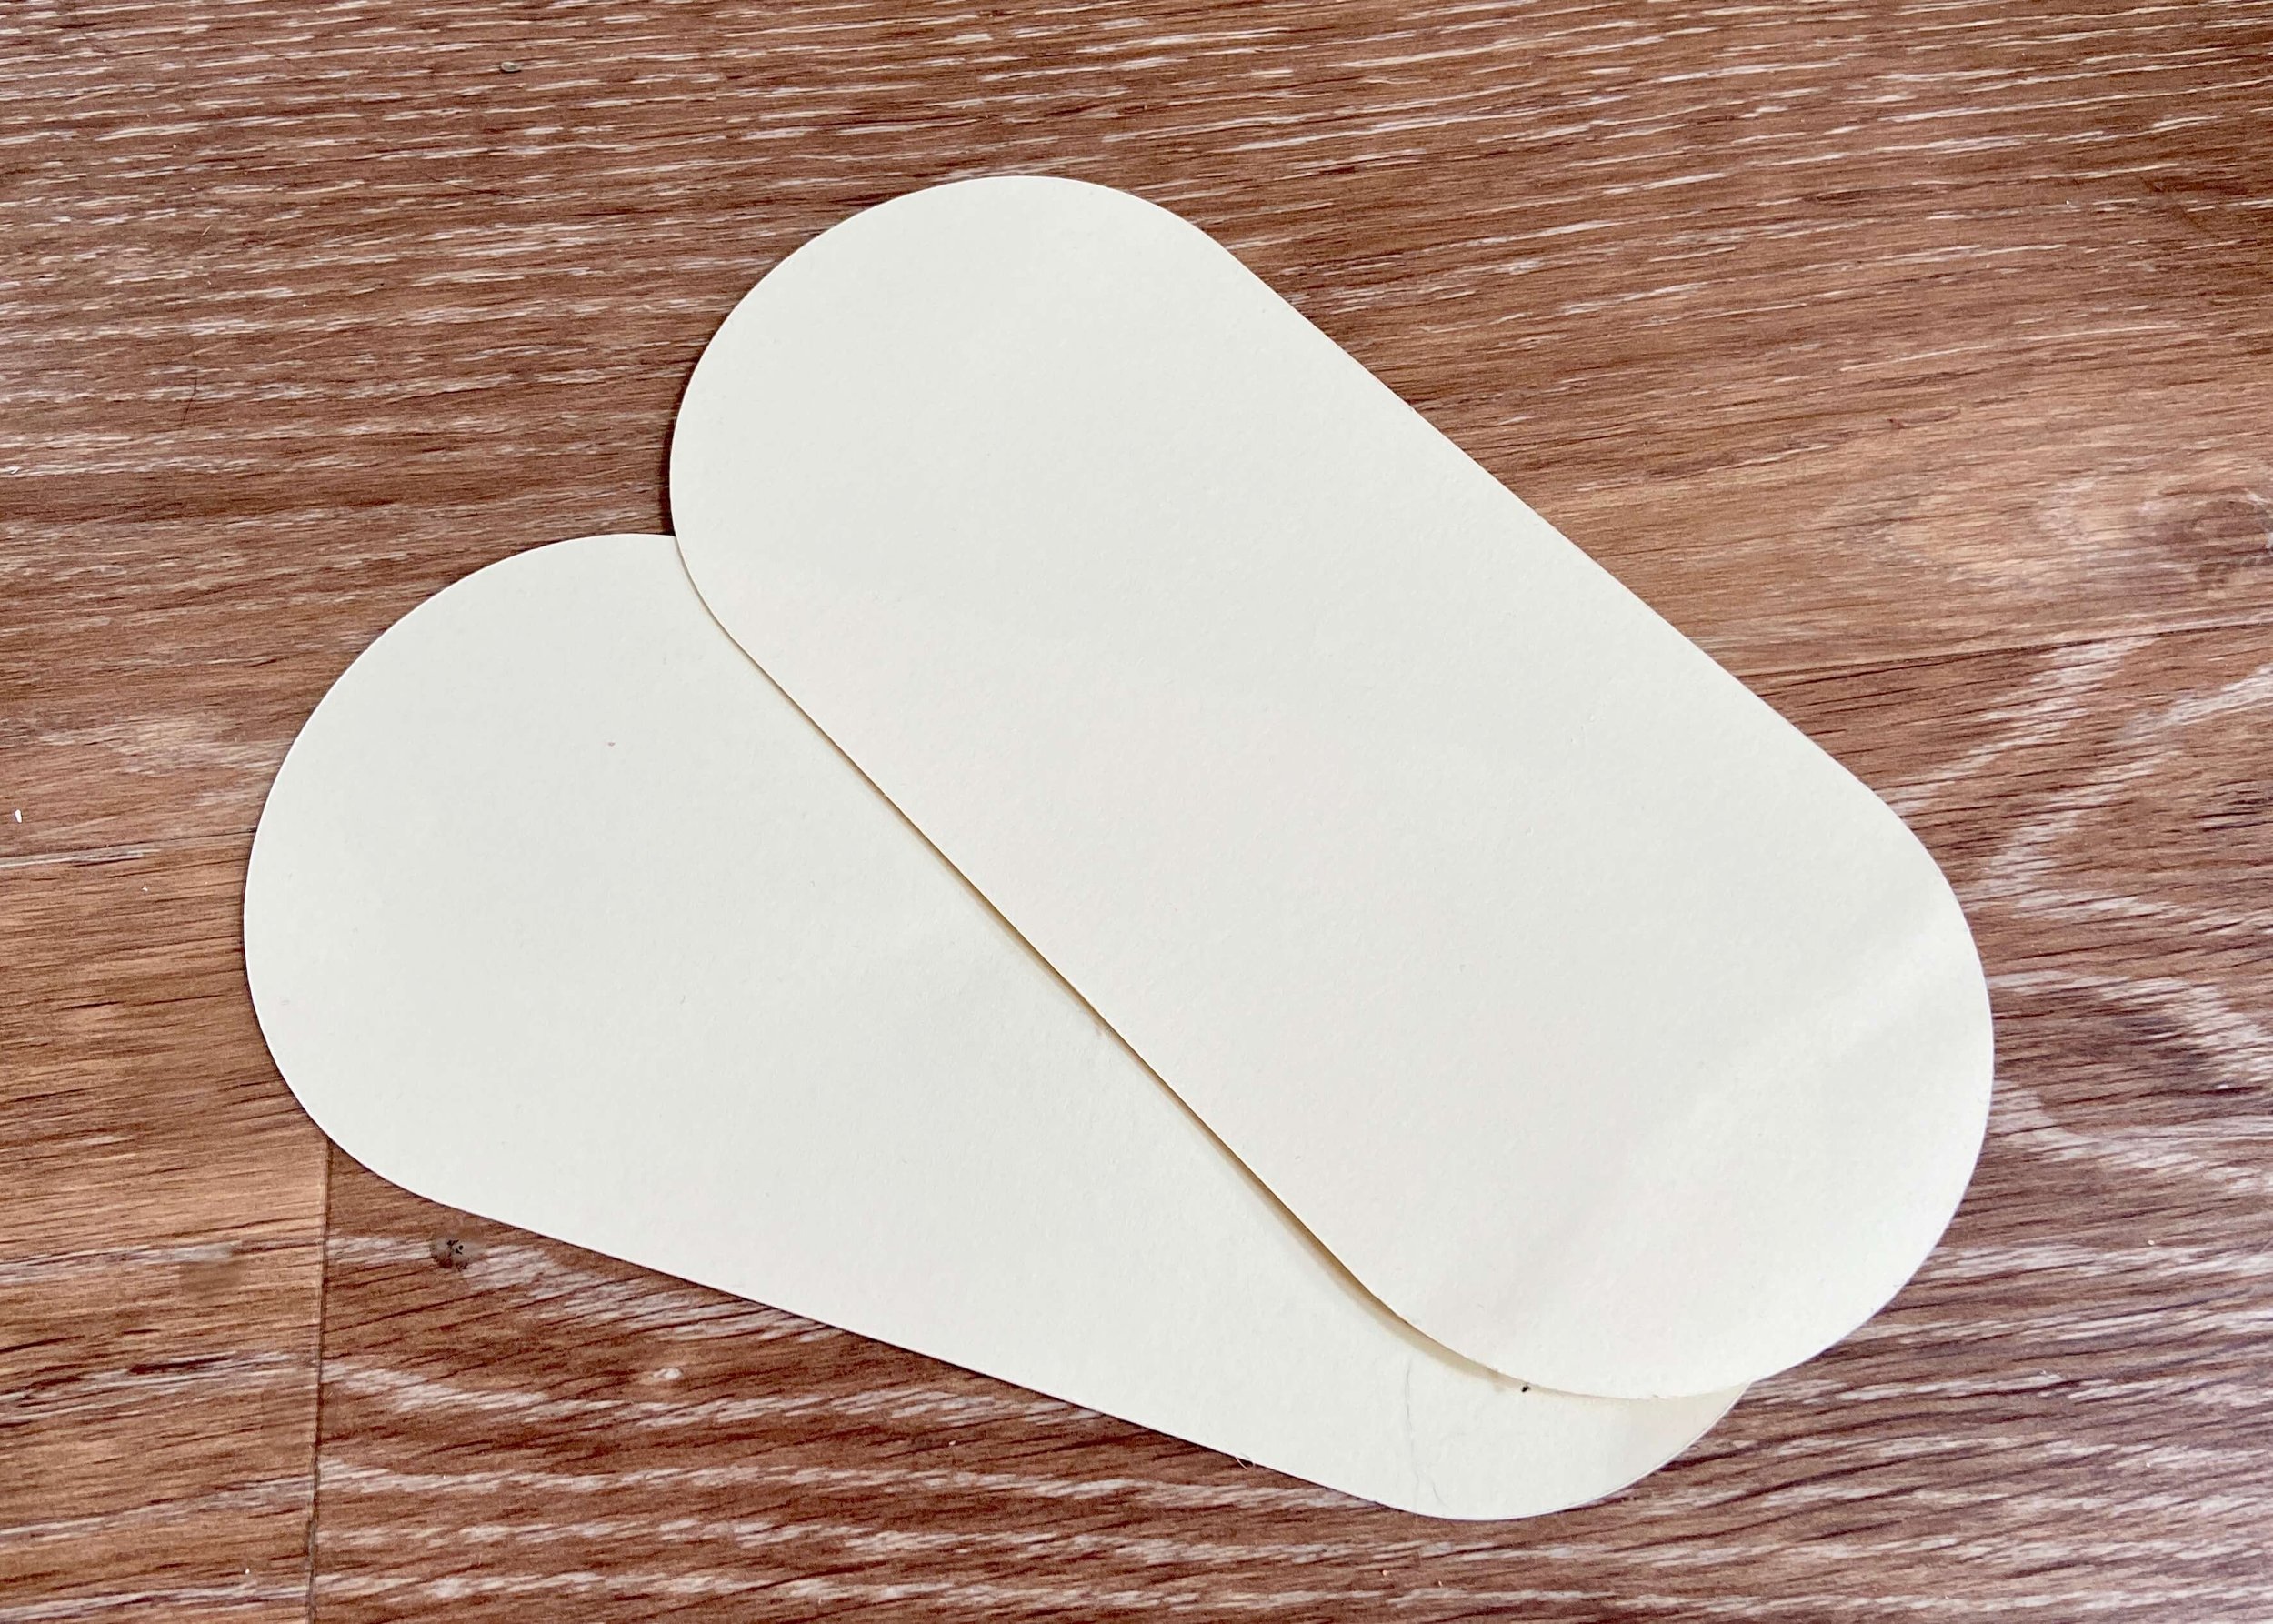
If you’ve used your Cricut, remove the excess cardstock and remove your shapes from the mat.
3.
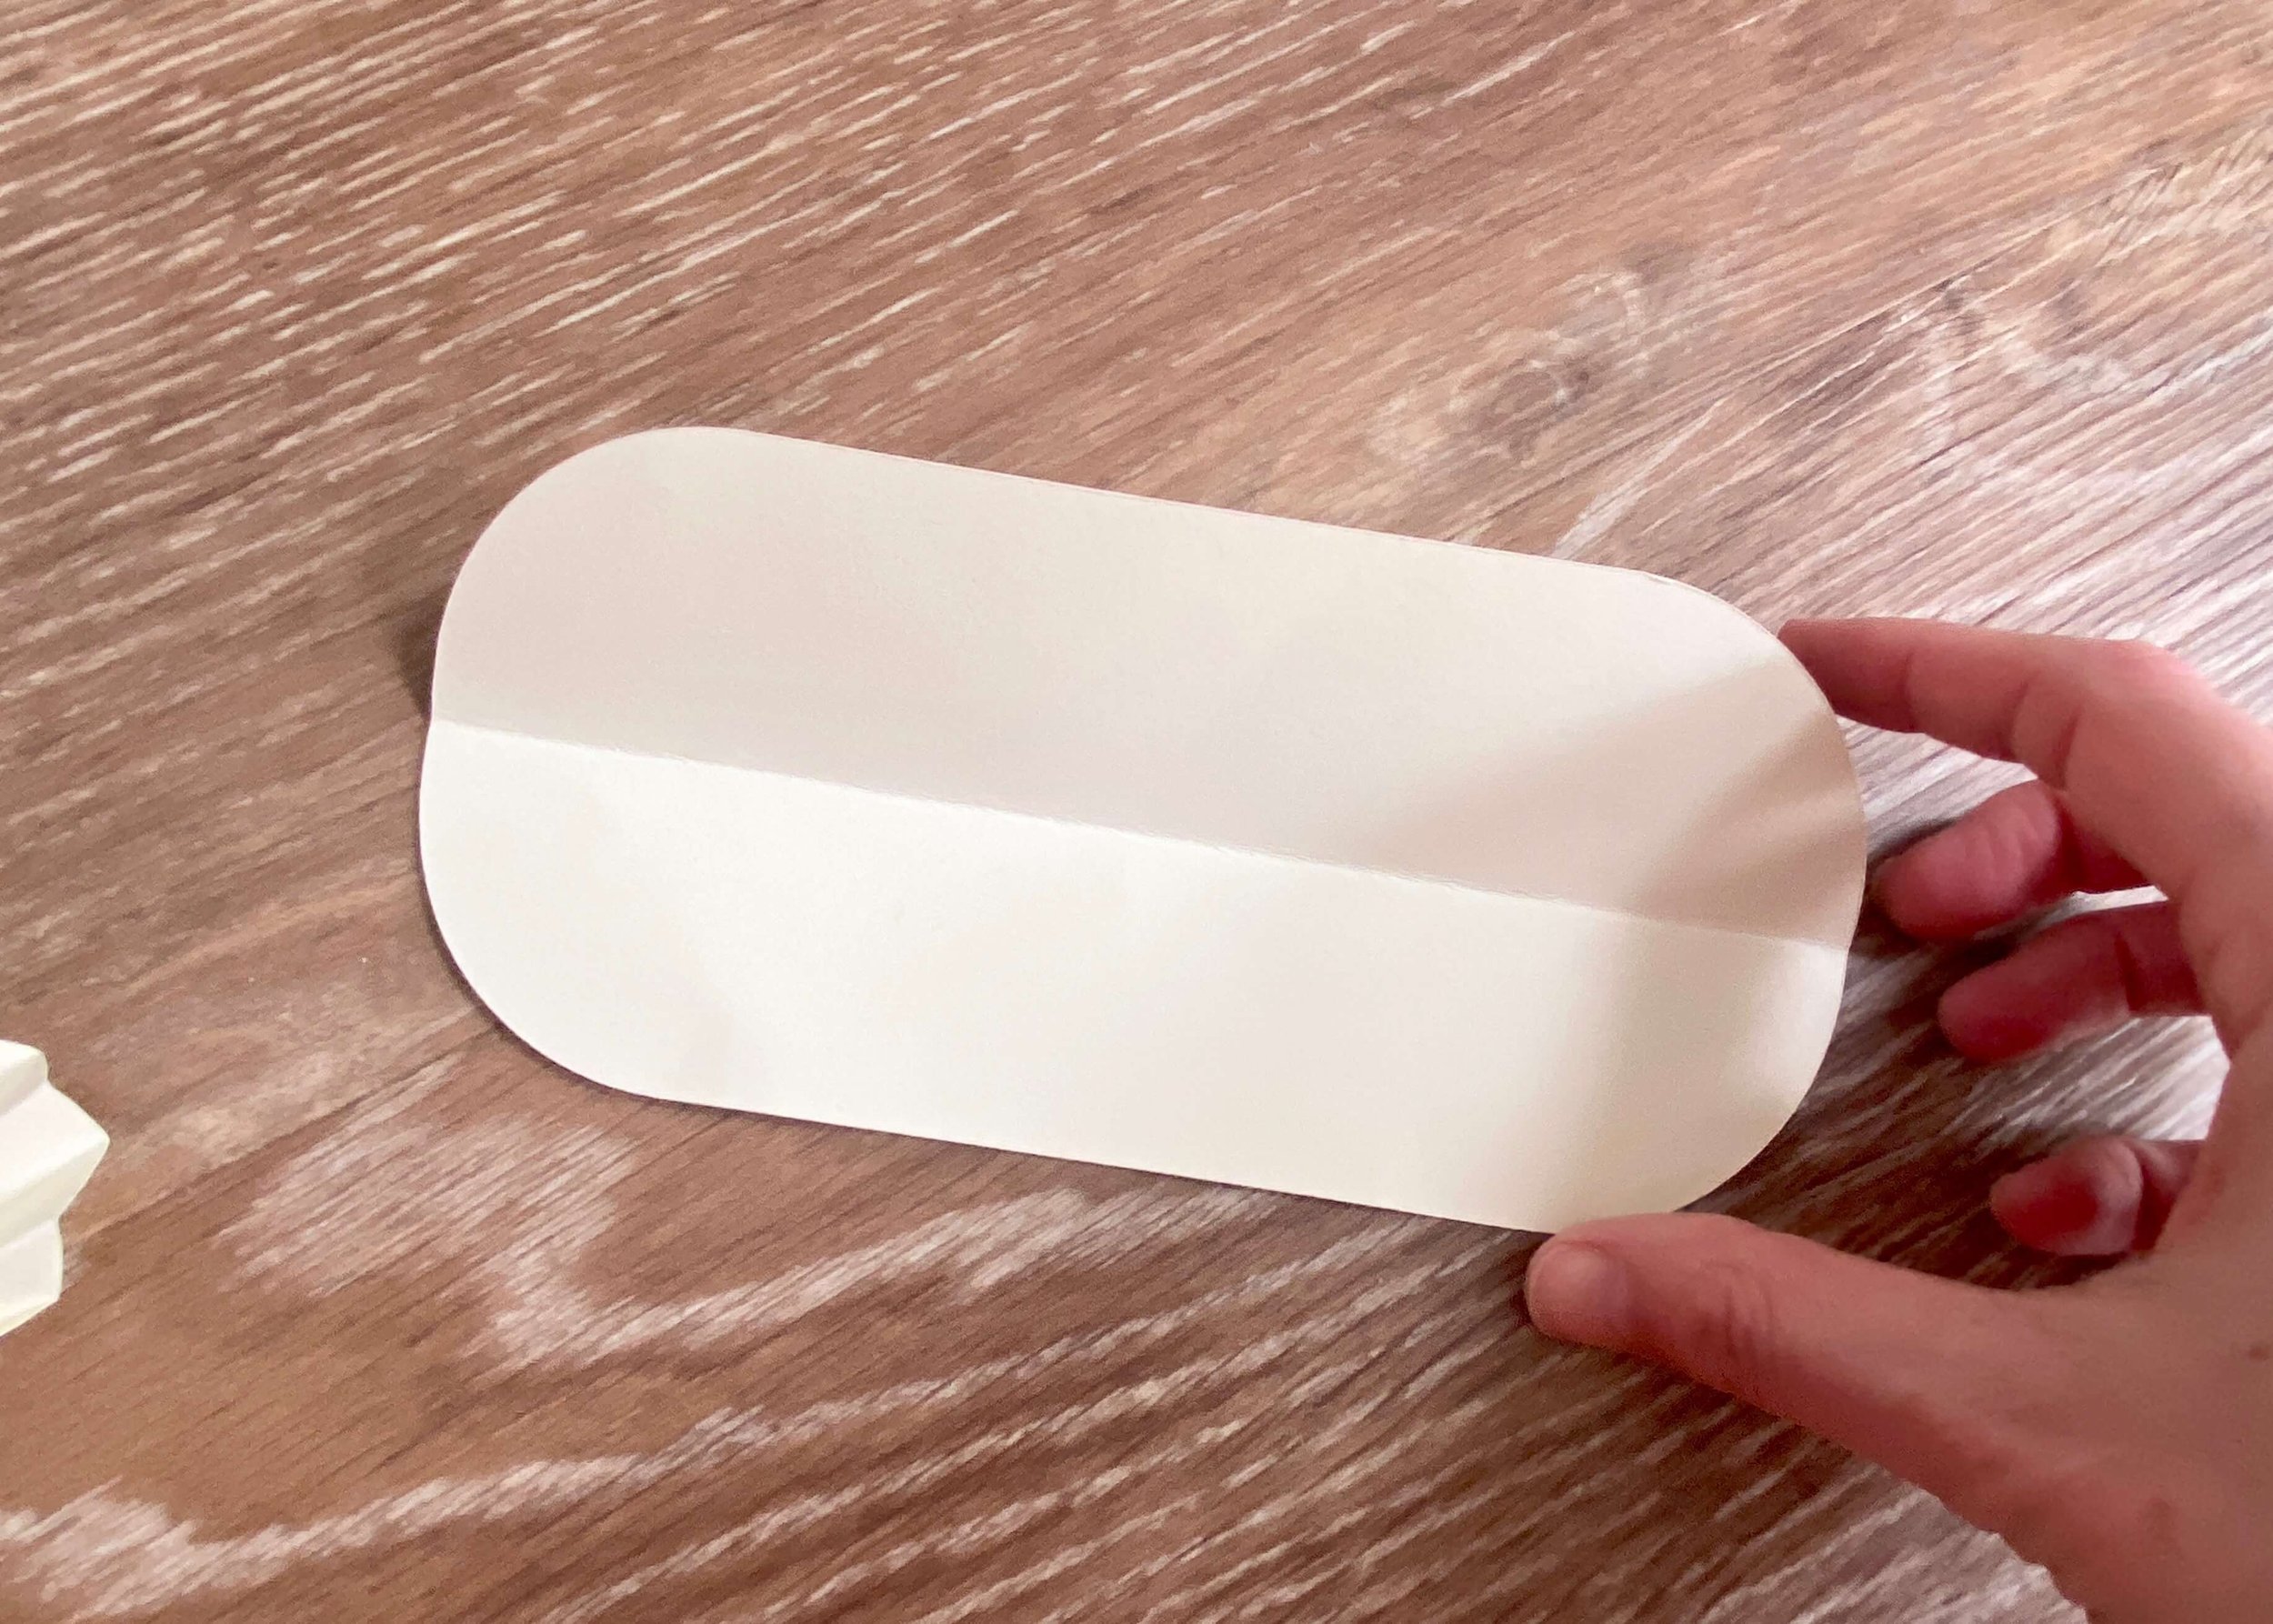
Take your first cut out and fold it in half horizontally.

4.
Now fold each of the halves into halves so that your shape is folded into quarters.

5.
Next fold each of these quarters into halves and concertina the paper as you go. Folding each fold the other way.

6.
Now fold the entire concertina in half the other way.

7.
To create a gradient effect, flatten your shape and paint from the vertical mid point out each side (towards the curved ends) using less paint as you go.
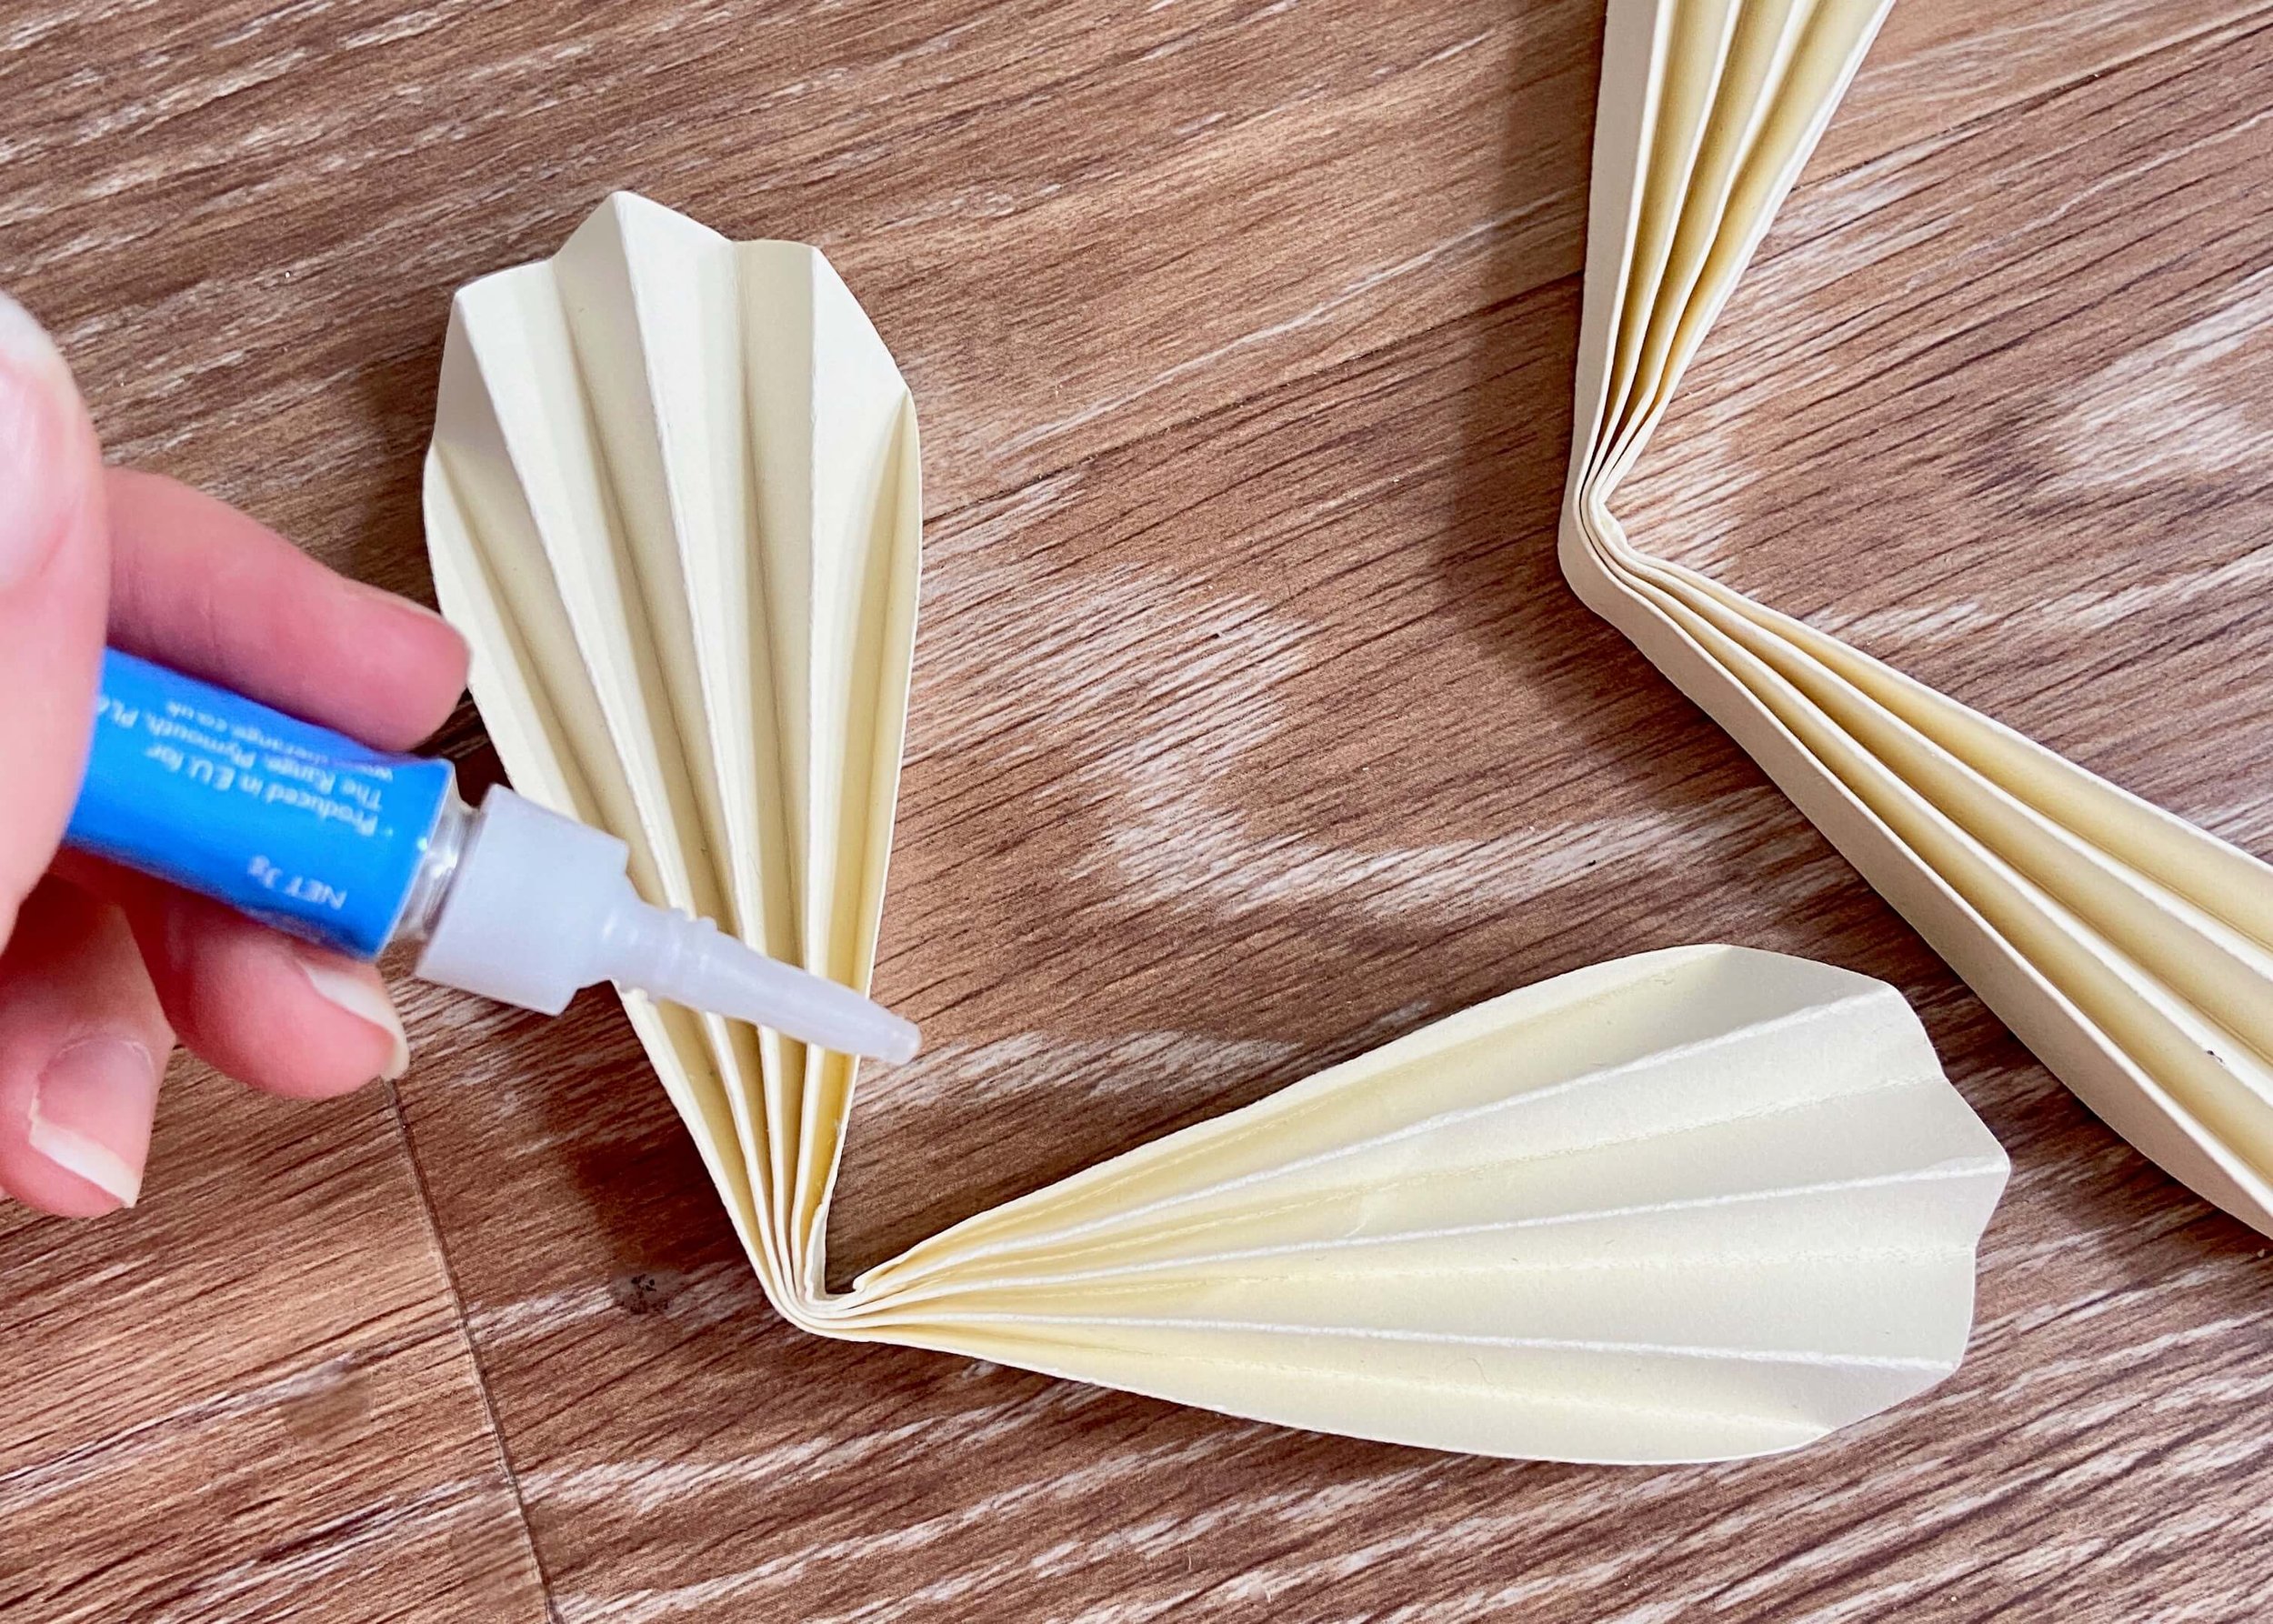
8.
Once dry, add some glue to the inside fold of your paper and stick the two inner folds together.
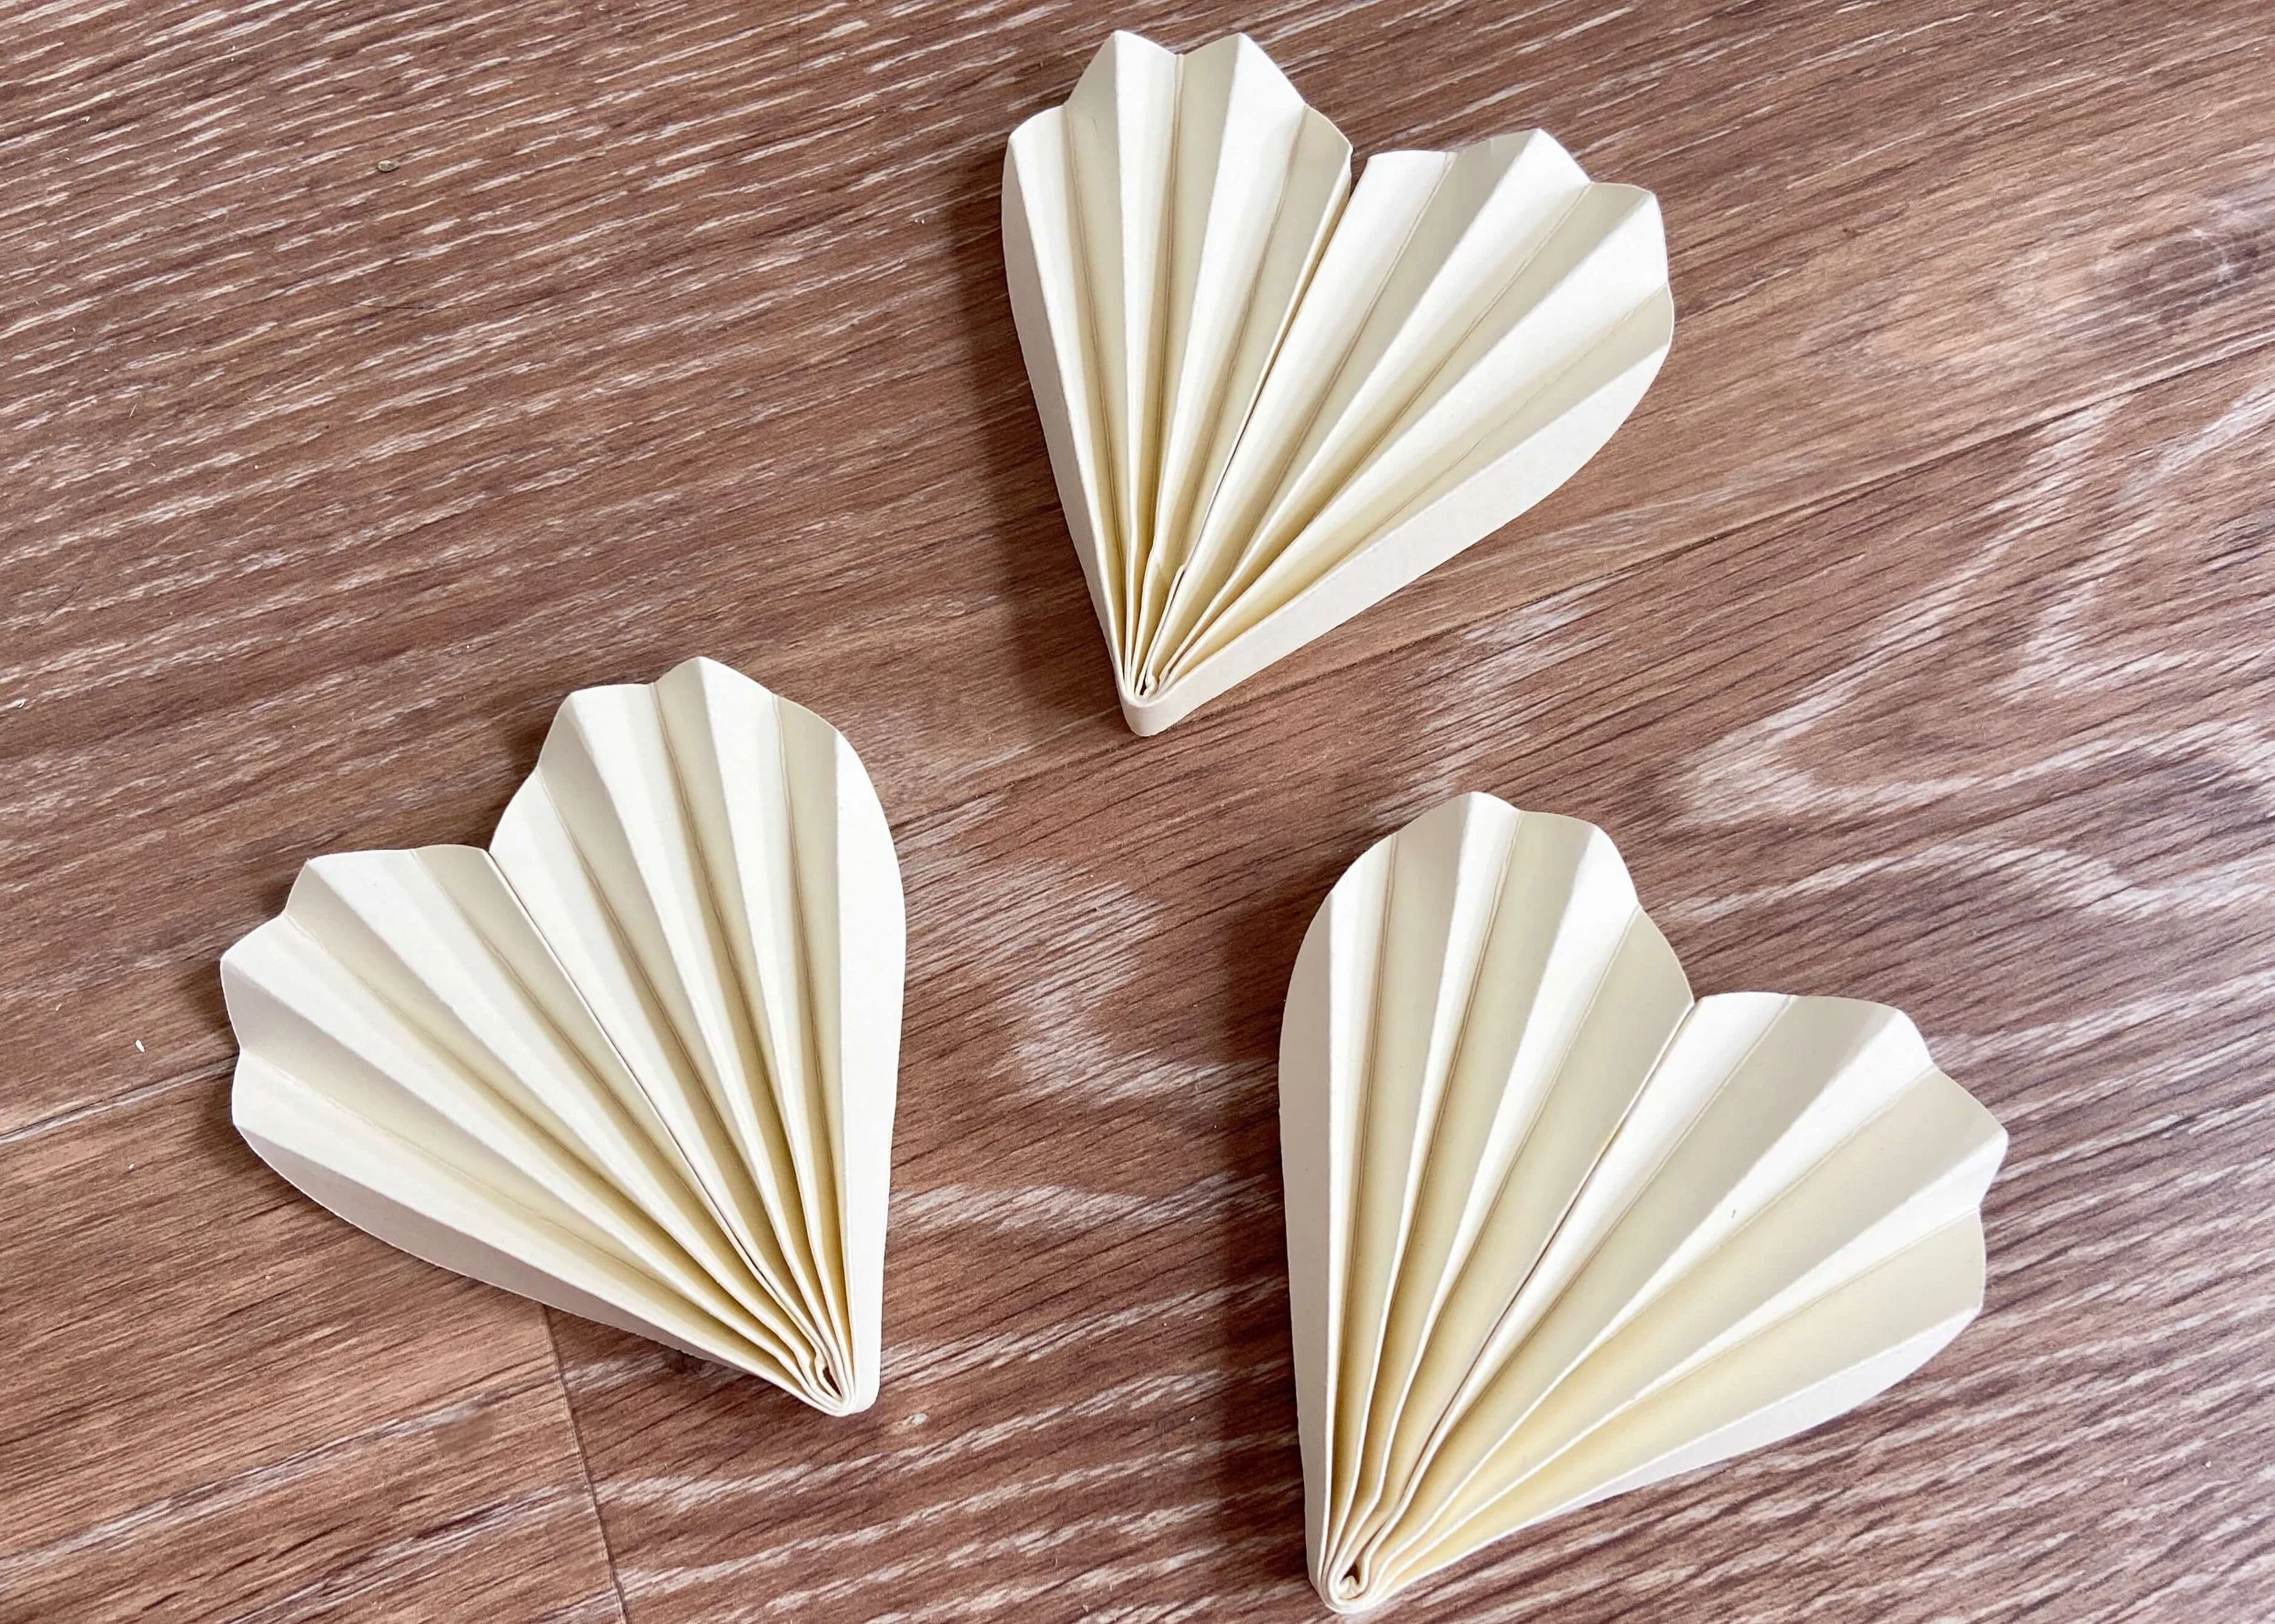
9.
Once the glue is set, pull out the paper slightly to show the heart shape fully.

10.
Finally, use paperclips to add to a bead garland. You can find the tutorial for this here.


