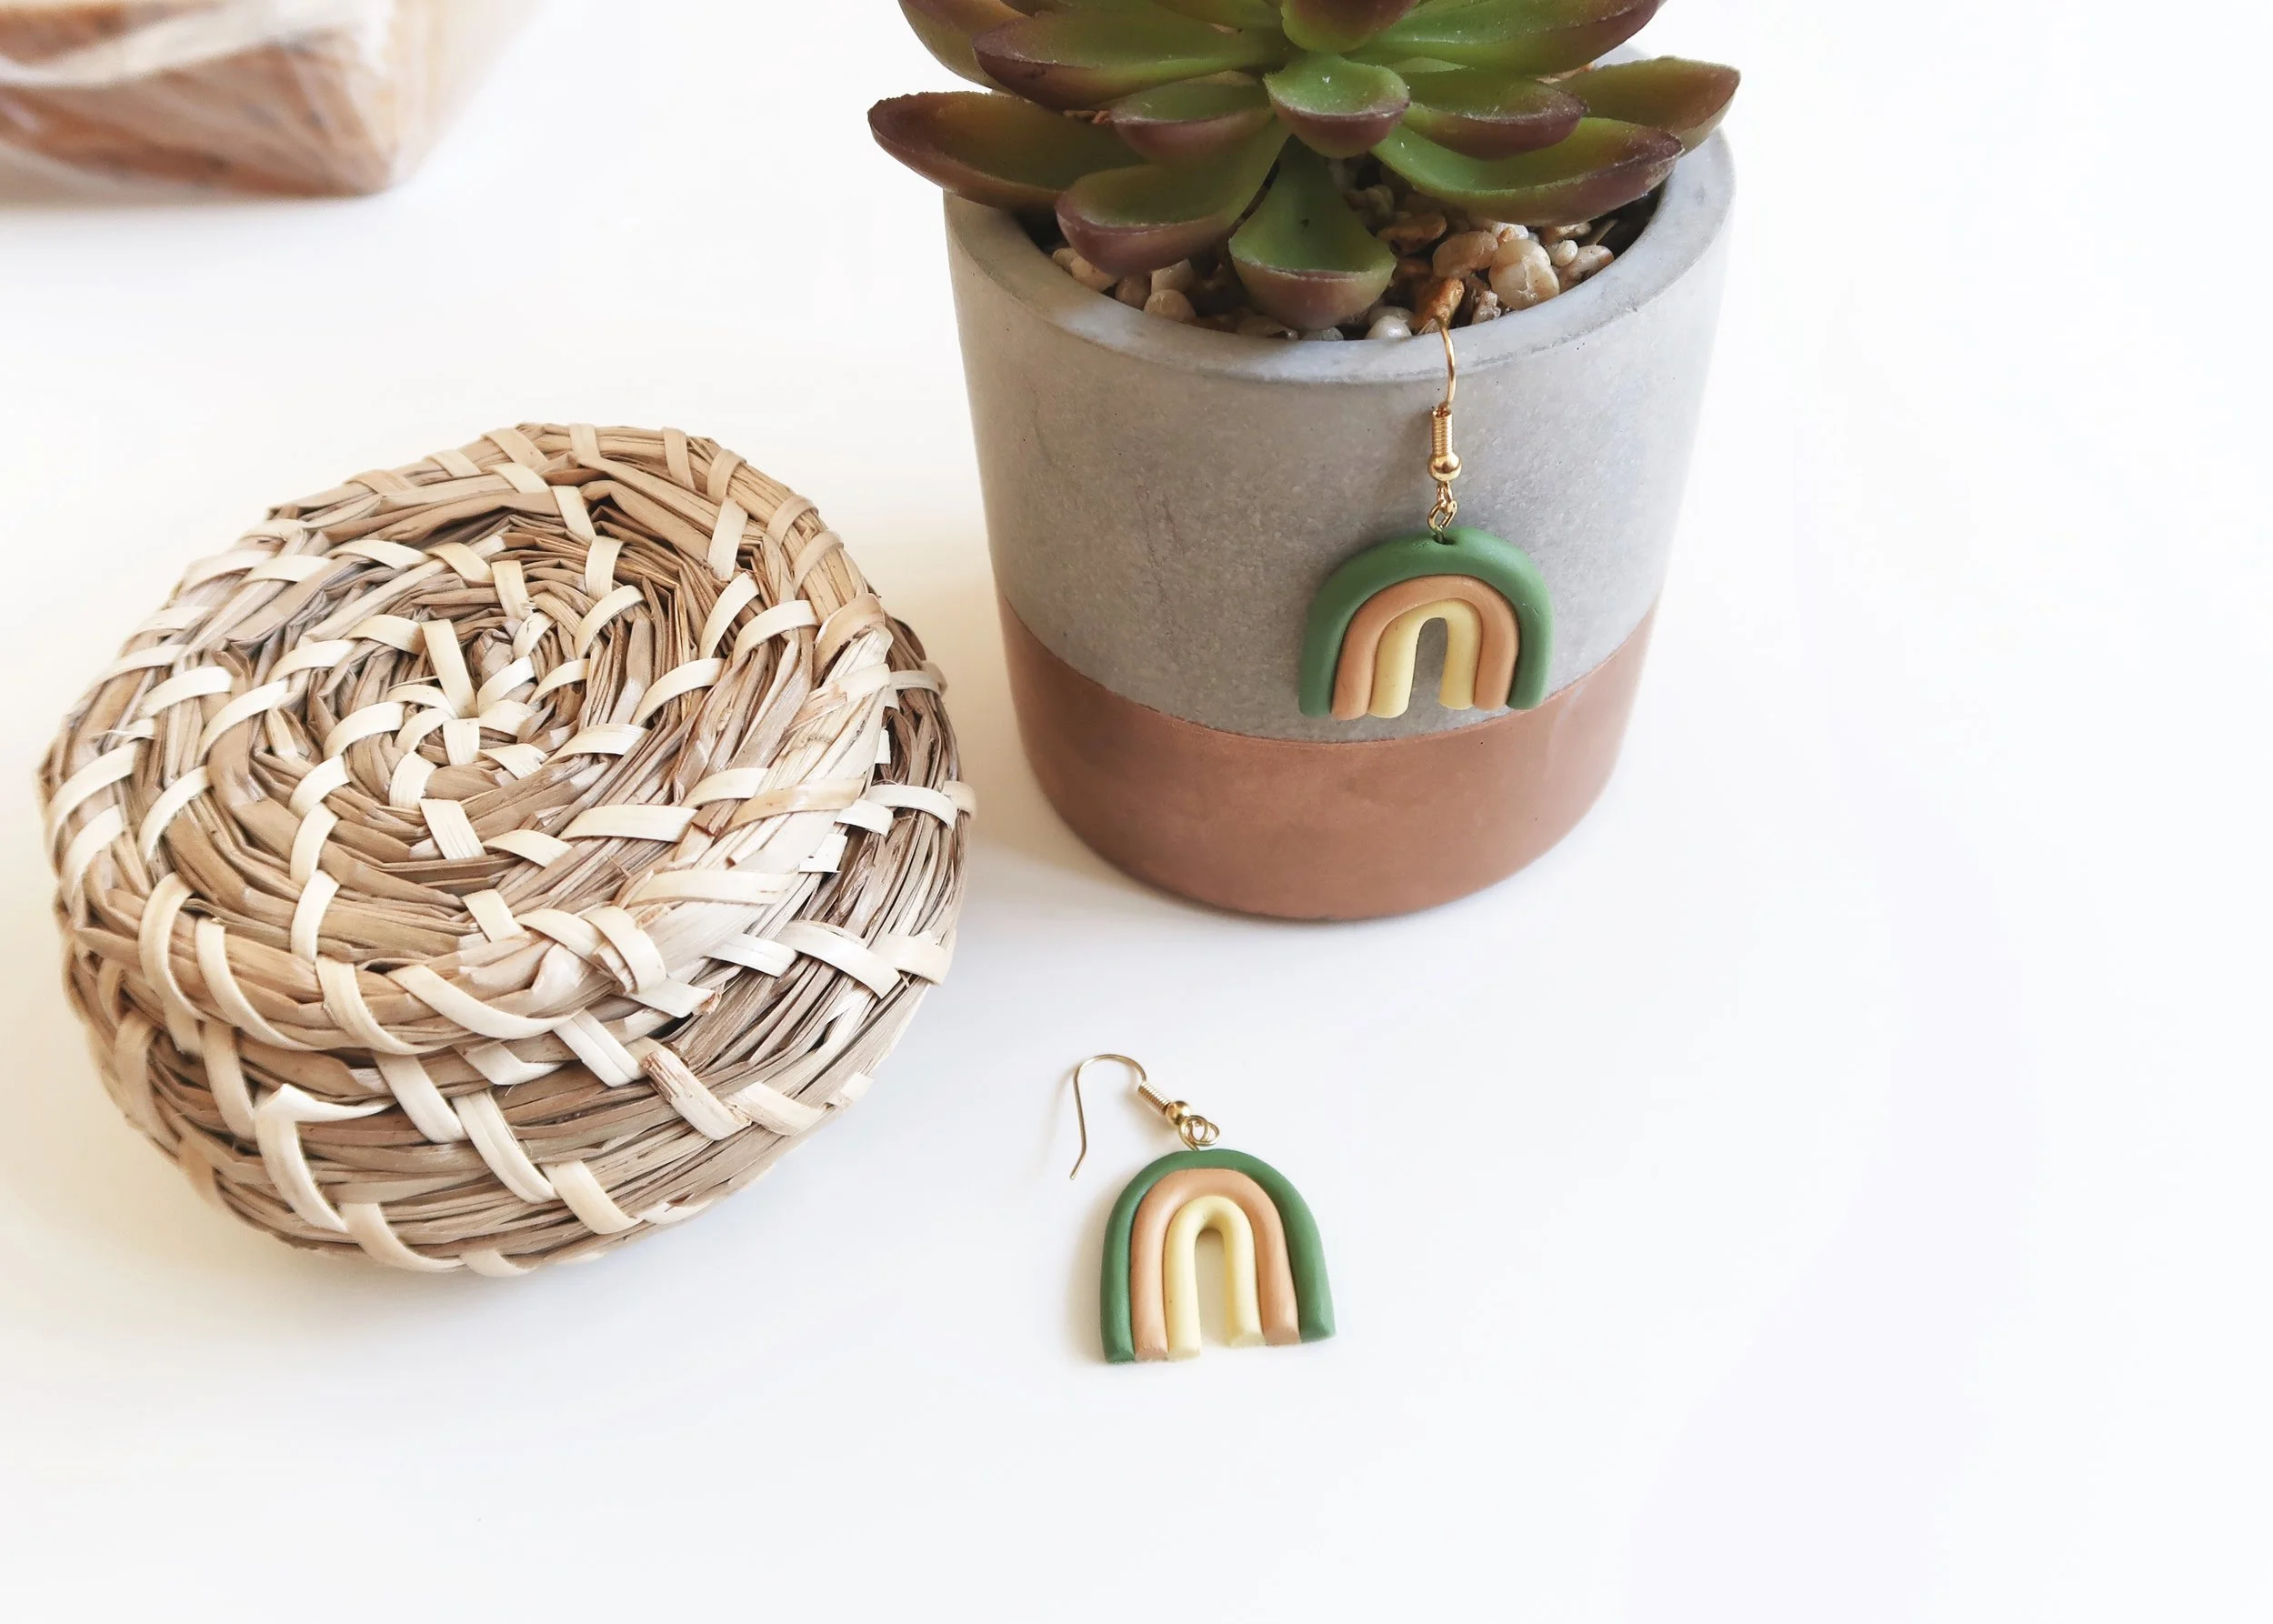
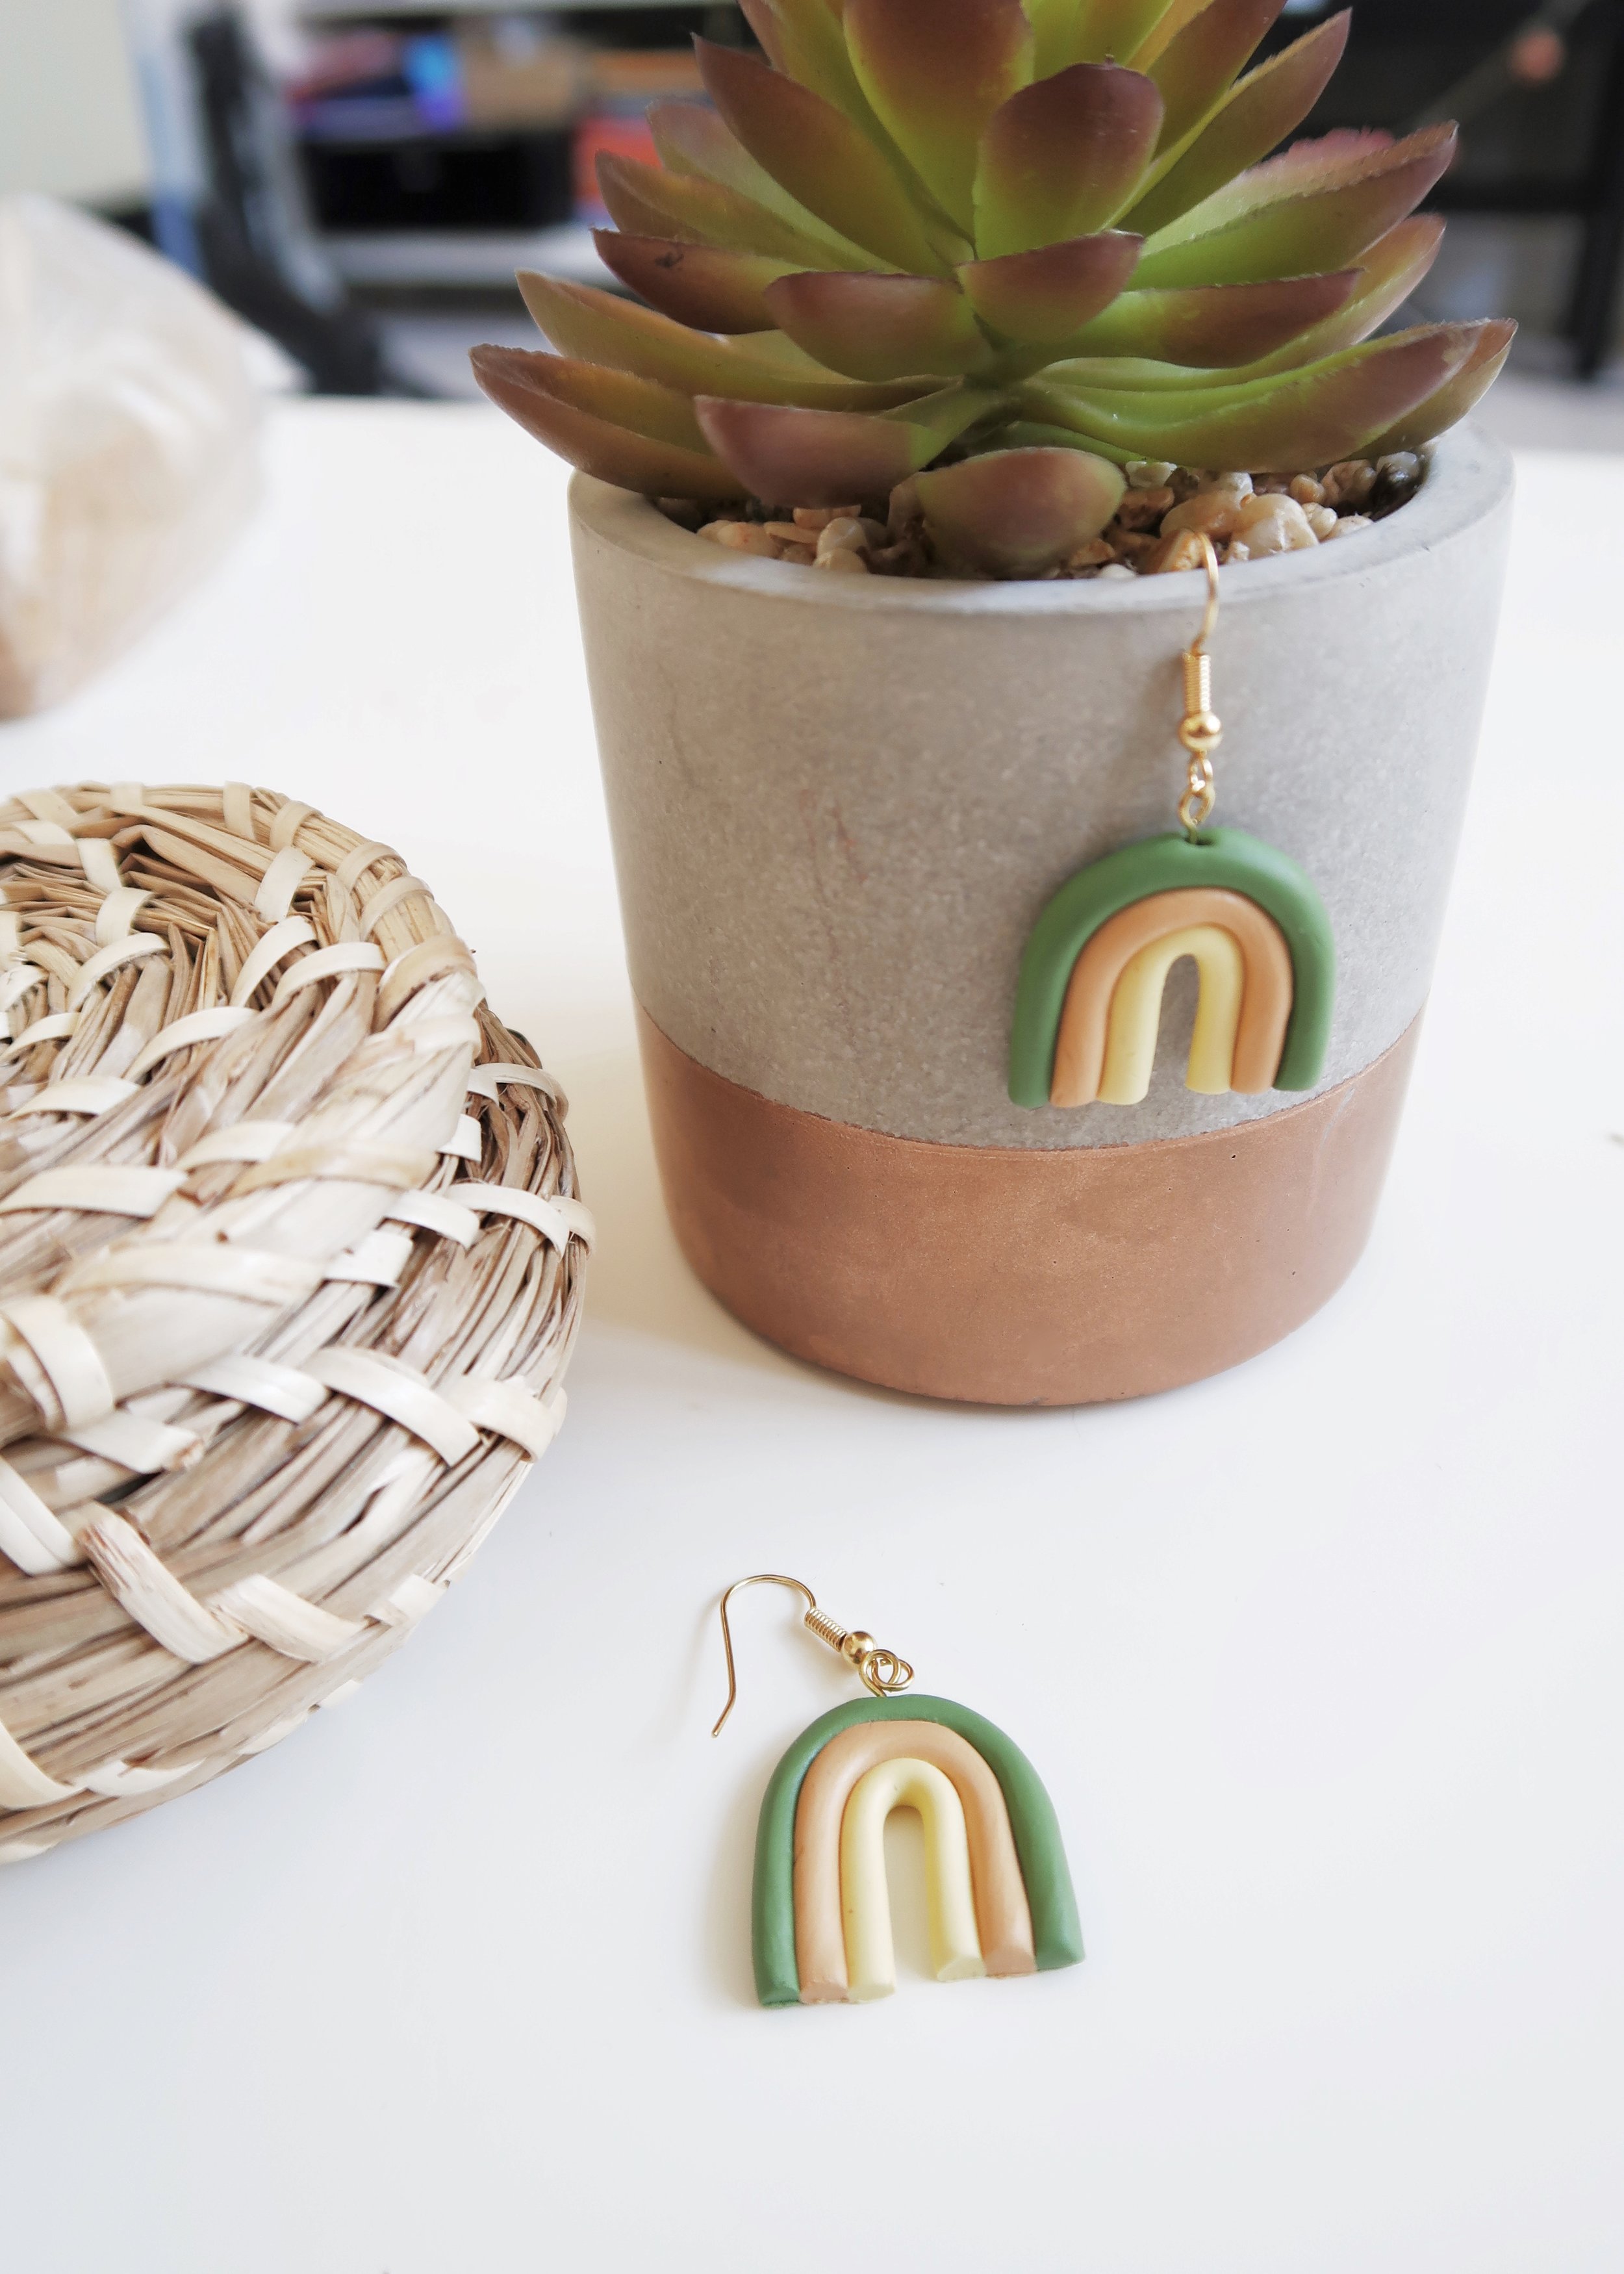
Nail the rainbow trend with these quirky and easy-to-make polymer clay rainbow earrings!
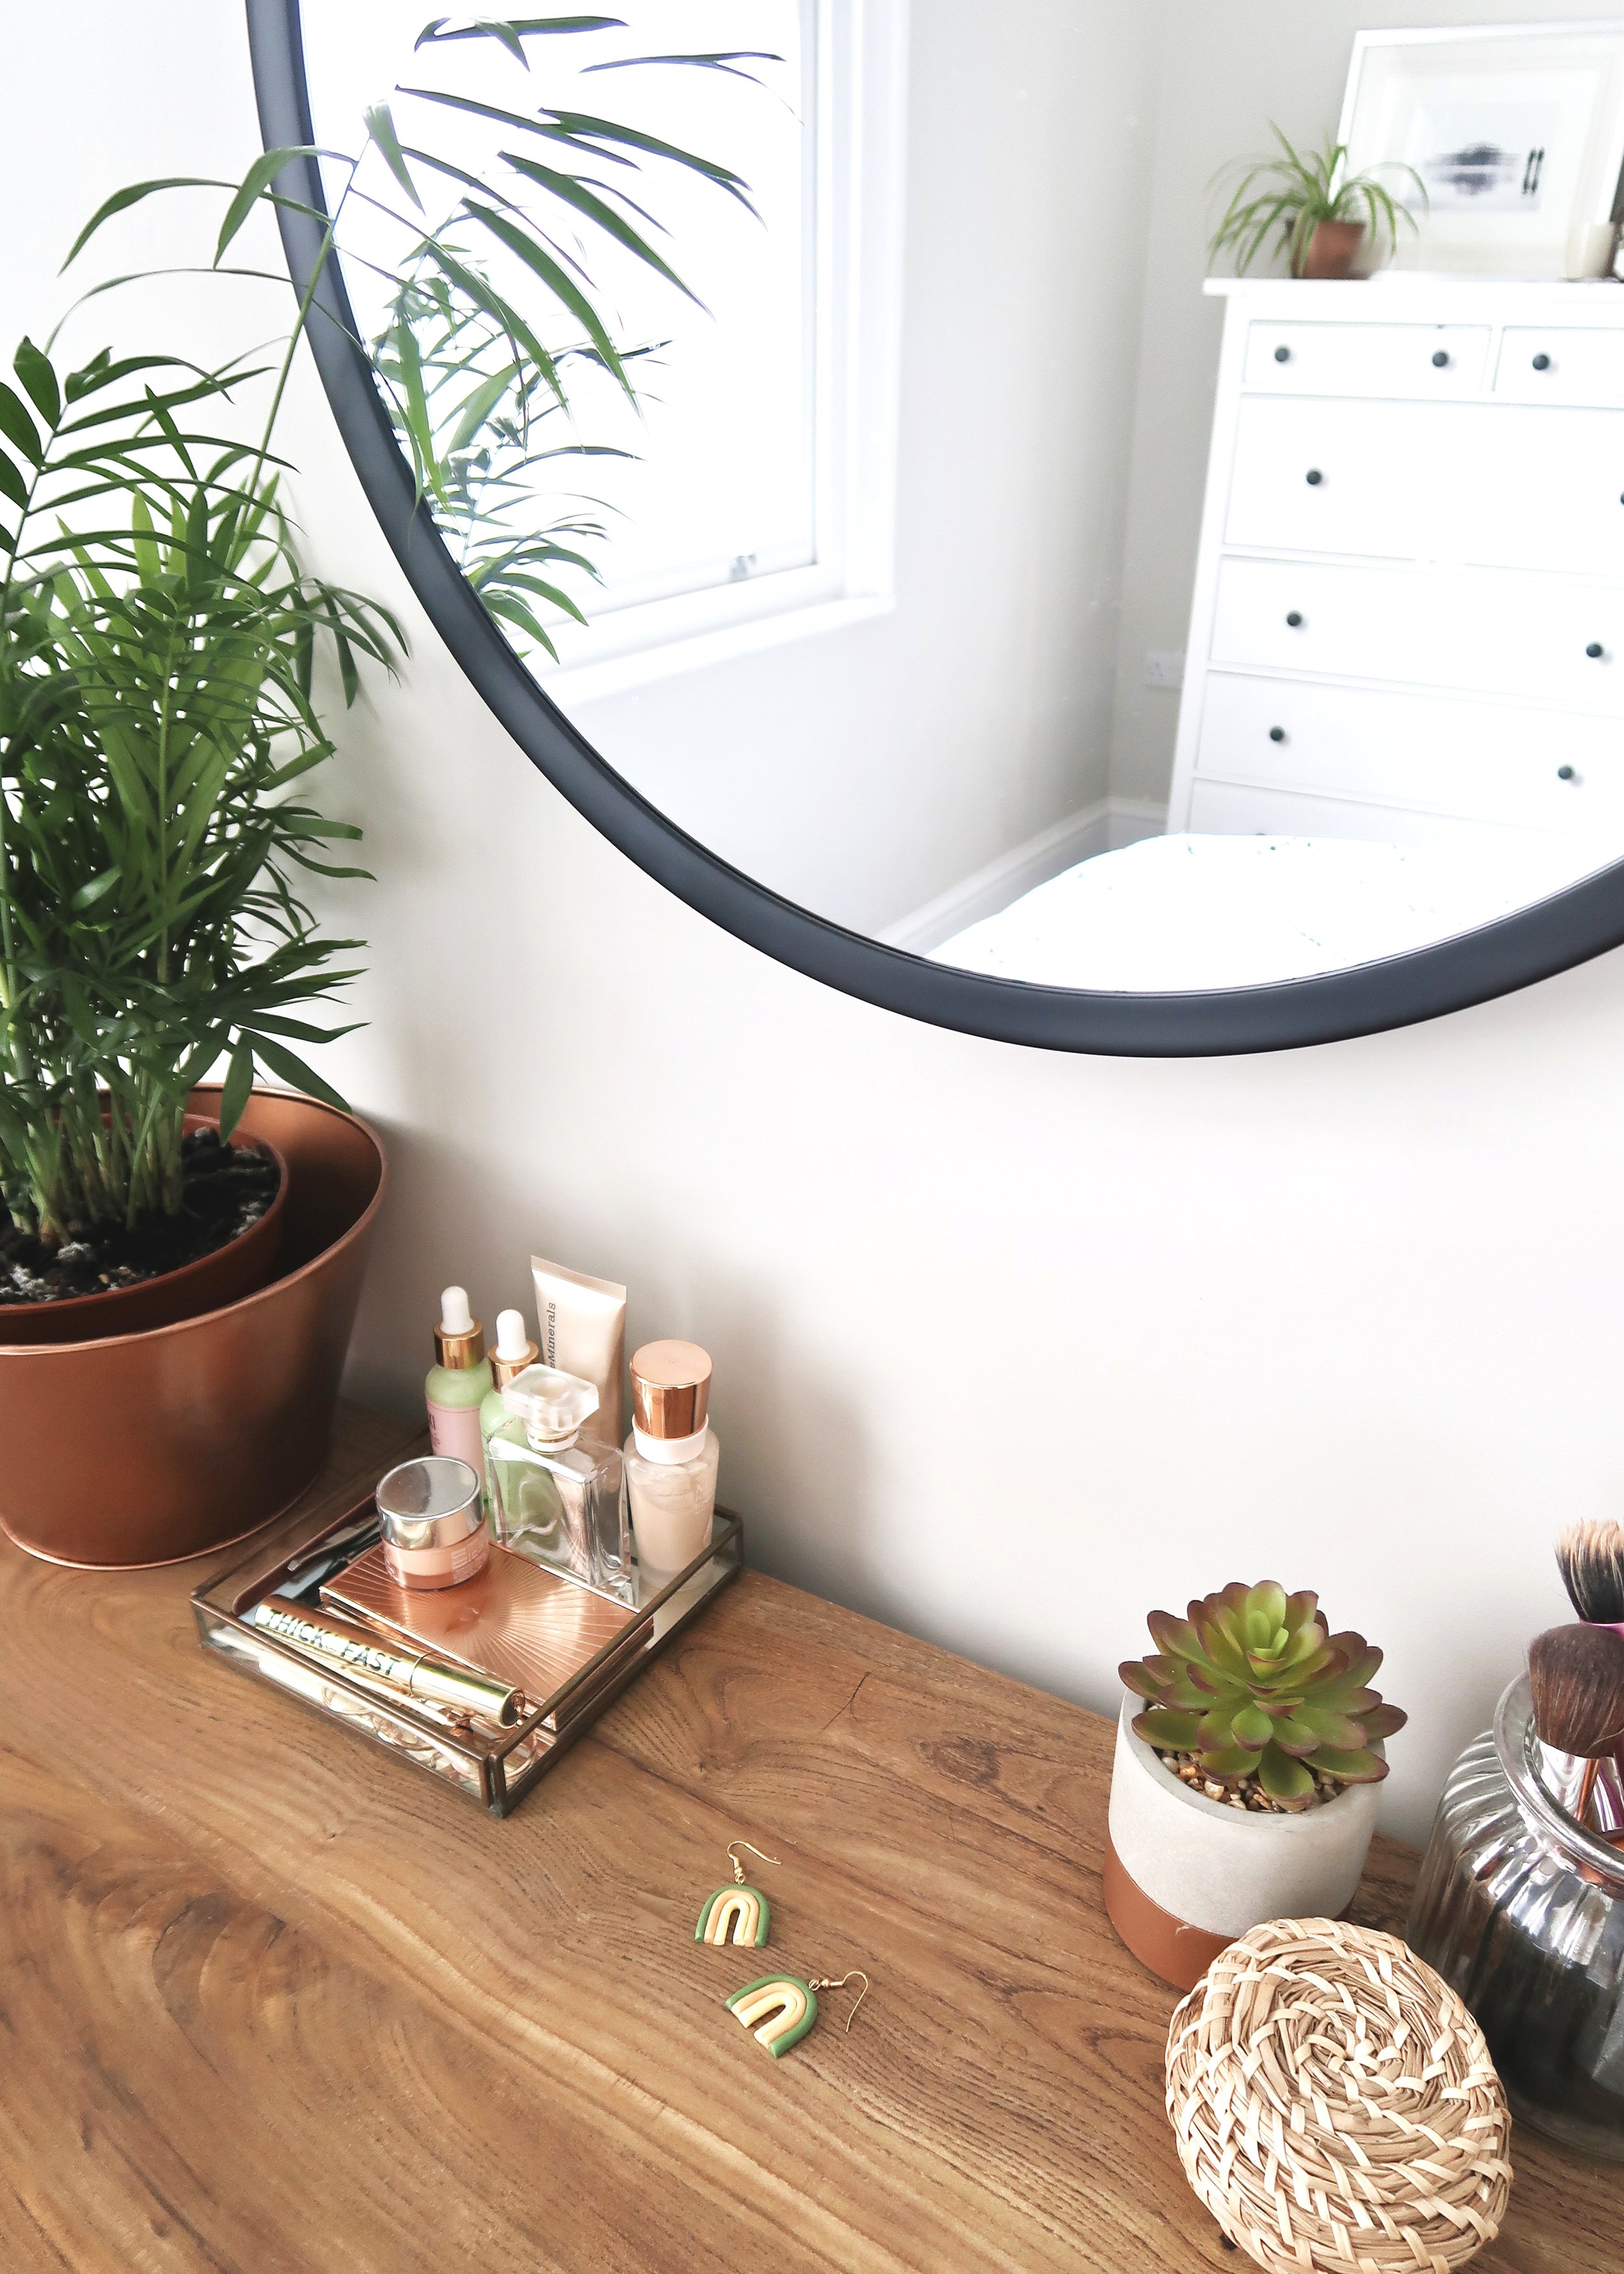
It’s been over a month since I posted on or really even looked at the blog, instagram or Pinterest, and in that time it seems as though rainbows have taken over the creative blogging world. I’m loving all the interesting and creative ways bloggers are incorporating them into their projects and decor, and it completely inspired me to have a go at making these rainbow inspired earrings. The bright and bold colours of the rainbow aren’t for everyone though, and so I opted for making the earrings in earthy, muted and pastel tones, for those of us who prefer things a bit more understated!
It was great fun to use polymer clay again, it’s been a while, and this was actually the first time that I have ever tried to alter the colour of clay with oil paints. It worked really well for creating these pastel tones, and I loved being able to mix up the exact colour I was looking for. If you’re interested in brighter, more vibrant colours though, you may want to stick with the pre-coloured polymer clay you can get straight off the shelves. Either way, keep reading to find out how to make your very own pair of polymer clay rainbow earrings.


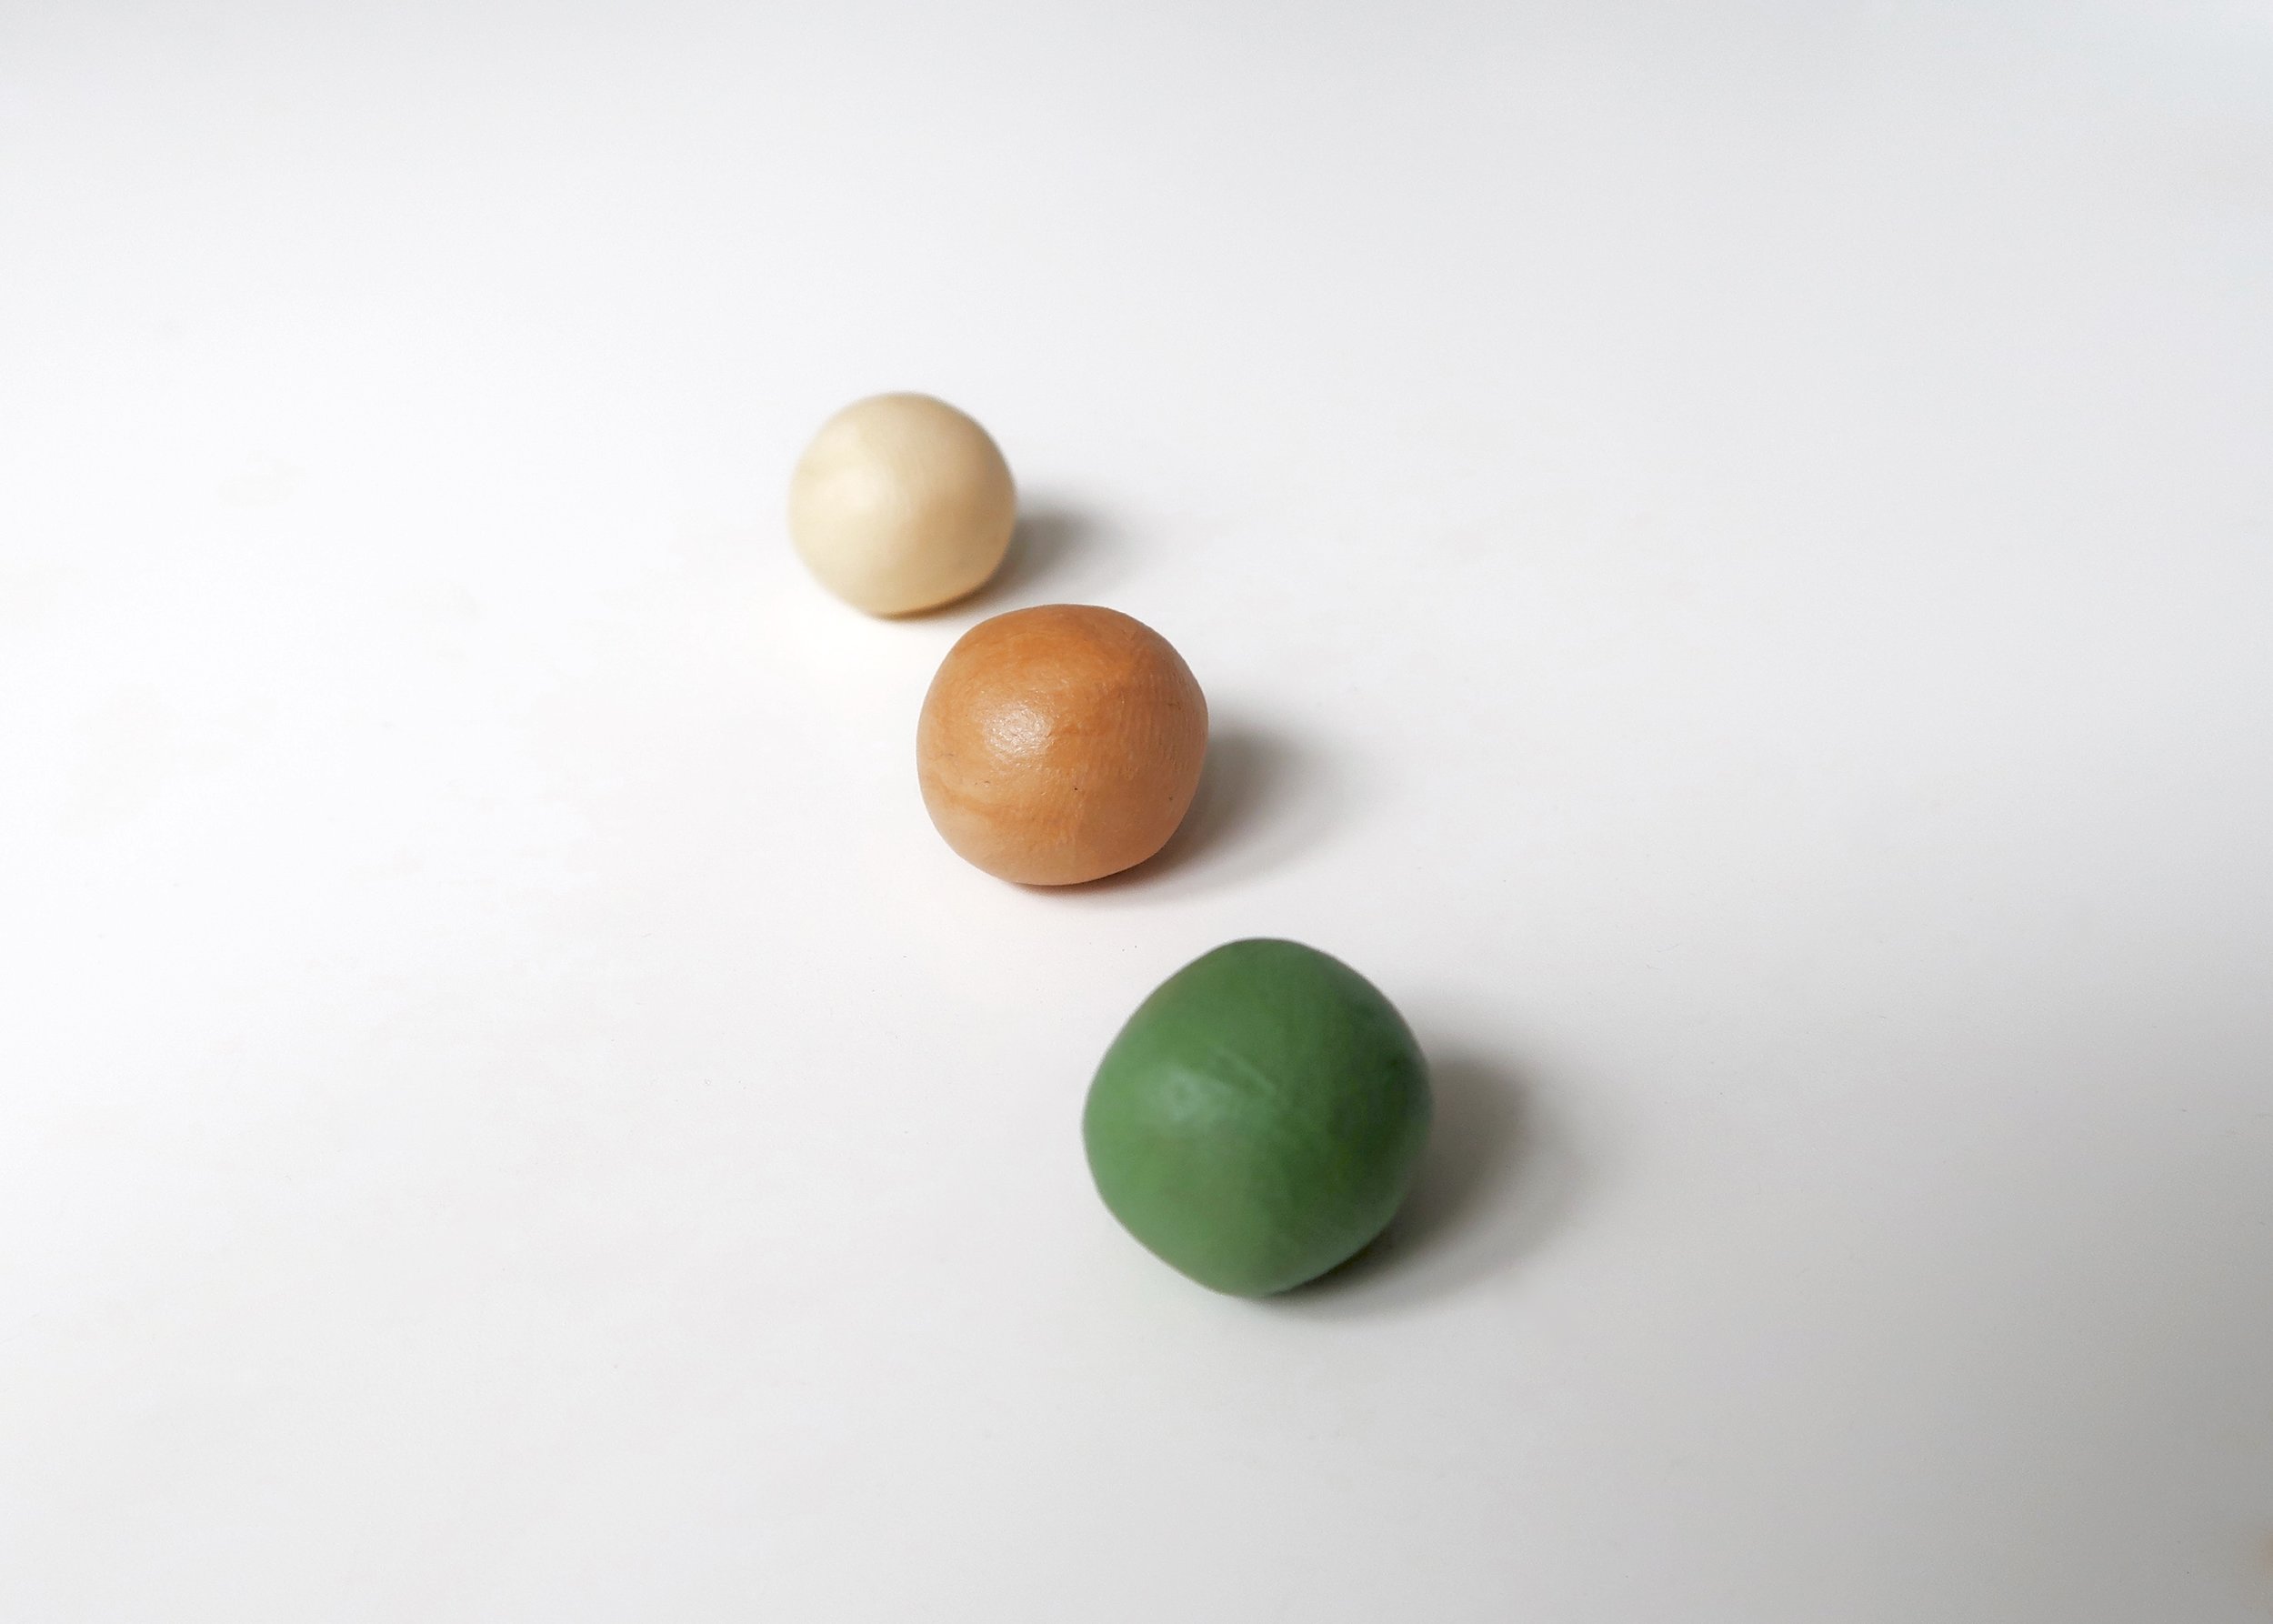
1.
Cut off some white polymer clay from the block and warm it up in your hands. Create three small balls of roughly the same size. Squash the first ball, and dab some oil paint in your desired colour in the middle of this and knead into the clay until the clay is one consistent colour. Repeat this with the other two balls.

2.
Once you’re happy with the colour of each of the clay balls, cut them in half. Using your hands and a non-sticky work surface, roll each ball into tubes of approximately the same diameter. Don’t worry about the length of the tubes, the most important thing is that they are roughly the same width.

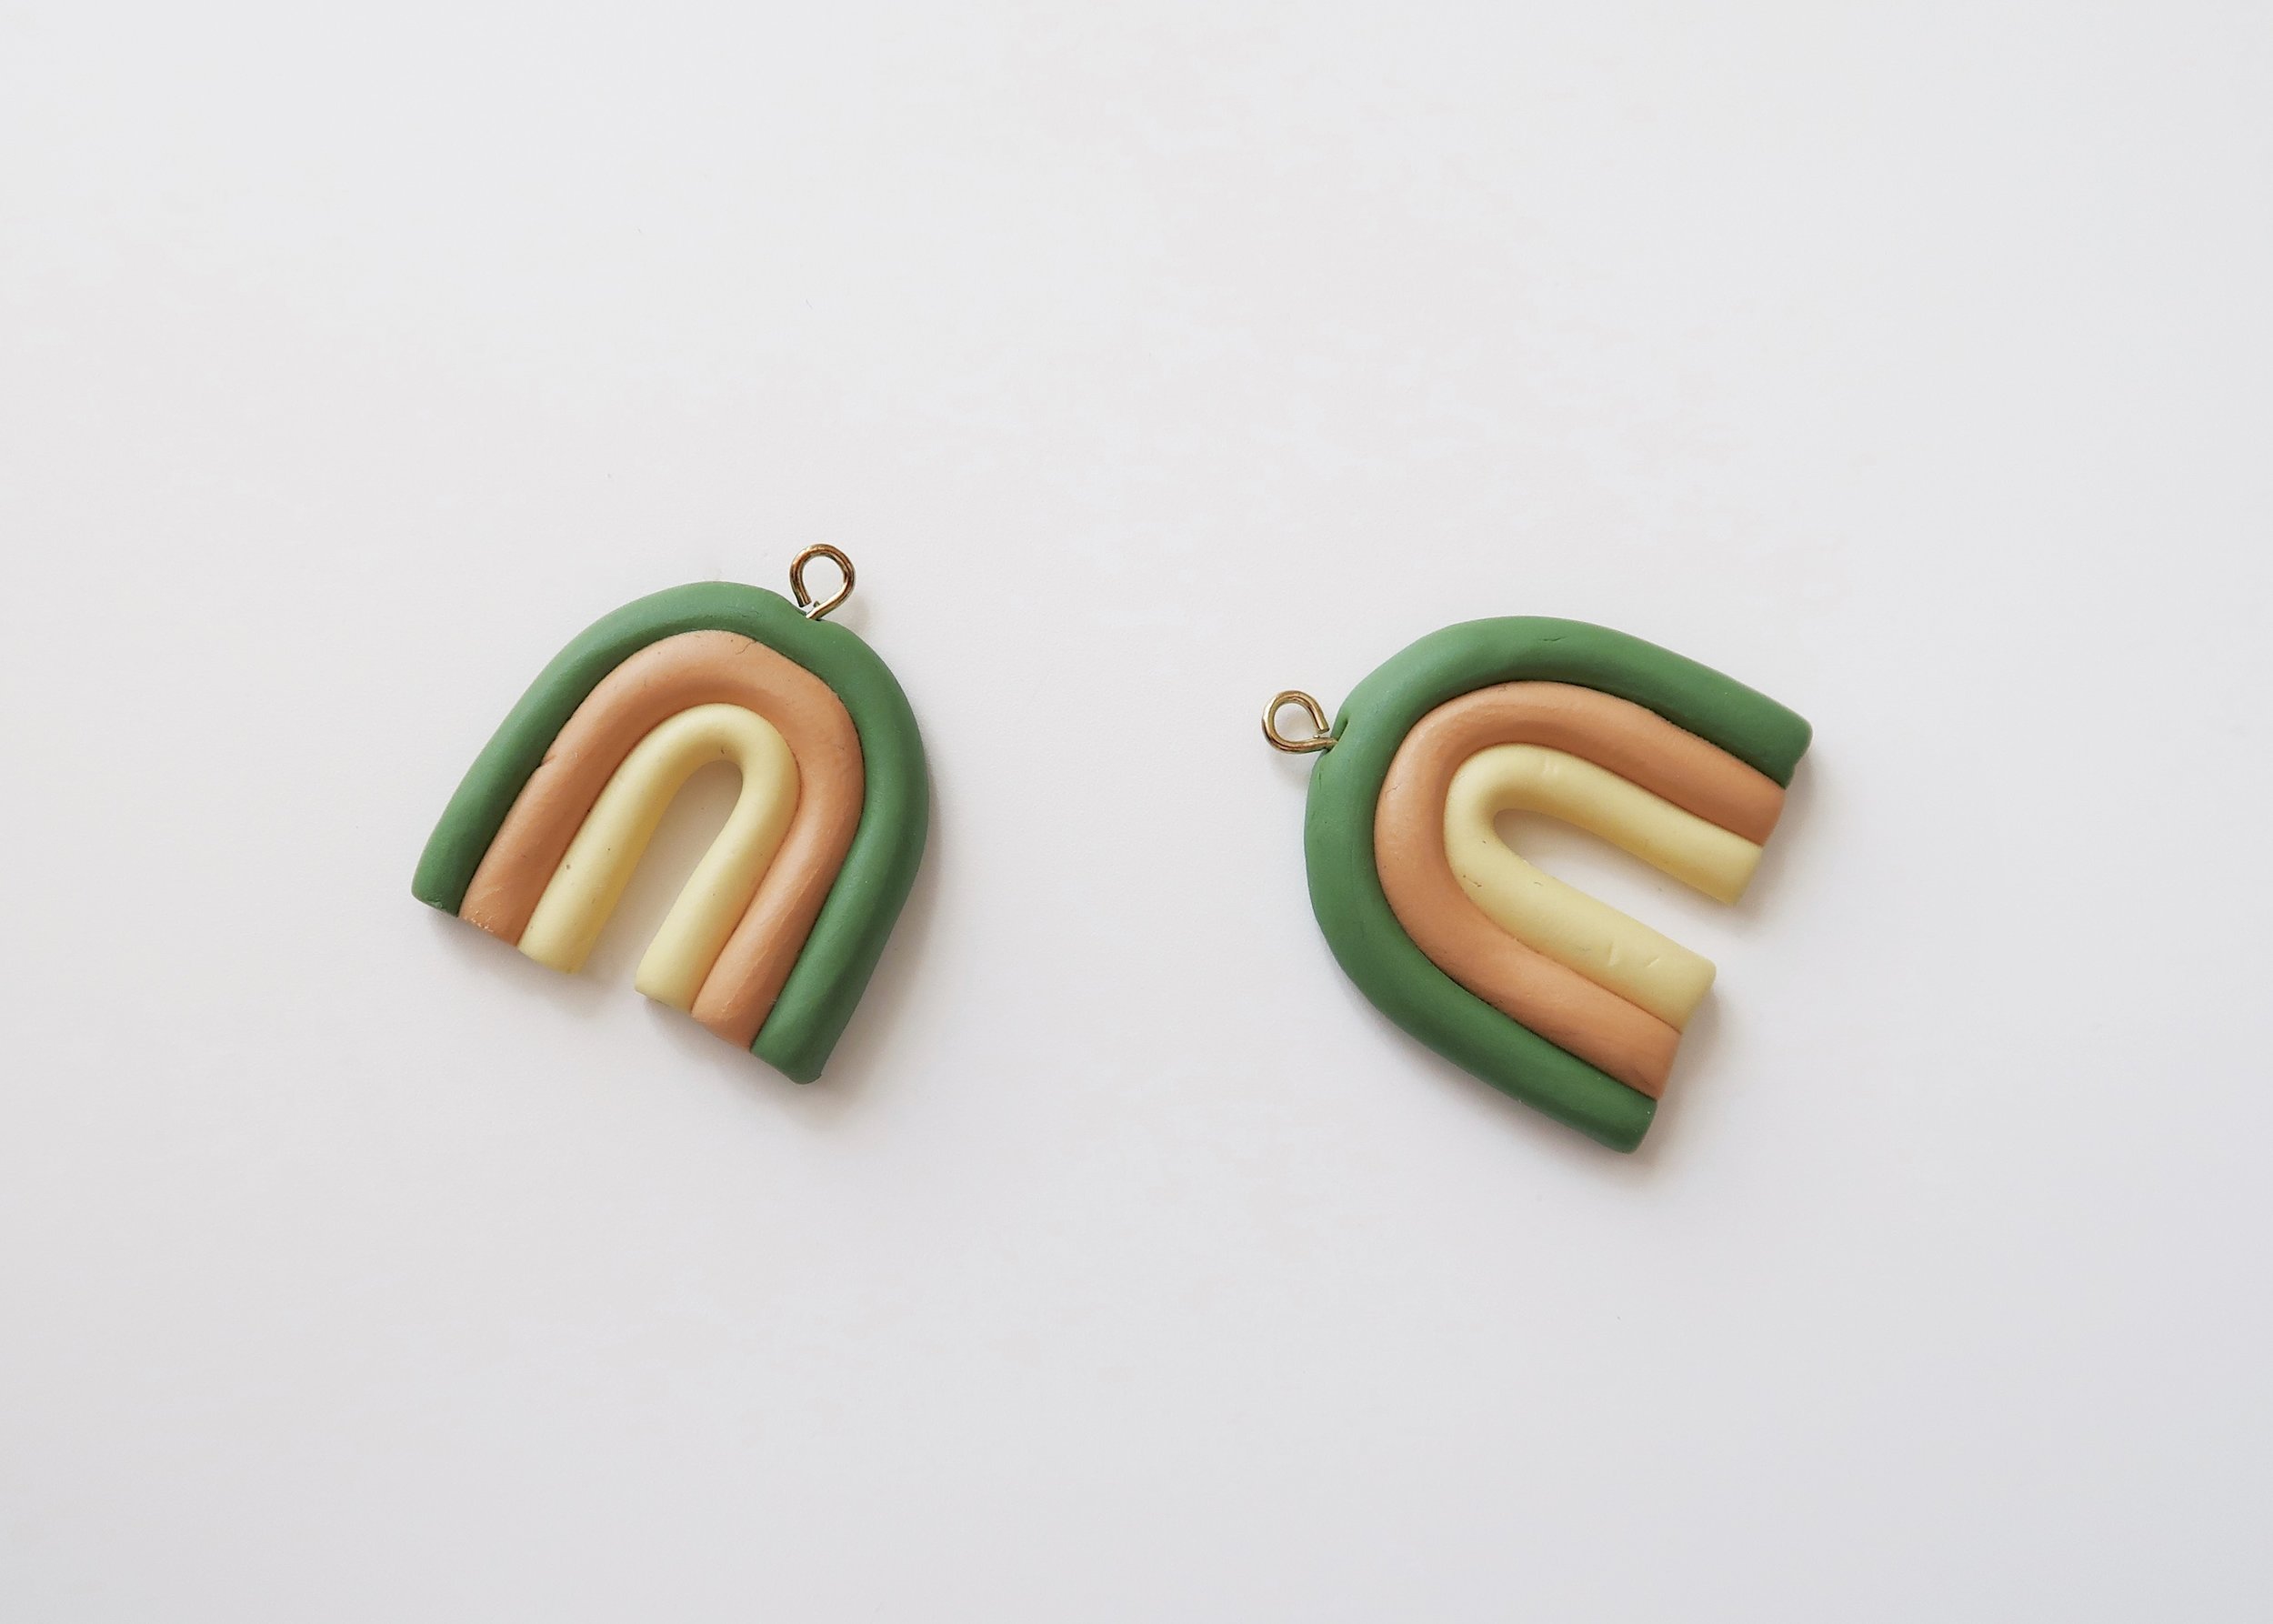
3.
Decide which colour you would like in the centre of your rainbow, and take these clay tubes and create two tight upside down U-shapes. Choose your next colour, and bend these tubes around the U-shapes. Repeat with the third colour. Cut off the bottoms to create your rainbow shape.
4.
Take two eyepins and some wire cutters and cut these off so that below the eye there is around 5mm of wire. Gently push these into the top of your rainbows. Pop your rainbows into the oven on a baking tray and bake as directed on your clay packaging.

5.
Be careful removing the rainbows from the oven and leave them to completely cool down. Once cool, use jewellery pliers to open the loop at the base of an earring hook, before looping the rainbow on by the eyepin and closing again. Repeat with the other earring hook and rainbow.