Leopard print is everywhere and so when I stumbled across an old bag with leopard print lining, I knew I had to do something with it. Keep reading to see how I turned it into this pretty and handy makeup bag!
A few weeks ago I posted a review of a Makerly’s craft subscription box for April. Initially when I opened the box, I was a bit terrified, as it is well known (or if it isn’t it should be now!) that I am not the best at sewing. But, I actually managed to do it (though I think we can attribute a lot of that to the instructions!) and on reflection, I found the whole process pretty relaxing. It definitely boosted my confidence with a needle as well, so when I came across a leopard print lining in one of my old bags from my undergraduate days, I actually had the confidence to consider repurposing it by doing some more sewing. I knew I would never use the bag again, but I’m always in need of little zip-up pouches, and so after a bit of research, I decided to use the lining and the zip from the internal pocket of the bag to make this pretty little makeup bag. Keep reading to find out what I used and how I did it...


Patterned lining or fabric
Canvas bag
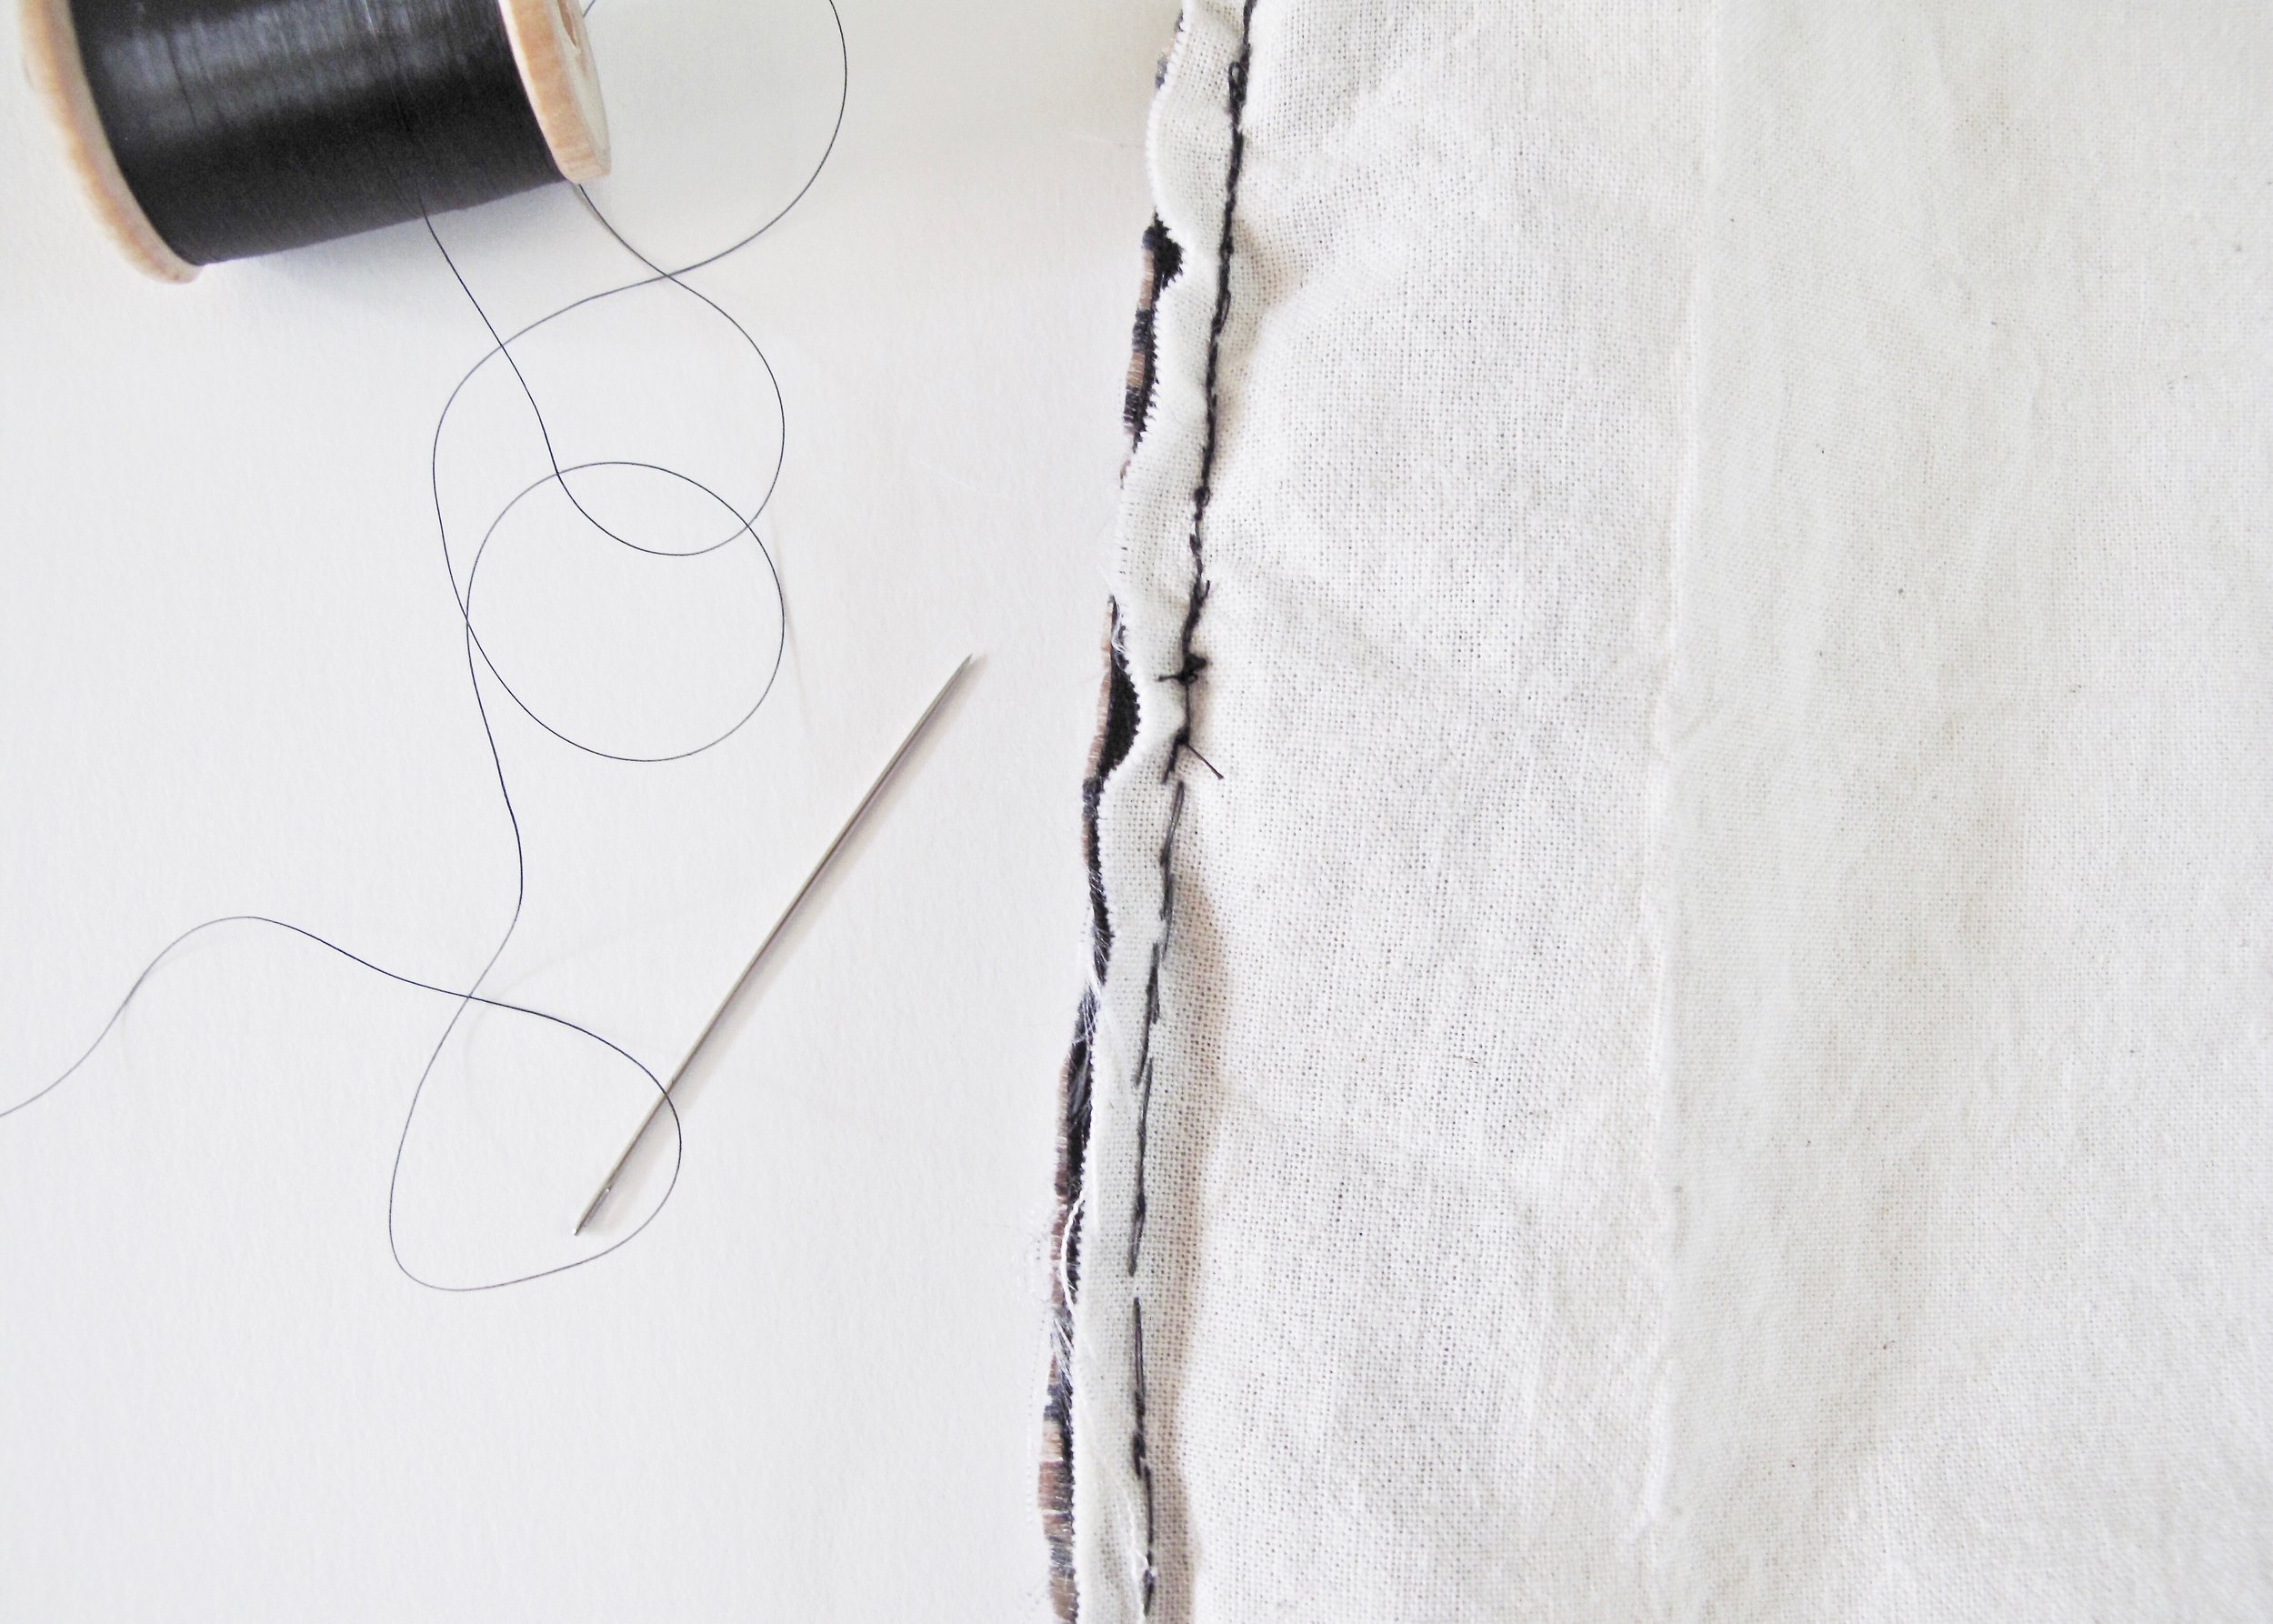
Needle & Thread
Scissors


1.
First of all, cut the lining out of your old bag or material so that you have a nice flat piece of fabric. If you have an internal pocket and zip, cut this out carefully and unpick the stitching to remove the zip from the pocket. If you don’t have an internal pocket with zip, buy a co-ordinating zip.

2.
Next, measure the length of your zip. This is going to be the width of your bag. Use this measurement to draw out a rectangle on a piece of card, which is the size that you would like your bag to be.

3.
Using this cardboard template, draw out two rectangles on your material from step 1 and cut them out. Grab an old canvas bag and cut out two rectangles from this. At this point, you should have a zip, two rectangles from your bags lining (the outer pieces) and two rectangles from your canvas bag (the inner pieces).

4.
Then, lie your zip teeth facing up, and horizontally in front of you. Grab one of your outer pieces of material, and sew it to the top of the zip with the inside side facing up. Turn your zip around and repeat on the other side of the other zip with the other outer piece of material. You should now have a zip with two patterned pieces of material sewn either side of it.
5.
Next, take a piece of your lining fabric and position your zip so that the teeth are facing down and both outer pieces are pulled down. Place your inner fabric at the top of the zip so that the zip is between the outer fabric already sewn to it and a piece of inner fabric. Sew the inner fabric to the zip along the same line that the outer piece is sewn to it. Repeat on the other side.

6.
You should now have all your pieces of fabric sewn to your zip. Undo the zip ⅔ of the way and position your material so that you have the outer pieces together above the zip, and your inner pieces together below the zip. Position the teeth of the zip so that they are towards the inner pieces and pin in place. Pin all the way around and then sew around the endges, leaving a gap in the bottom of the inner pieces.

7.
Remove all the pins (don’t forget the ones keeping the teeth in position!) and cut off each corner of the fabric (don’t cut your sewing!). Turn the whole thing inside out through the gap you left in the bottom of the lining, and sew up the gap you left using a similar coloured cotton. Finally push the inner pieces through the zip into your outer pieces, and do the zip up.