Make your own 3D star ornaments for Christmas using plaster of paris!
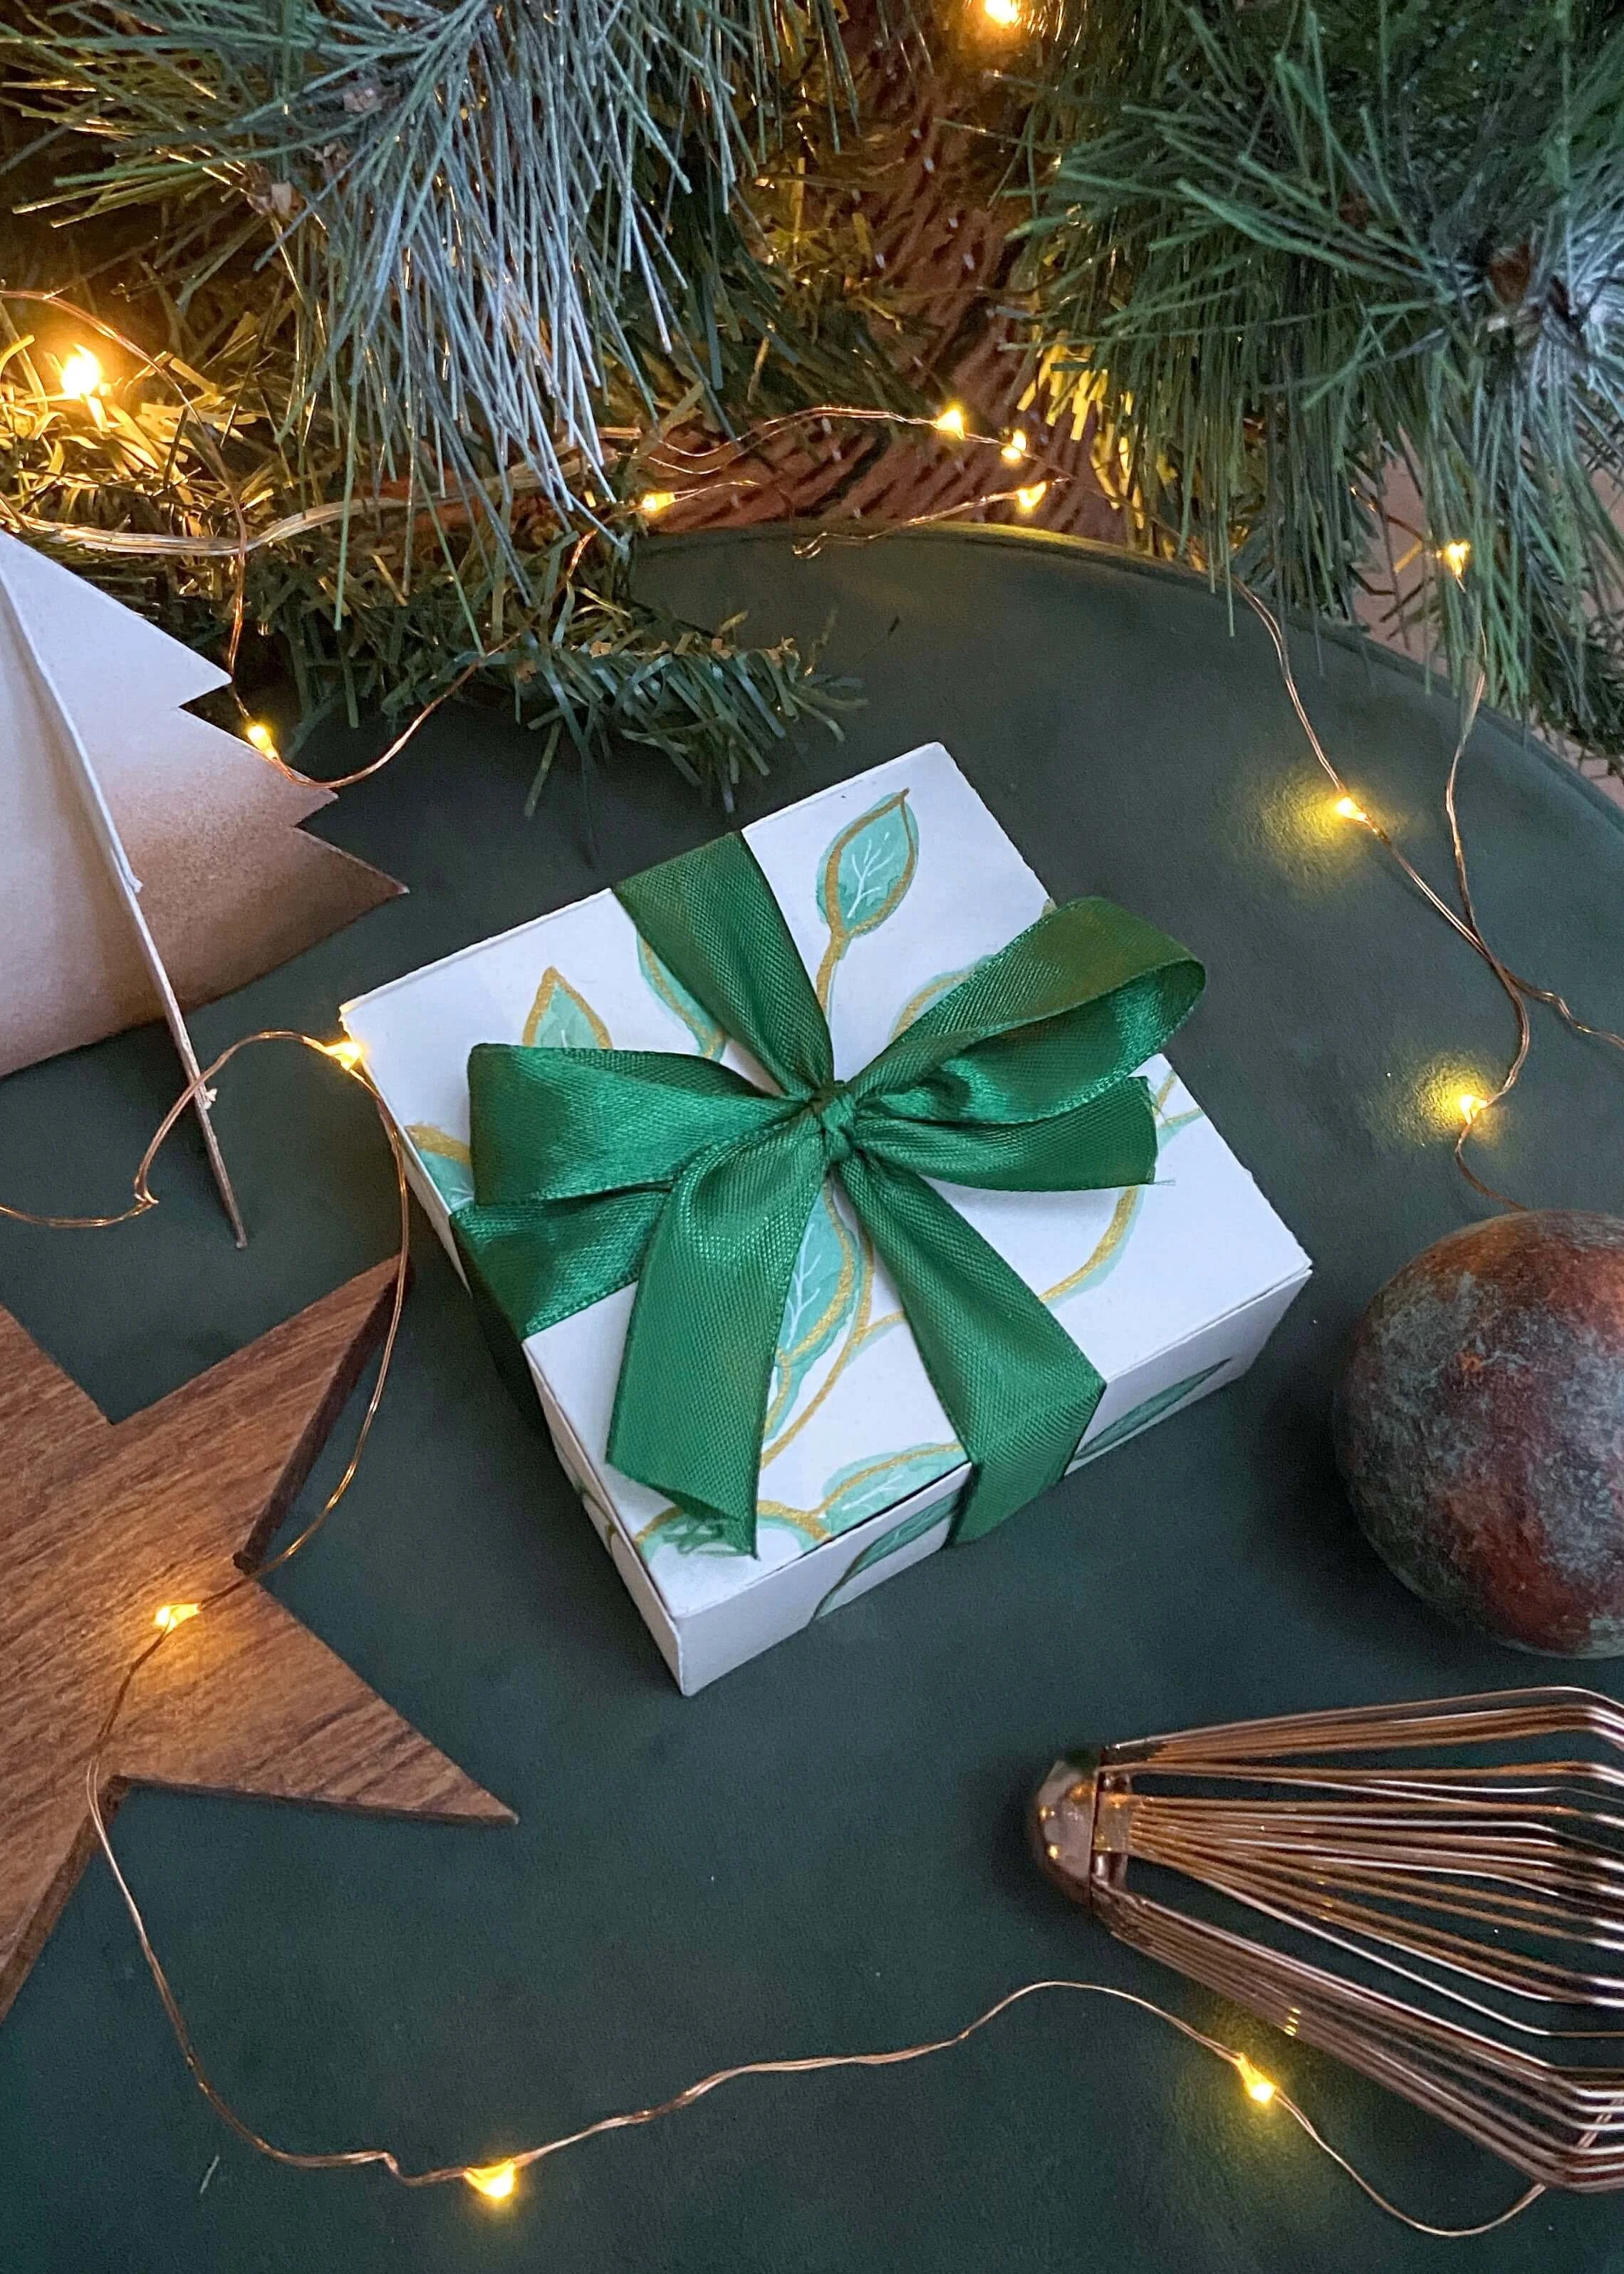
Christmas is the best time for crafting in my opinion. There’s so much inspiration around online as well as in the shops. For the past couple of years, celestial shapes like moons and stars have been everywhere, and inspired by that, I wanted to have a go at making metal-looking 3D stars to hang on my tree. Plaster of paris is such a great medium for creating 3D shapes, and once I’d found a silicone mould online that gave me the size and shape I was after, the process of making these was pretty simple. I really like how they look, and am thinking of using the smaller stars as decorations for our wrapped presents this year. If you’re interested in having a go at making these yourself, keep reading for the step by step tutorial, as well as the exact materials I used. If you enjoy this project, don’t forget to follow and subscribe for more!
1.
First of all, mix up some plaster of paris pwder with water. Follow the instructions on your plaster of paris as to what ratio to use. I chose to make mine slightly runnier so that it was easy to pour into the mould.
2.
Pour your plaster of paris mixture into your moulds. Use a pin to get the plaster of paris into the corners and tap the mould all around to remove air bubbles.
3.
Leave the plaster in the moulds to dry completely.
4.
Once dry, carefully remove the plaster stars from the silicone mould and pop them to one side.
5.
Next, mix up some more plaster, and pour into the silicone mould again. This time, cut off and tie a knot in the end of some gold thread. Use a pin to push this into the plaster.
6.
Take one of the dried star shapes of the same size, and press this flat side down into the wet plaster in the mould. You may need to overfill the mould slightly so they touch.
7.
Clean up the egdes with a tissue and then leave to dry with a book gently weighing the top star down into the wet plaster.
8.
Once dry, carefully remove from the mould and use a nile file or sandpaper to clean up any edges.
9.
Finally, I painted the plaster in a layer of white acrylic to protect it before painting several layers of gold paint.


