Create a slatted wood Christmas tree skirt in 10 steps!
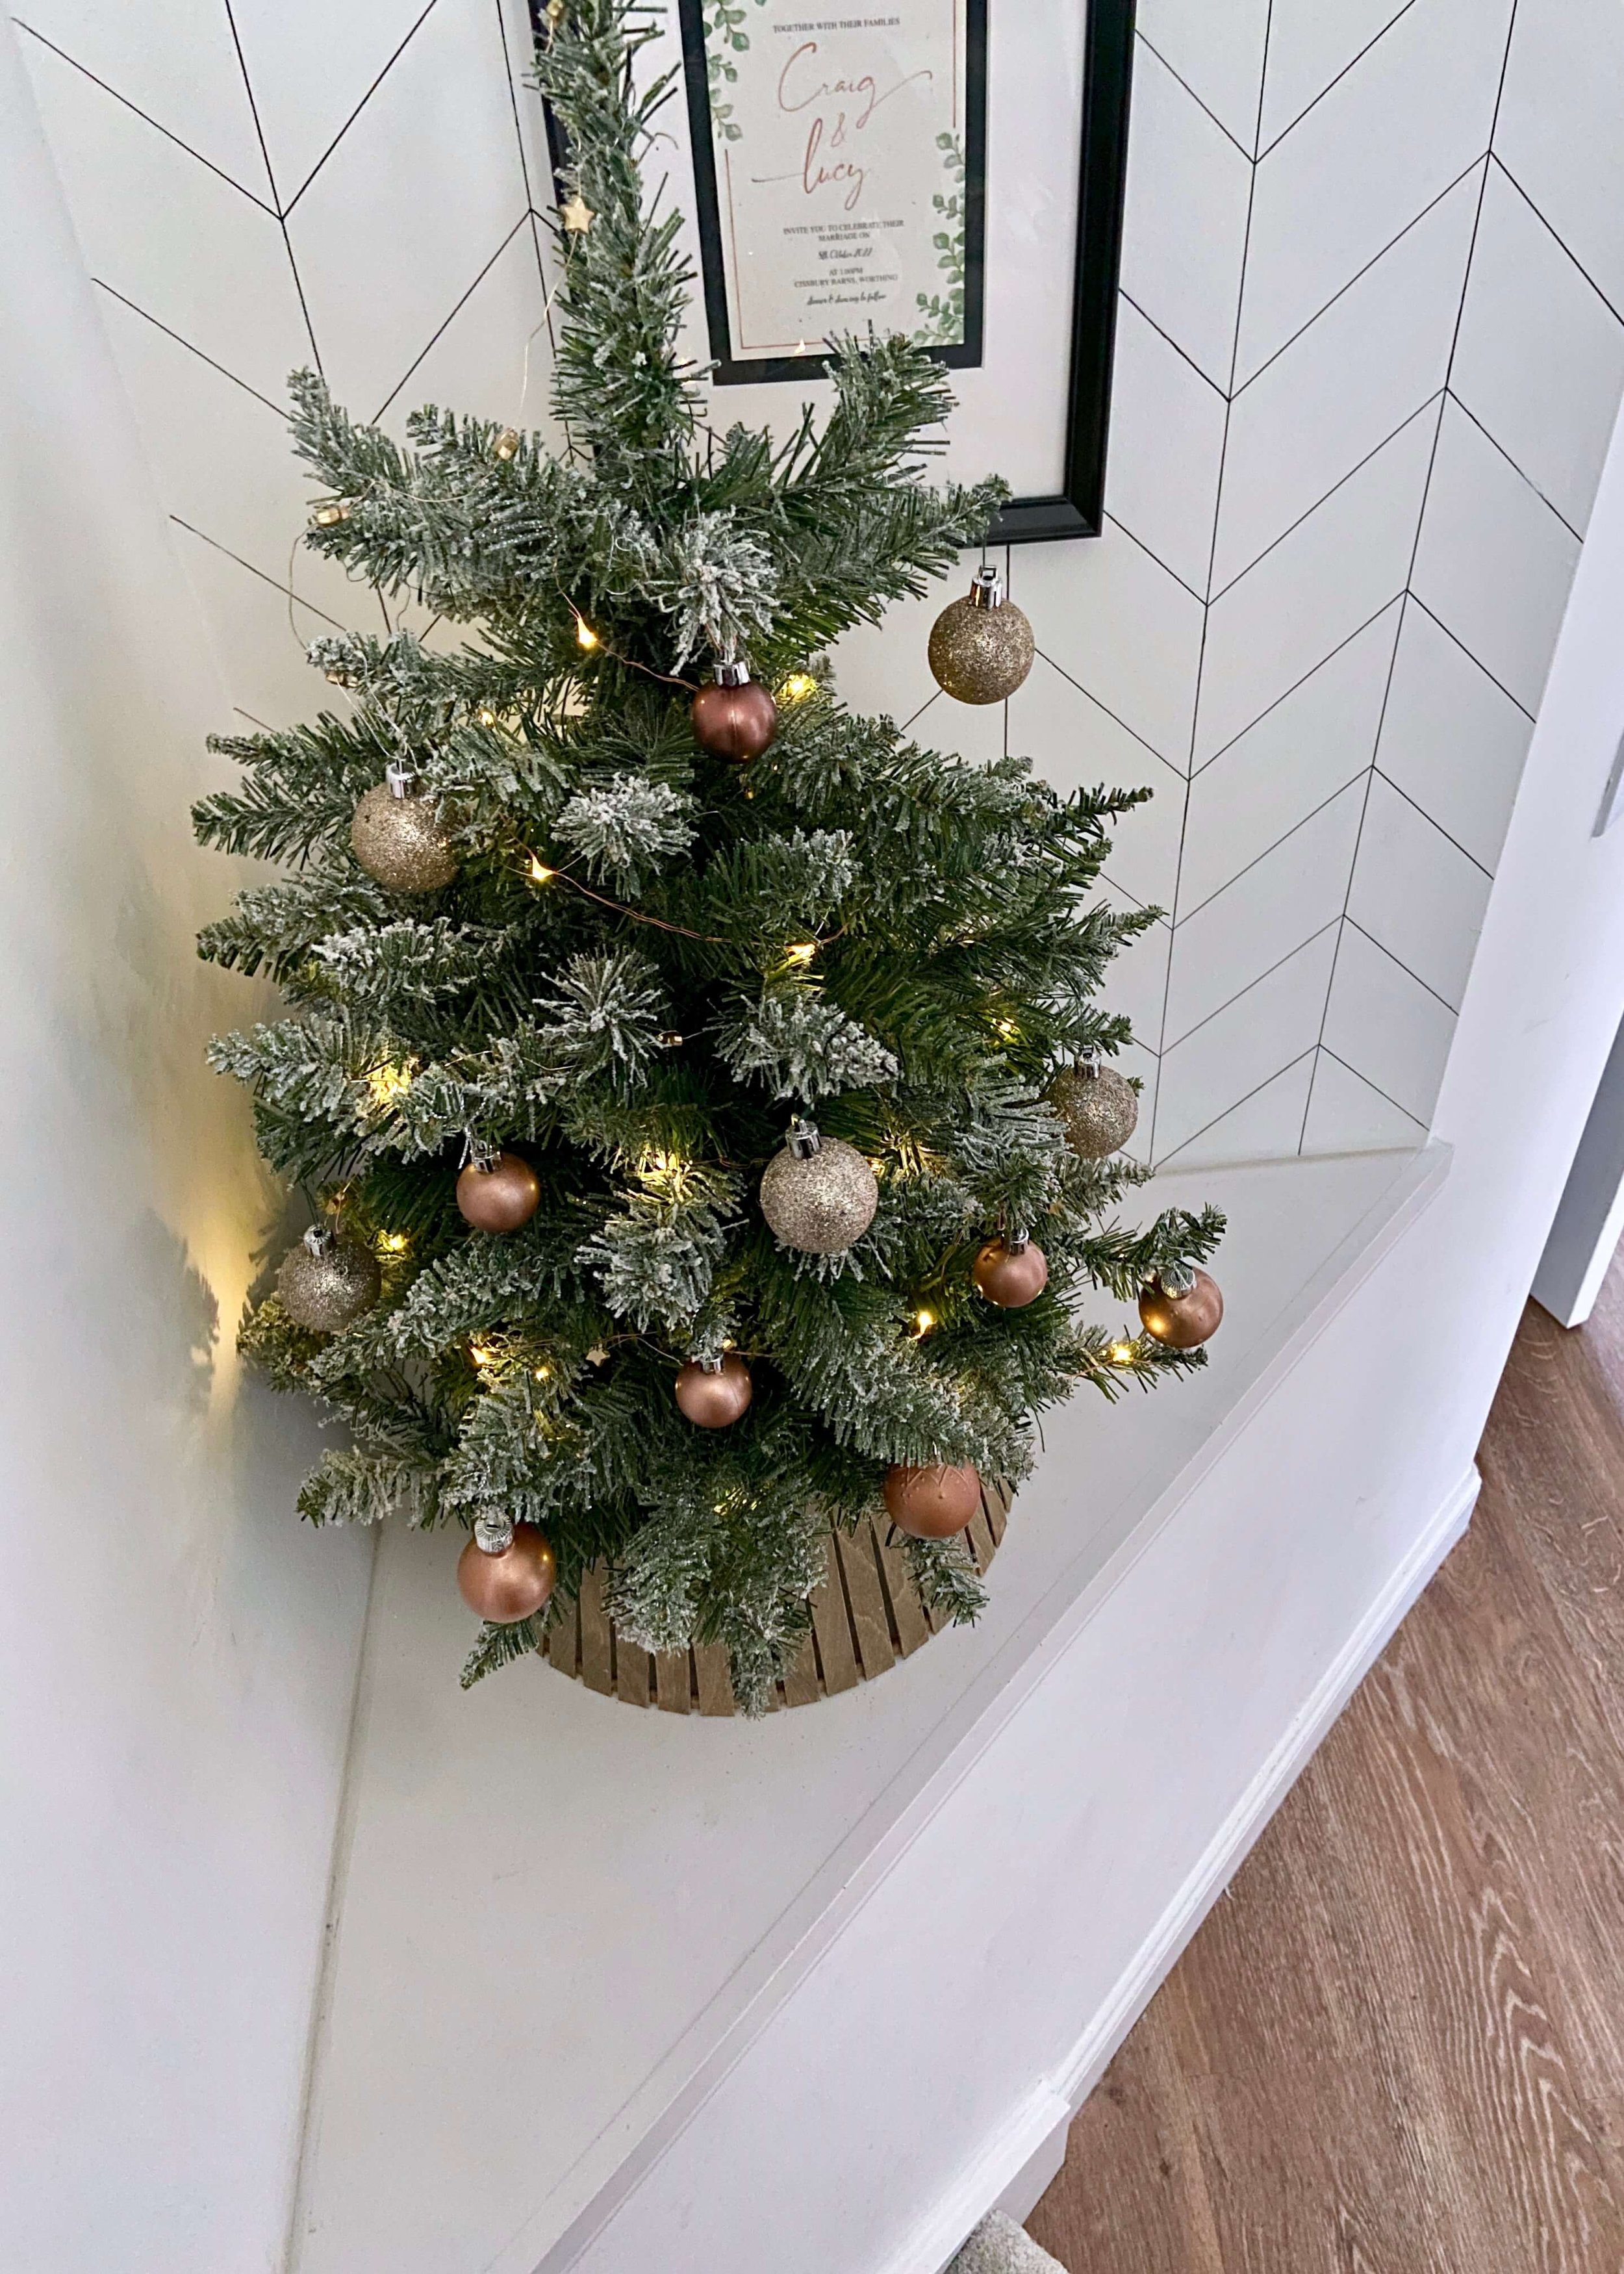
When we first looked at the style of house we eventually went on to buy, I knew straight away that this little nook in the hallway was destined to have small Christmas tree in it. After moving in, my parents kindly donated to us an old artificial tree they had previously had in their hallway, and so since moving in, 2 year ago now, it has sat happily in this space each Christmas. This year for some reason, I really noticed the base of it. Our main tree has a lovely wicker tree skirt around it, bought for us by my husband’s nan, so this tree started to look a bit too bare.
As I was thinking about what I could do, I did contemplate drilling a hole in the bottom of a copper plant pot, The Sorry Girls posted a DIY on Youtube where they made a wooden tree skirt from scratch. That provided much of my inspiration for this project, but as I was doing it on a much smaller scale, I found myself two small wooden rings online, and calculated I could use jumbo lollipop sticks as my slats instead of needing to buy and cut lengths of wood. I don’t have a nail gun (yet!), which would have made this project much faster, but I found glue worked really well. I’m so pleased with how this has turned out. The tree now feels complete to me, and I love that the stain I chose goes well with our flooring and other wooden features of the house. Let me know what you think below and don’t forget to follow and share!


1.
Before ordering my supplies. I first measured the base of my tree, and also the height from the ground to where the branches started. Based on these measurements, I then ordered two wooden rings (one larger than the base and the other about the same size) and large lollipop sticks that were longer than the distance between the ground and the branches.

2.
Next, I grabbed some sanding paper and a sanding block, and sanded the outside top edge of the larger wooden ring at an angle. This was to give a flat surface for the lollipop sticks to adhere to.

3.
I then trimmed off the top and bottom rounded edges of the large lollipop sticks with scissors to make each slat my desired length. I made sure that they were all equal in length.

4.
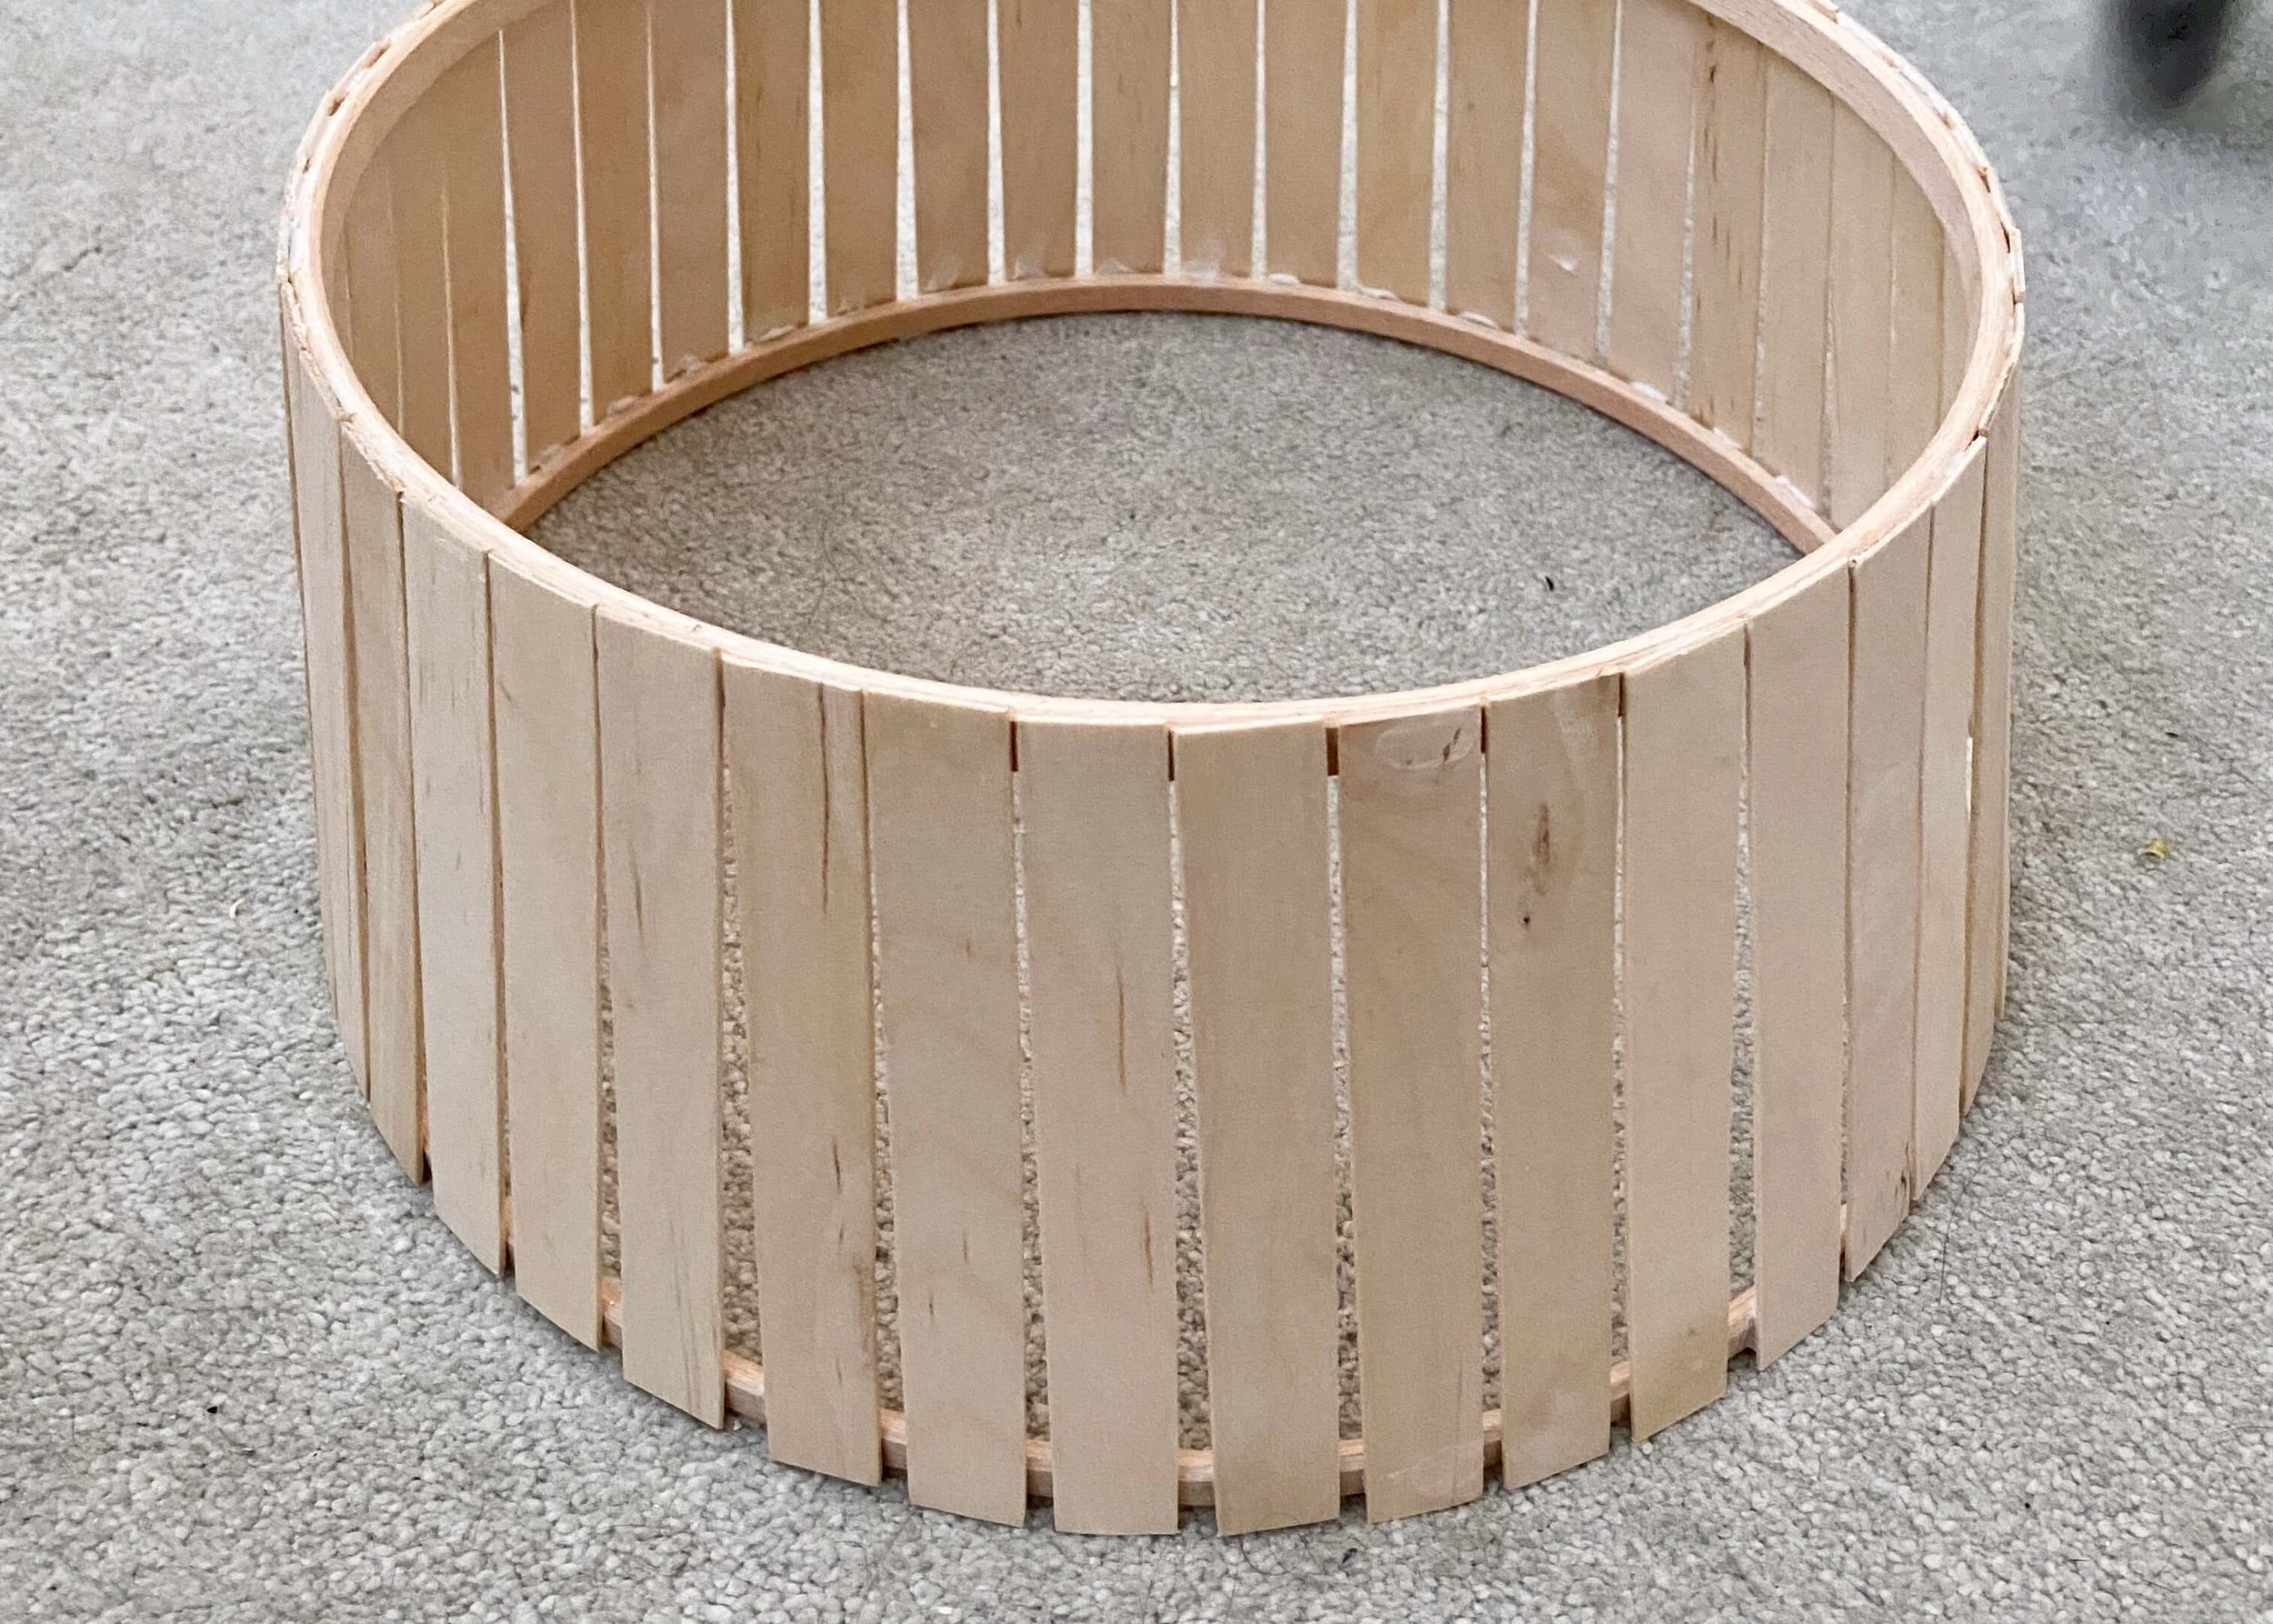
I then positioned my small wooden ring on the inside of large ring with an equal gap around it. Using glue, I then stuck a slat on the larger ring, with it tilted forwards and leaning against my water bottle which was positioned where the smaller ring was. I left it to set in place, and then repeated this directly on the other side of the rings.

5.
Once I had two slats attached to the larger bottom ring, I balanced the smaller ring on various objects so that it was the right height to stick to the top end of the slats. I used glue to do this, and left it to set. Once set, I began adding more slats beside my support slats.

6.
I then worked my way around the rings, glueing the slats to the top and bottom ring. I found I had to angle these slightly so that there was less of a gap between the top of the slats than the bottom to keep each slat straight.
7.
I then left the entire thing to dry and set overnight. If you have any uneven edges or places where you got glue, you can use some sanding paper to fix it.

8.
I then used a pet friendly water-based wood stain and a paintbrush to give the outside slats a medium oak colour. I started with one coat all the way round and made sure to paint any of the exposed wooden ring in between.

9.
Once dry, I painted the top and underside of the tree skirt so that any exposed areas would also be a medium oak colour. I then chose to stain the inside of my tree skirt though you don’t need to do this if you can’t see the inside with the tree in it.

10.
Finally, I gave the outside of my tree a second coat of stain and left it to dry.