


Wrap your gifts in style with a hand-painted and handmade gift box
It’s close to the big day now and so if like me you're still wrapping presents, you may be contemplating a last-minute dash out to the shops and thinking that all of the good gift boxes have probably now sold out. Never fear, if you have a Cricut you can skip the Christmas queues and use some cardstock to make your own. I painted mine with watercolour paints before assembling and finished them off with some green ribbon and a bow, but the beauty of these is that you can decorate them however you want. I found the box template online and free to use from Mel Stampz (who has lots of other free to use templates) and then turned it into a SVG file on Cricut Design Space. You can find the SVG file I created from Mel’s template free to use below. I hope you like this project and hope you have a very Merry Christmas! Let me know what you think below and don’t forget to like and share this with your friends on social media.


1.
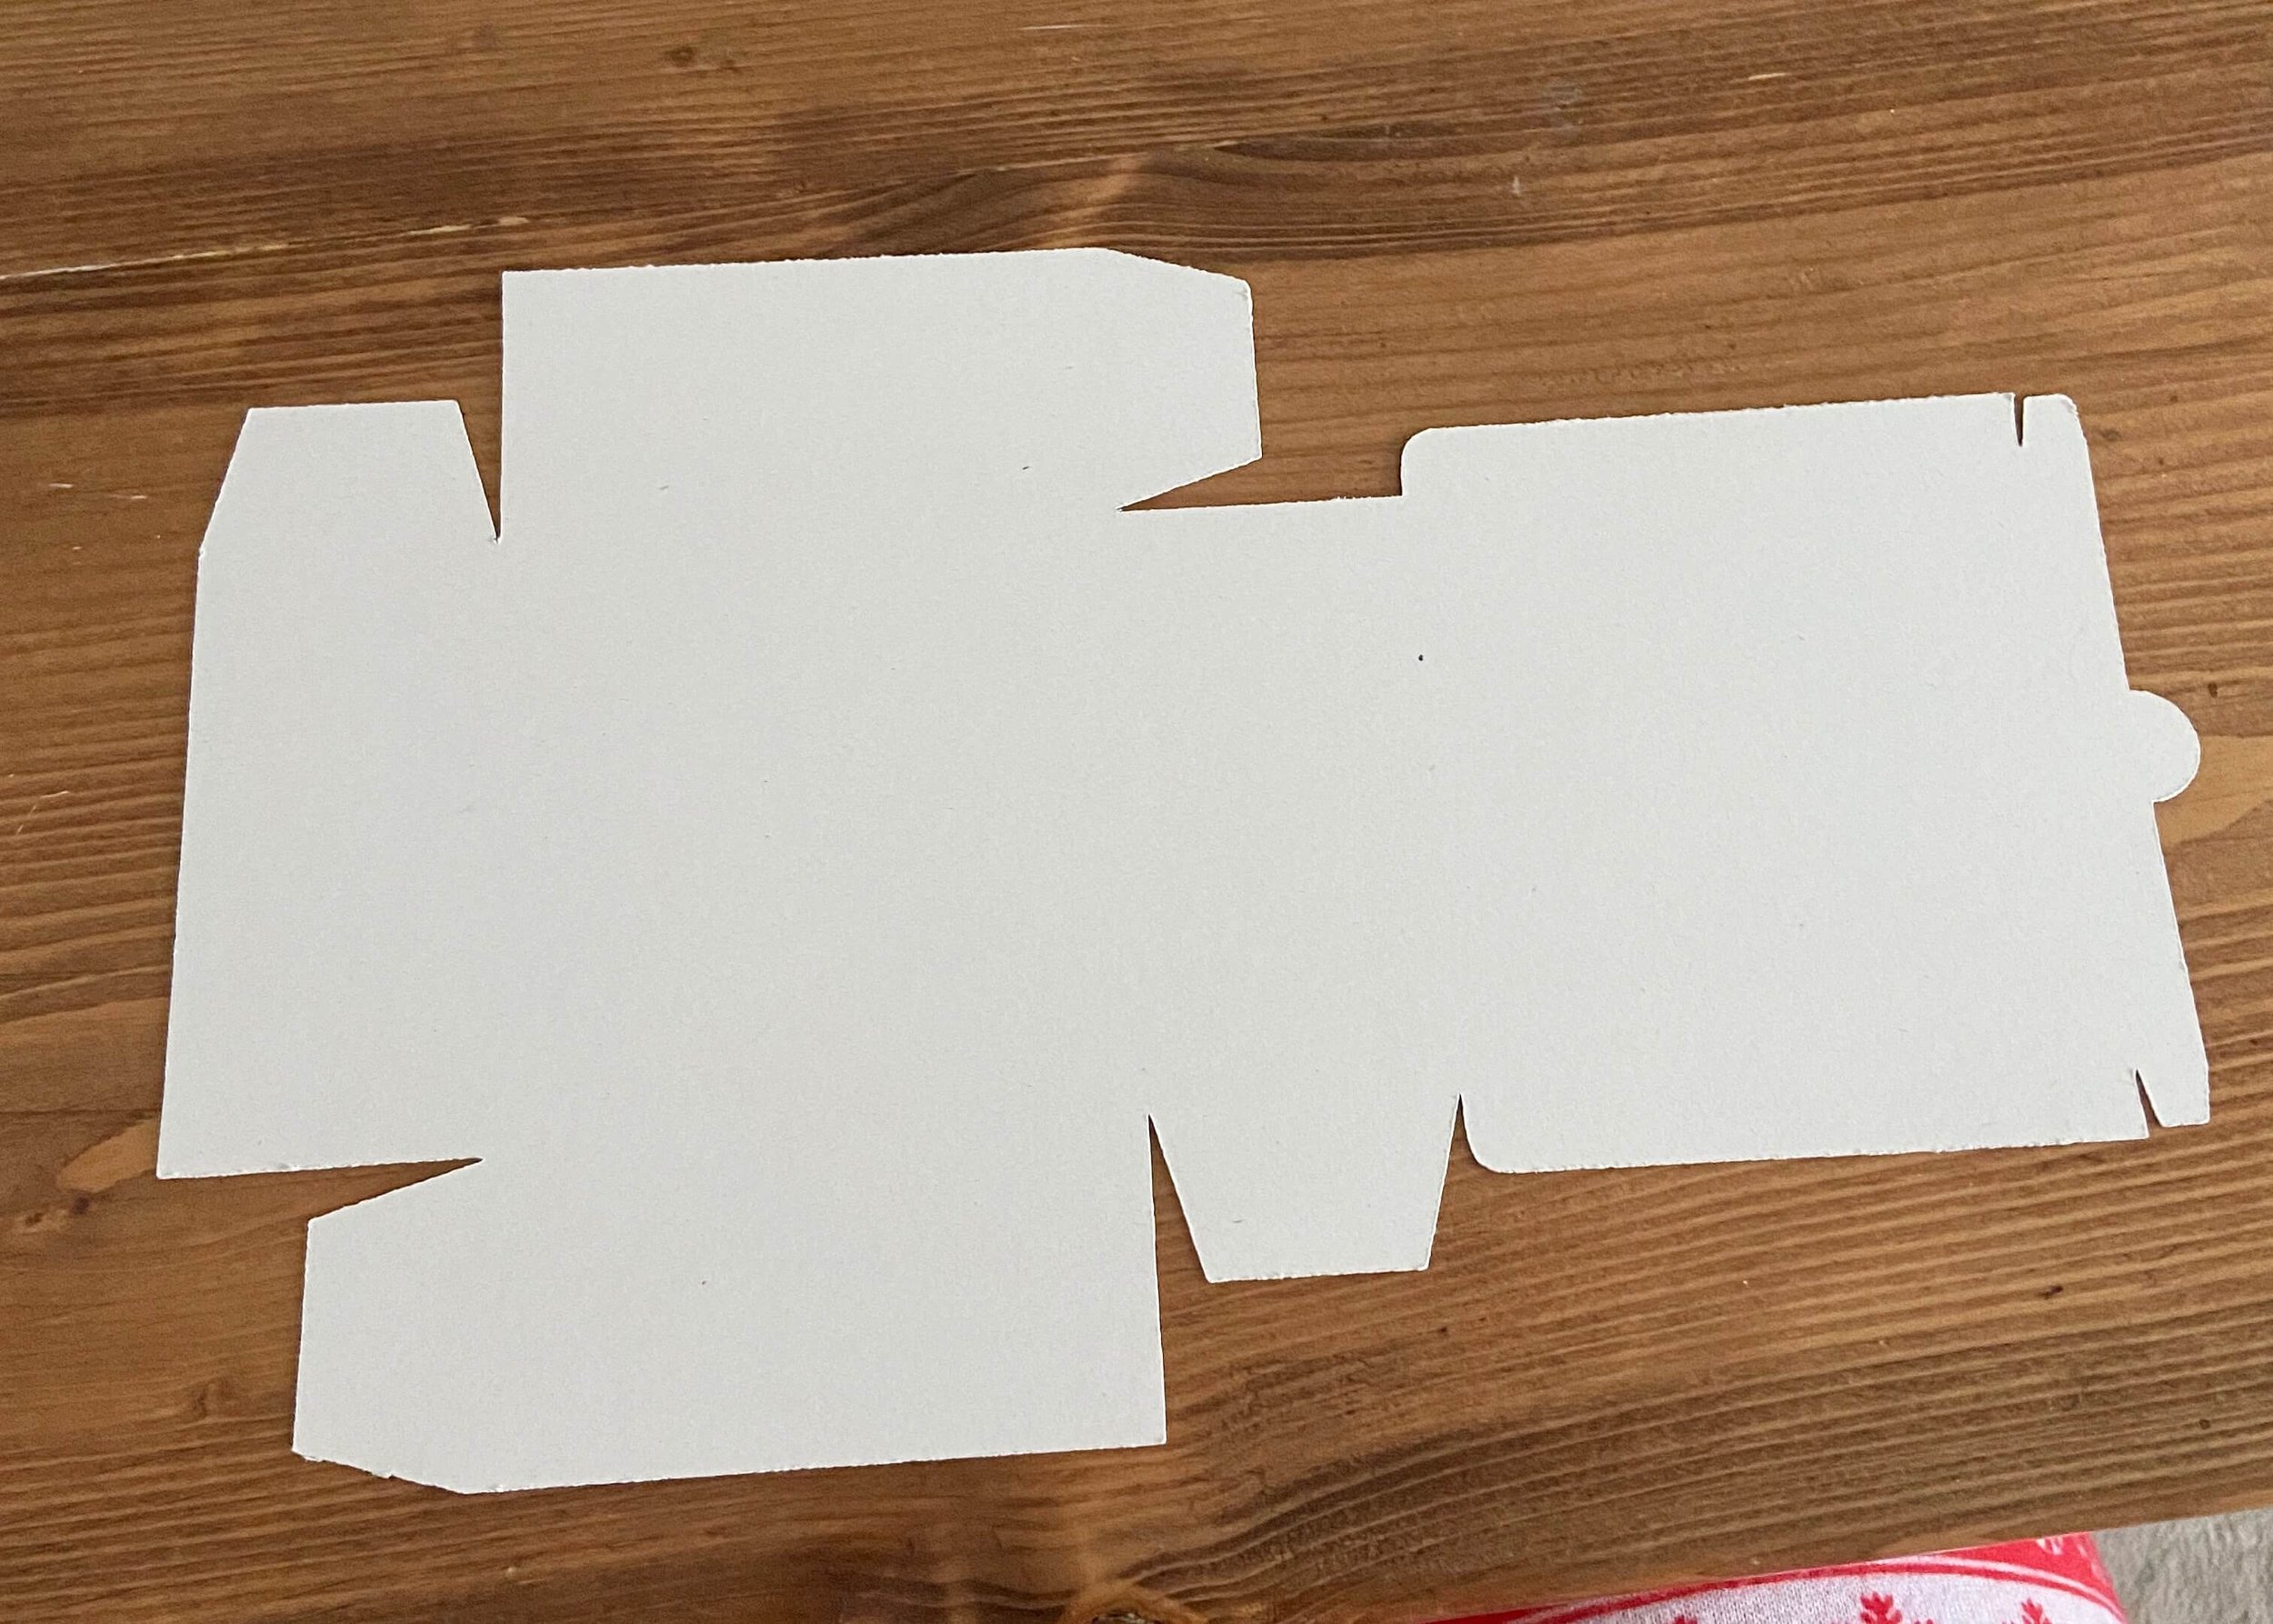
First of all, upload the box template file to Cricut Design Space. Be sure to ensure it is your desired size, it is made to create a 3 x 3 inch box.

2.
Next, add your cardstock to your cutting mat and ensure you have the fine point knife loaded. Then load your mat and press cut.
3.
Once your machine has finished cutting, carefully peel the card off the mat and remove the excess cardstock from around the cut lines.

4.
Next, score across wherever there are indents on the template so that it is easier to fold. Do this on the side that will be the inside of the box.

5.
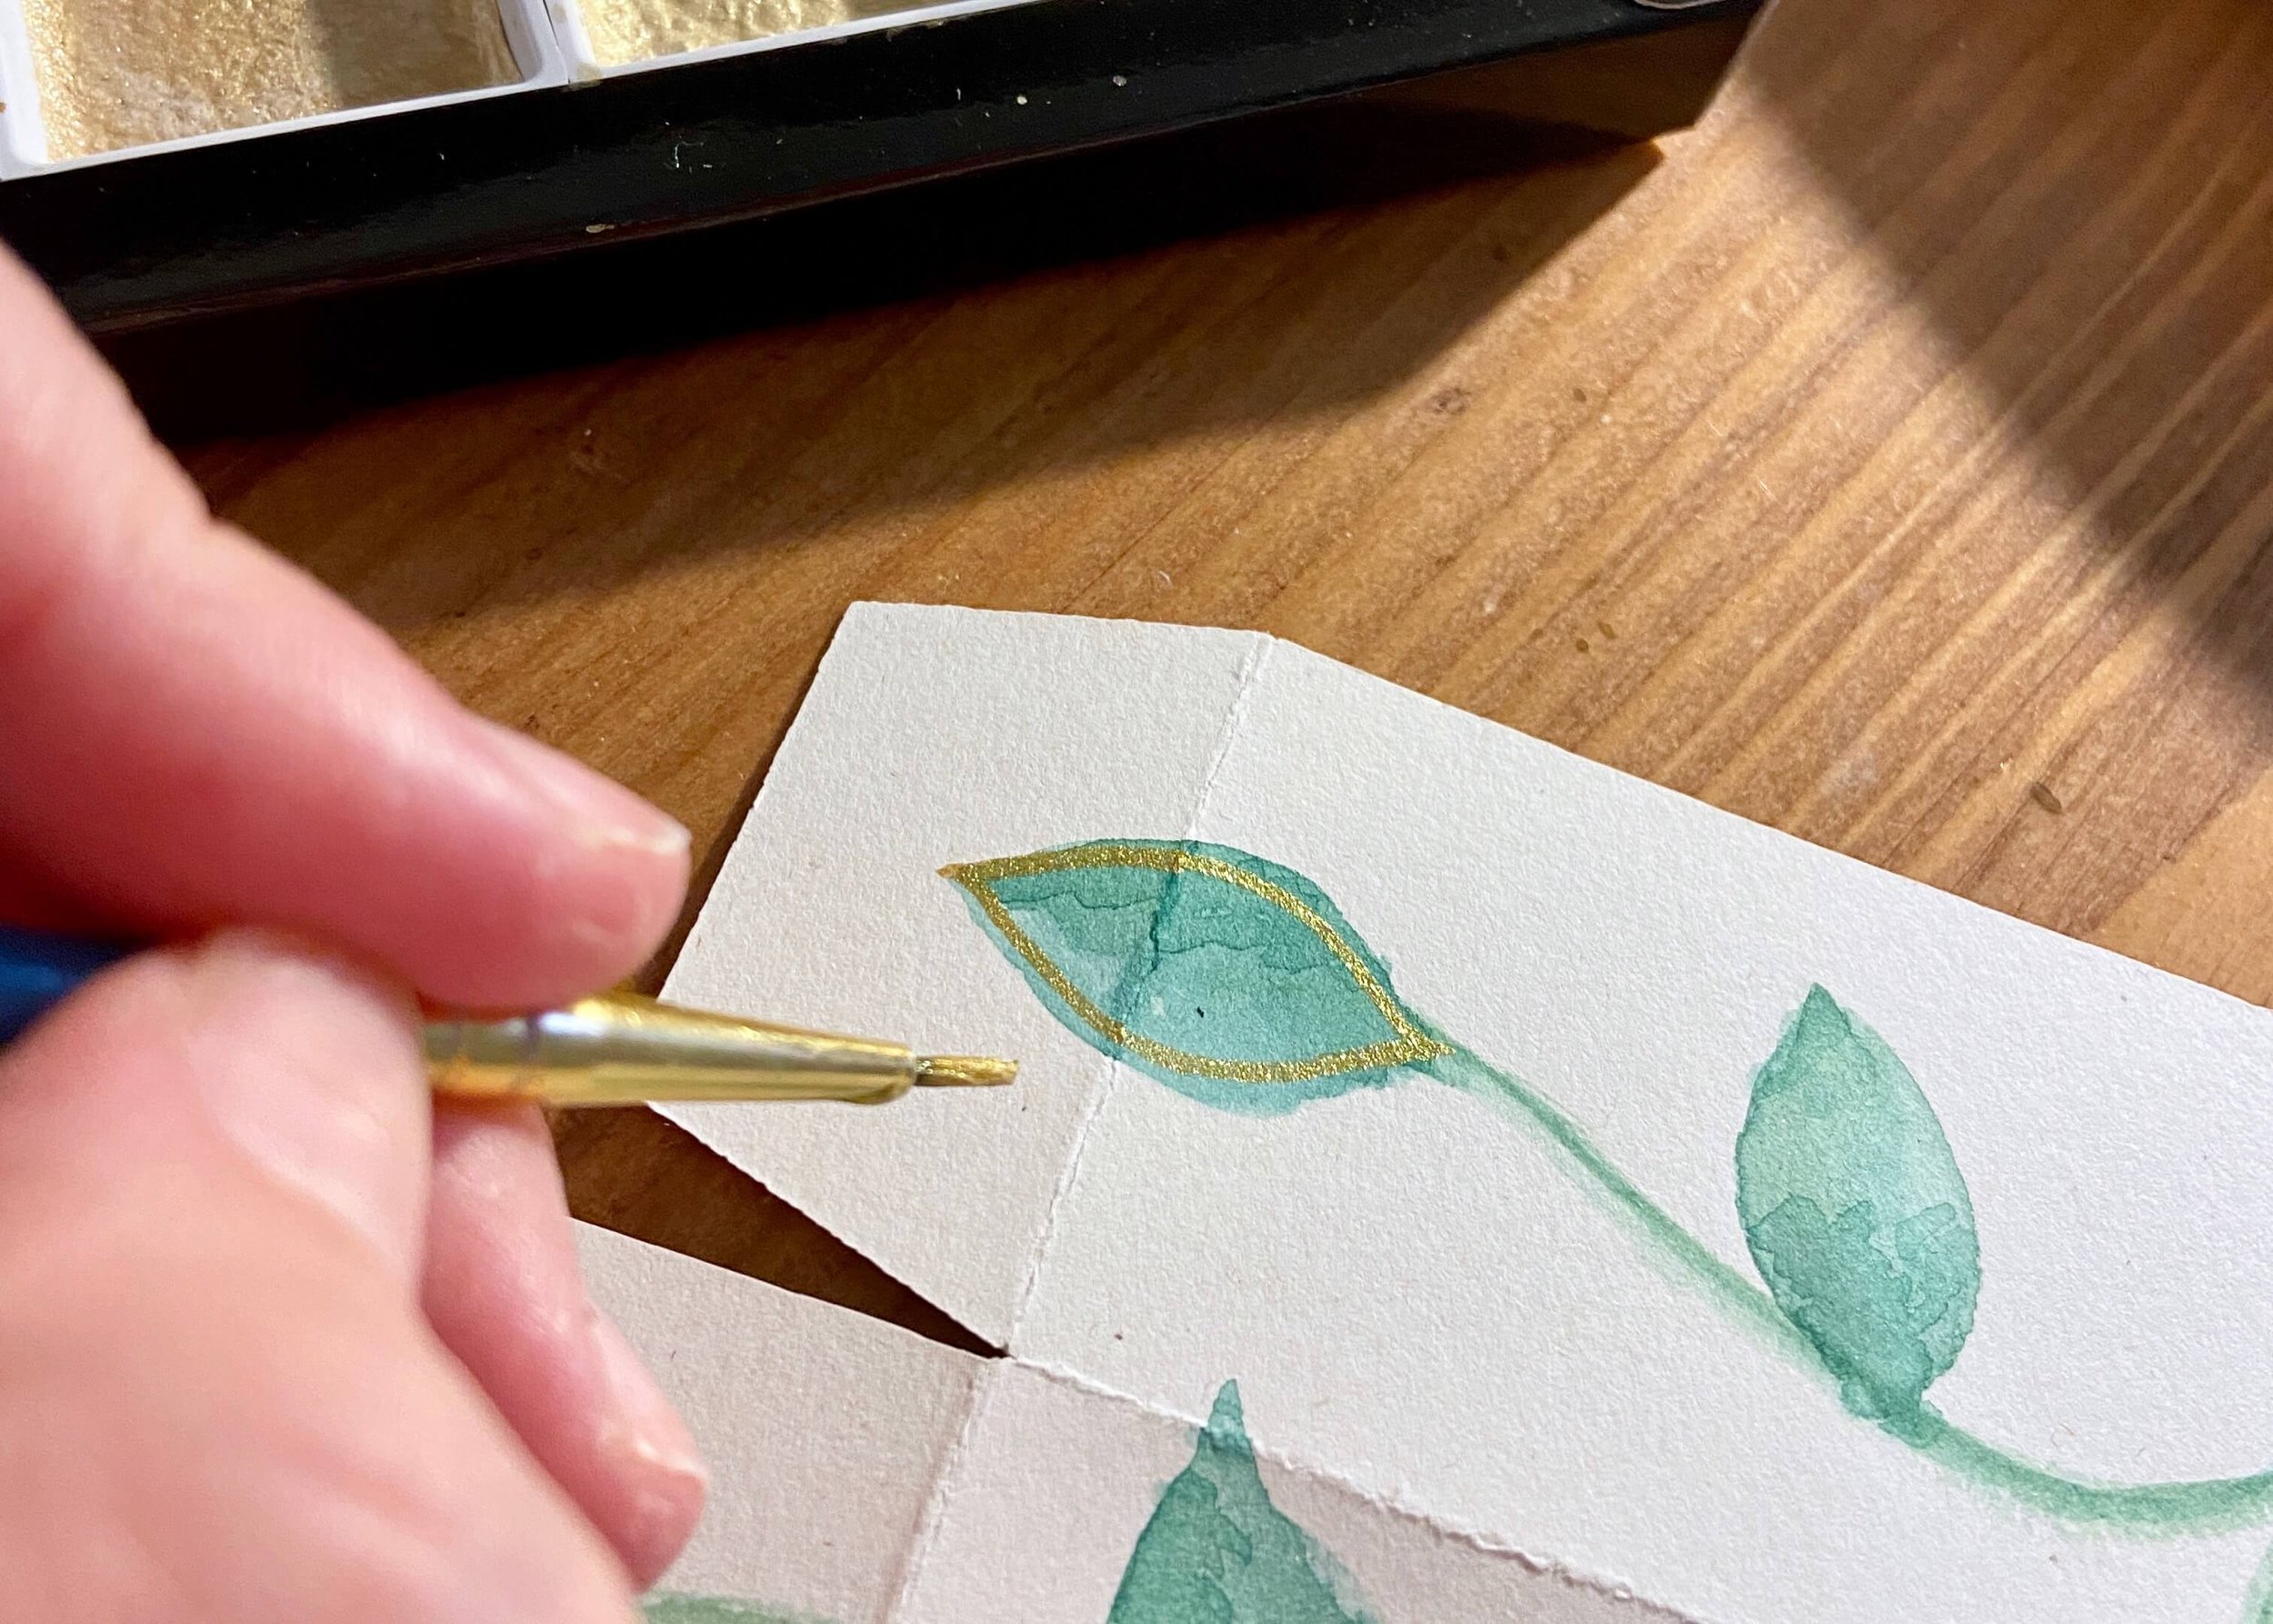
Next, decorate what will be the outside of the box. I painted a simple leaf pattern all over.
6.
Next, I went over this with a gold paint outline to give it some shimmer.

7.
I then left this to thoroughly dry.

8.
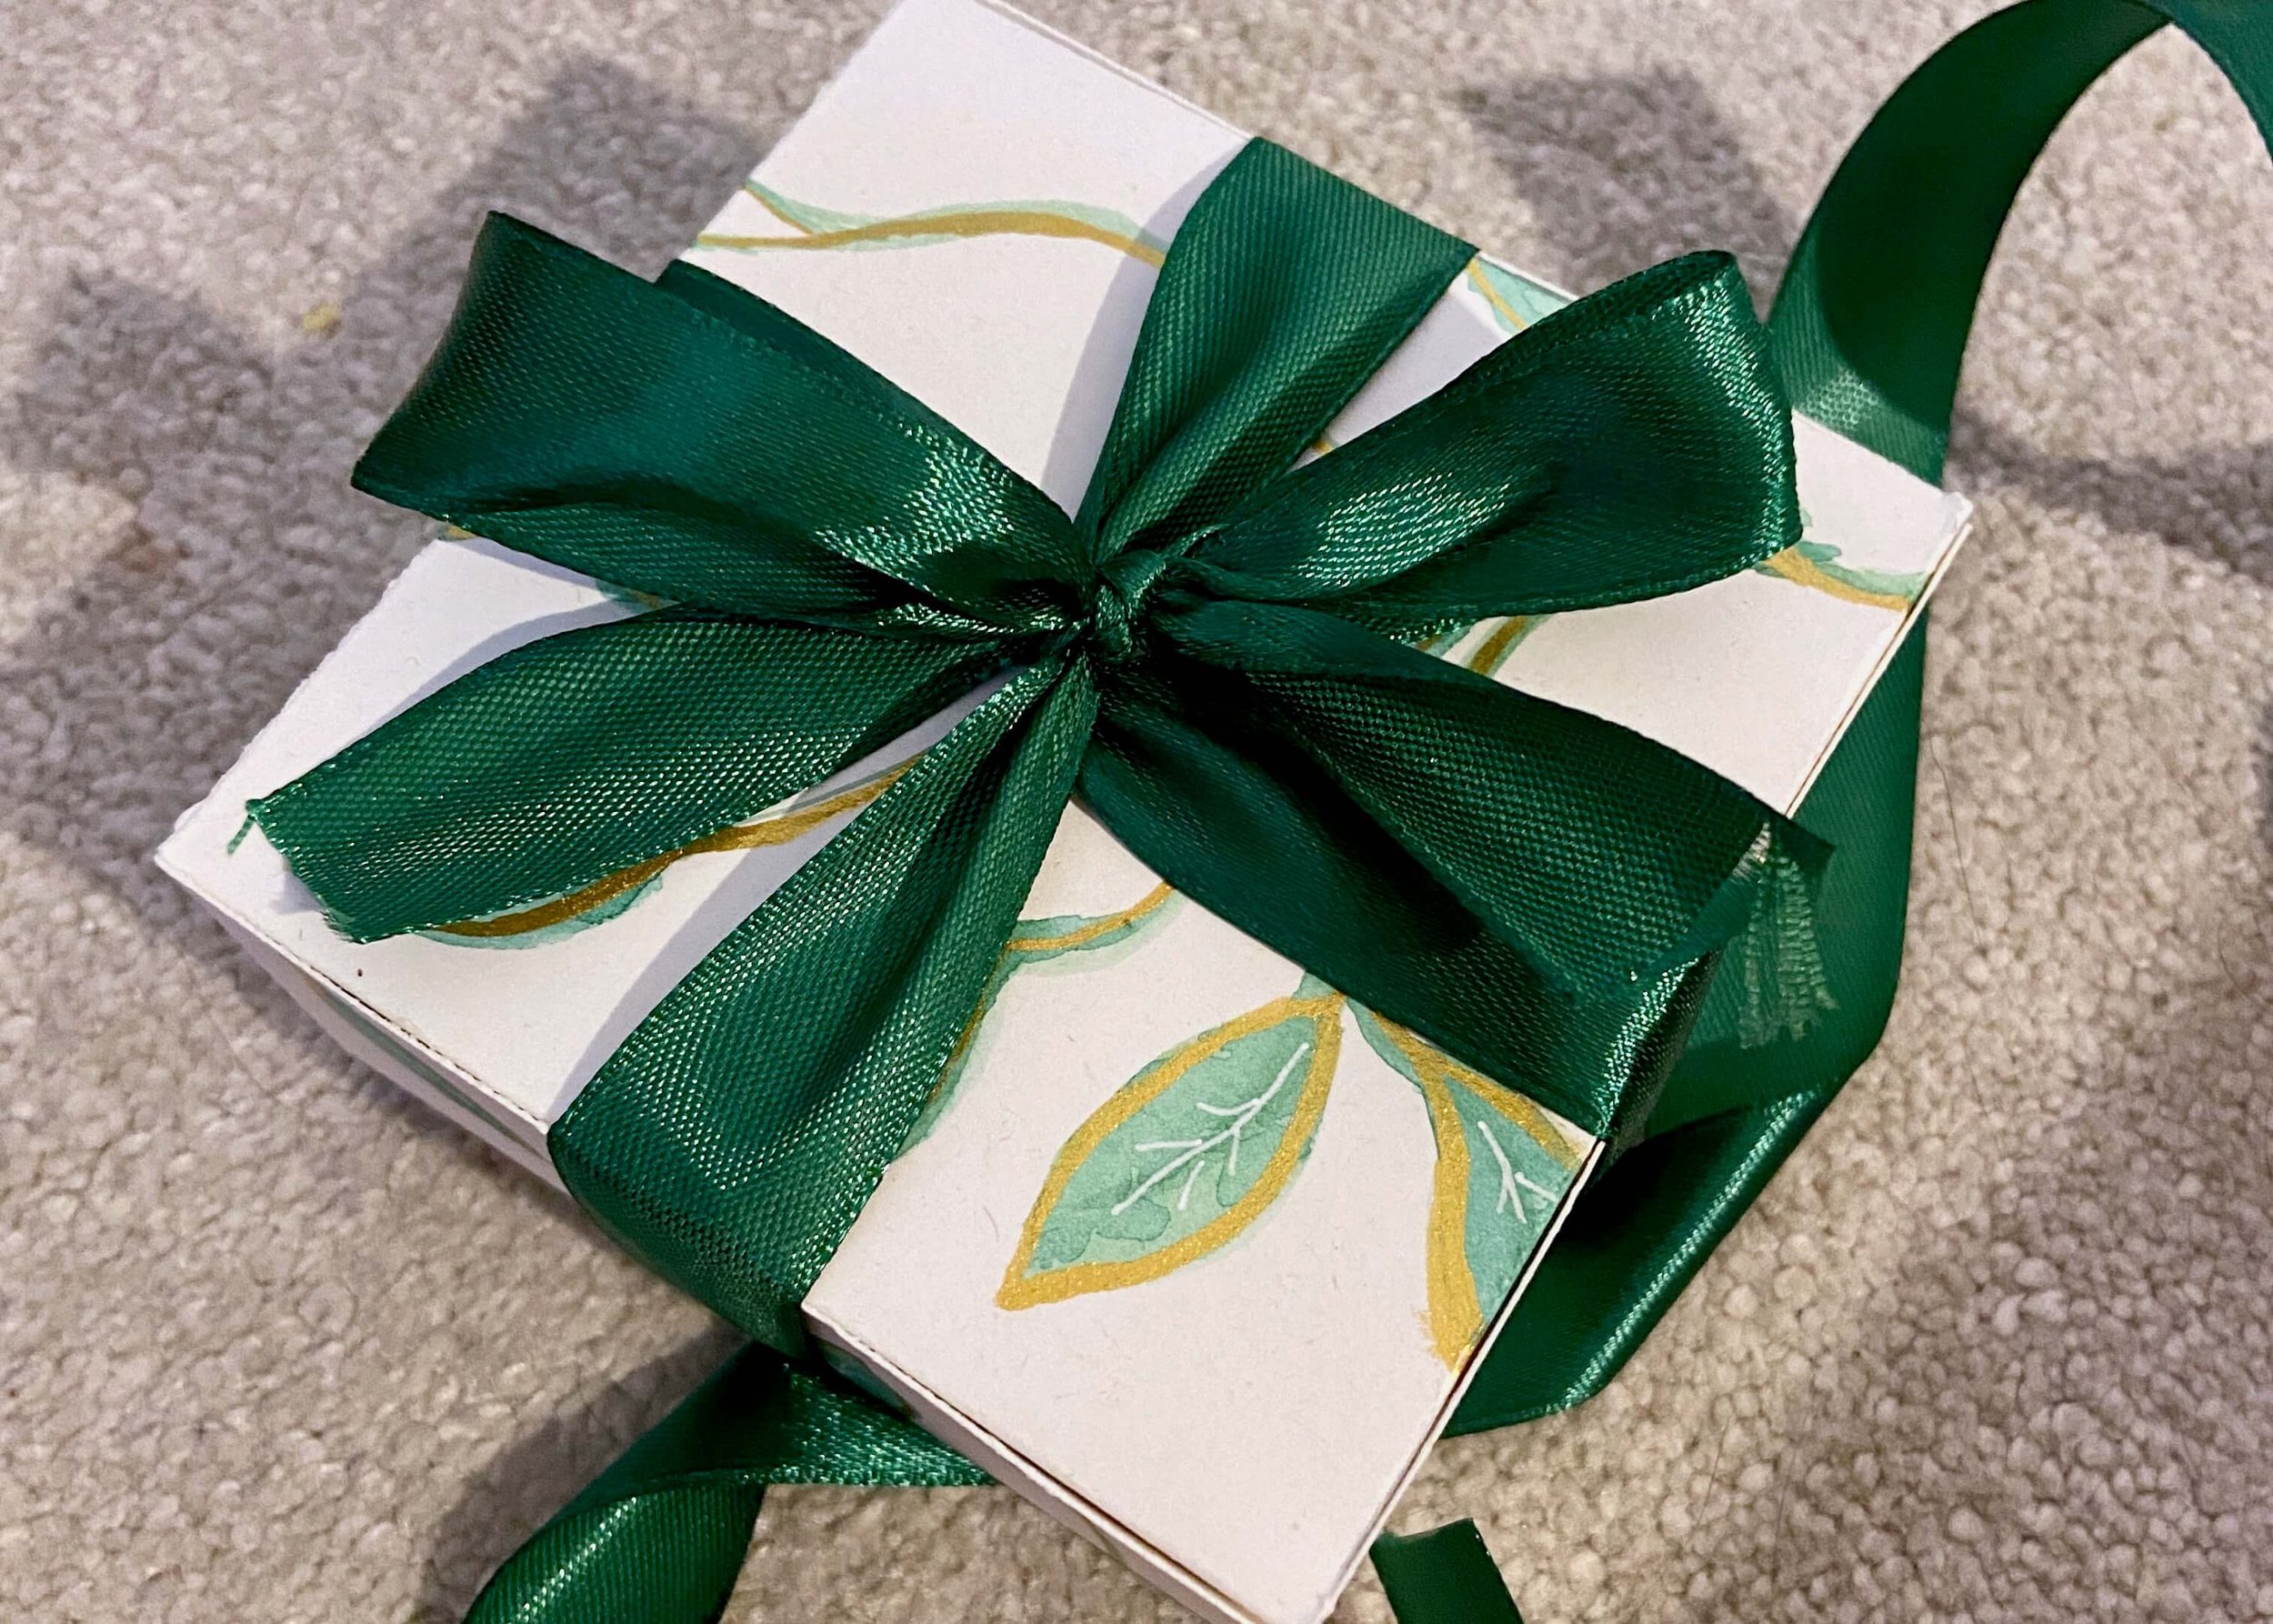
I then bent all of the scored lines and practised how it would be assembled.

9.
Once I knew how it was going to be assembled, I used glue on the tabs and stuck it together.
10.
I then added my gift and finished it off with satin ribbon and a big bow on top.


