


The countdown to Christmas has begun, which of course means that DIY advent calendar ideas are popping up left, right and centre. And this year, for the first time, I’m sharing my very own, so if you’re looking for a Christmas countdown that is out of this world, then you are going to love this DIY starry nights advent calendar!
I’m not sure why I’ve never made an advent calendar before, but this year, after sorting out my craft drawers, I spotted this book-like box and instantly knew that I wanted to use it to make one. I wanted it to co-ordinate with my navy blue and copper Christmas decor, and having loved all of the celestial-themed things this year, I decided to go for a starry night design on the front. One of the great things about making your own advent calendar is that you can fill it with whatever you want, and if you’ve got some special treats in mind, you can customise it to make sure the boxes are big enough to fit it in. Although I had forgotten that I had it, the box is from Homesense and is made from a really thick cardboard, which means once I’m done with it, I can throw it away safe in the knowledge that is biodegradable! I love how it turned out, and am especially pleased with how the sky turned out on the front! Keep reading to find out what I used and how I made it...


Cardstock
Acrylic paint
Black sharpie
Storage box
White gel pen
Bronze sharpie


1.
First of all, you need to measure the width, height and depth of the box you’ll be using as the outer part of your calendar. Then, decide how many doors you want in your calendar and divide the measurements to calculate the height and depth of each door. These will be made from small boxes. Use an online tool to create a template for each of these boxes.

2.
Print these templates out onto cardstock and then use your craft knife and ruler to score along each line. The template should come with extra tabs which you can use to stick the sides together to create the boxes. Be sure to leave one side unstuck so that you have a way to open and close the box.

3.
As you’re constructing the boxes, keep popping them back into the calendar to make sure they fit. I decided to make different sized boxes and so at step 1 calculated this and put various measurements into the template creator. Once you’ve made them all, you want to make sure they fit in the calendar tight enough that they don’t fall out, but not so tight that you can’t get them out.

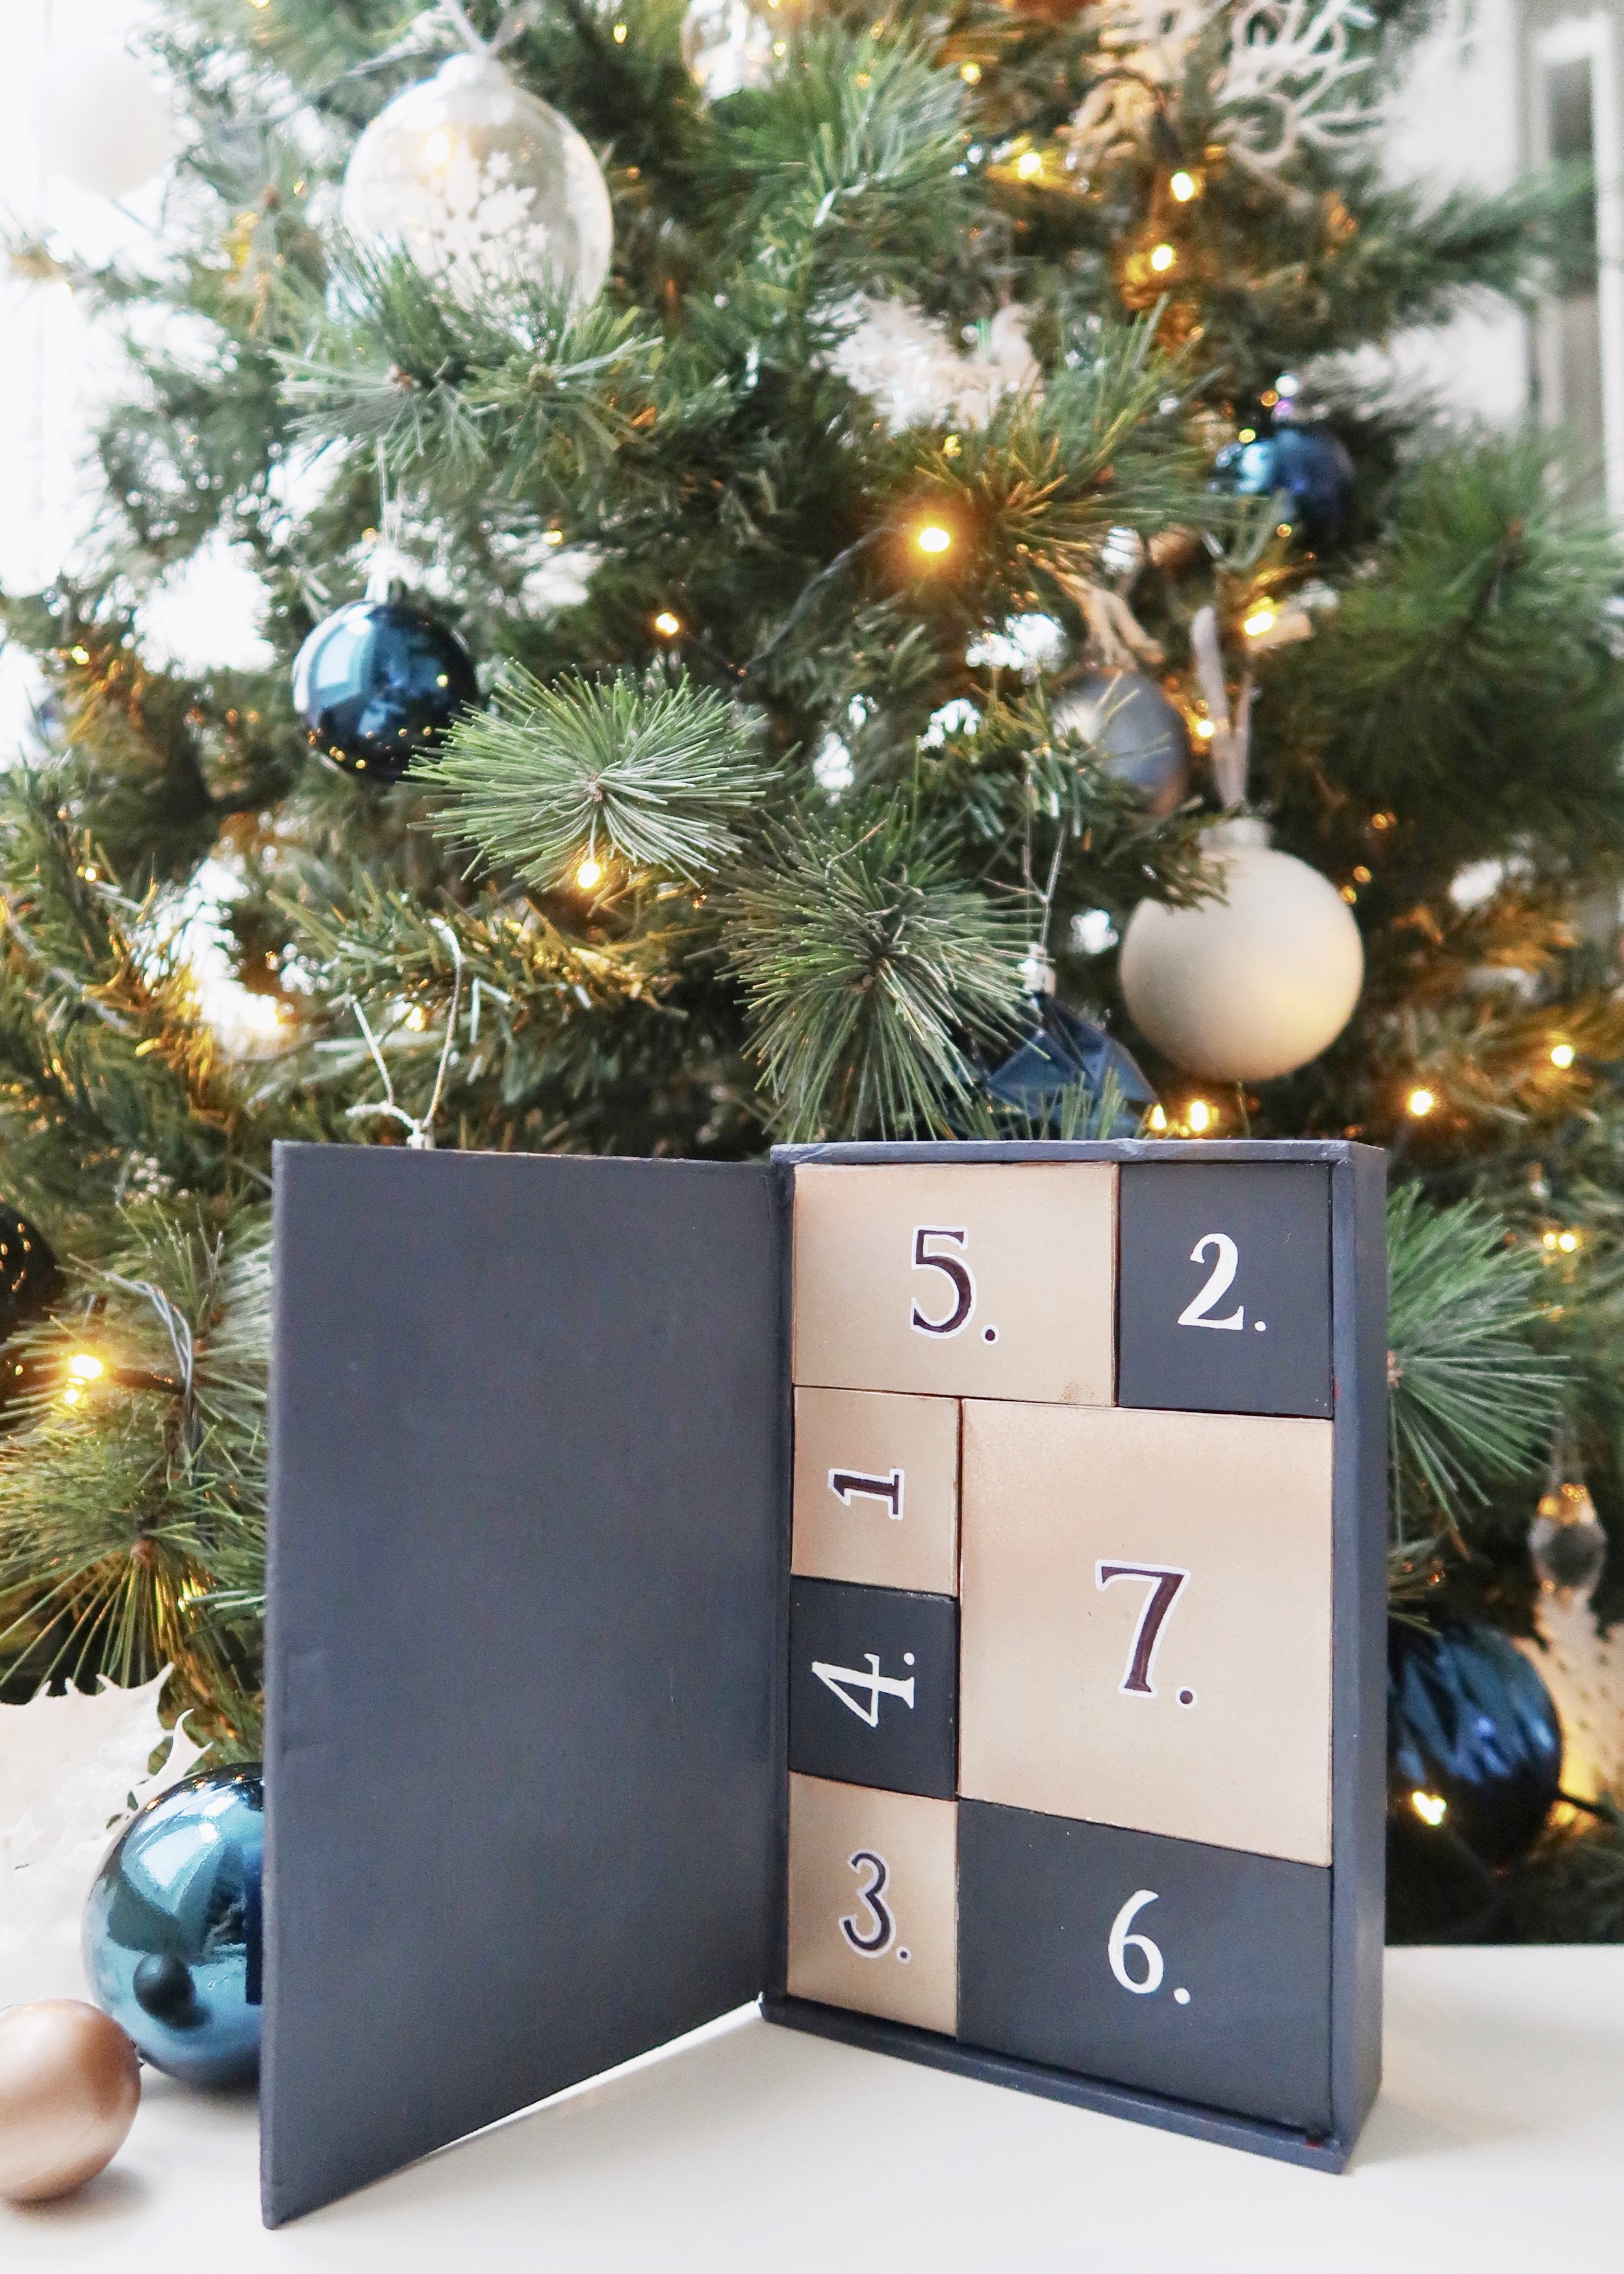
4.
Once you’re happy, take out the boxes and decorate them however you want. I chose to paint half in a navy blue, with white numbers drawn onto them (using the white gel pen), and the other half copper with black (using the sharpie) and white outlined numbers written onto them.

5.
Whilst the boxes are drying, paint the outer box using acrylic paints in a dark blue. After I had mixed up the colour I wanted the box to be, I painted the back of the box and inside before leaving it to dry. Once dry, I painted all over again in the same colour to ensure the colour was consistent and the original pattern of the box could no longer be seen. Do as many coats as necessary.

6.
To create the starry sky, use a sponge and a combination of white, lighter blue and black acrylic paint. I found it helpful to start with the darker colours, and to build these up in the top left and bottom right hand corners, leaving a gap from the top right to the bottom left. Add some white to the same sponge, and carefully add some white at the edges of the darker blue in the corners, to look a bit like clouds. Keep building it up until you’re happy. Once you are, leave it to completely dry.

7.
Once dry, grab the white gel pen an add white dots randomly all over. Again, I pretty much left the diagonal space going from the top right to the bottom left free. Add a few larger spots in the top left and bottom right areas, and draw vertical and horizontal lines through them. Using the bronze sharpie, write whatever festive you like in the diagonal space from bottom left to top right.


