


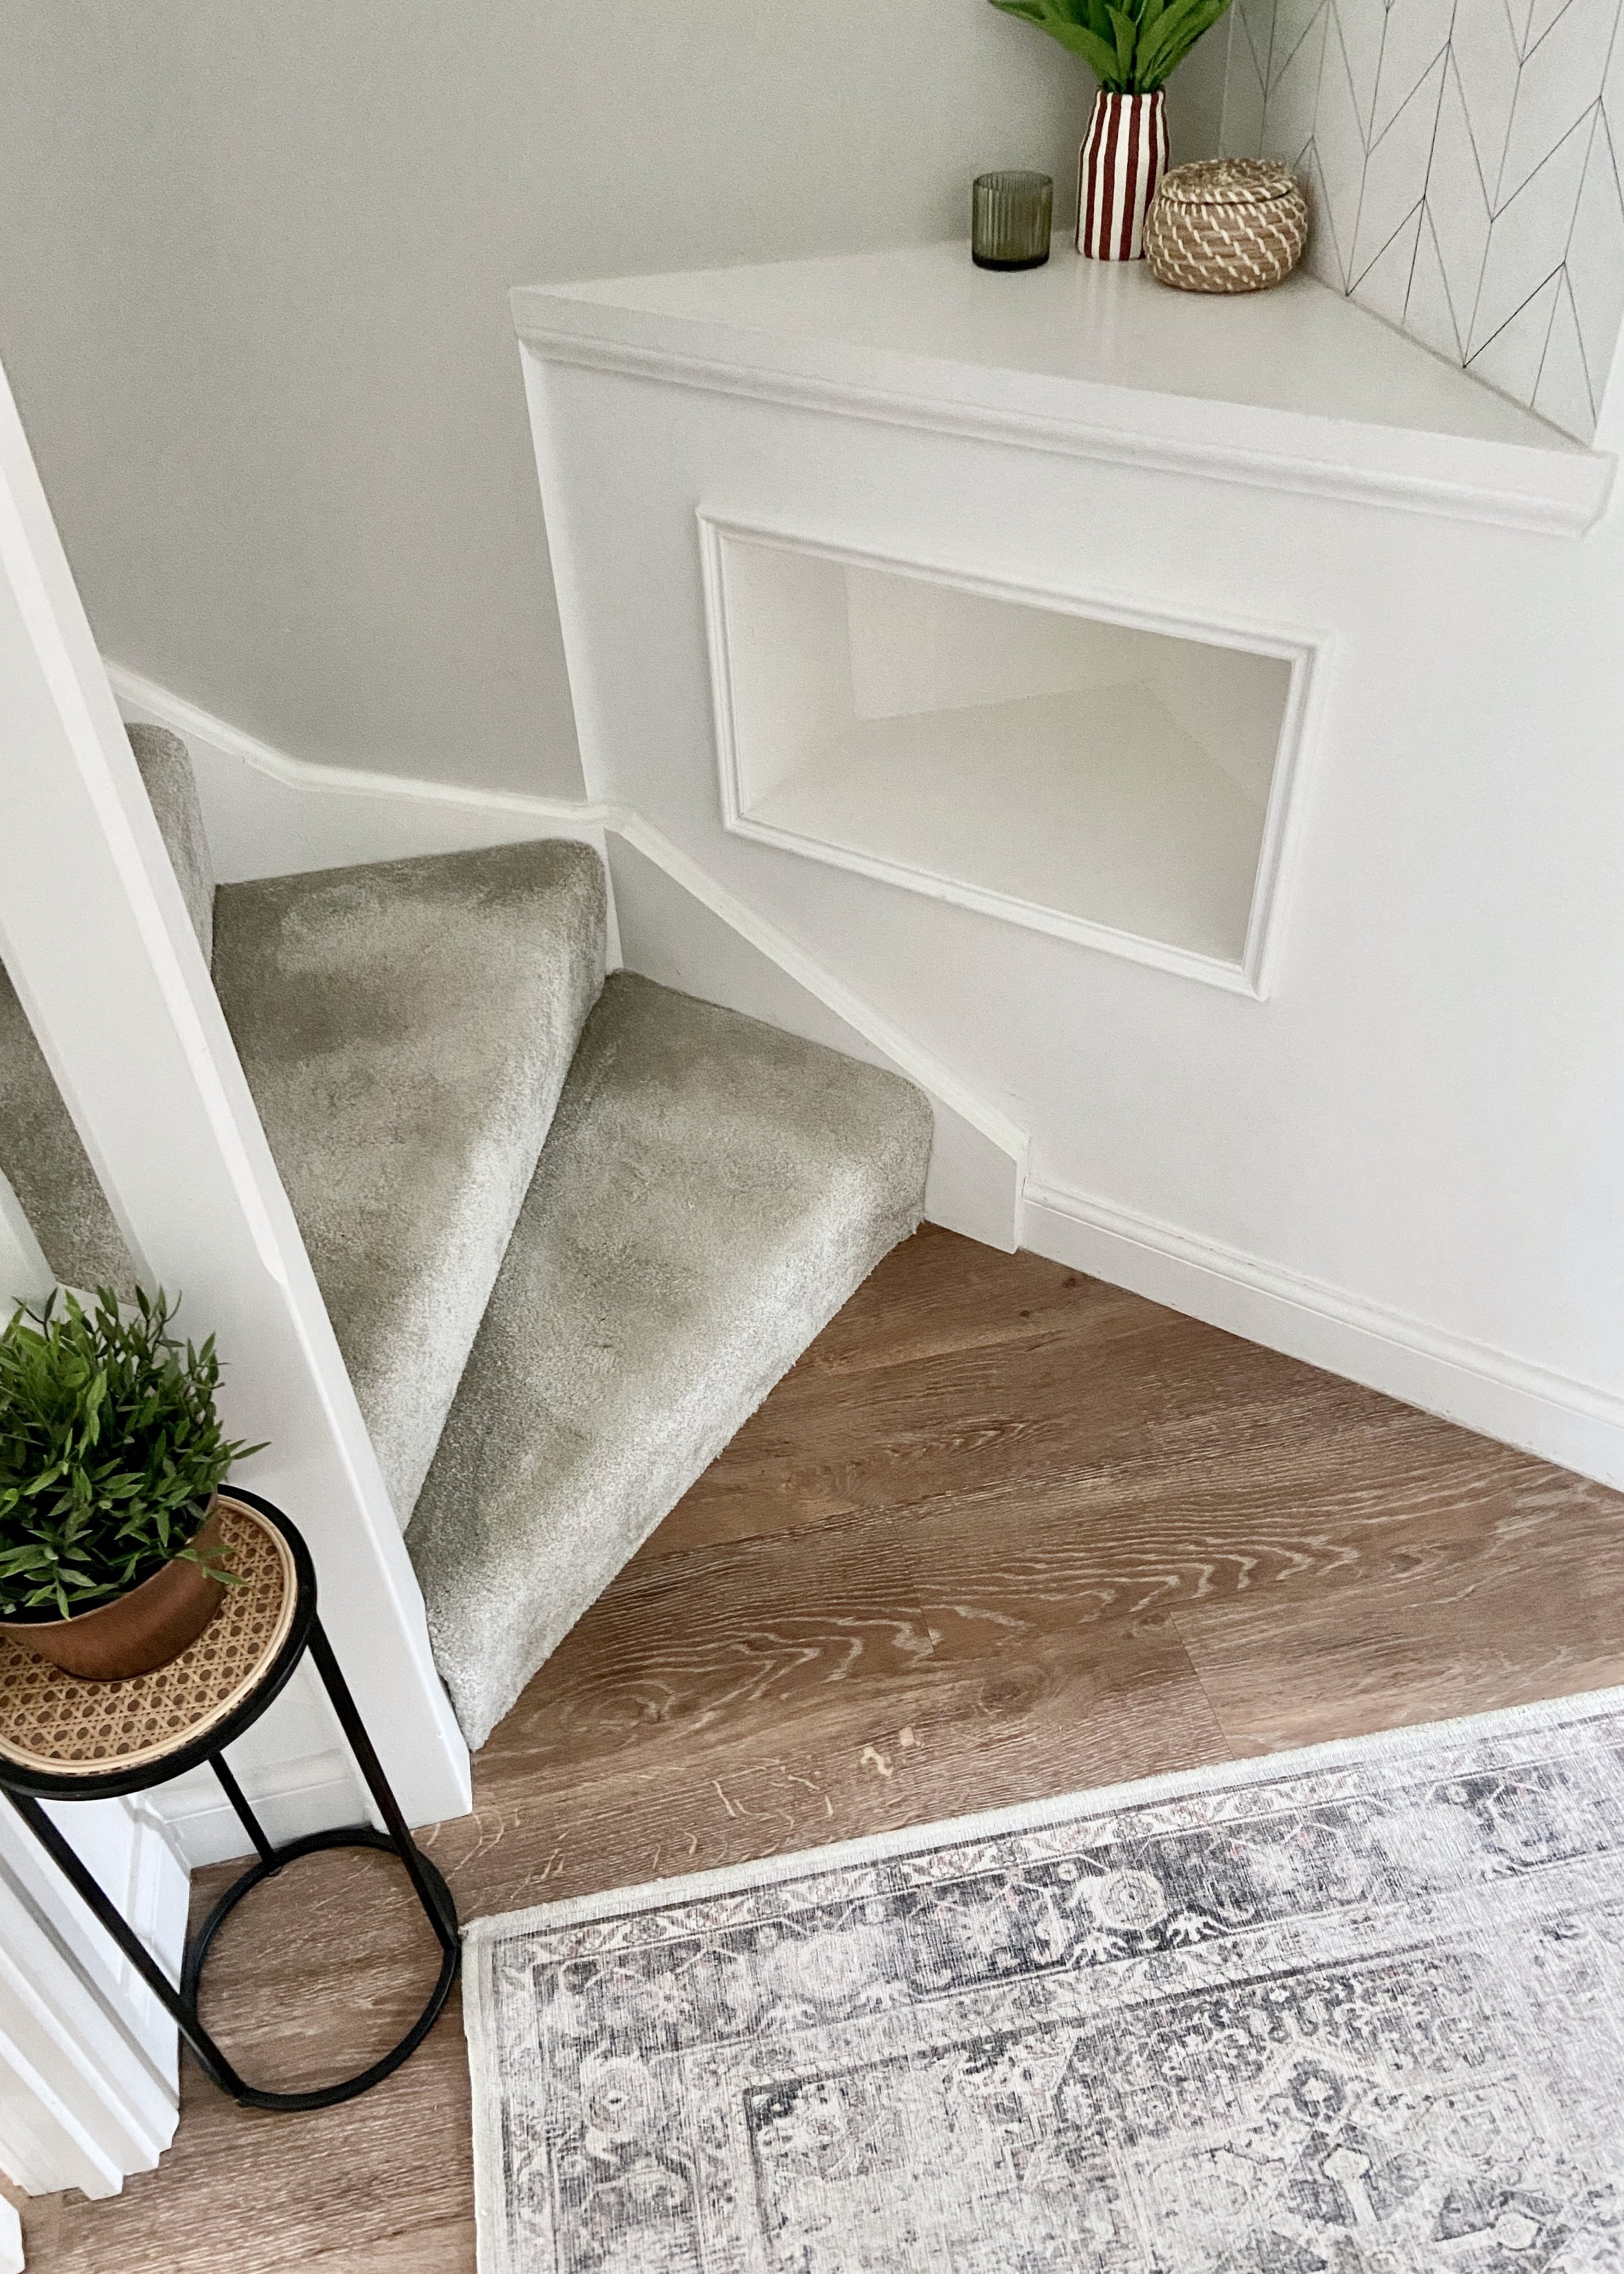
Add some storage into otherwise redundant spaces with a handmade wall niche!
Hello! It’s been far too long since I posted on my little corner of the internet, having a baby is wonderful, but also time-consuming, so I’ve not had much time to blog about any of the creative things me and the other half have been up to during nap time. Since being so poorly in my pregnancy, the other half has taken much more of an active roll in my DIY plans, and so I’m really lucky that I can dream up ideas and he helps get them done or looks after the little one whilst I get my creative fix.
WALL NICHE
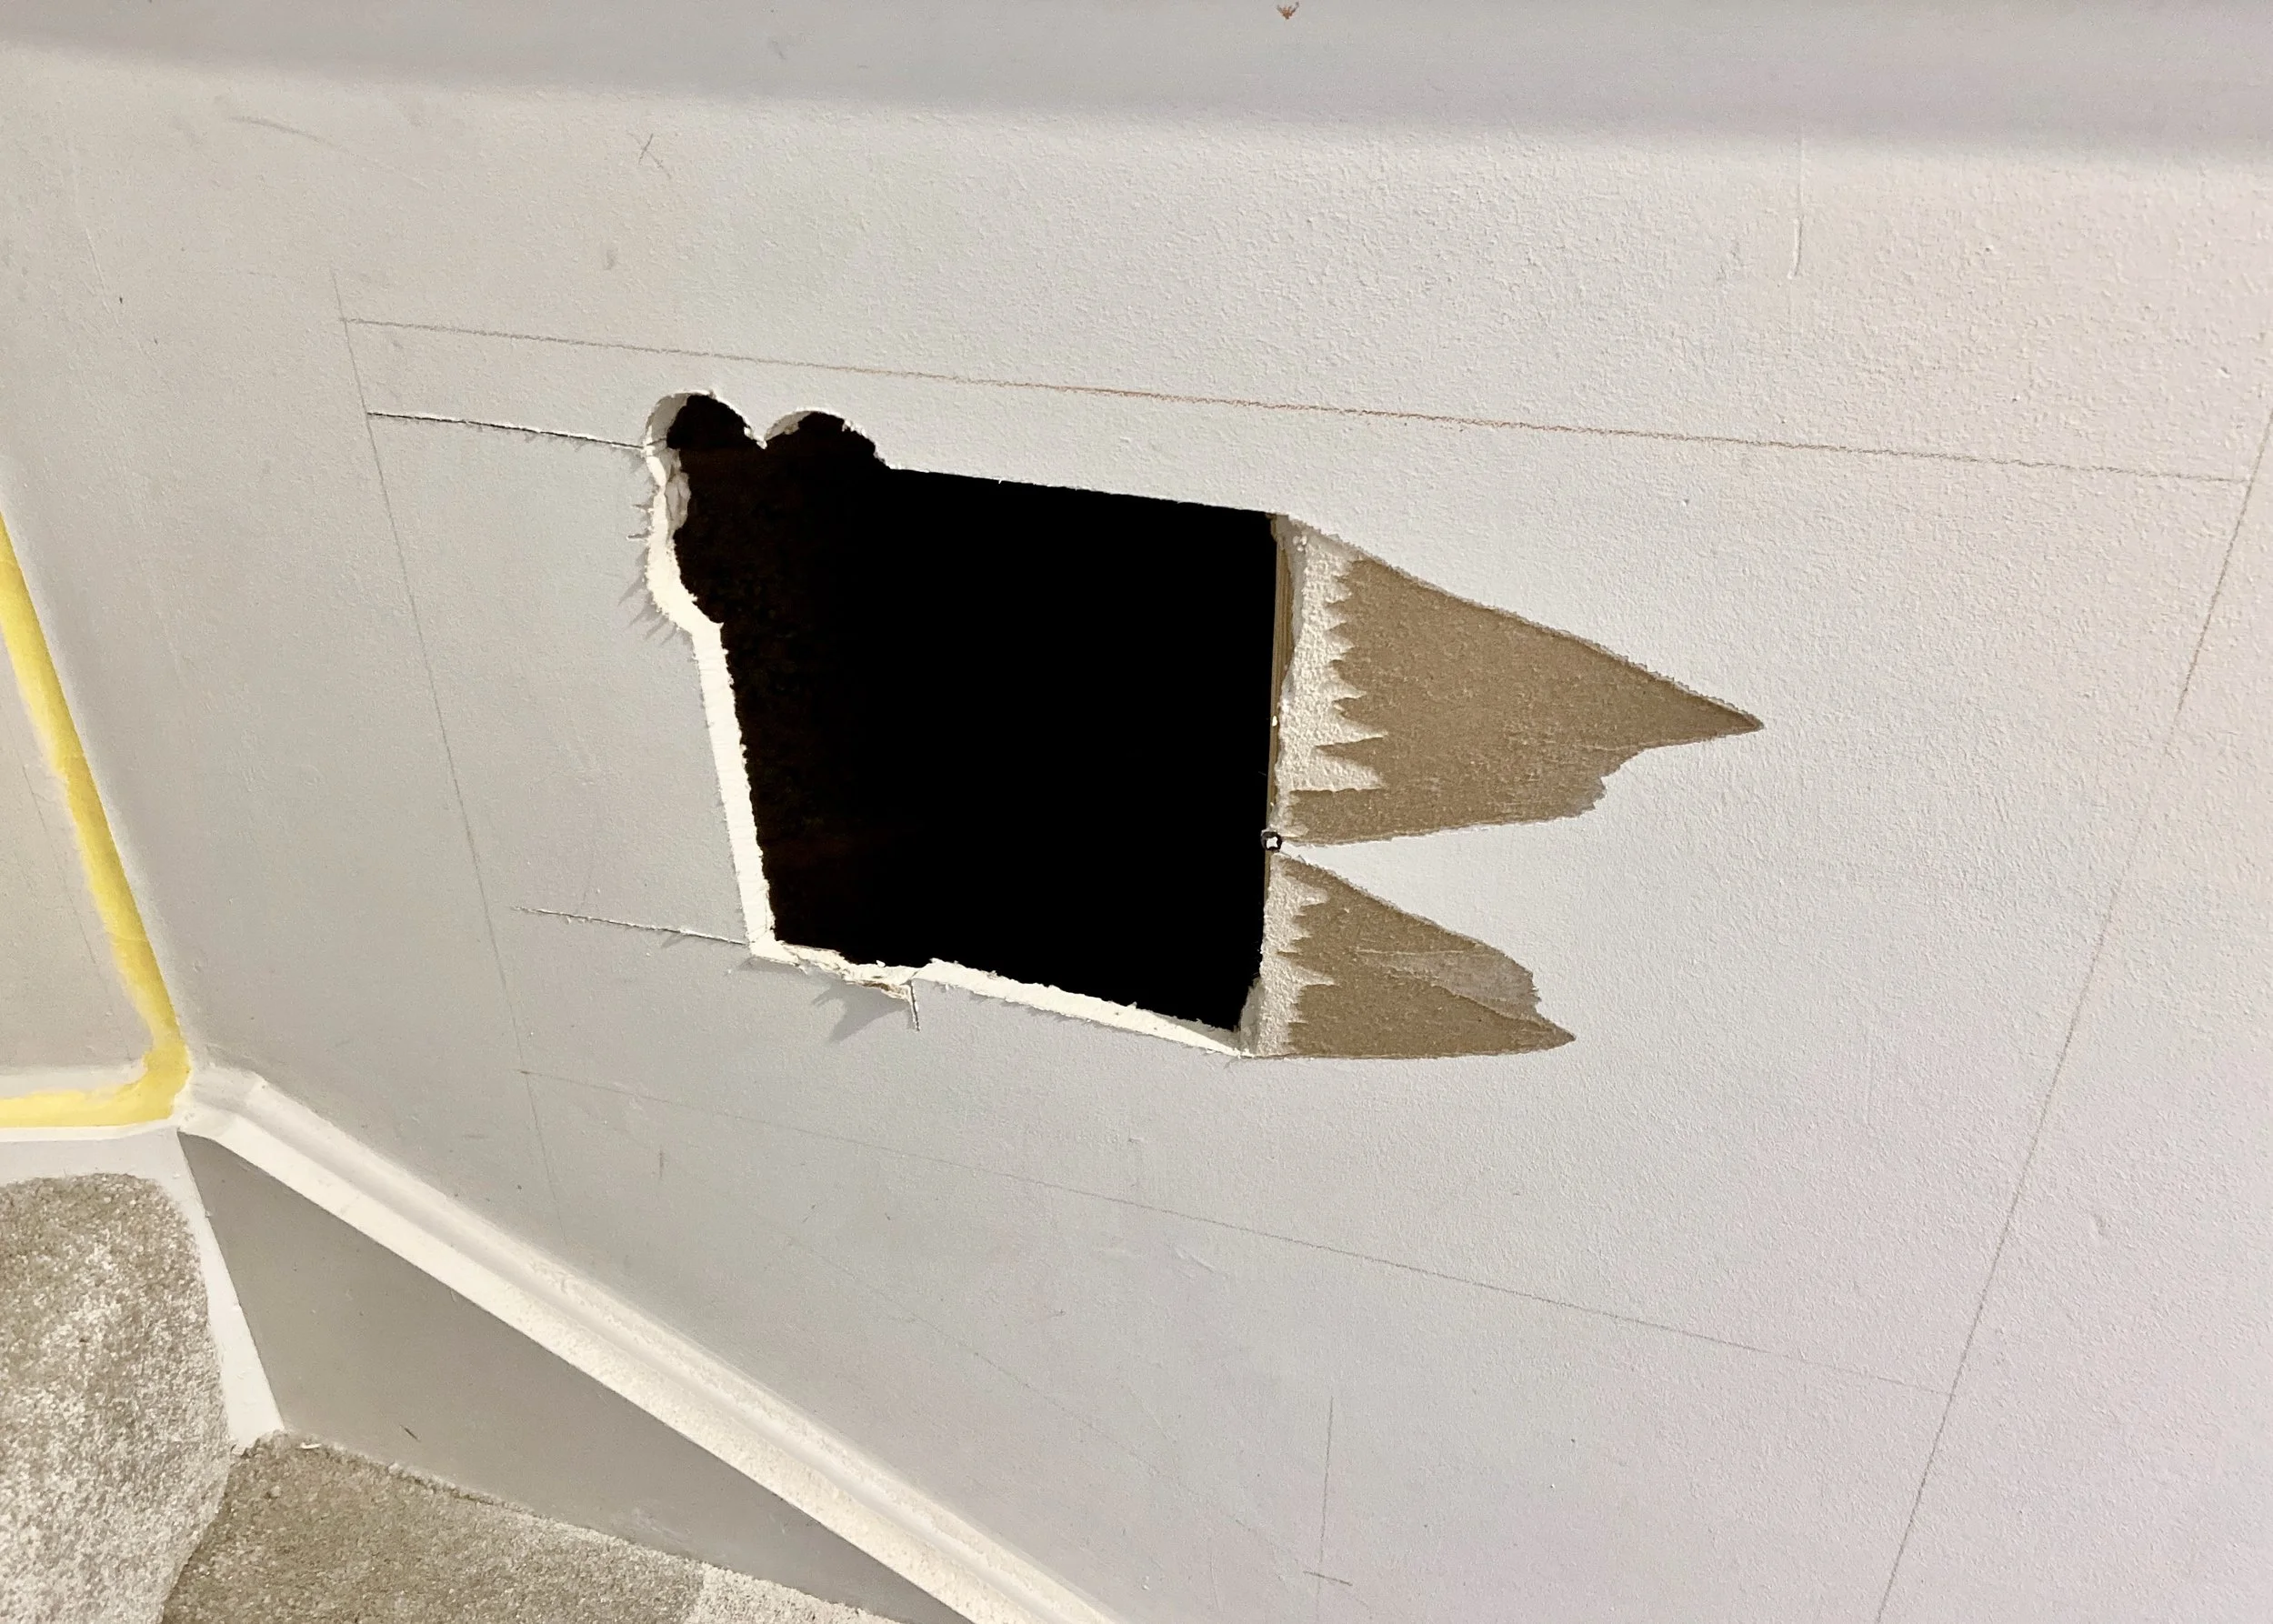
This project was a long time coming; we’d been wondering what was behind this wall since we moved into our house in 2020. If you also live in a new build house, you might also find that you have some corners and spaces that have been blocked off and find yourself wondering if there is storage potential in them. So, one afternoon, running on the high of getting baby down for a nap successfully, we decided to have a look and tentatively drilled a hole in the plasterboard. Much to our delight, there was nothing in it, and so we moved onto thinking about what we could do to make this space much more useful for us.
SHOE STORAGE
We have a pretty narrow hallway so a shoe cabinet isn’t an option, but we both like the convenience of having our shoes by the front door to quickly grab, and so it didn’t take us long to agree that some shoe storage would be useful. Shoes aren’t the prettiest of things to have out, however creating a cabinet with a door was a bit beyond our skillset (especially in the limited time we get!) but we felt we could manage a niche in the wall, and that we’d just have to keep on top of keeping it tidy.
We’re pretty impressed with ourselves for this one, and I’m so glad that we took the plunge and had a look to see what was behind this wall. We do plan on cutting and adding a shelf to the middle of the niche we’ve created for even more storage but at the moment it’s working well just as it is. Keep reading to find out how we did it, and the materials we used..


1.
First of all, you want to be REALLY sure that there is nothing behind your plasterboard. We used a stud finder to check for wiring and where the studs were before using a drill to create a small hole to have a look.

2.
Next we drew out the size of the opening of our niche, and used a hacksaw to cut this out. We foudn the hacksaw cut through the plasterboard really easily, but we went slowly and carefully so we didn’t snap the plasterboard as there were large parts that didn’t have studs behind them.

3.
We had a stud in the middle of where we wanted to put out niche, and as this little wall has other studs holding it up, and we never put anything heavy on here, we felt confident cutting it out using a wood saw.

4.
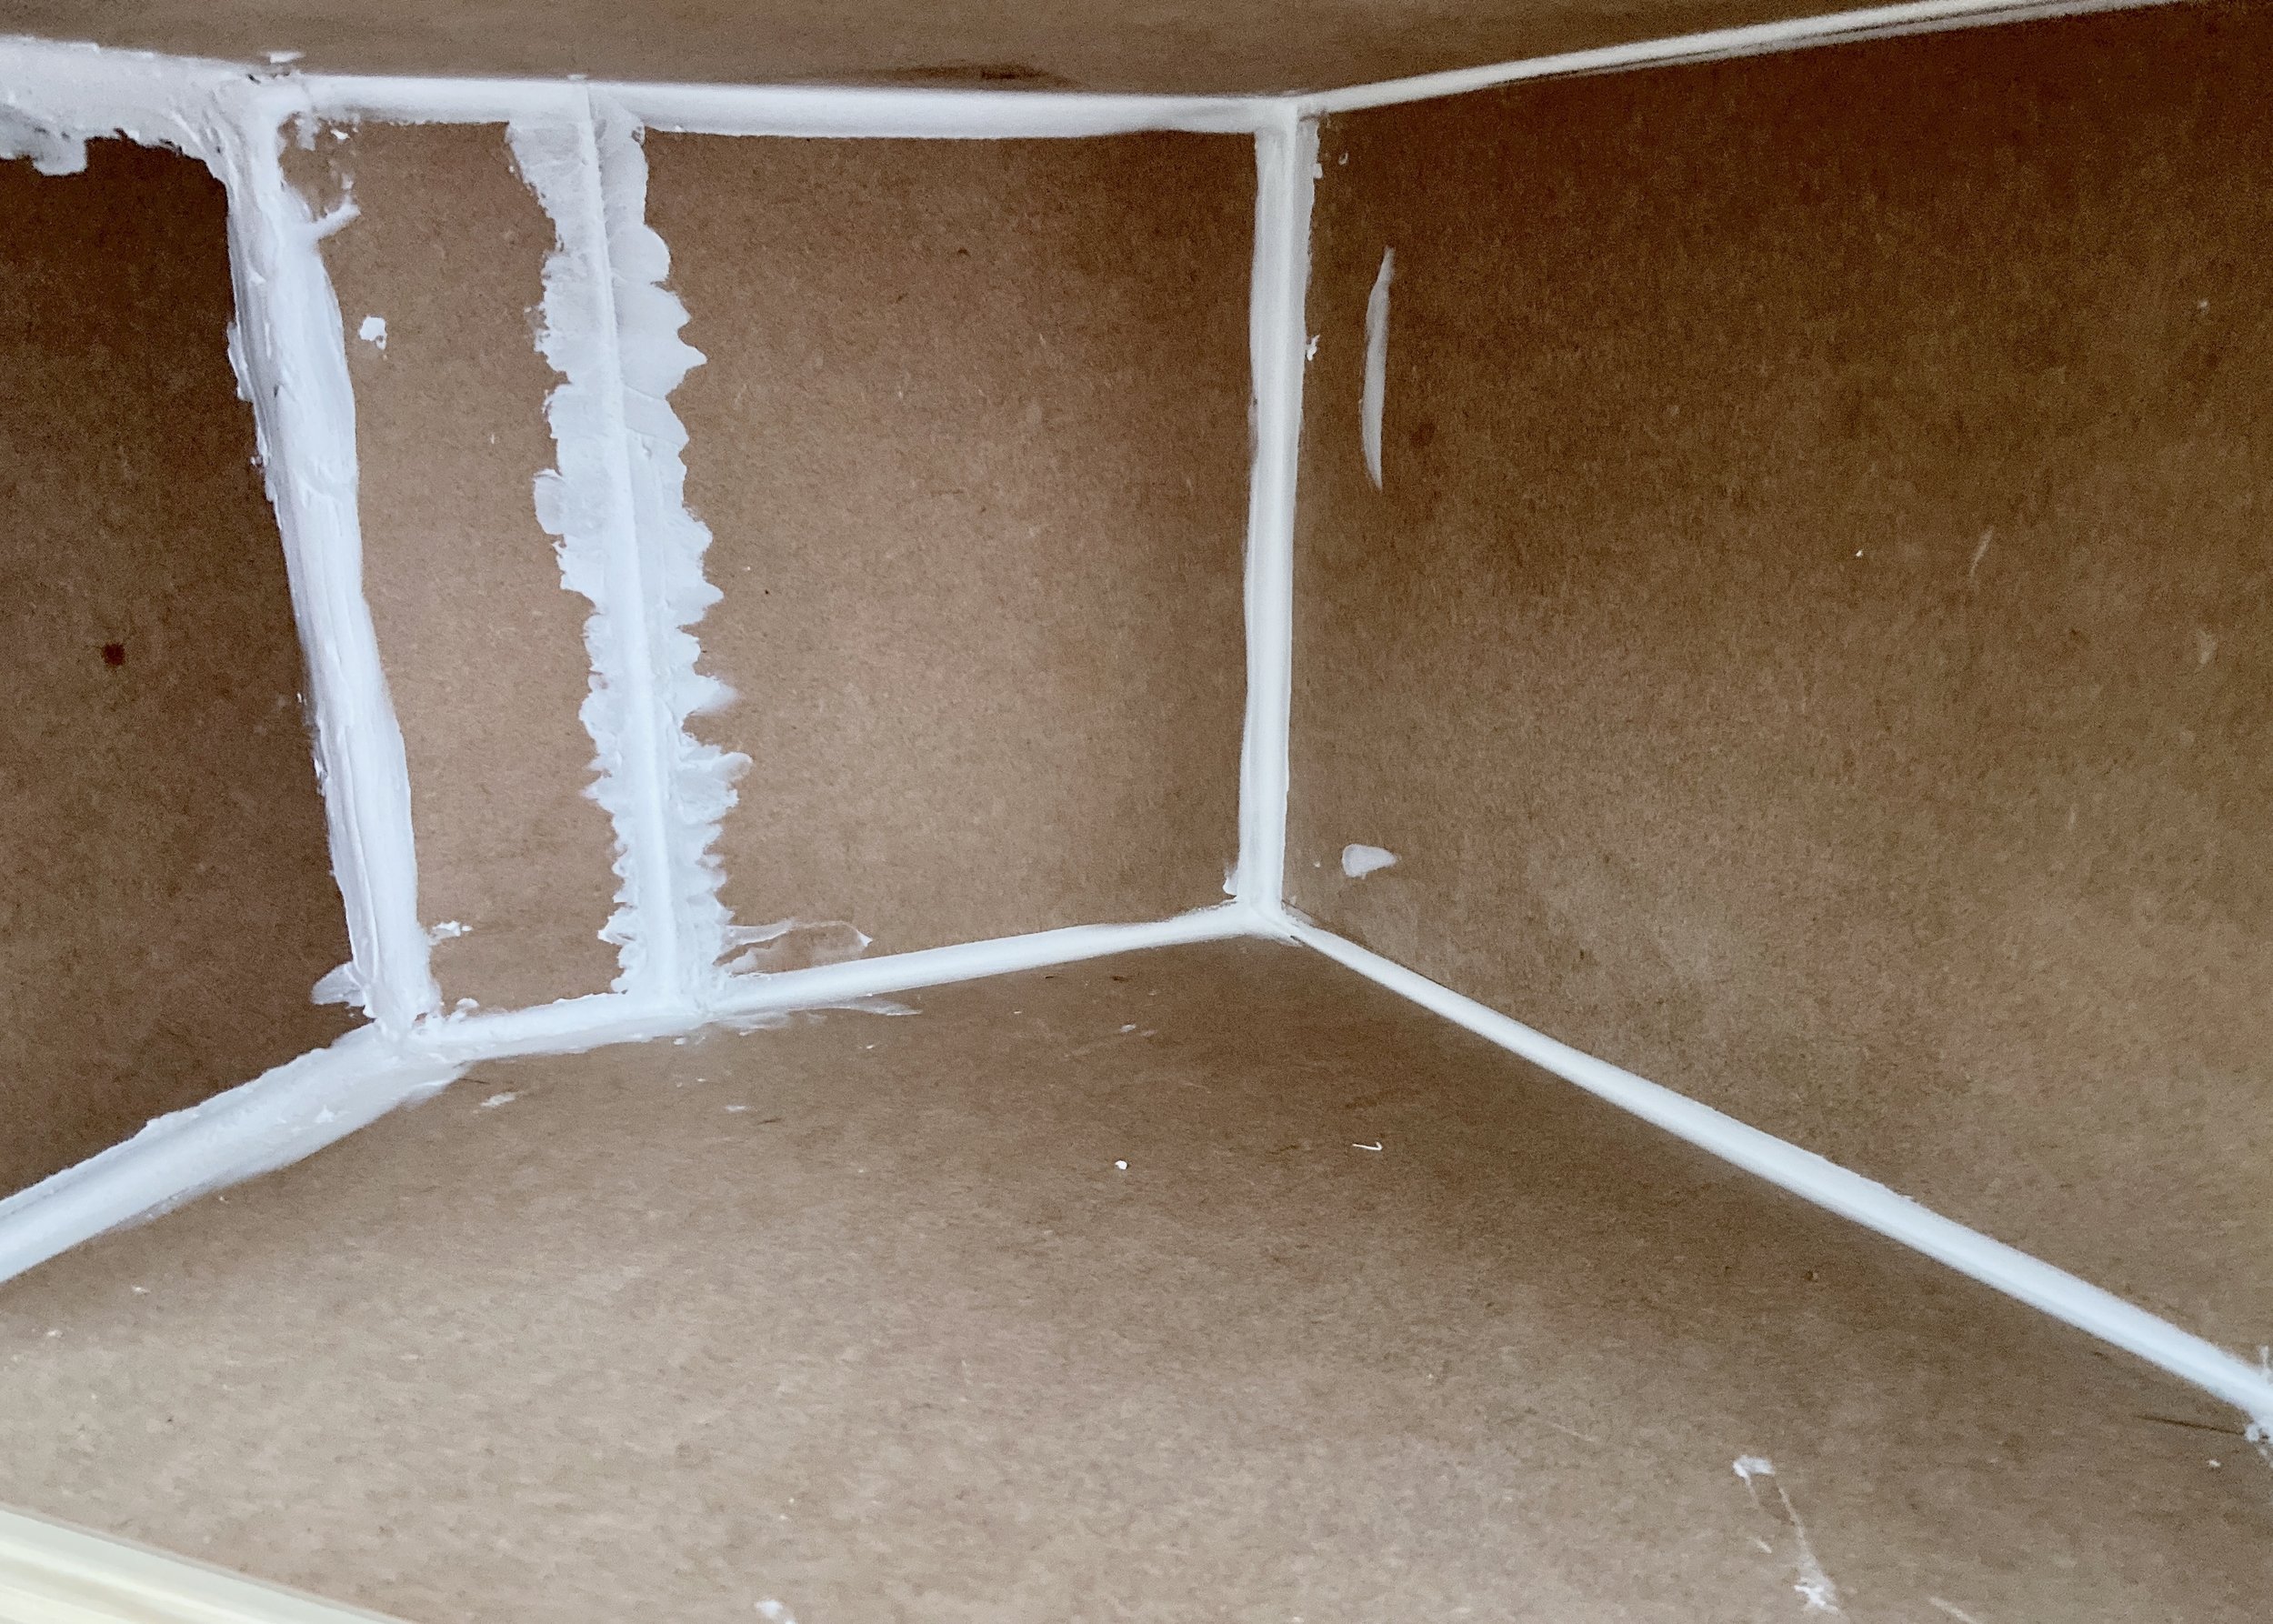
We then created a wooden frame within the hole to add strength and to give our niche something to screw into.

5
I then measured the size of the niche and worked out the angles we would need to cut using a protractor. I transferred these measurements onto a piece of MDF and the other half cut this out using a jigsaw. We repeated this to give us the top and bottom of our niche.
6.
Although we didn’t do it this way, I would advise then measuring and cutting out the back pieces from MDF and creating the niche box outside of the hole, using screws and wood glue to secure all together. You should then be able to push the box into the hole and secure it with screws and a drill to the wooden framework you have created.

7.
Finally, we cut wooden trim to go around the niche, using a mitre box and 45 degree angles to get a neat corner.

8.
We then caulked and wood filled all of the gaps and edges. Once dry, we sanded everything smooth and then added two layers of white wood primer. With MDF, it’s really important to use a primer before painting, otherwise the MDF will soak up the paint and it may warp or expand.

9.
Finally, we painted the whole thing with wood paint and left it to dry.


