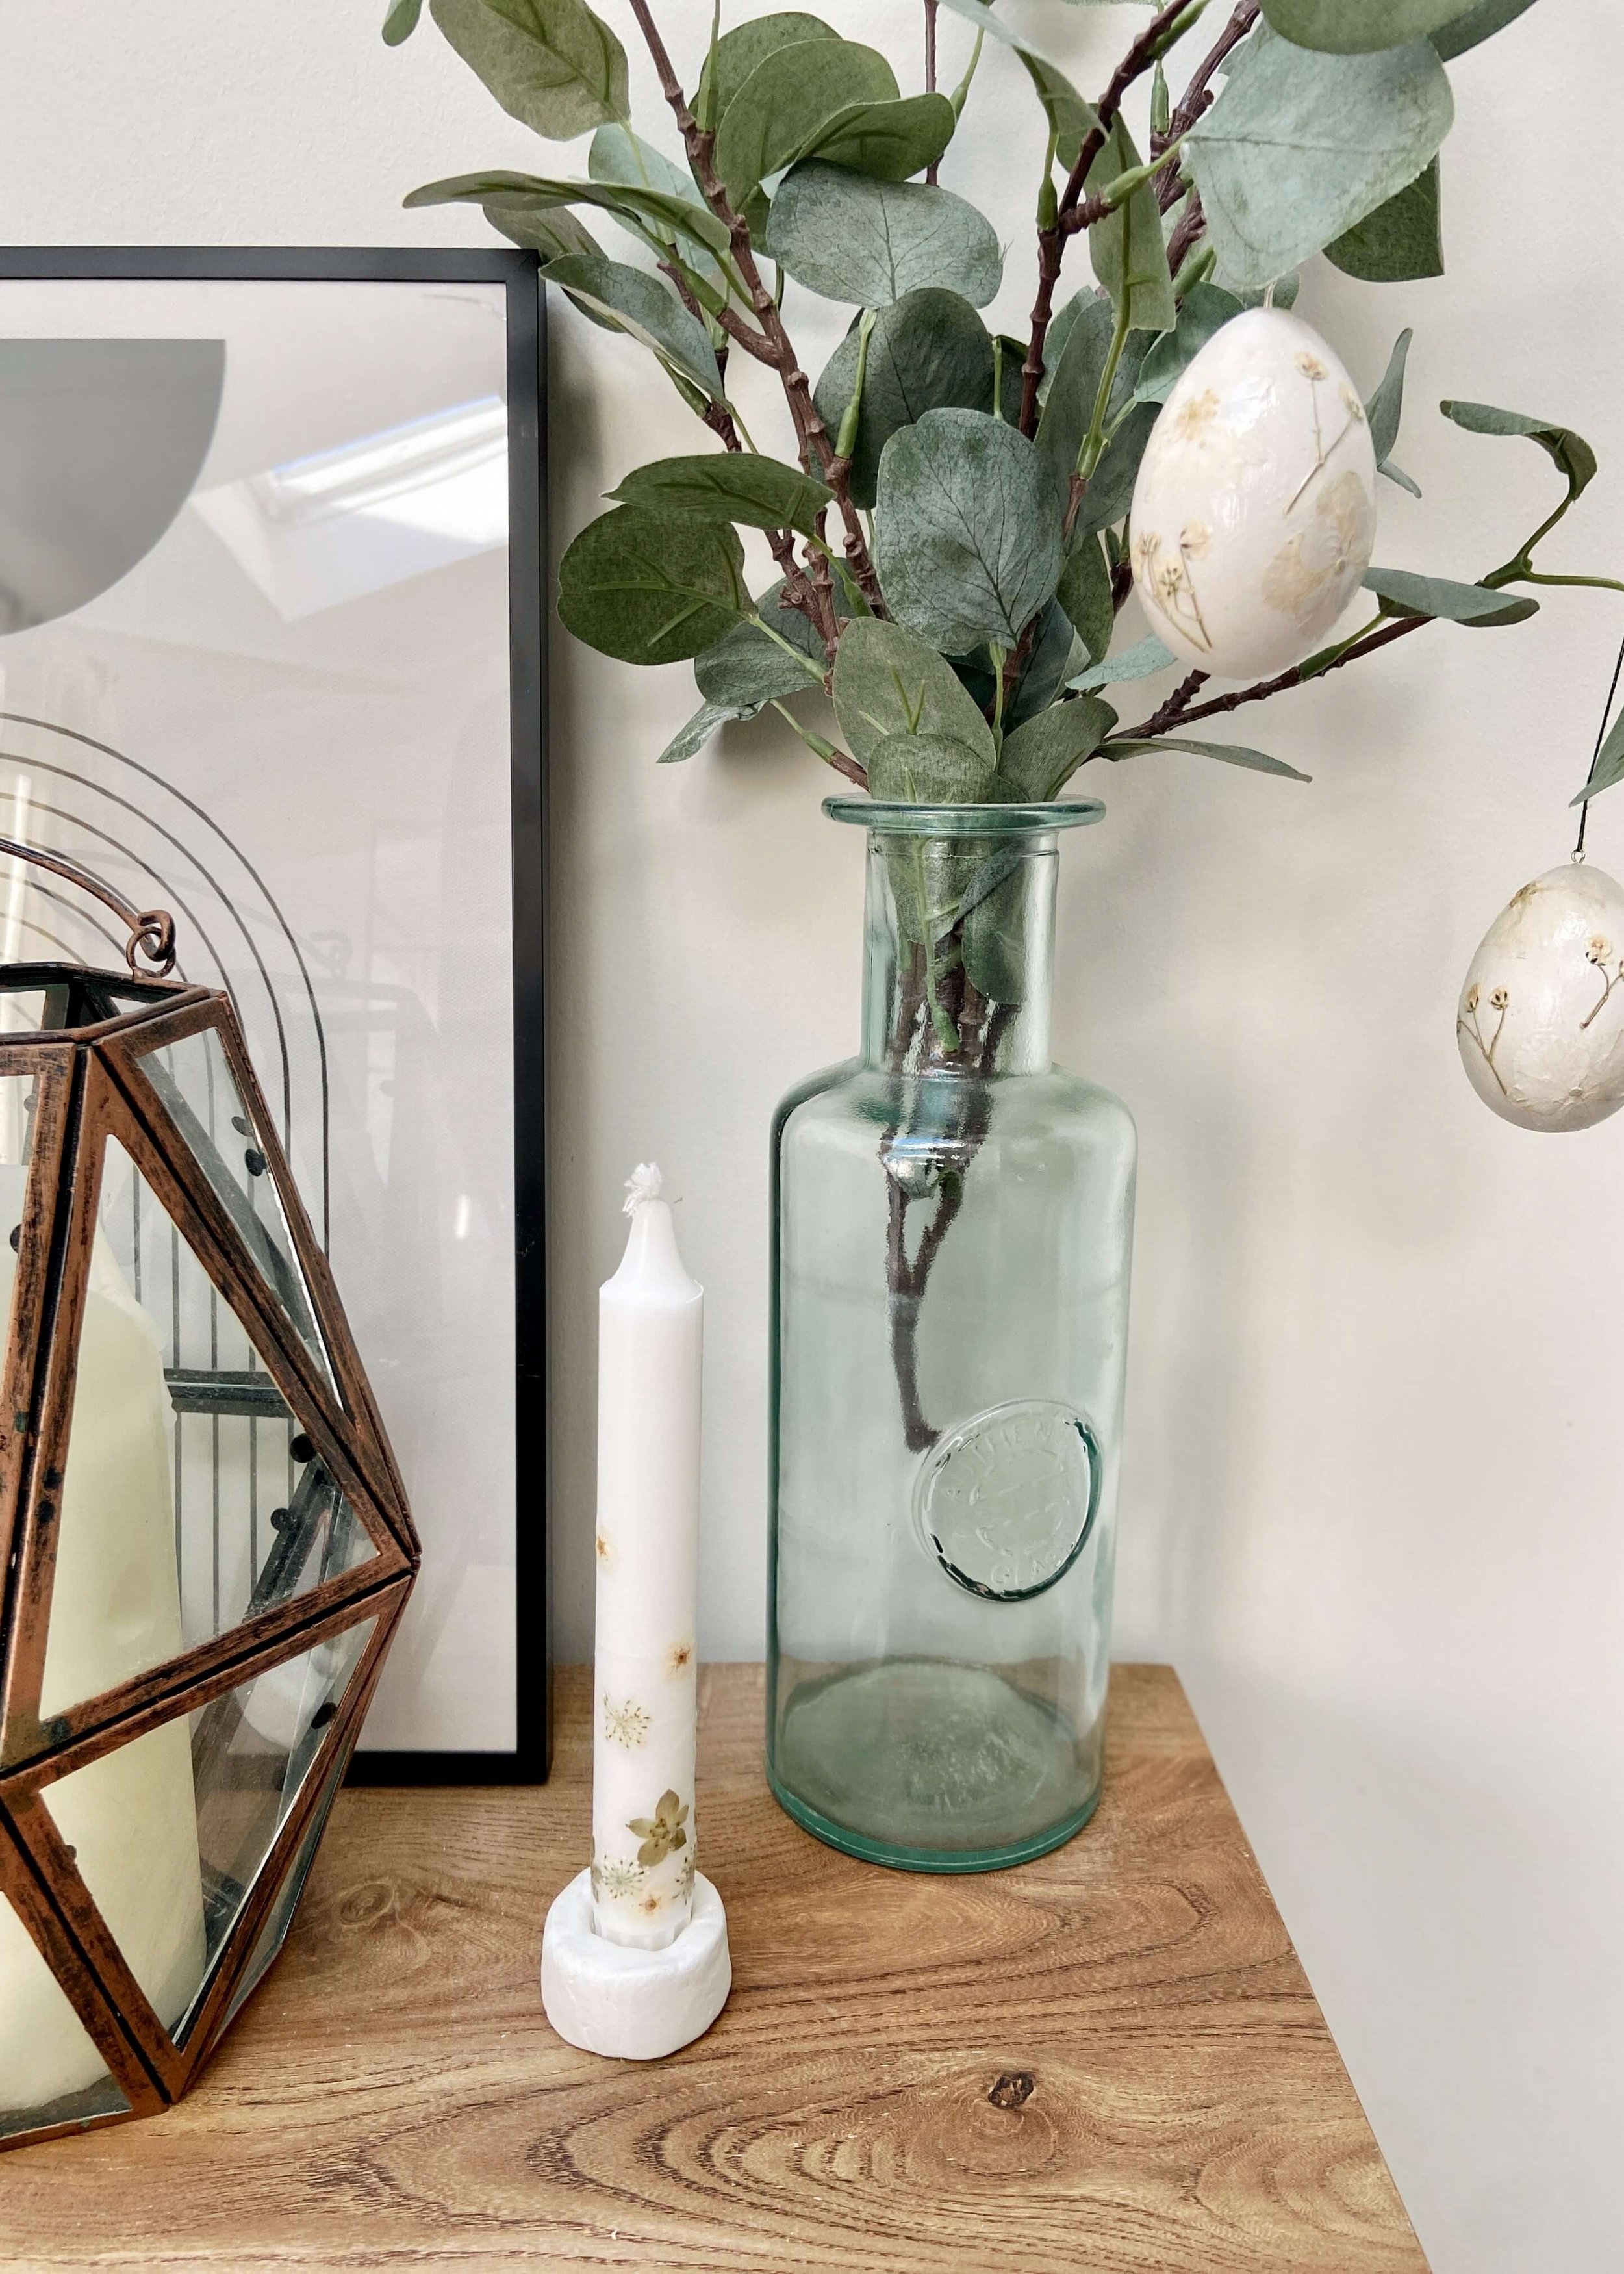
Create these pretty pressed flower egg ornaments for Spring and Easter!
I’m a bit late posting this project here but something I’m quickly learning about motherhood is that you don’t get much time off! I am loving it - though I will of course be glad for a whole nights sleep when that day eventually comes! - and despite having little time to myself, I did this year manage to squeeze in this quick and easy Easter craft project.
PRESSED FLOWERS
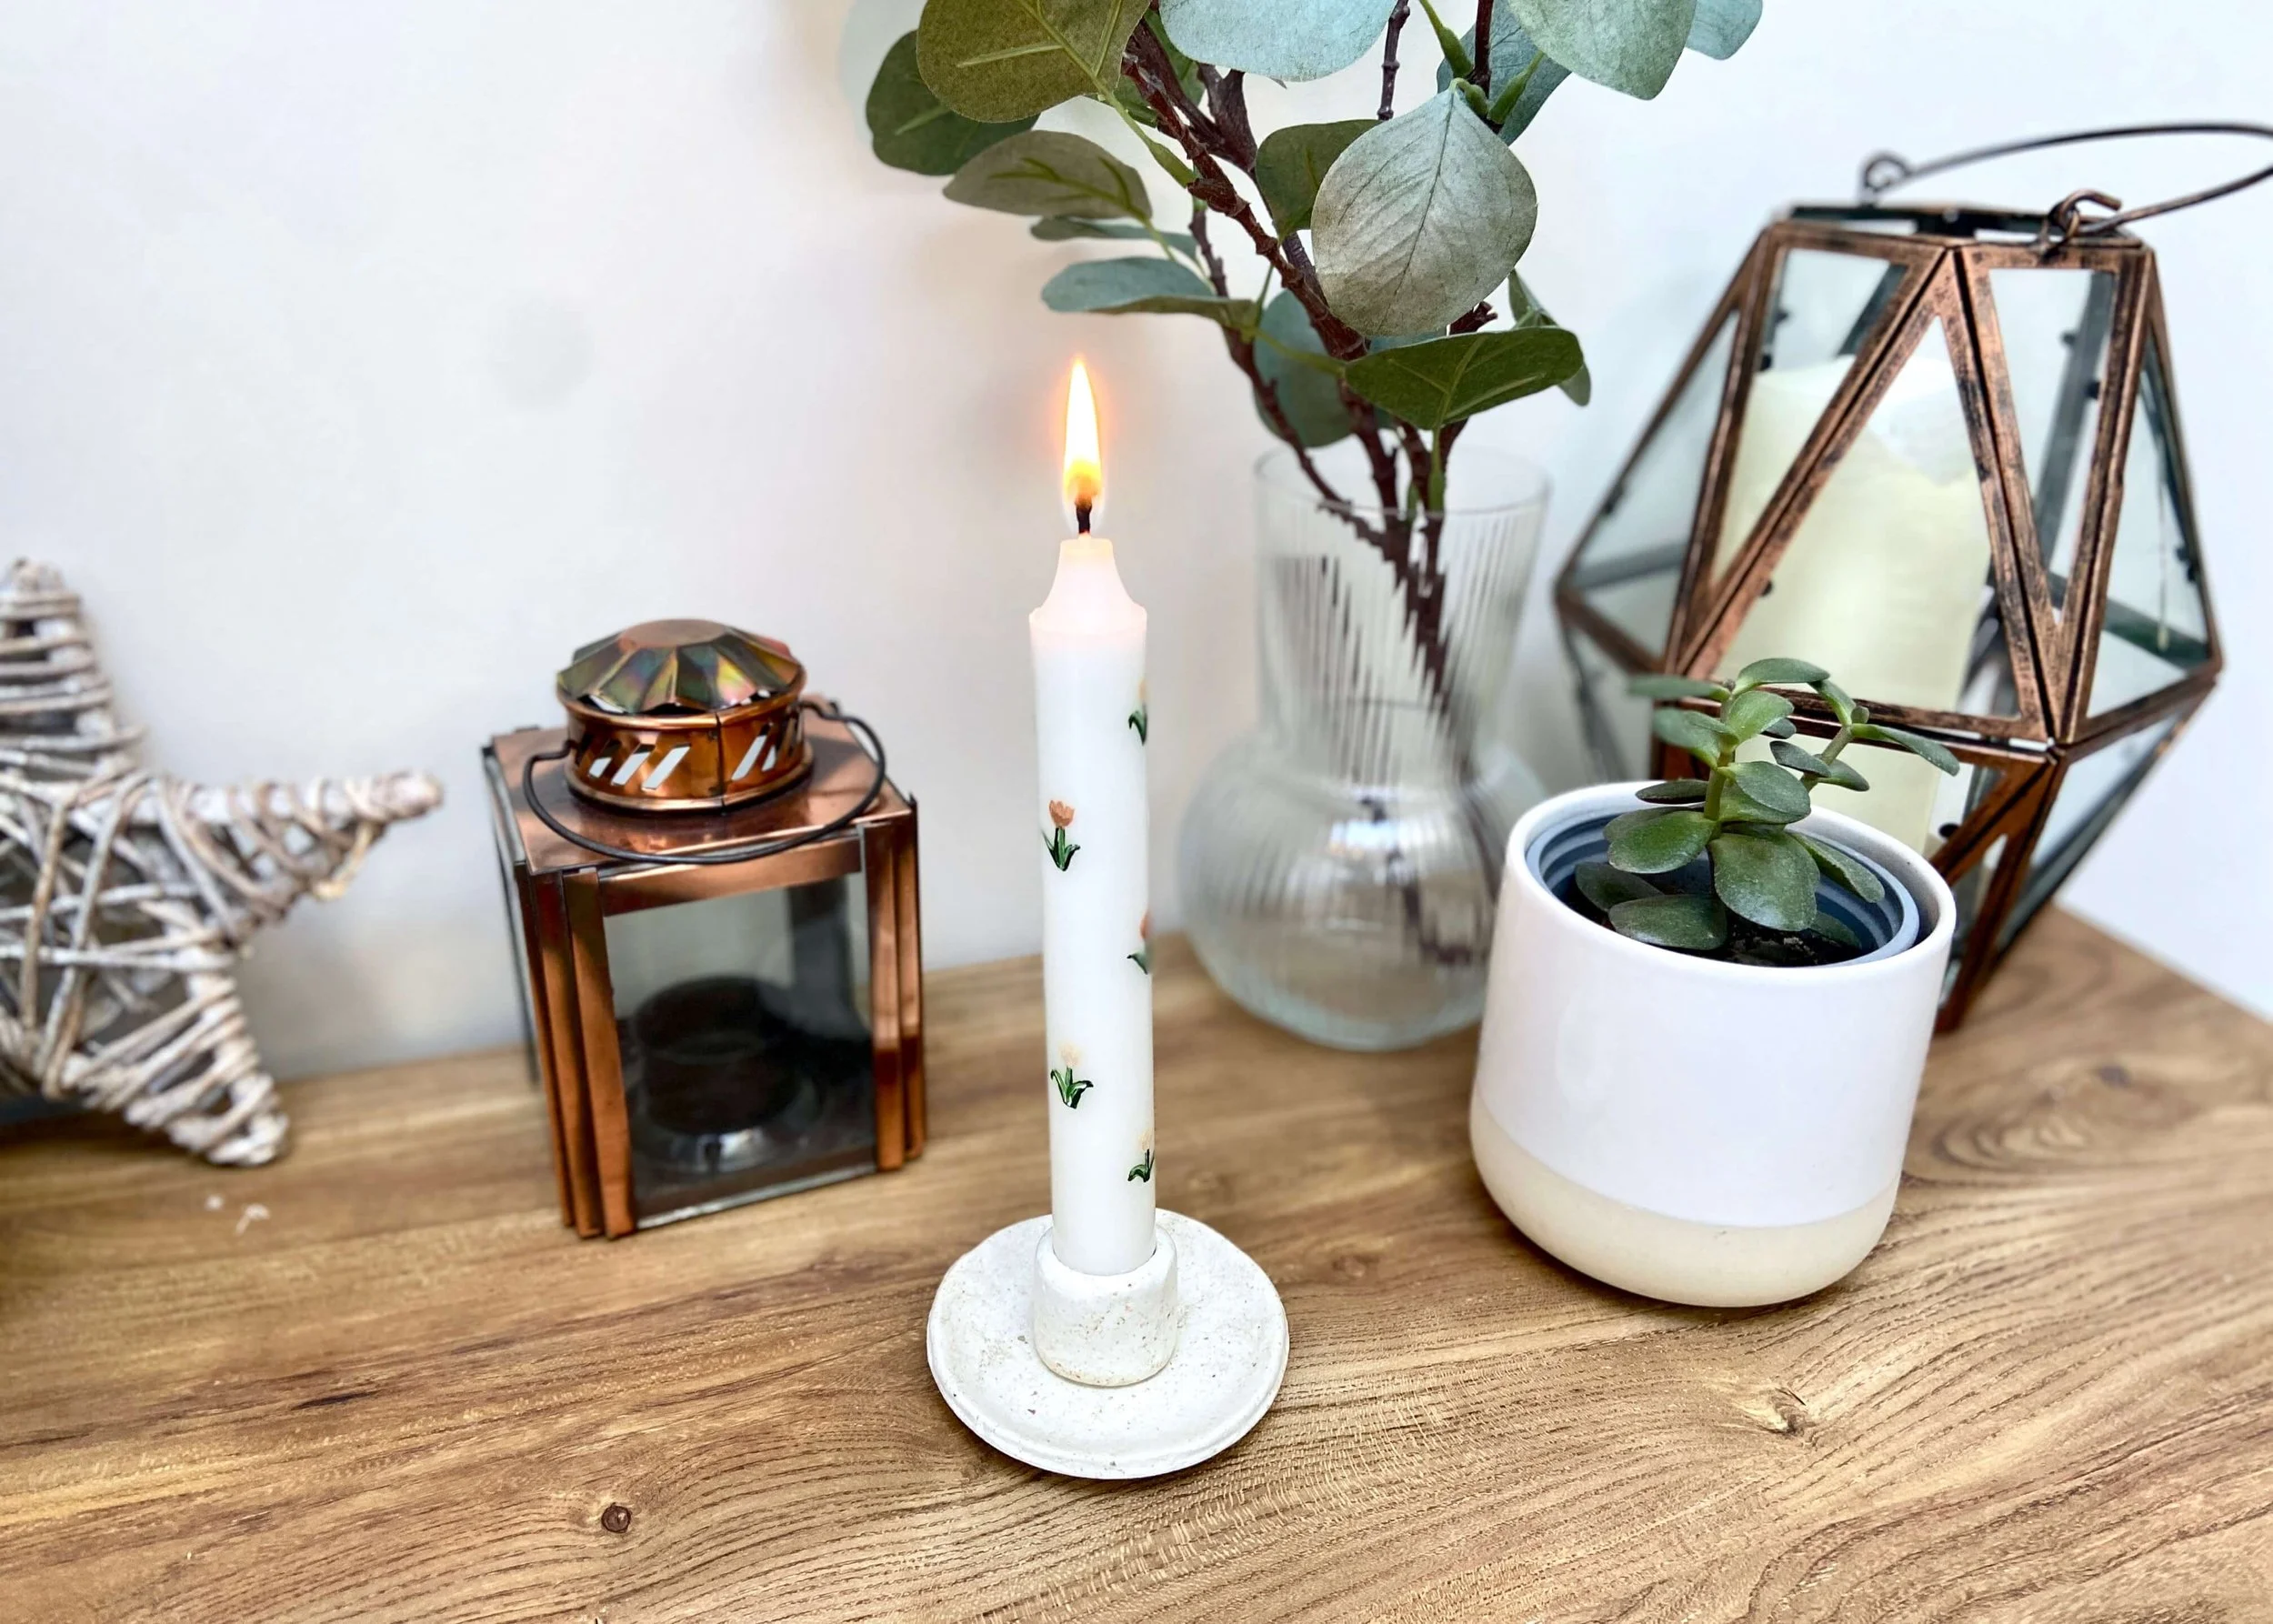
I’ve been really enjoying earthy, vintagey and natural decor, and so when I saw some ready to use pressed flowers online, I bought them on a whim and thought I’d see how I could incorporate them into some craft projects. This is the first of the projects I used them in, so stay tuned for my second project, where I used then to decorate a taper candle.
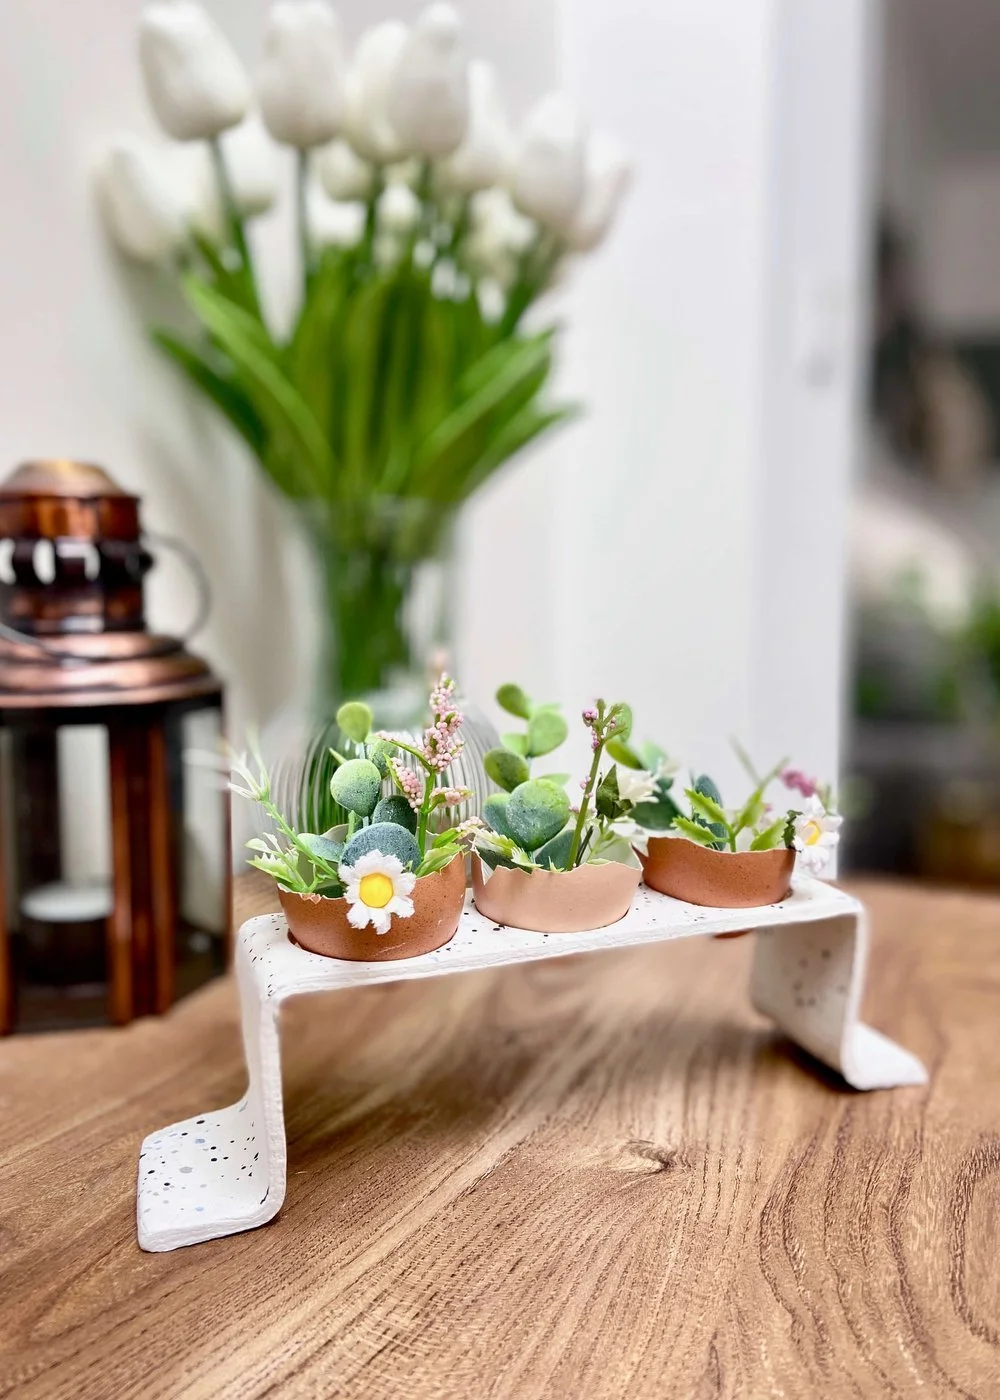
EASTER DECOR
For this project, I had some hollow and lightweight blank eggs leftover from previous Easter egg projects (check out these Abstract Art Floral Eggs and these Mid Century Easter Decorations!) and knew they would be perfect for this. I seem to forever be decorating this house, and so I fhad some paint samples in various shades of off white knocking about, and so I used these which saved me from having to mix up the perfect shade.
I really love how these turned out and I hope you like them too. As a new mum, projects are all about packing a punch (and quenching my creative thirst!) in as short a time as possible, so this project, with ready made pressed flowers and the quick drying time of mod podge, was just perfect! Keep reading to find out what I used and for the step by step tutorial…


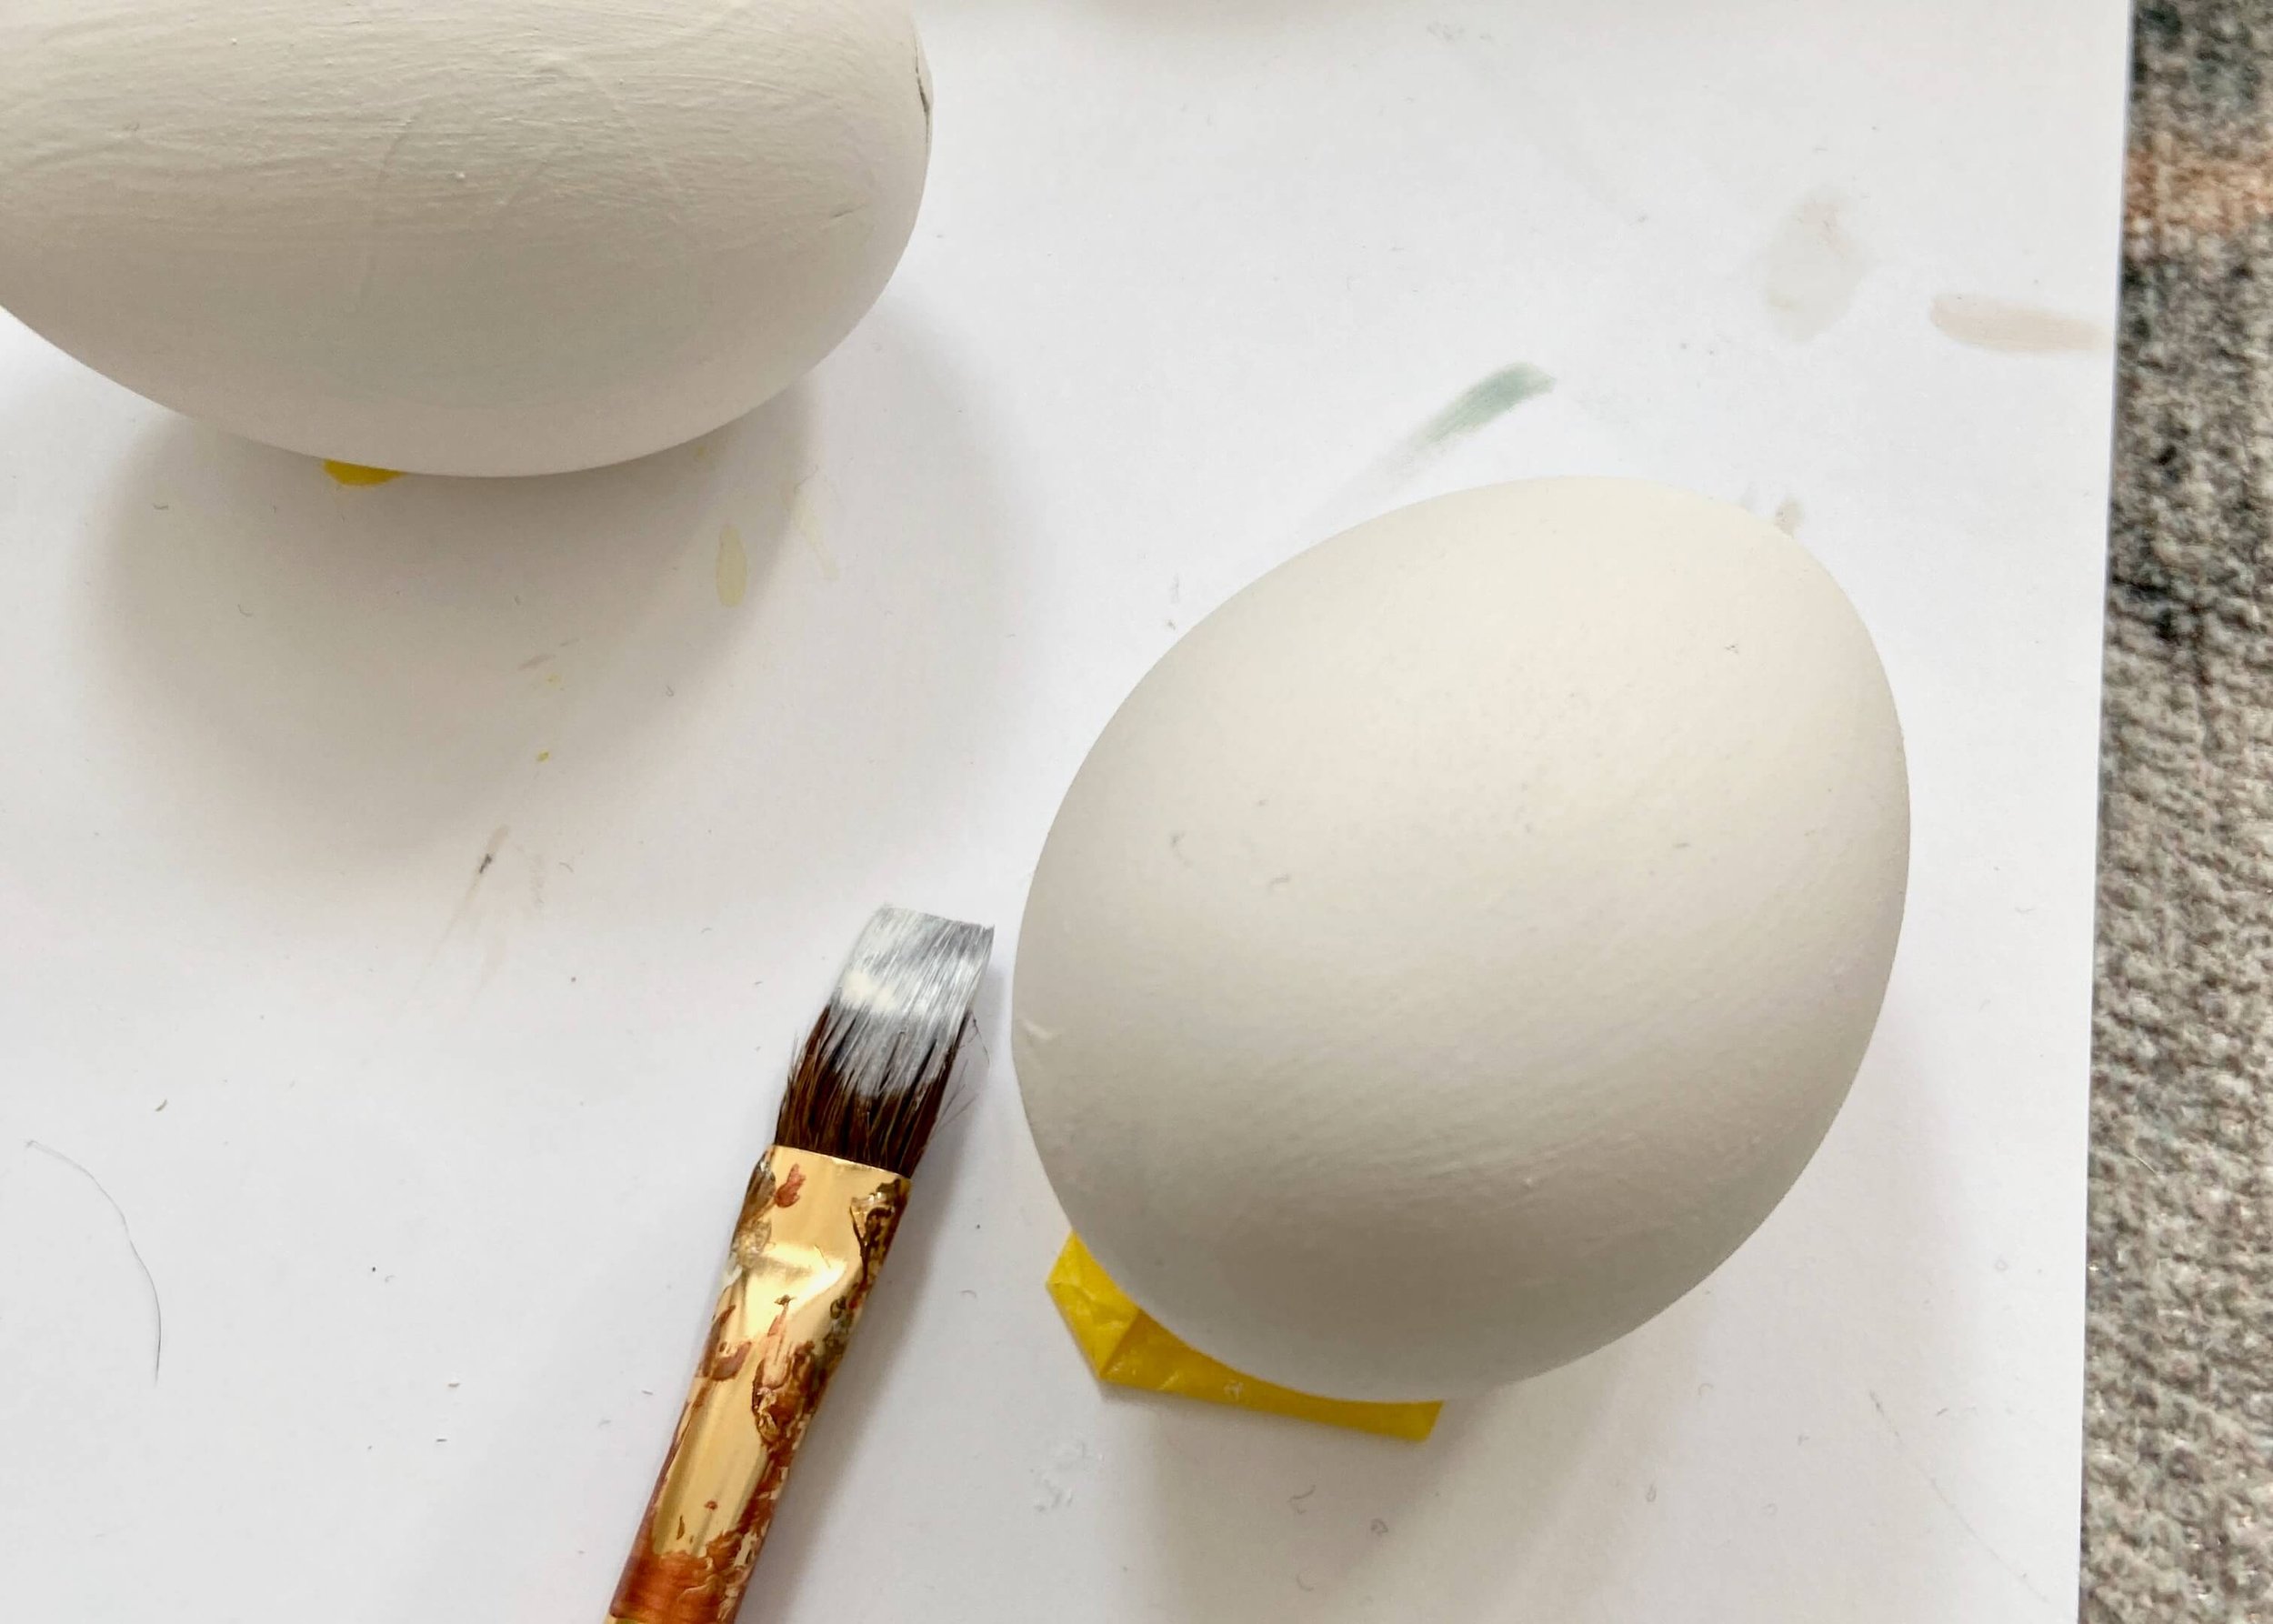
1.
First of all, paint your blank craft eggs in whatever colour you fancy. i went for this off white colour that I had a paint sample in.
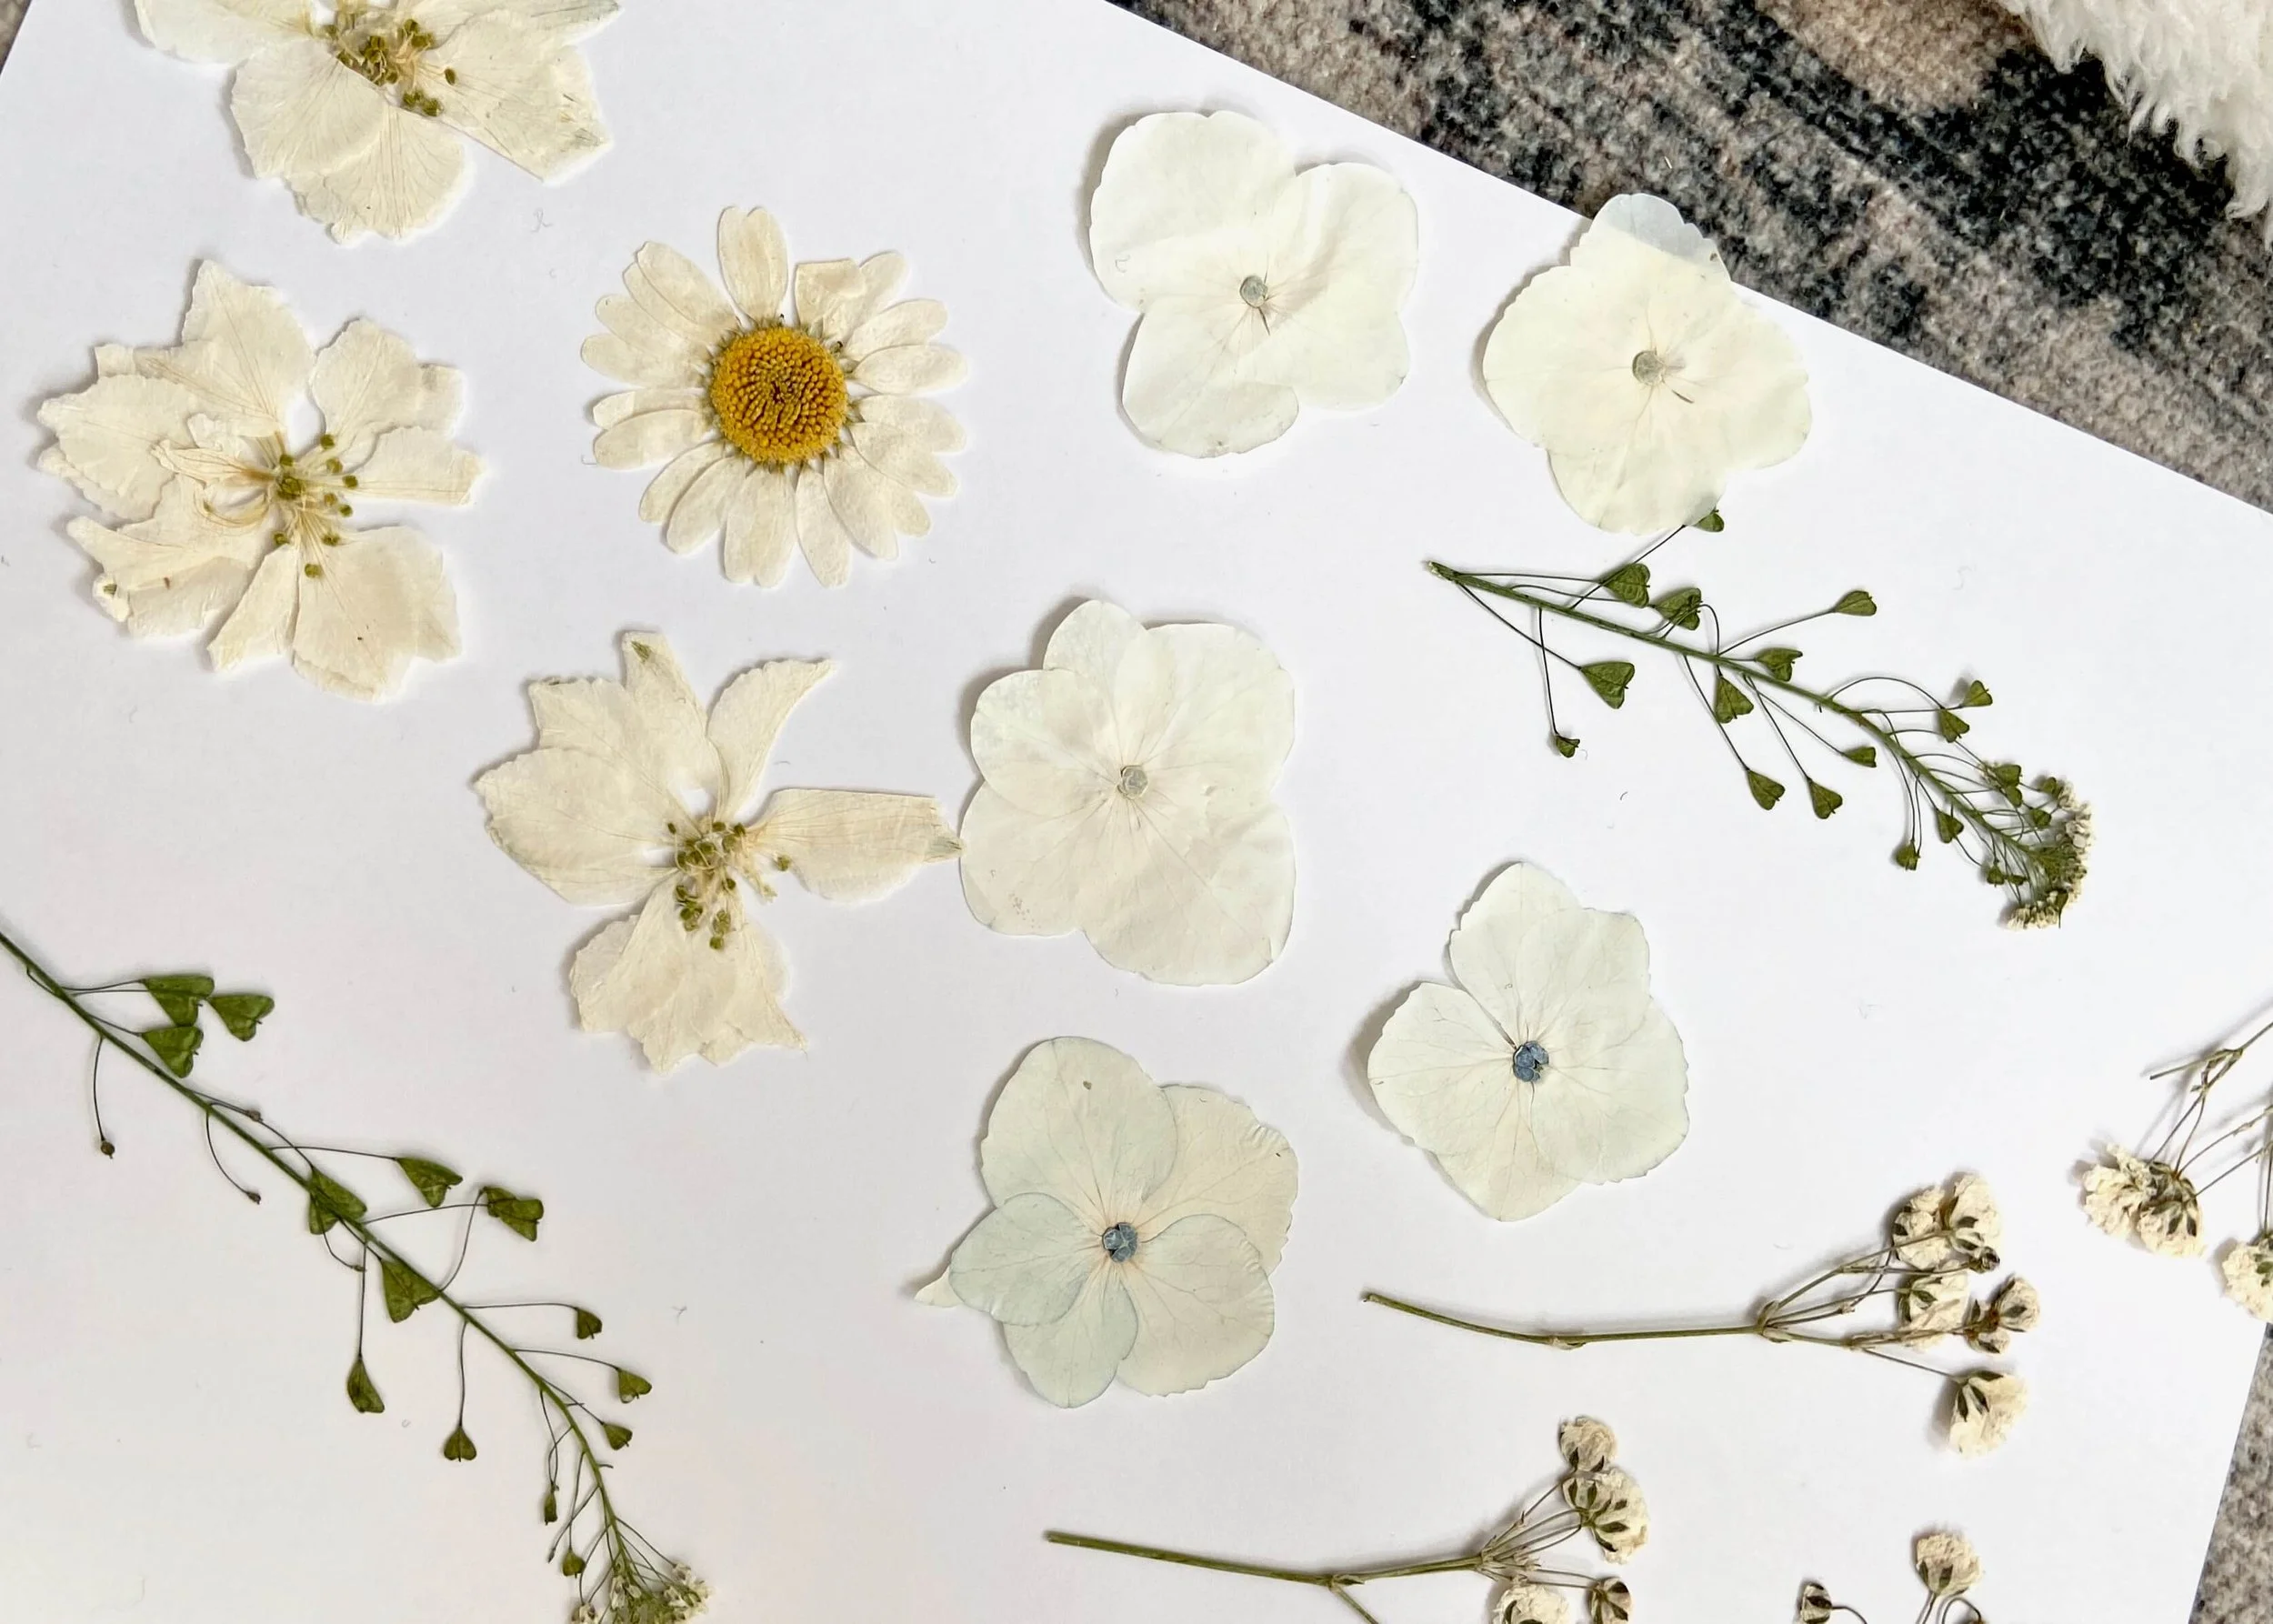
2.
I took out all of the pressed flowers and organised them to get an idea of how many flowers (and which of the flowers) I wanted on each egg.

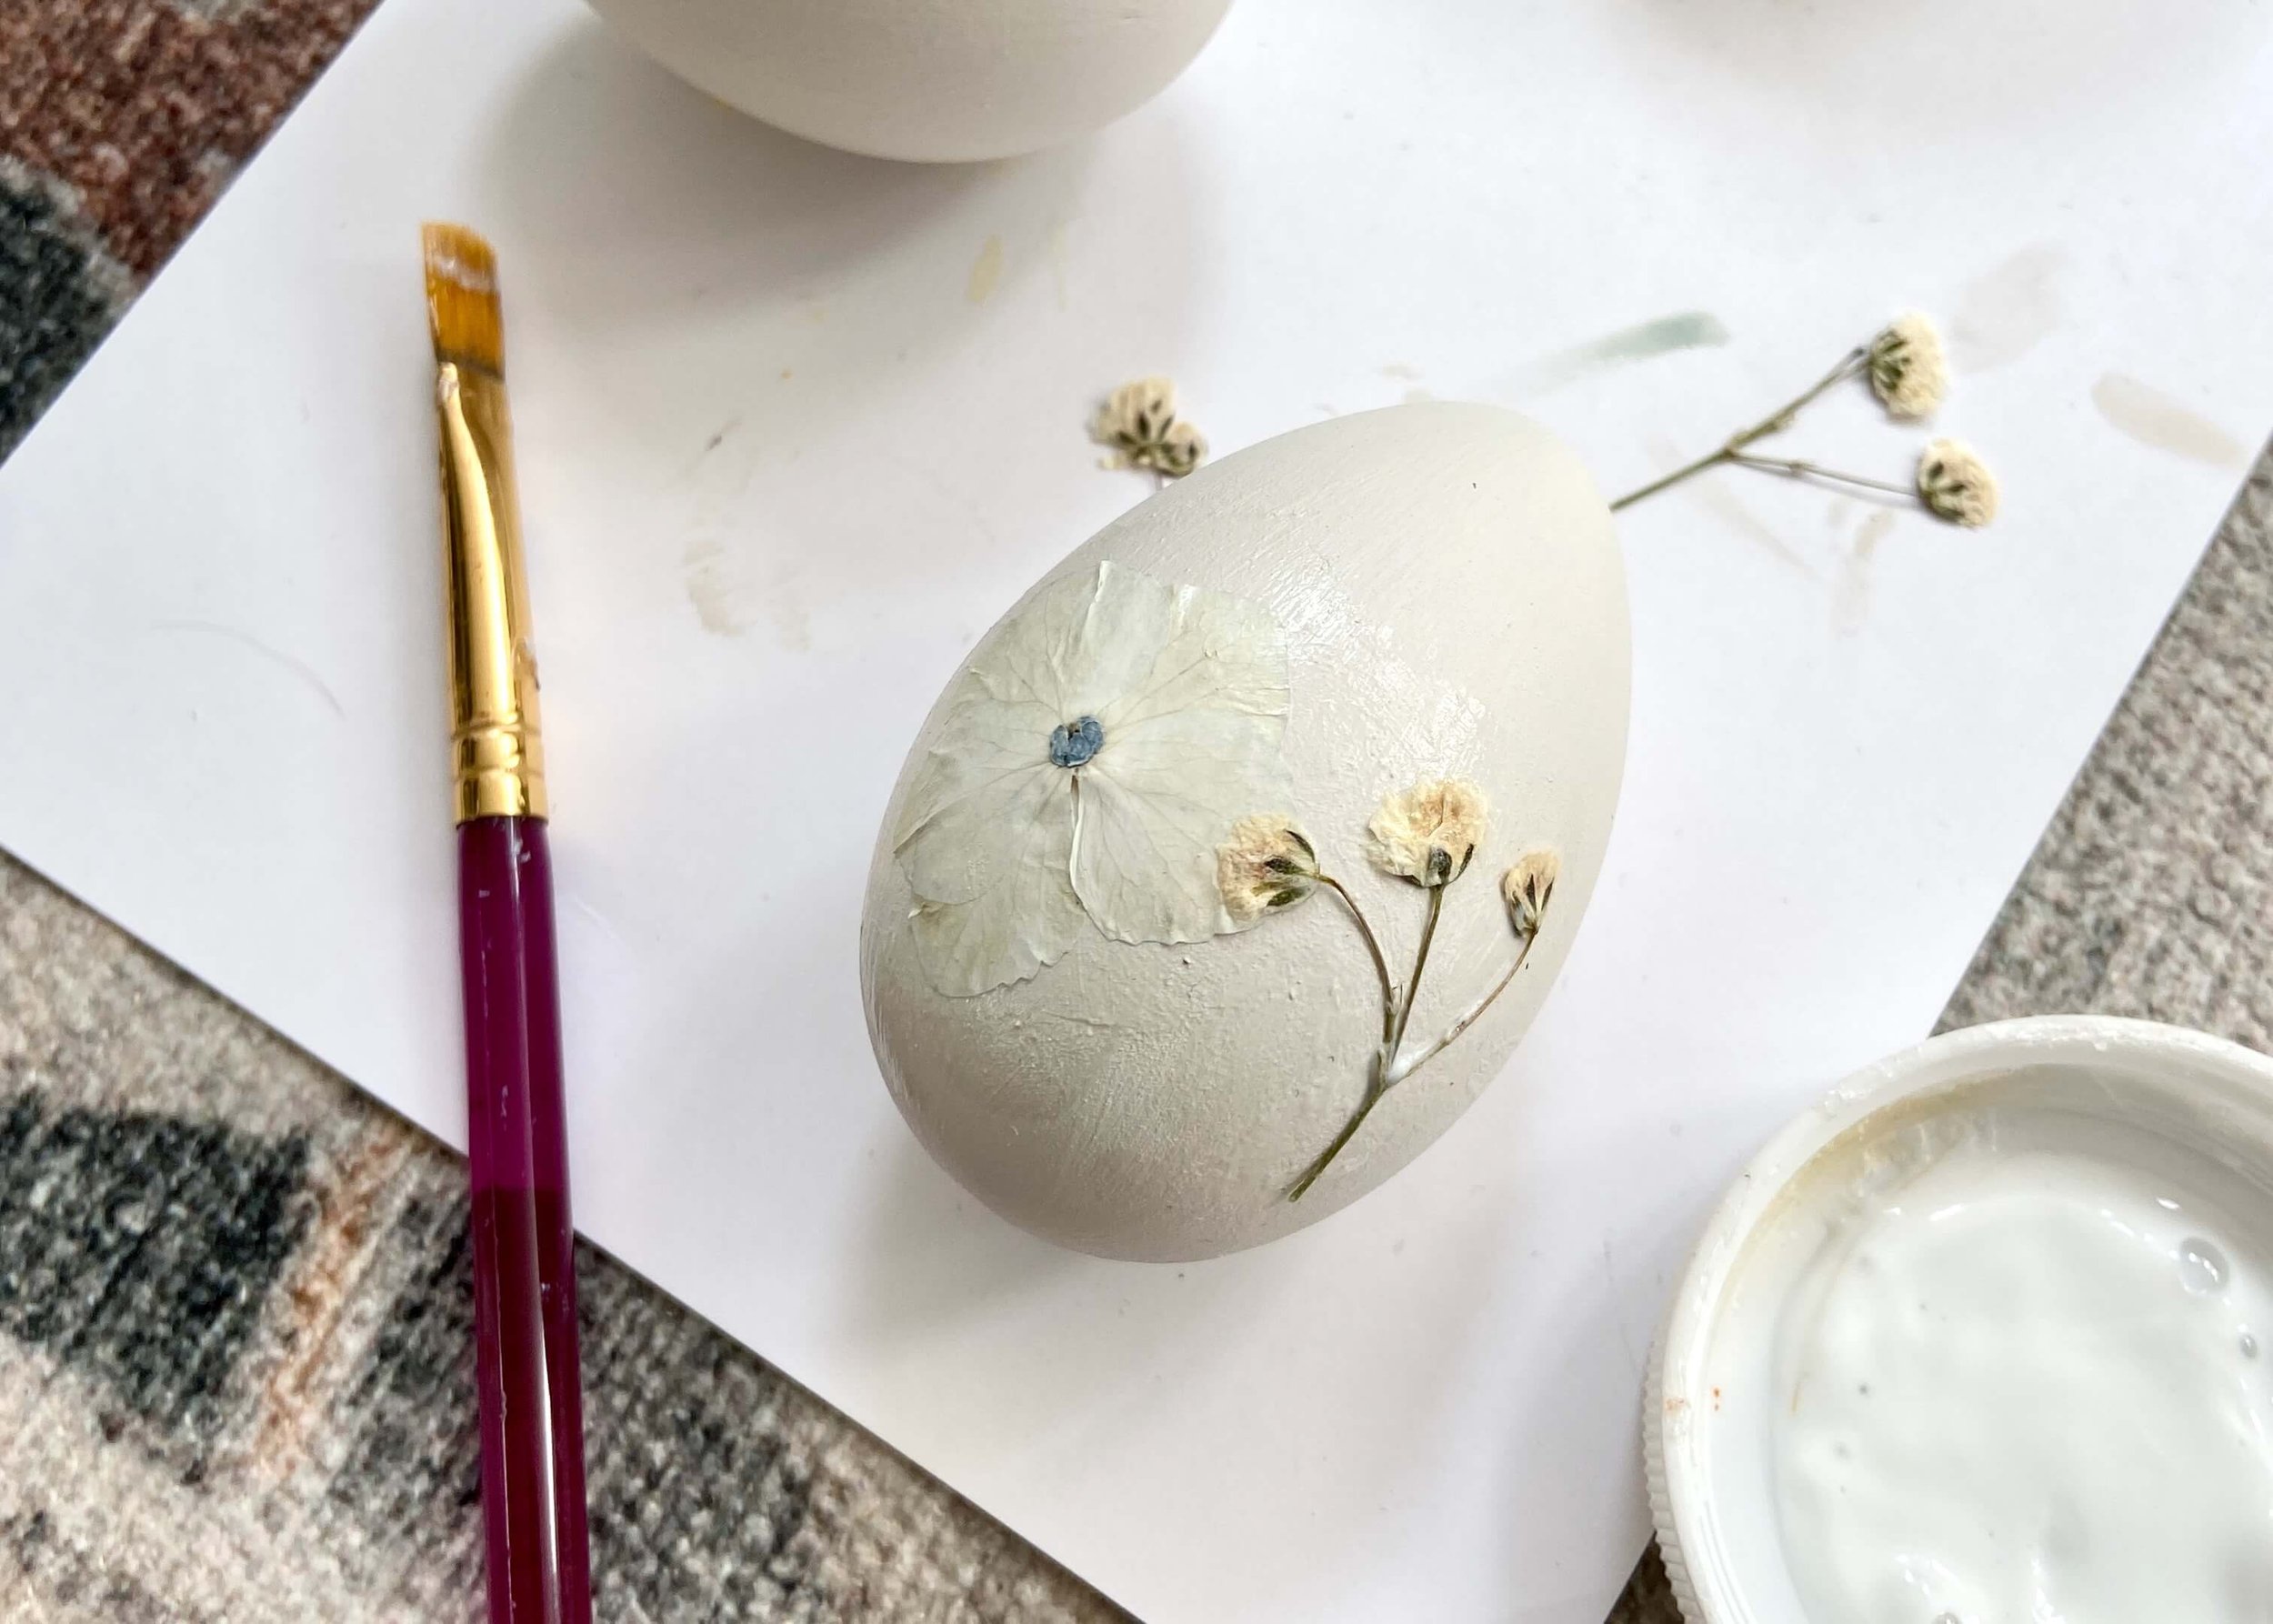
3.
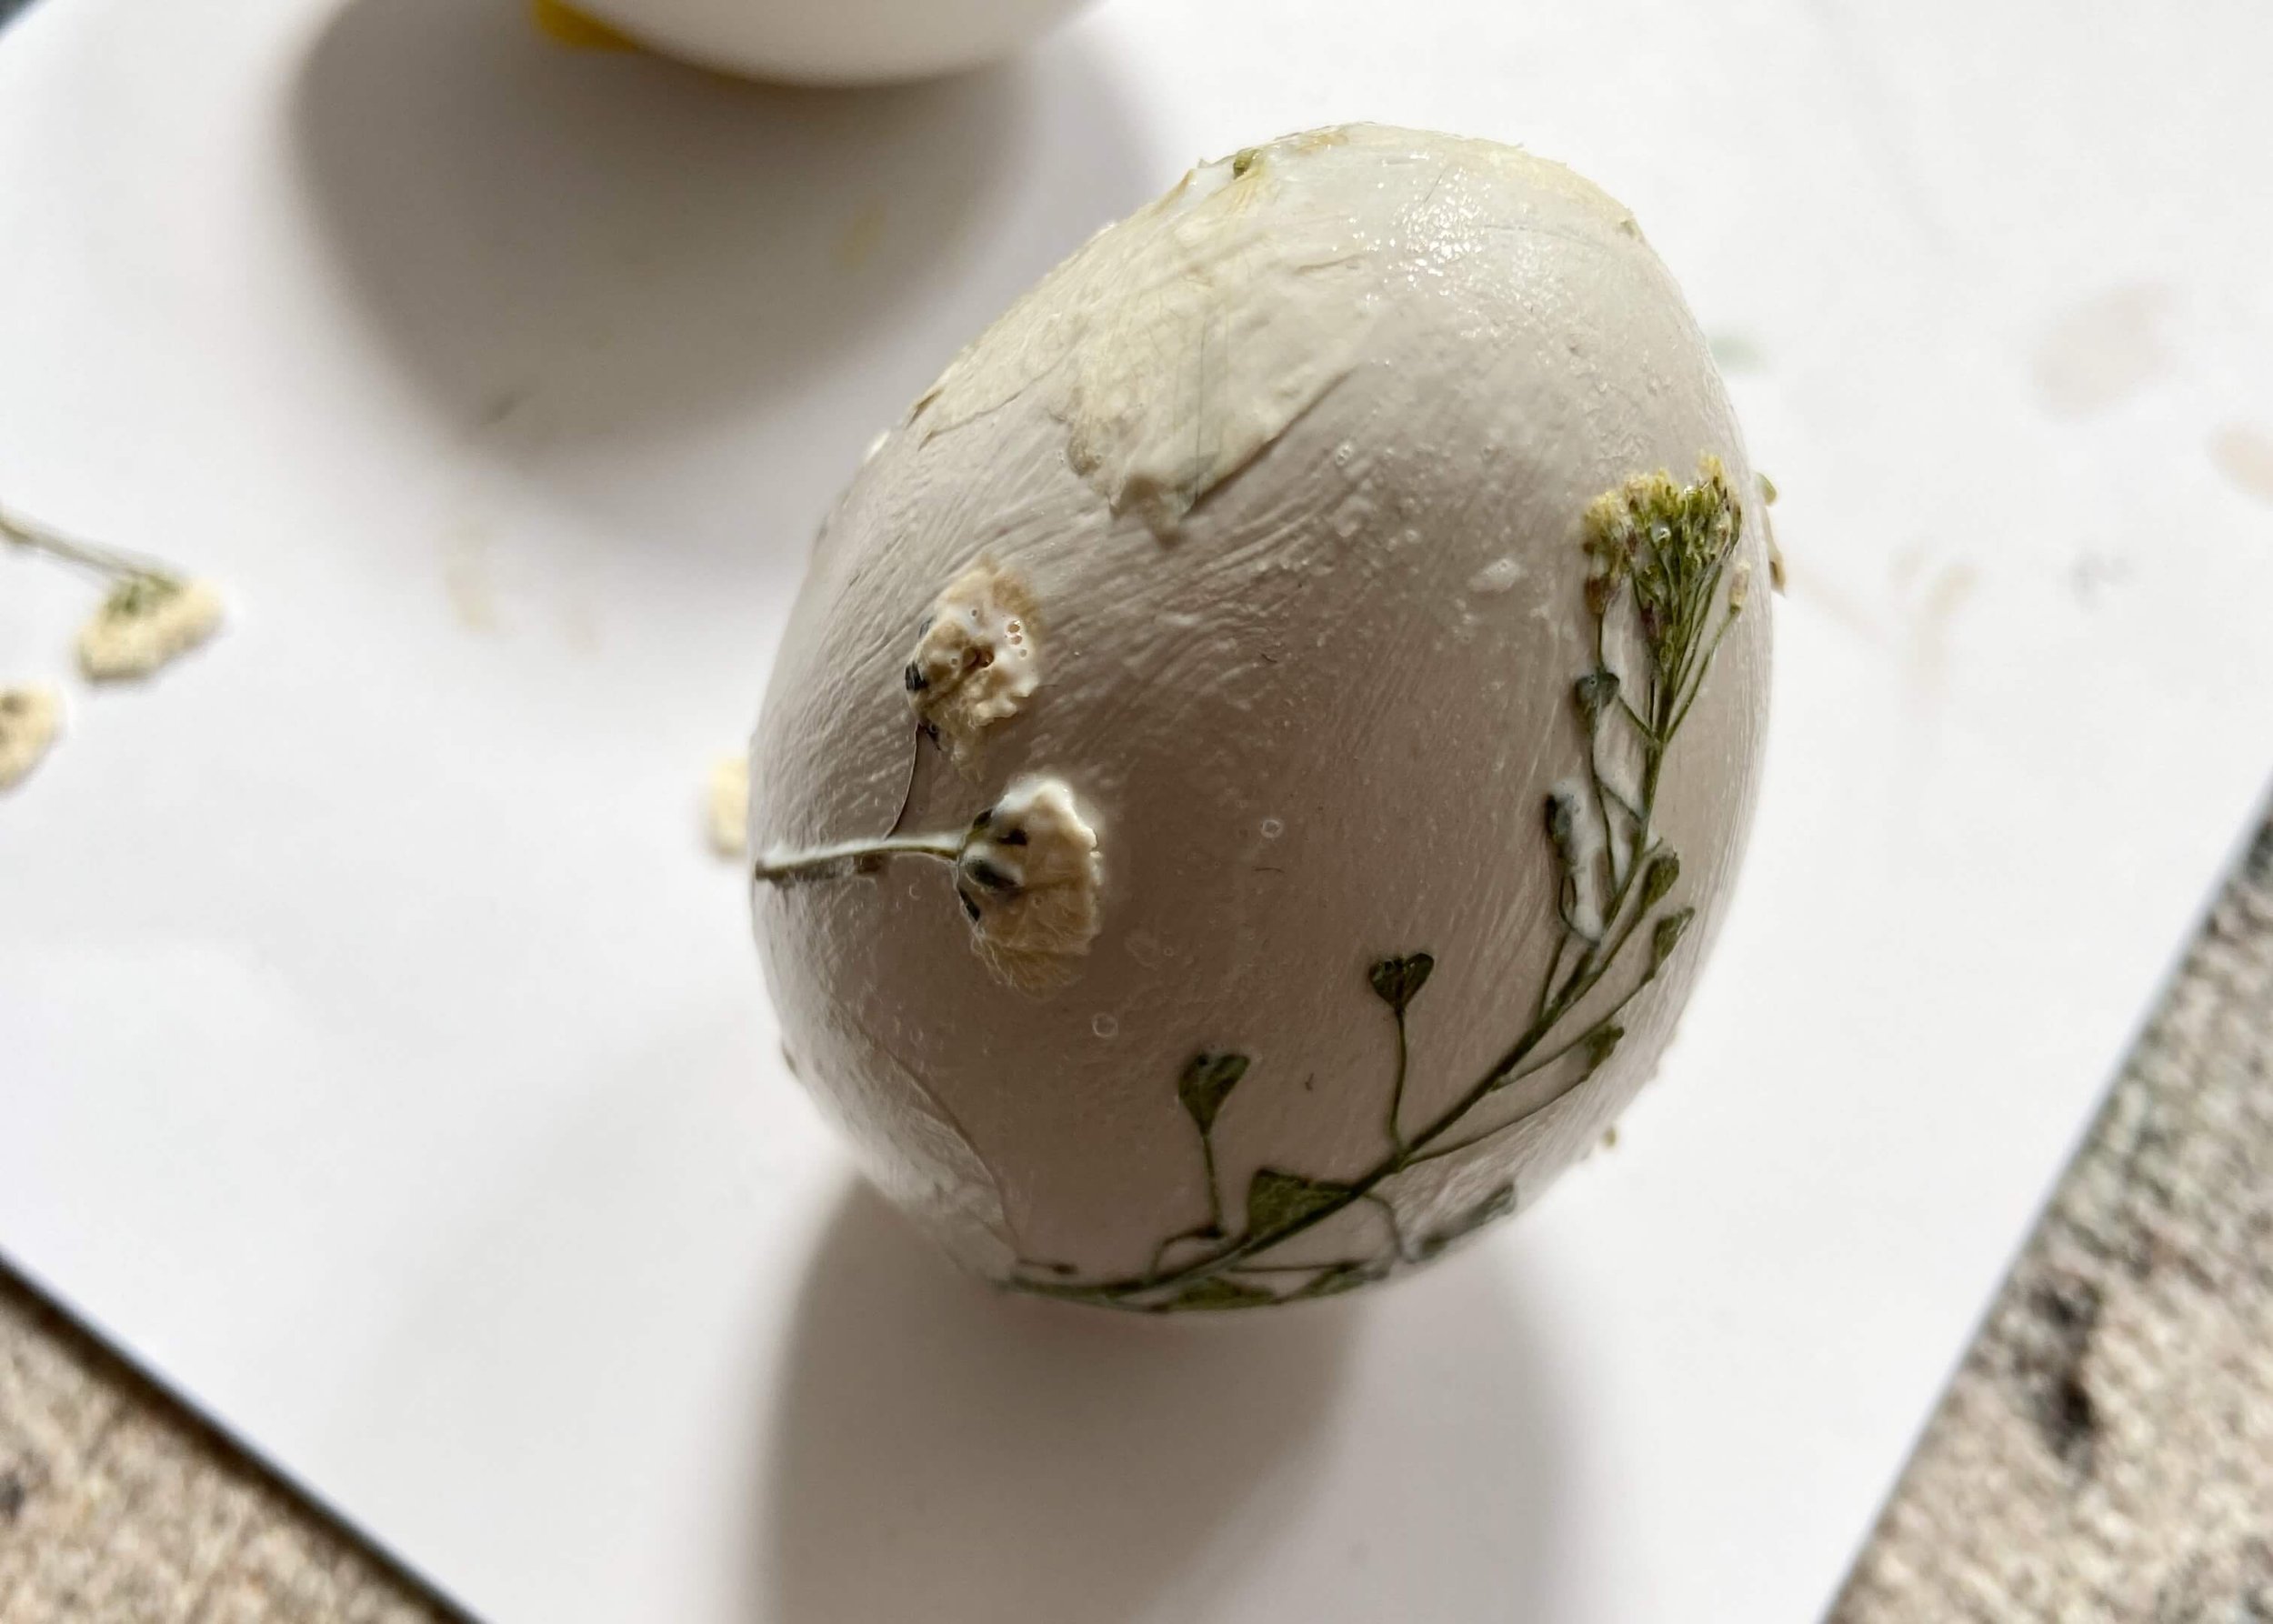
Use a paintbrush to add some mod podge to the egg approximately the size of the pressed flower you want to add. Gentle press the flower onto the mod podge once tacky and paint mod podge all over the top of the flower.
4.
Repeat step 3 adding new flowers and stems all over your egg.

5.
Add the flowers wherever you like; layer them up or spread them out, it’s entirely up to you!
6.
Once you’re happy with your flower placement, paint another layer of mod podge all over ypur egg to protect your hard work.

7.
Once completely dry, use a pin to create a hole in the top of your egg, and then push an eye pin into the hole and secure it with glue.

8.
Finally, cut off some thread or string, pull these through the eye pin and tie a knot. Your egg is now ready to hang!