


Get that vintage and rustic look with this easy Ikea Hemnes chest of drawers hack!
I’ve not seen anyone else do this with their Ikea Hemnes furniture so I’m assuming it’s not well known that underneath the colour of the stained range of Hemnes furniture pieces is solid pine. That means that with just a sander and a bit of elbow grease (or a willing partner as was the case for me!) you can restore your stained Hemnes furniture back to natural wood and stain it whatever wood tone your heart desires.
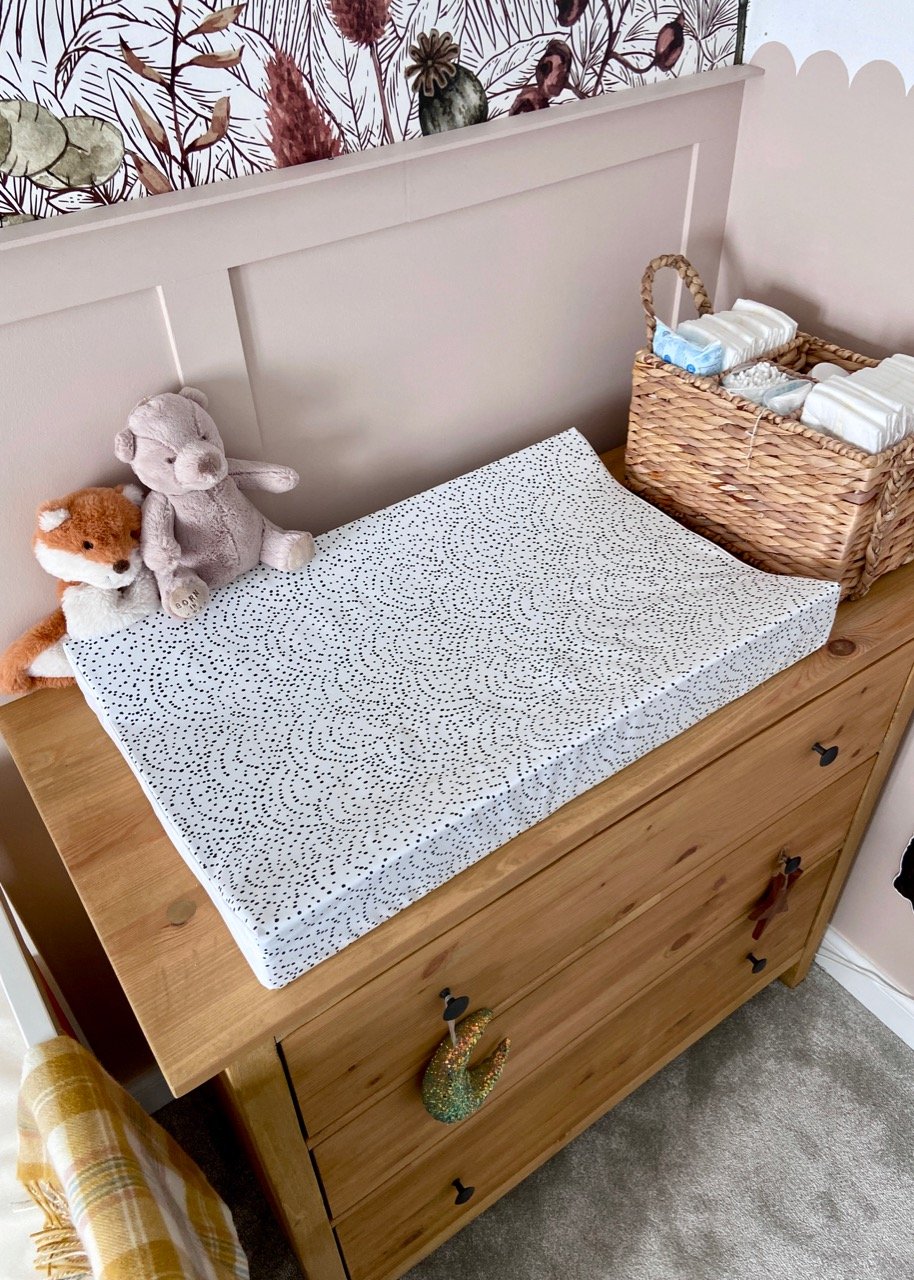
Rustic wood drawers
Before we did this, we had seen people paint furniture from the stained Hemnes range and even paint it with a faux wood effect. I have to say that those turned out really well, but for me there’s nothing like having that real wood grain on display and I love how doing it this way gives it a rustic and worn appearance - a far cry from the clean cut and ‘new’ appearance that Ikea furniture often has. I feel like these drawers now look like they’ve lived a little, and given the woodland theme we’ve given our daughter’s nursery, the oak wood tone we’ve stained it in goes really well. If you do try this, it’s important that you check you’re buying furniture from the stained Hemnes range, not the range that has the glossy laminate finish.
I really love how the nursery is coming together now. I’m definitely taking my time with it, and I still have lots of little decorative bits and bobs that I want to get for it, but hopefully it’ll be all ready for my little girl to start sleeping in in a few months time (assuming she is of course feeling ready herself!). Let me know what you think of this, keep reading for the materials I used and the step by step process…


1.
First of all, get your hands on some Ikea Hemnes chest of drawers. These drawers come in different finishes, but the ones which are stained (white, grey or blue), are solid pine underneath. There’s usually lots on Facebook Marketplace, which is where I got mine for just £80.

2.
Next, grab your electric sander, and using low grit sand paper, remove the coloured stain. We used an orbital sander for a majority of it, and then a mouse sander for the edges and corners.

3.
Work your way up to a higher sand paper grit to give your drawers a nice smooth finish.

4.
Once youre happy with the finish, paint the whole thing with a pre-stain conditioner. As the drawers are pine, it’s helpful to use a conidtioner to make sure the stain applies evenly and you don’t get any patches. Follow the instructions on your pre-stain.

5
Then, use a brush or cloth to add your chosen wood stain to the drawers. I used a medium oak colour and applied 2 coats as per instructions on the stain.


