Add a touch of Spring to your decor with this pressed flower taper candle project!
If you follow me on instagram. you’ll have seen this project already. It’s definitely easier these days to quickly upload a photo or reel of a project than it is to photograph, upload, edit, and wtite a blog post, but despite that, and blogging not being as popular as it used to be, this tiny corner of the internet still has my heart. So, I’m finally uploading this project.
Spring crafts
It’s perfect for Spring, and once again, a super quick and easy one. As I said in my previous post, projects need to be relatively quick as well as mindful and beautiful, now that I’m a mum, and this really fit the bill. Spring is the perfect time to get crafting with the longer, brighter days, and I don’t know about you, but that always makes me feel so much more energised.
cANDLE CRAFTS
I always have a stash of taper candles ready to use or decorate, so this project only required me to buy the pressed flowers. In the past, I’ve painted taper candles with acrylic paint (see my Painted Heart Taper Candles and my Painted Tulip Taper Candles) and I have also dipped them into different coloured wax to create an ombre effect (check out my Ombre Taper Candles here). This time, I wanted to try something different, and as I’m enjoying natural textures and florals so much lately, I thought I’d have a go at adding some pressed flowers to some.
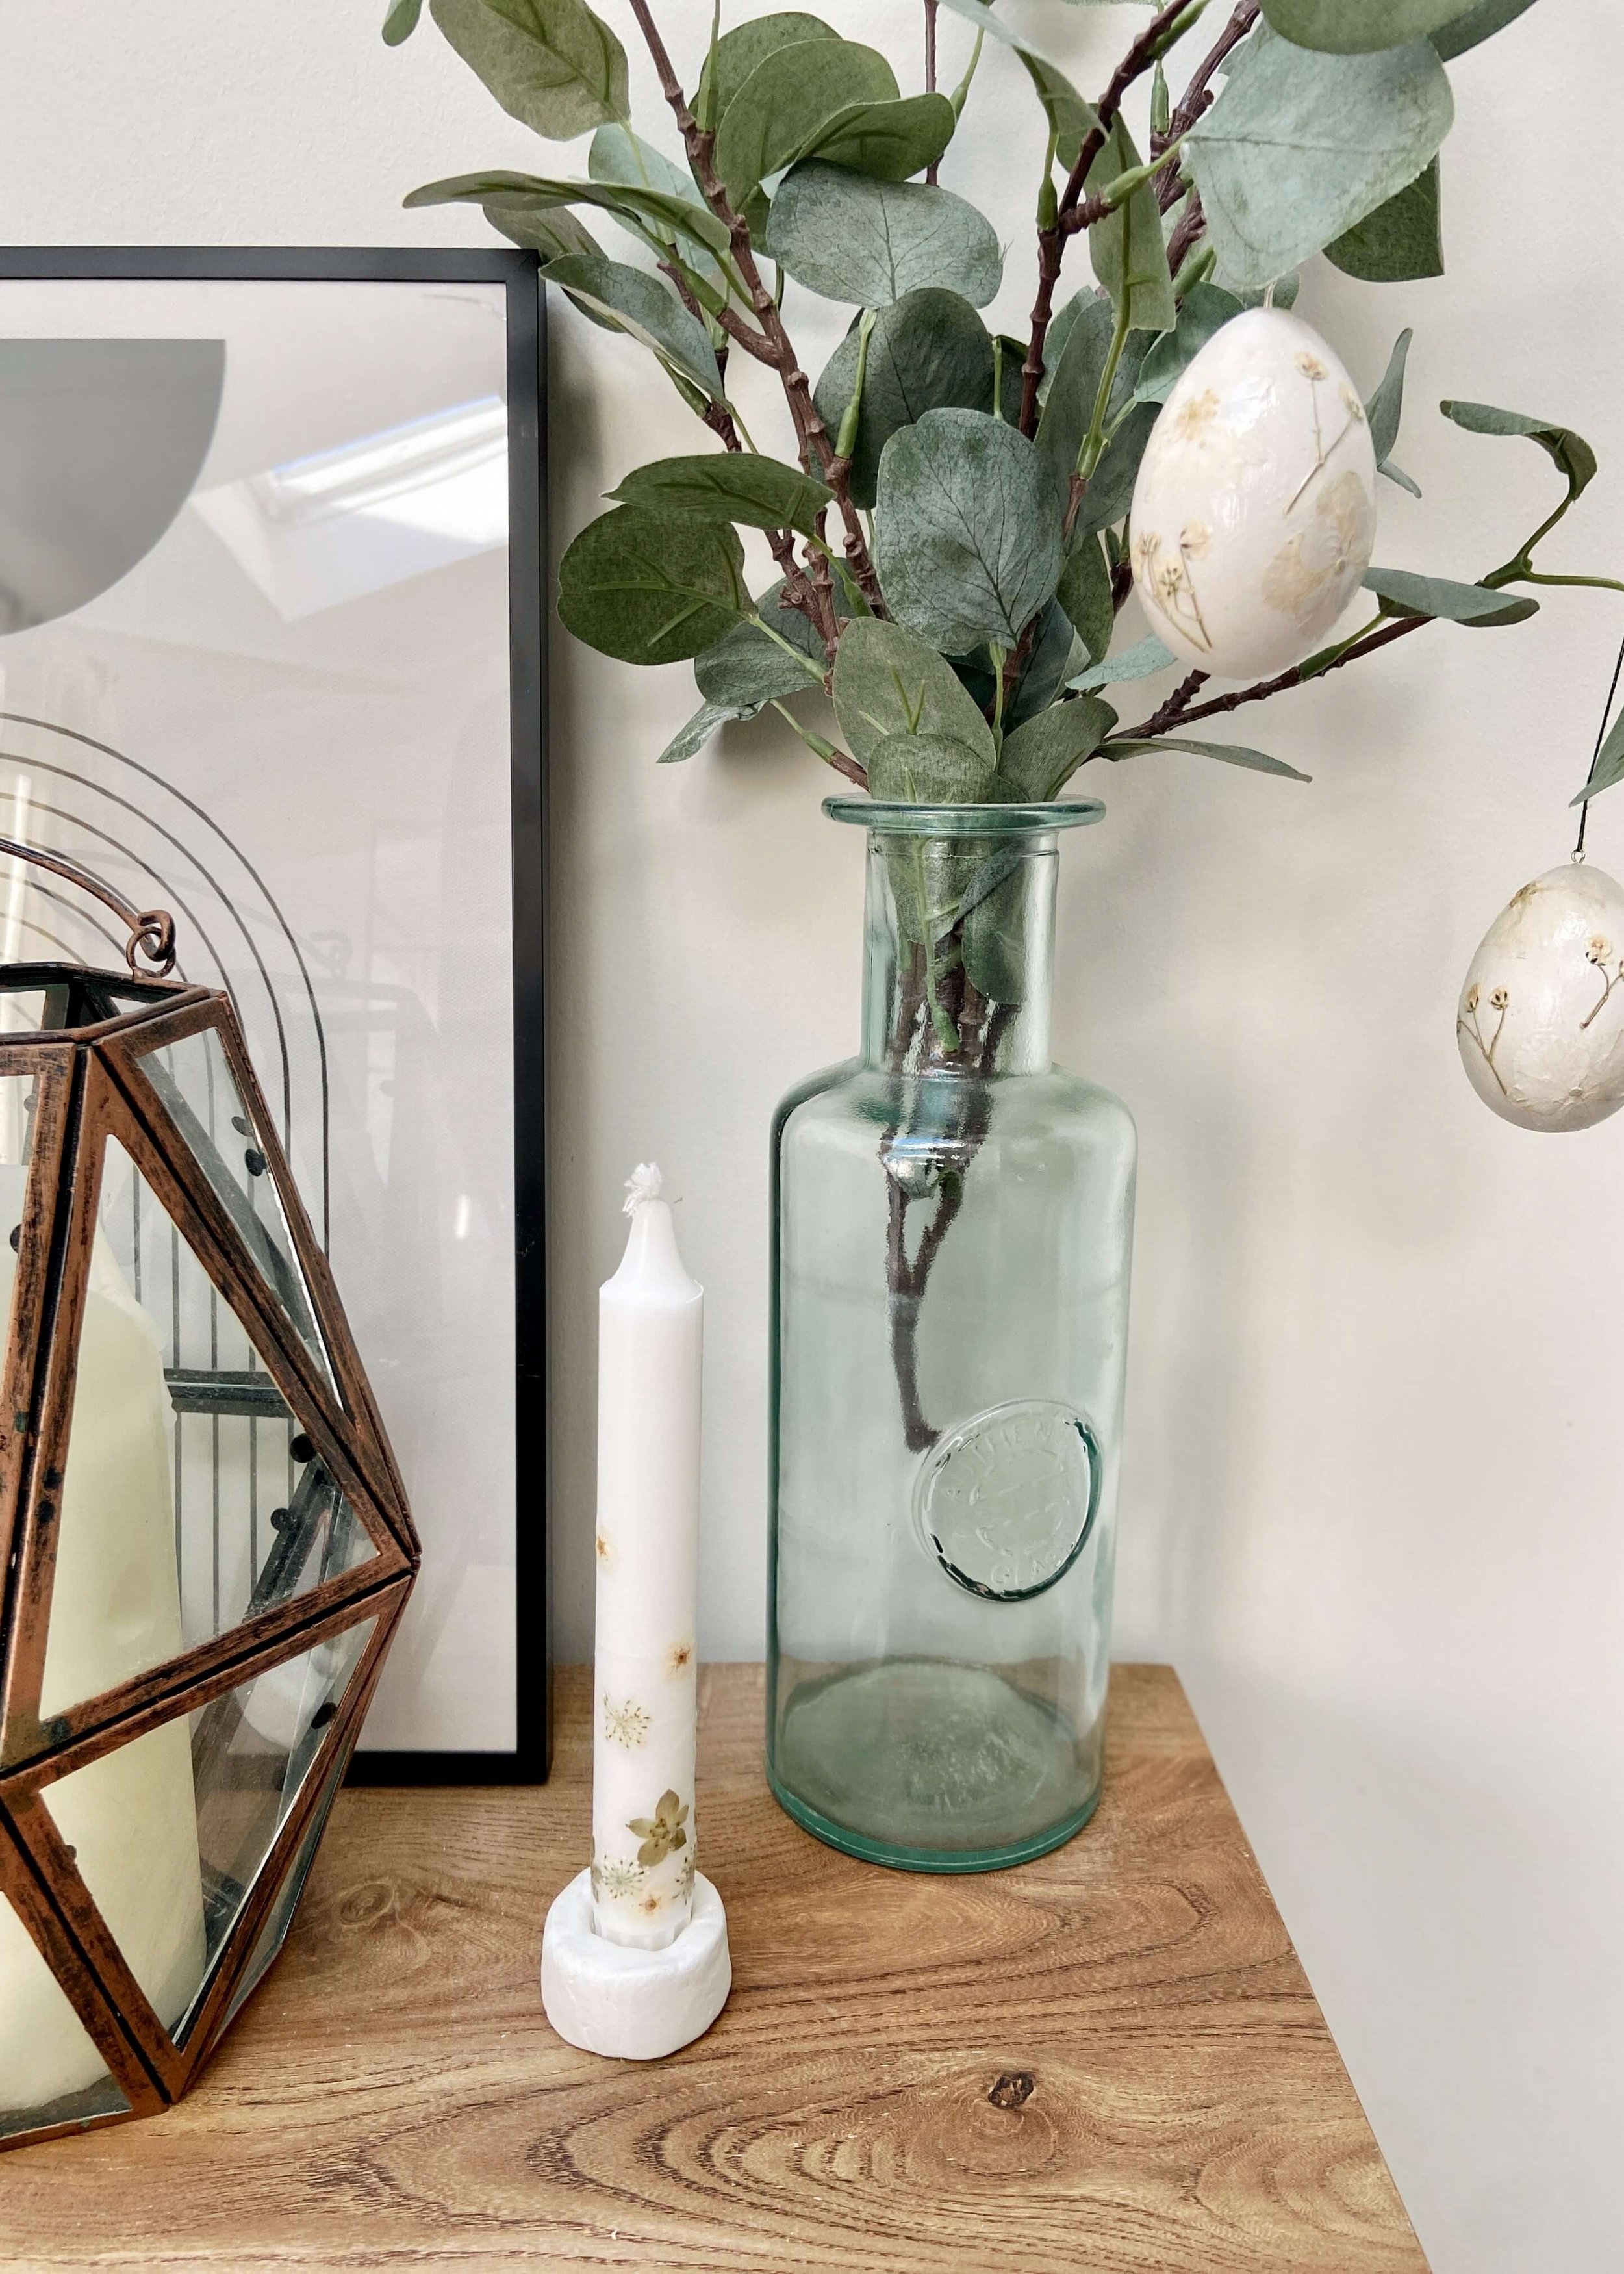
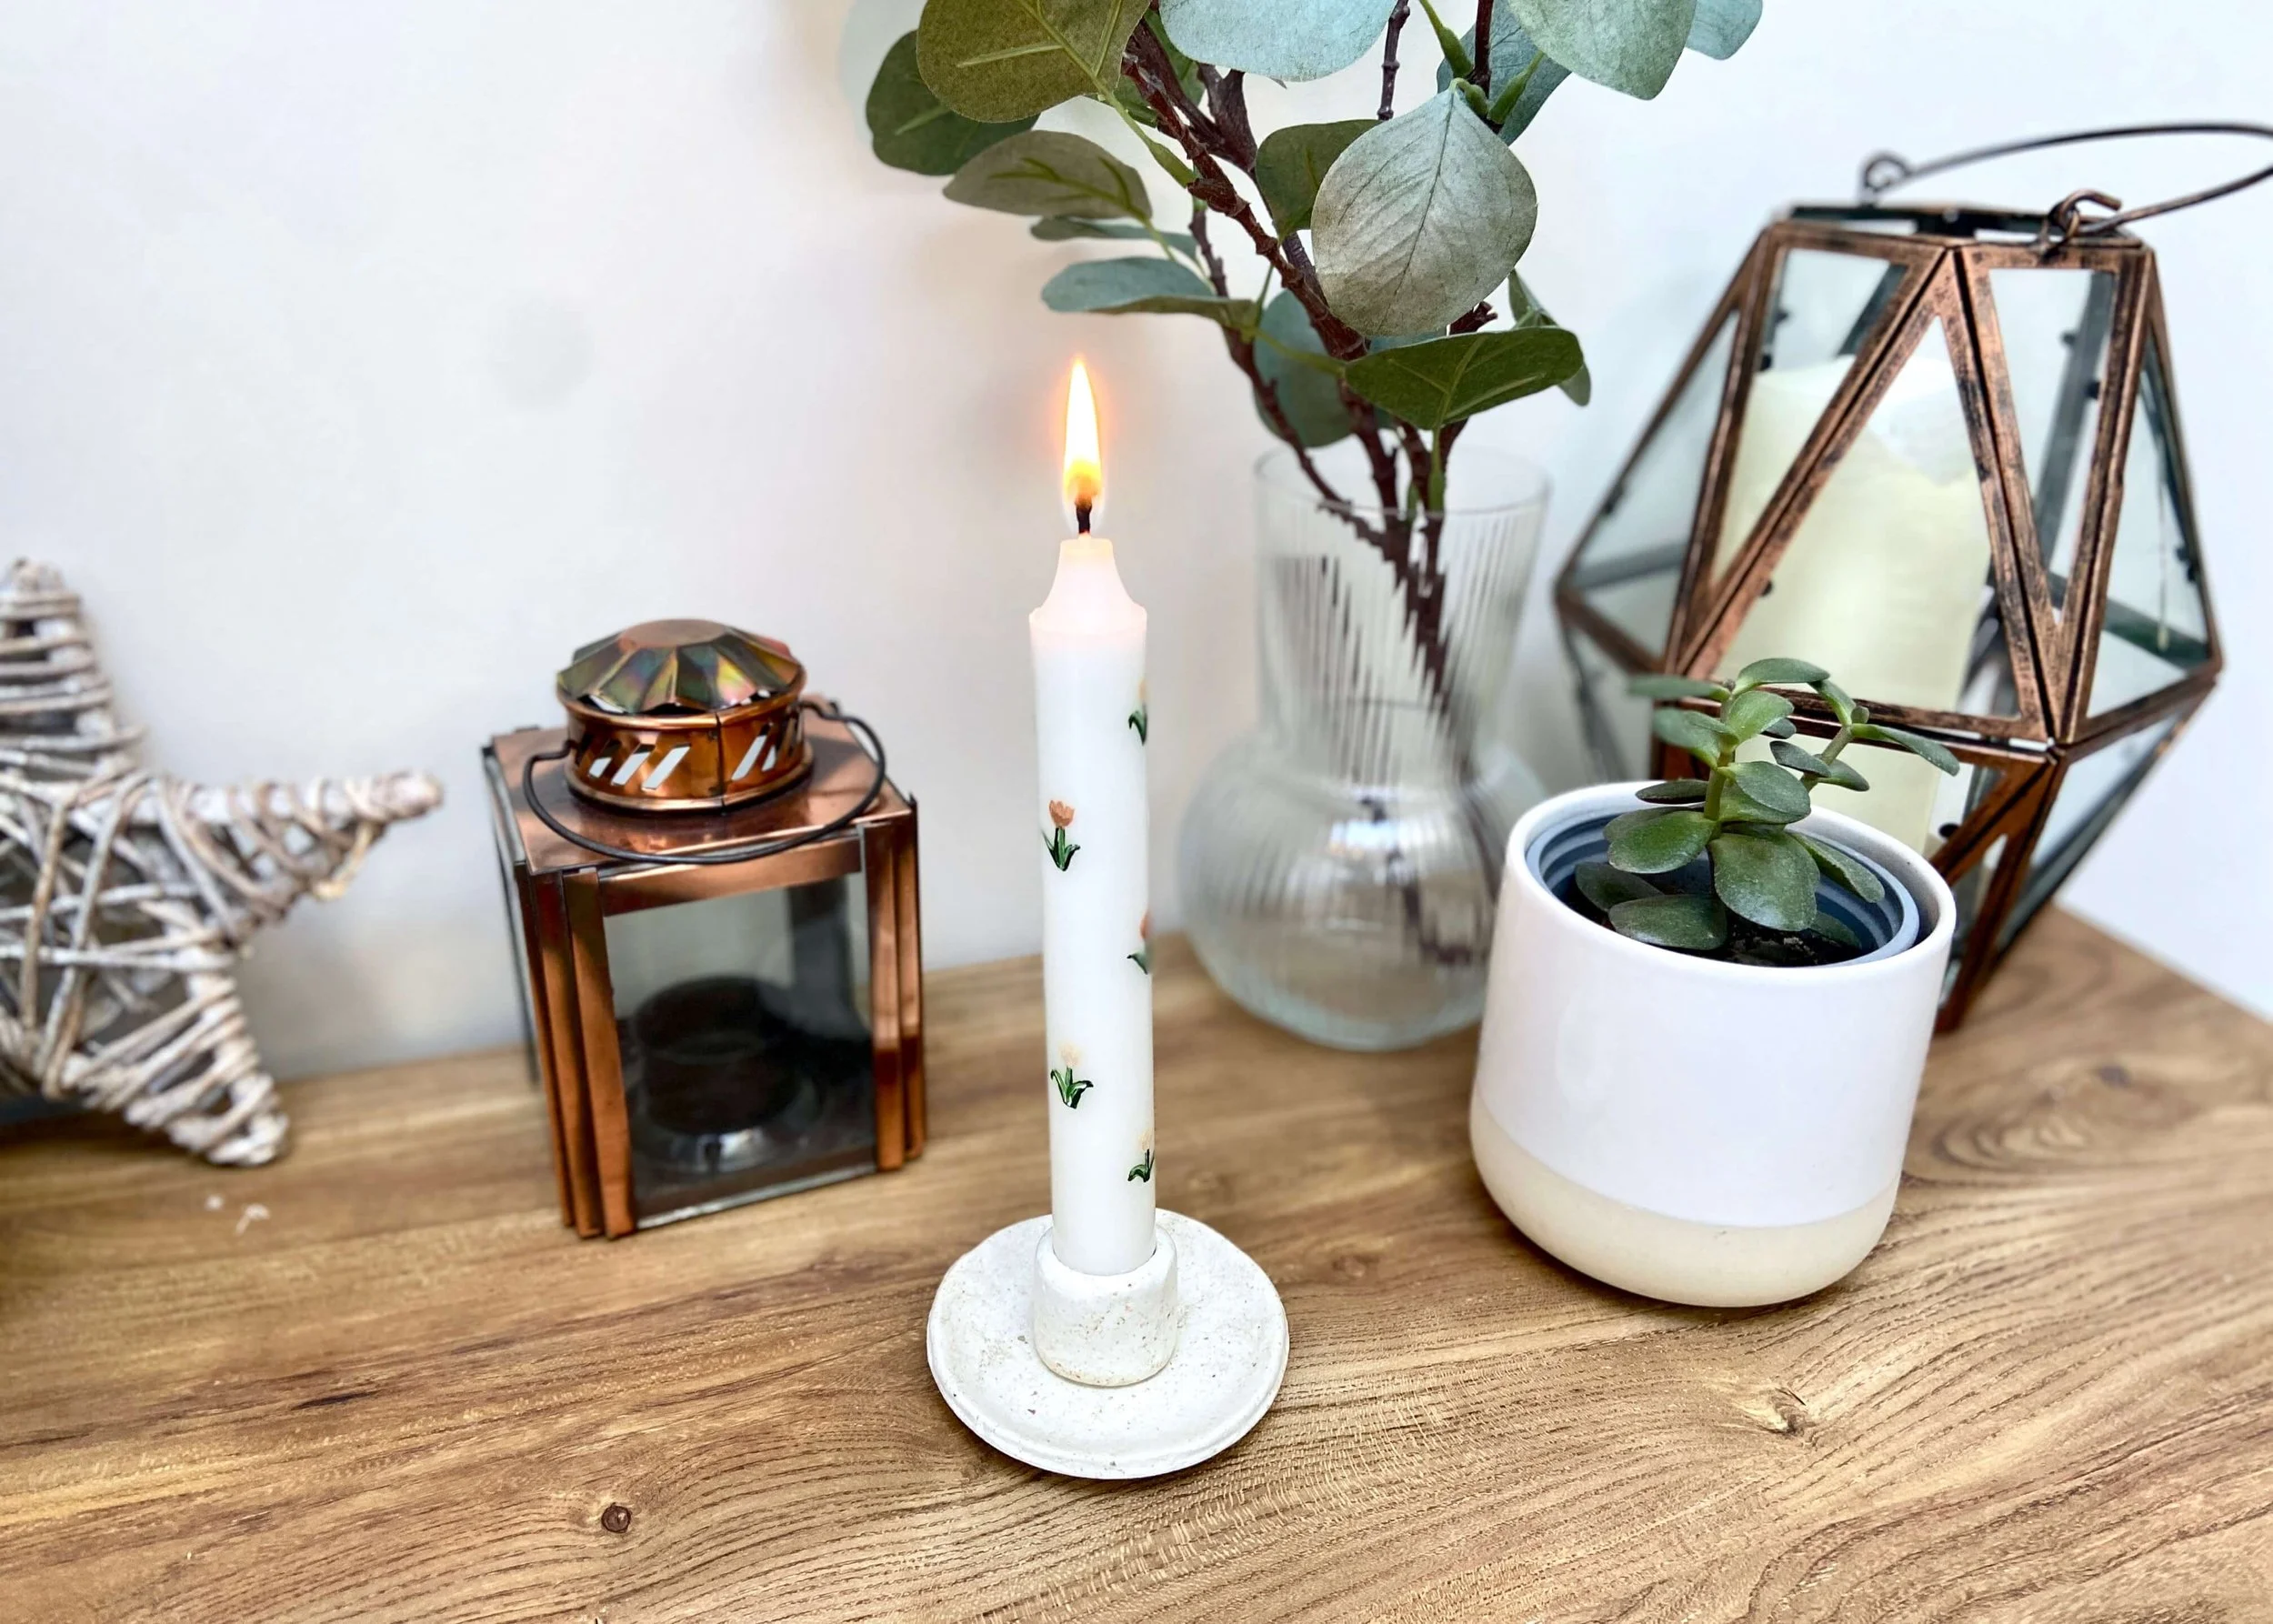
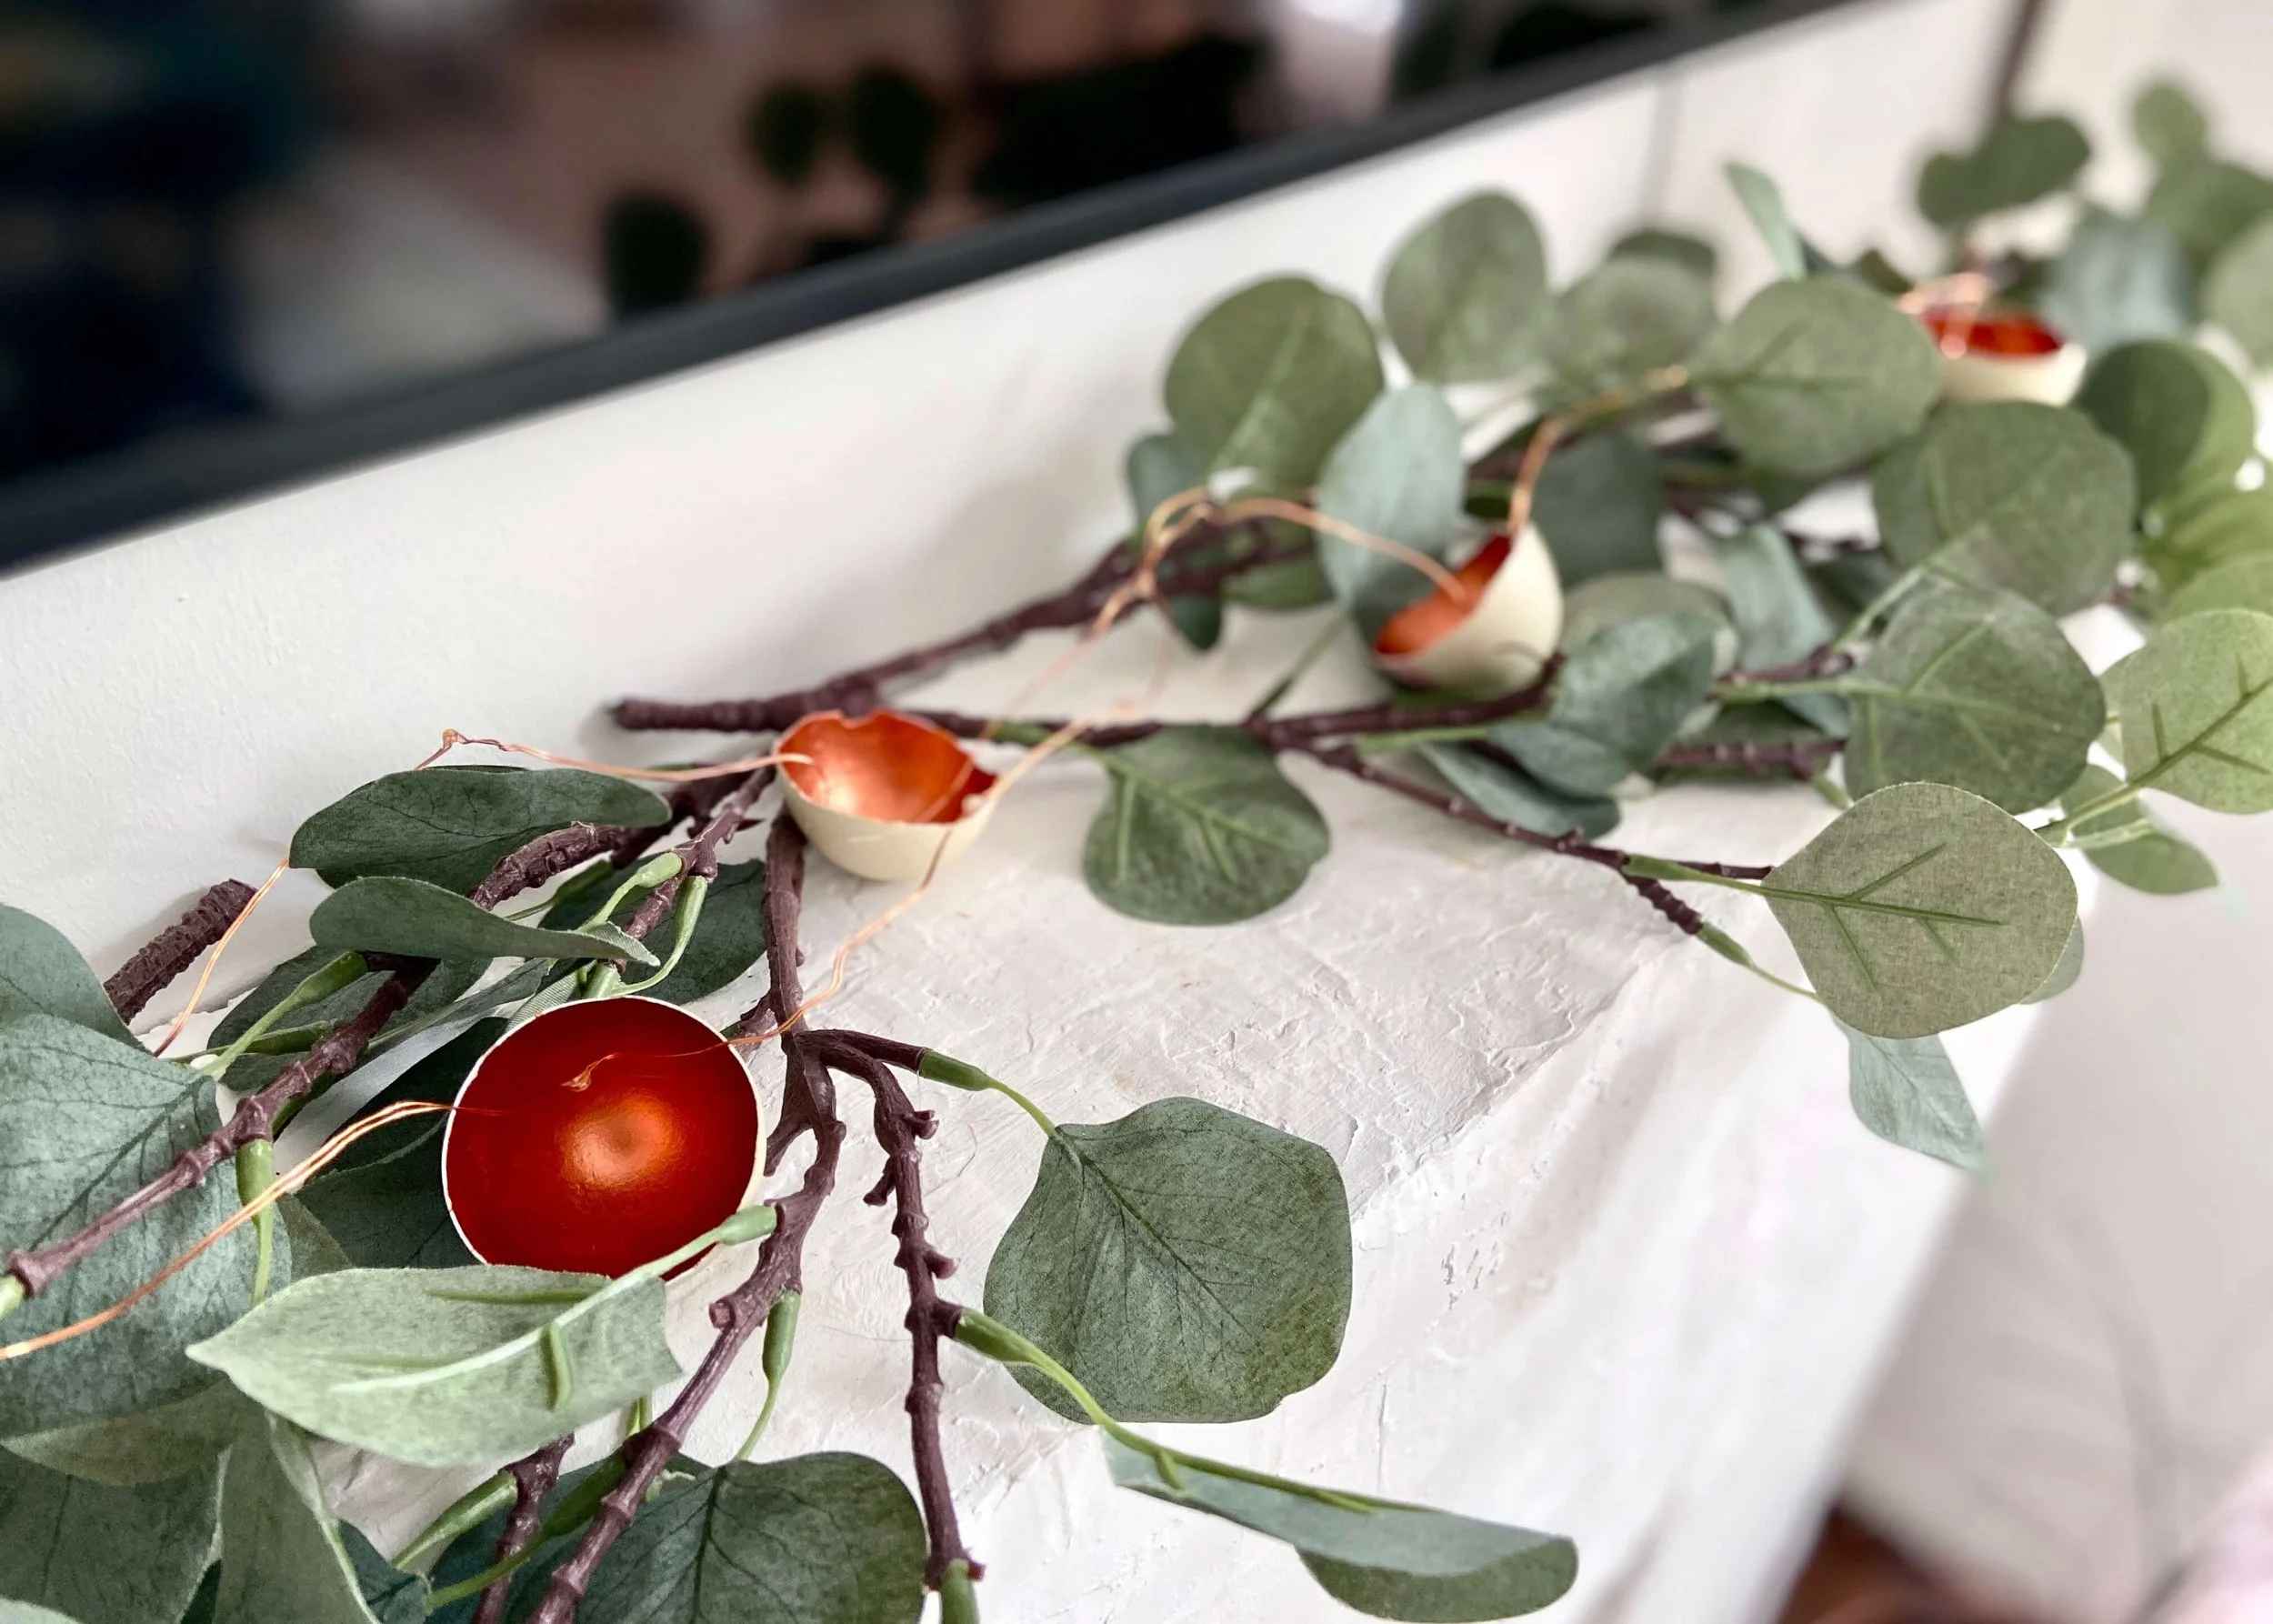
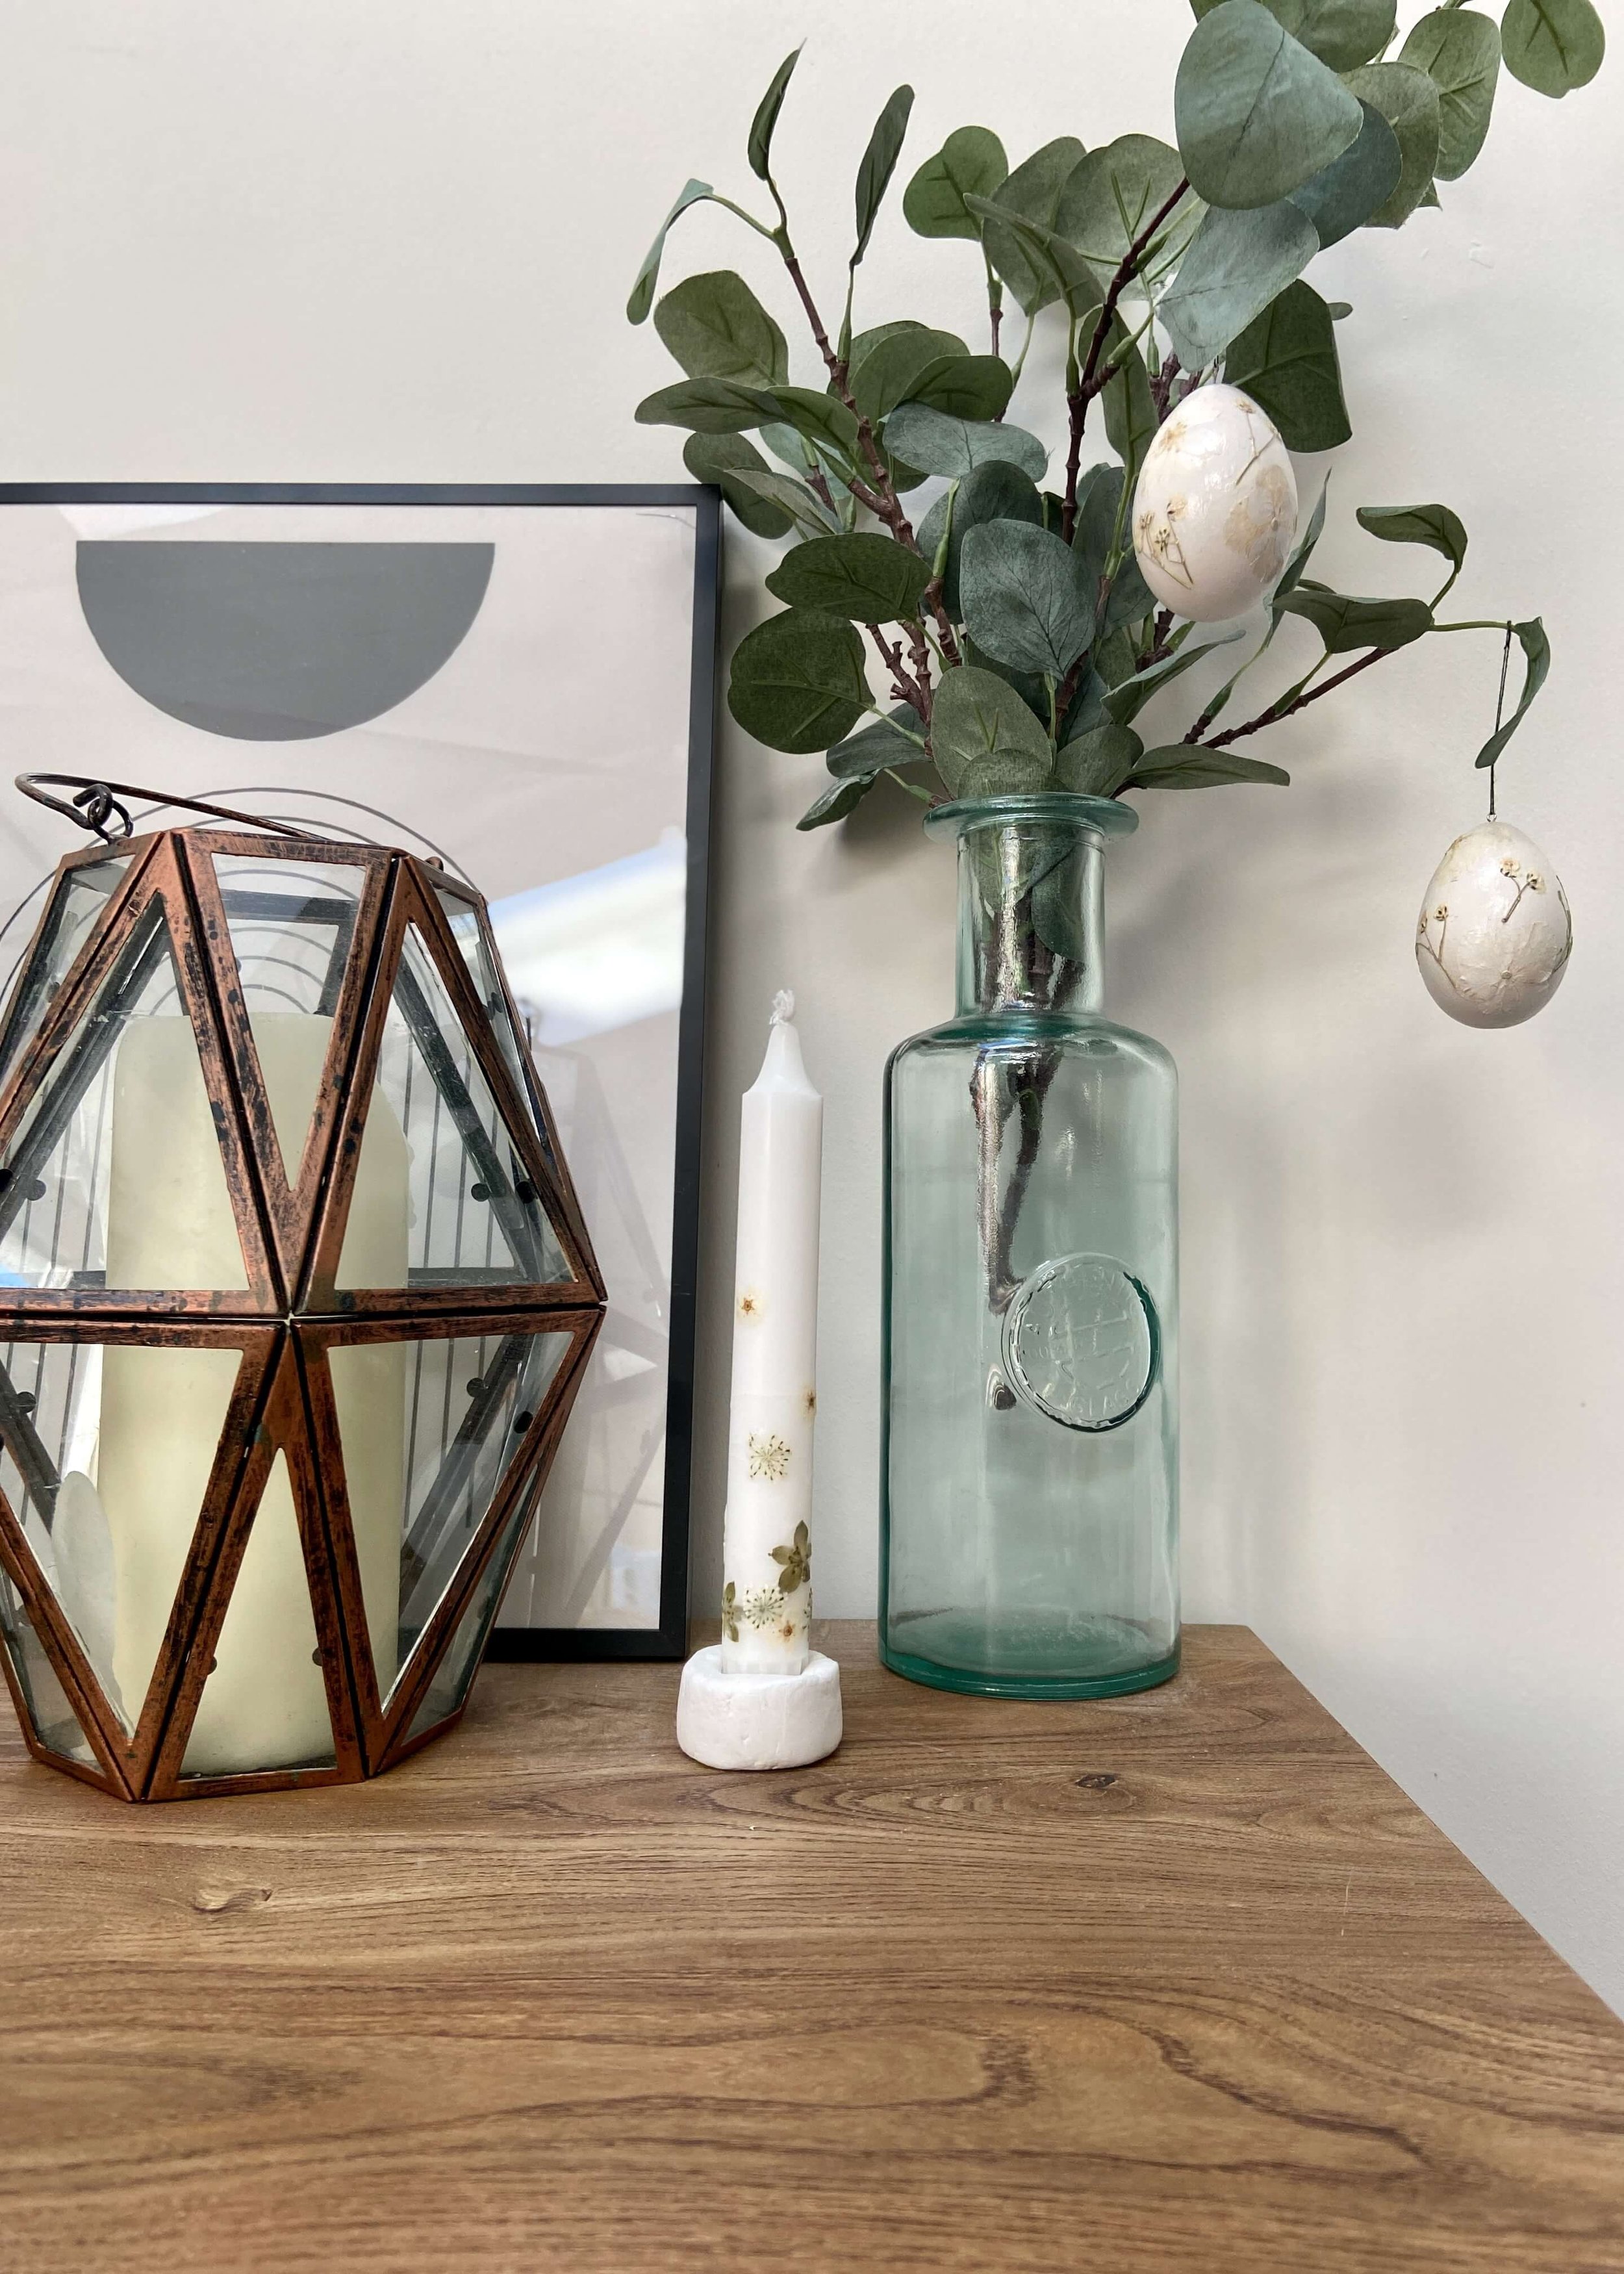
I had a great time with this project, it was a little finicky and by the end my tea light candle holder was a mess, but I really enjoyed the process and am super happy with how the taper candle turned out. I love that it matches my Pressed Flower Egg Ornaments, and so together they made the perfect spring and easter decor. Keep reading to find out what I used and for the step by step tutorial…


1.
First of all, open your pressed flowers and think about which flowers you want to use and where. You don’t have much time with melted wax so being prepared is key!
2.
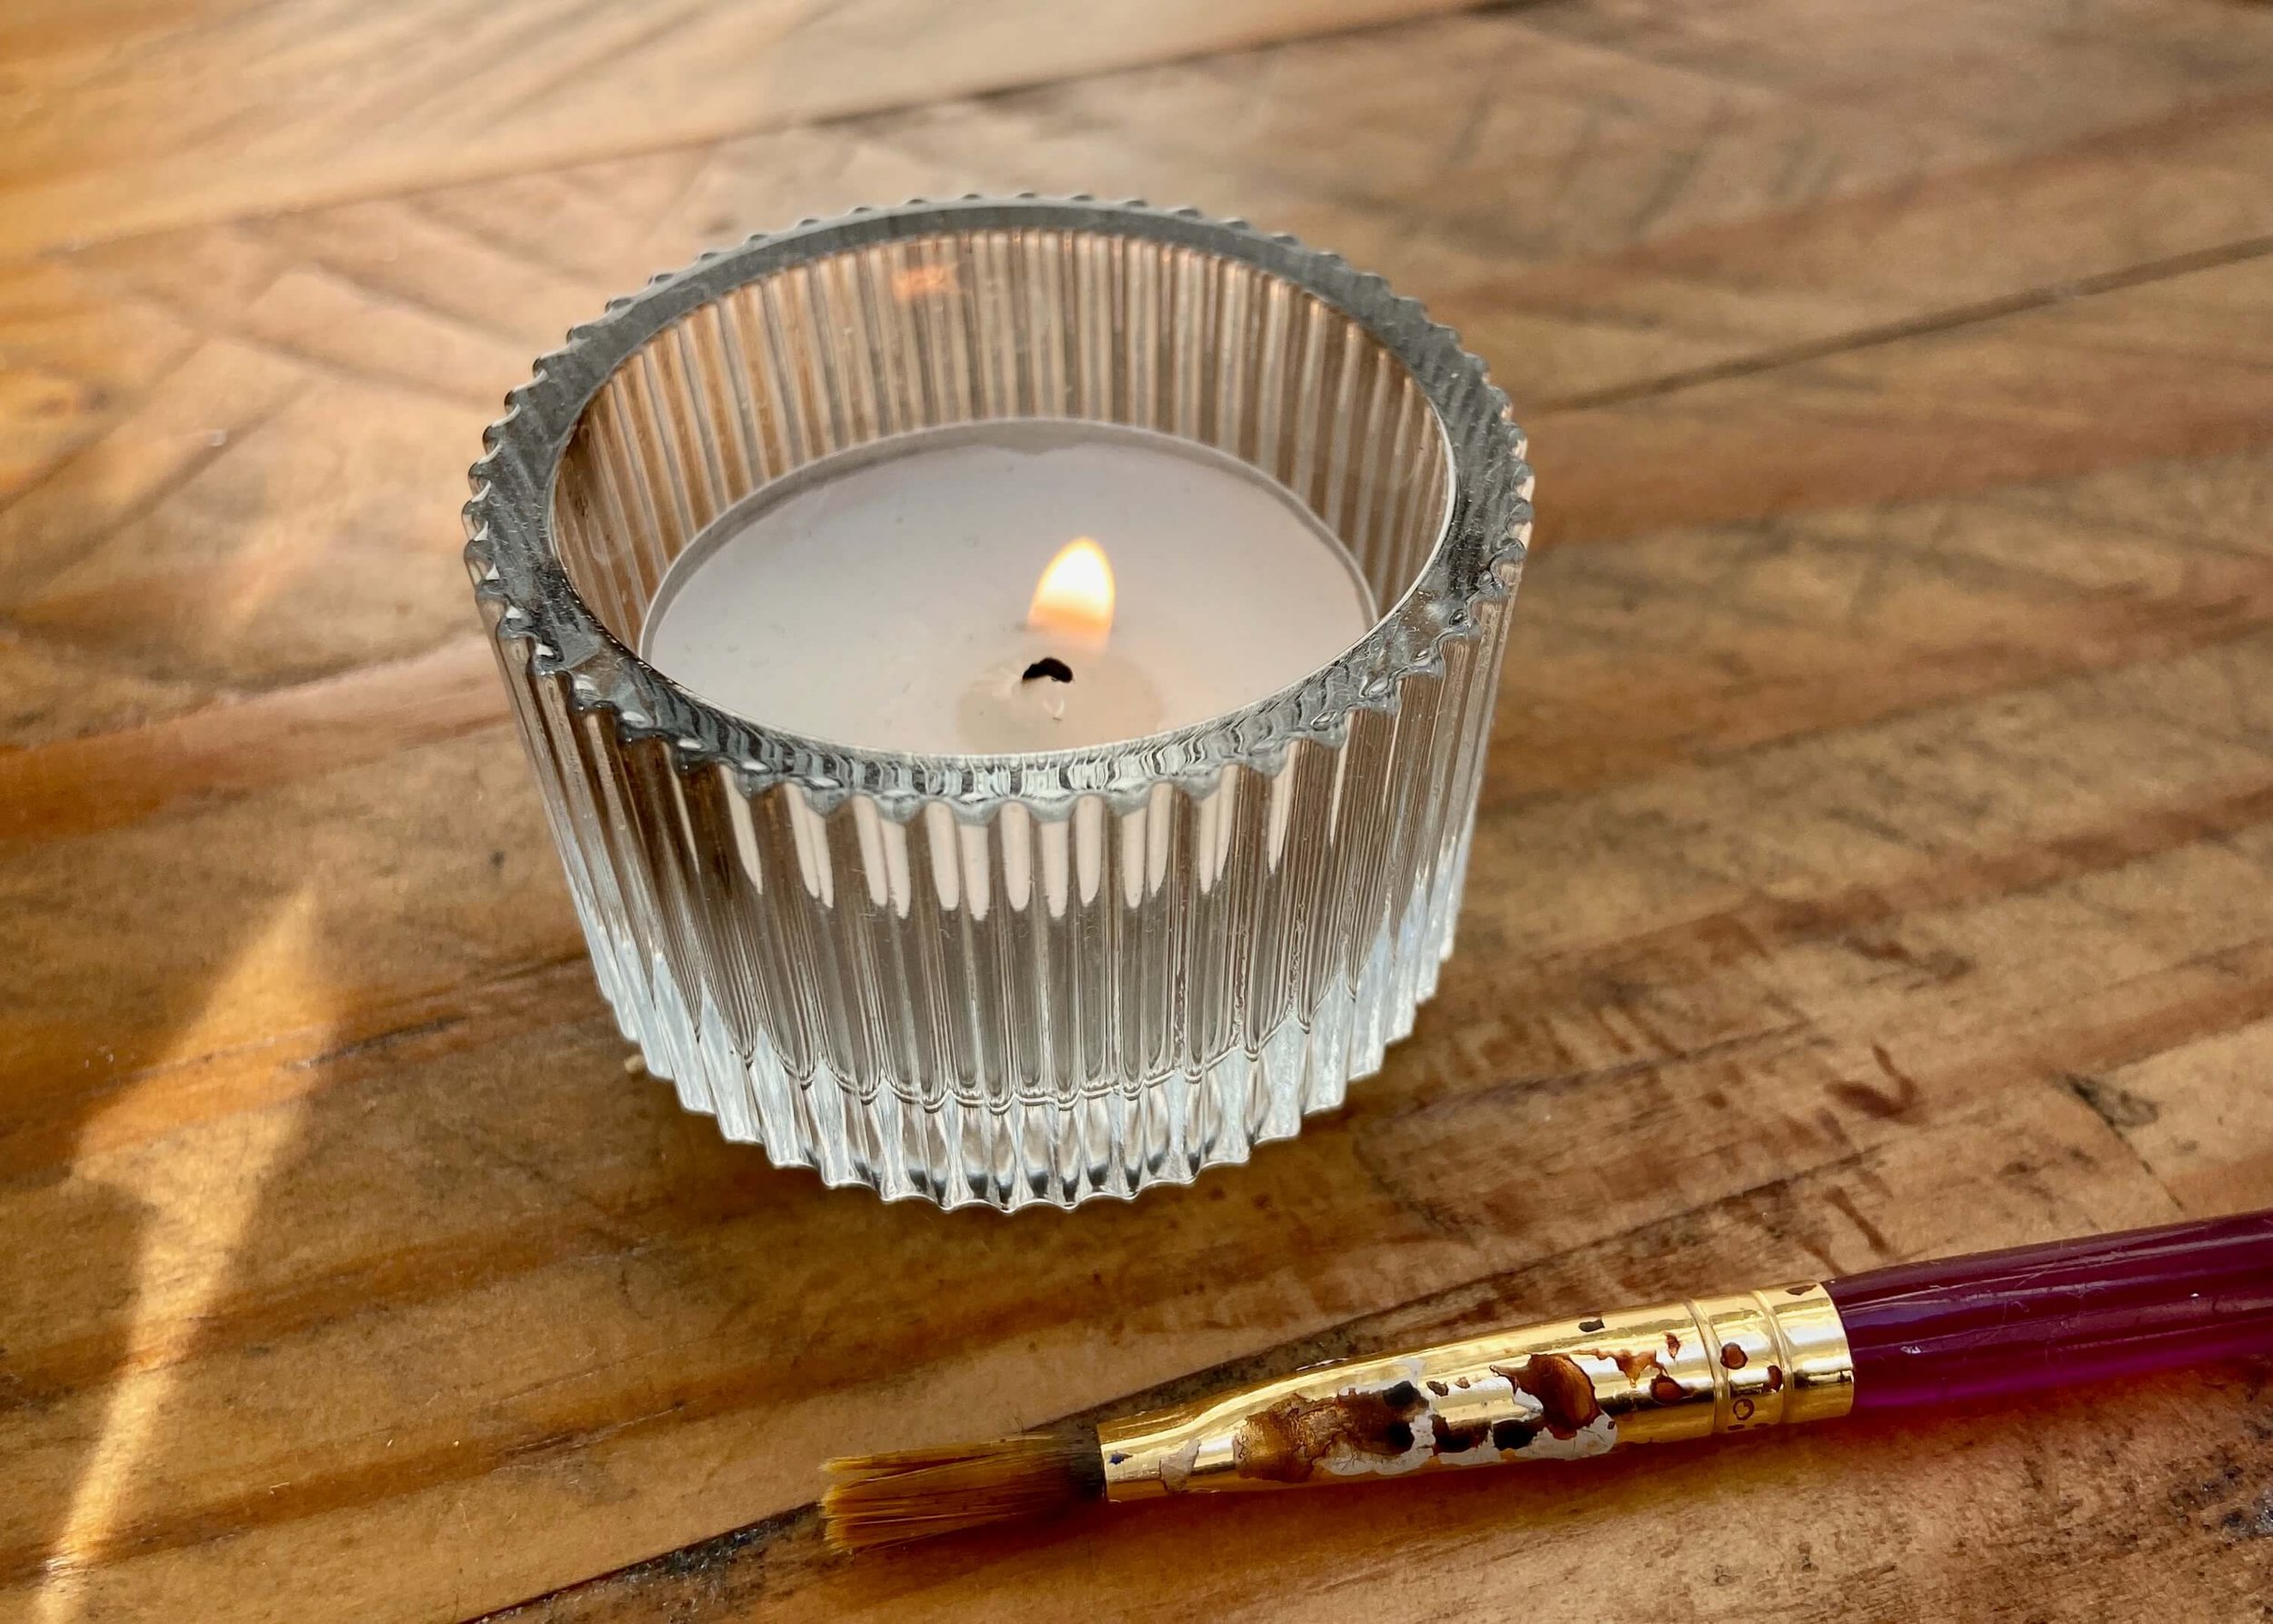
Next, light a tea light candle and wait until enough wax has melted that you can dip a paintbrush into it.

3.
Carefully dip your paintbrush into the melted wax and dab it onto your taper candle where you want to place a flower. Do not put your paintbrush into the flame. Quickly place a pressed flower onto the melted wax and press it down.

4.
Use the paintbrush to carefully add melted wax across the top of the flower to secure in place. Your wax over the flower may go slightly cloudy, so to remove this, I quickly moved the taper candle over the heat of the flame to re-melt it and make it transparent again. Do not get too close to the flame.

5.
Repeat this process all over, adding flowers wherever you like. I added mine mostly to the bottom of the candle so that I could light this candle and I will only be using it until it reaches the highest flower to avoid any fire hazards.