How to create a trendy and sturdy wedding arch using copper pipe!
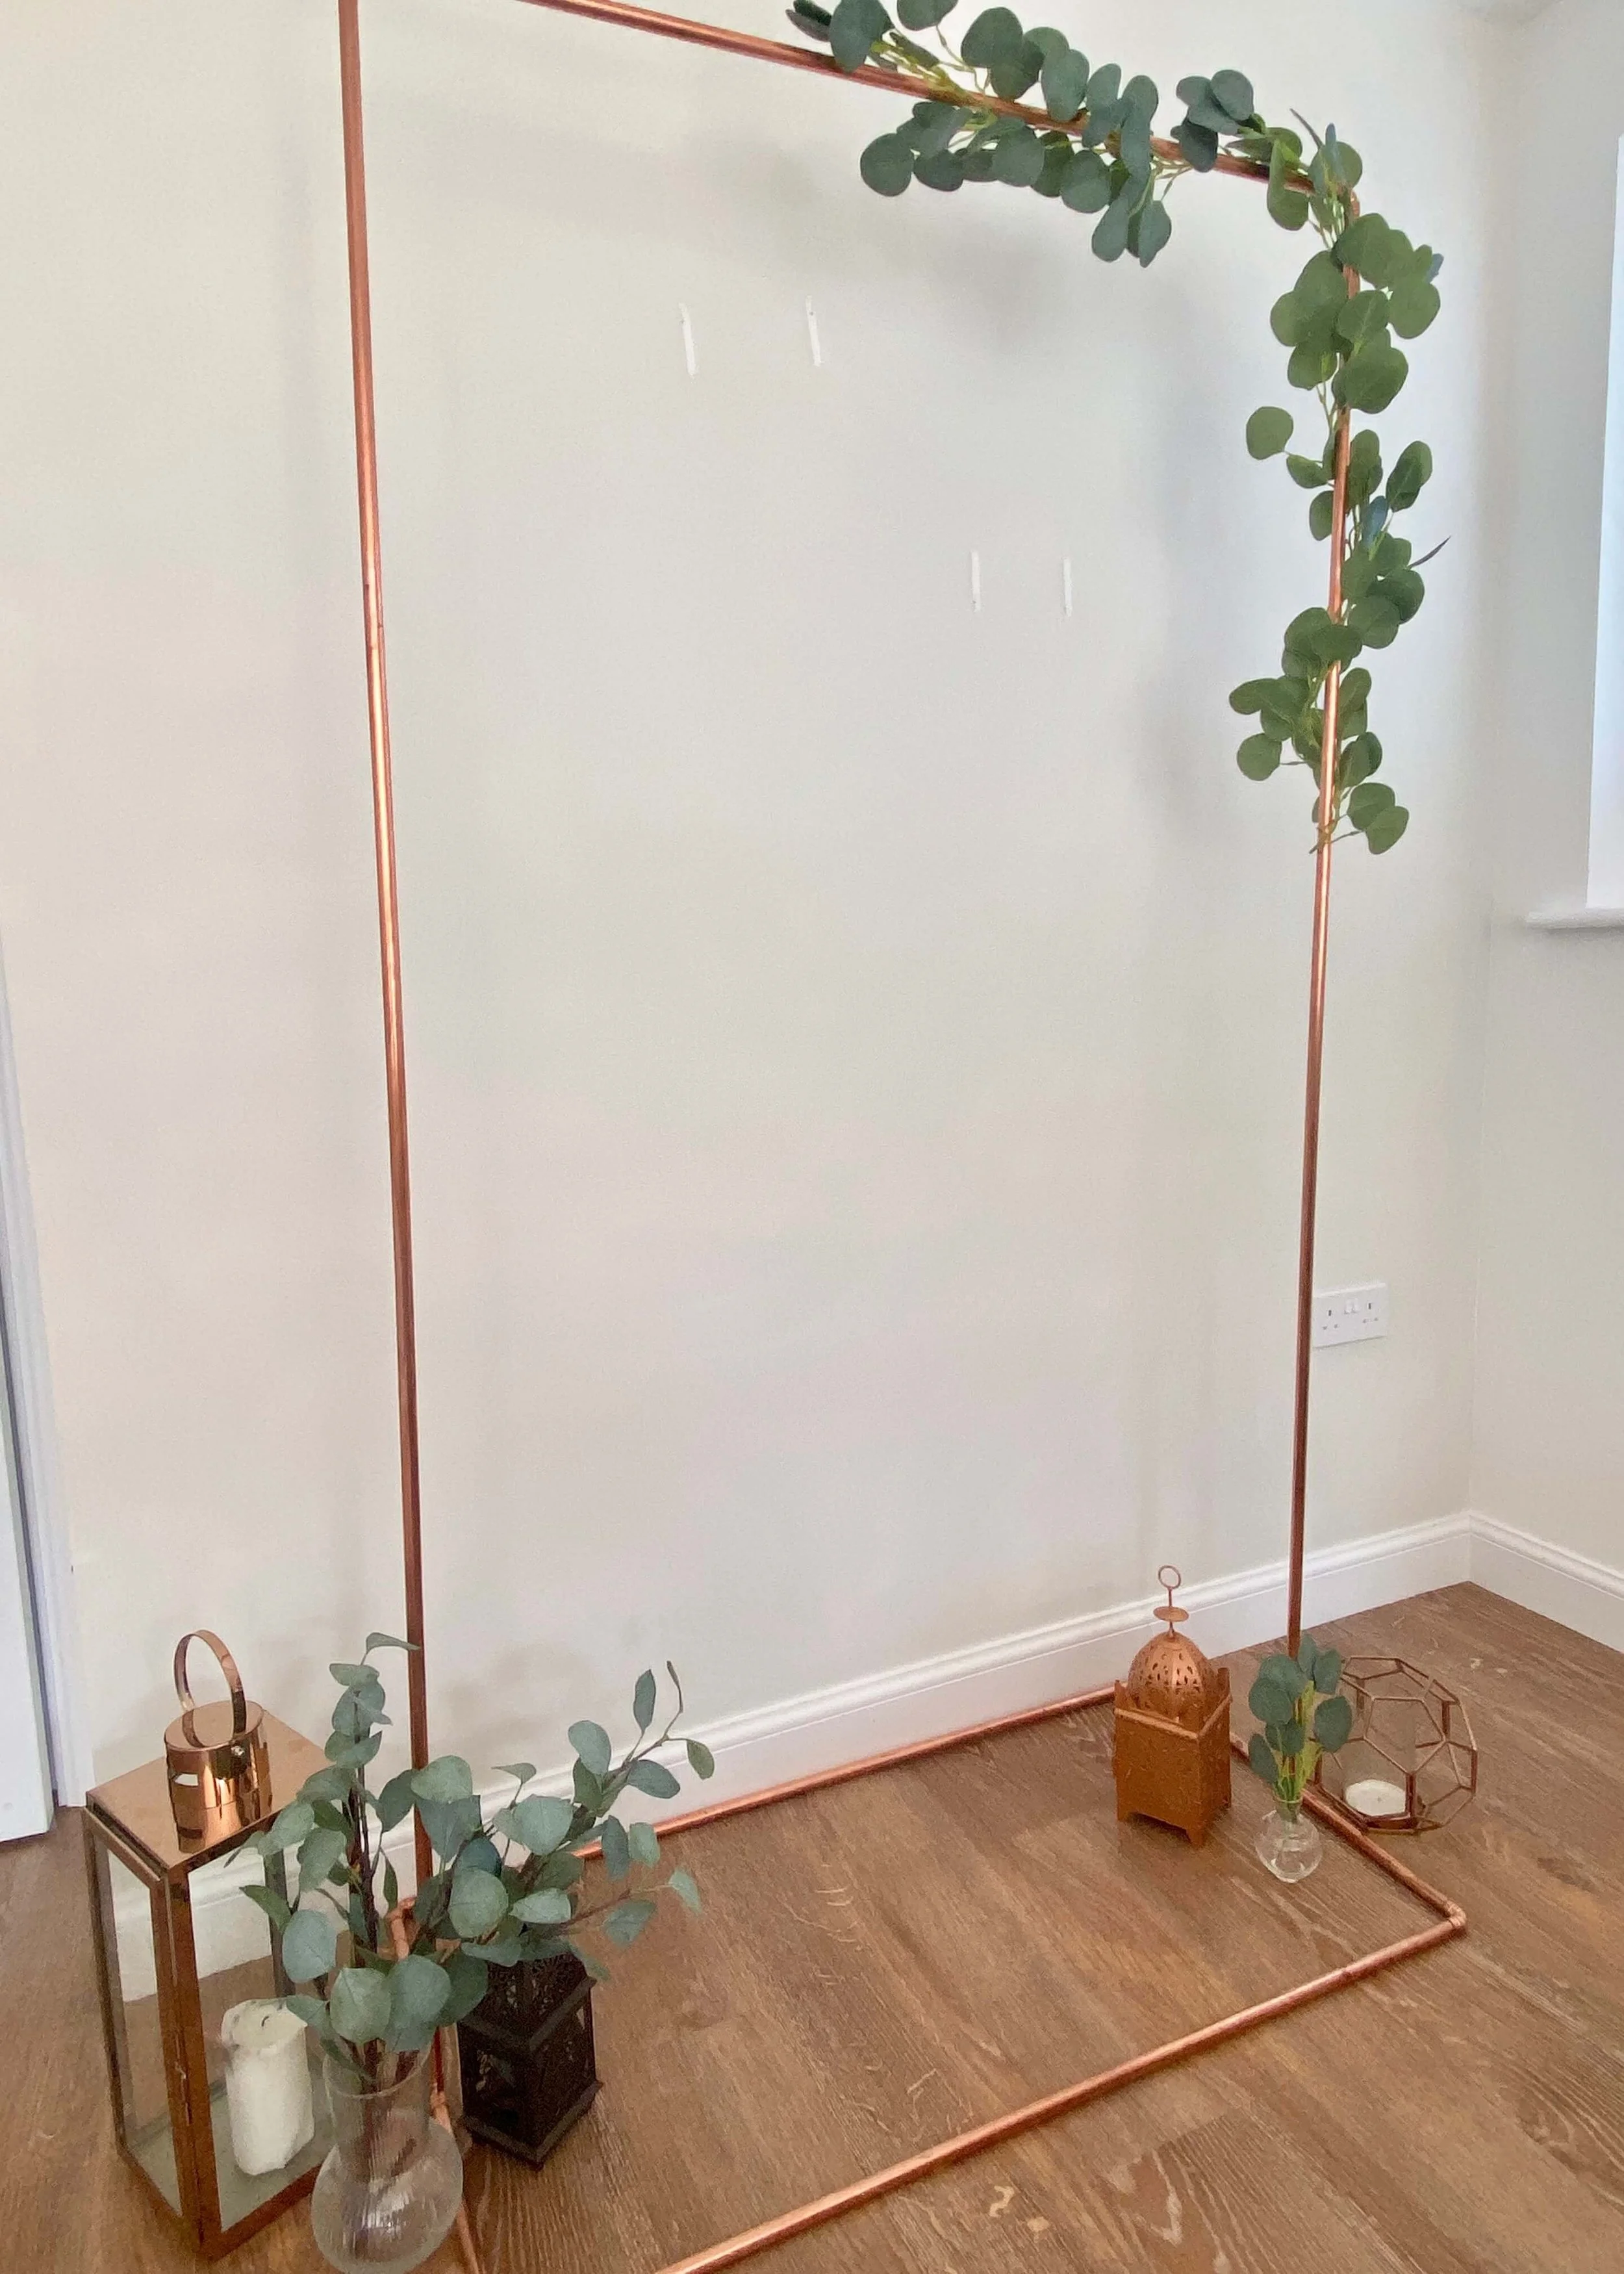
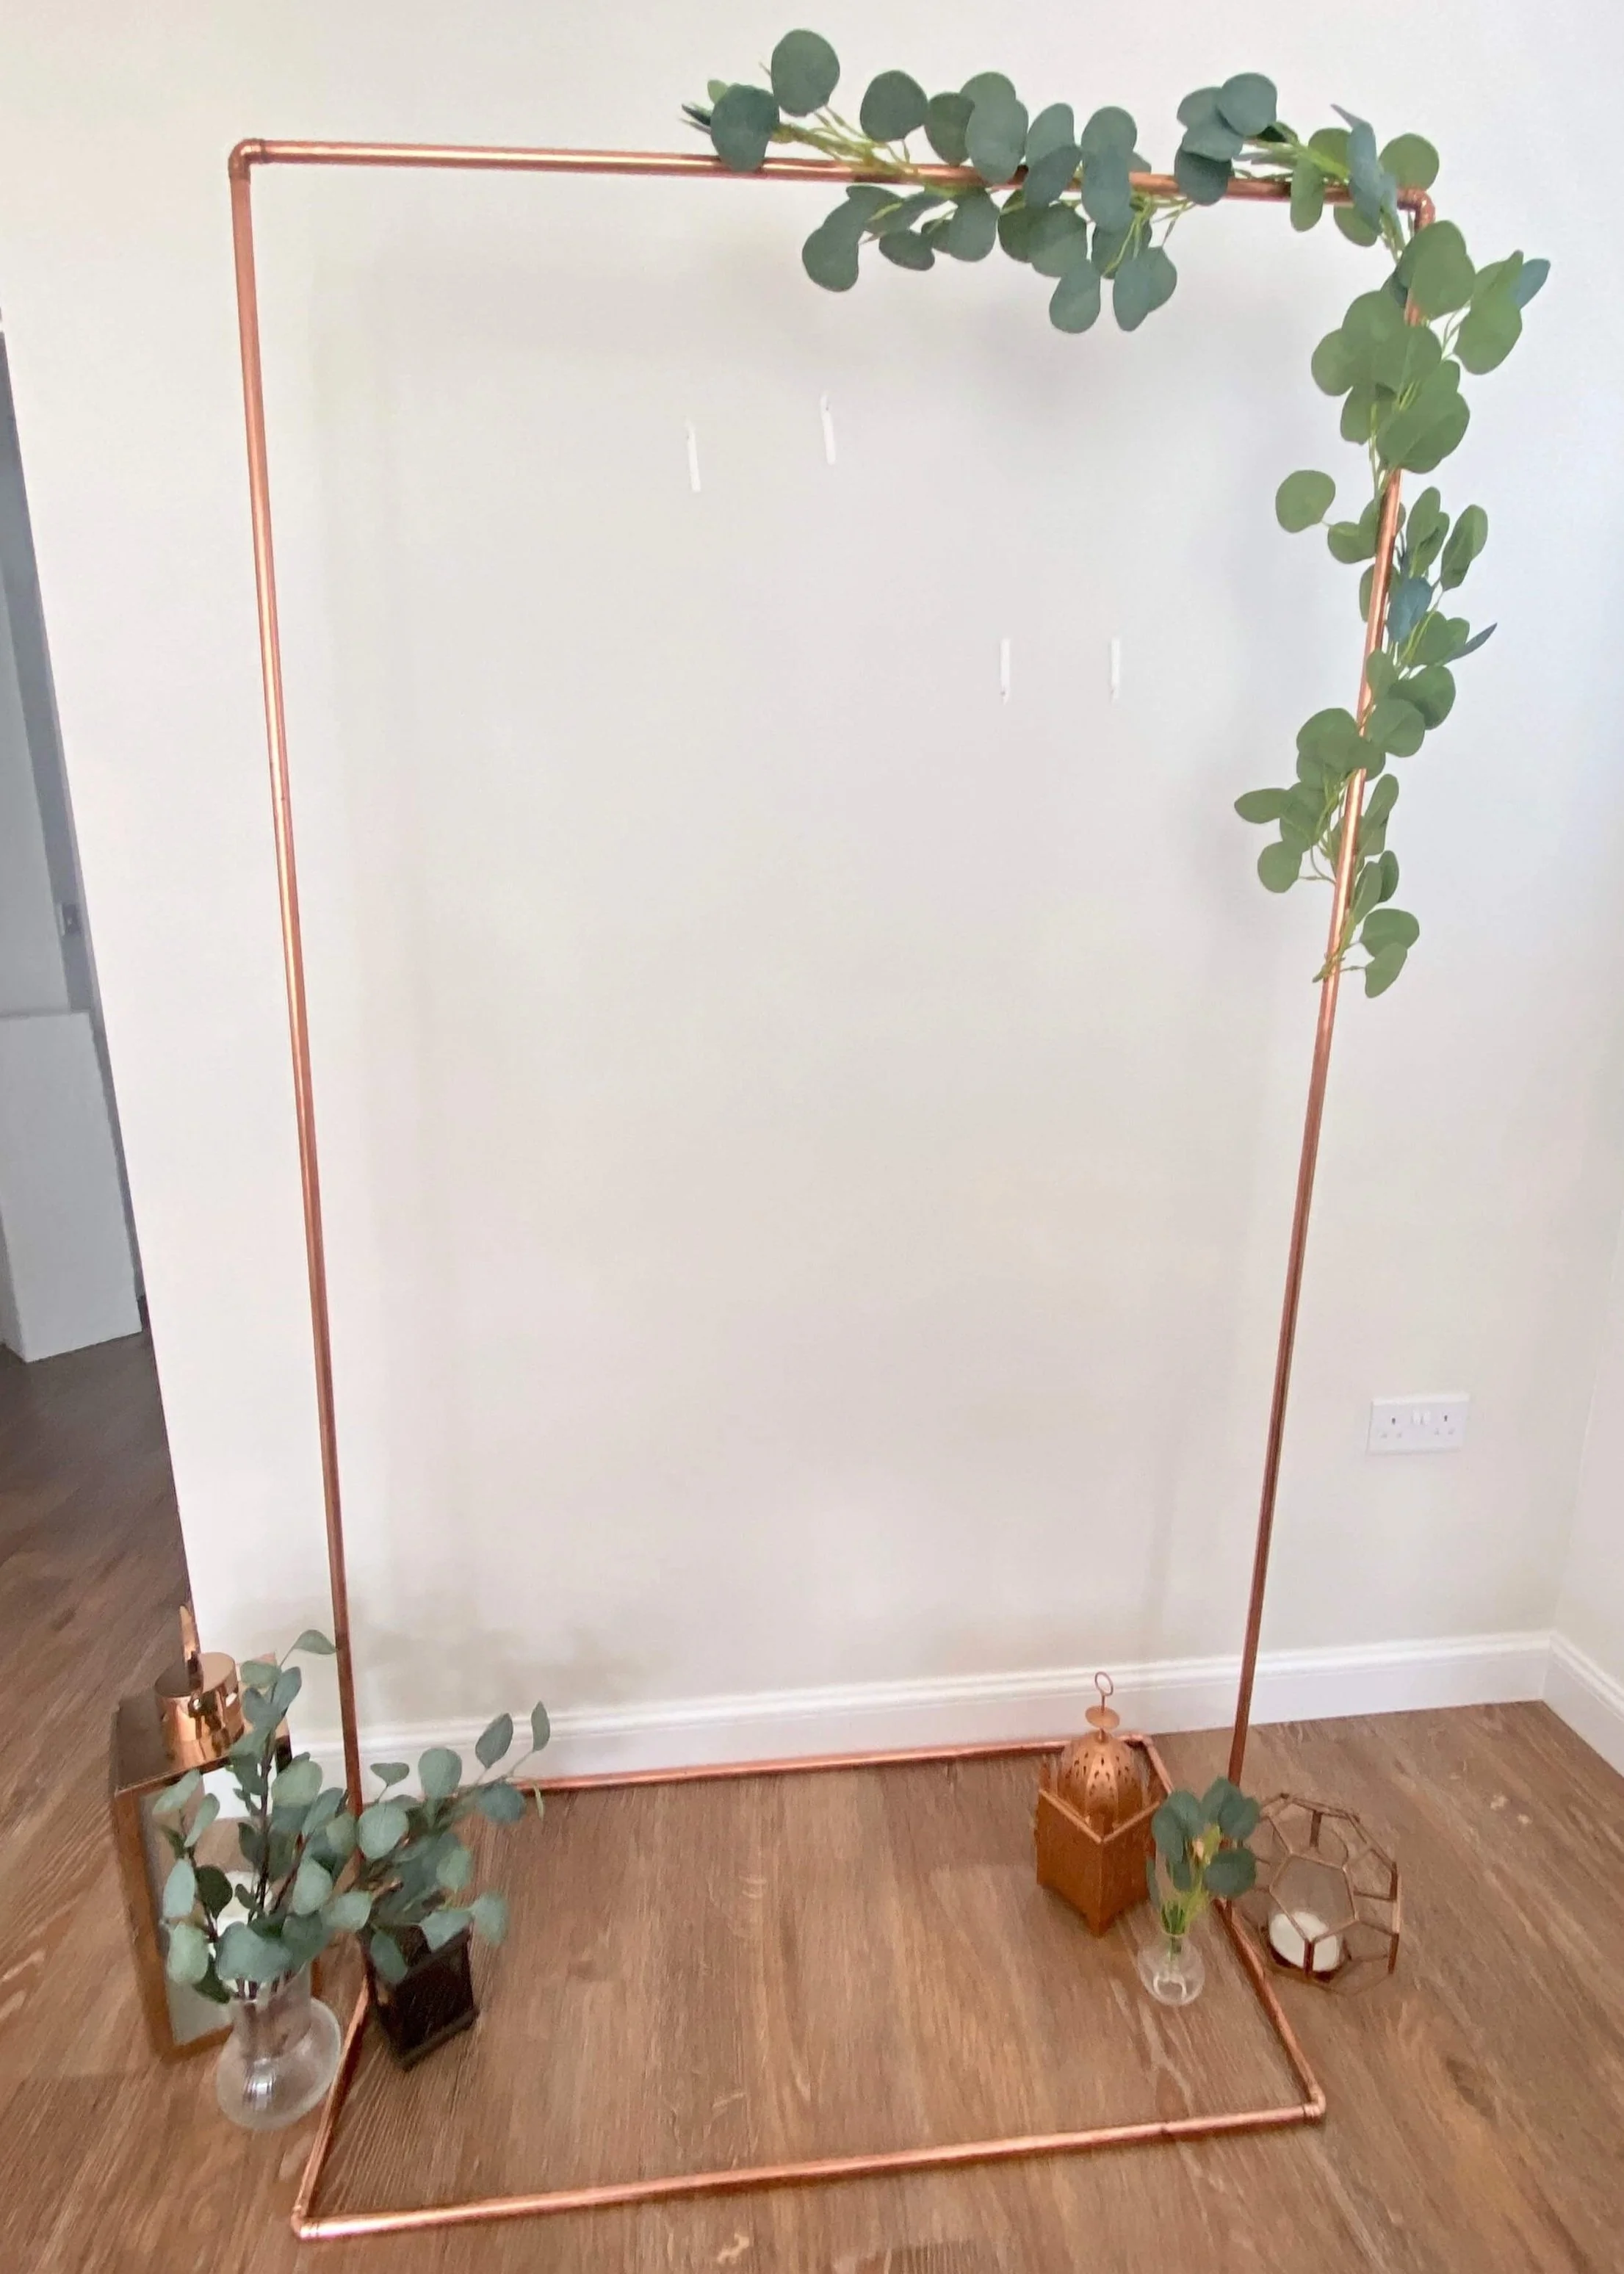
Copper may be no longer be trending in home decor but it lives on in wedding decor, and it’s having a prominent place, along with all shades of green, at my wedding. I fell in love with a copper stand covered in faux foliage with a neon sign hanging from it on Pinterest, but not the £200 cost to hire, and so I decided to have a go at making it myself. It’s so much cheaper to make these arches yourself, and my hope is to sell on everything that we’ve used or made afterwards, hopefully making it an absolute bargain.
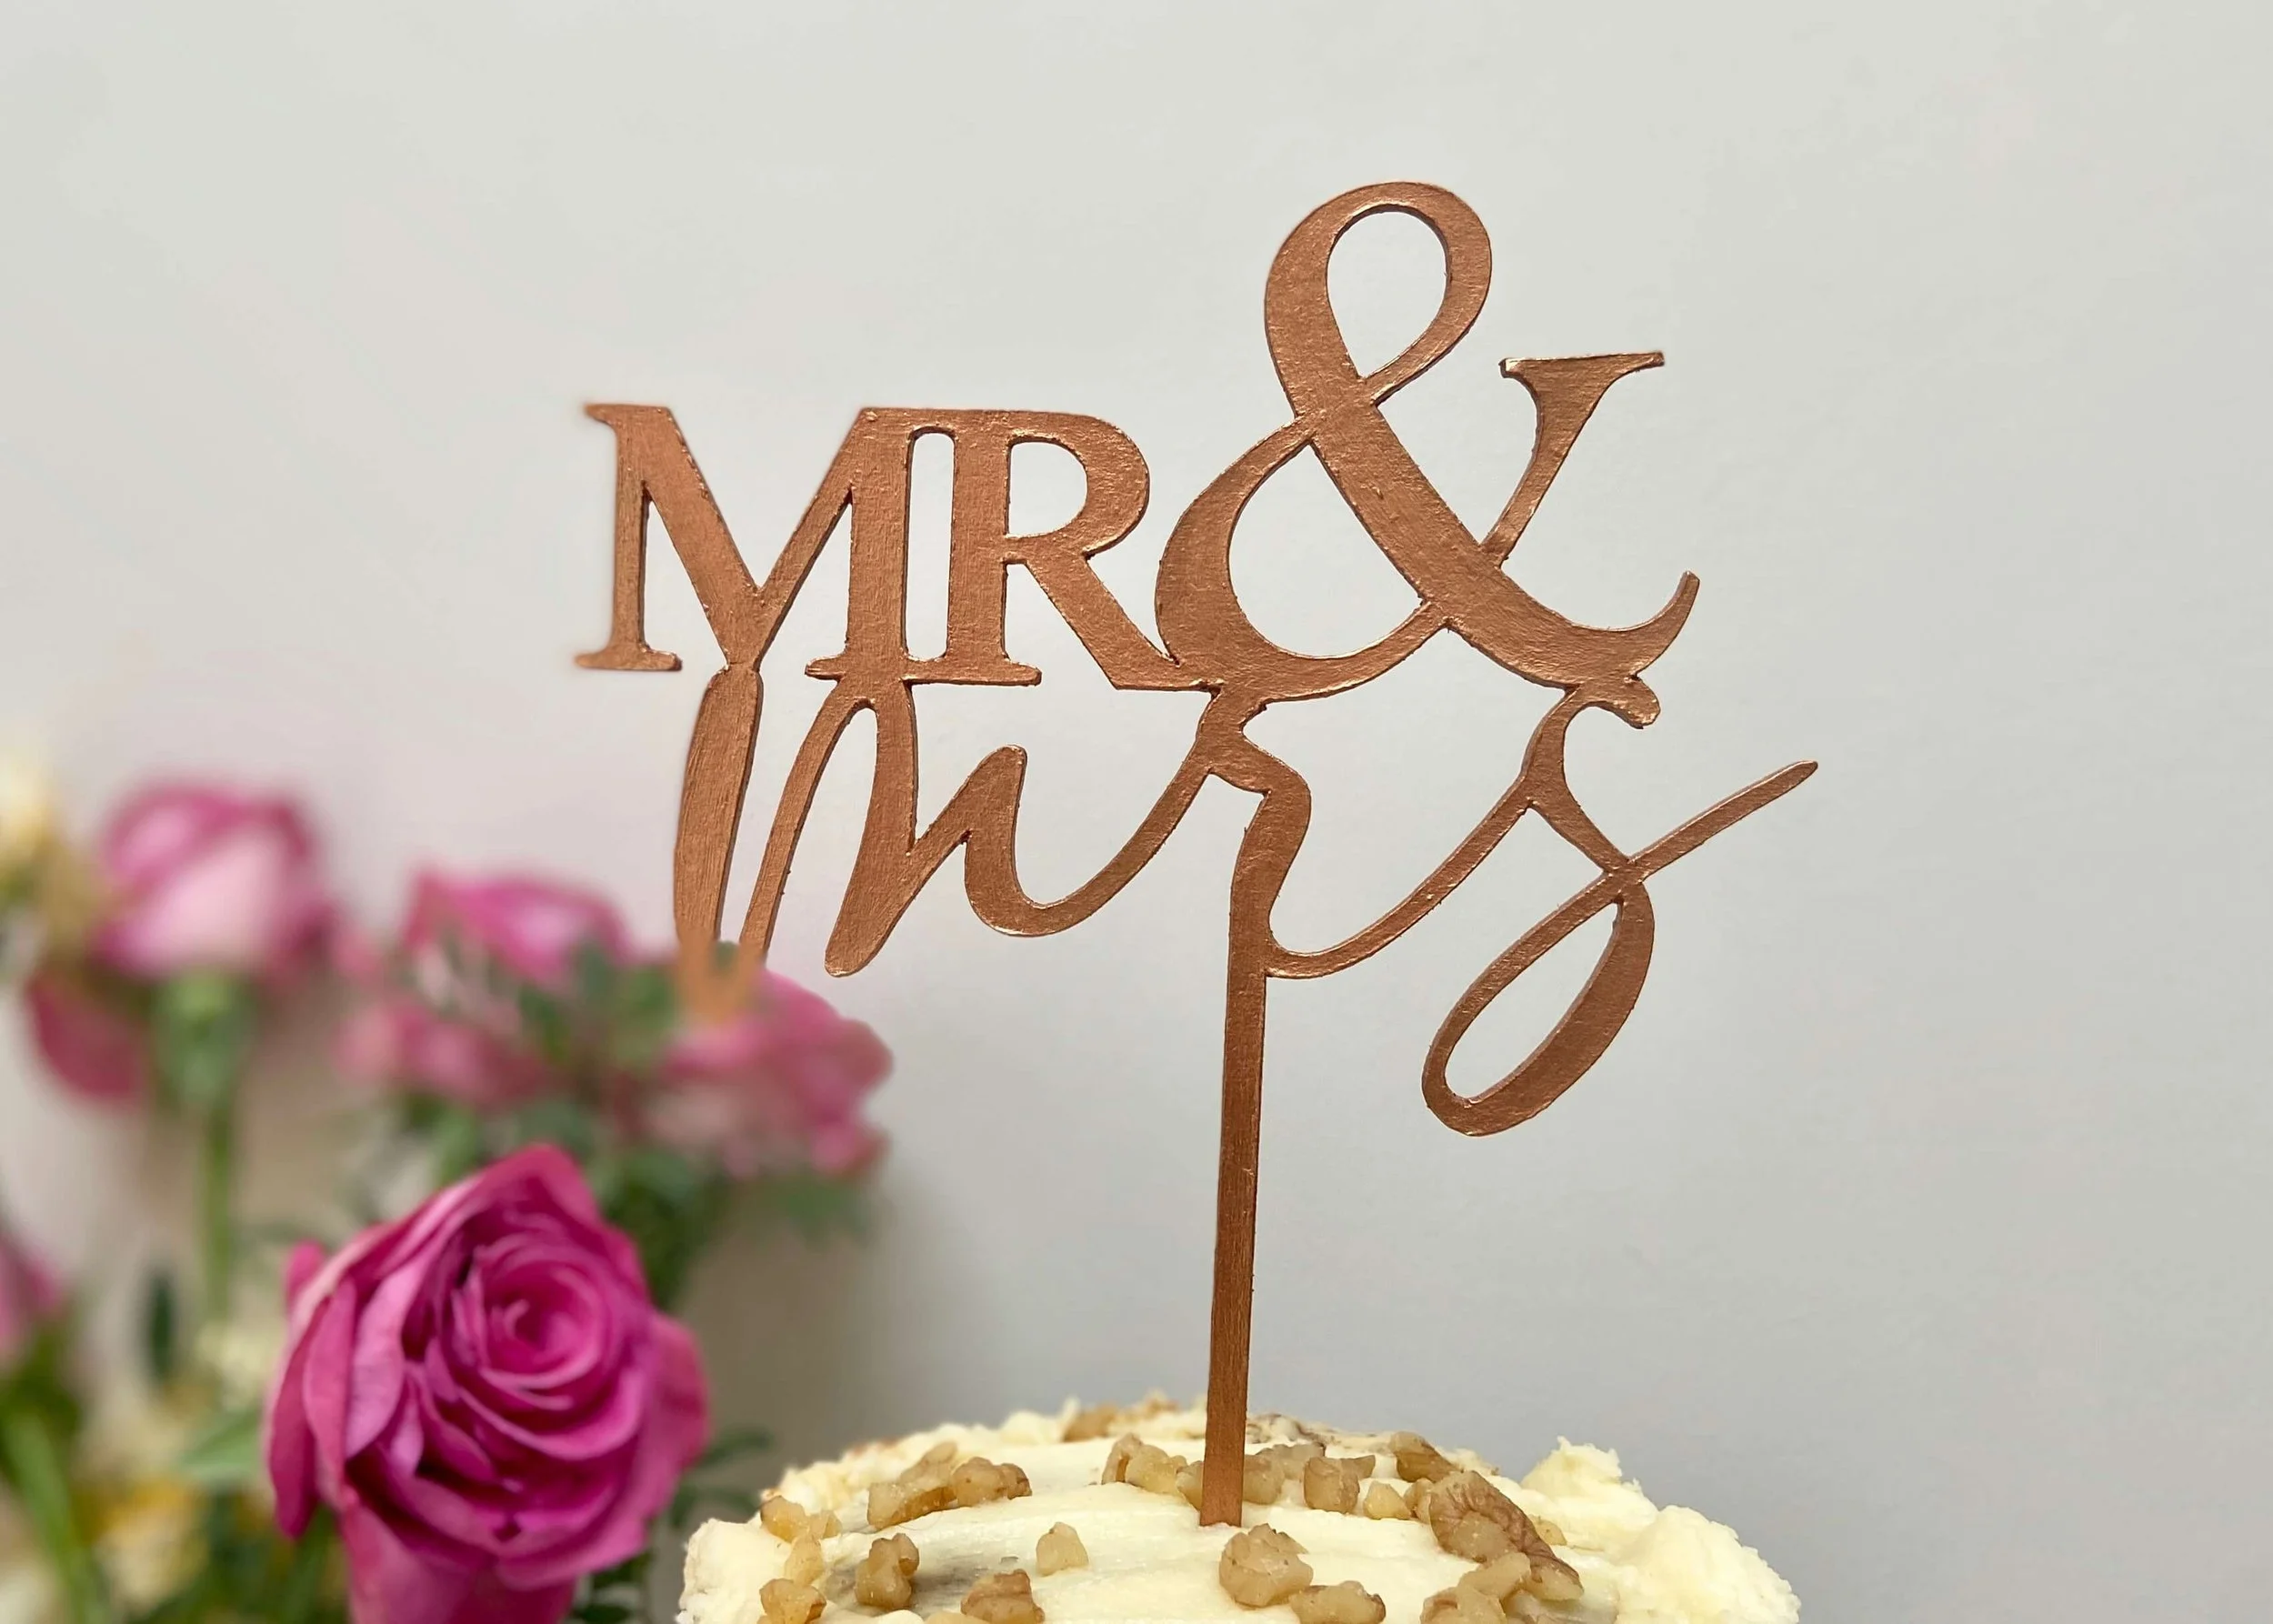
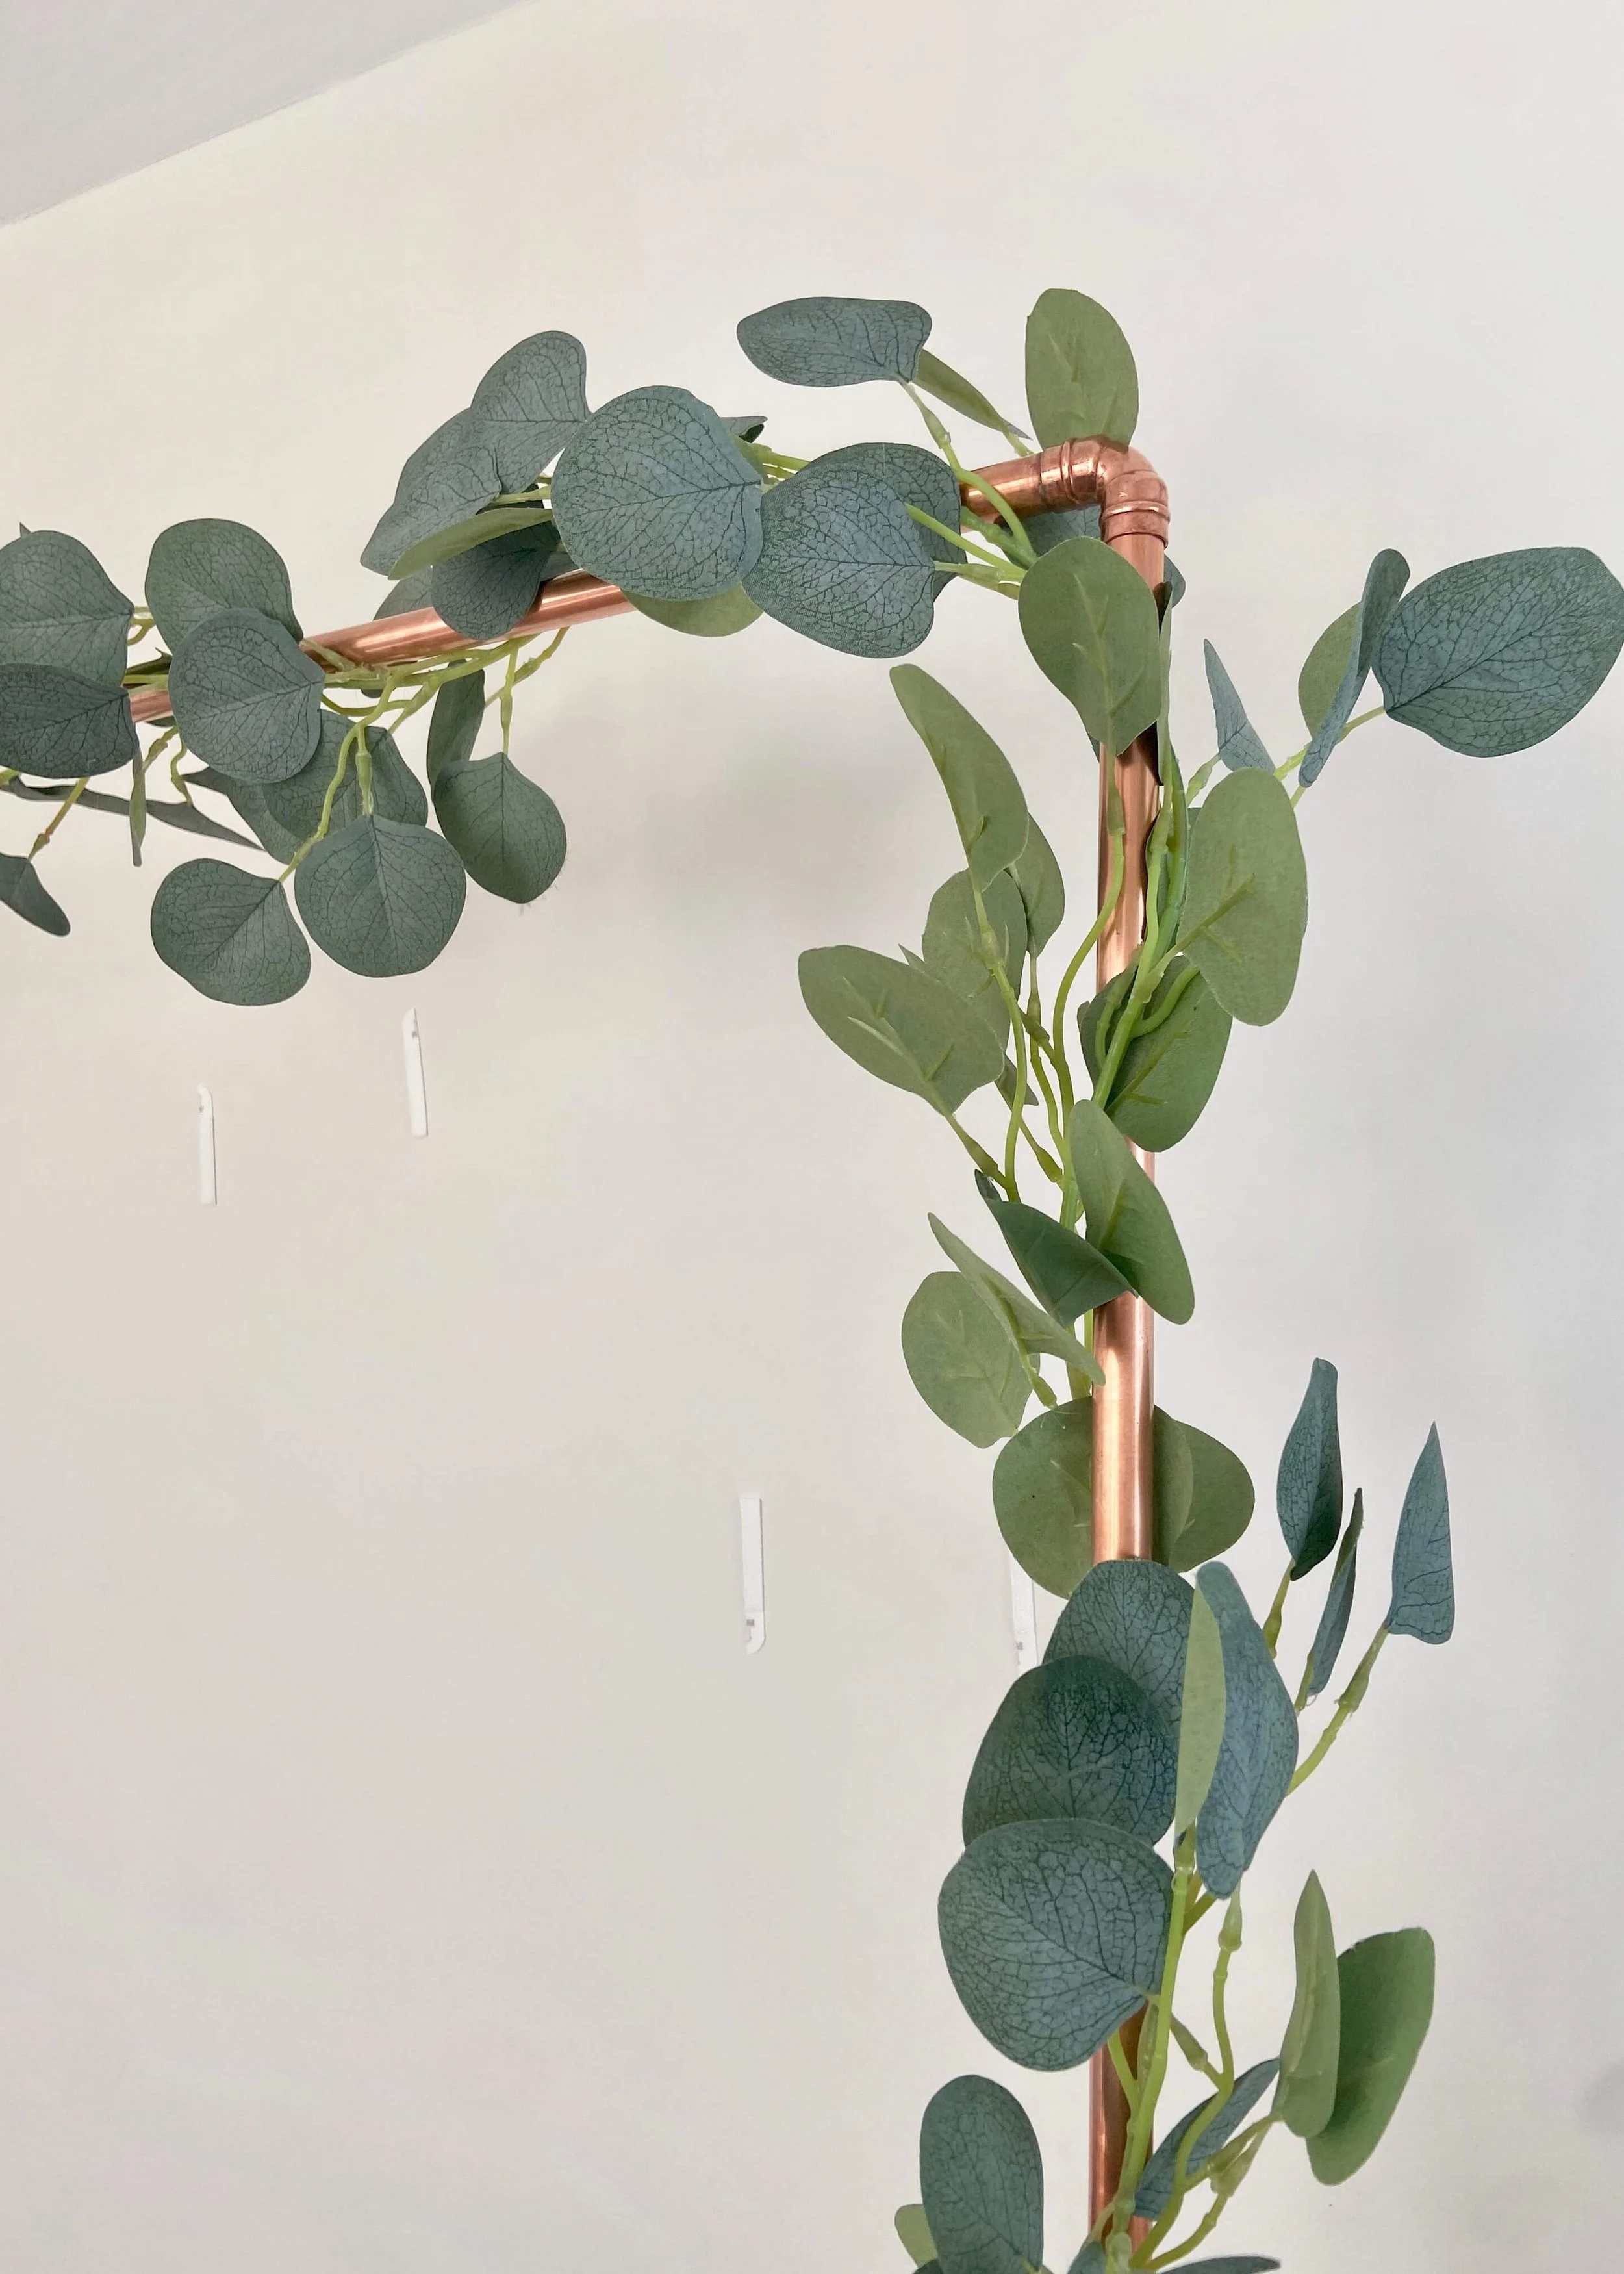
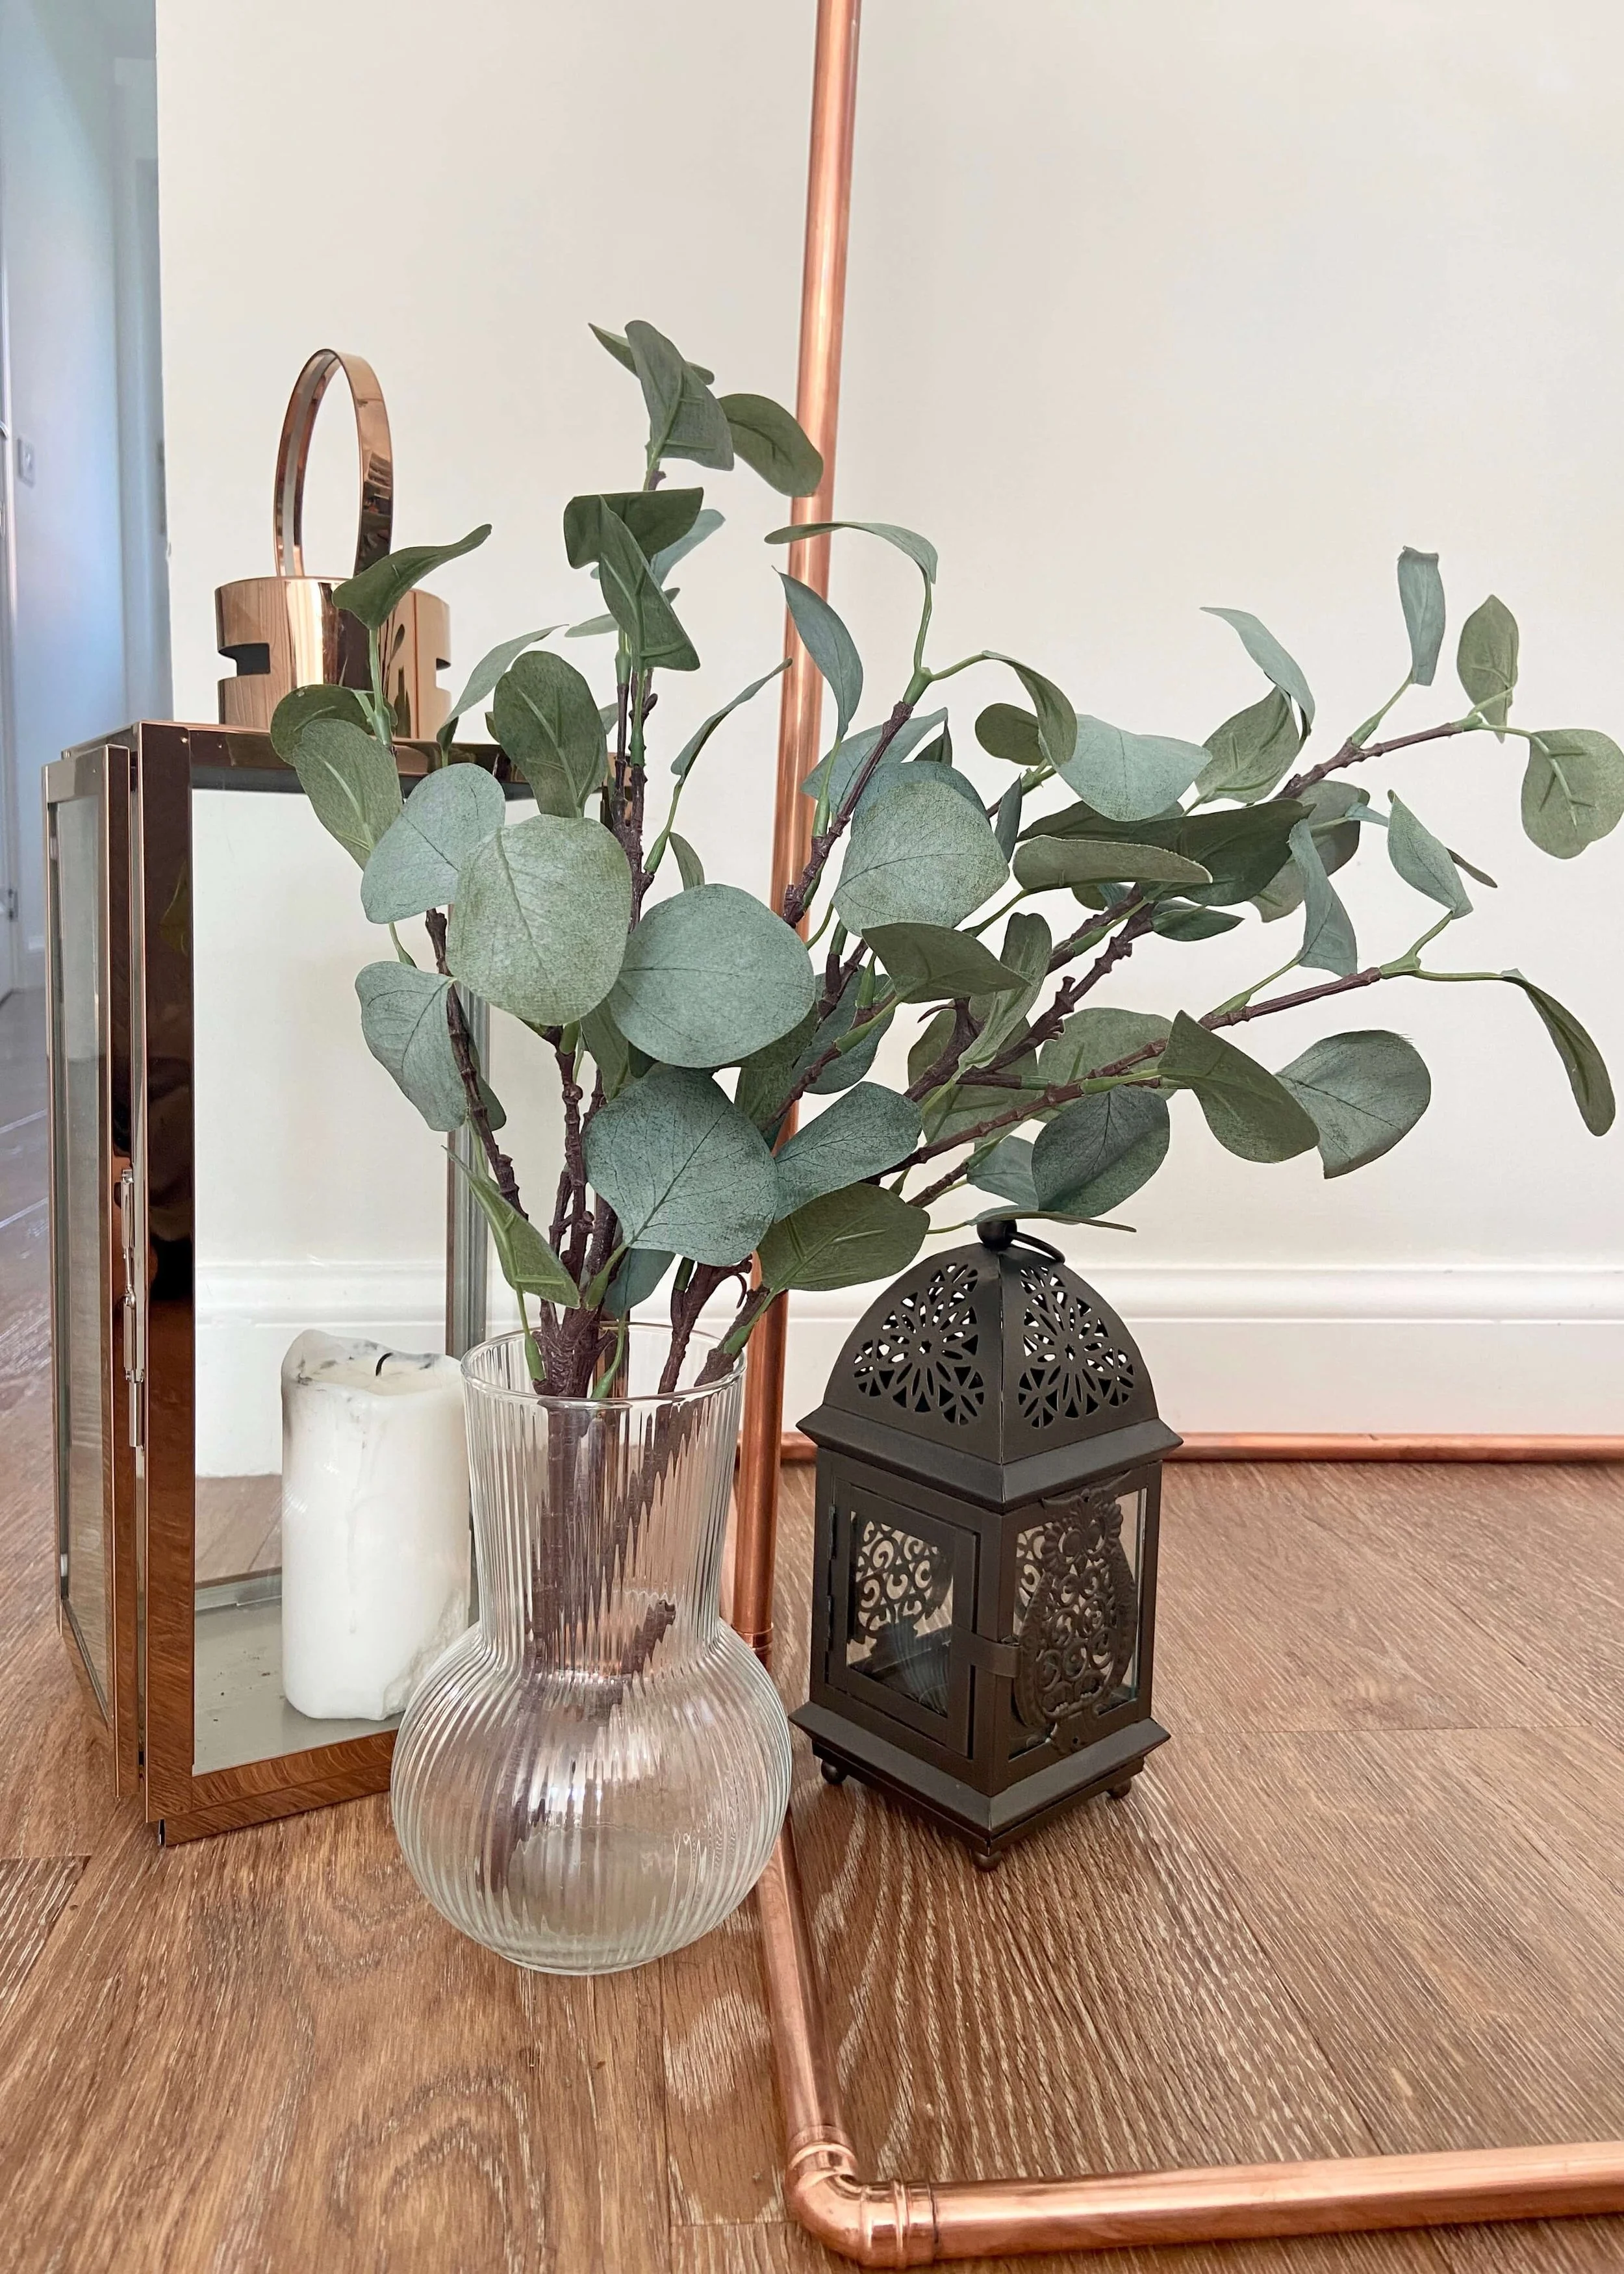
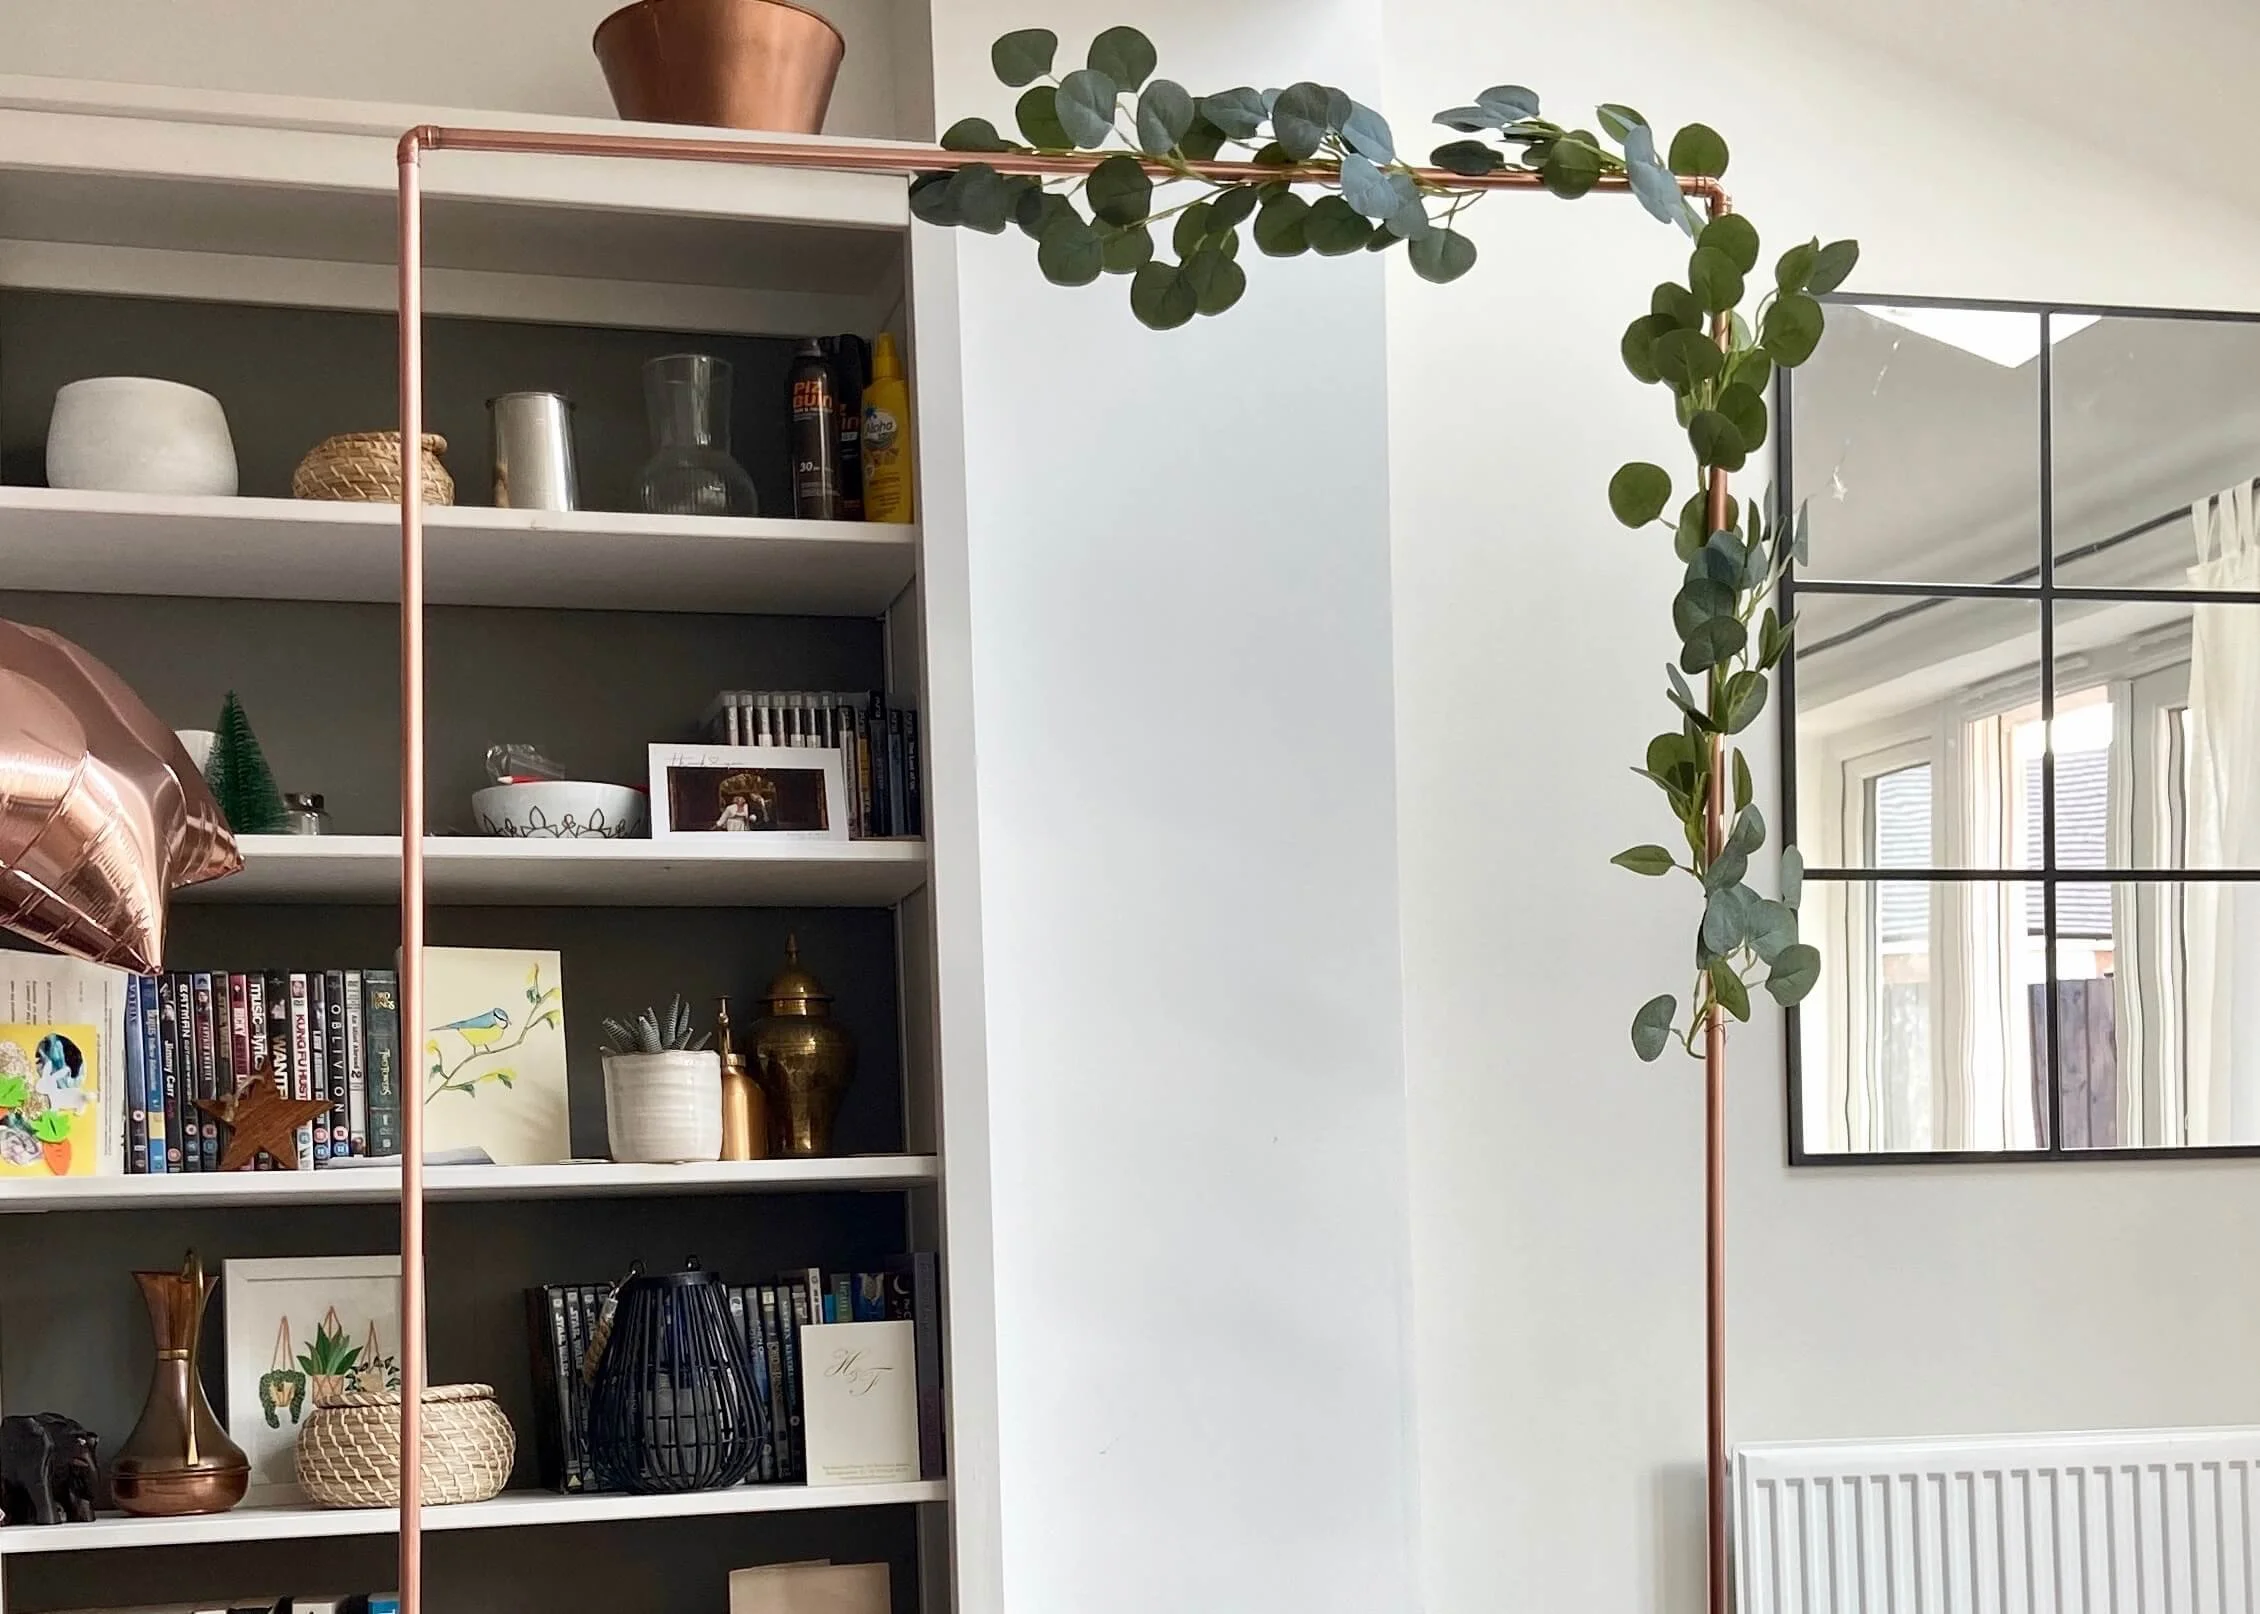
I’ve yet to chose exactly what I’m going to use this for, there are so many options including signage, though having visited our venue the morning of me writing this, I am definitely leaning towards the neon sign/photo backdrop idea. I still need to chose the neon sign and order it, work out how to hang it and get some more faux foliage, however I’m pretty pleased with how this looks with just the one eucalyptus garland and a few sprigs of eucalyptus at the base. You’ve given me some great tips on how to polish and preserve the copper pipes over on Instagram so once I’ve done that I’ll also share how that went. In the meantime, you can find the materials and steps I took to make this arch below. I was a bit nervous about soldering but it was made so easy by the solder ring fittings I used and pretty quick, so I’d definitely recommend them!


1.
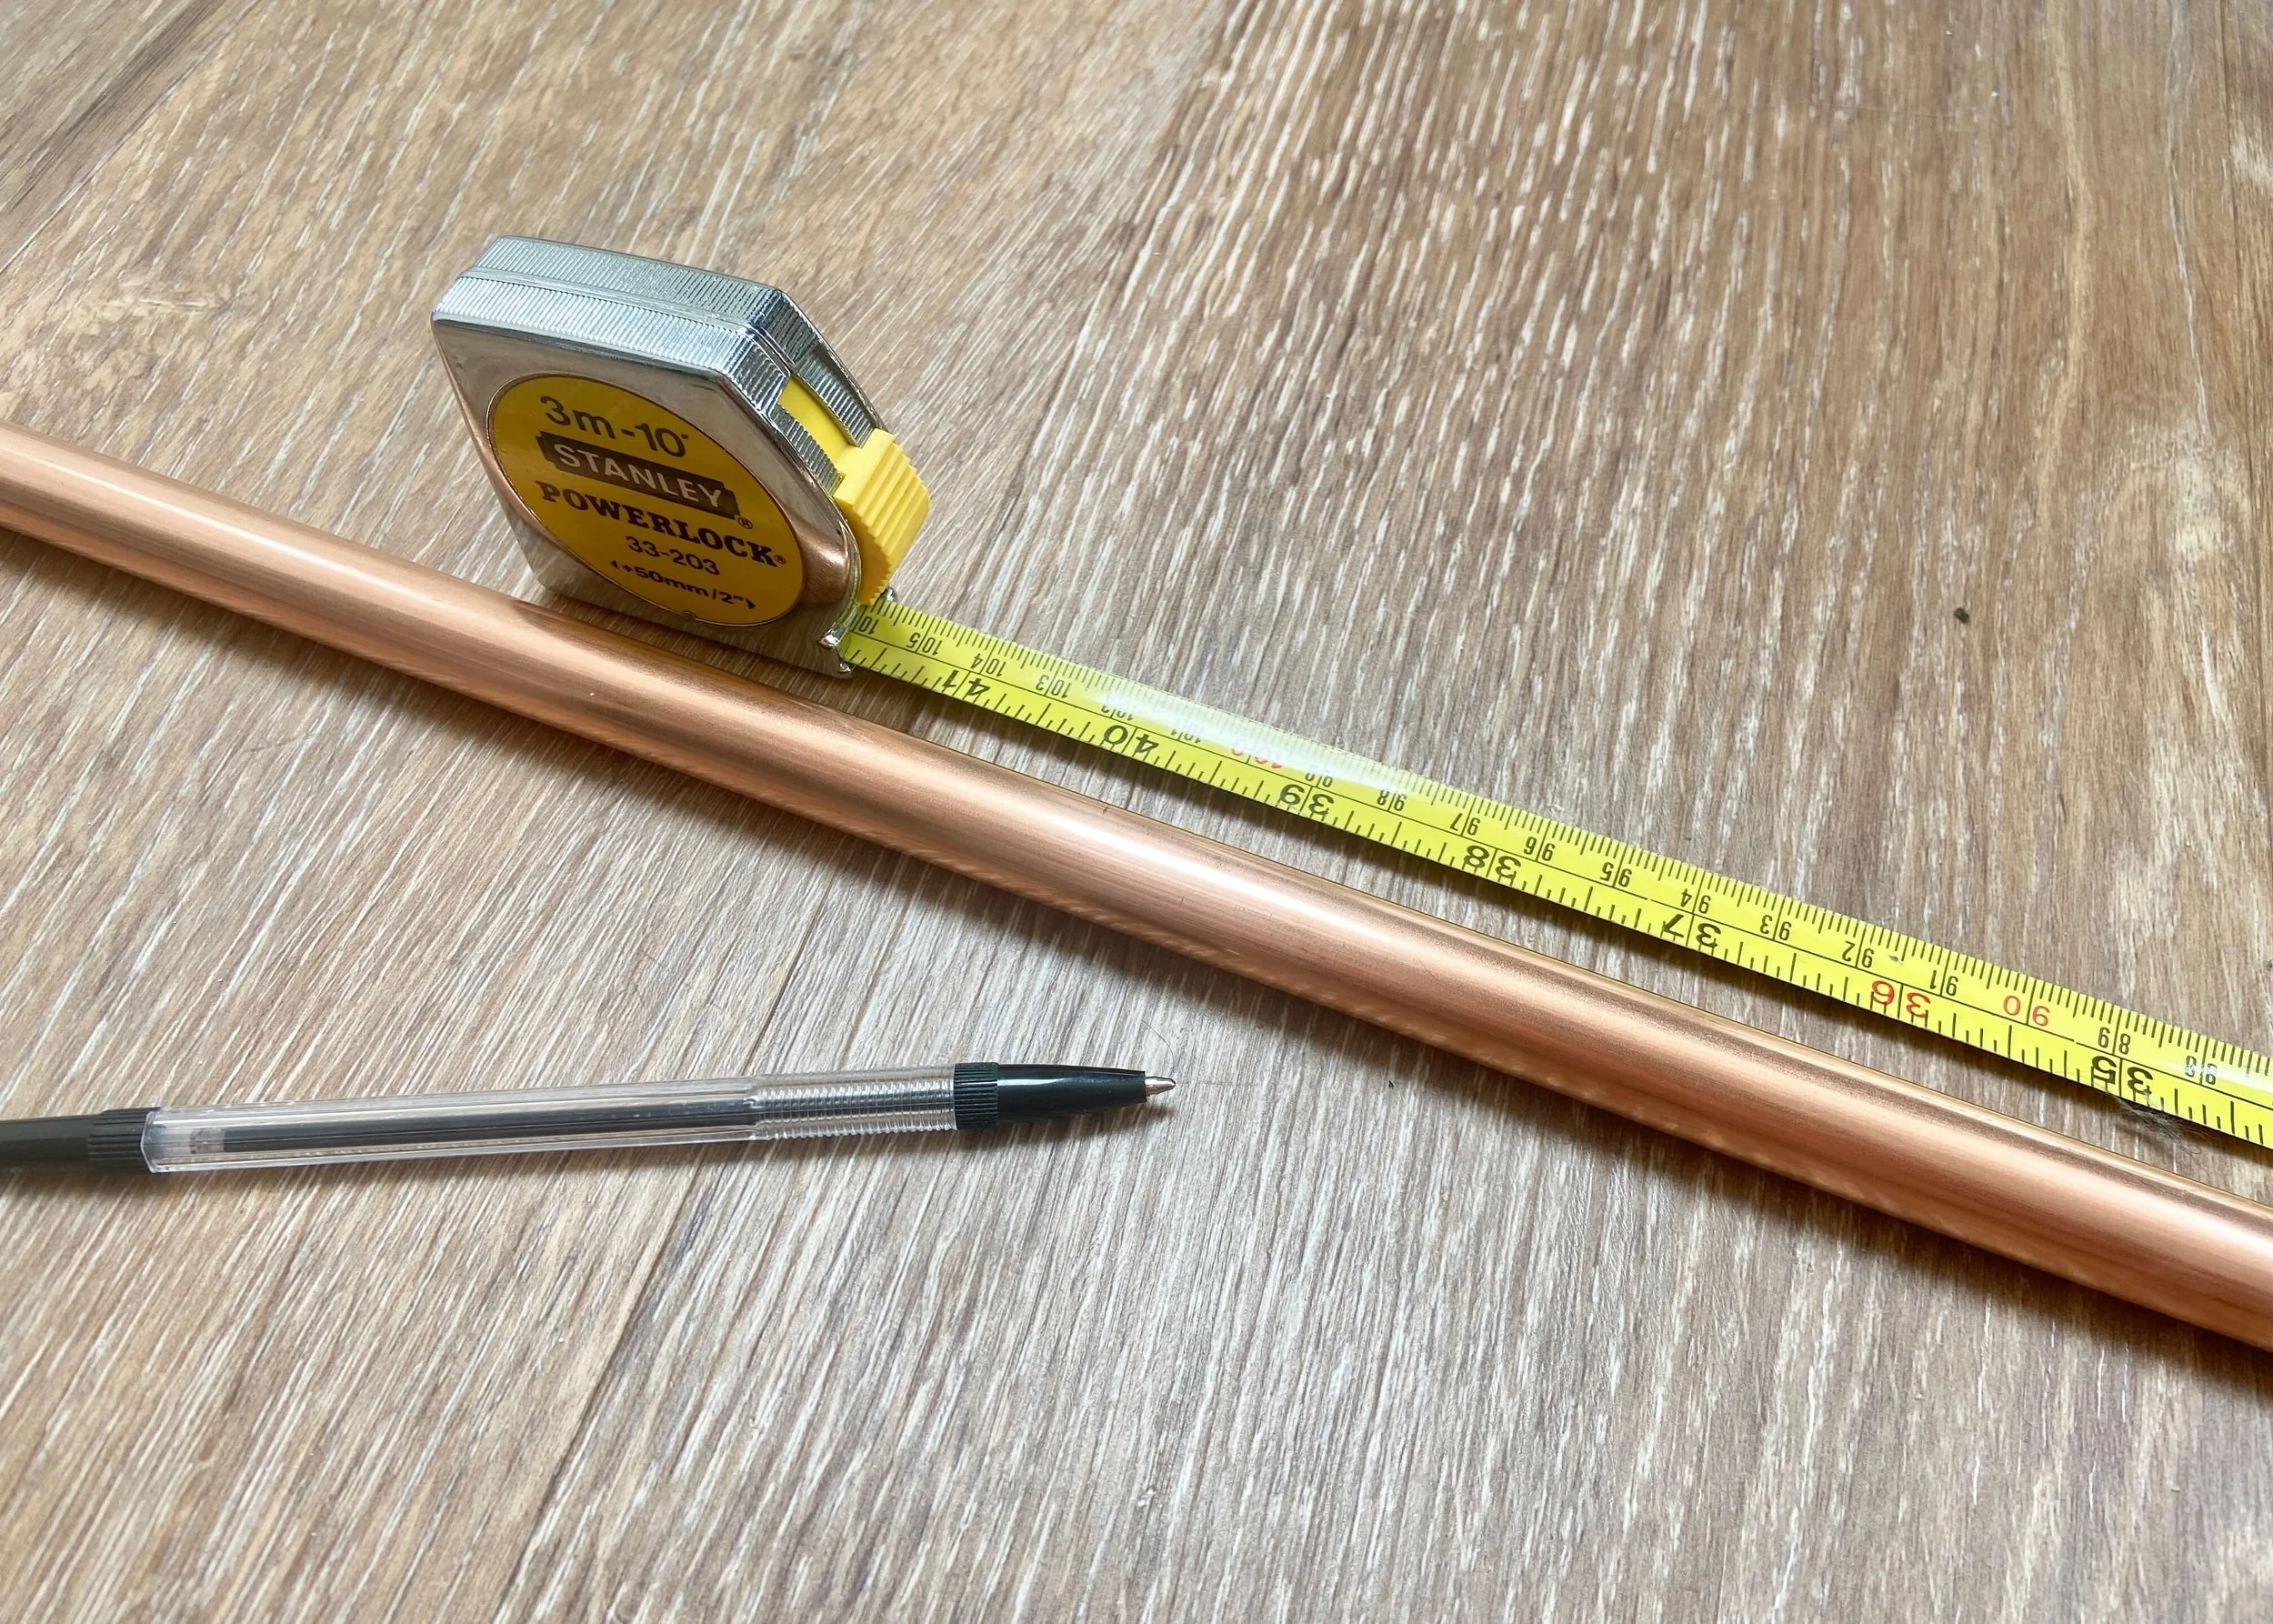
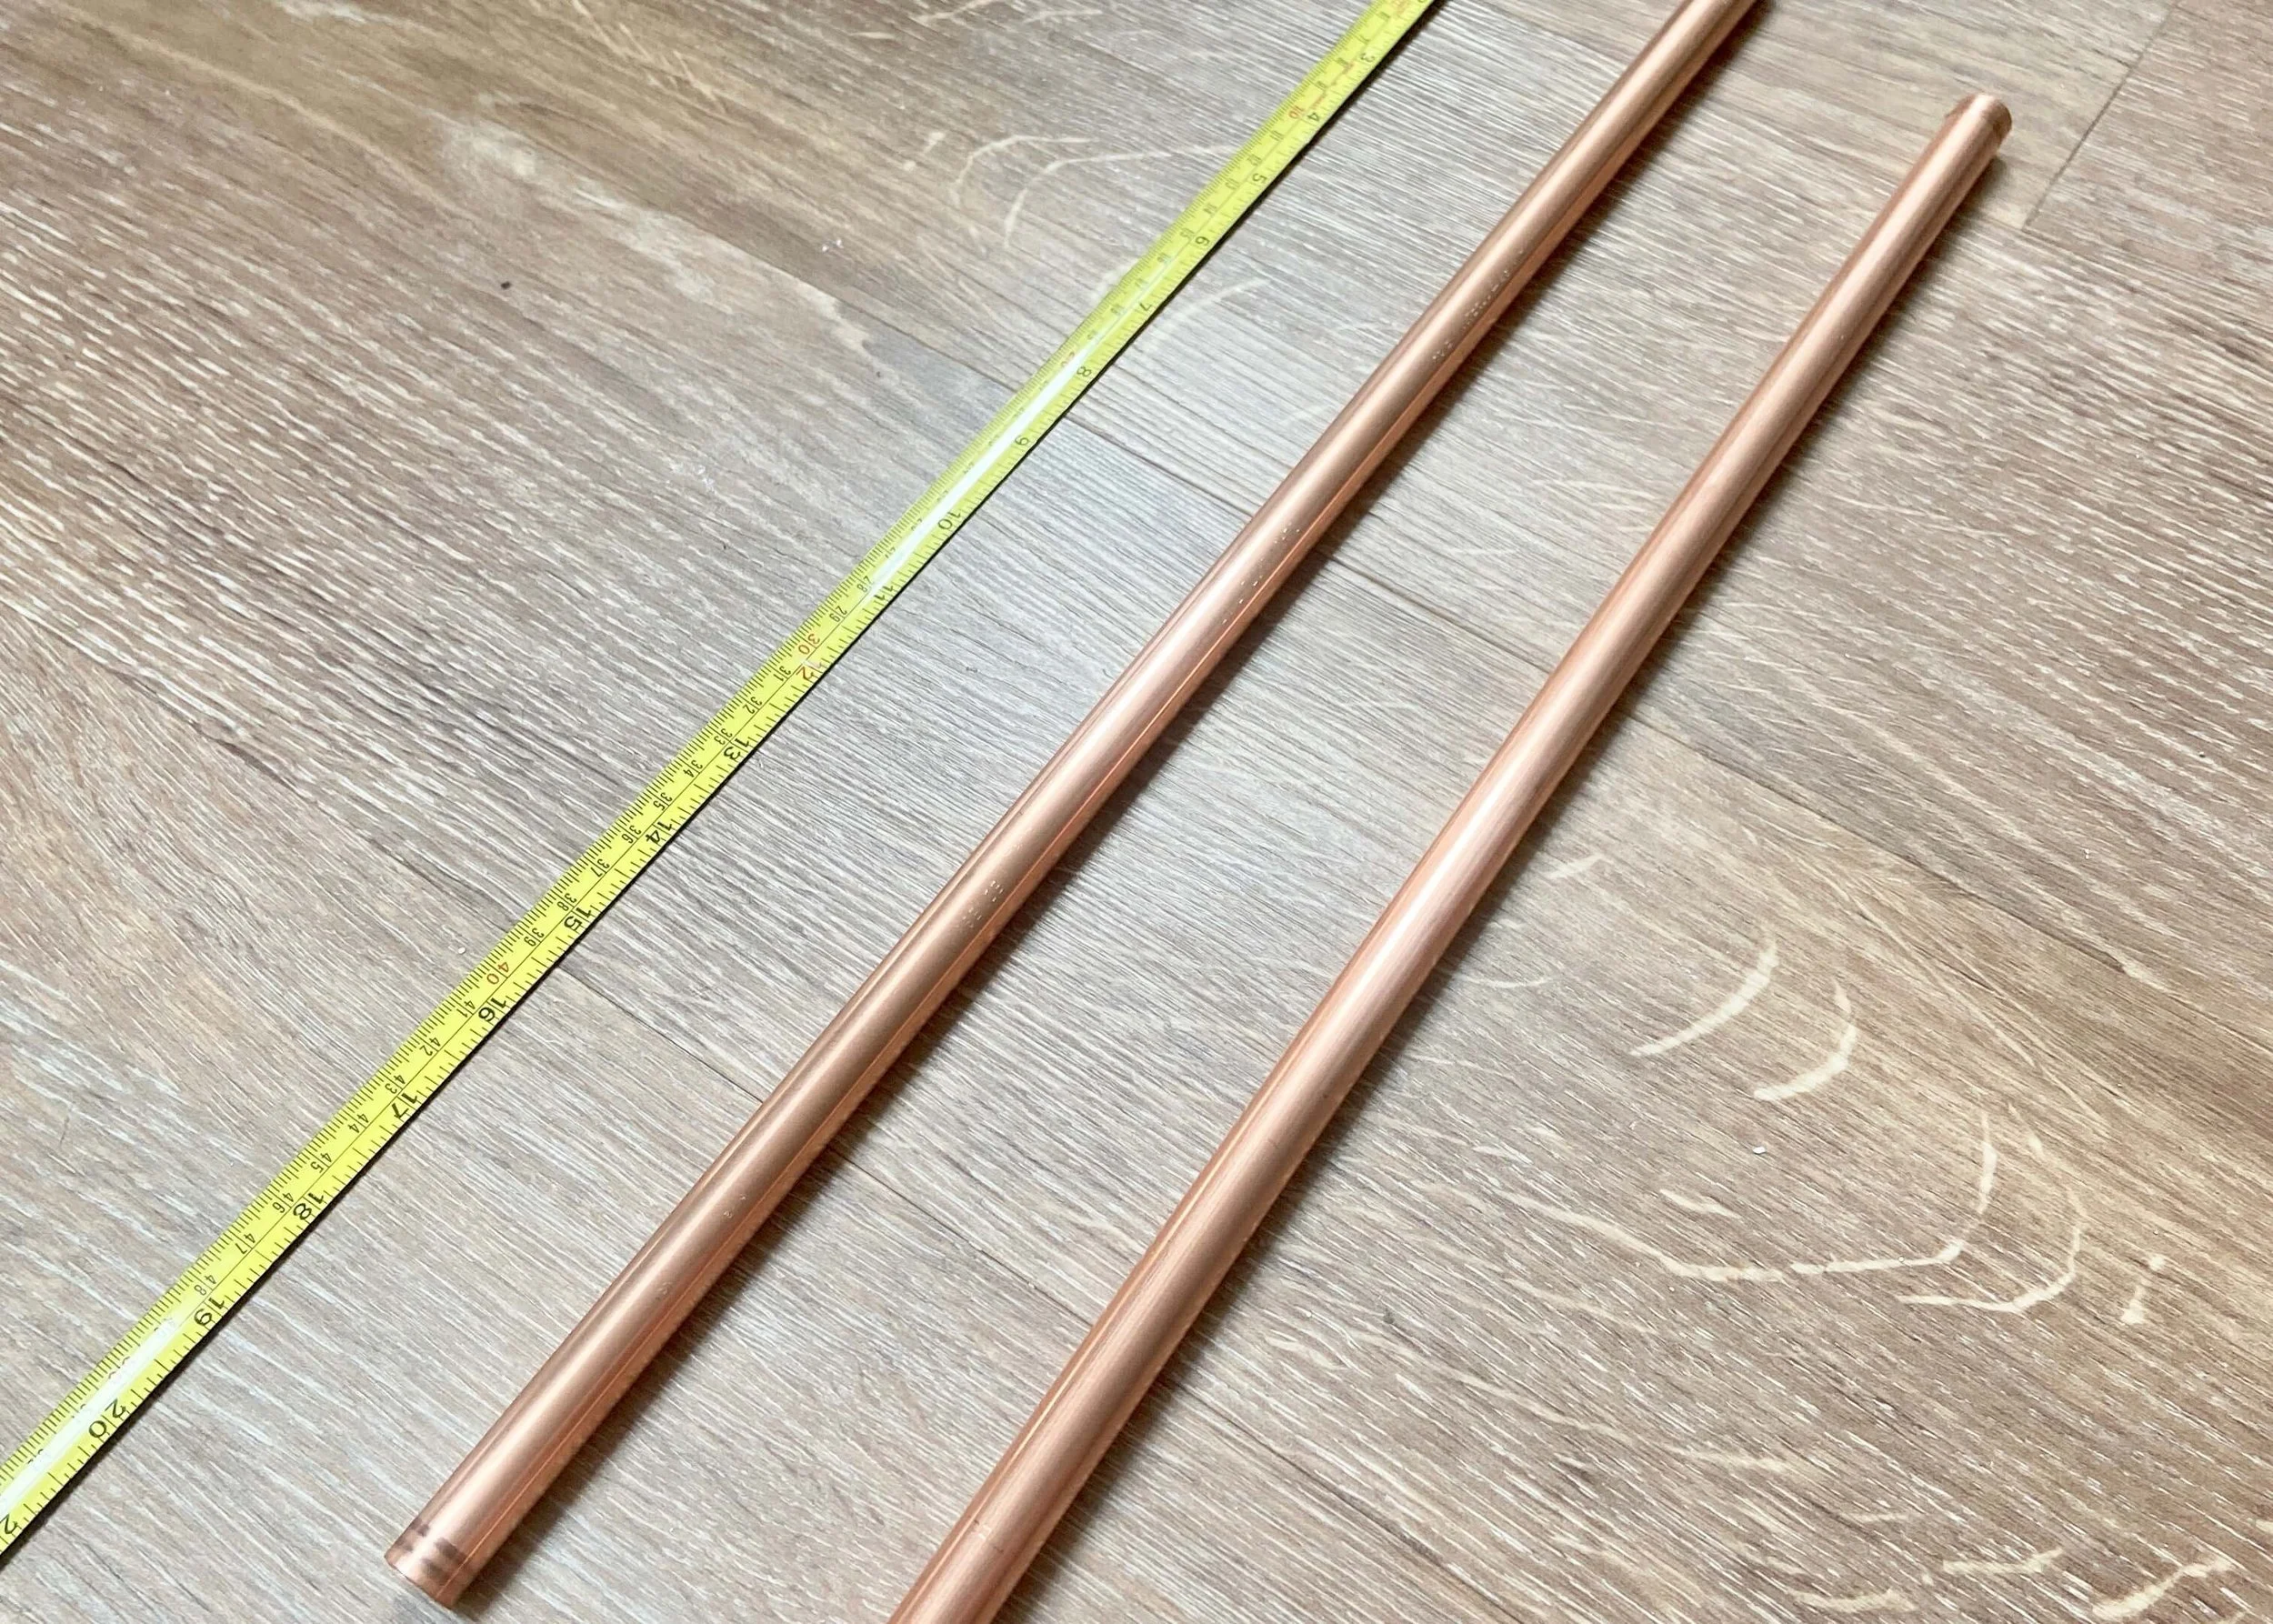
First of all, I picked up four 2m x 15mm copper pipes, and marked on them the lengths I needed (2 x 180cm; 4 x 25cm; 3 x 100cm).

2.
Using a pipe cutter, I then cut my pipes down to these lengths. Place the flat side on the floor, tighten it so the blade is cutting into the pipe and rotate the pipe. Every few twists tighten it until it cuts all the way through.
3.
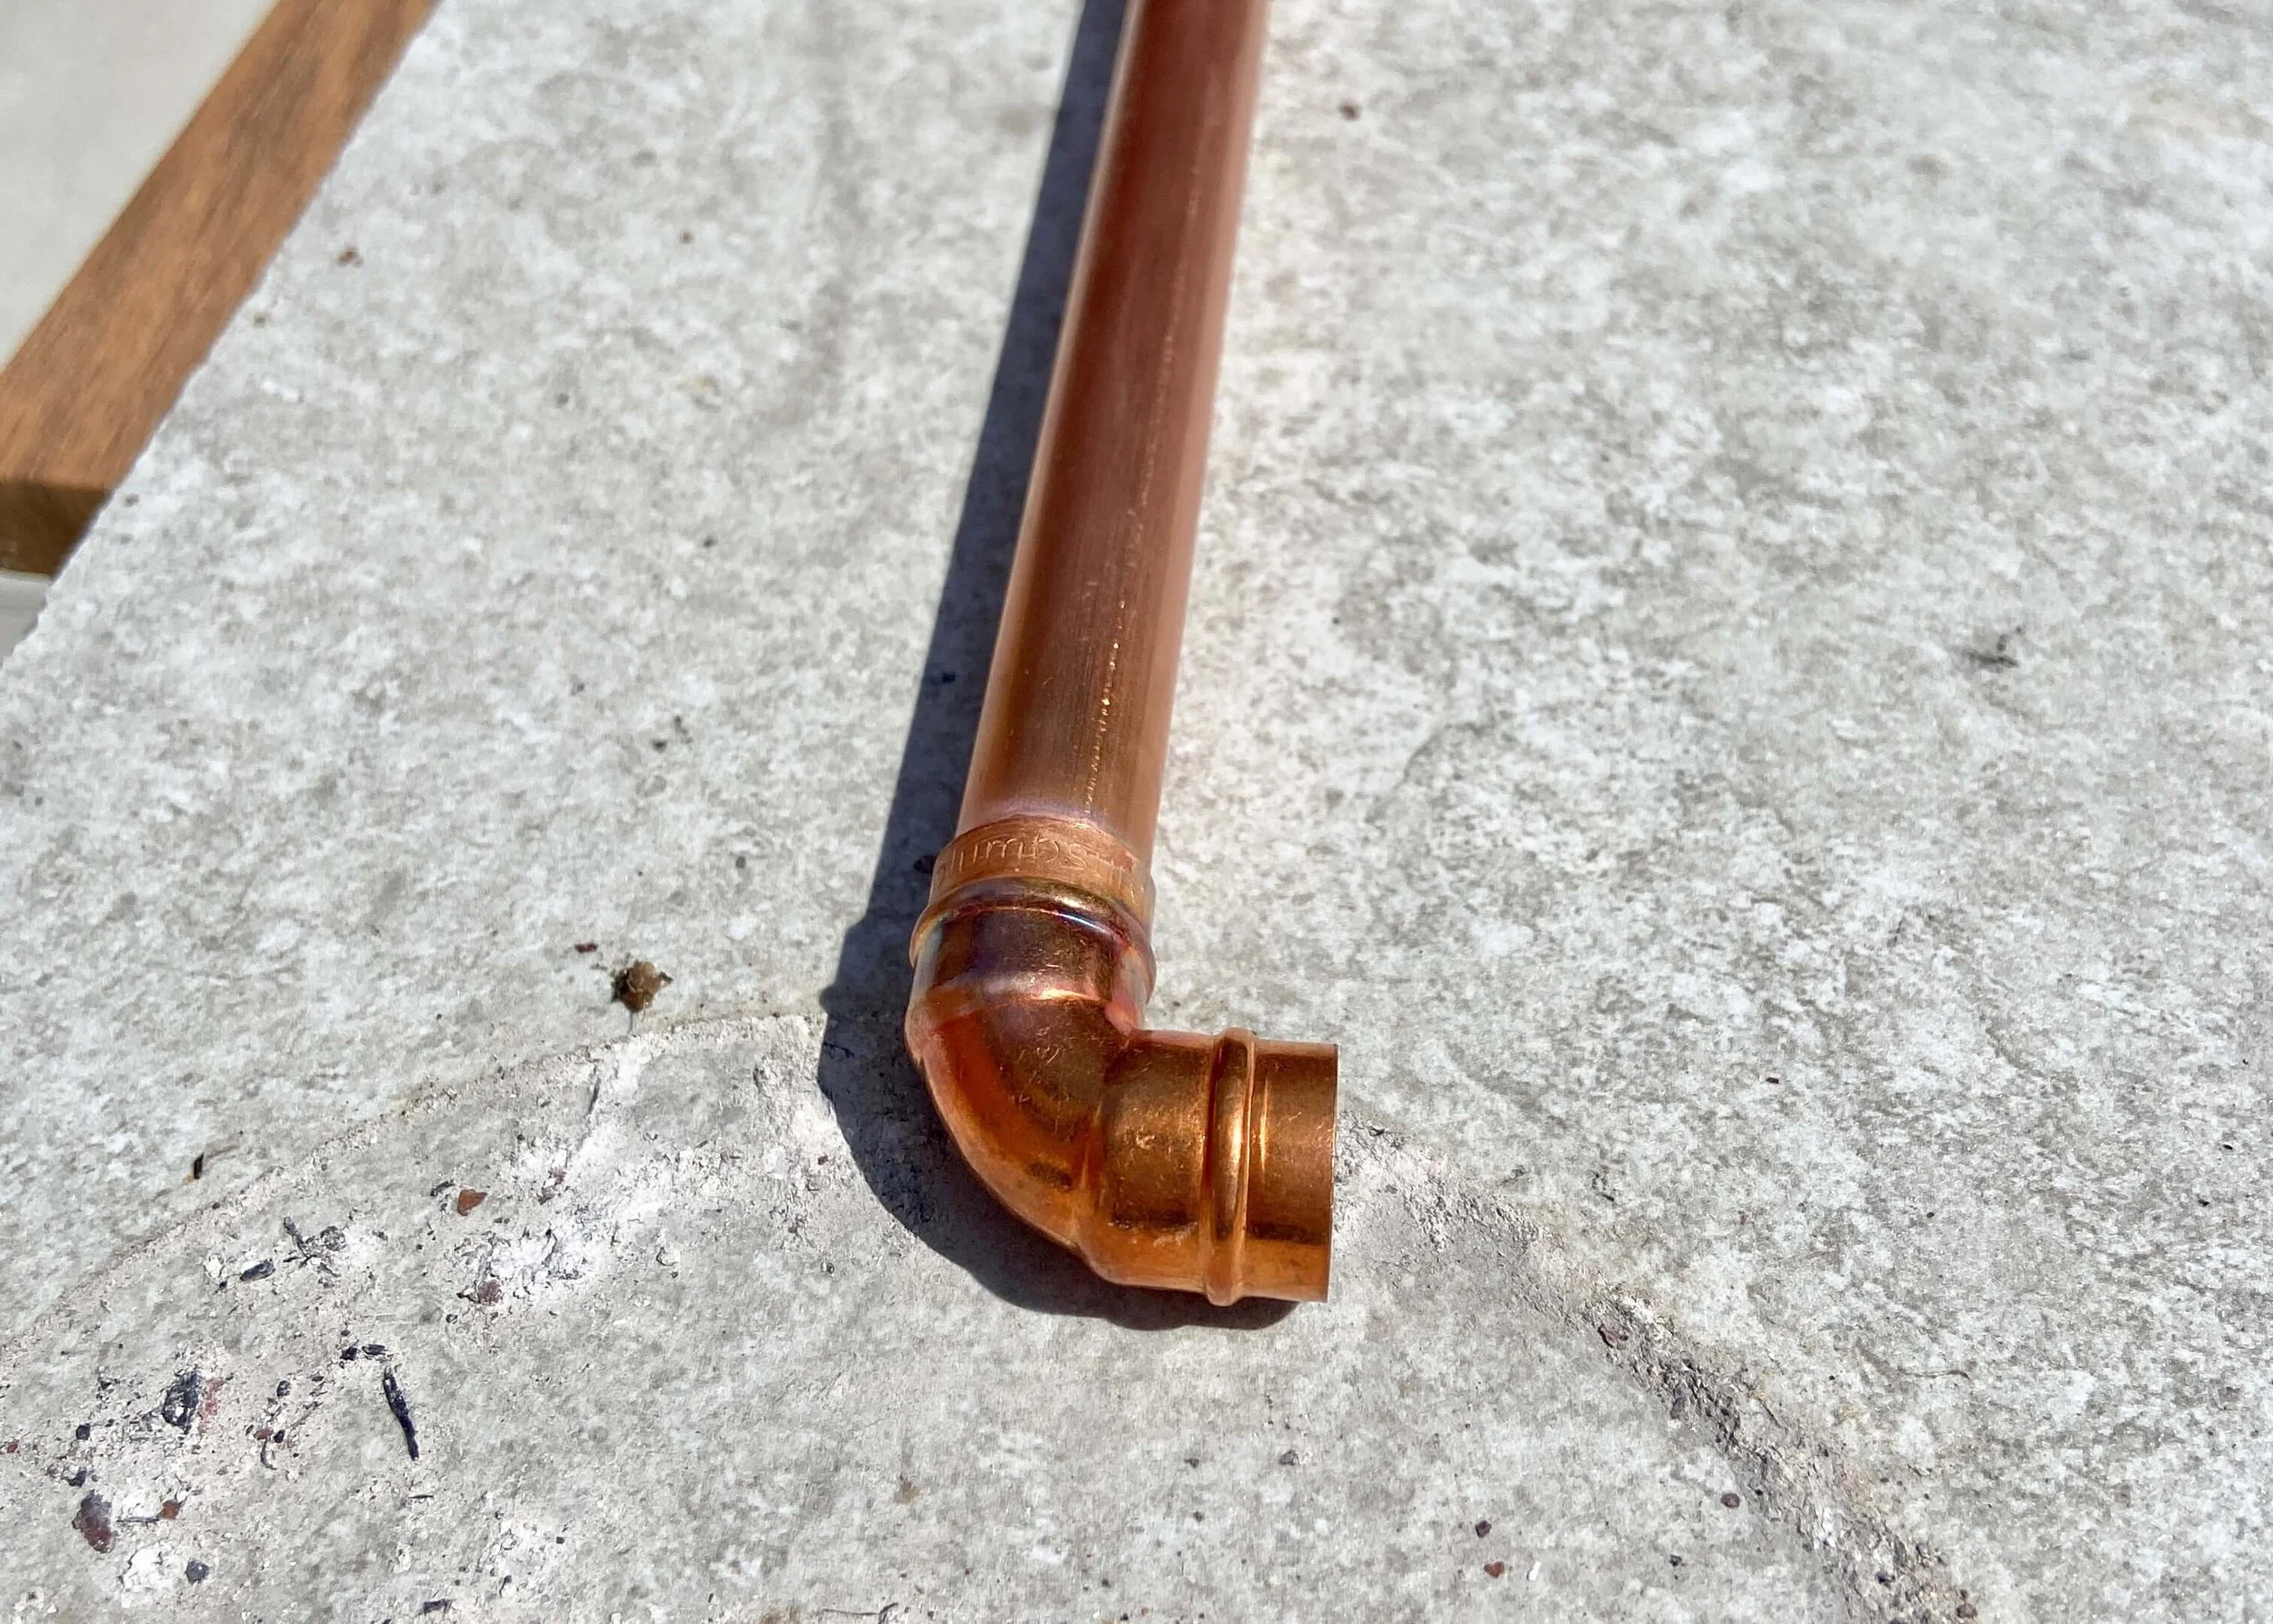
Next organise your pipes and arrange your fittings. You will need elbow fittings at each end of the 100cm lengths, and a t-fitting to connect two 25cm lengths.

4.
You’ll want to solder the entire base, so I started with the sides (2 x 25cm lengths with the t-fittings in between).

5.
Where the pipe goes into the fitting, give it a light sand to remove some of the colour and sheen.
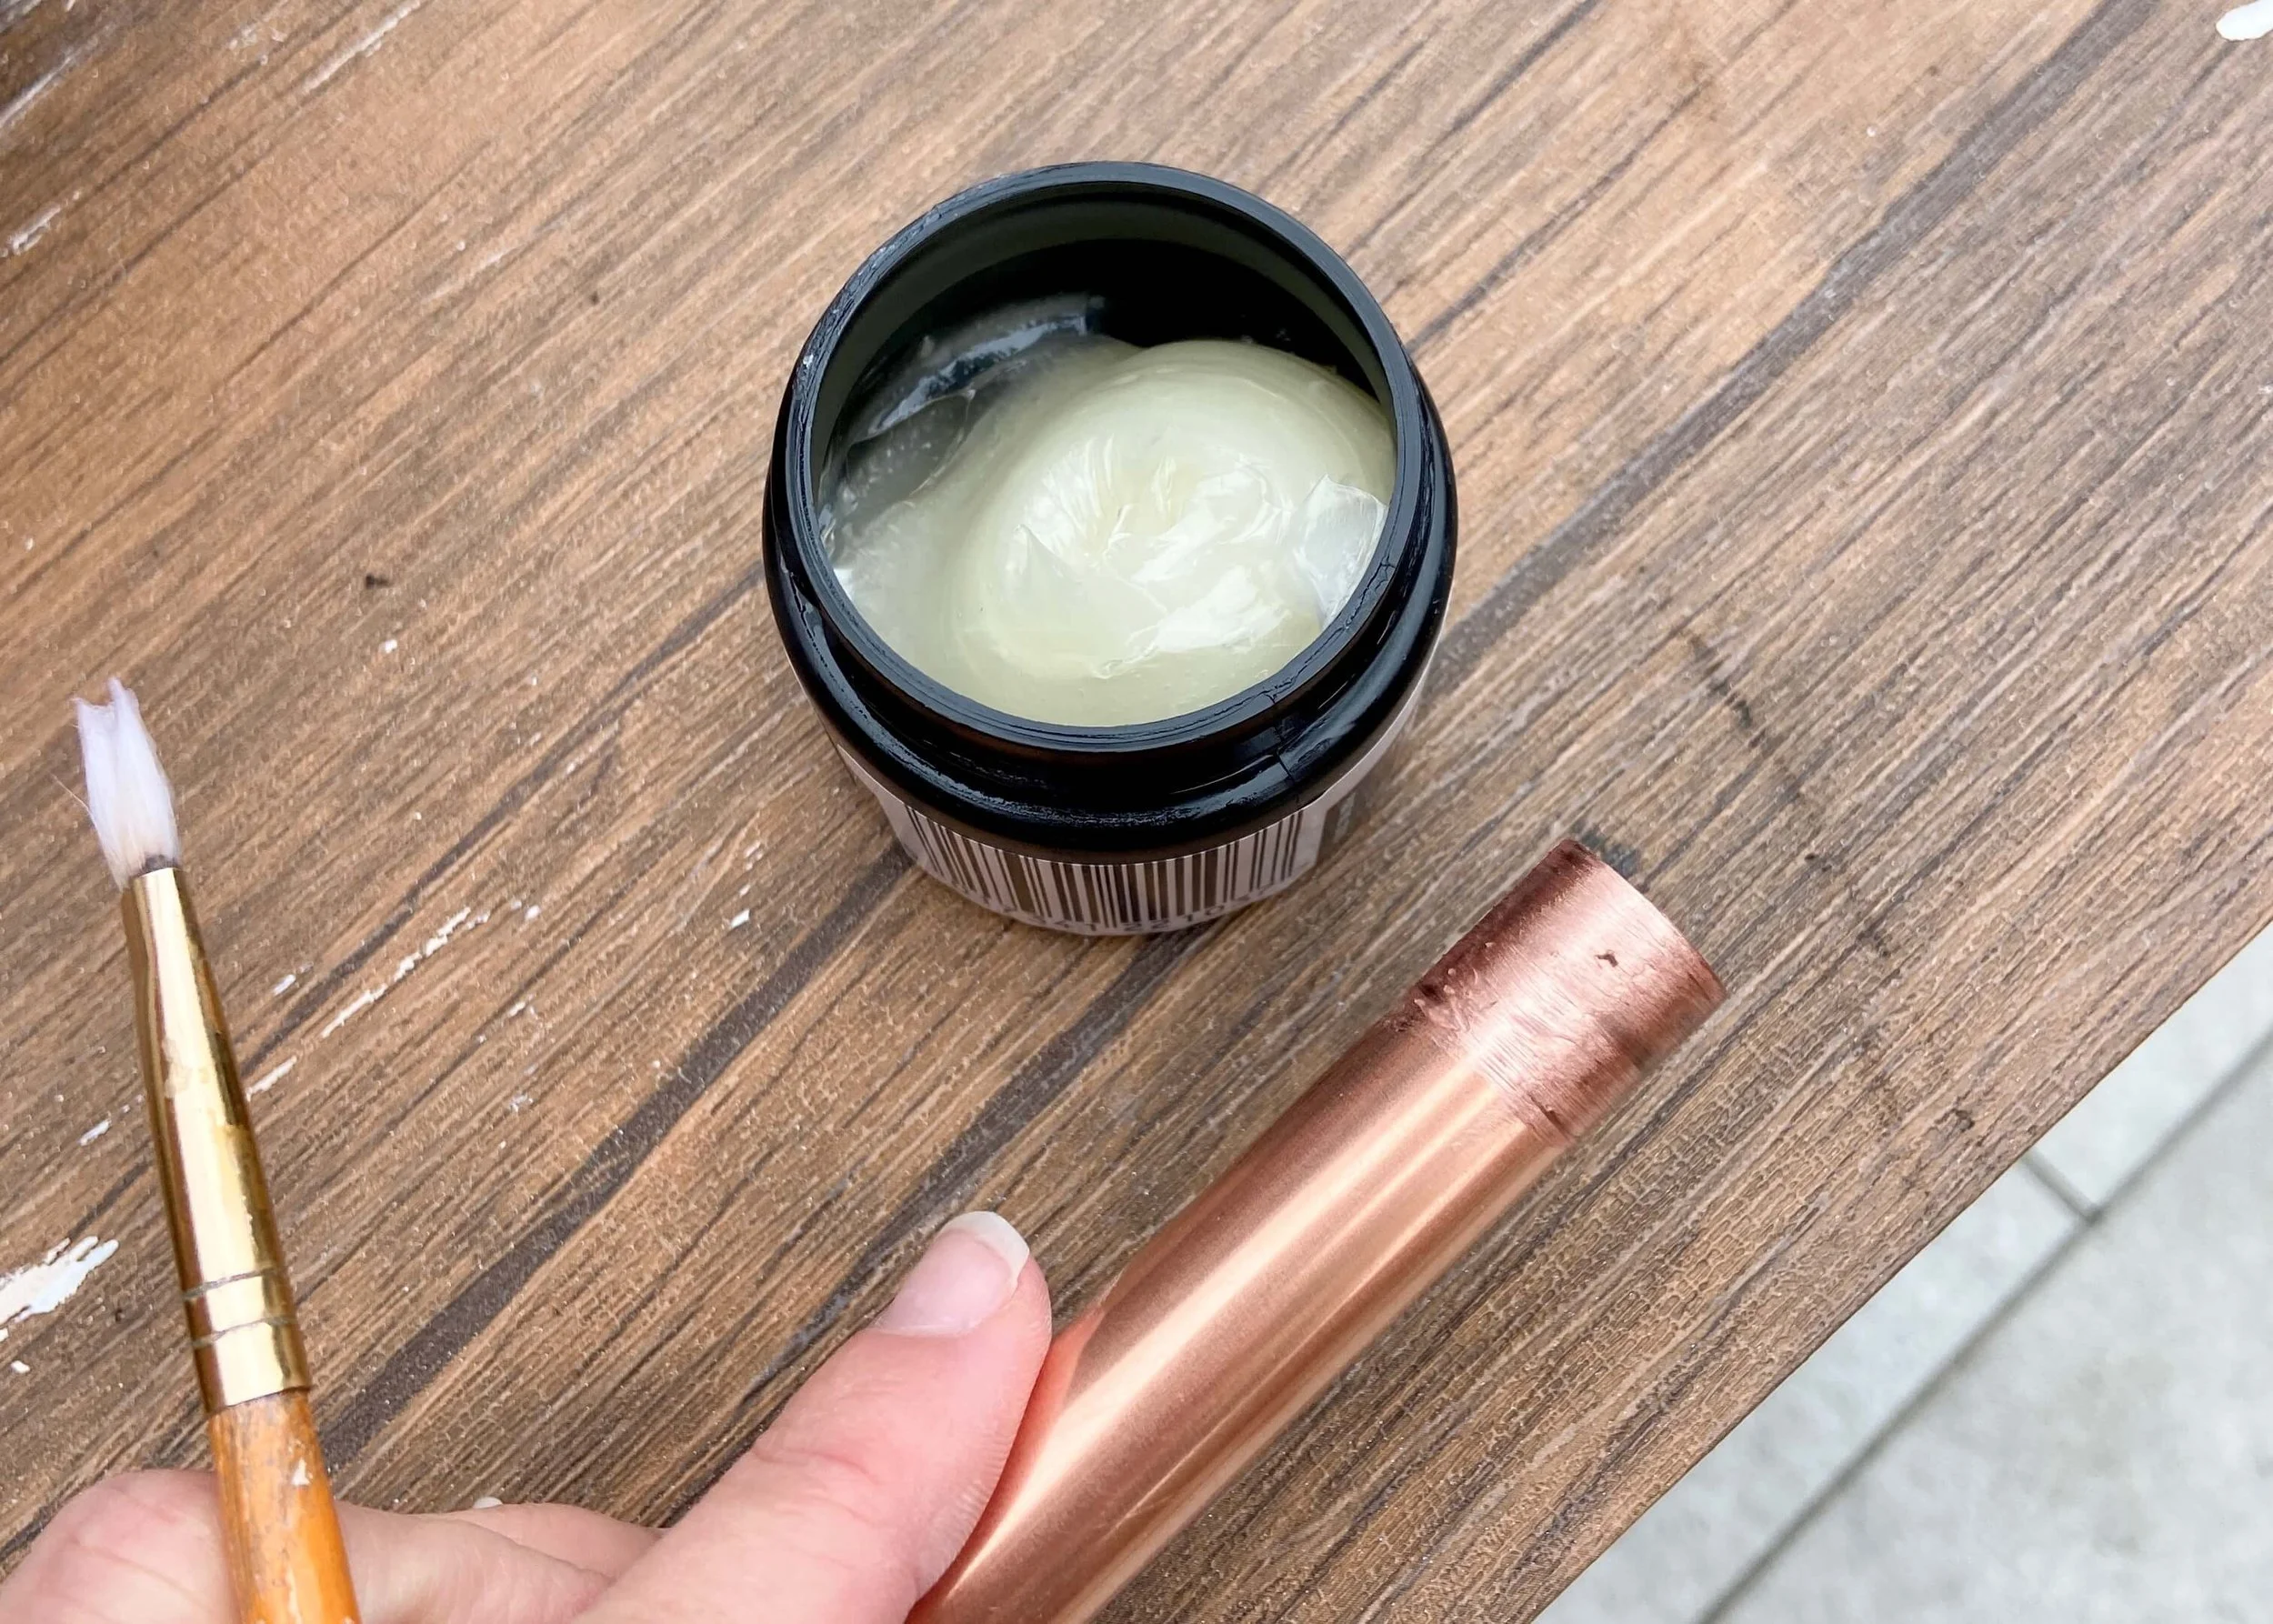
6.
Next, add flux over the sanded part of the part and push this into the fitting.
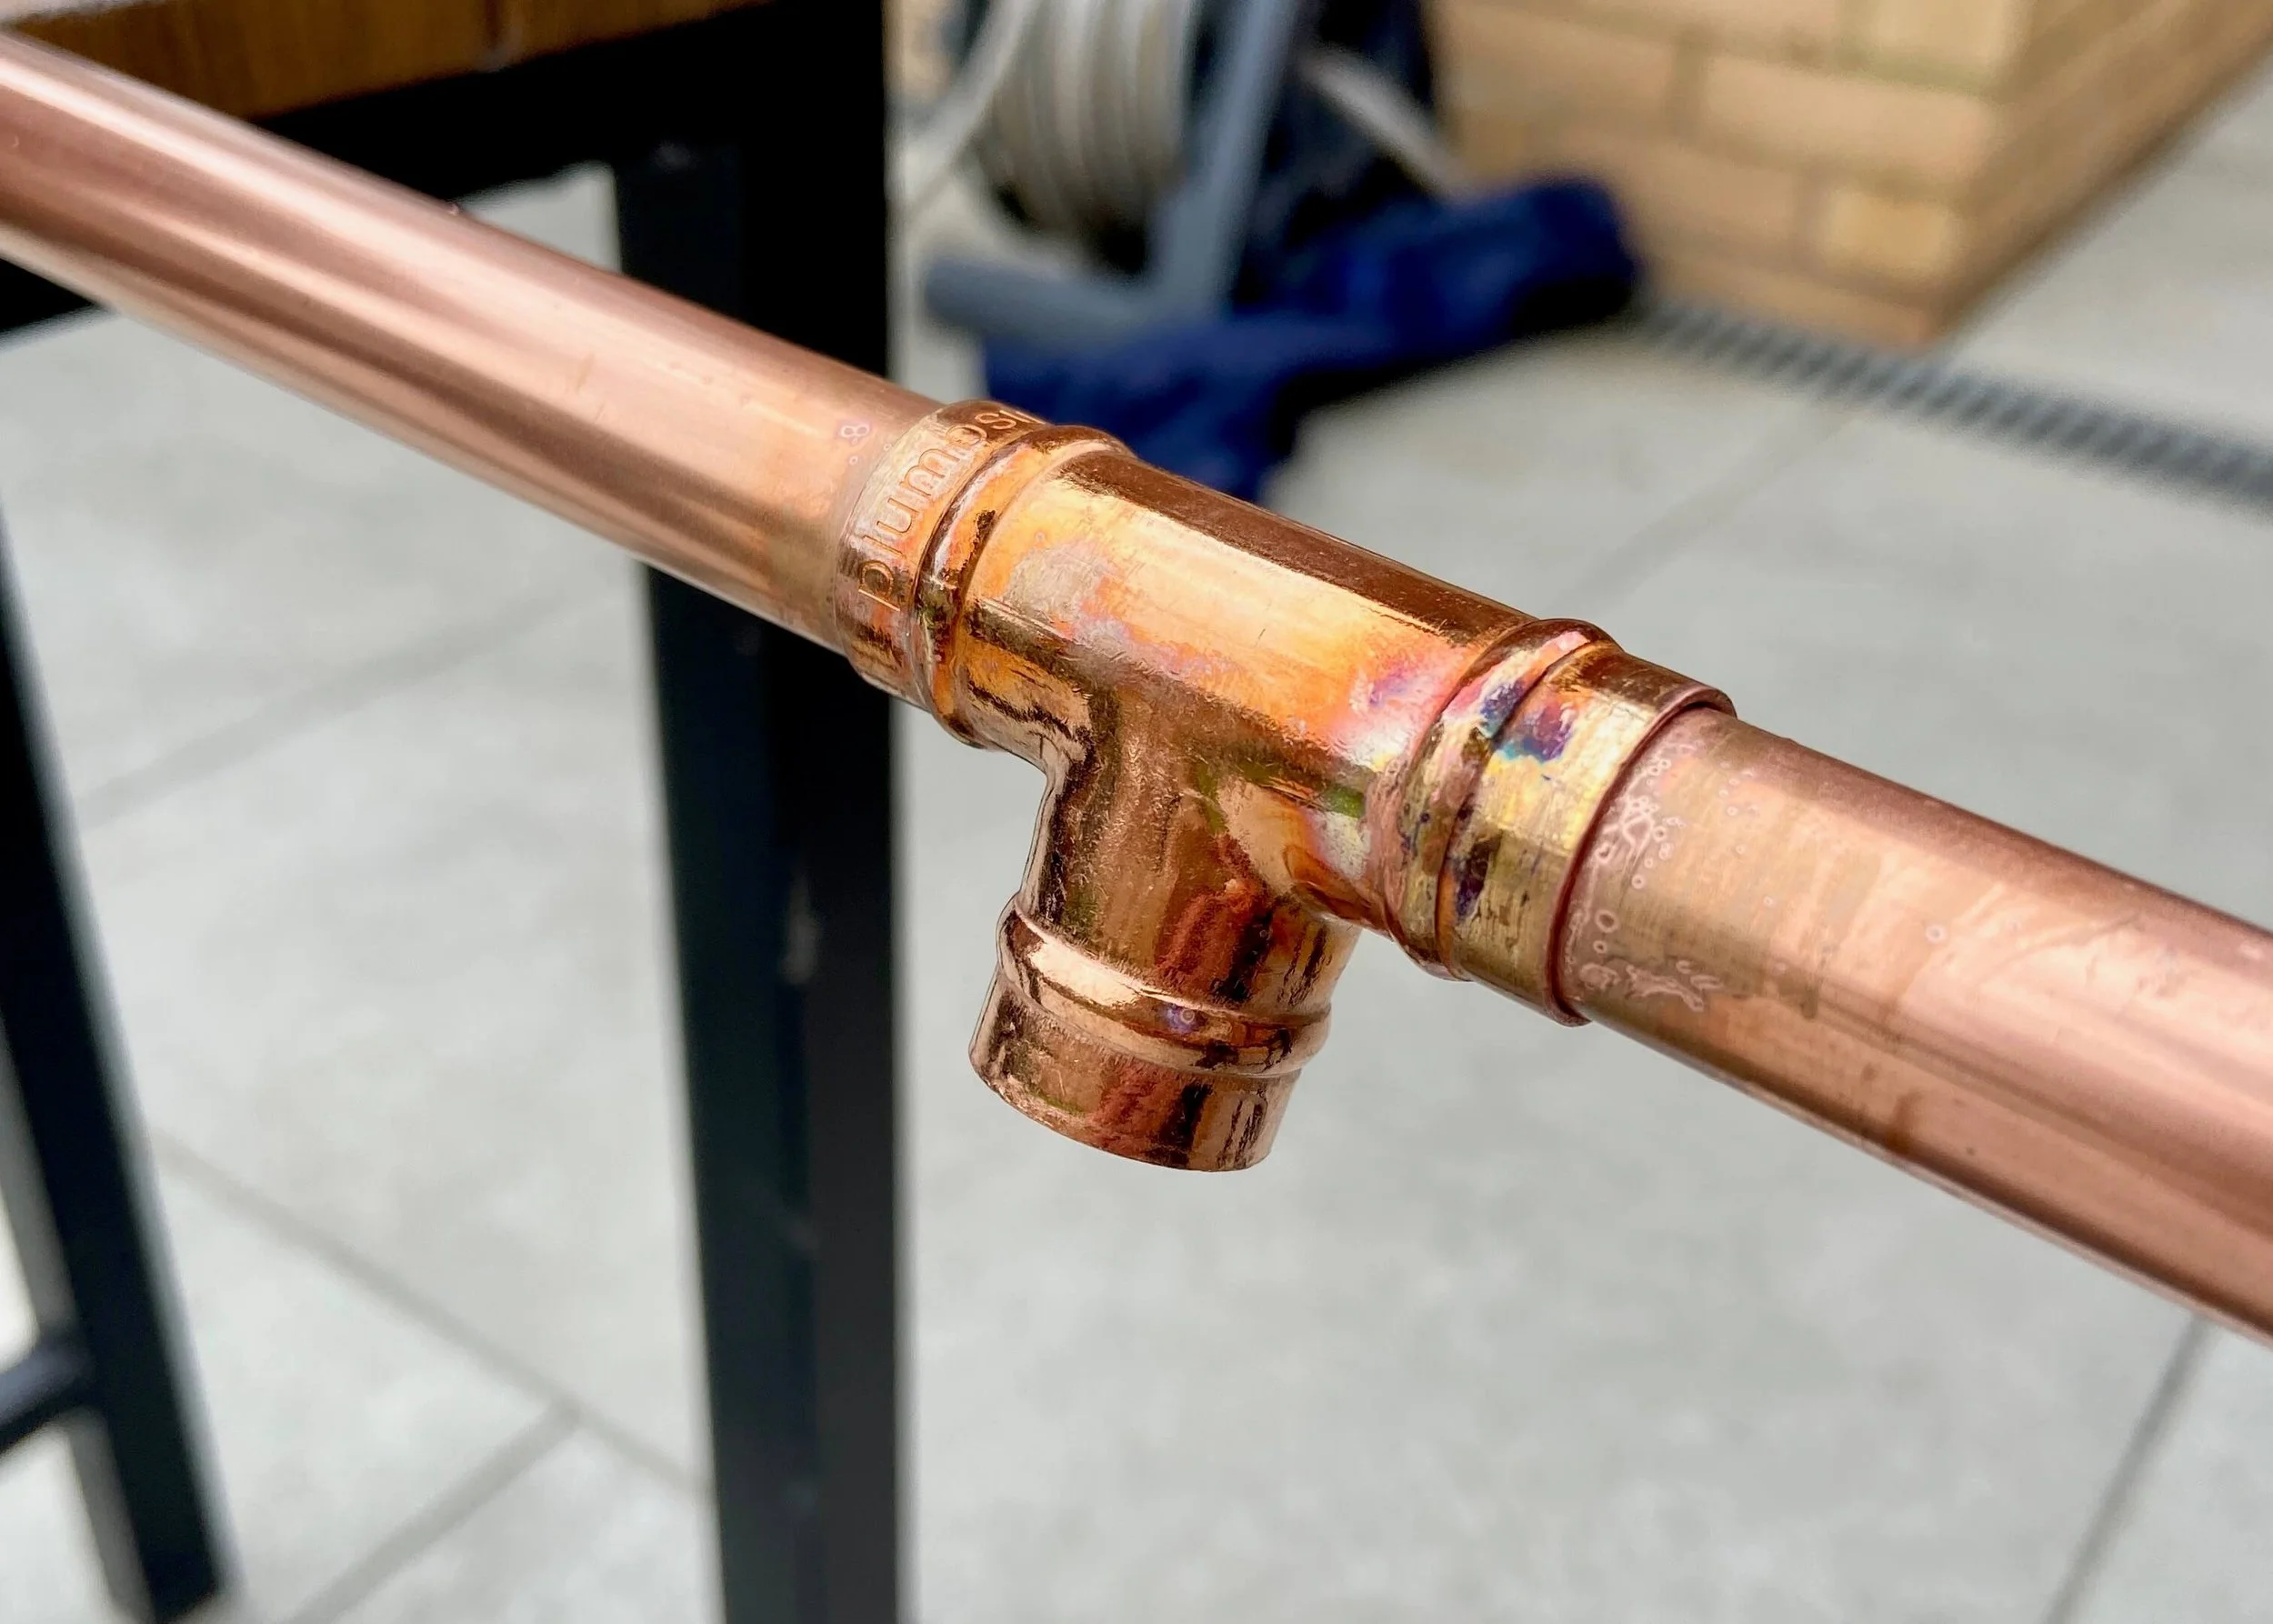
7.
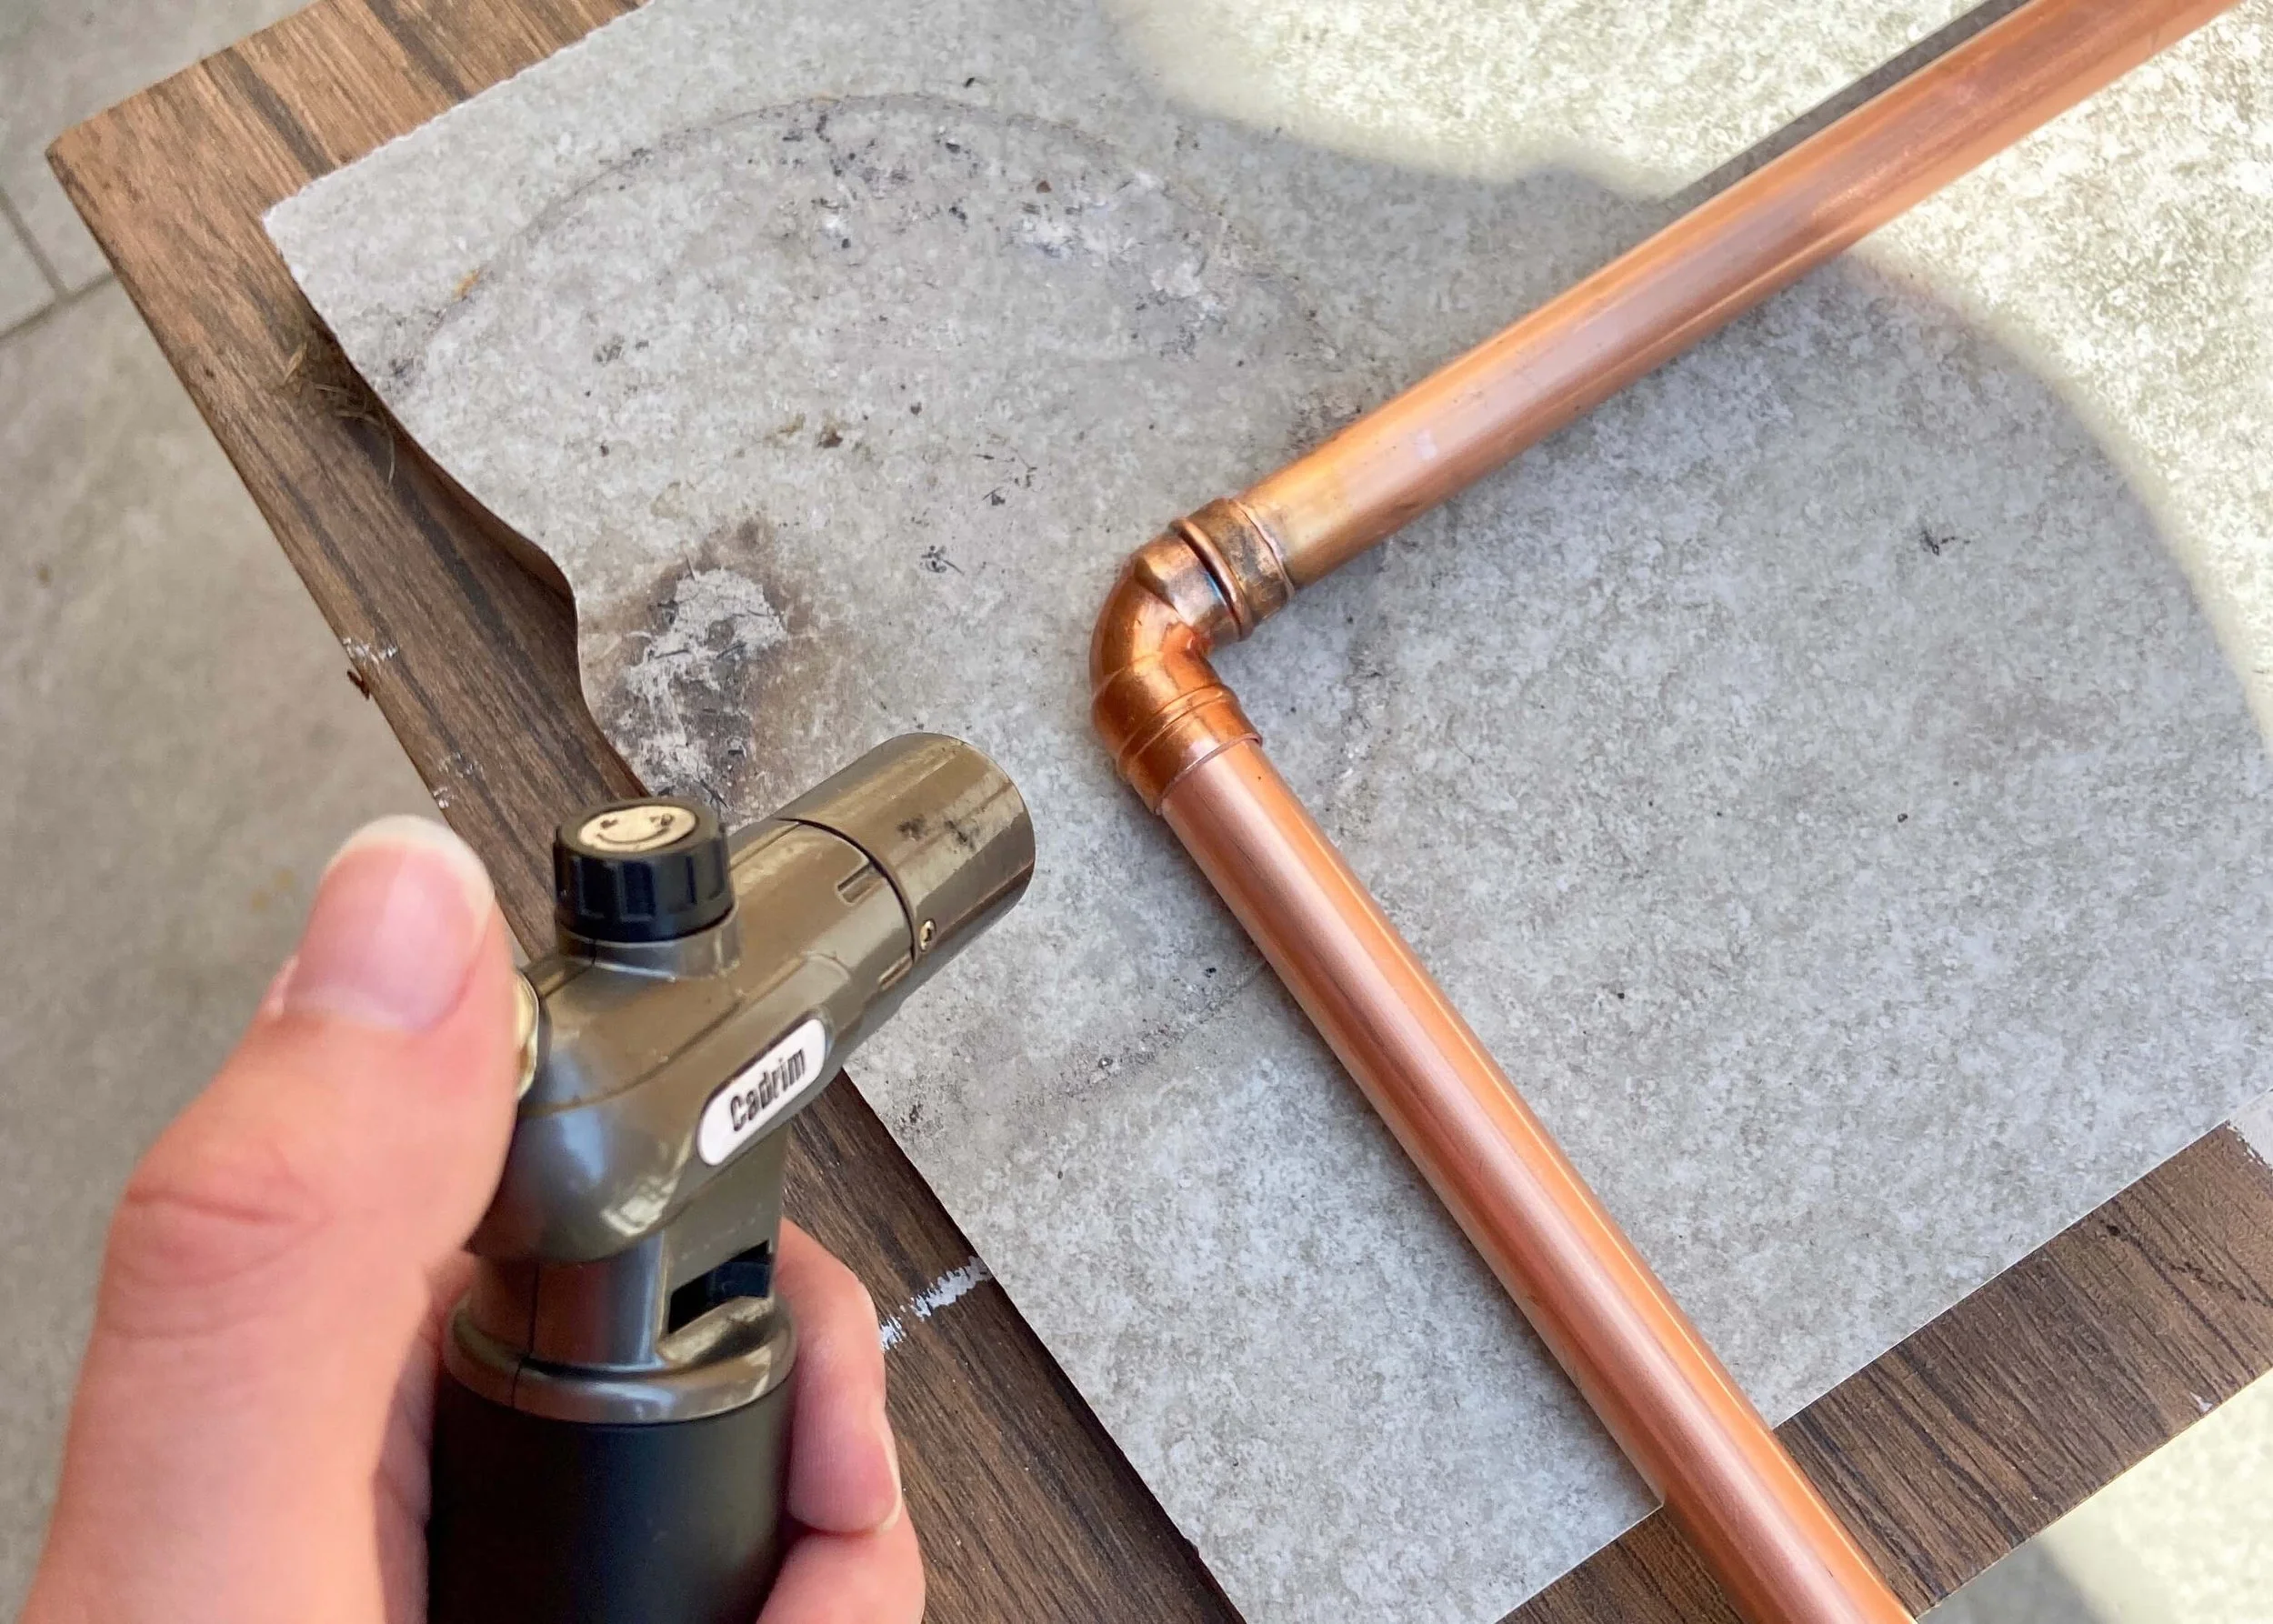
Wear protective gear and create a workstation where you can use a blow torch safely. Heat up the fitting with the pipes in focussing on the rings. Once you see silver solder at the join between the fitting and pipe you can stop.
8.
Leave to cool thoroughly, and then solder on elbow joints to each of the ends of your now 50cm lengths with a fitting in the middle. These need to be soldered on at a 90degree angle from the middle fitting. These lengths are the sides of your base.
9.
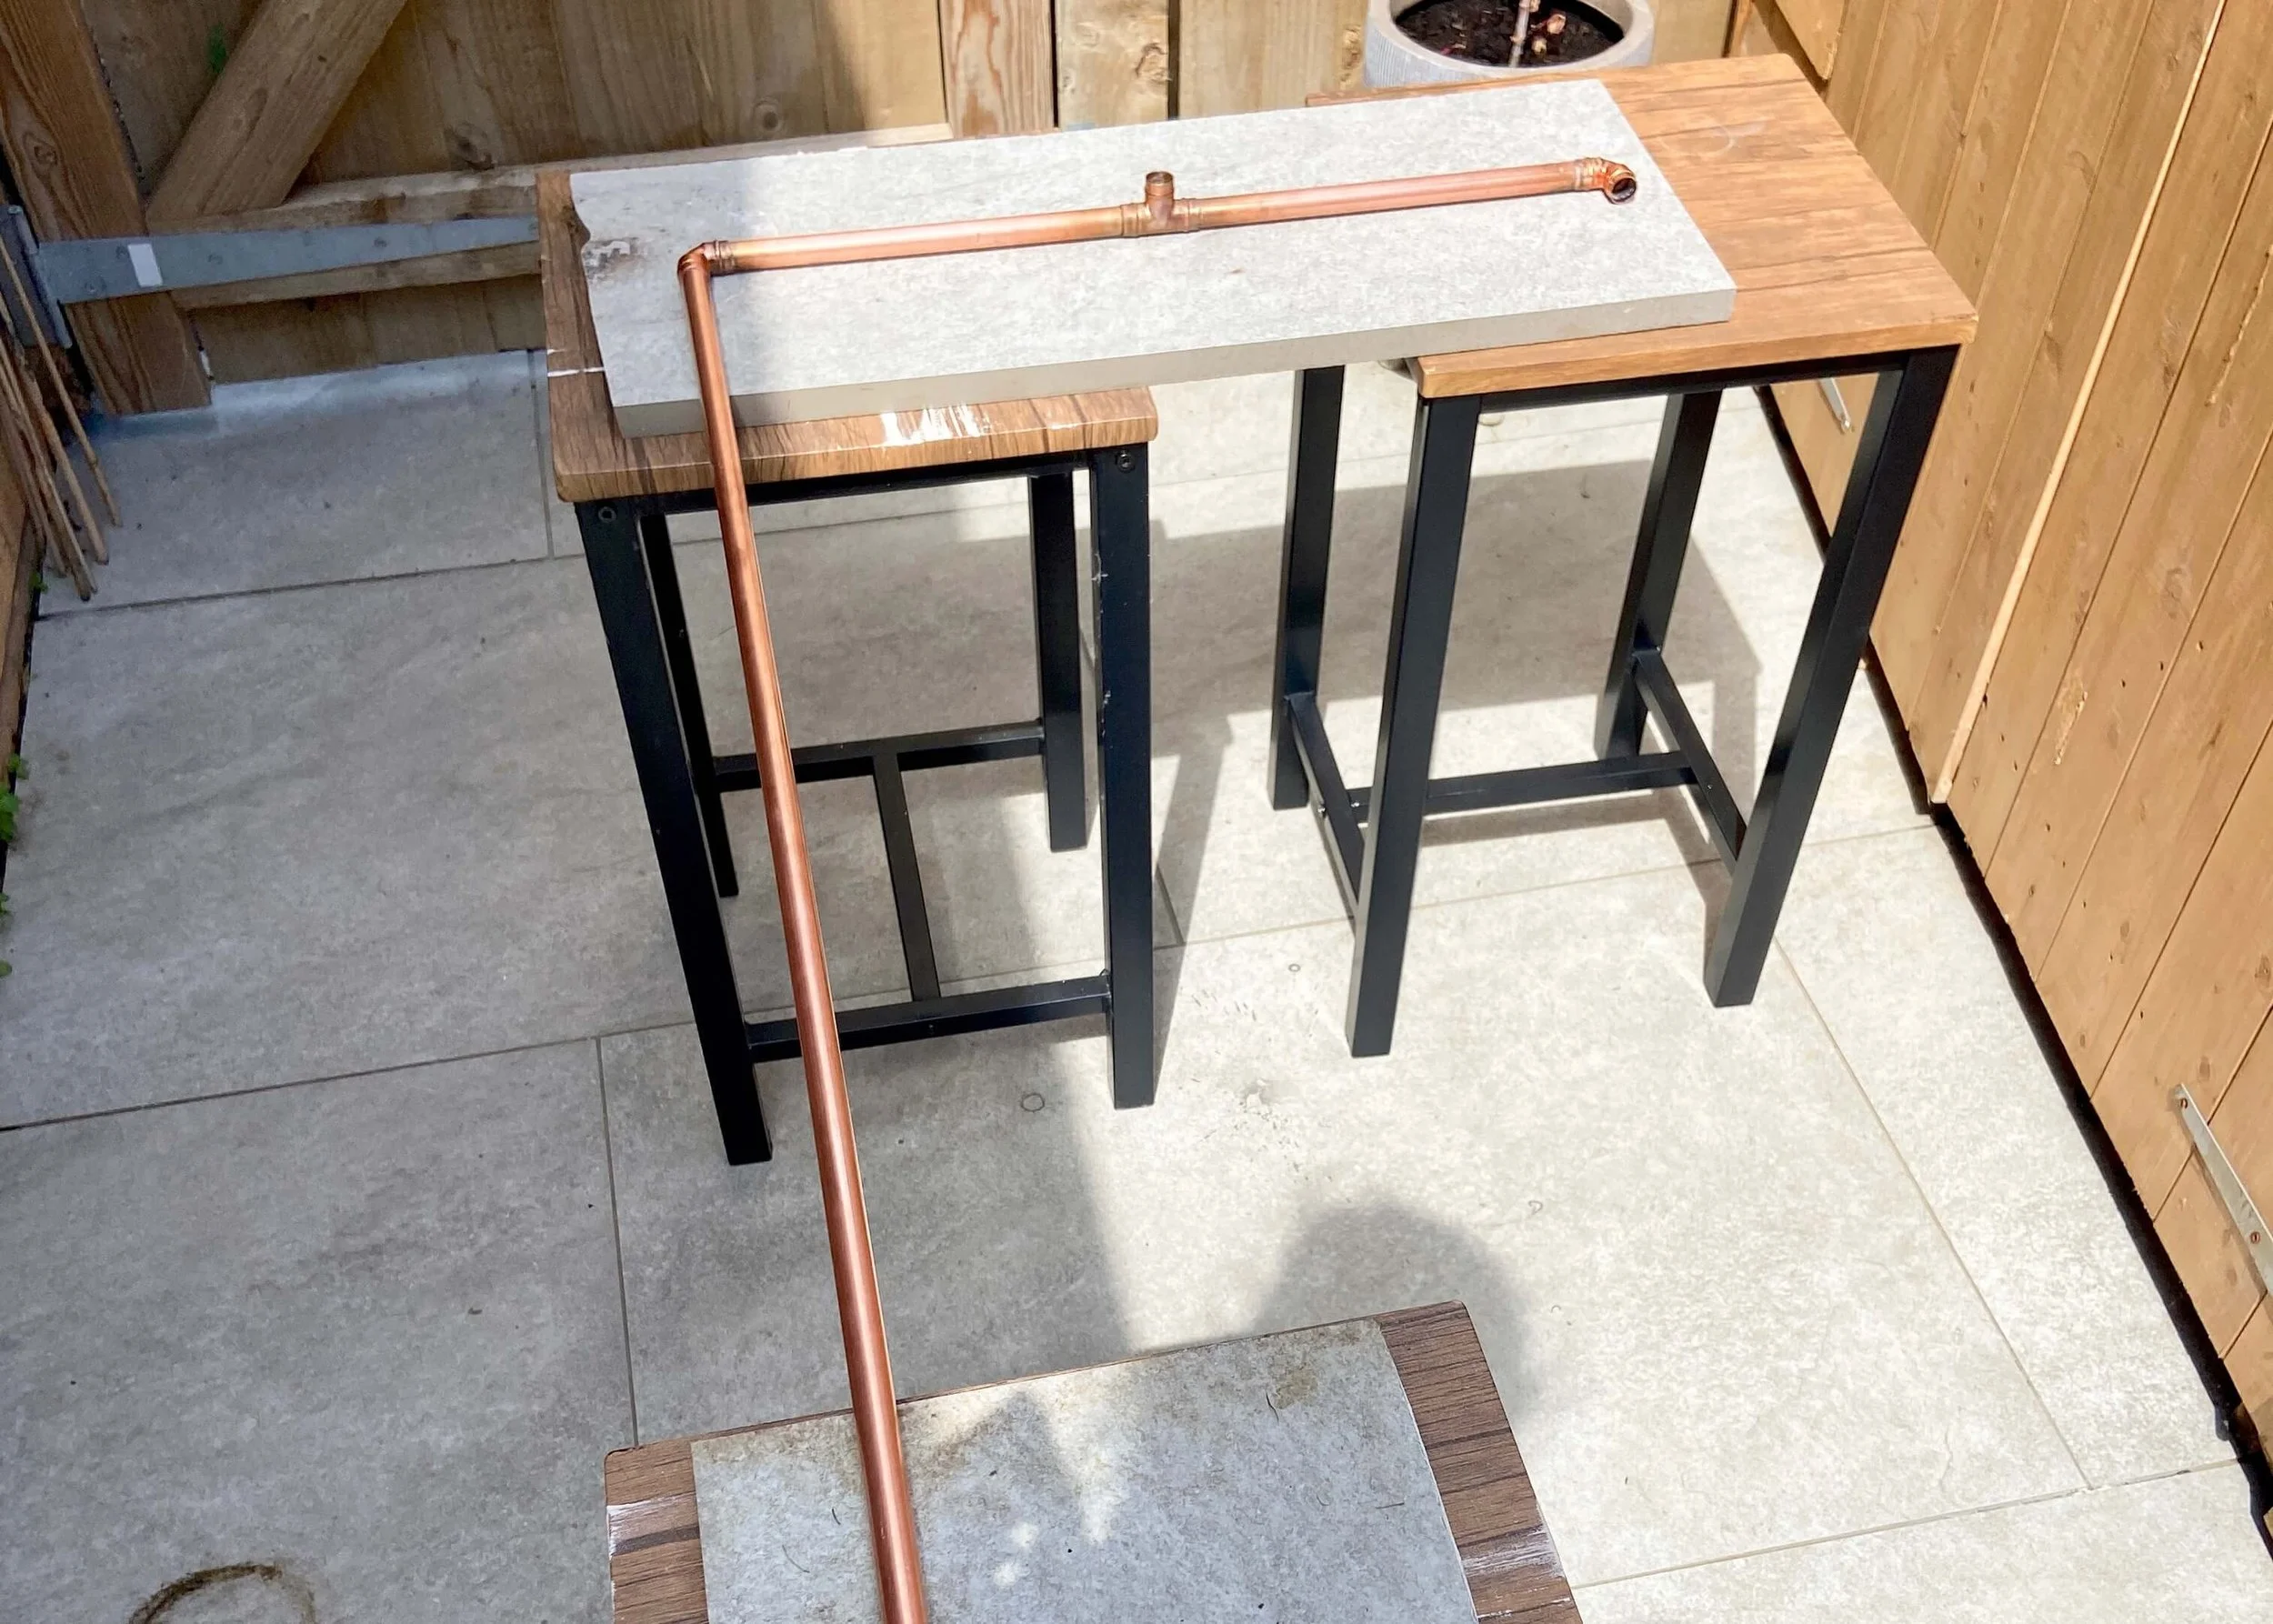
Next, grab two of the 100cm lengths and solder these into the elbow fittings of each side and at each end. You now have your base.
10.
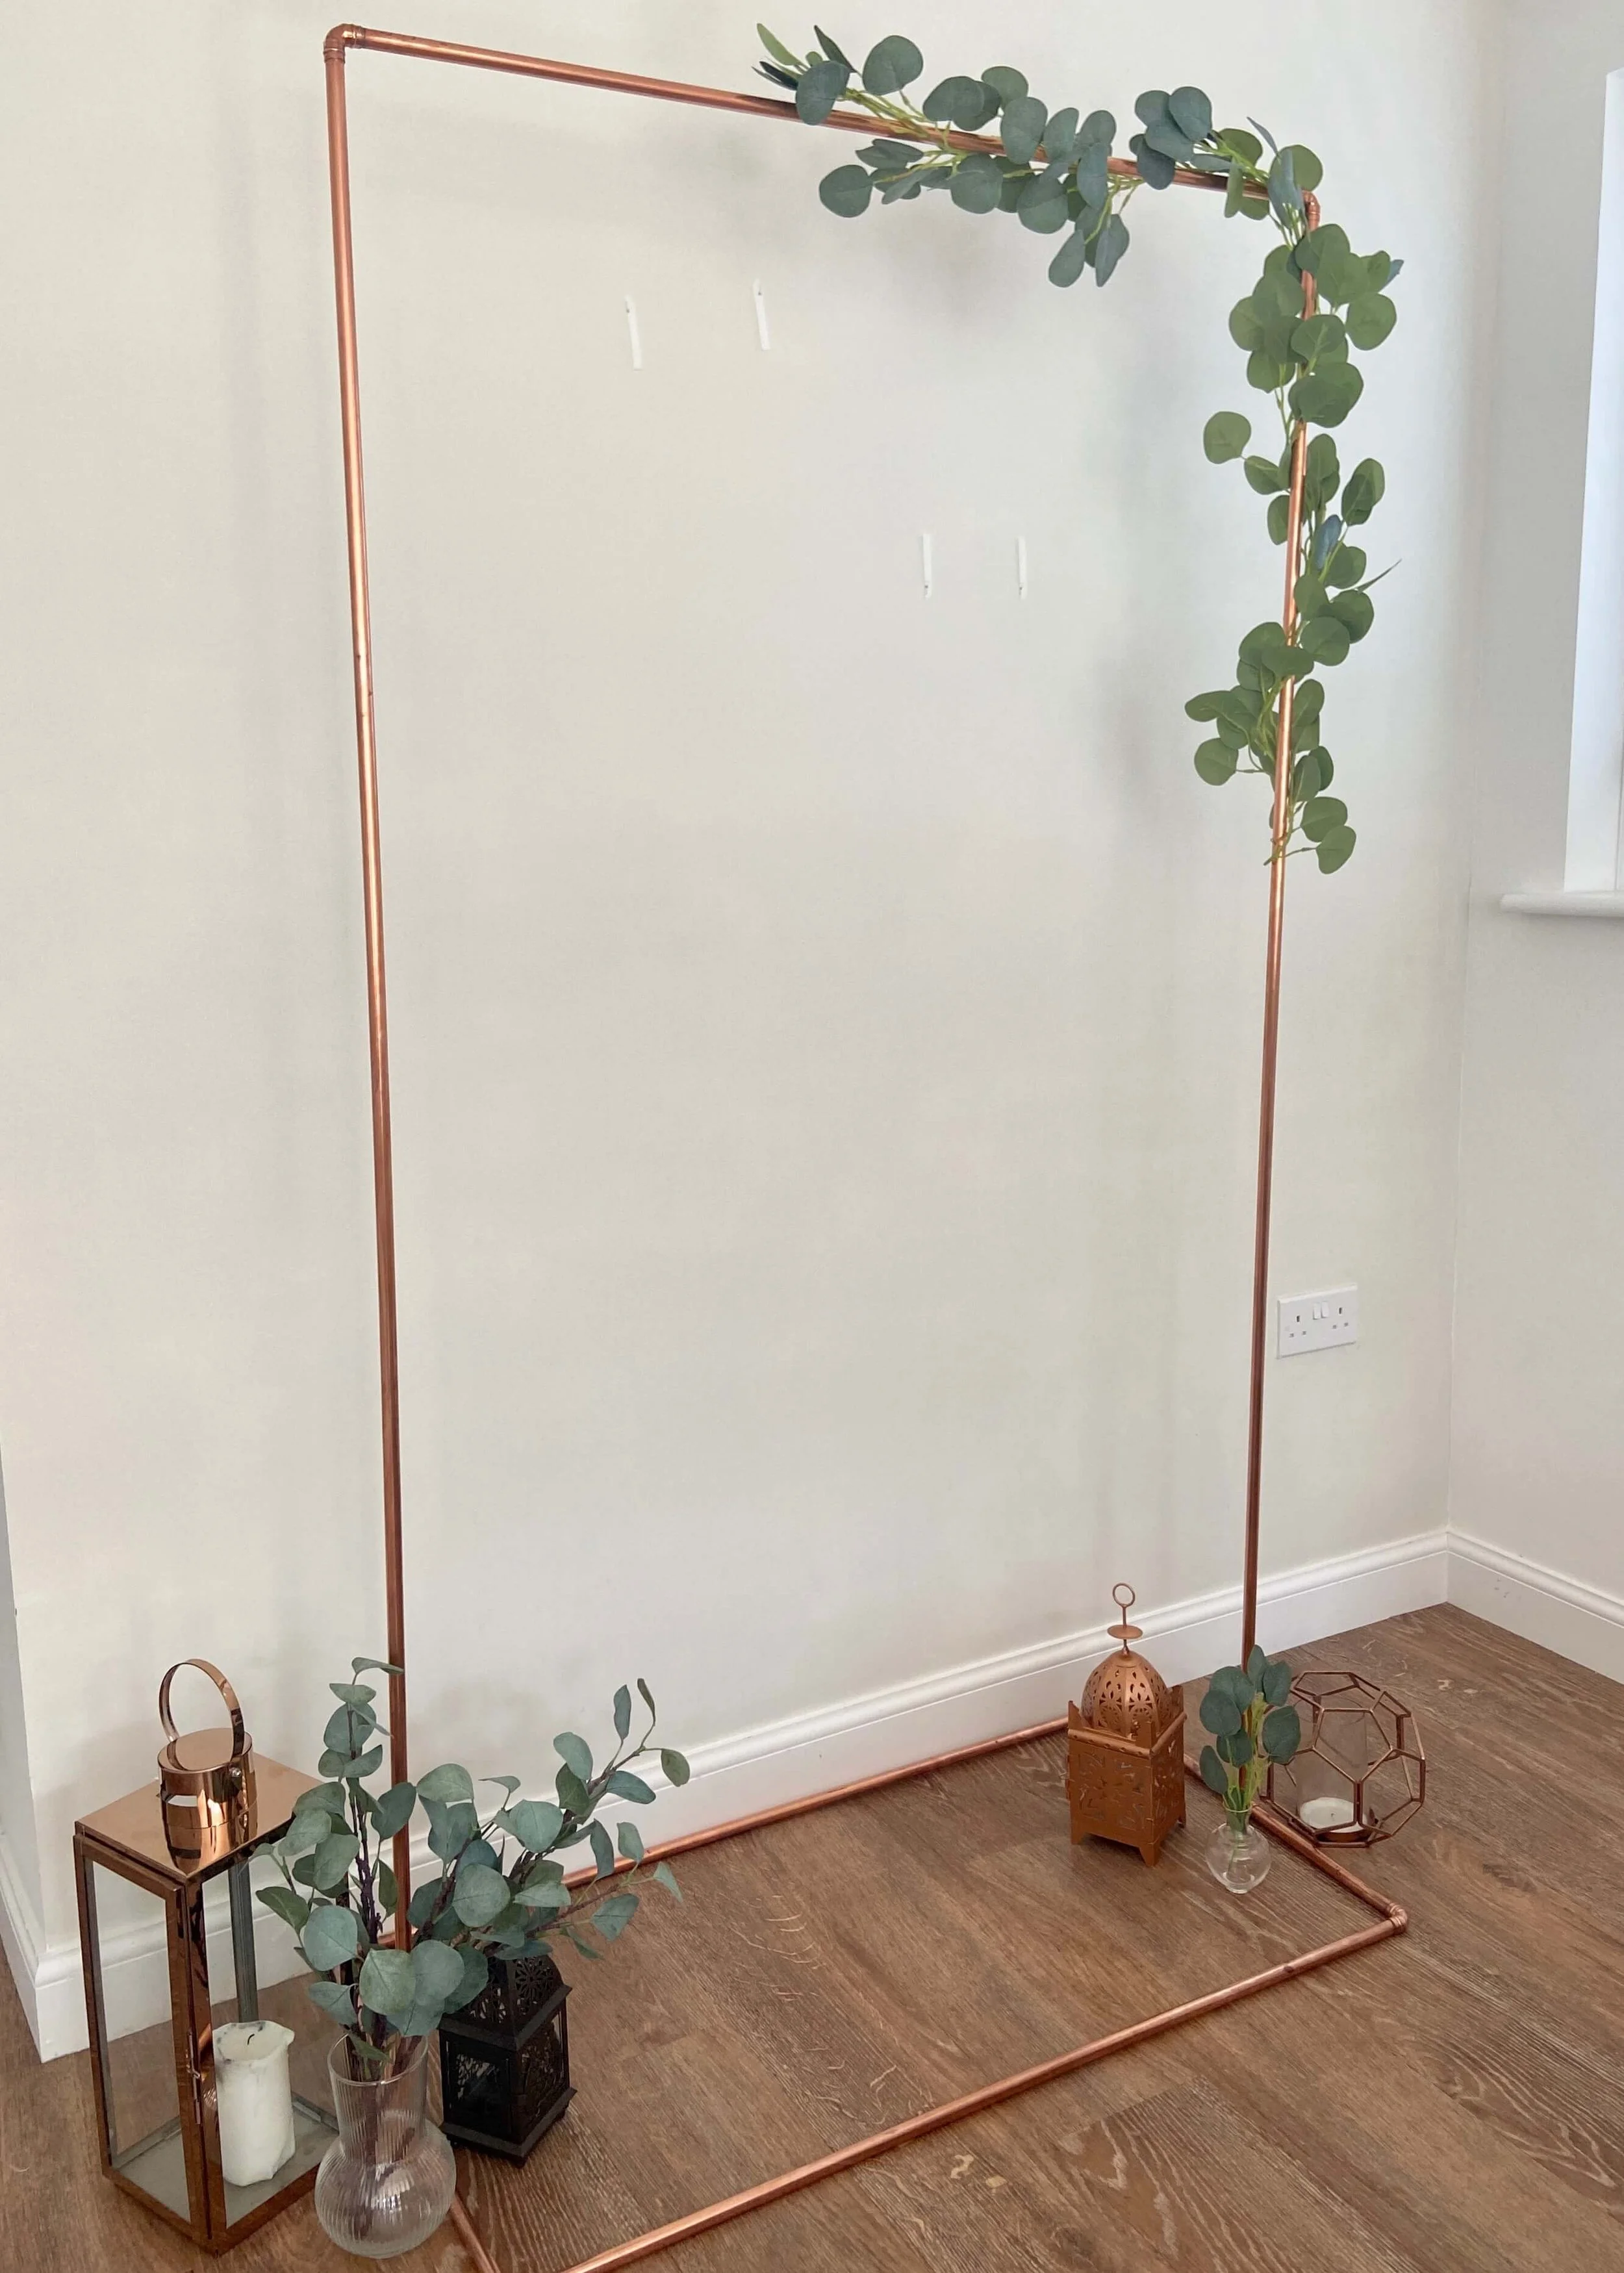
Finally, solder two elbow joints to the last remaining 100cm length of copper pipe. This forms the top of your arch. We won’t be soldering the sides in place so that the whole thing can come apart to be transported easily.
11.
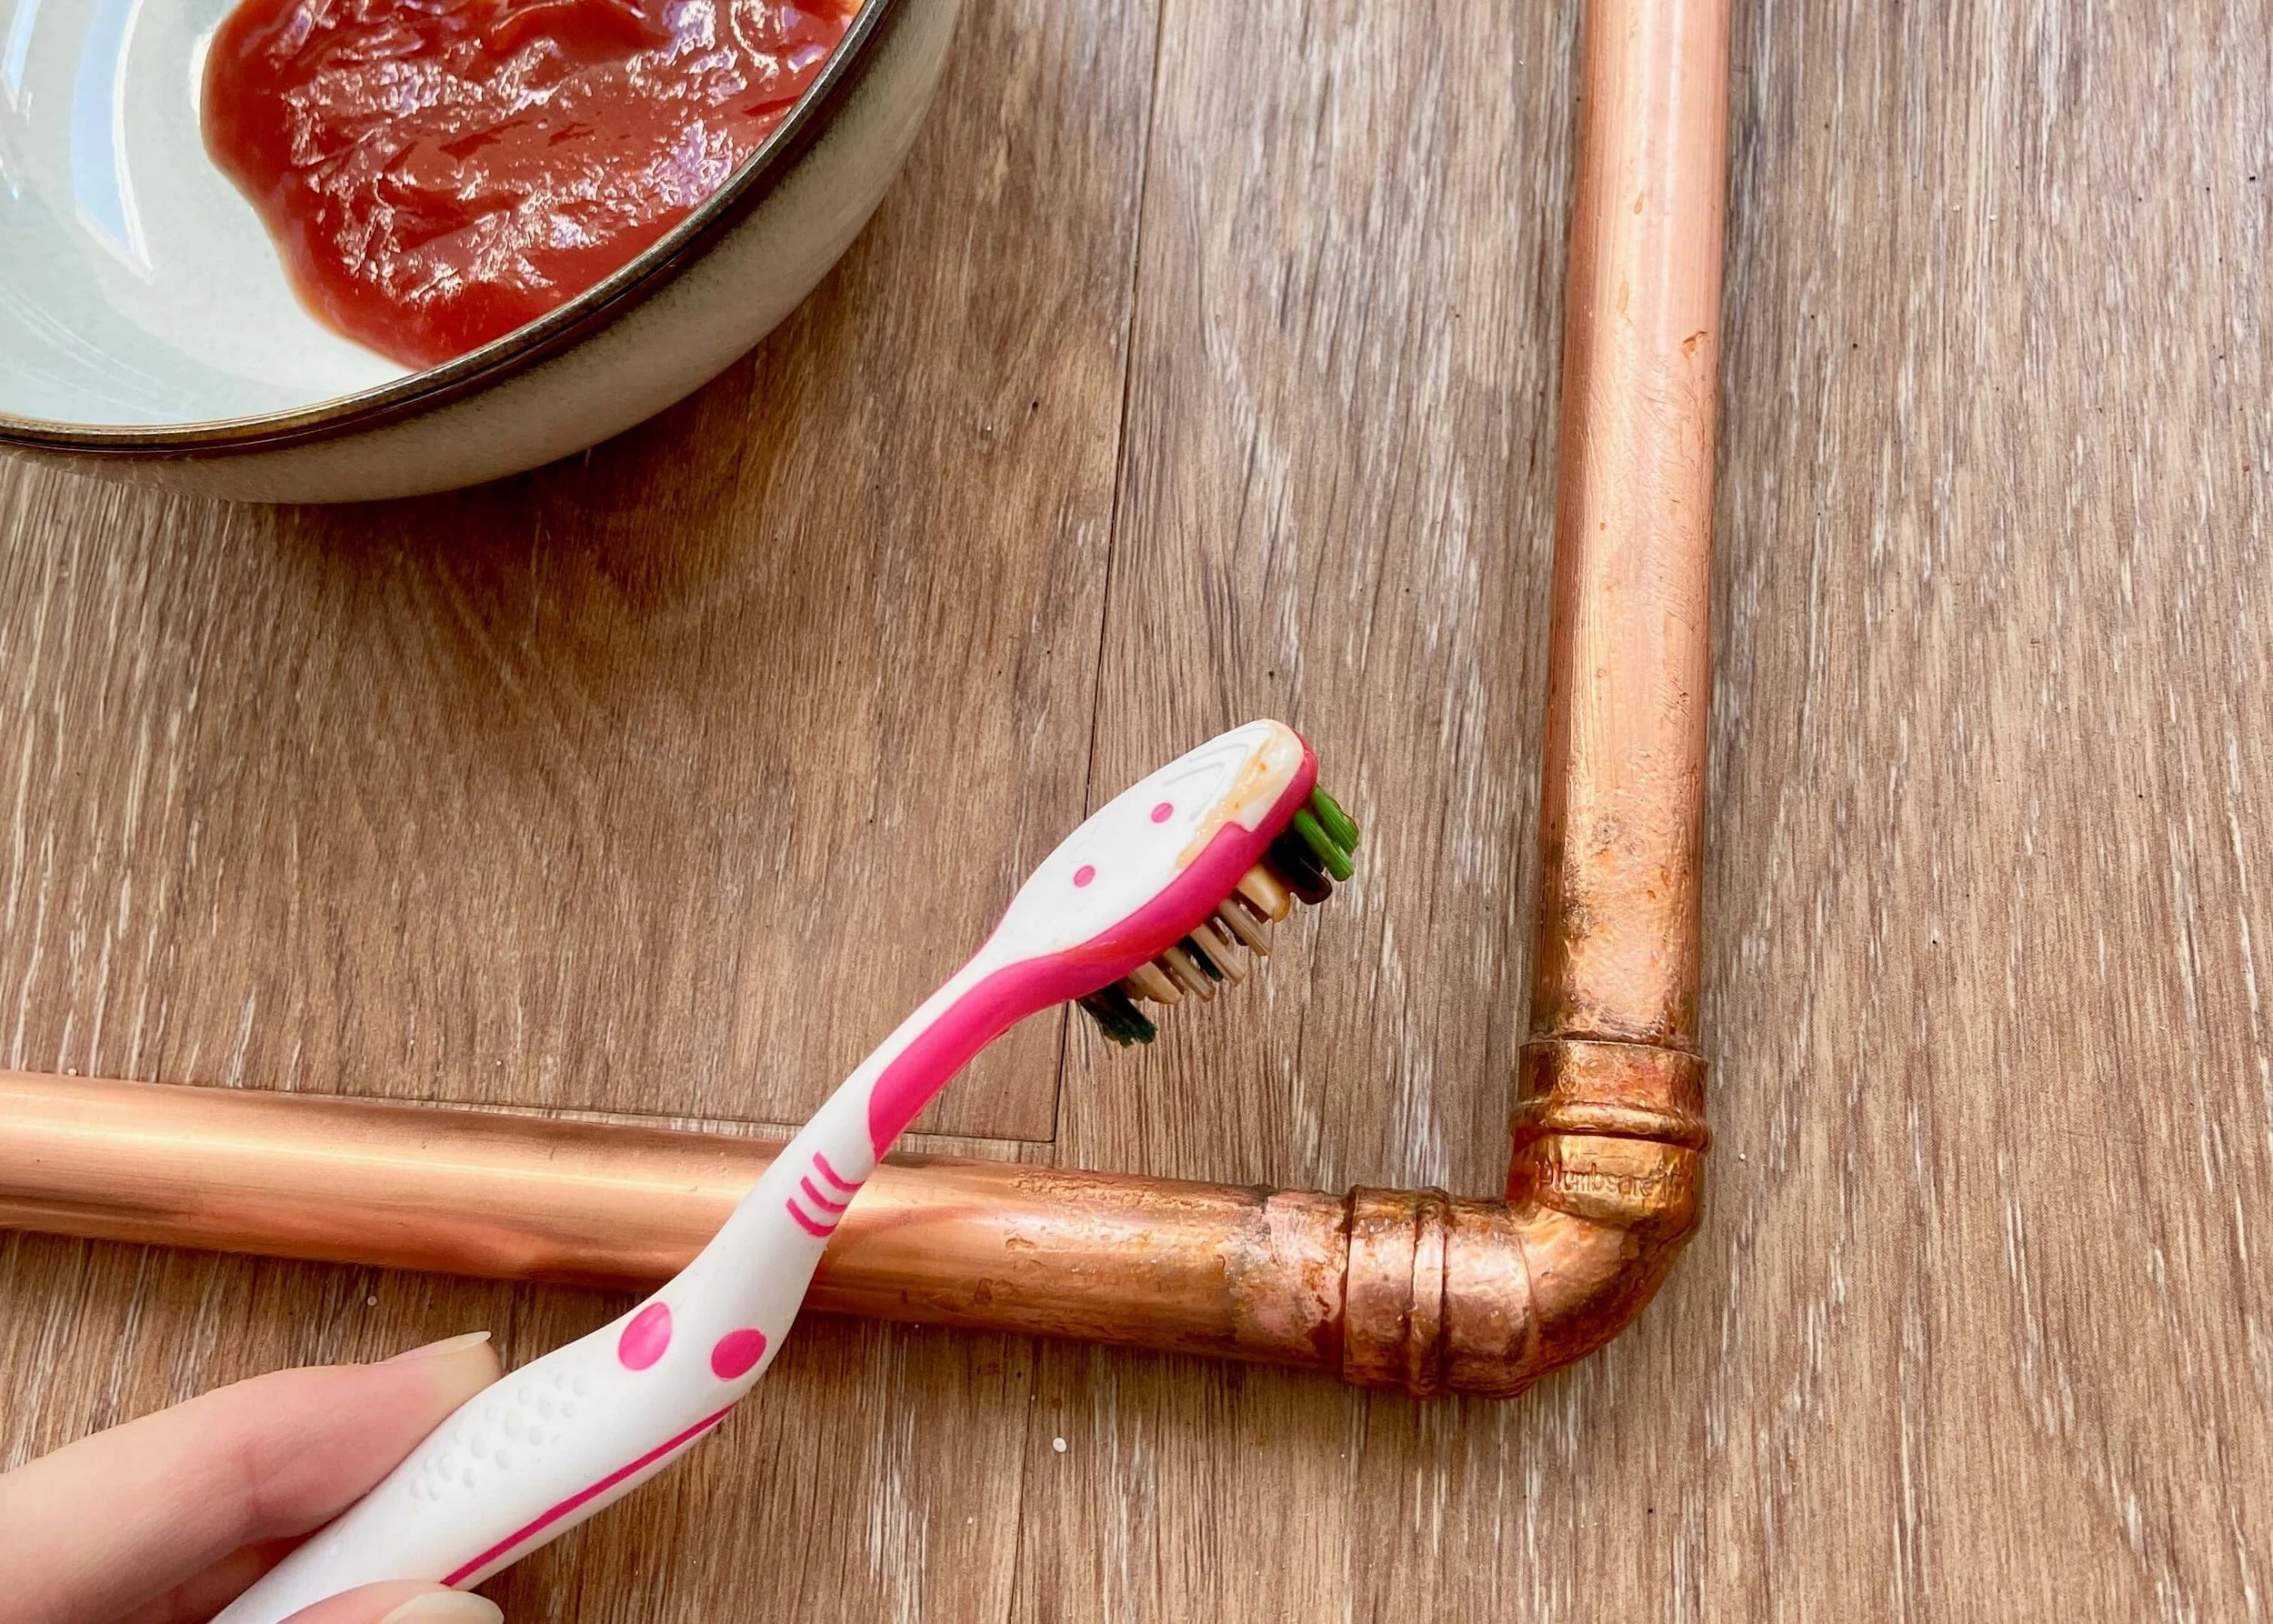
Next, once everything is cool and set, I gave my copper pipes a good clean with ketchup (yes, ketchup!). It hasn’t worked all that well so I’m going to try metal polish and a clear lacquer.
12.
Assemble the arch by pushing the 180cm lengths into the t fittings and into the elbow joints of the top of the arch. Add your chosen decorations.