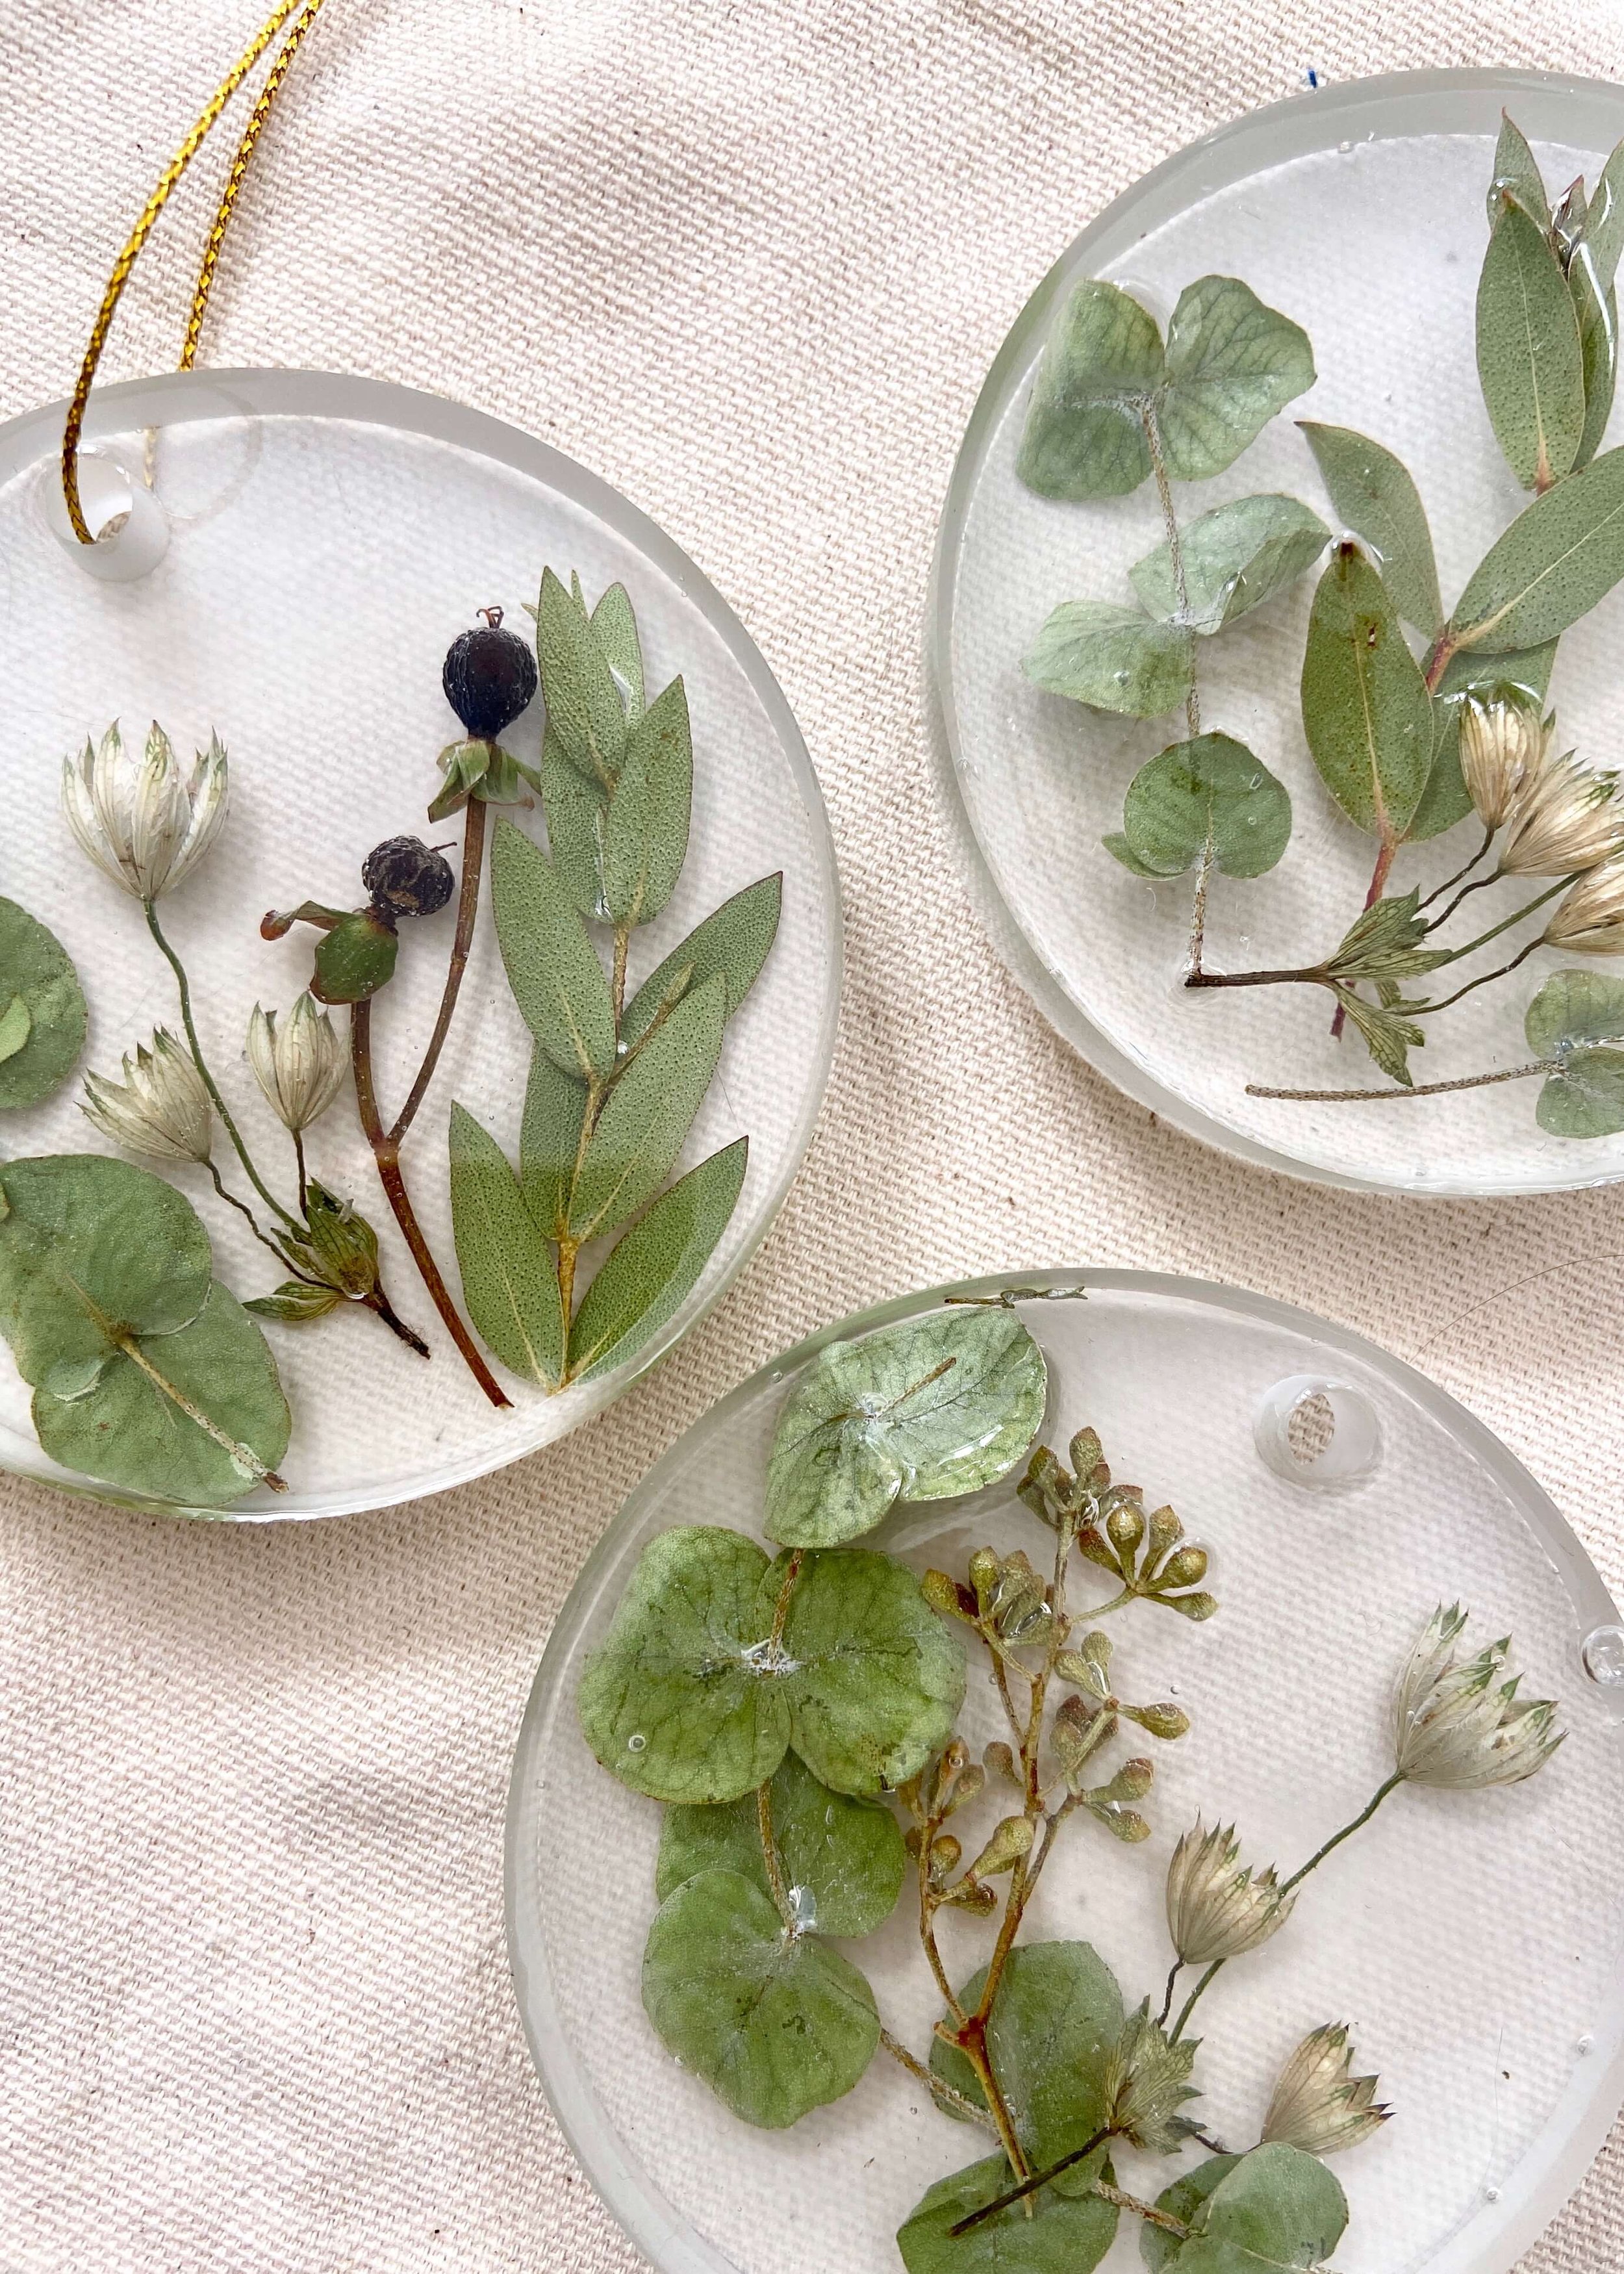
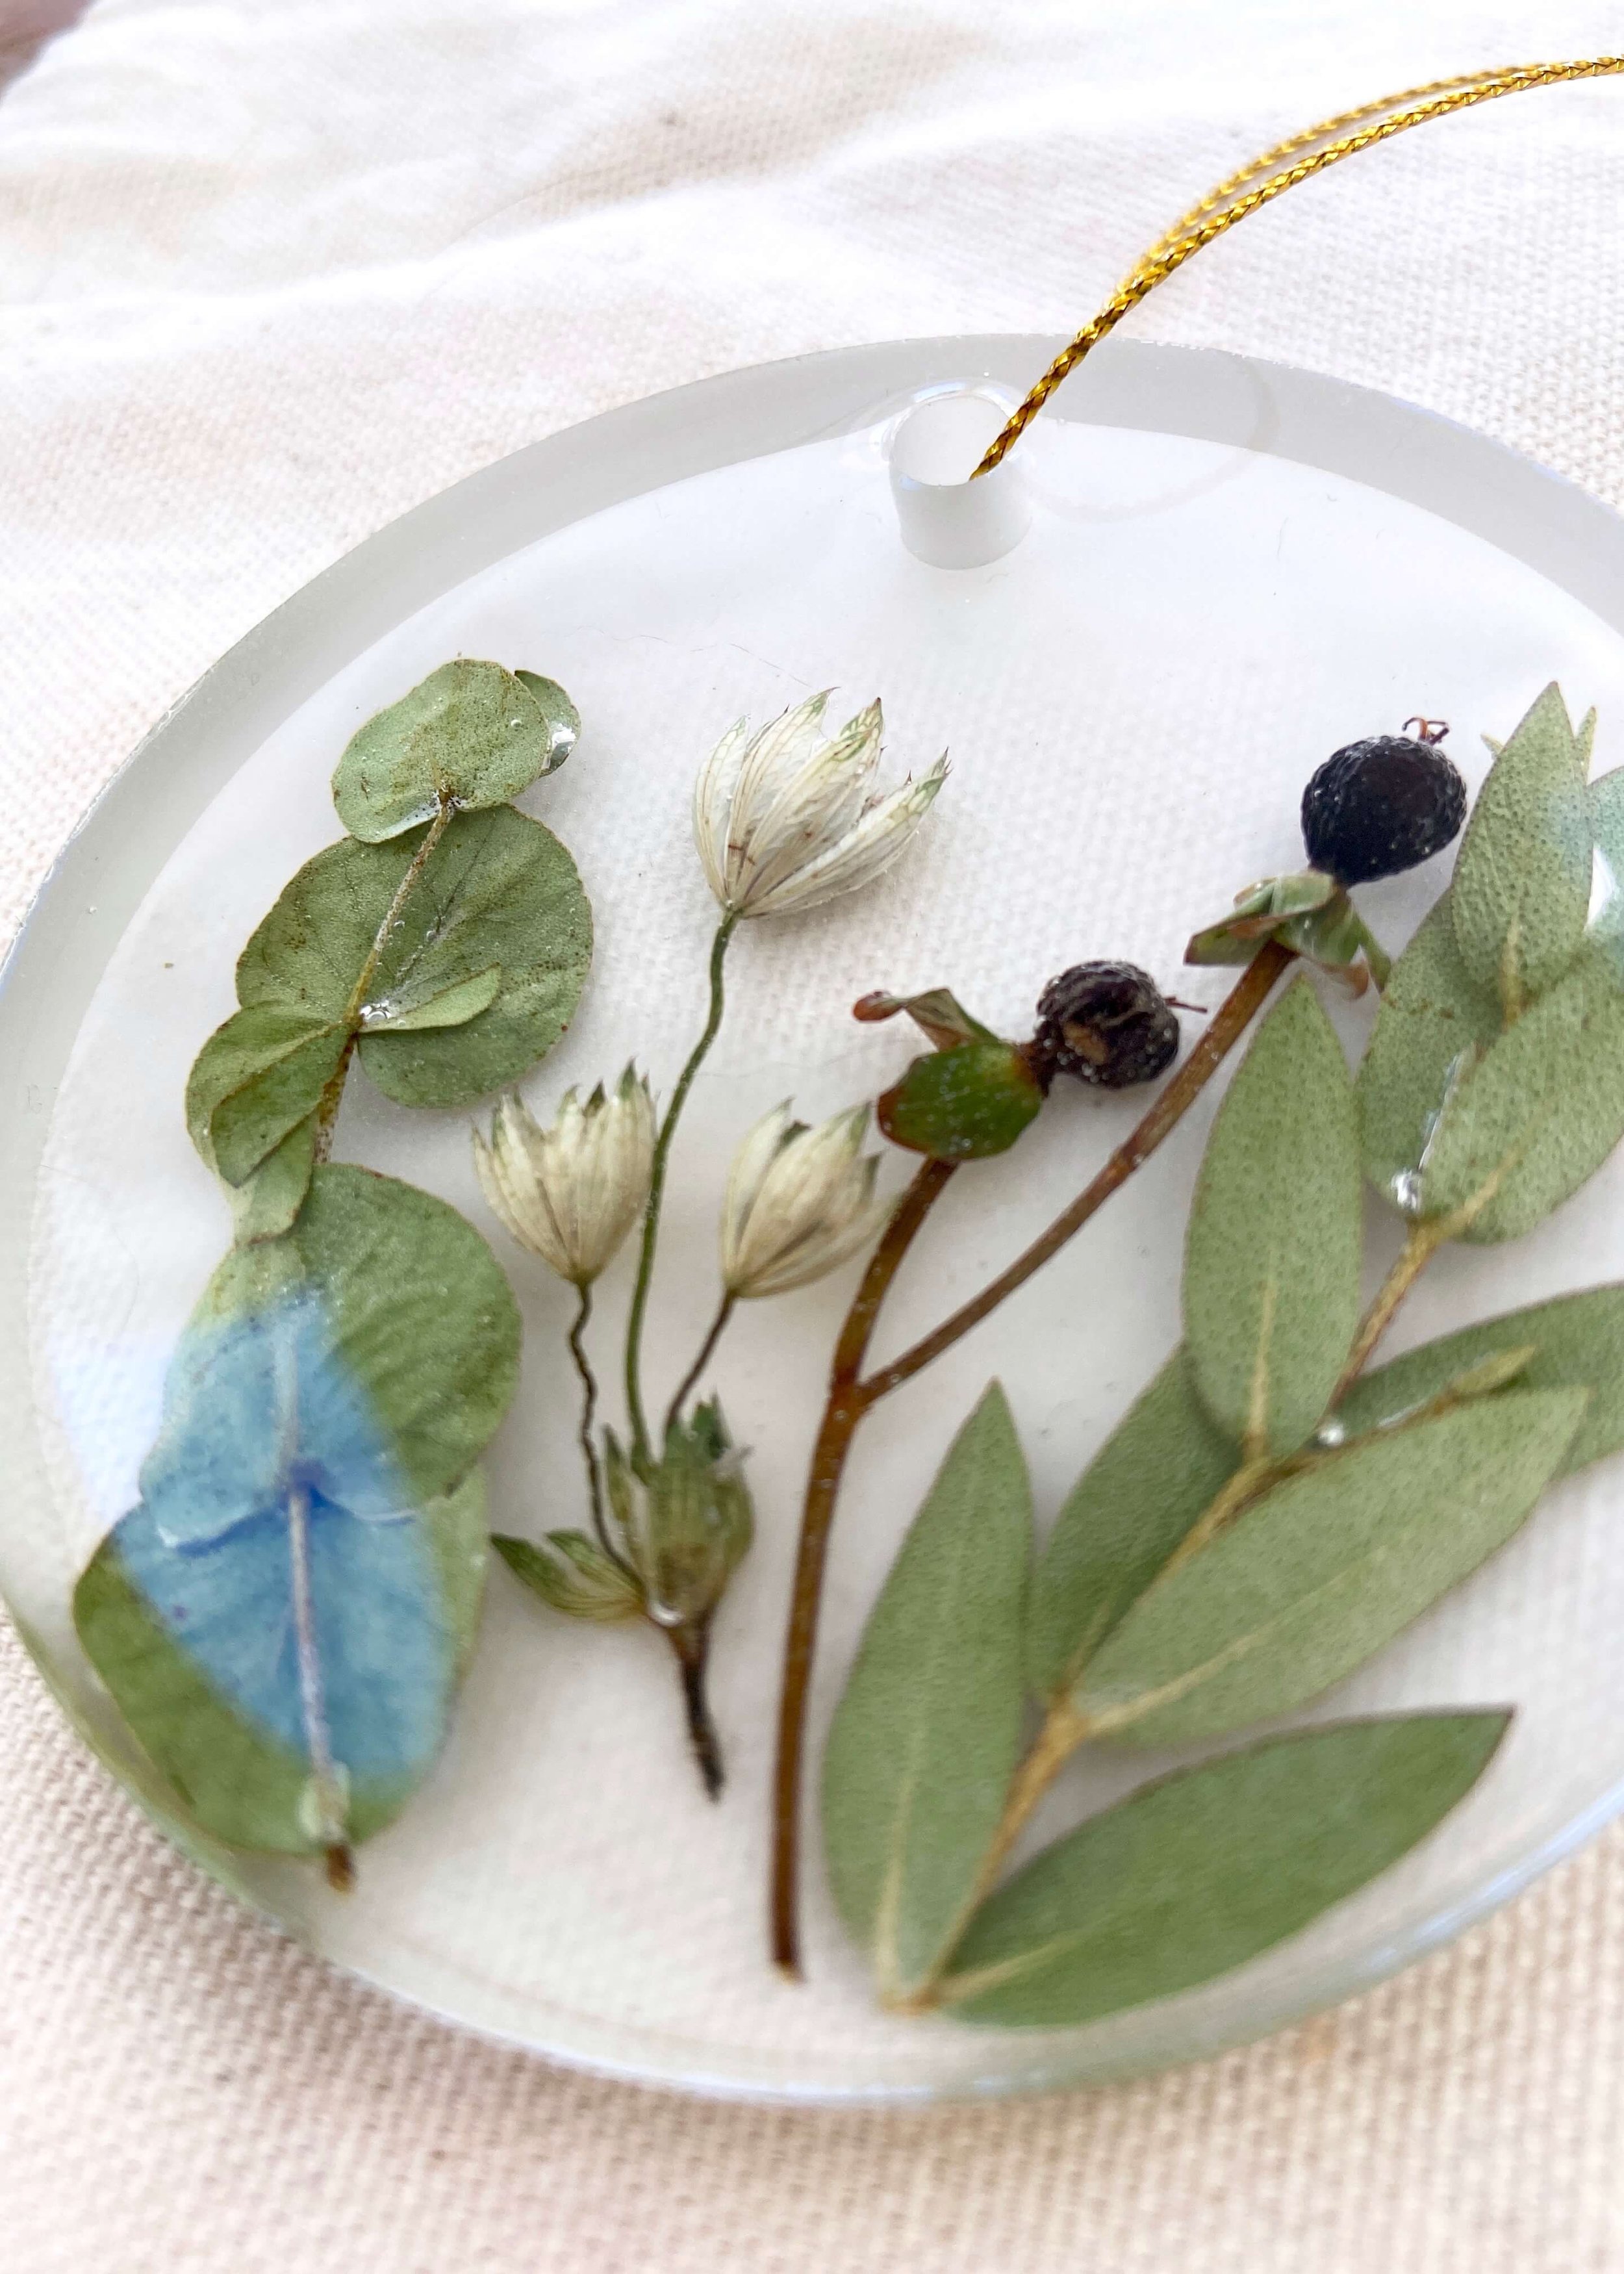
Keep your wedding memories alive by preserving your wedding flowers in minimal floral resin tree ornaments!
For those of you have organised a wedding and had foliage or florals, you’ll know that you are left with an abundance of it afterwards. My bridesmaids took their bouquets, and I preserved my bouquet in a box frame (you can find the tutorial here) but we still had so much from the general venue decor left. I am so reluctant to throw it all away, even dried up they’re so beautiful, and so I’ve been racking my brain thinking of ways to keep it, preserve it and gift it.
With Christmas only 5 weeks away, I got thinking about how lovely it would be to have wedding mementos on our tree and to be able to bring them out every year for many years to come, and I landed on having a go at using resin. I’ve never used it before, I was pretty intimidated by it, however I got myself a respirator, used it outside and hoped for the best. My first attempt was a bit too thick for my liking, the flowers floated upwards as the resin dried making the top uneven, and the resin wasn’t as clear as I wanted it to be. My second attempt involved bringing it all inside, pouring two lots of resin, the second after the first had had some to set with the flowers in, and heating the mould and two parts of the resin before I used them.
I was much happier with the results, though the back and sides of the ornament are matte and not shiny like I expected them be, which after some research I’ve discovered is probably because the mould I used had a matte finish. I actually quite like the look it gives, and it sounds as though it can be easily resolved by applying a thin coat of resin on it or by getting a shiny mould. So, learn from my mistakes, if you want this to be completely clear and shiny on all sides, heat your resin, allow it to dry somewhere where the temperature won’t vary too much, and use a shiny silicone mould. I’m planning on gifting these to my family members, and am so excited to see what they think. Let me know in the comments below if you like this idea and don’t forget to like and share it too.
1.
First of all dry your flowers out. For this project it can be helpful to press them slightly before using them and before they’re completely dry.
2.
Seal your flowers with hairspray or an acrylic spray to help preserve them. Once your flowers are ready, cut off the florals you want and get everything out ready and prepared before you start.
3.
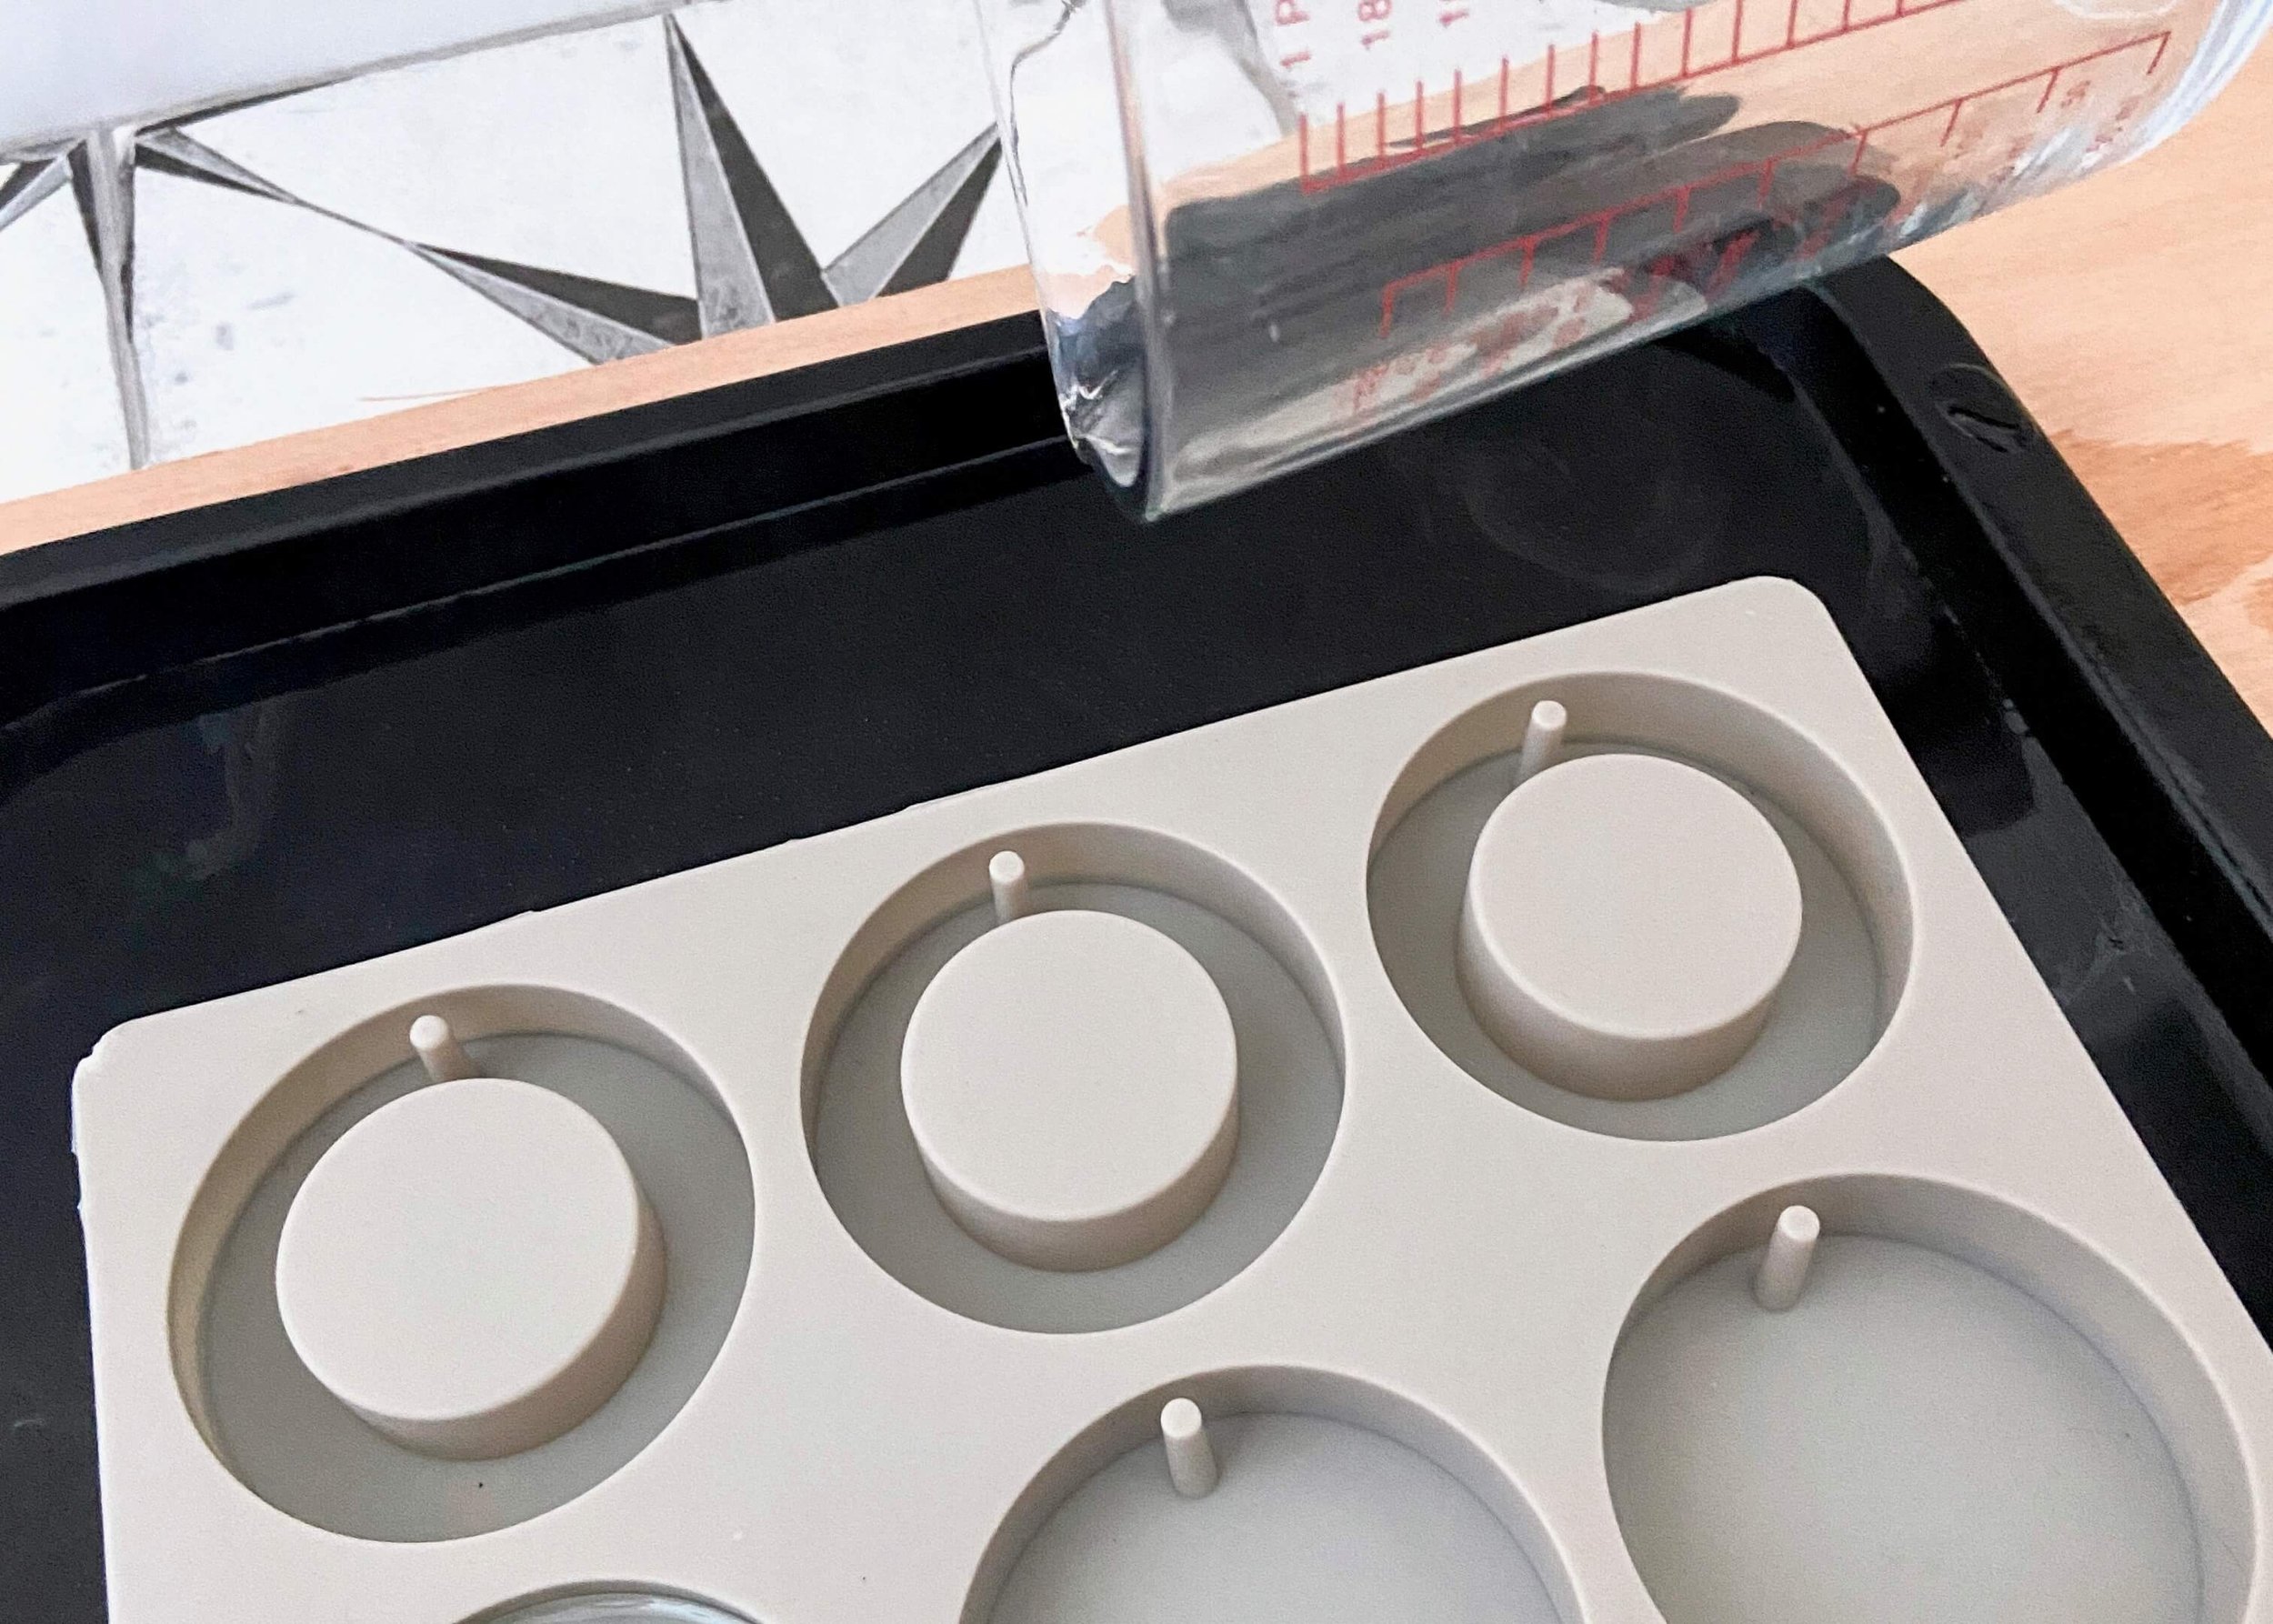
Next I heated my mould with a warm water bath. I then placed the part A and B of the resin into a warm water bath for 5 minutes.
4.
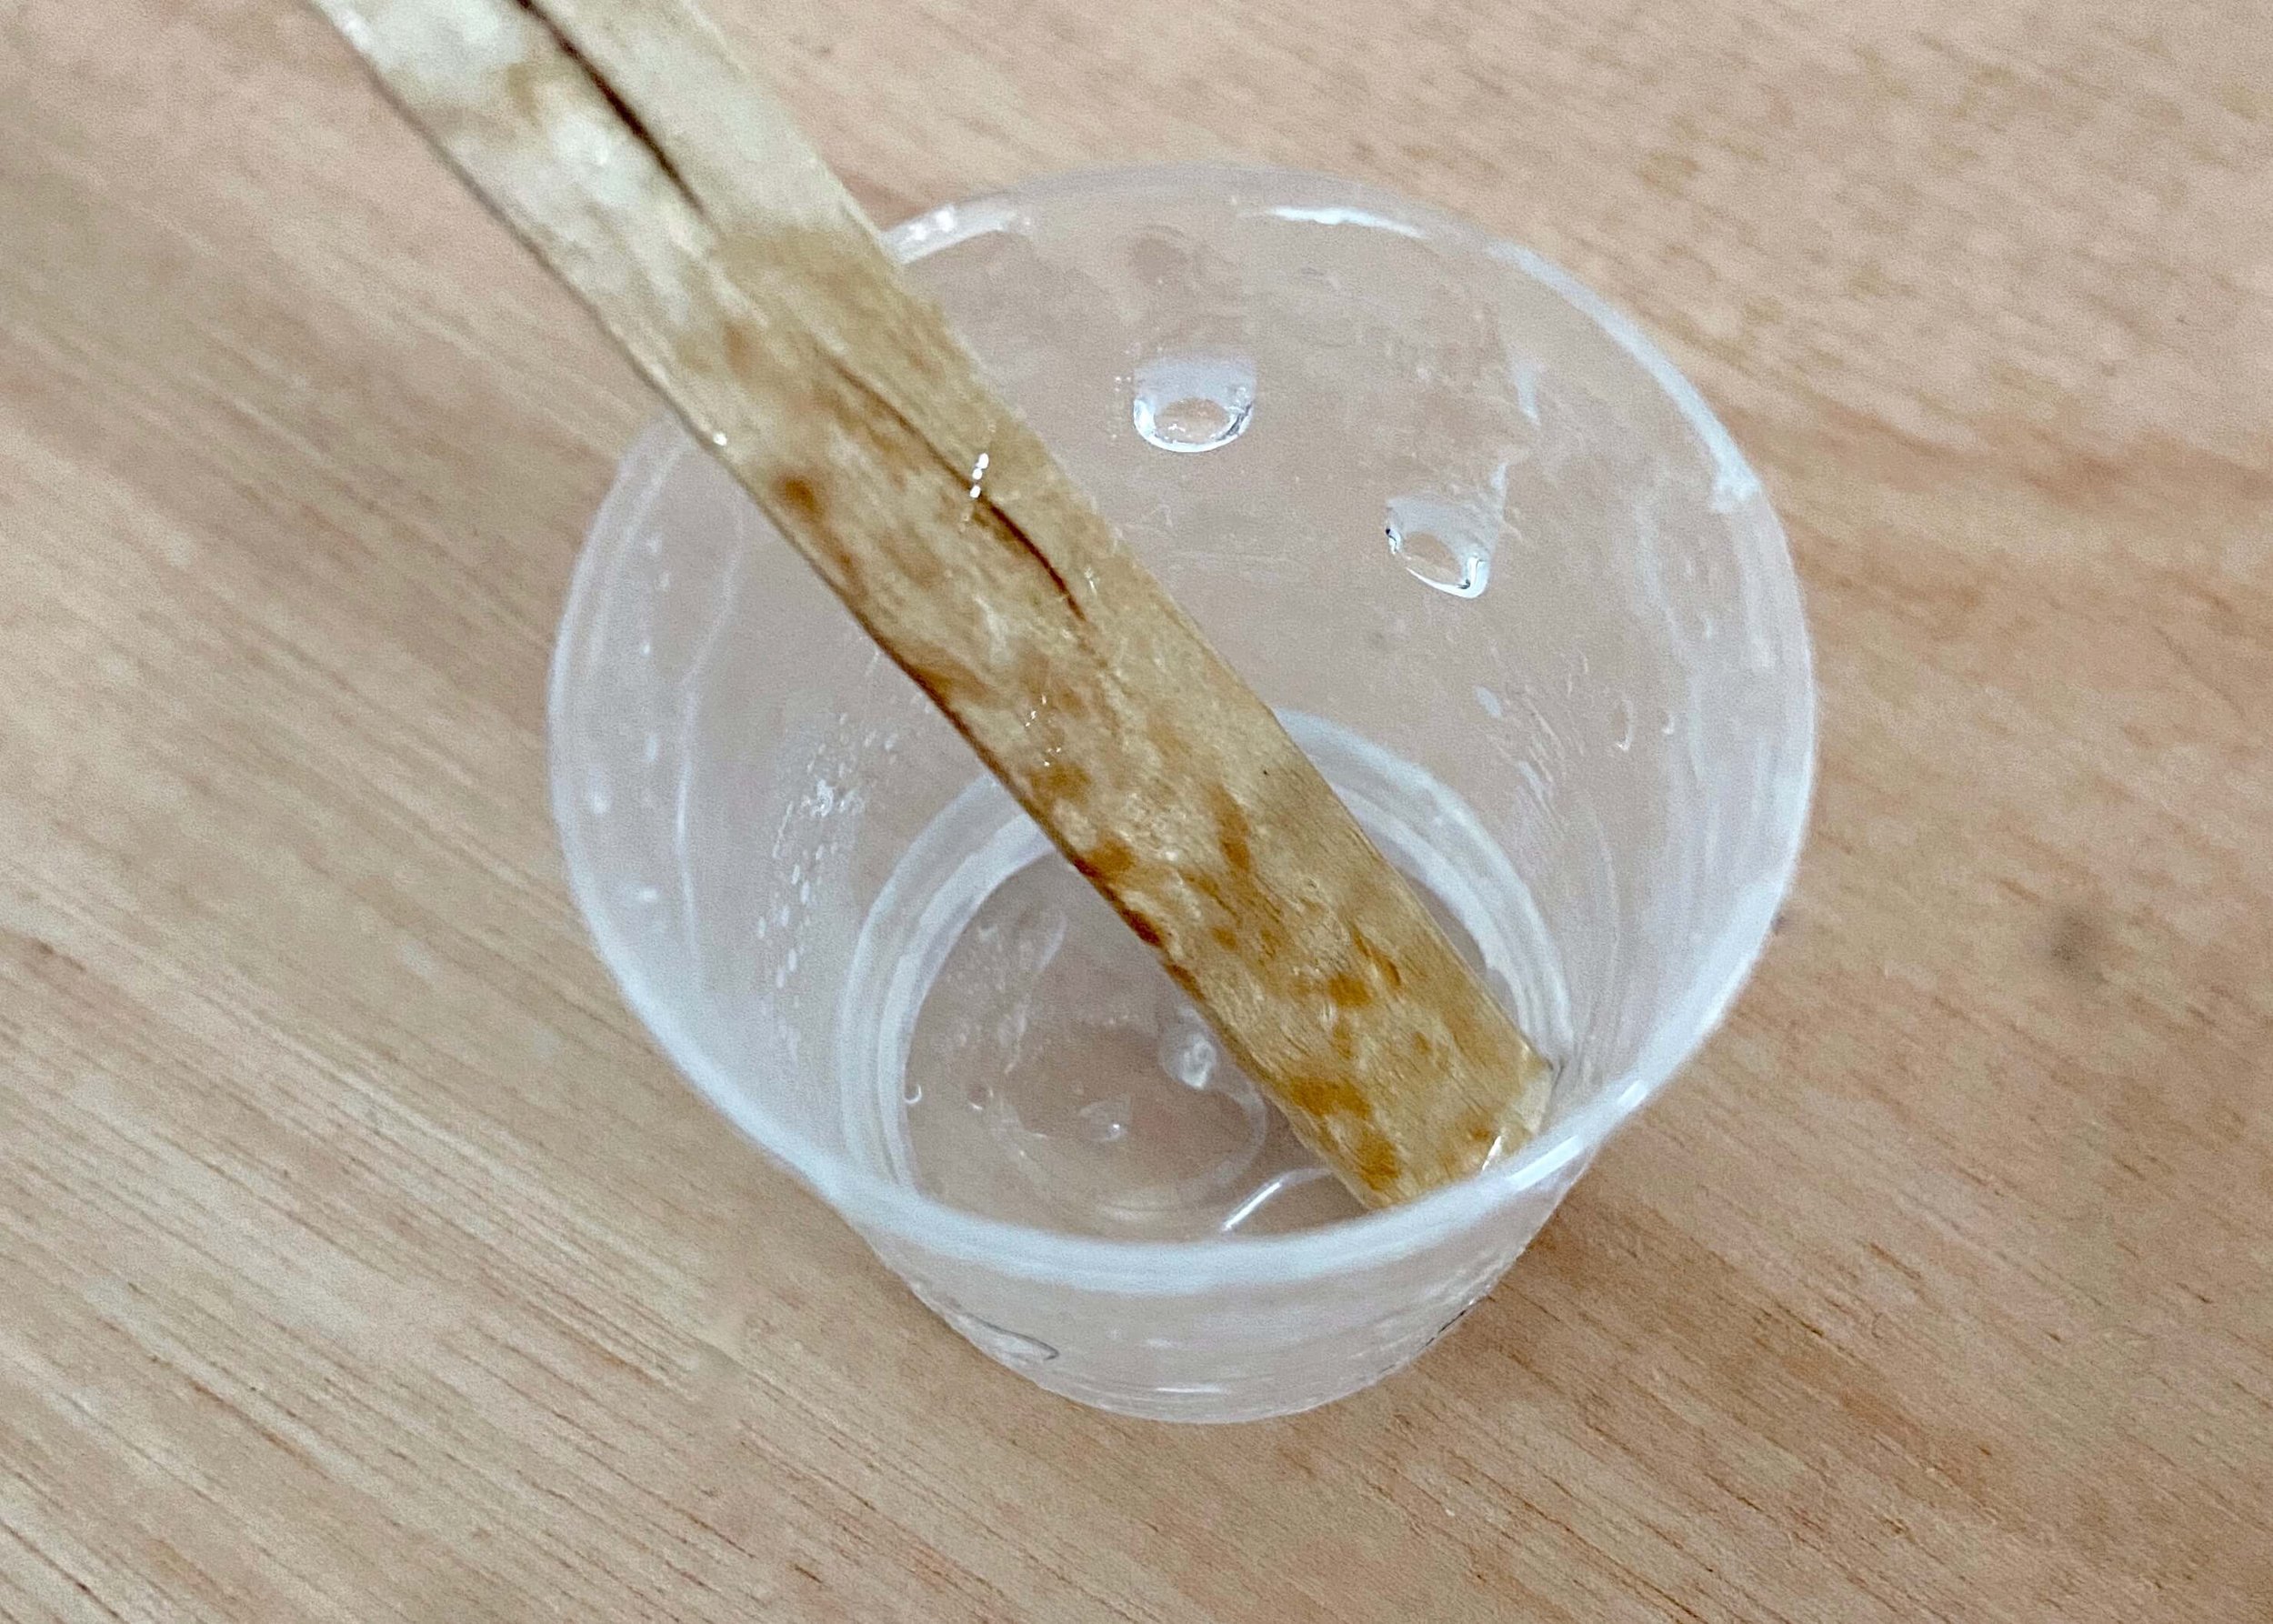
I then put on my respirator, gloves and protective eyewear and measured out 10ml of part A and 10ml of part B. I mixed these slowly with a lollipop stick for 5 minutes. I then allowed this to sit for a few minutes before using a blow torch to remove any bubbles. Be sure to follow your resins instructions.
5.
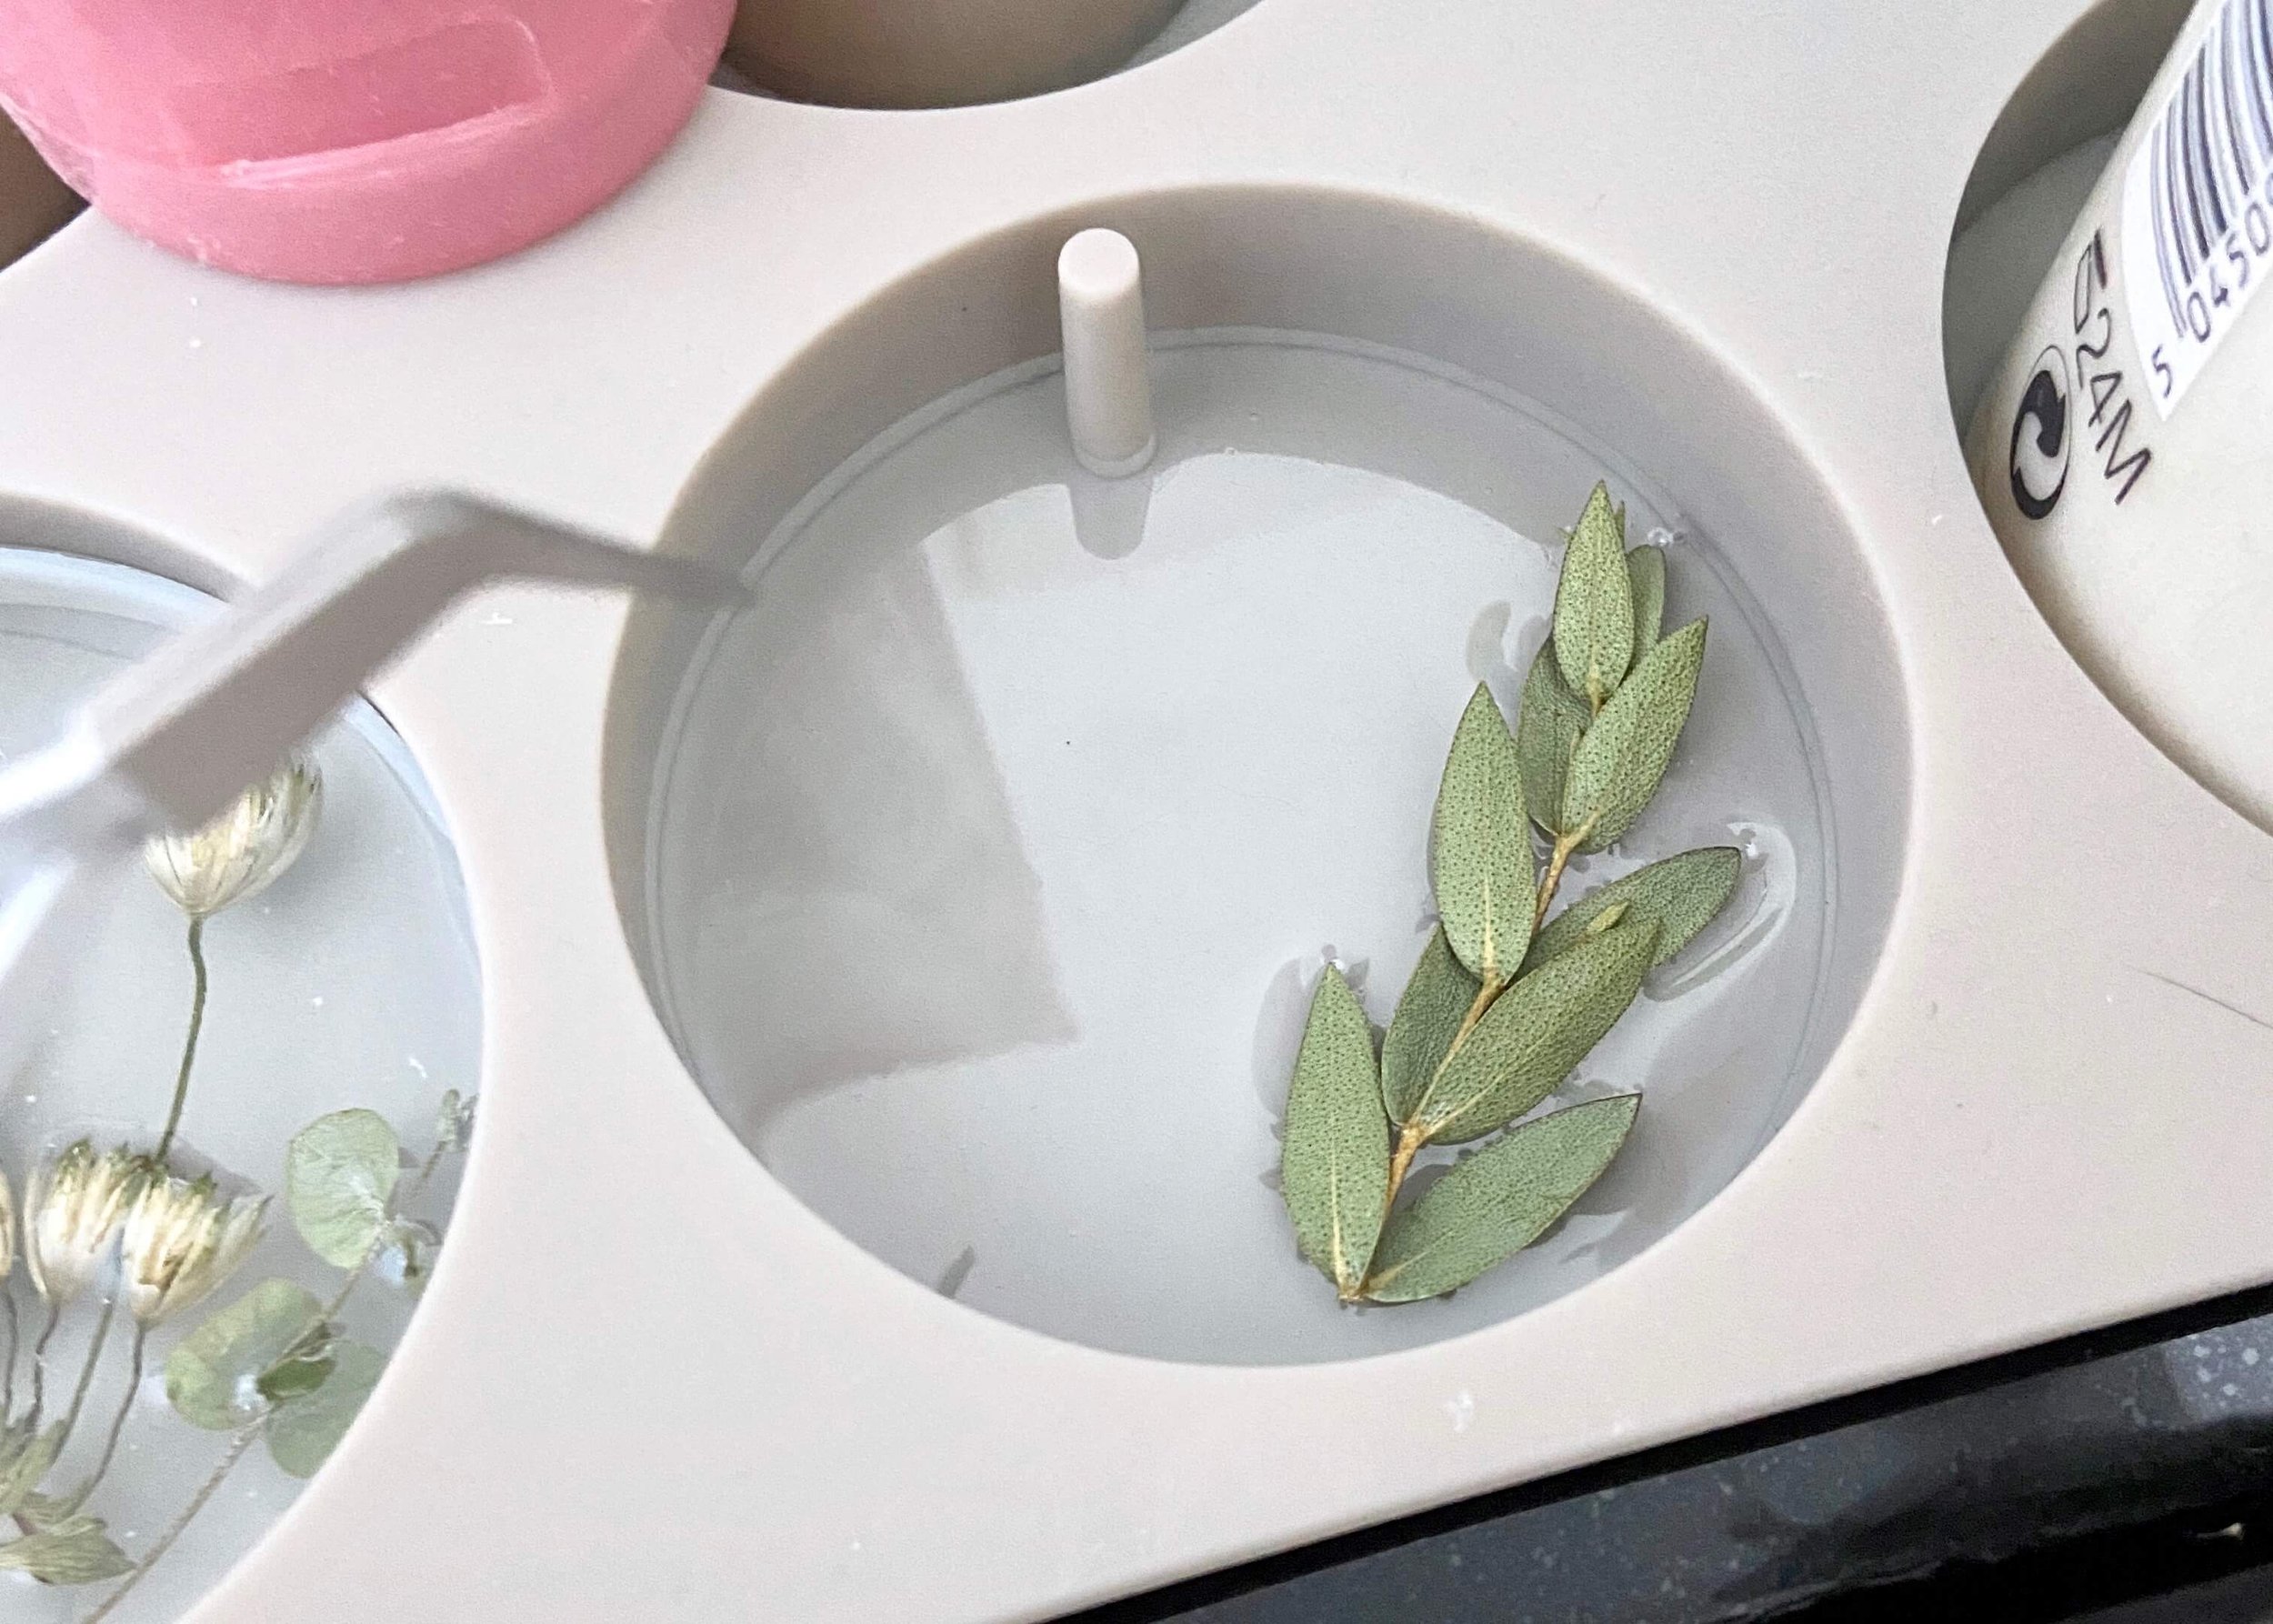
I then poured the resin into my Christmas tree ornament mould and used tweezers to place my dried florals into it.
6.
I left this to dry for 4 hours, and then mixed up another lot of resin (20ml again) as above, and poured this over the partially set resin. If your flowers are chunky, you may need to use more resin to cover them.
7.
Leave this to dry. My instructions said to leave for 24 hours, though it can take up to 7 days for resin to fully cure. After the 24 hours, I removed the resin from the mould and added a metallic gold string to hang it from the Christmas tree with.

