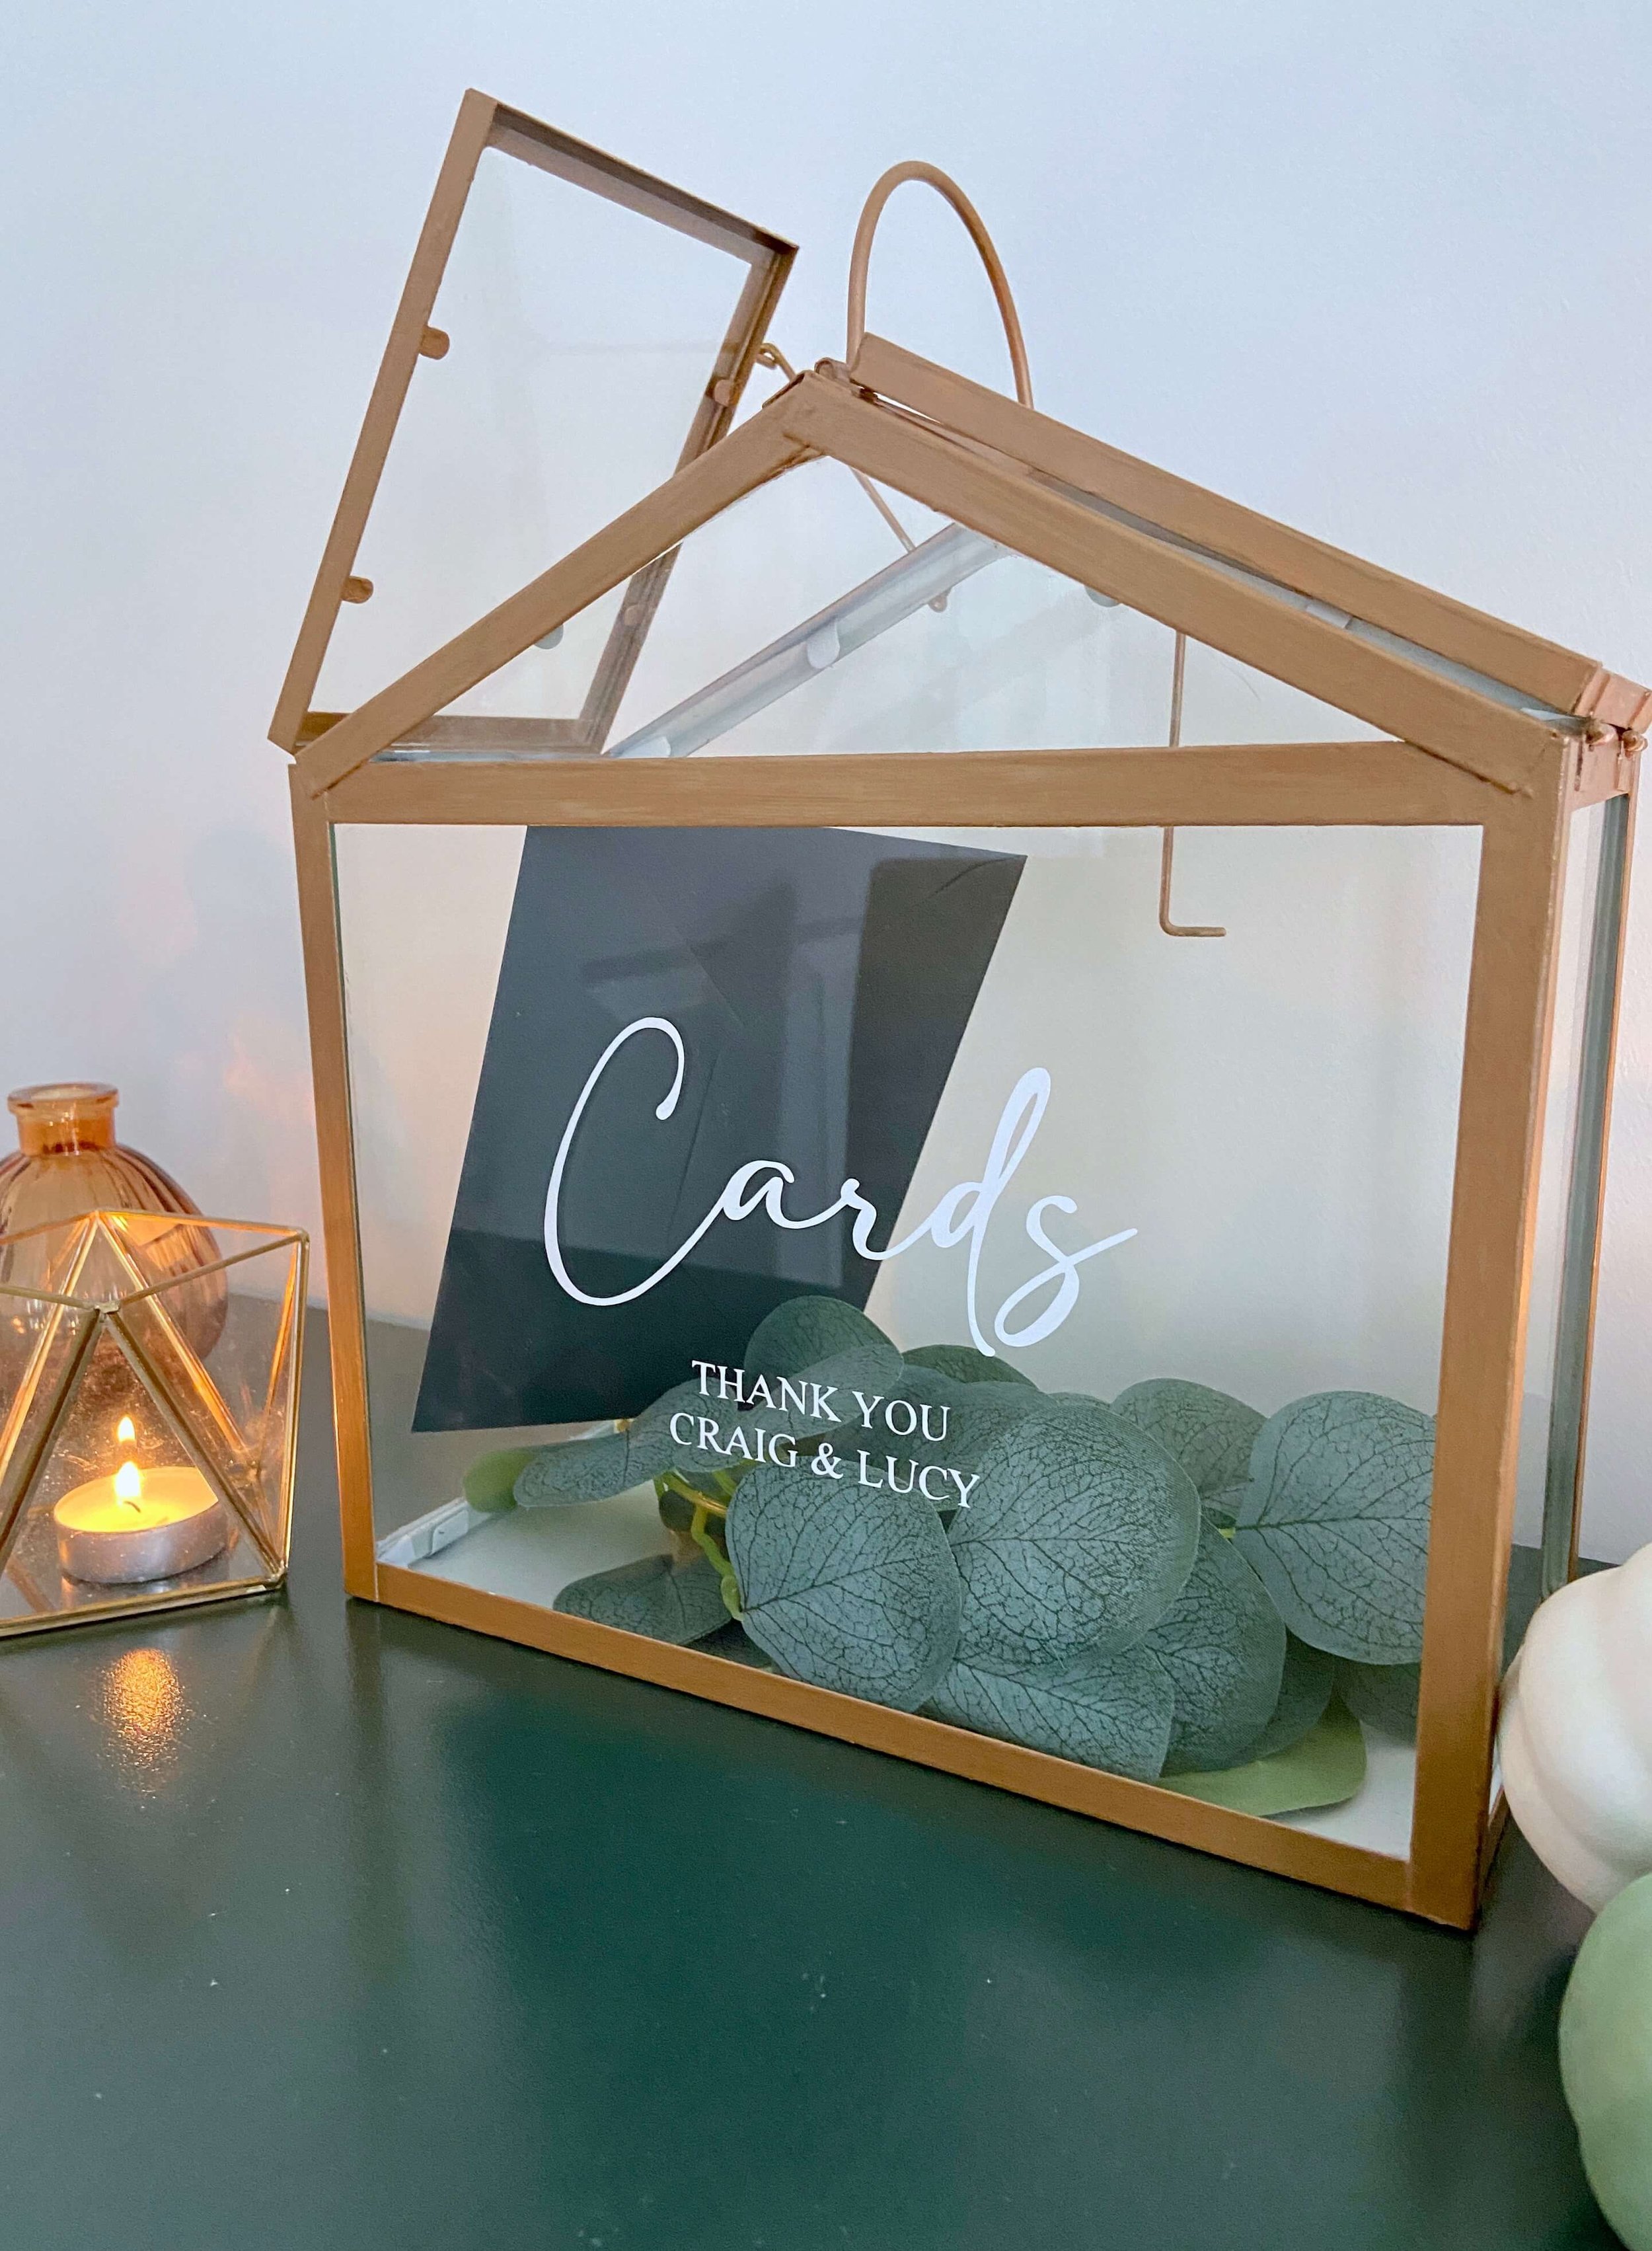

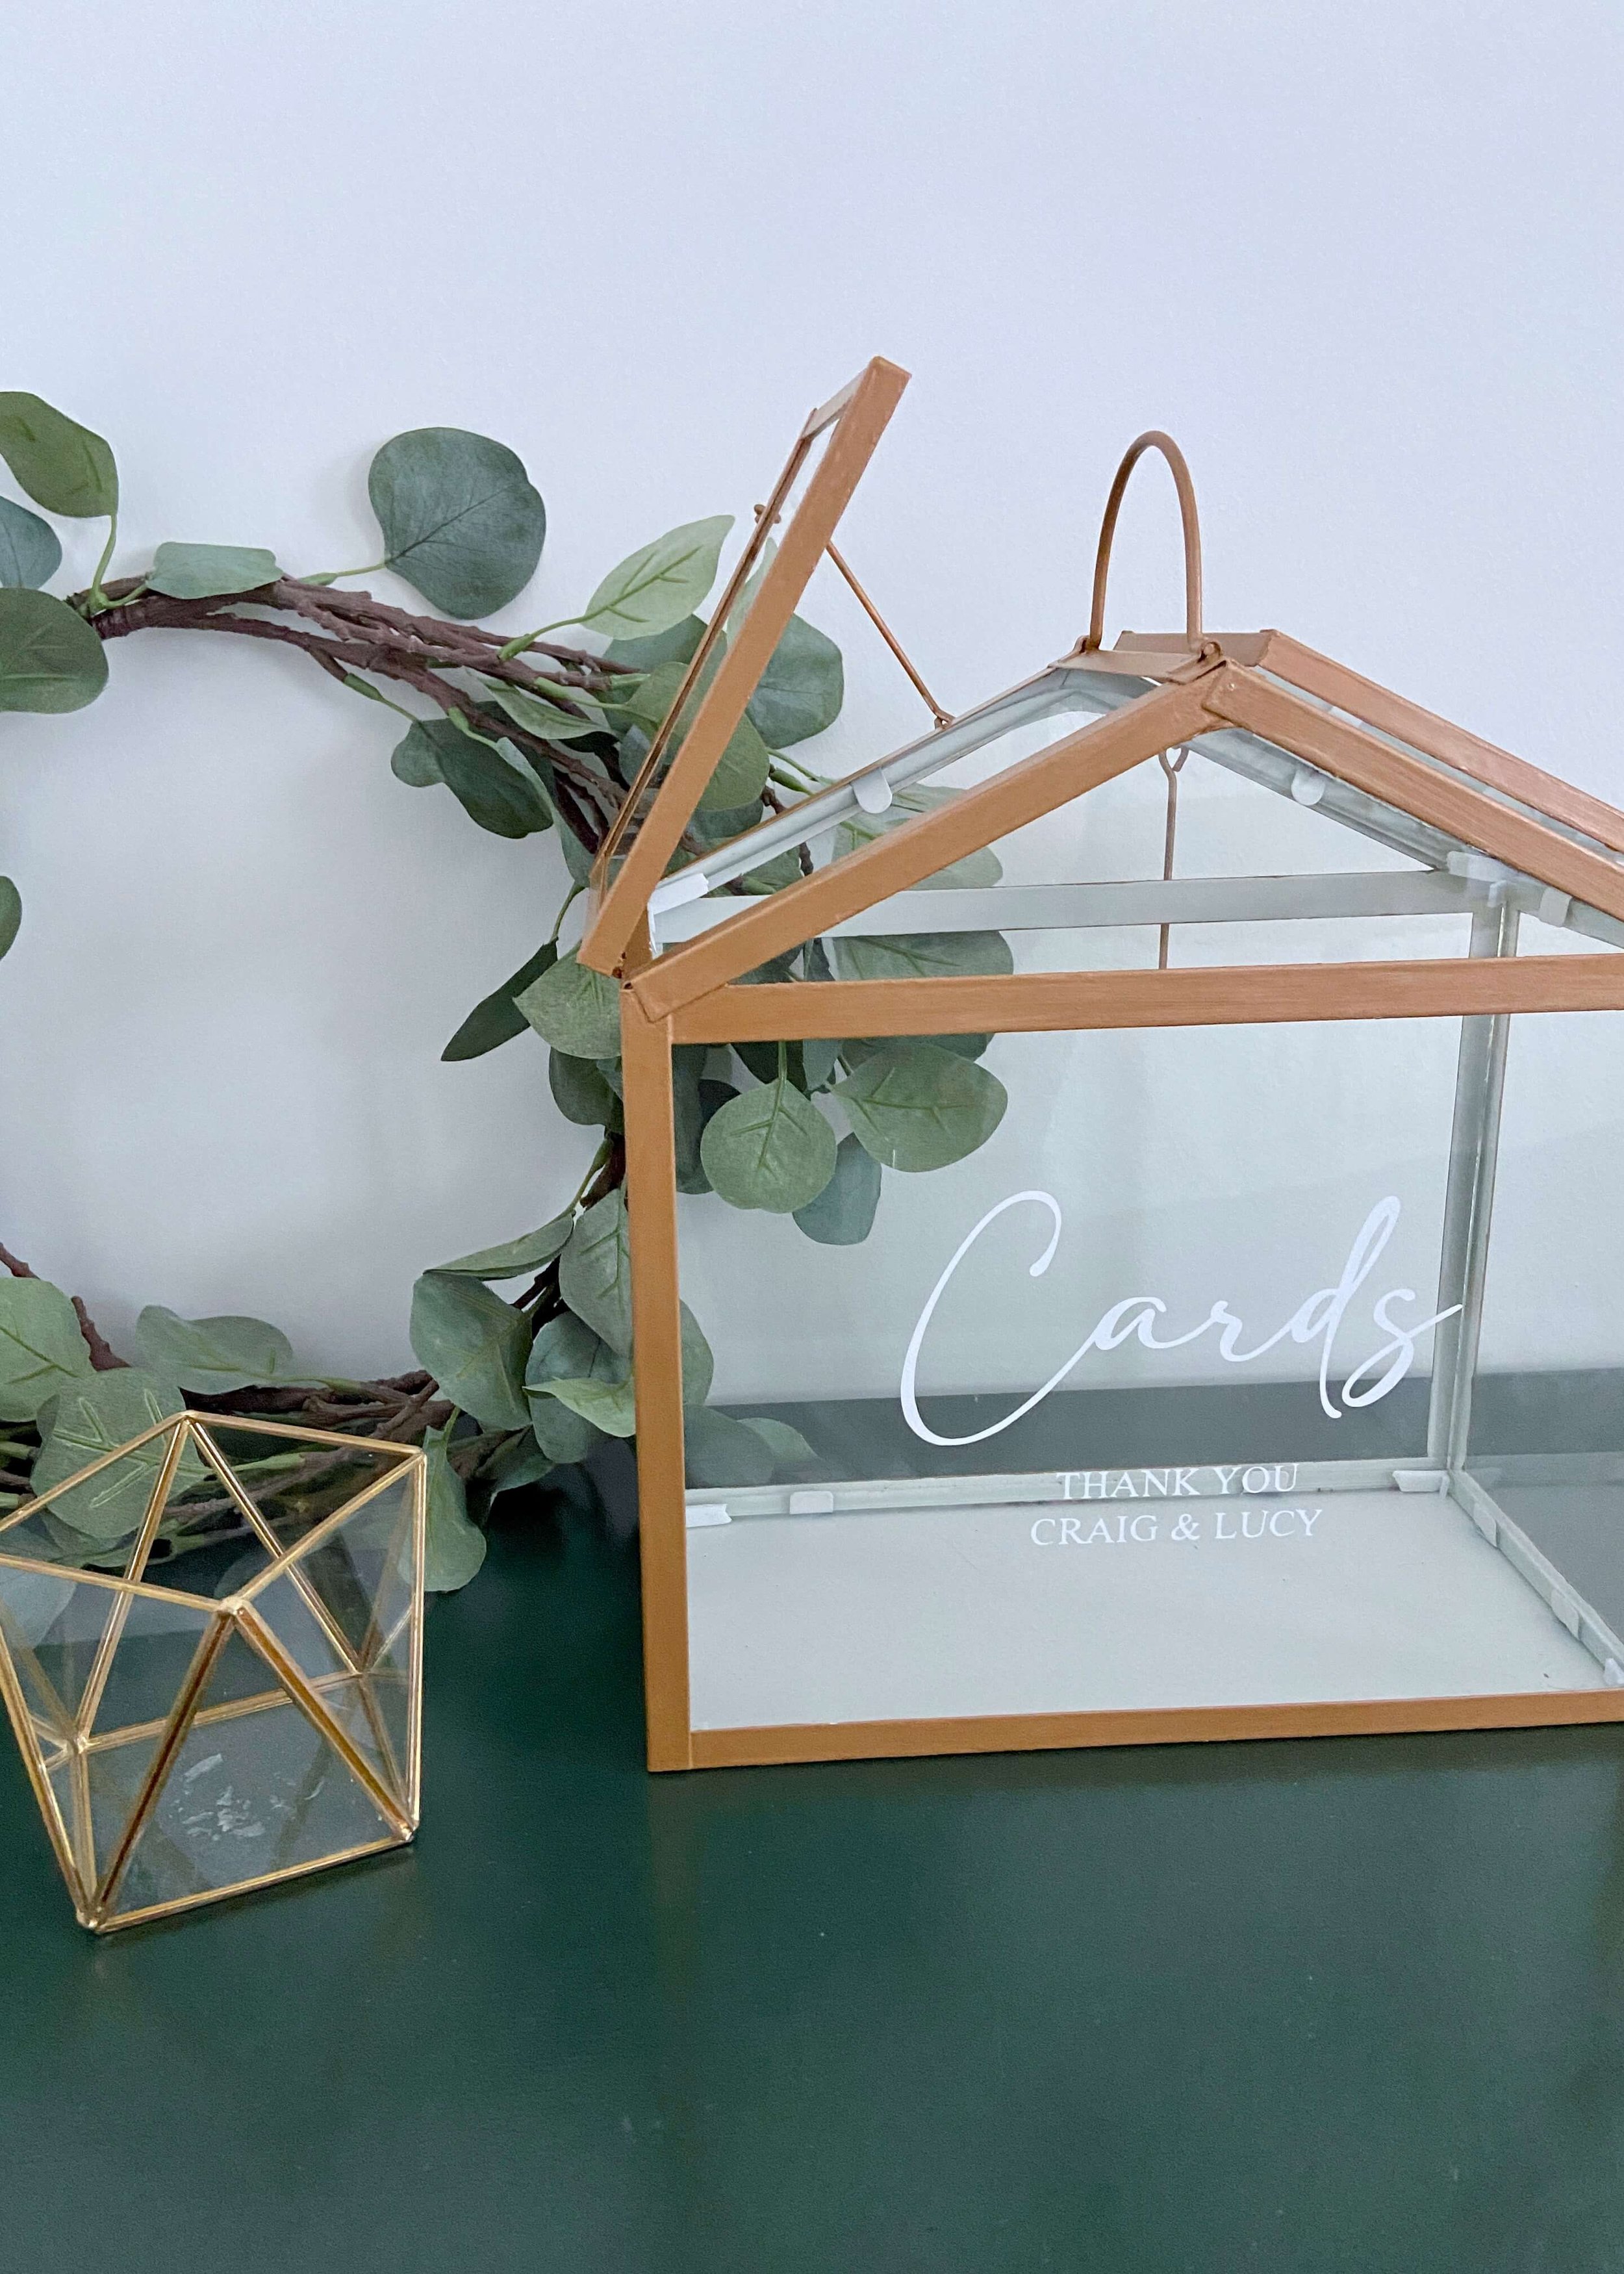
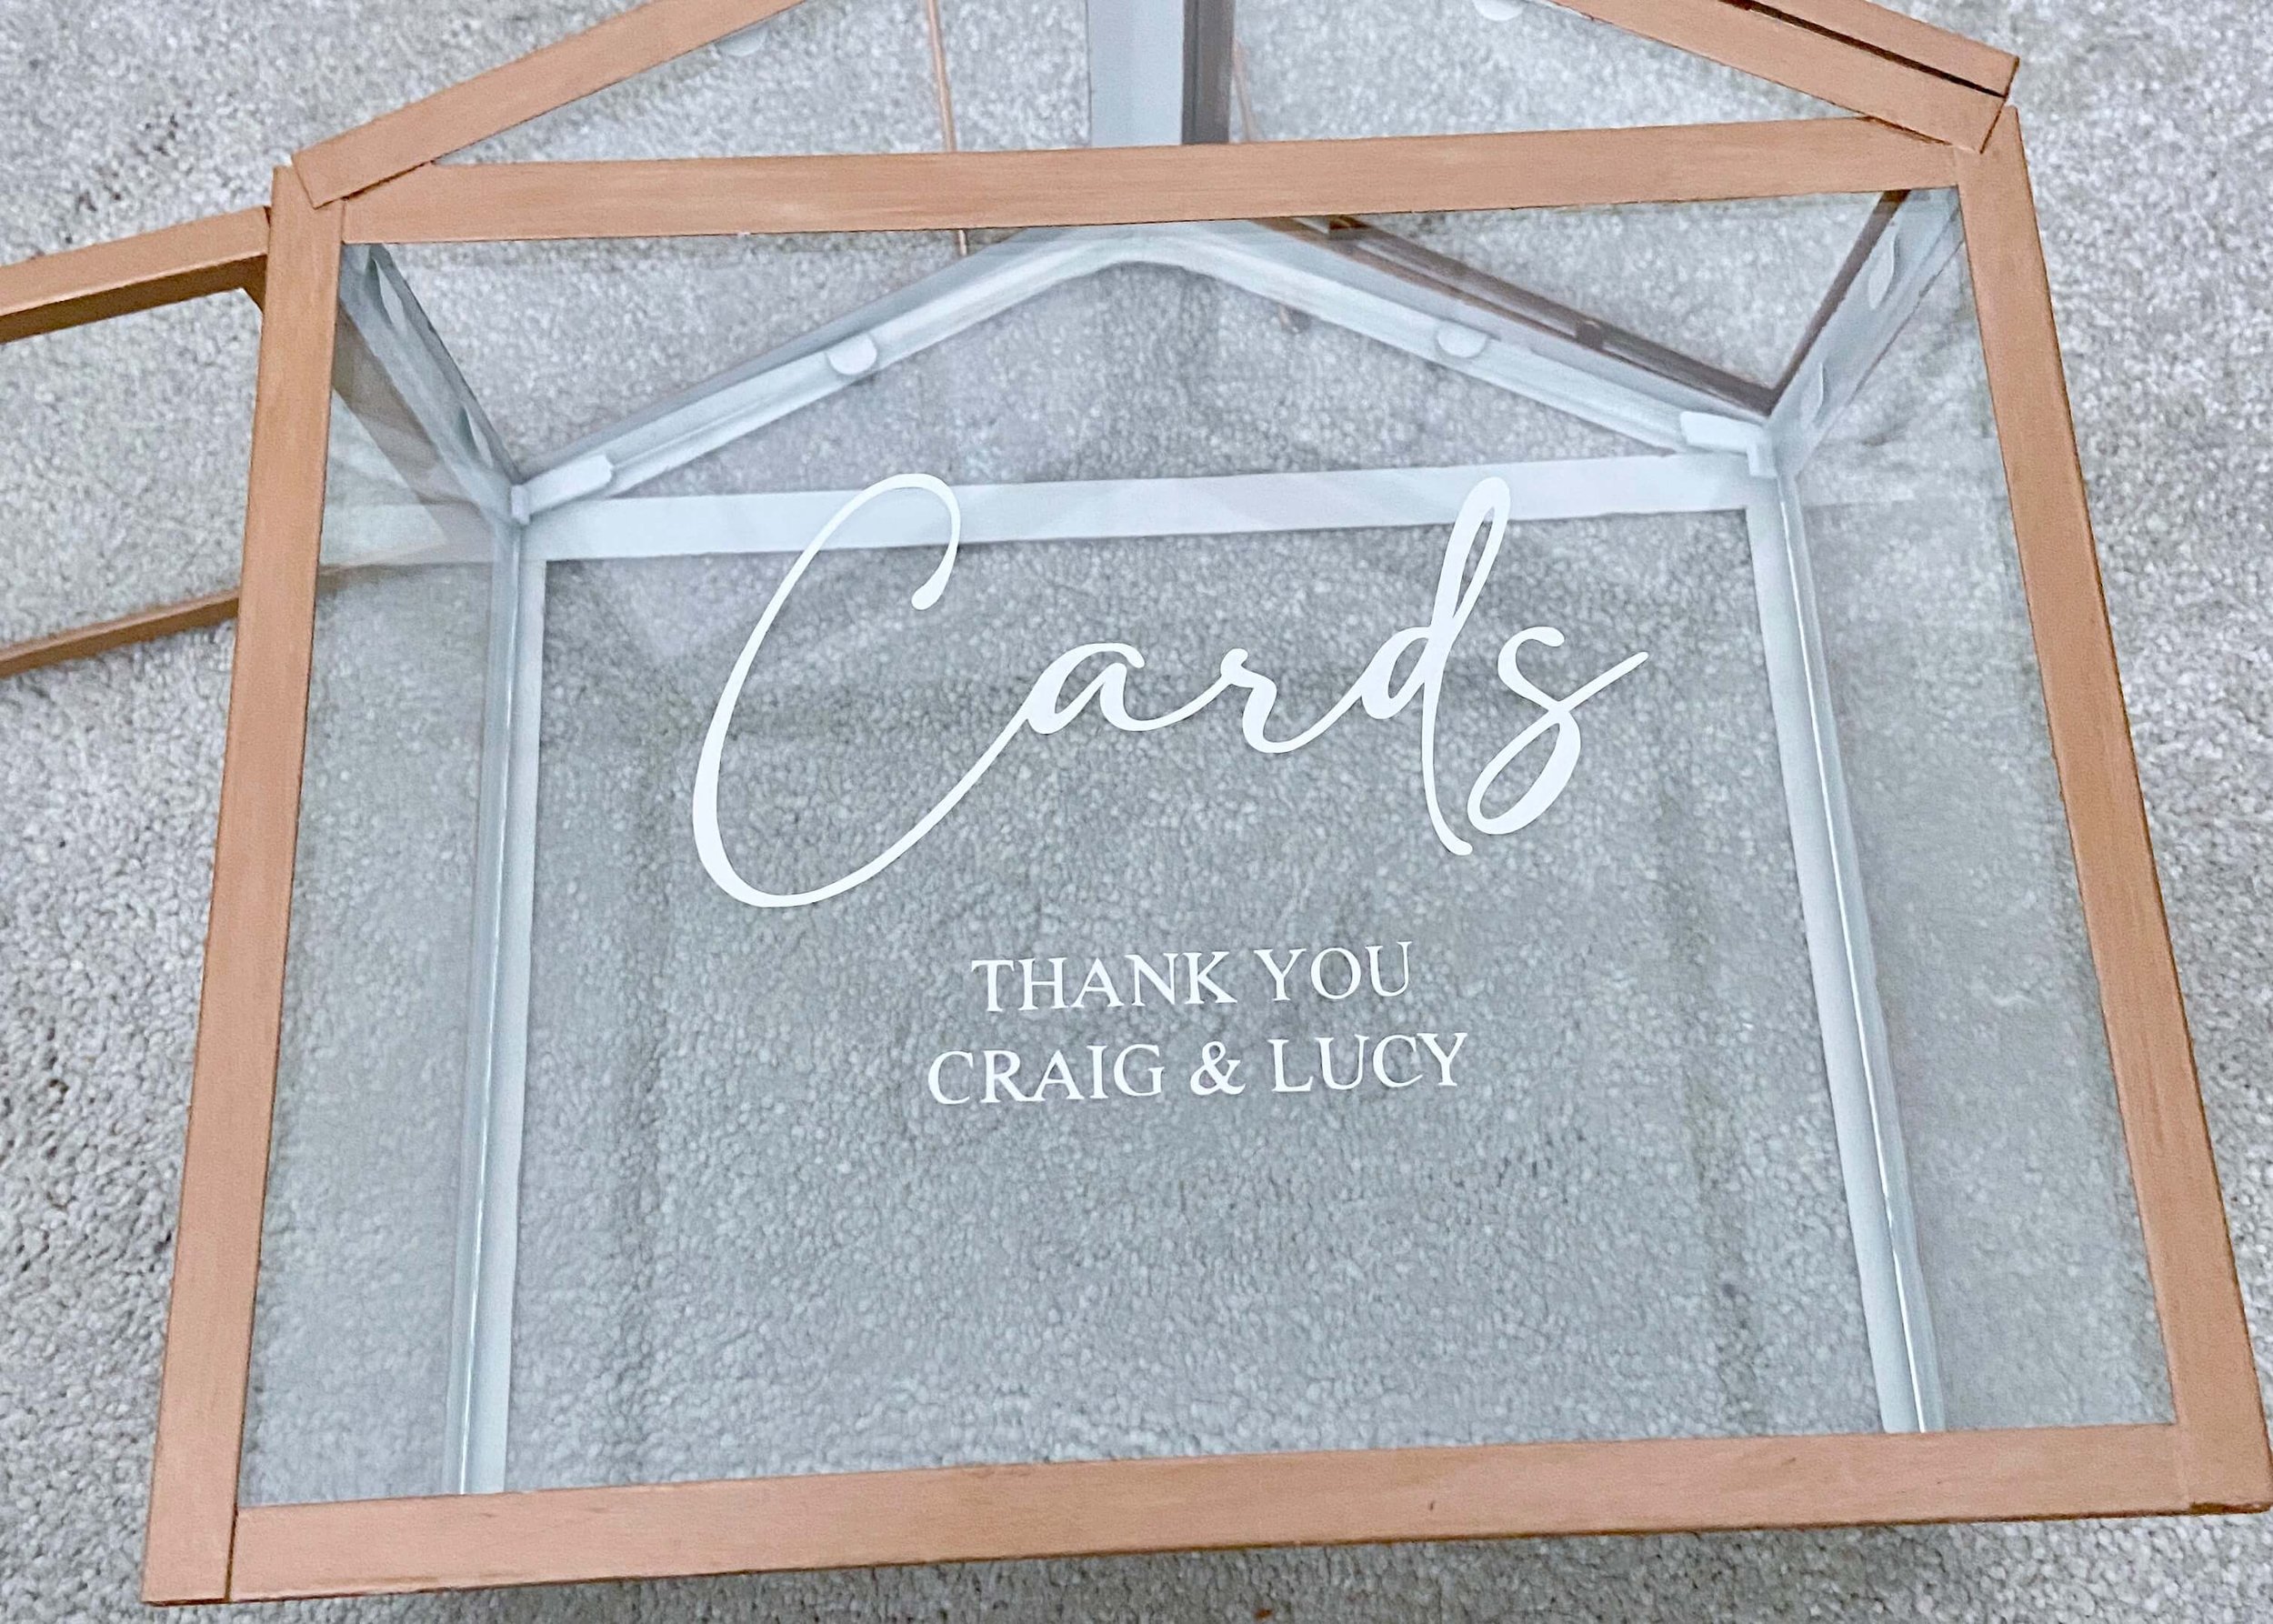
How to create a wedding card box using a terrarium and Cricut!
One of the best weddings I ever went to was one that had lots of lovely homemade details. As a crafter myself, I always planned to make as much as I could if I were to ever get married, and so now I’m 6 months away from the big day, I can’t wait to get started on the wedding crafts. I had seen various DIY card boxes using the Ikea Socker greenhouse, so when I saw this mini greenhouse in Primark Home for £10, I had to get it and had a go at making my own version. I initially thought that I would write on it with a copper marker, but I was lucky enough to get a Cricut Maker recently and so decided to have a go at putting white vinyl on the front. I love how it’s turned out and cant wait to use it. If you want to make one yourself, you can keep reading to find out what I used and how I did it…

Glass terrarium
Multi-surface paint


1.
First of all, find a terrarium or mini greenhouse and give it a good clean. I found mine for just £10 at Primark.

2.
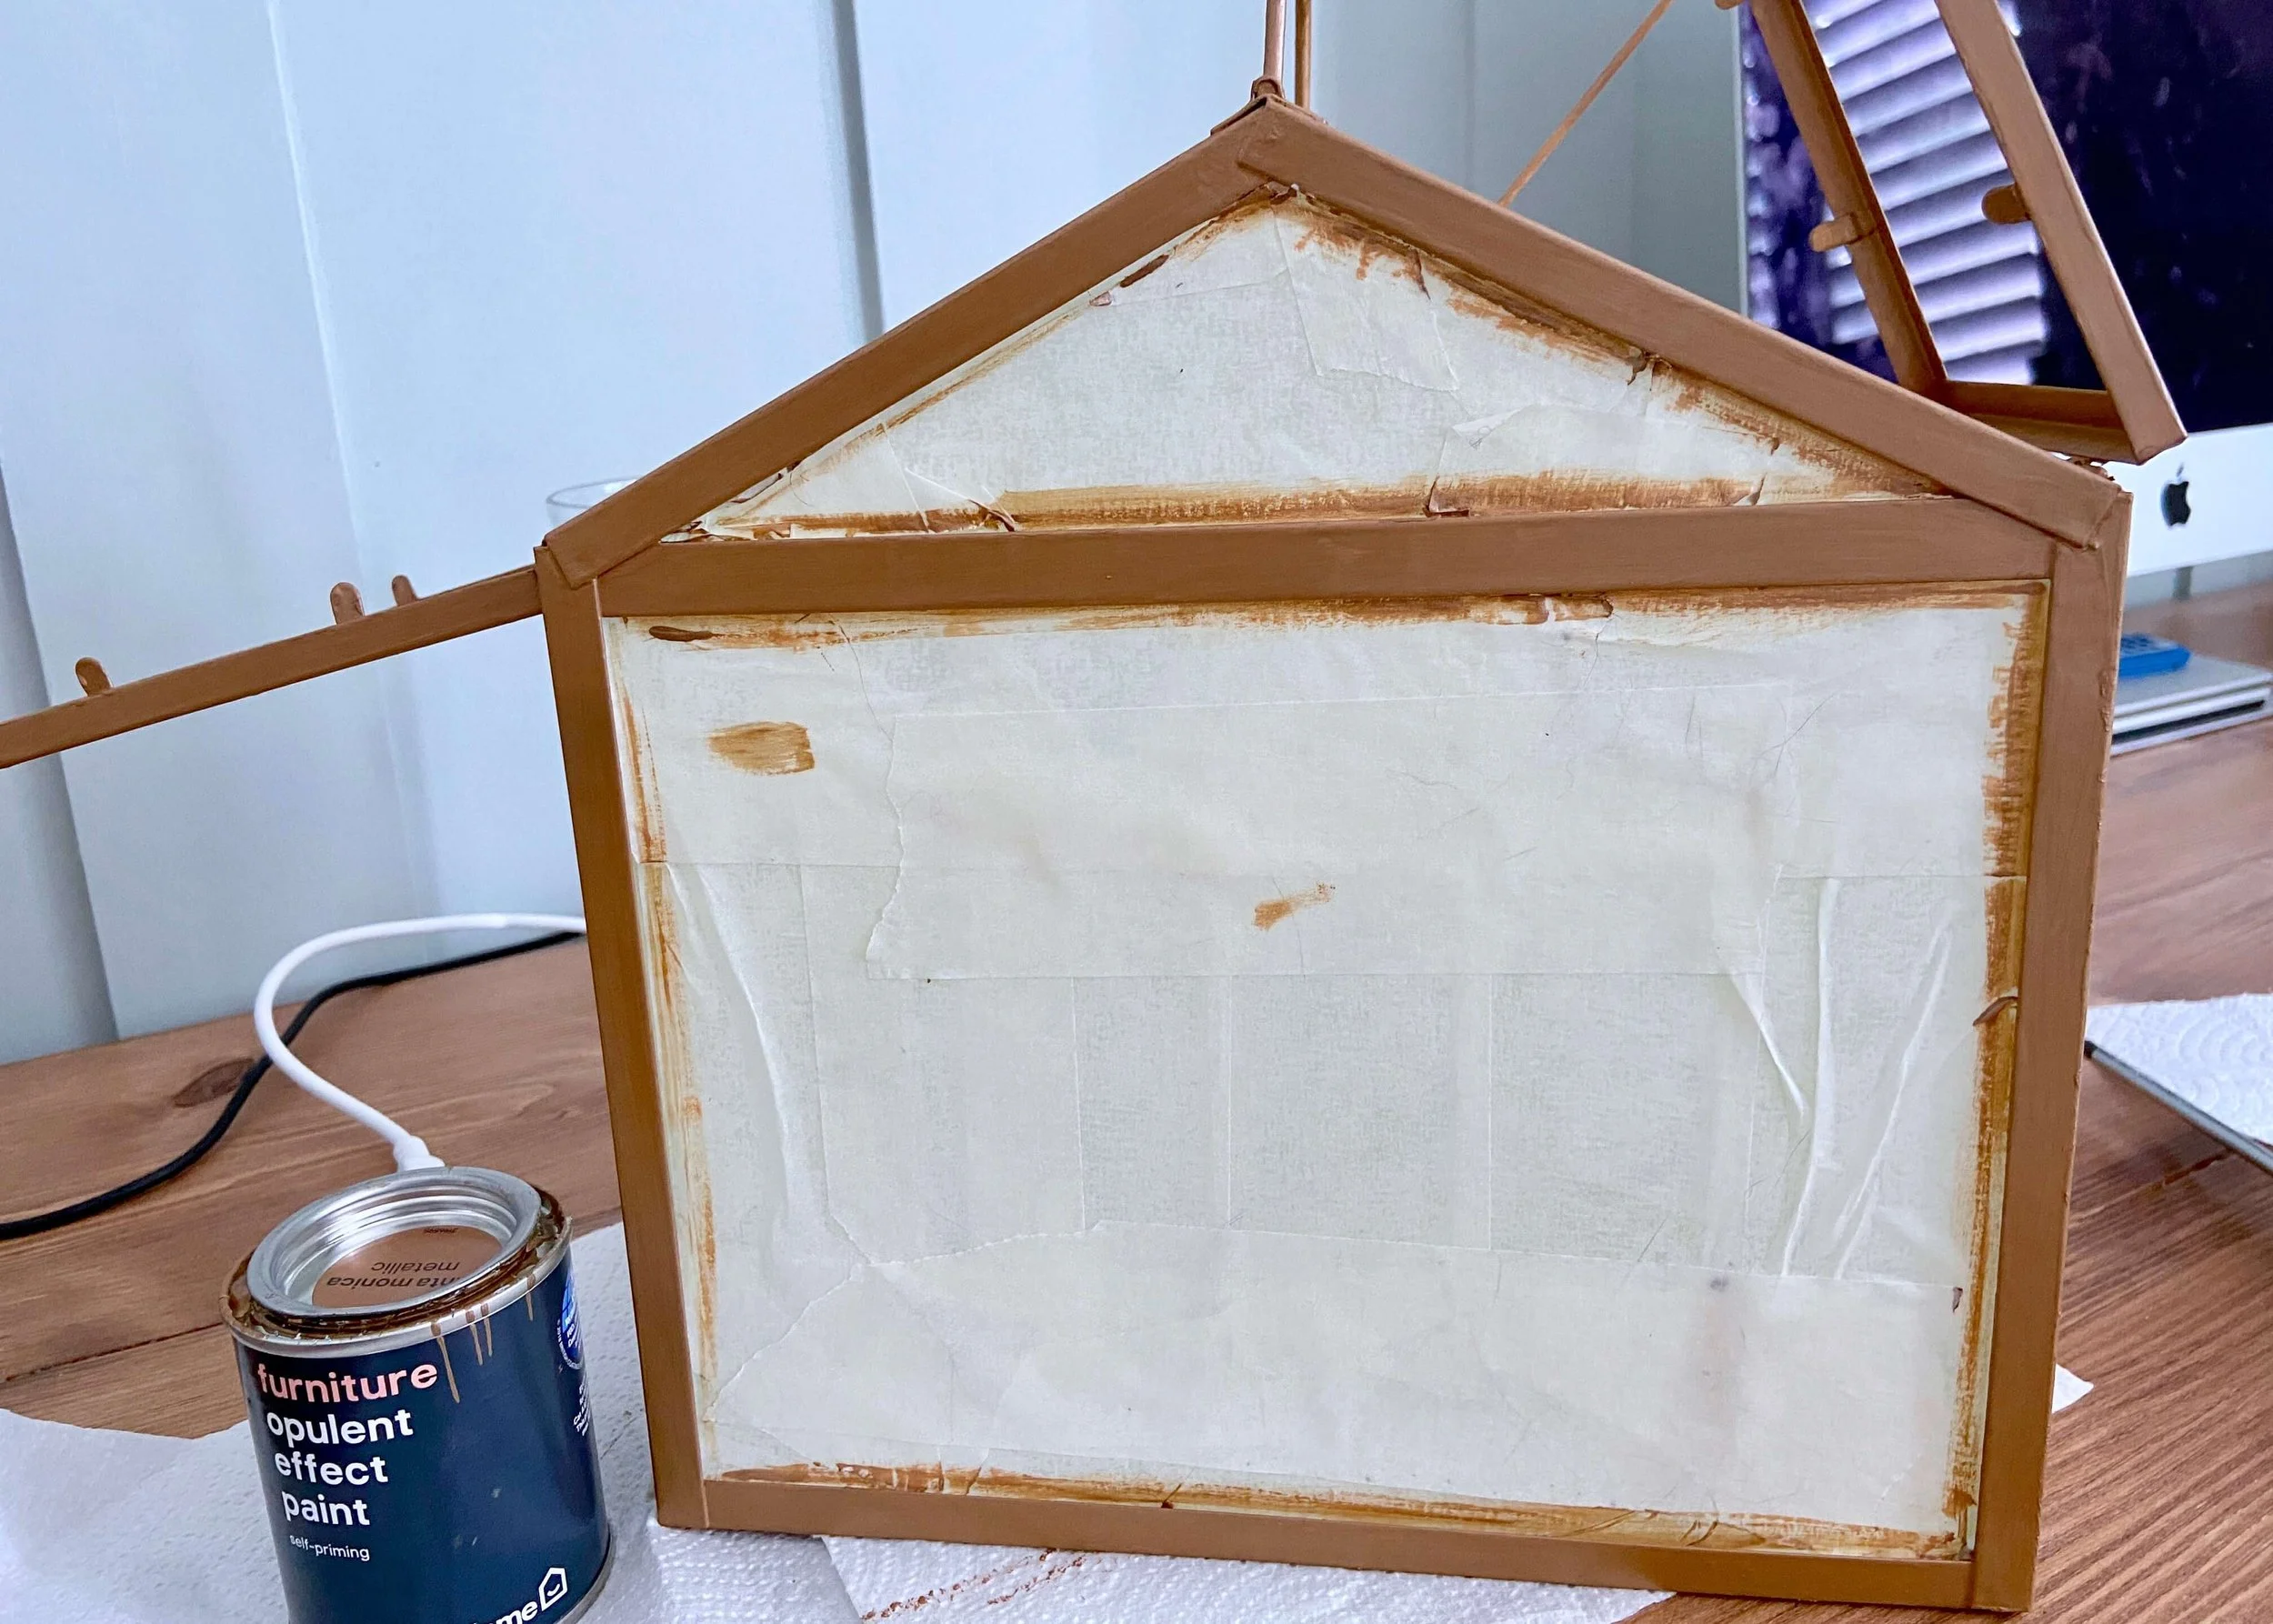
Next, remove any glass that you can, and cover any that you can’t with masking or painter’s tape. If you’re using spray paint be sure to do this on the inside and outside of the glass.

3.
Once the glass is covered, paint the outside with a paint suitable for metal in your chosen colour. I used a furniture paint suitable for metal in a bronze shade.
4.
The paint I used didn’t have great coverage and so I had to paint several layers and then touch up afterwards.
5.
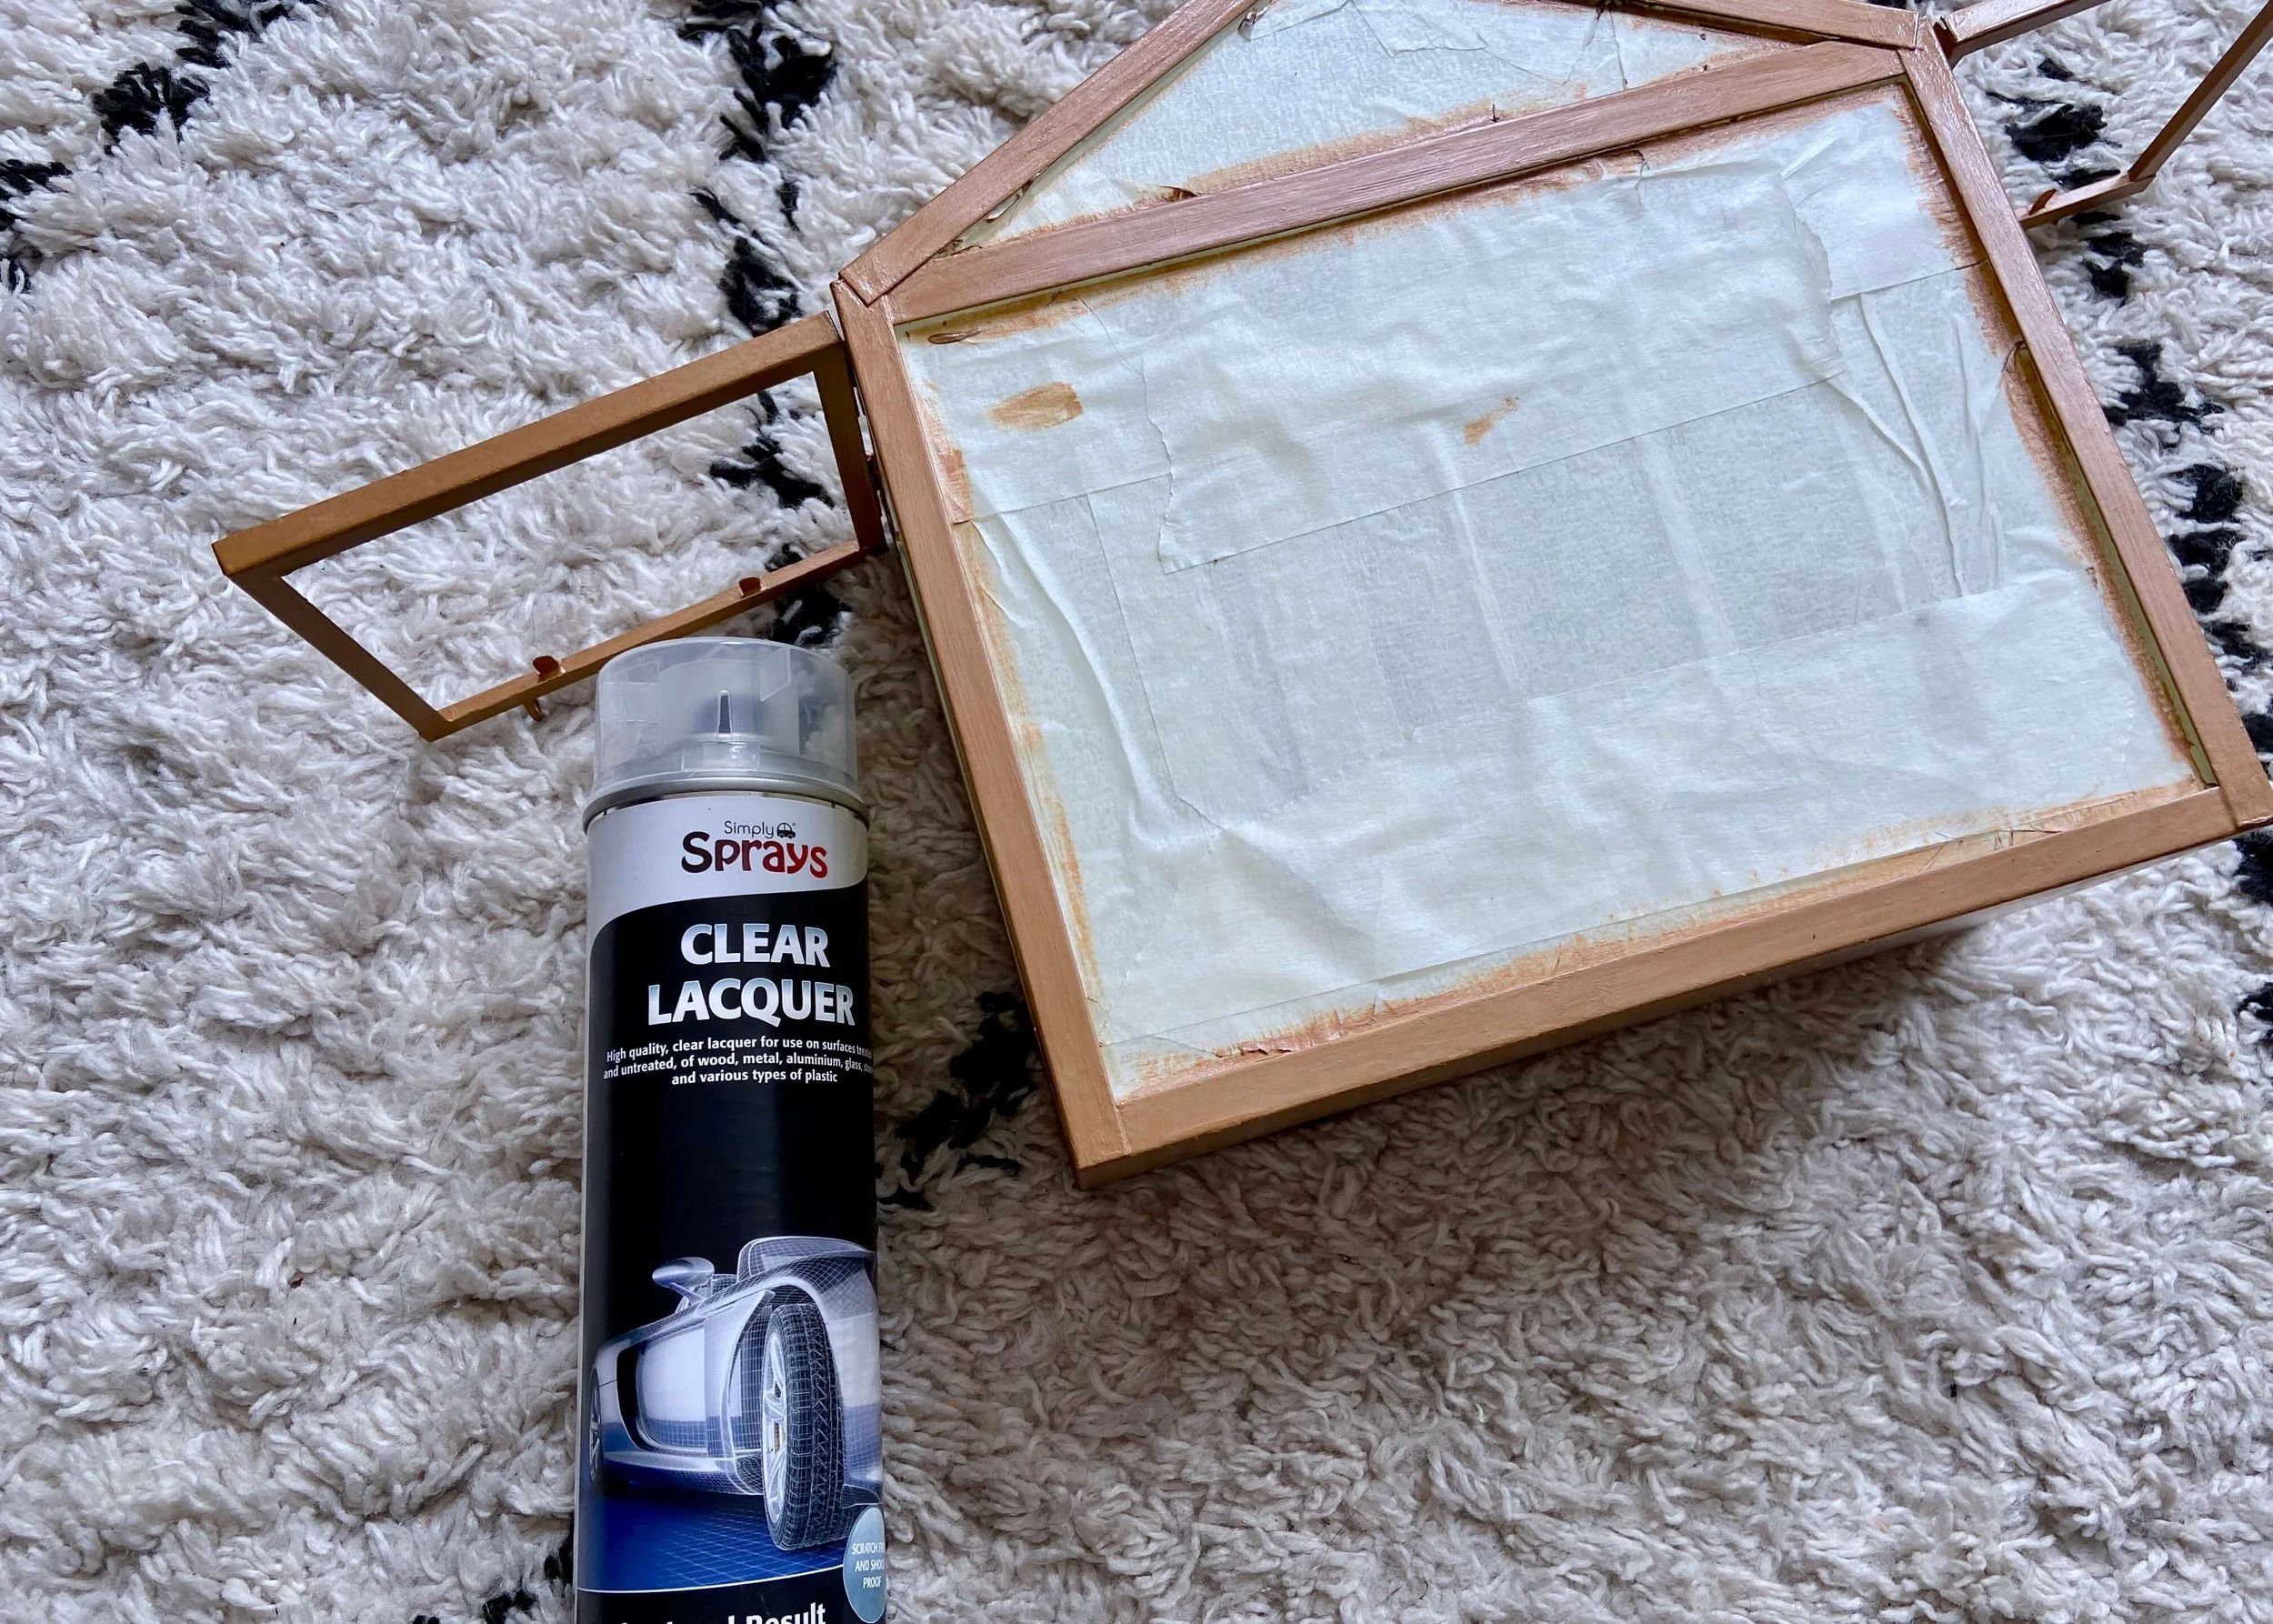
To protect my paint work, I then sealed with a clear lacquer. When this was dry I remove all of the masking tape.
6.
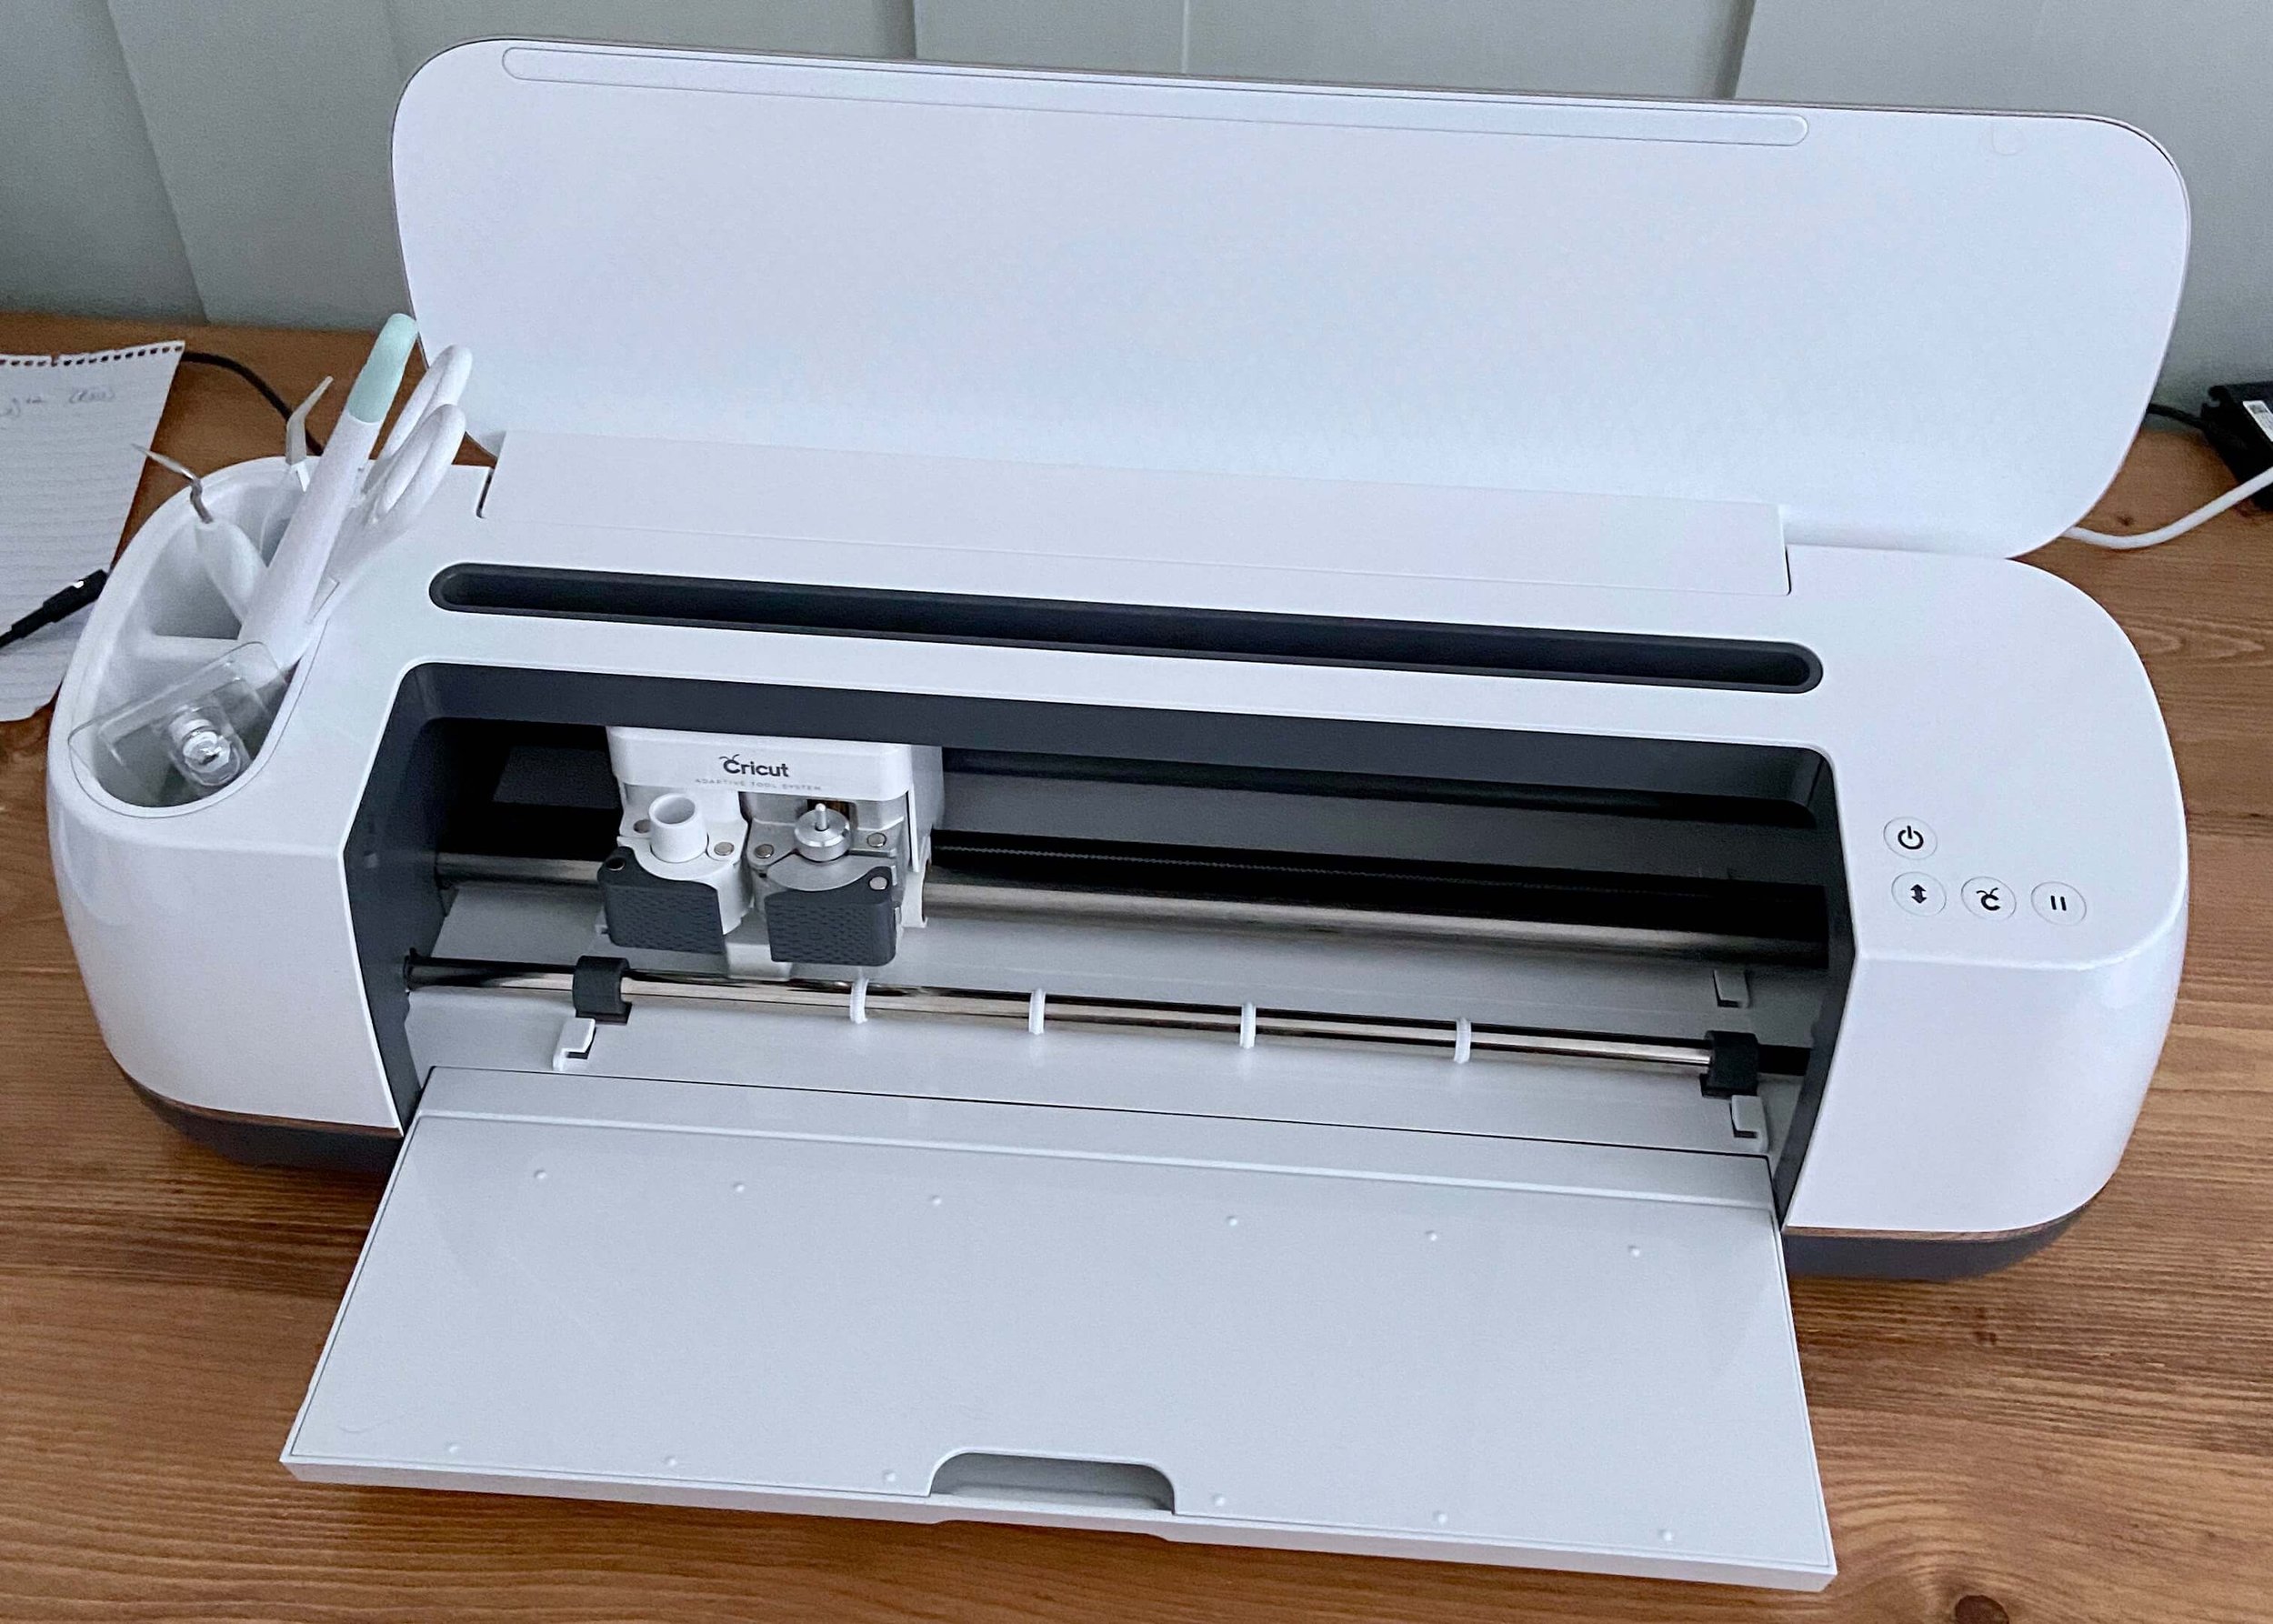
Next, I designed the text I wanted in Photoshop and imported this into Design Space where I made it the size I wanted. I placed white vinyl onto the light-grip mat, loaded this into the Cricut and cut my text out using the fine point blade with pressure on ‘More’.

7.
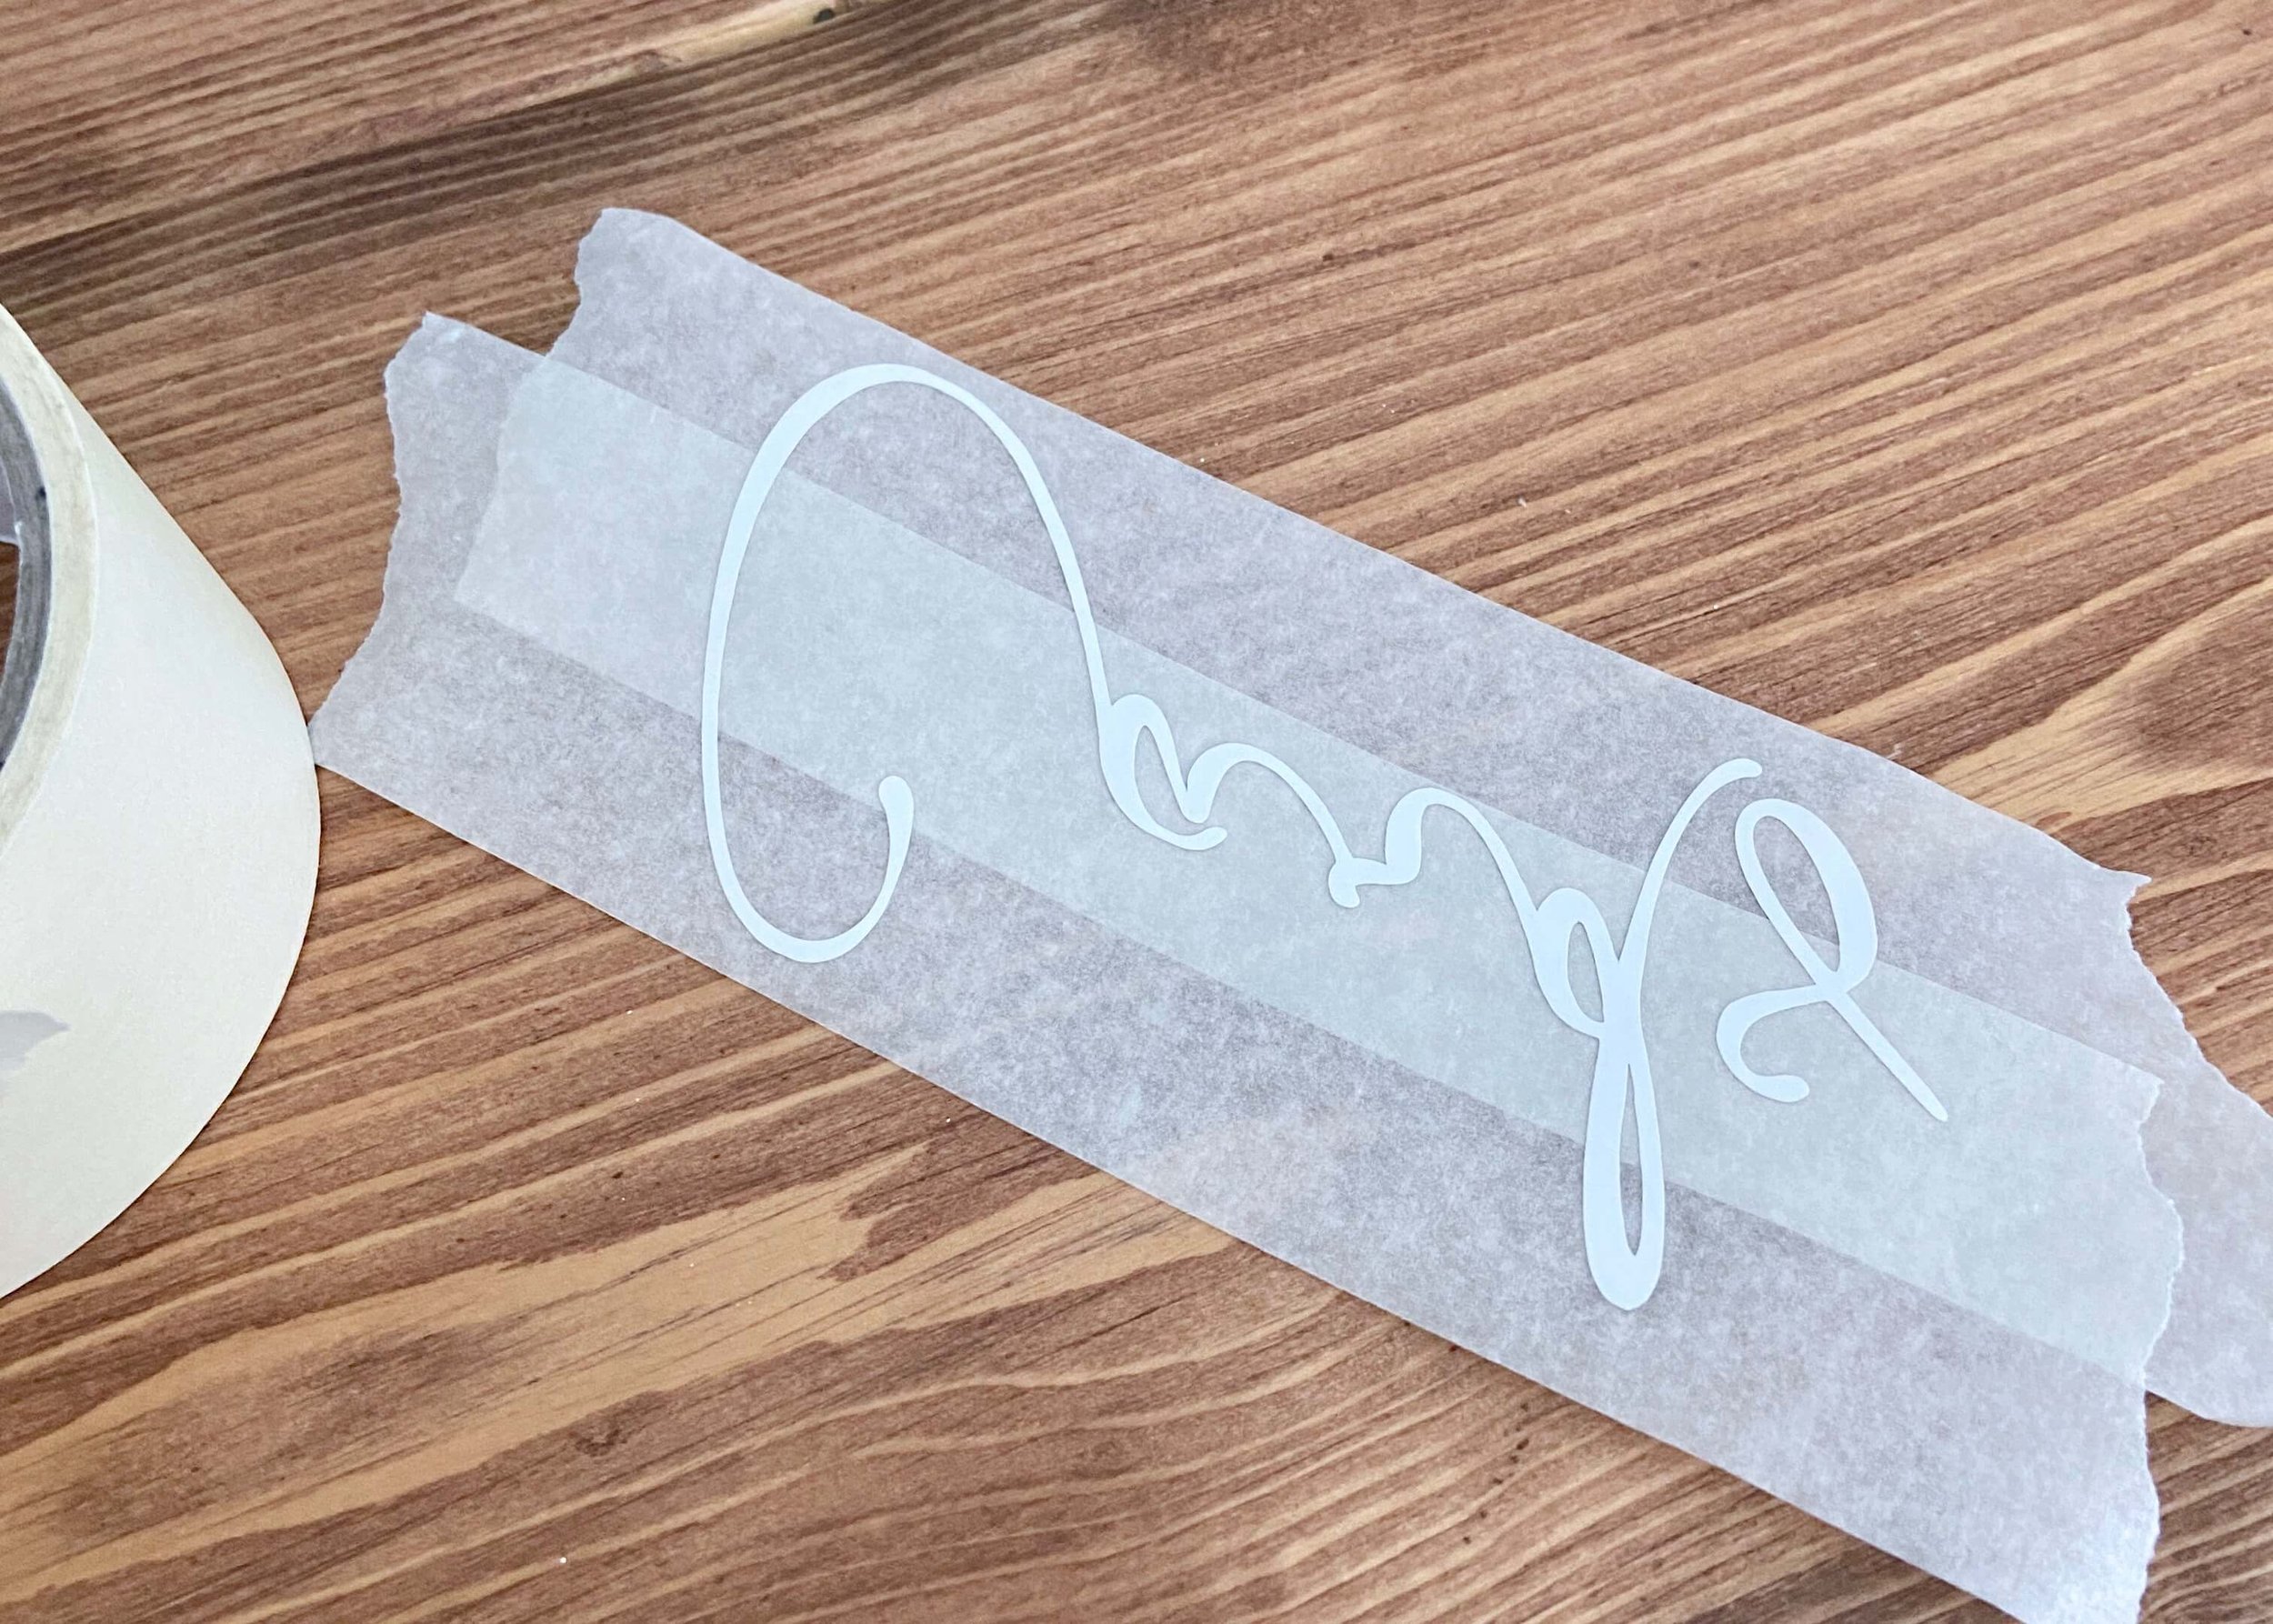
After two passes, I unloaded the mat and removed the top layer of the vinyl from the backing leaving the text on the backing.

8.
I then stuck two overlapping lengths of masking tape over the top of this and rubbed over the top to ensure the text is sufficiently stuck to the tape.
9.
I then flipped this over to that the masking tape was facing down, and peeled off the vinyl backing, leaving the text stuck to the tape.
10.
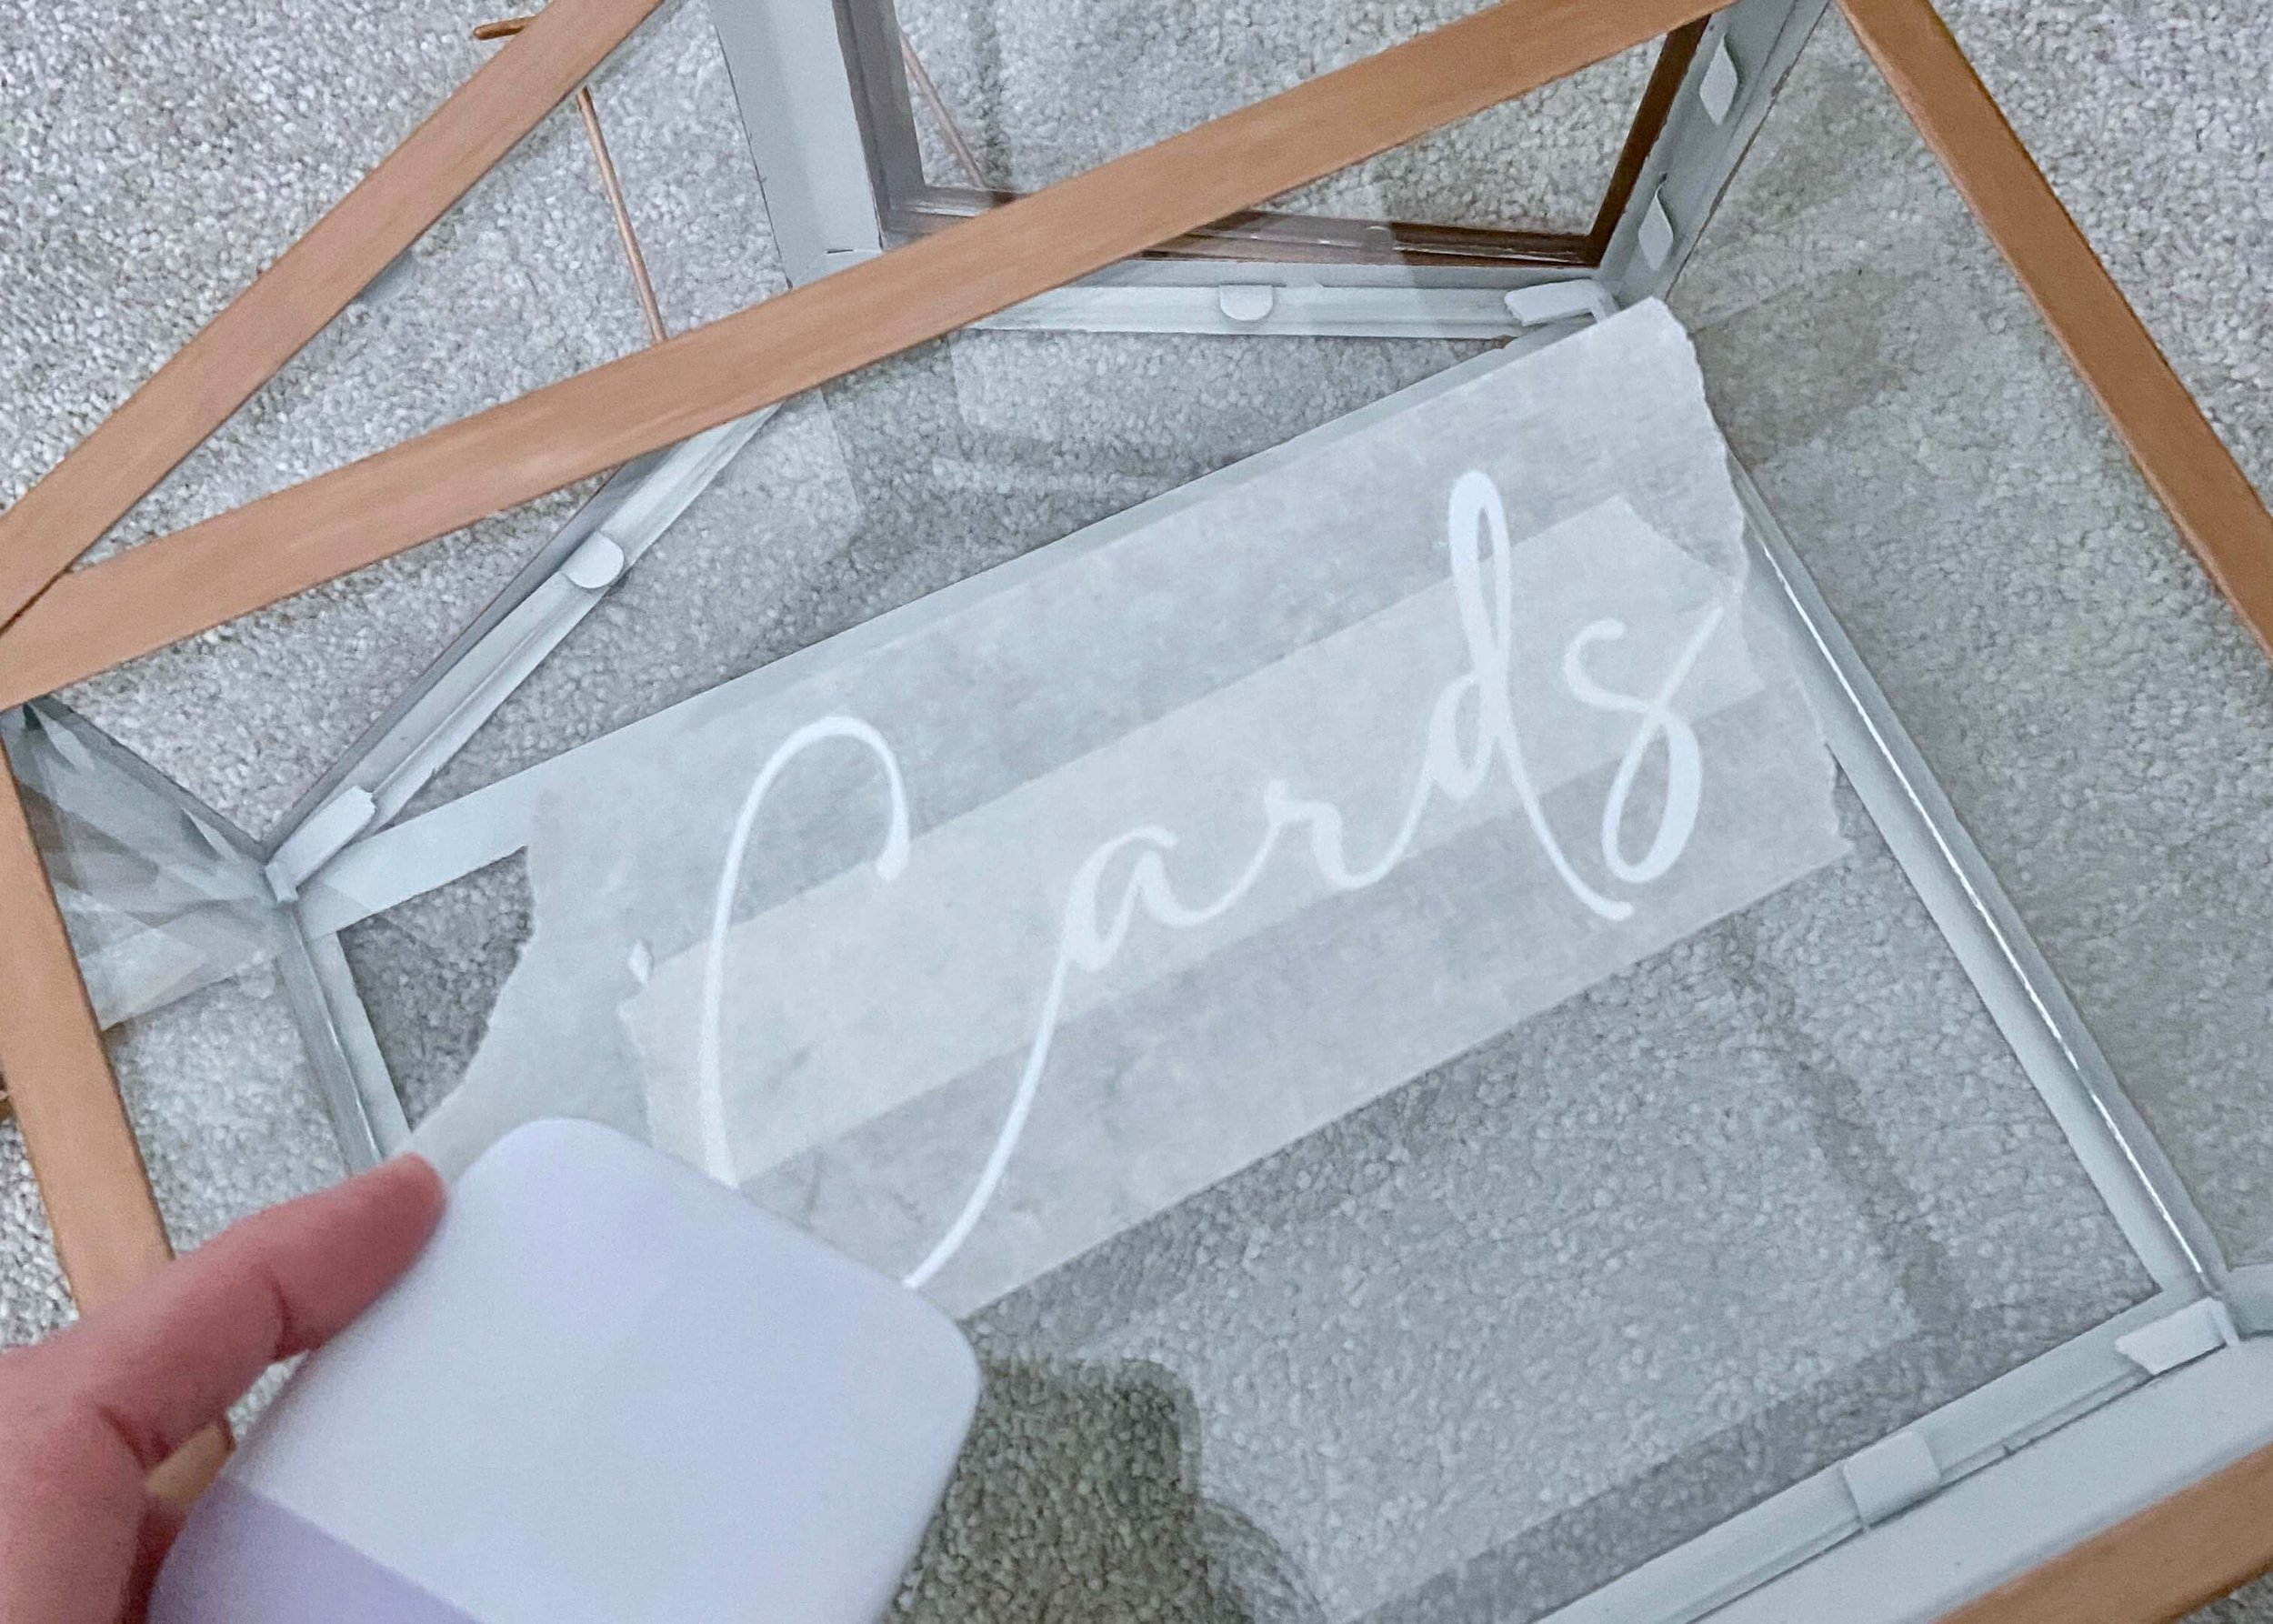
I then used this to position my text and stuck the tape where I wanted my text to be. I then rubbed over the top of this to transfer the text to the glass.
11.
I then carefully removed the masking tape to leave the text in place.