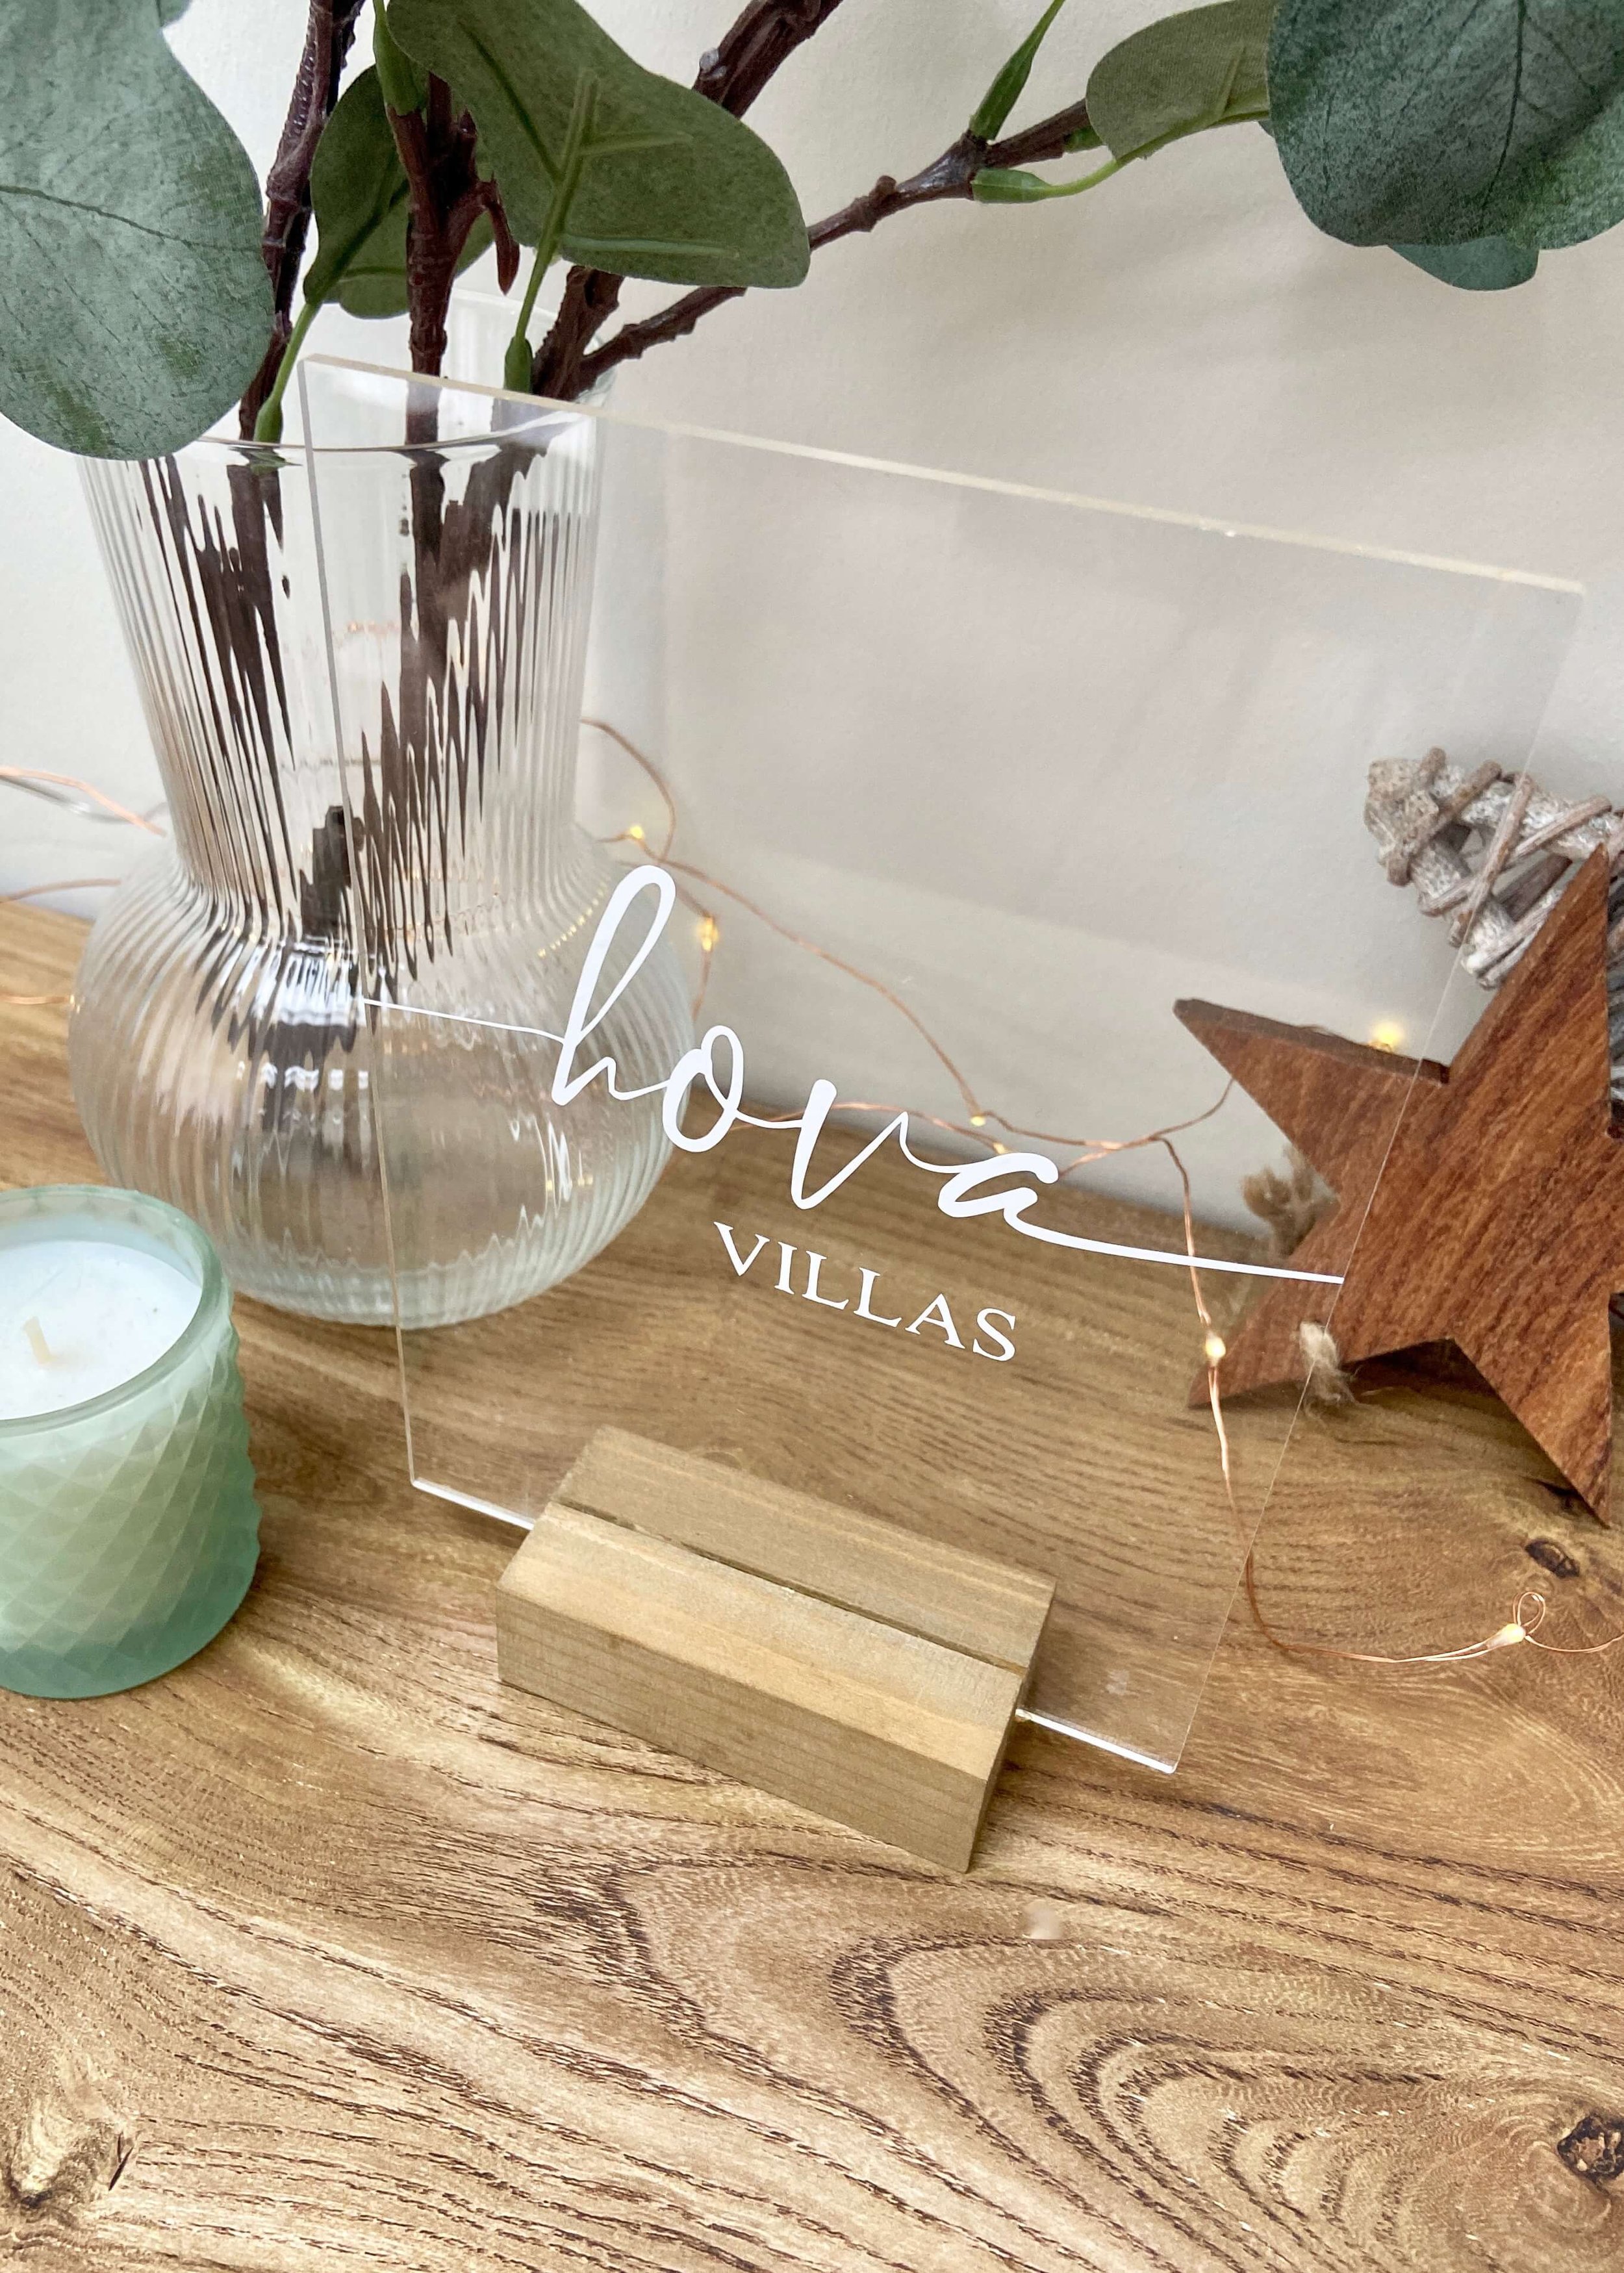
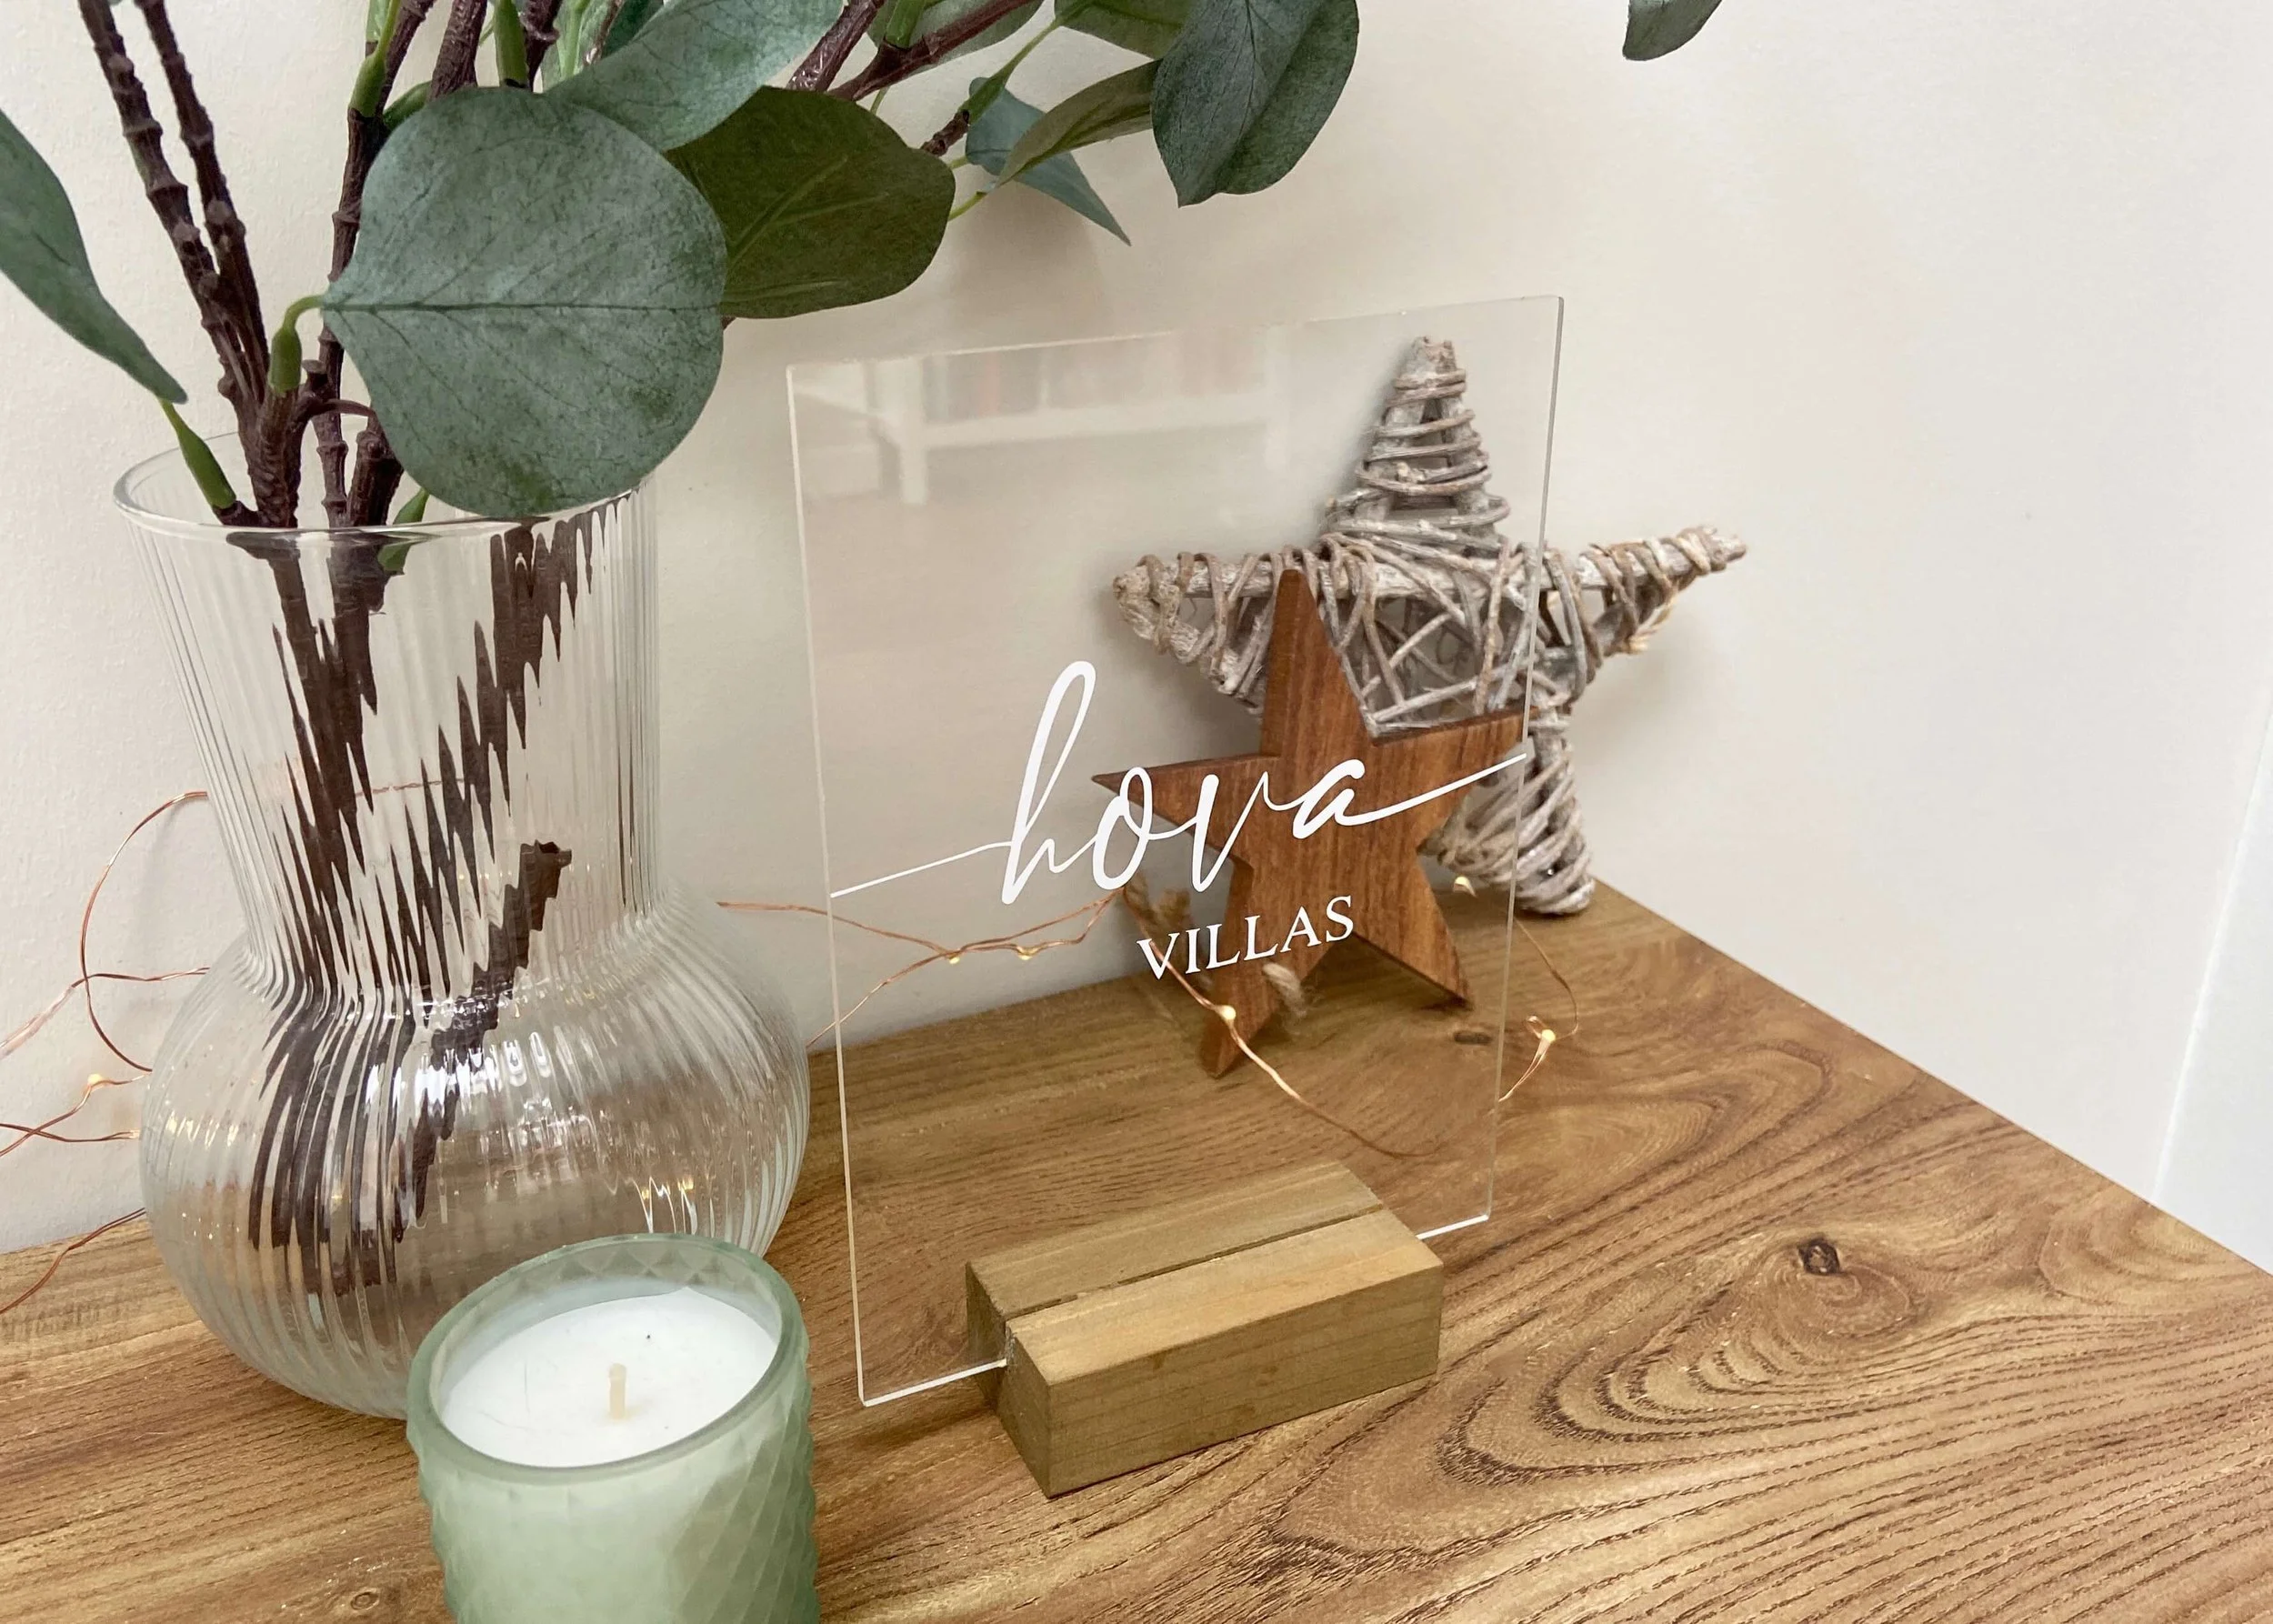
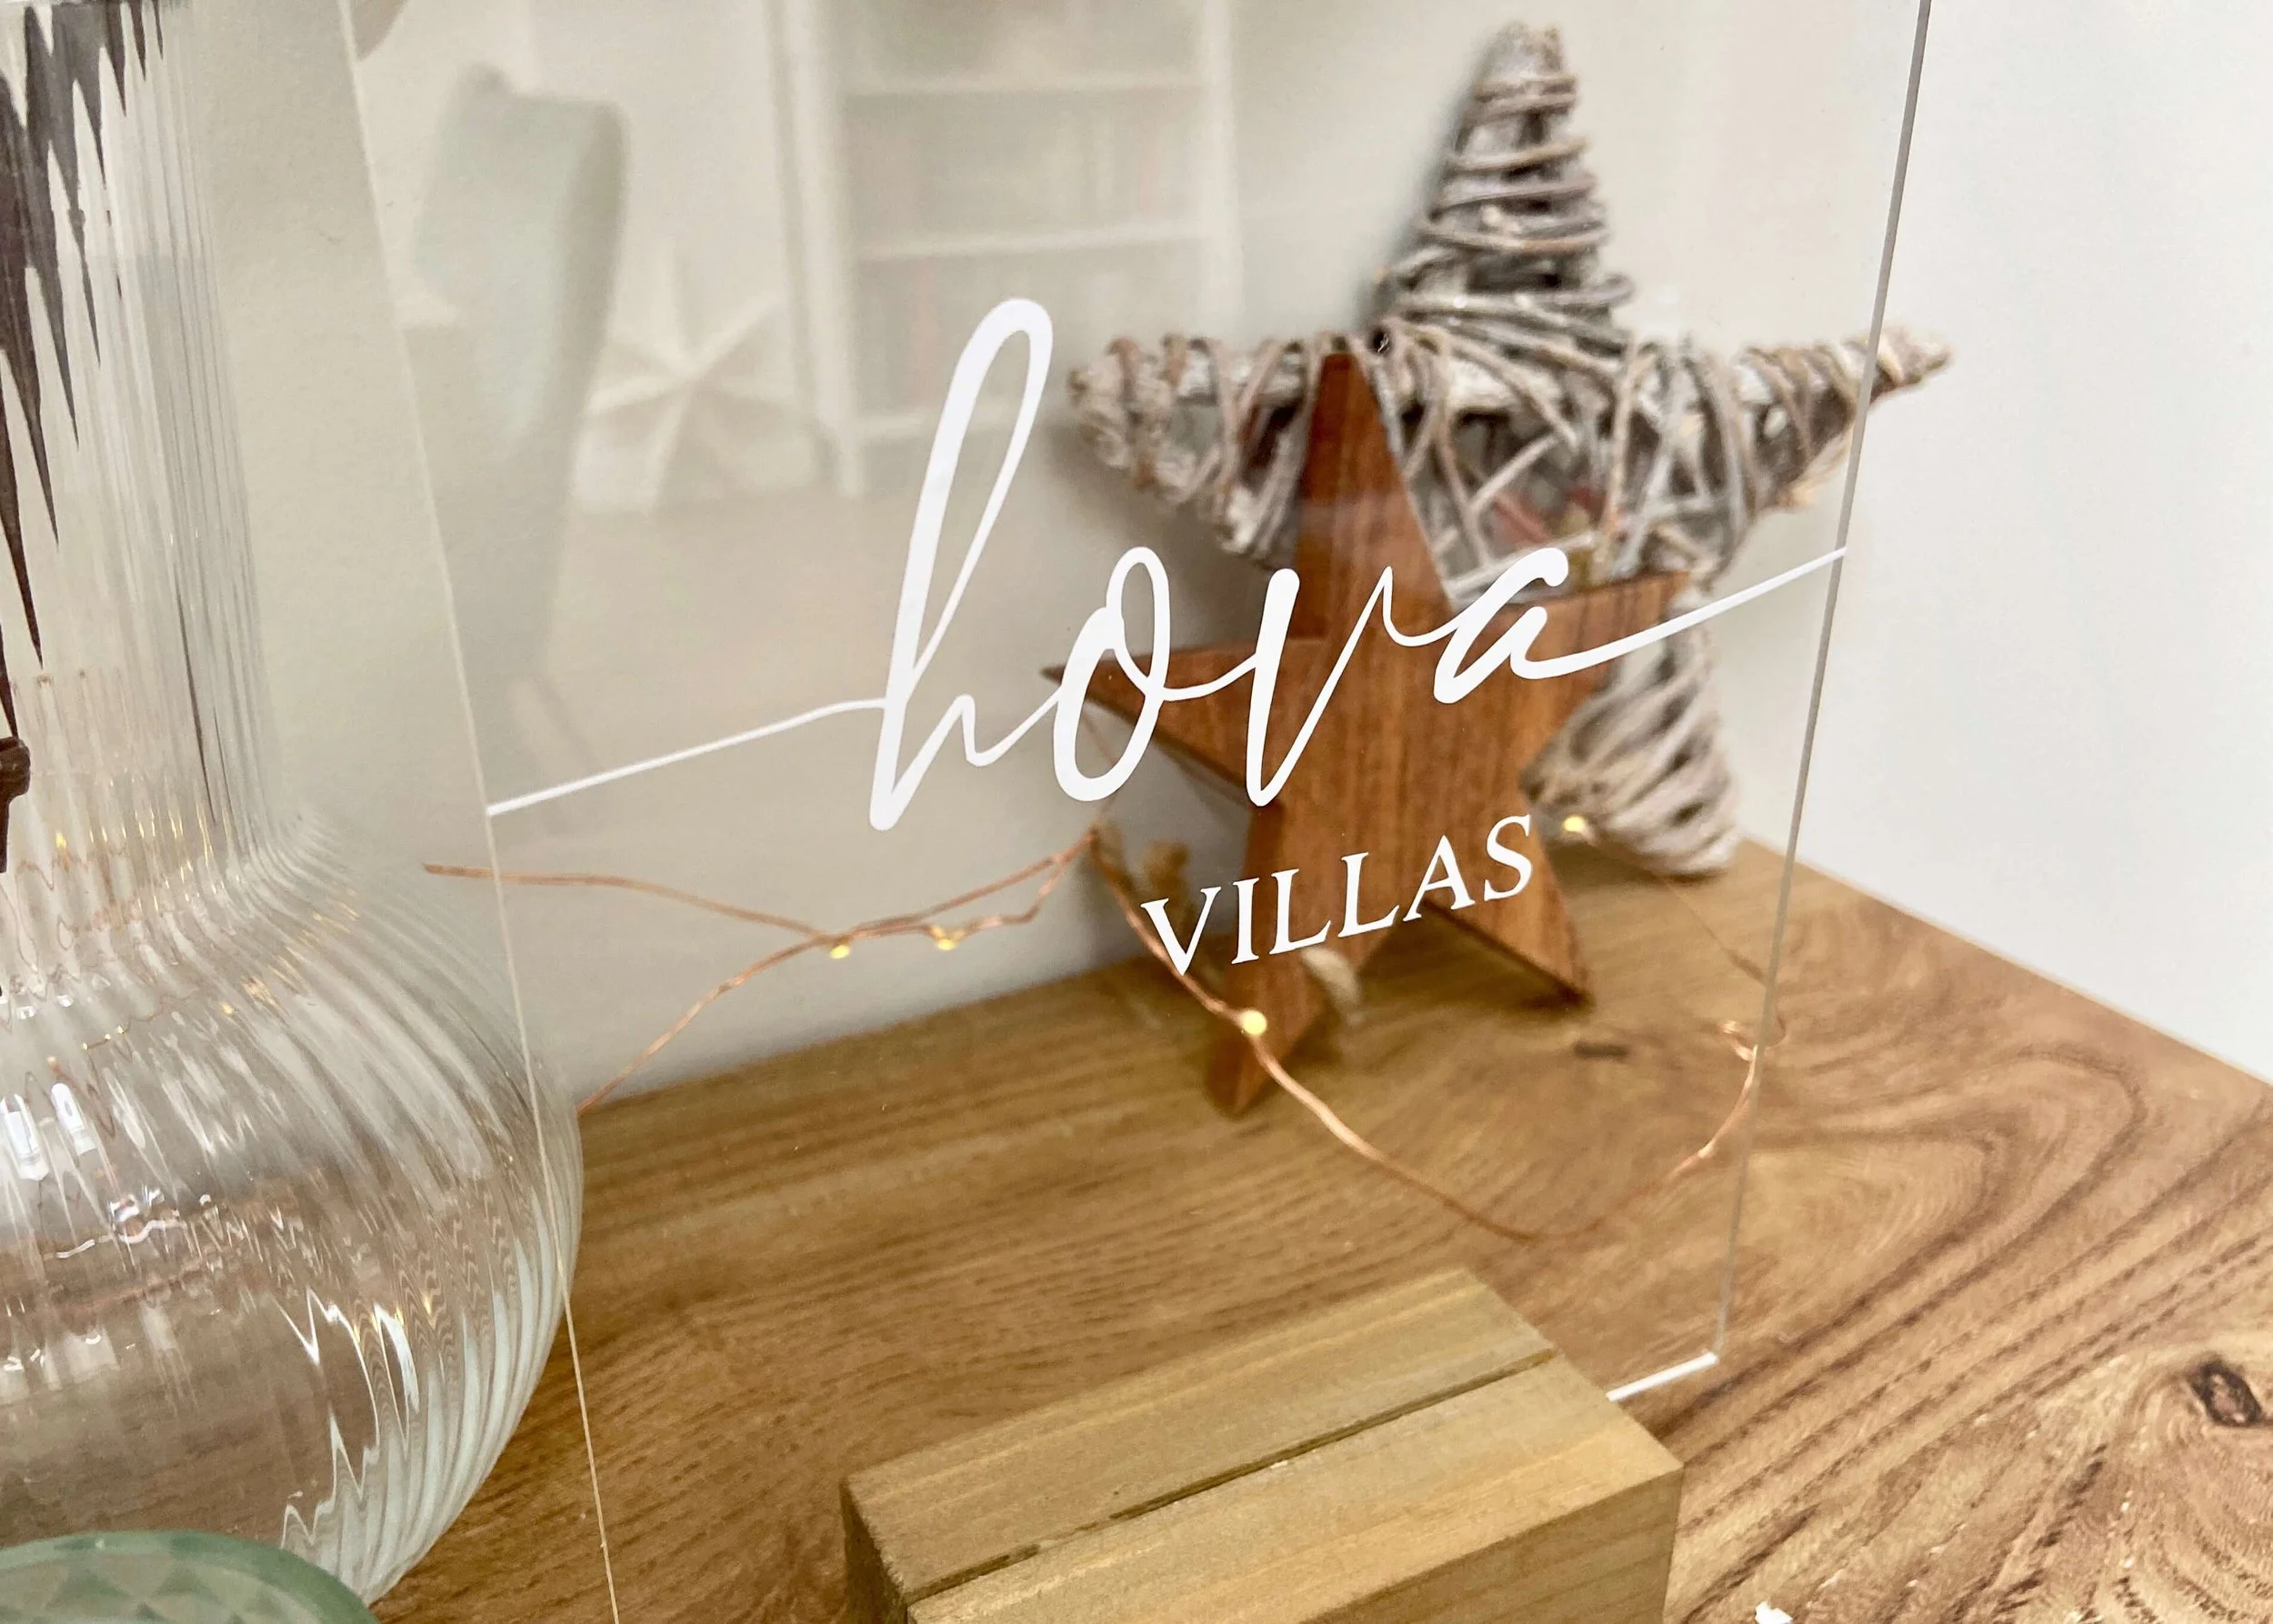
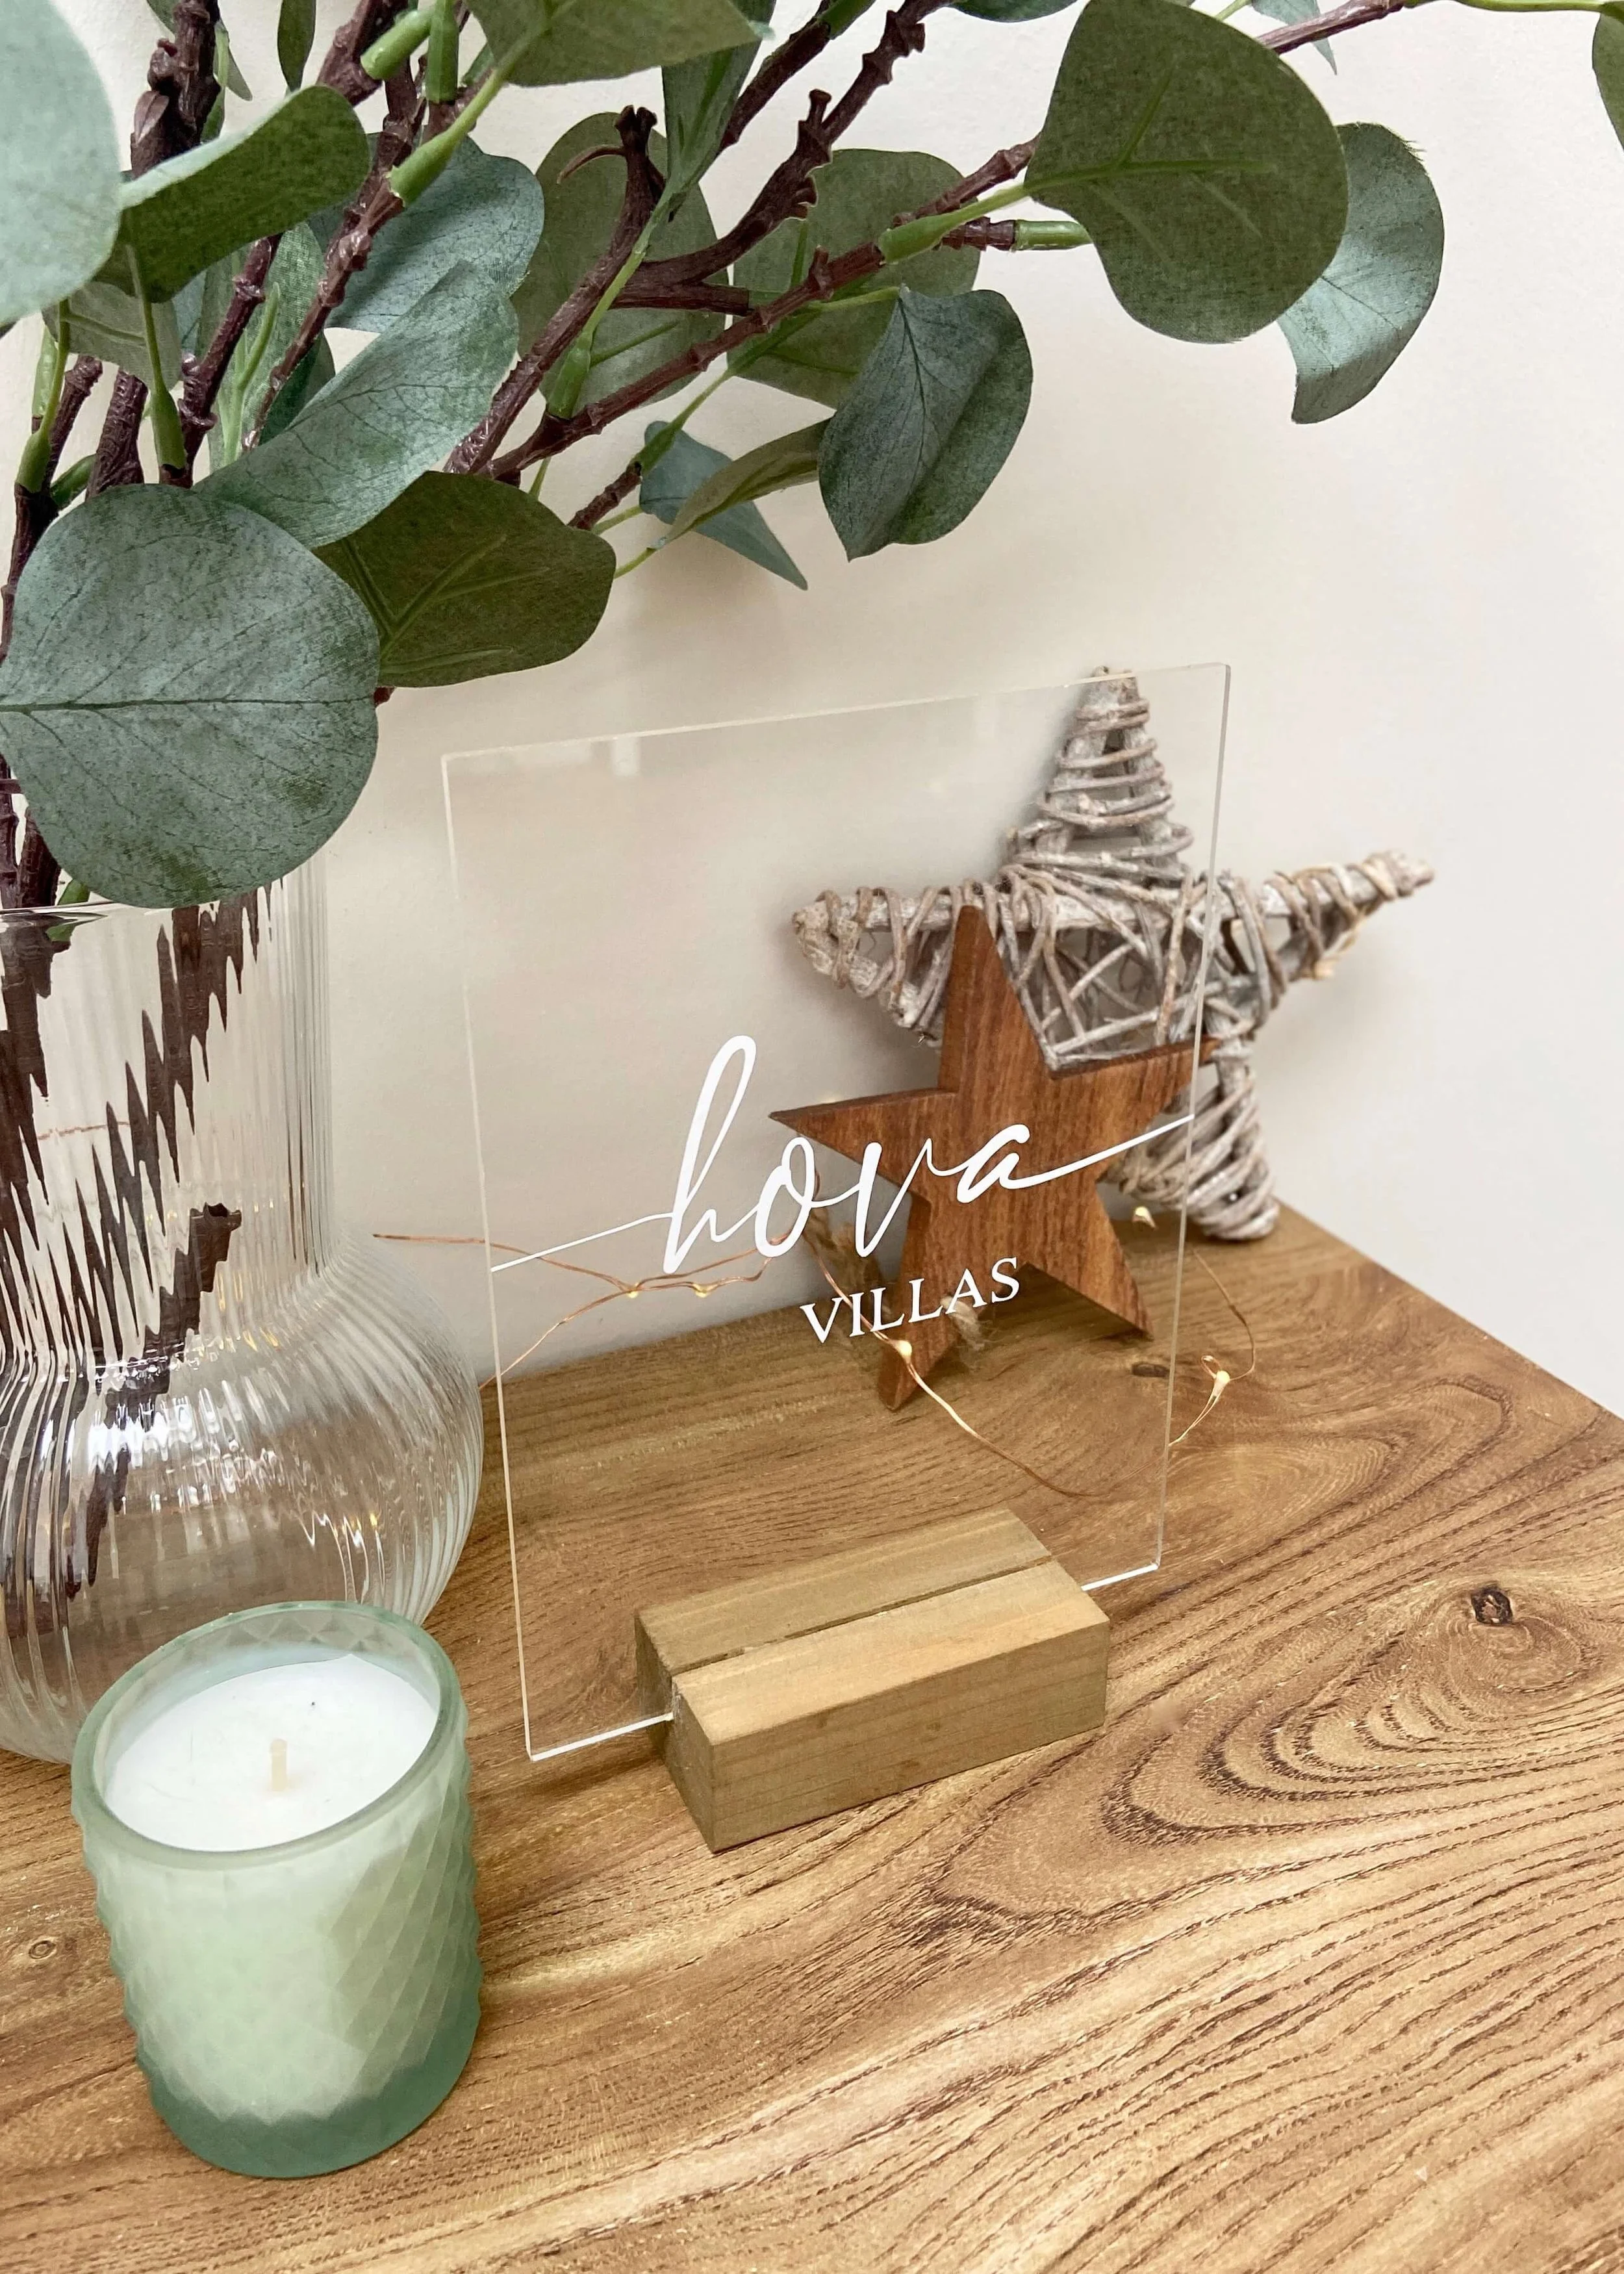
Make your own classy and acrylic wedding table signs!
I’ve seen so many acrylic wedding signs around online and so when I saw a pack of acrylic signs in Hobbycraft I knew I had to have them. It took me a while to decide what to name each table, I didn't want to number them, and so we ended up going with the names of roads that have some sort of significance to us and our relationship. I used the same font that I’ve used on my other wedding signs and love how everything is tying in to one another so far. I knew I wanted to use my Cricut maker to make the signs as neat and stress-free for me as possible as I can be a bit of a perfectionist, and this turned out to be such a quick and easy process. I’m also planning to sell on as much as I can afterwards, and so I’m hoping I’ll be able to remove the vinyl after so that someone else can enjoy the blank acrylic signs on their special day. If you fancy trying this yourself, keep reading to find out what I used and for the step by step tutorial…


1.
First of all, I used an oak coloured wood stain to stain the bases of my acrylic signs darker. I ended up doing two coats and then gave the acrylic after.

2.
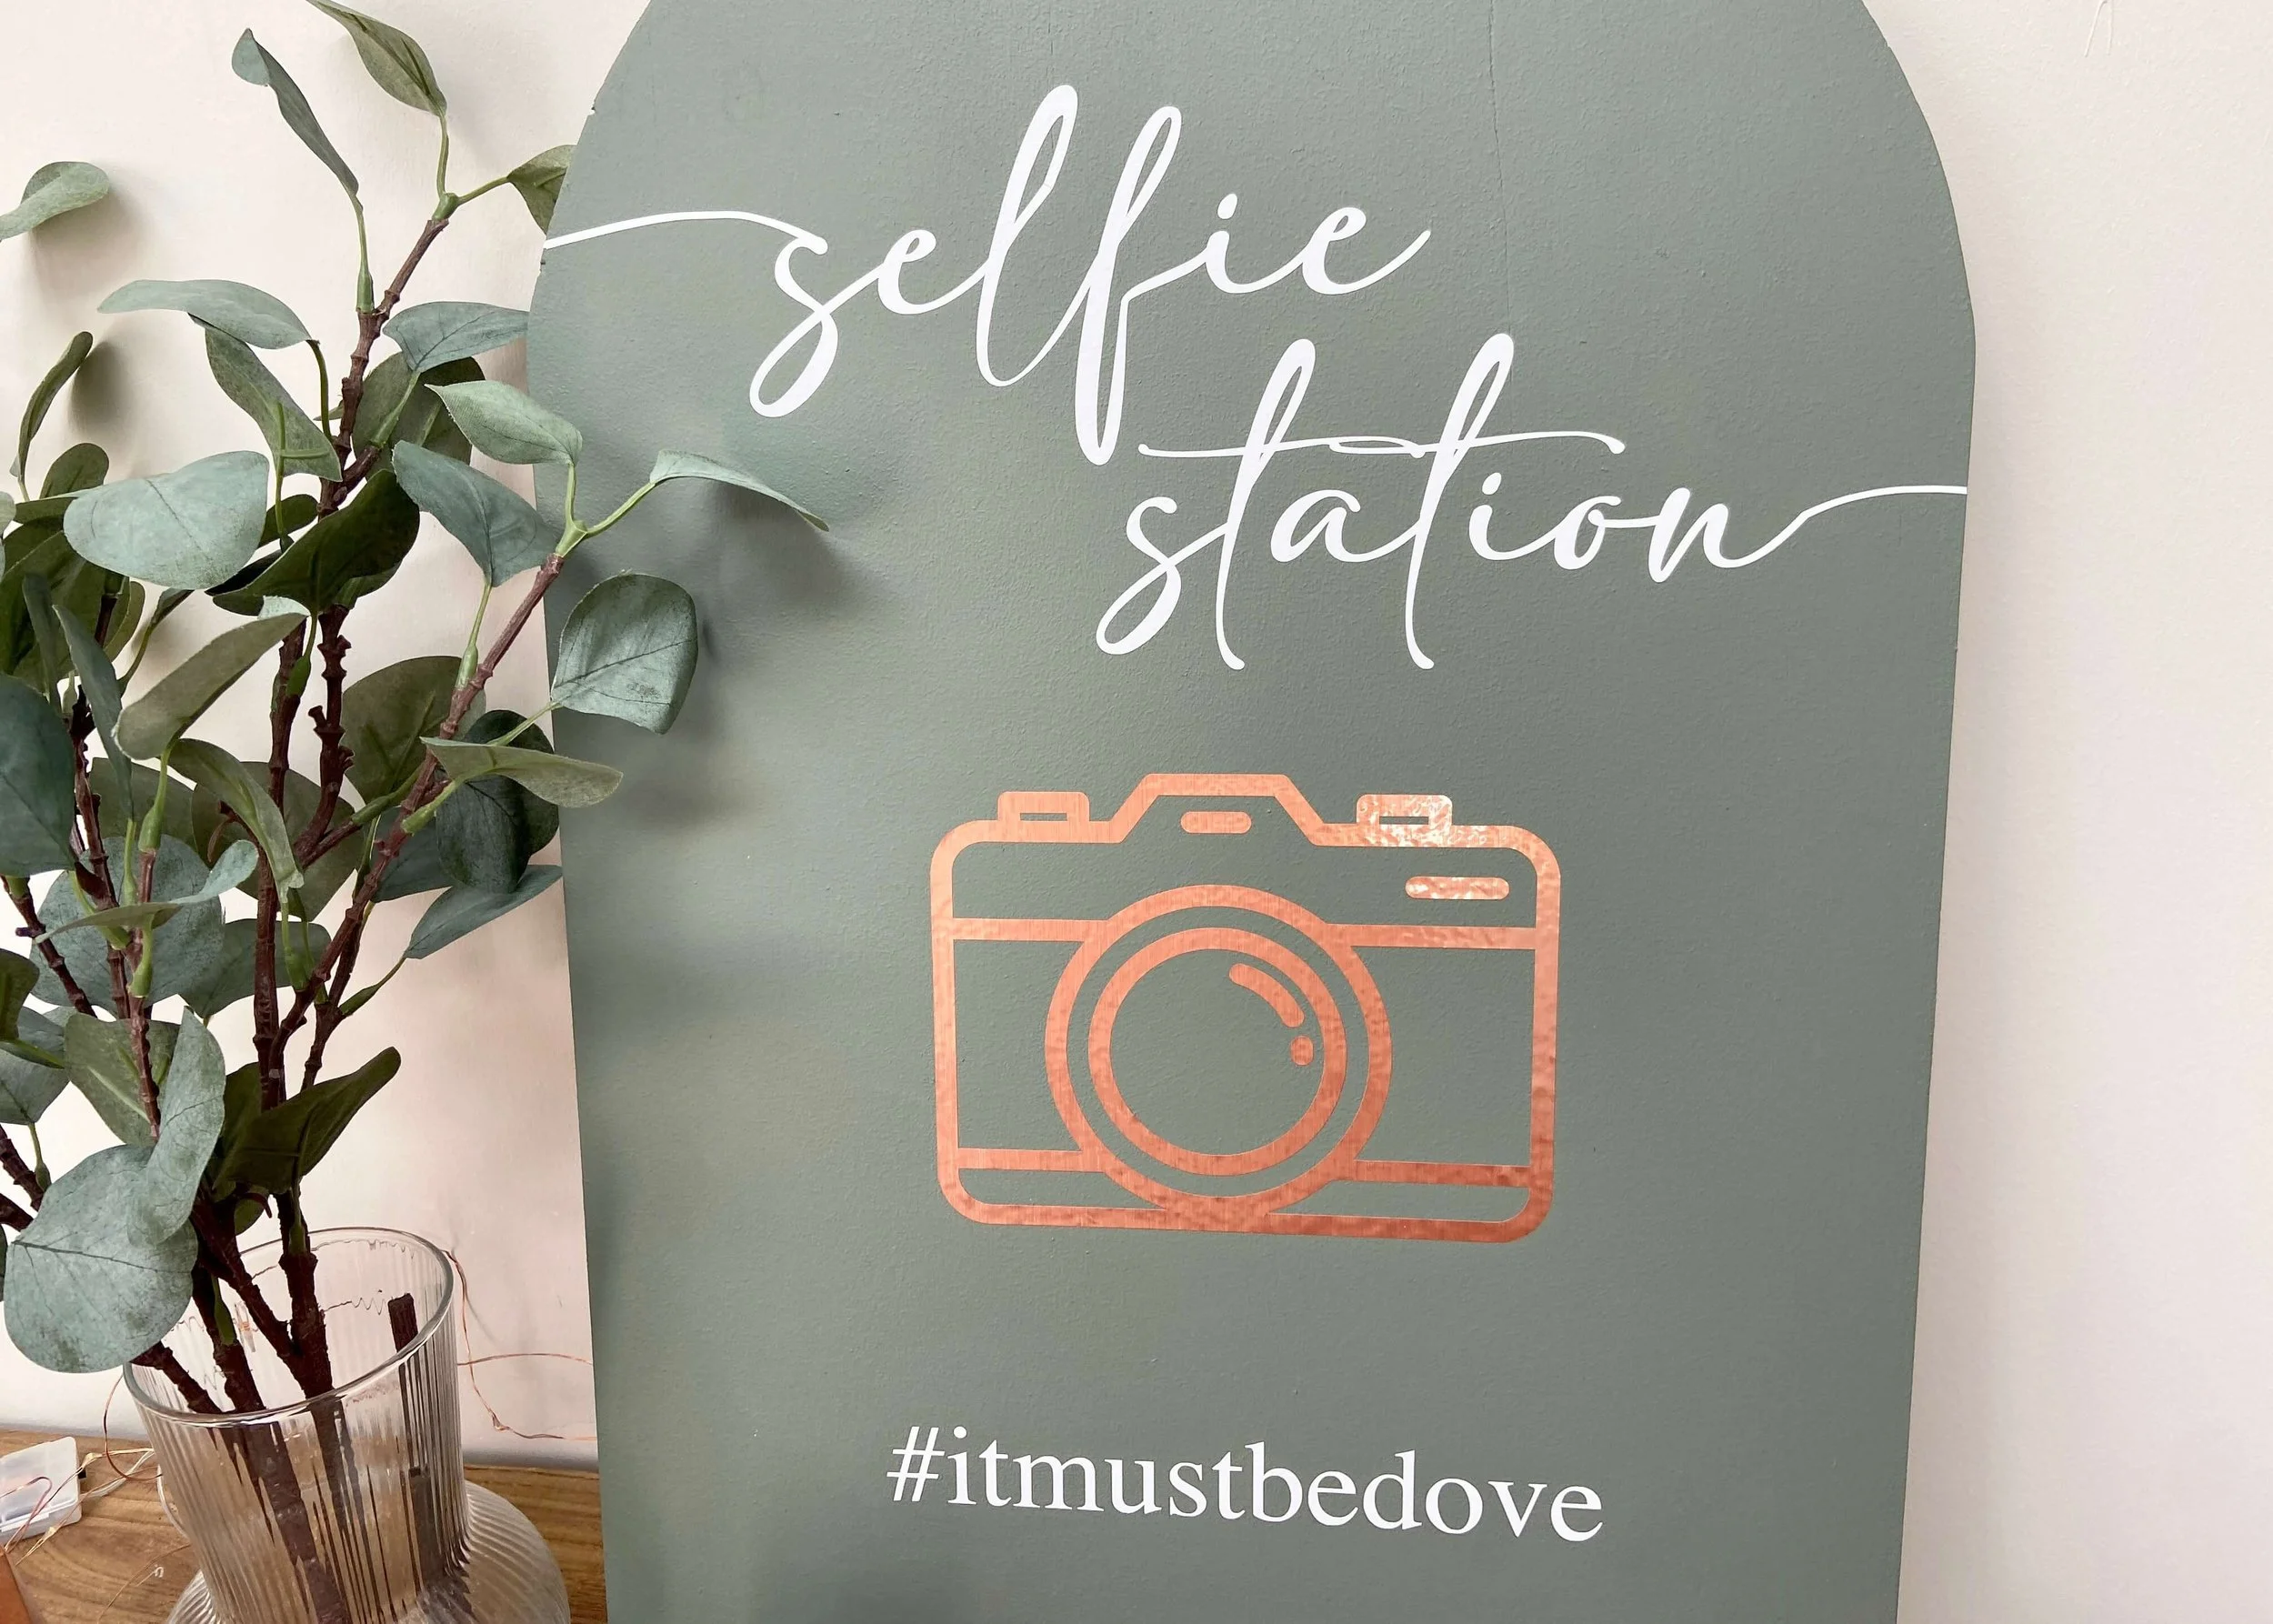
Next I measured the width of my signs and created my lettering in Cricut design space. I used the same font I’ve used on my other wedding signs (‘Sophisticated’ and ‘Times’) and used the rulers on screen to make sure it fit onto the sign. If you have two words like us, be sure to use weld so they are cut out exactly as positioned on screen.
3.
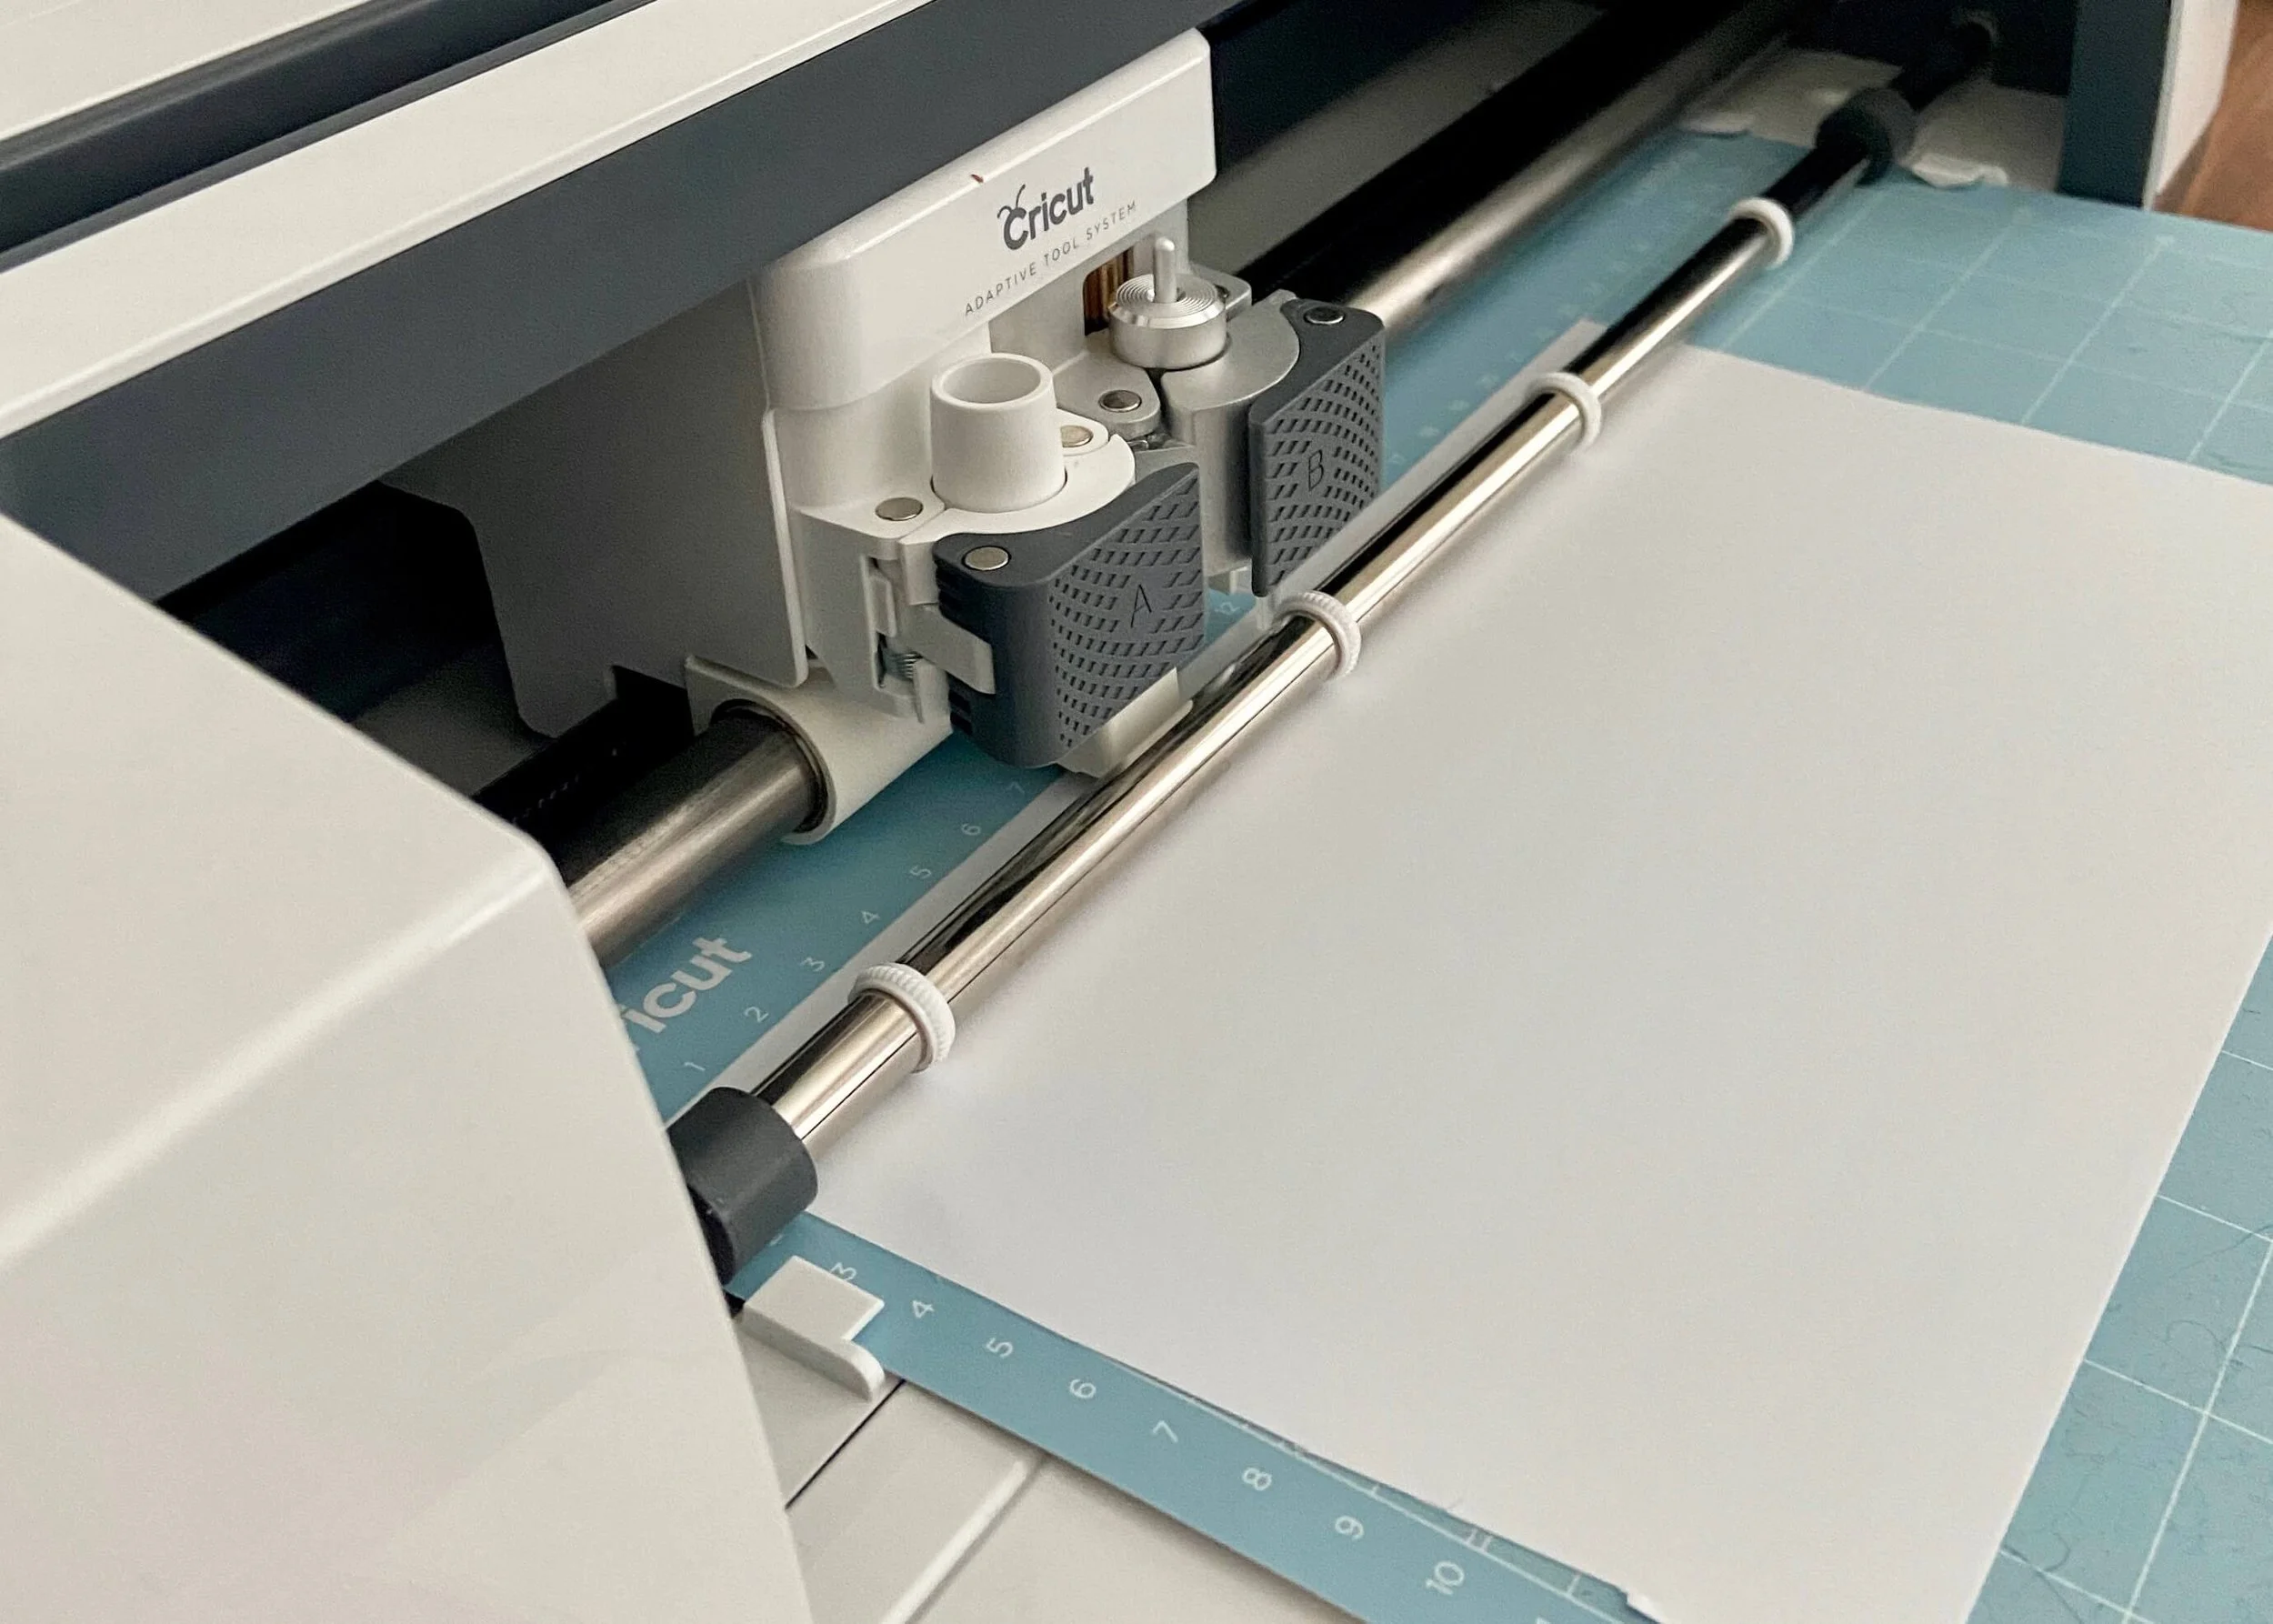
Next I cut my white permanent vinyl to size, positioned this on the light grip mat, and loaded the Cricut. I then selected vinyl from the option of materials and used the default pressure setting.
4.
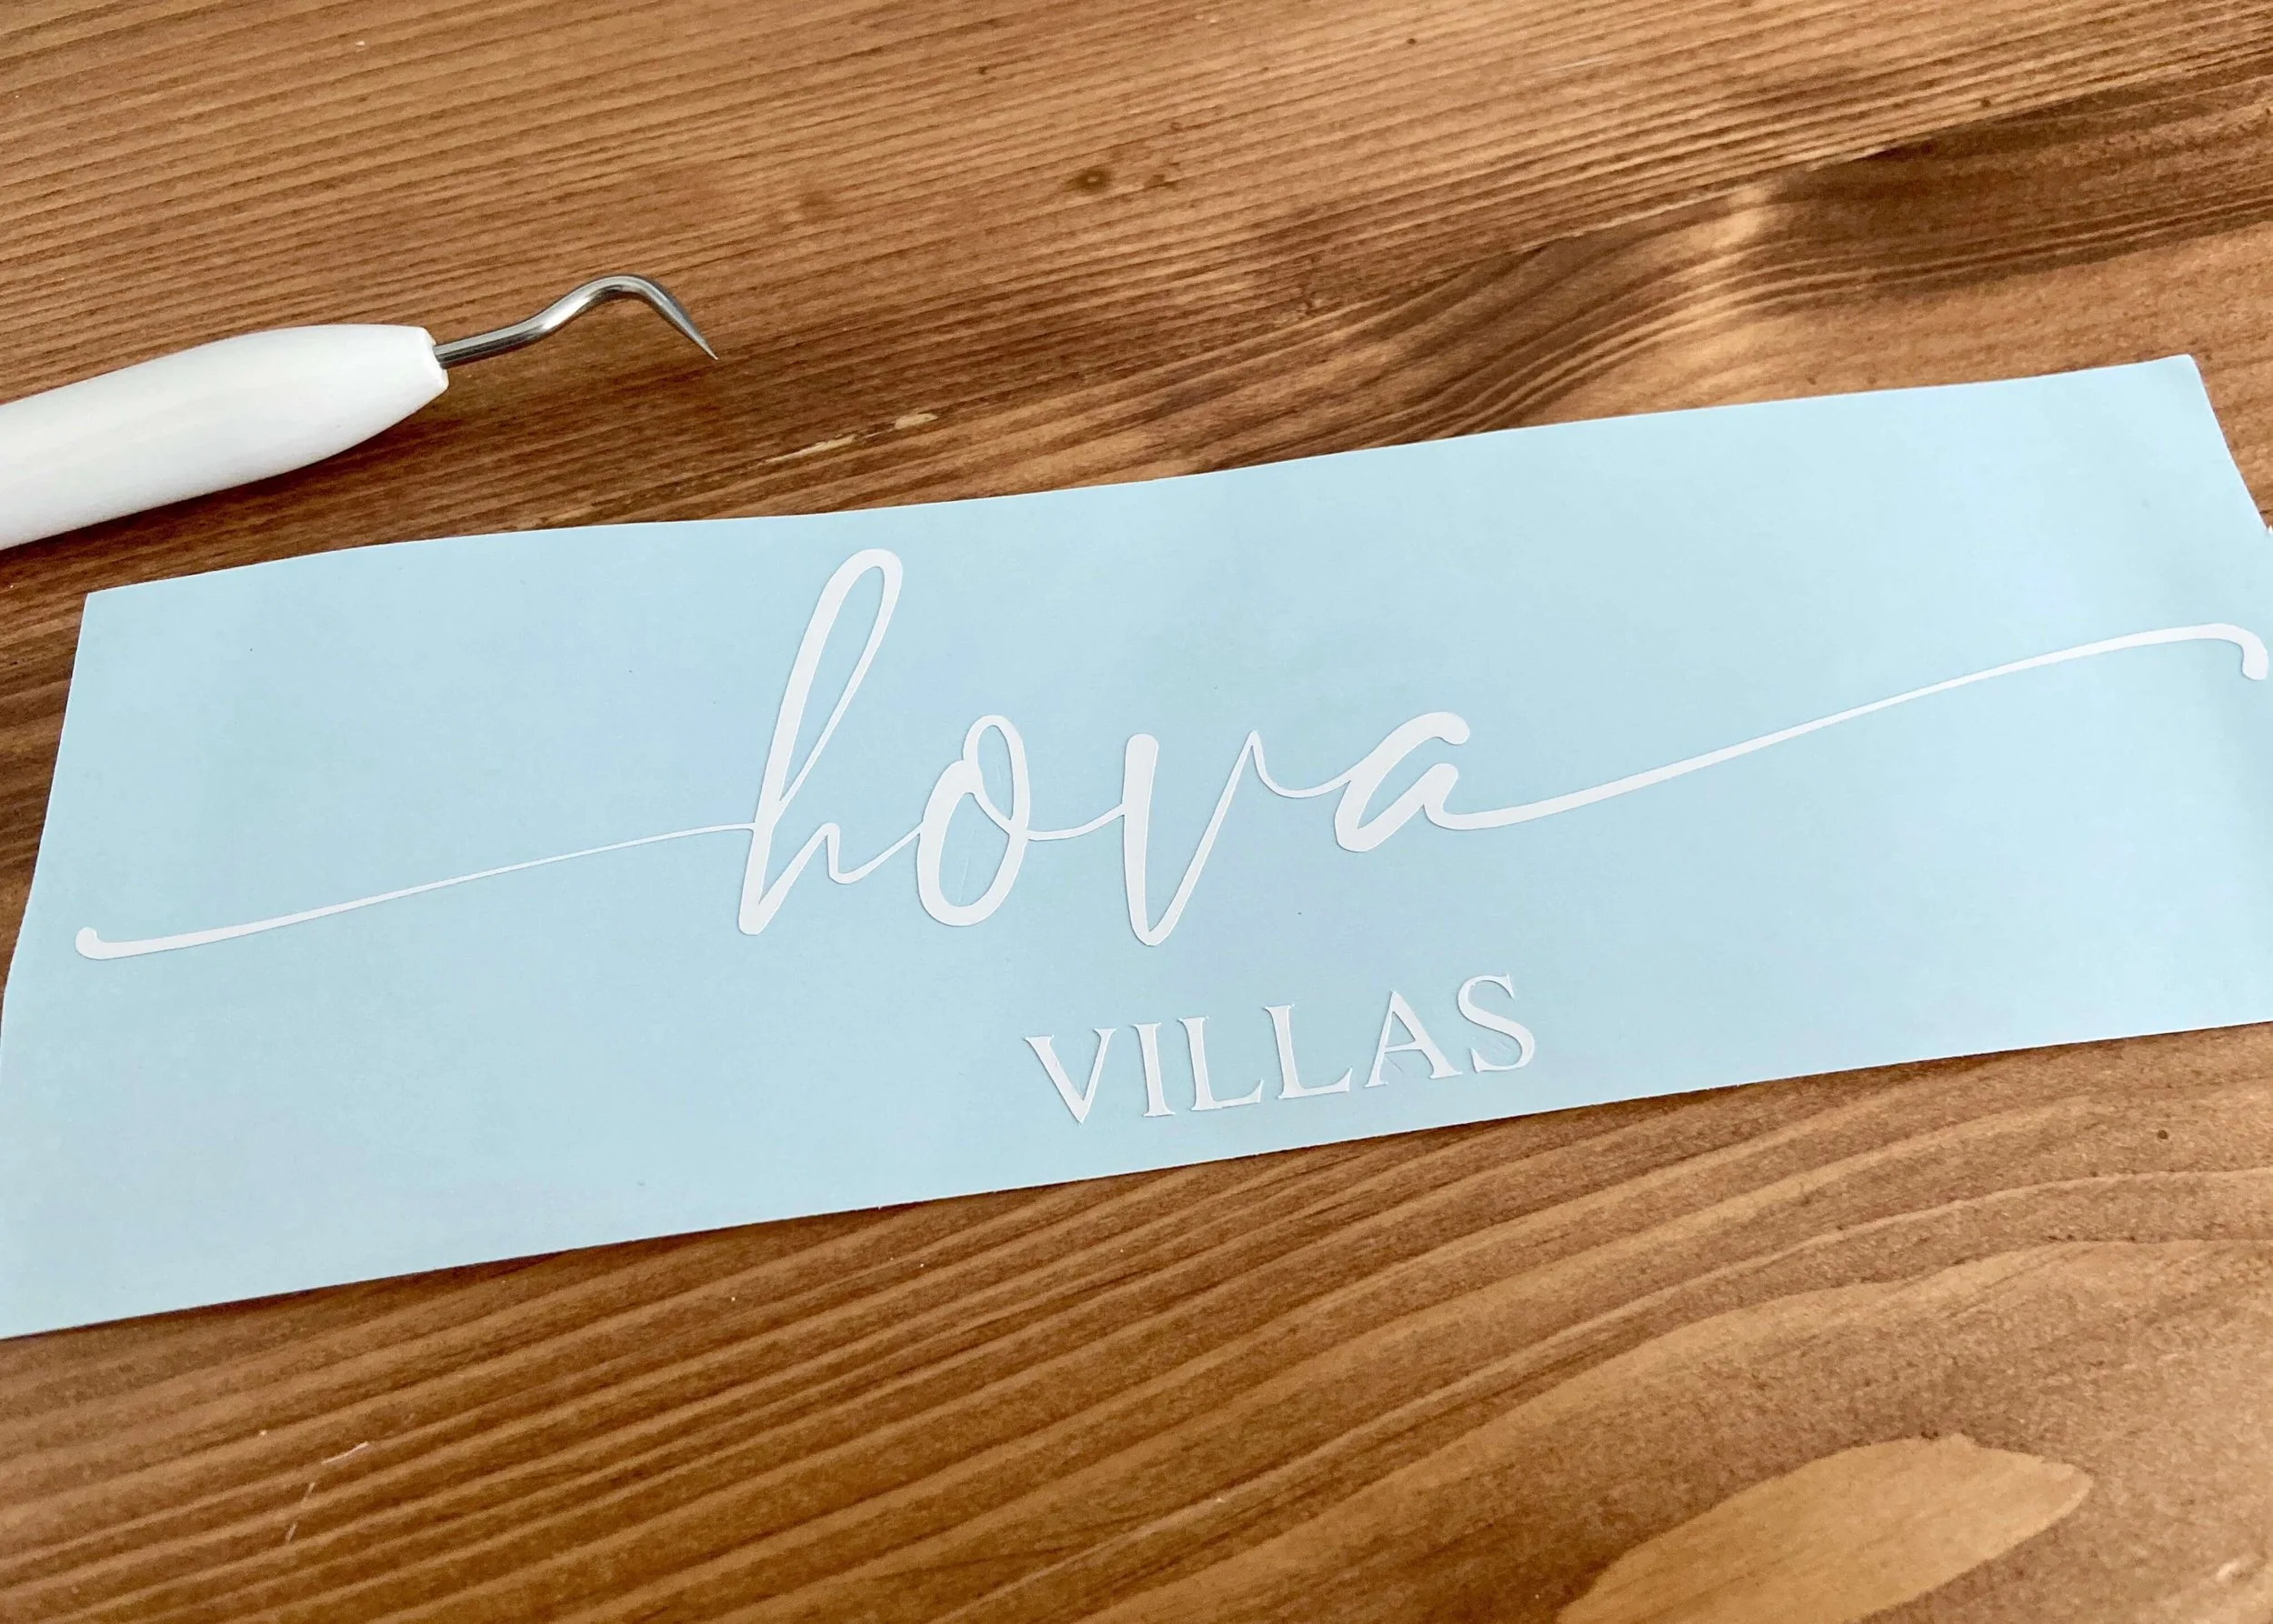
Using the basic tool set, I then weeded out the vinyl around the lettering carefully.
5.
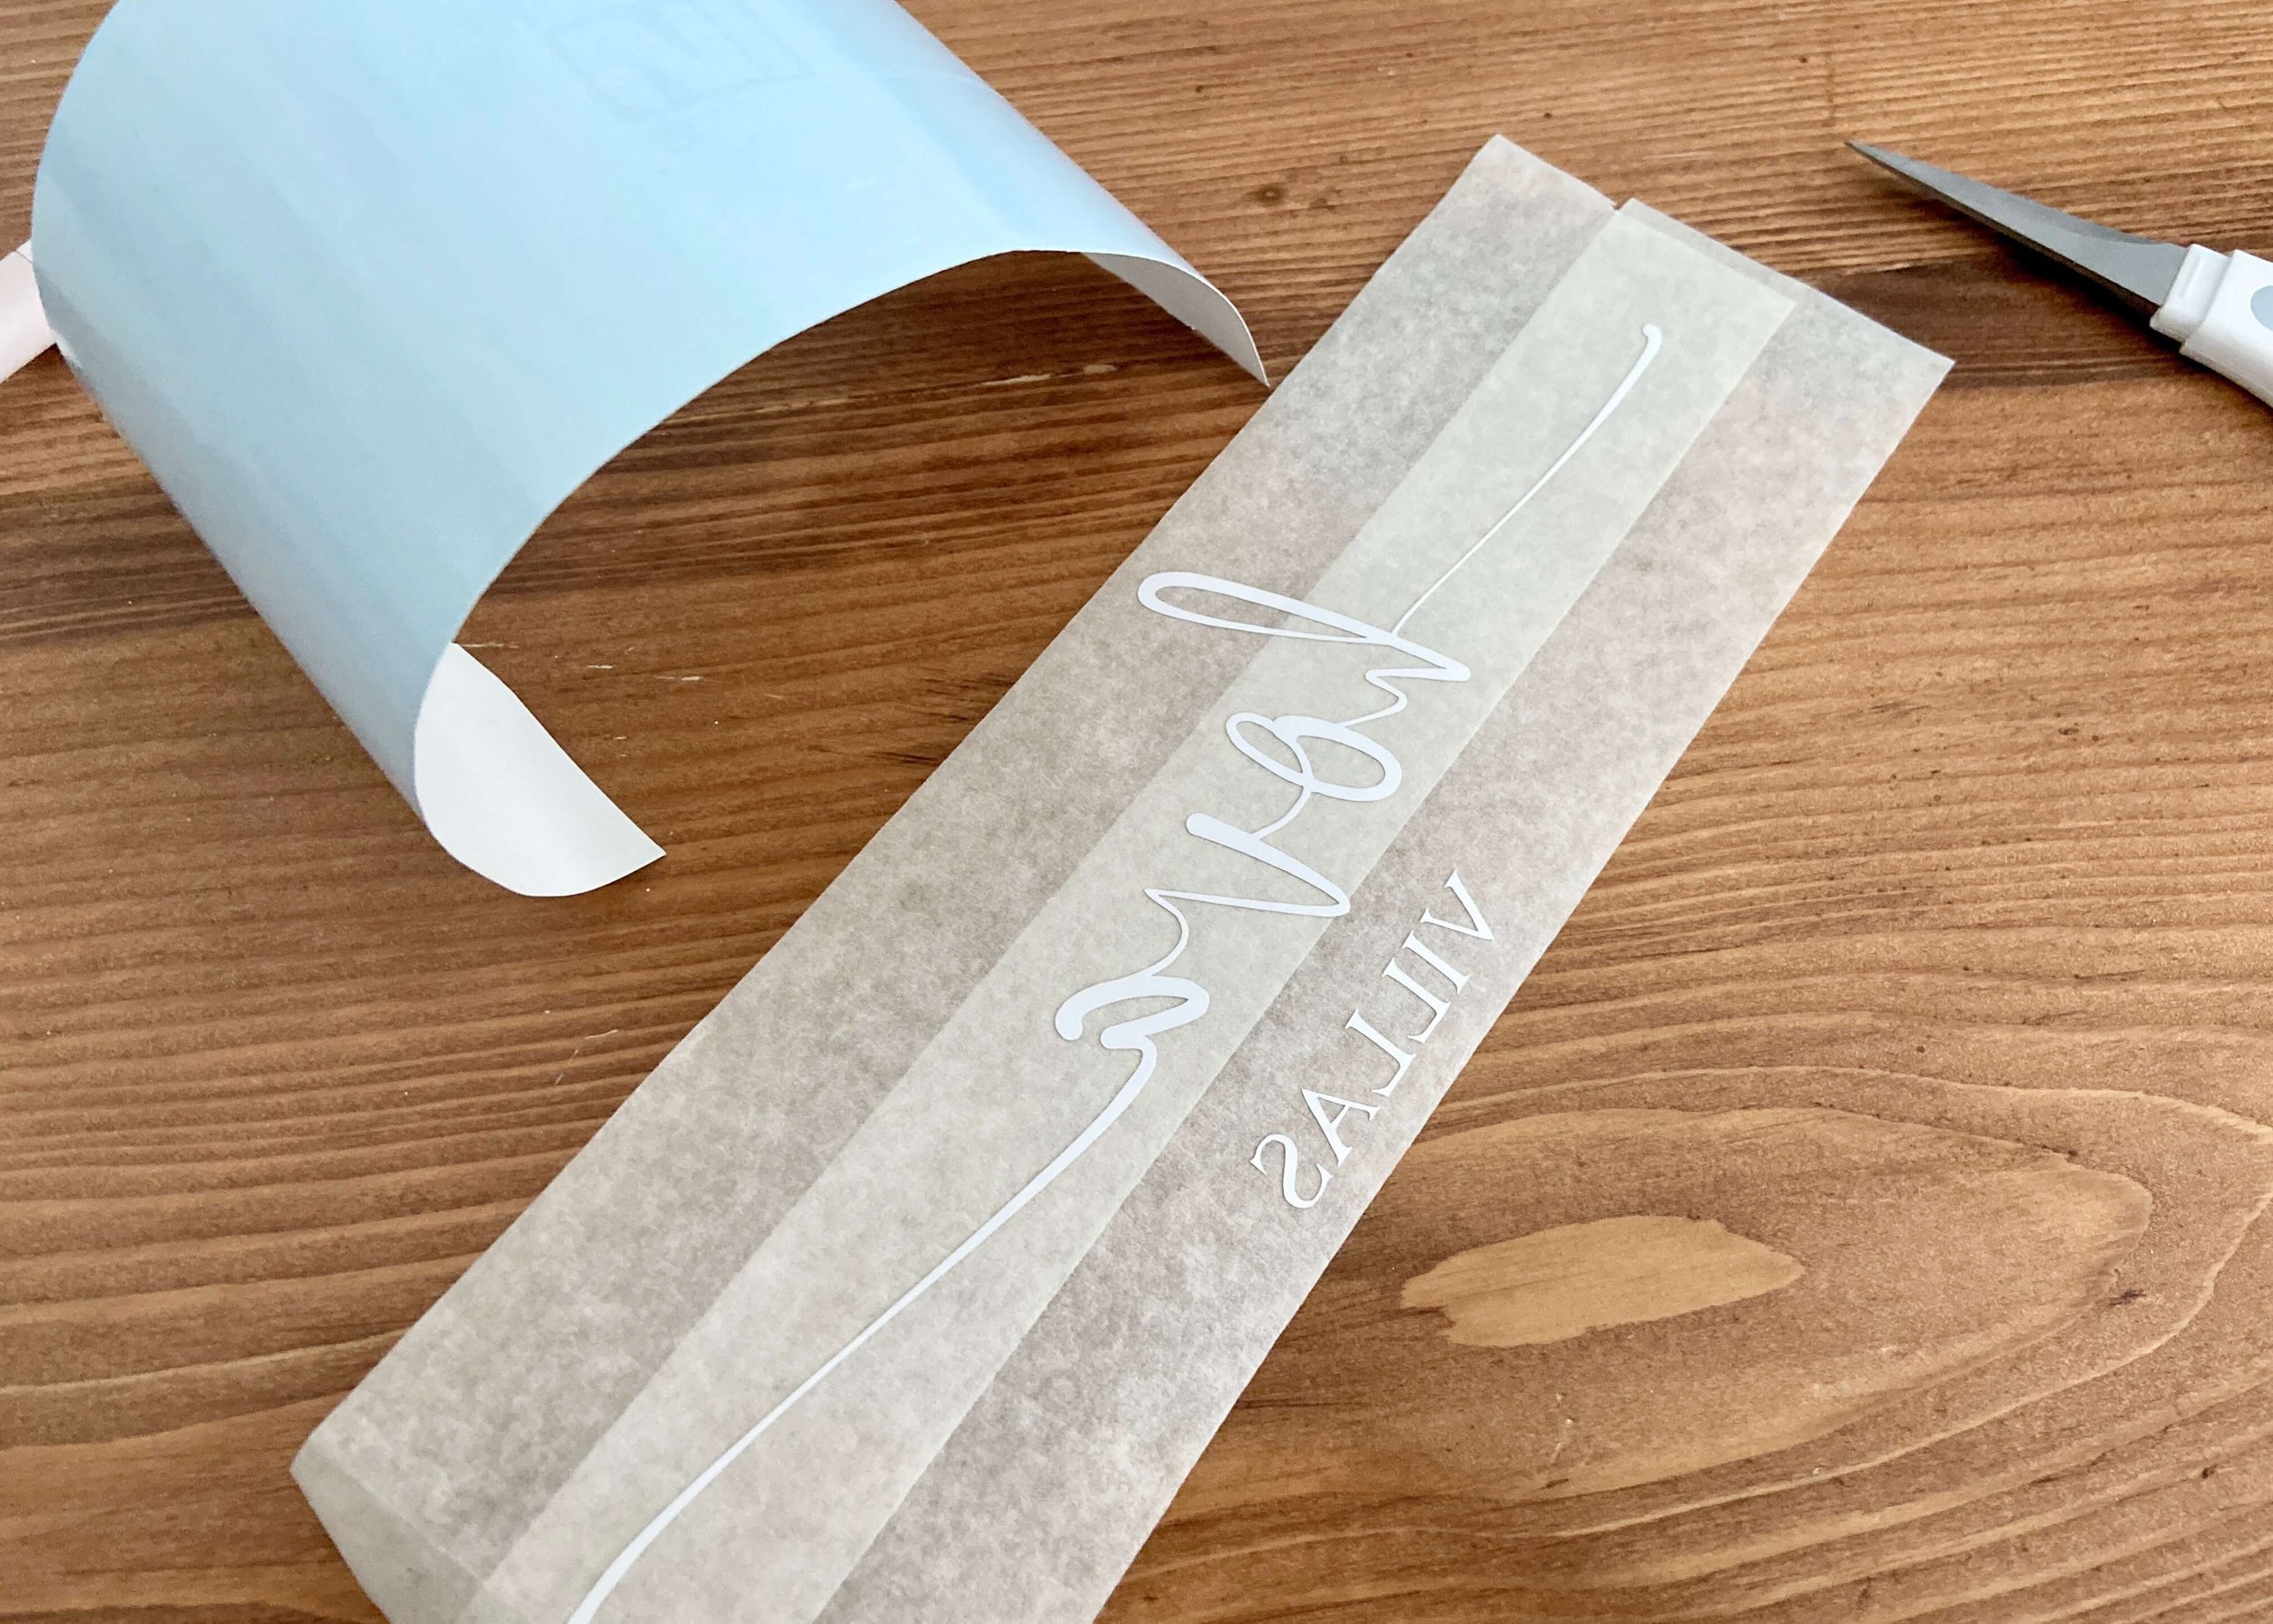
I find masking tape works just as well as transfer tape (and is much cheaper!) so I placed overlapping strips of masking tape on top of the lettering, pressed this down firmly, flipped it all over and then slowly peeled off the blue backing.
6.
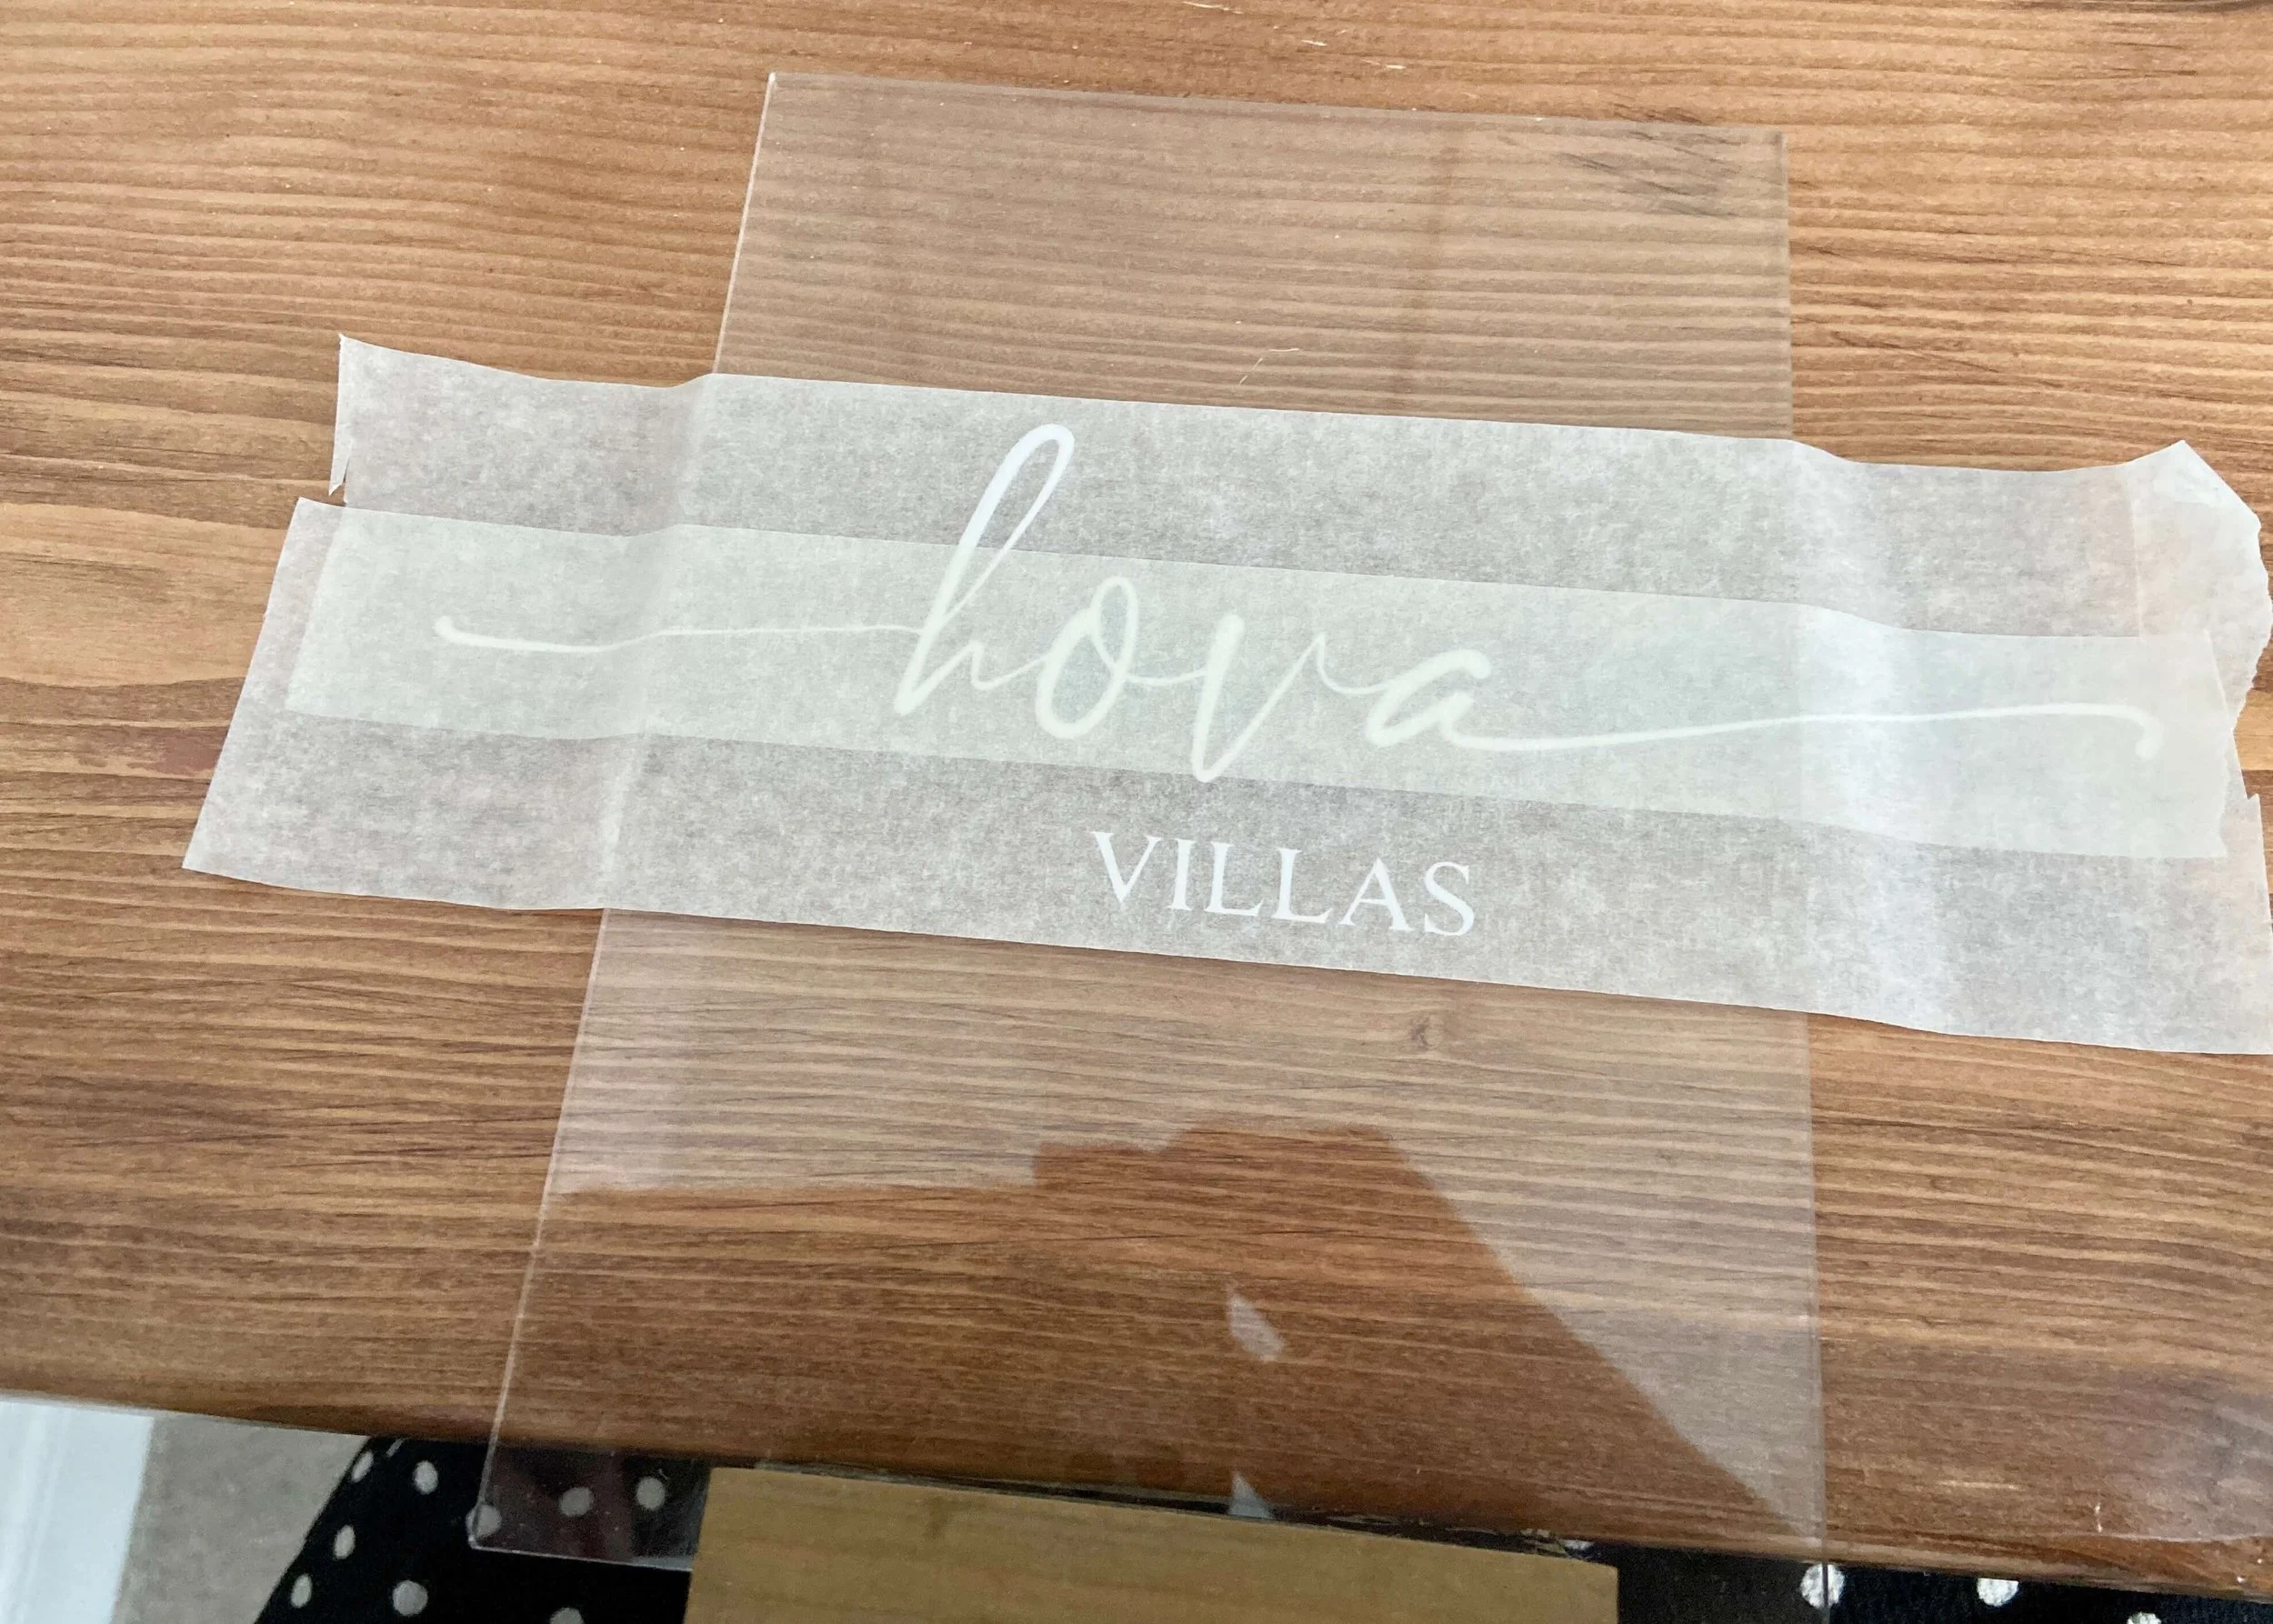
I then placed my acrylic sign on the edge of my desk with the wood hanging off but the acrylic flat to the table and placed my lettering exactly where I wanted it. Firmly press the vinyl to the acrylic using the scraper tool and then peel off the masking tape.