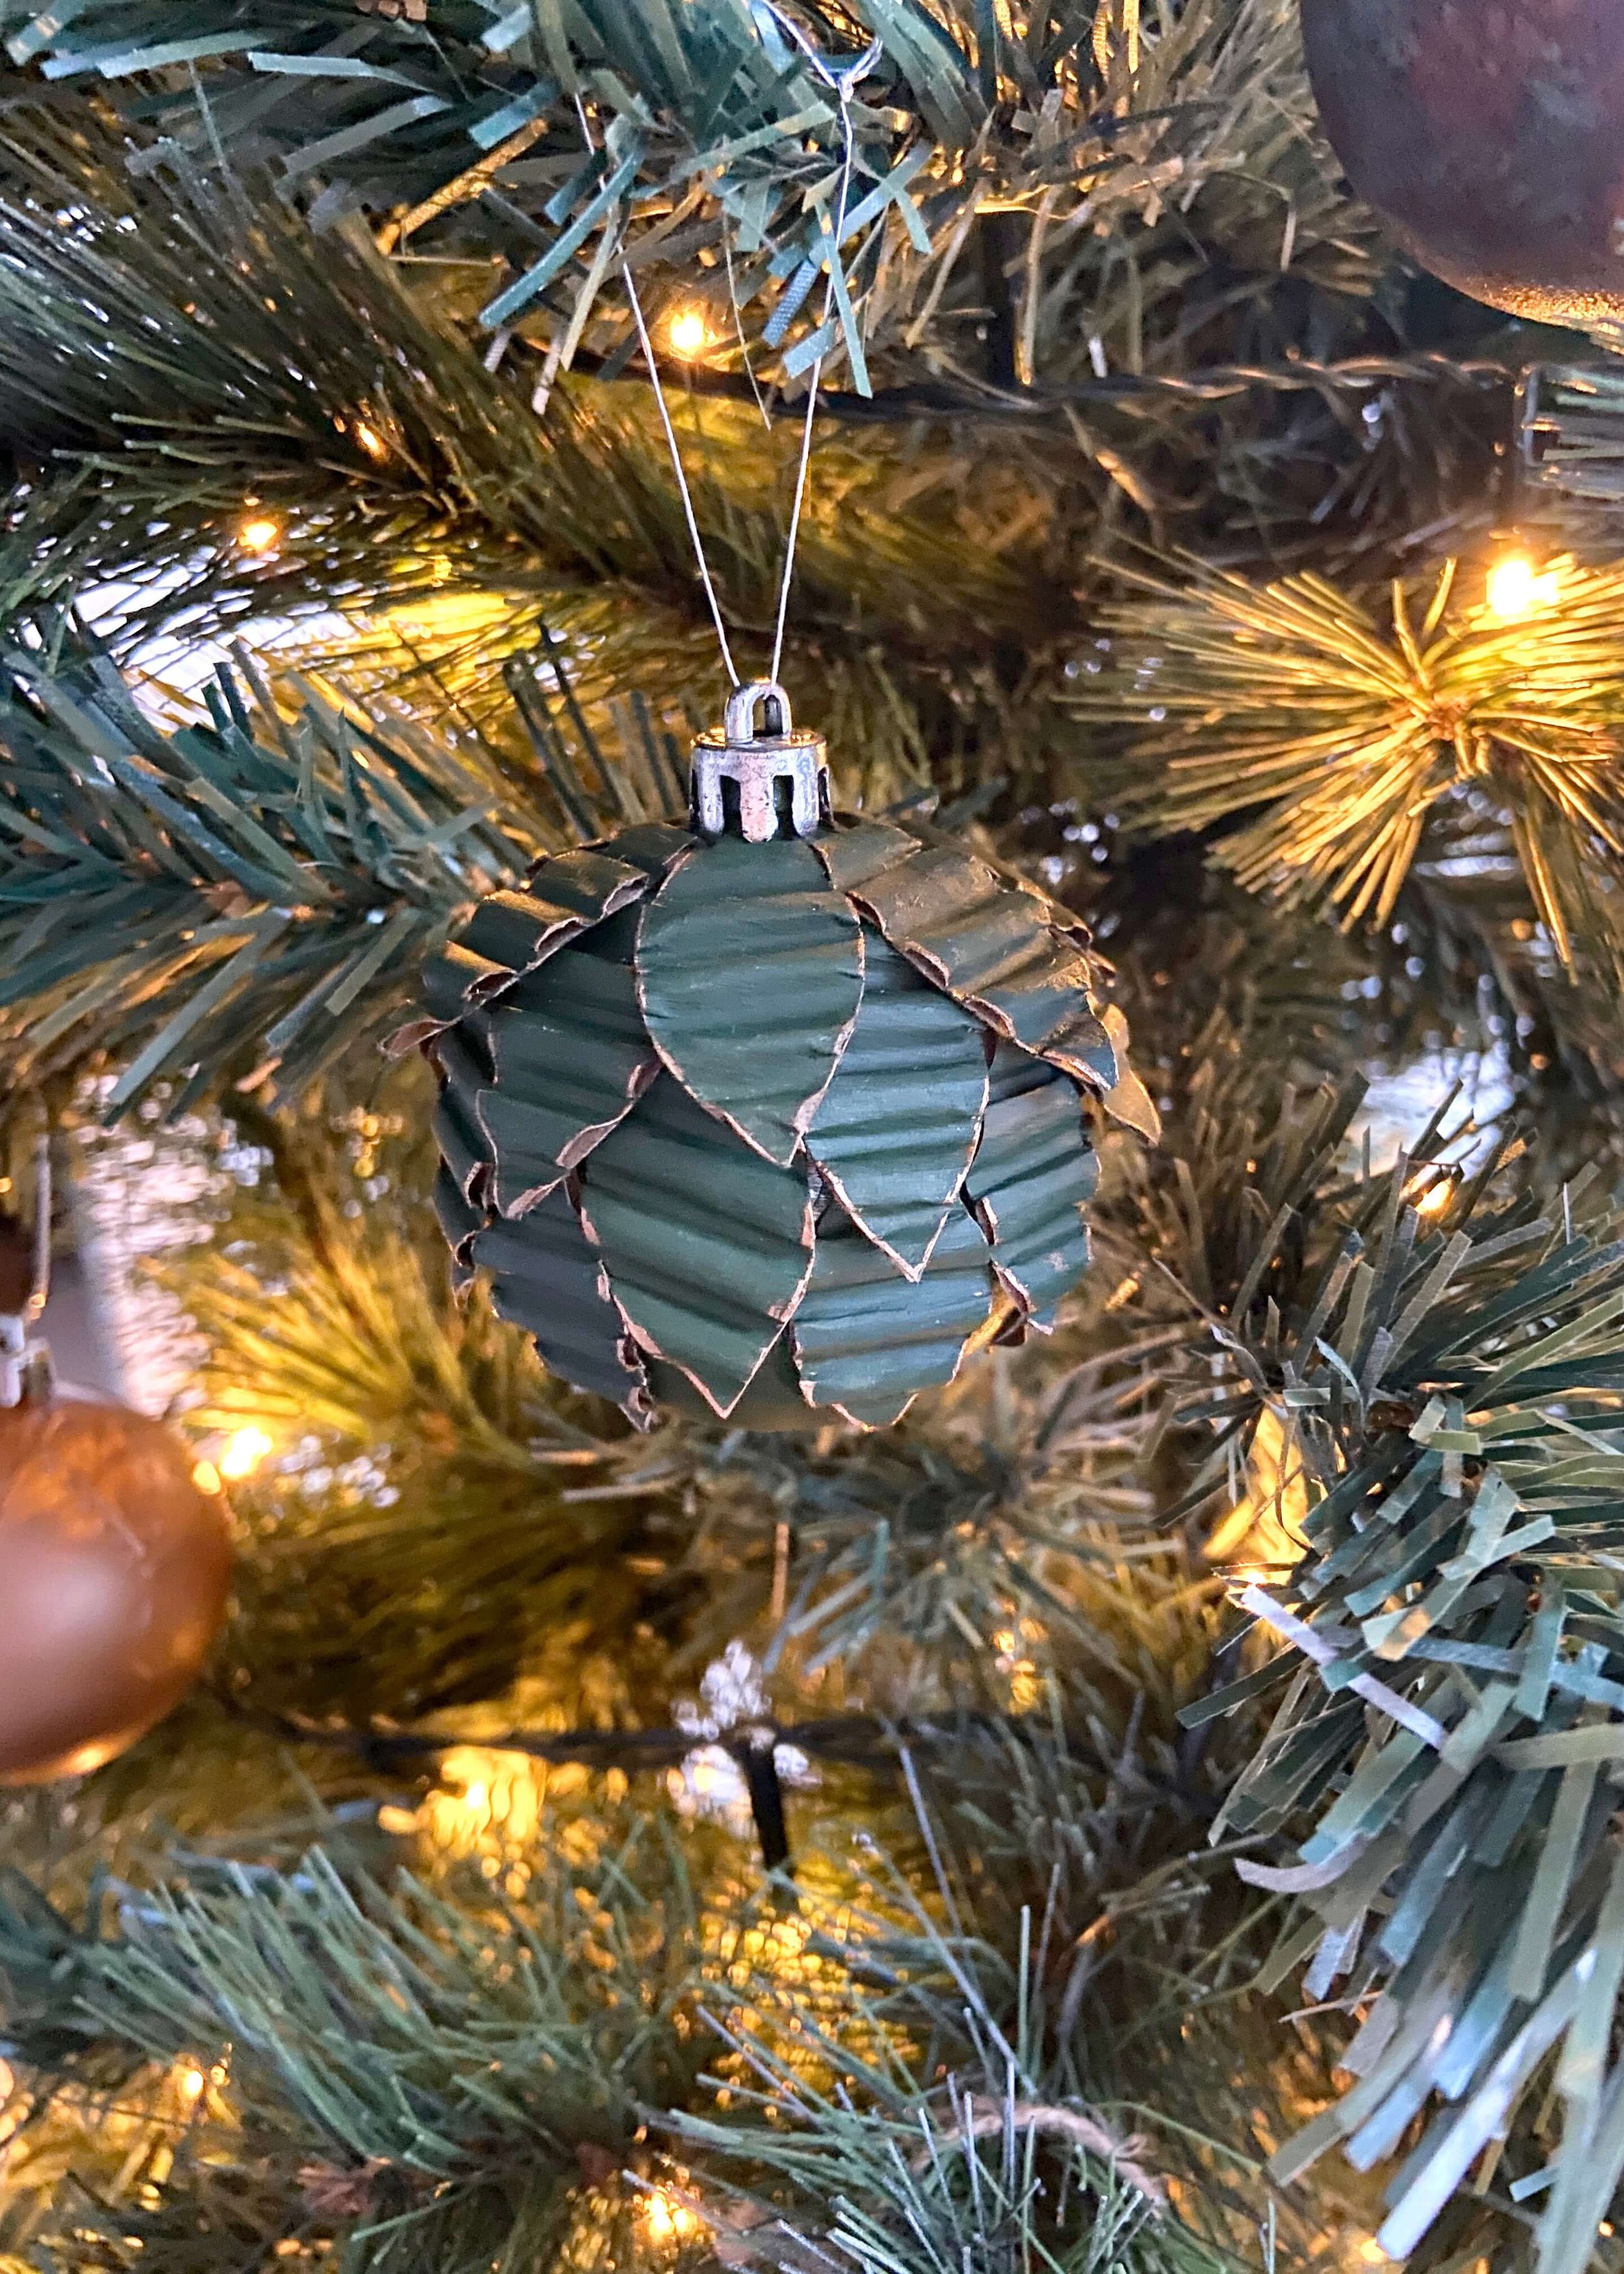
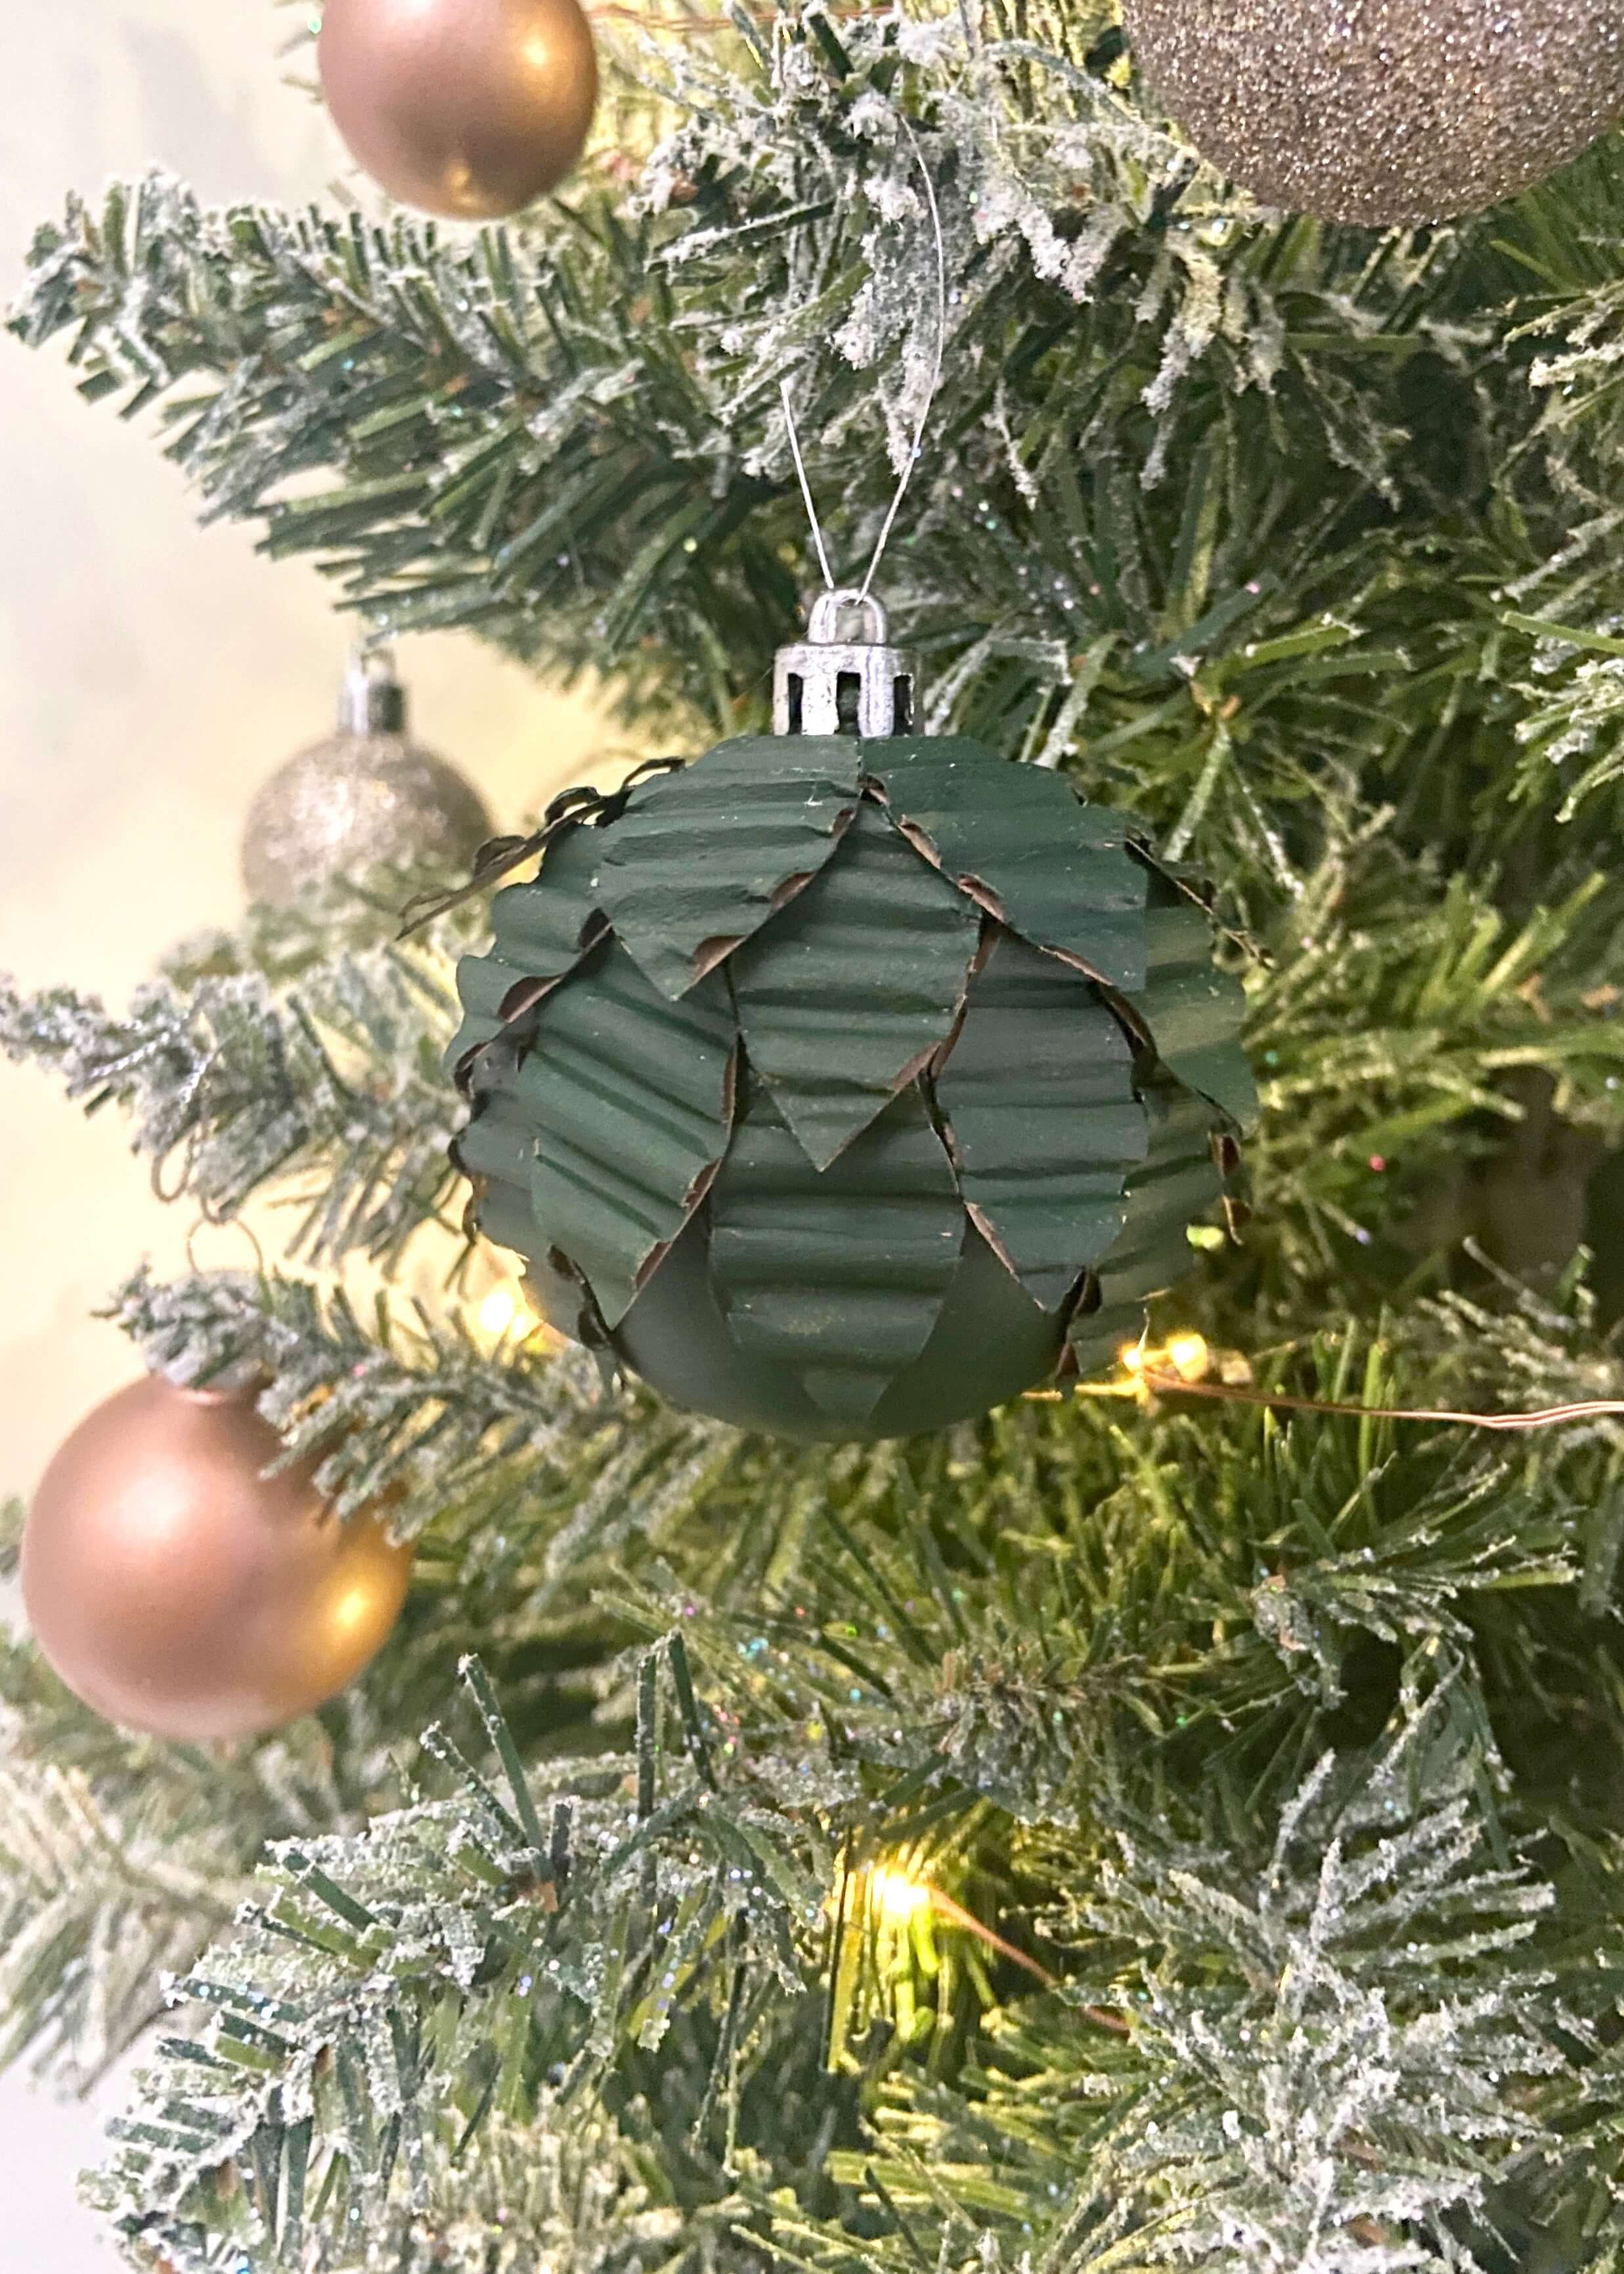
Upcycle old baubles and recycle old corrugated cardboard with these lovely tree ornaments!
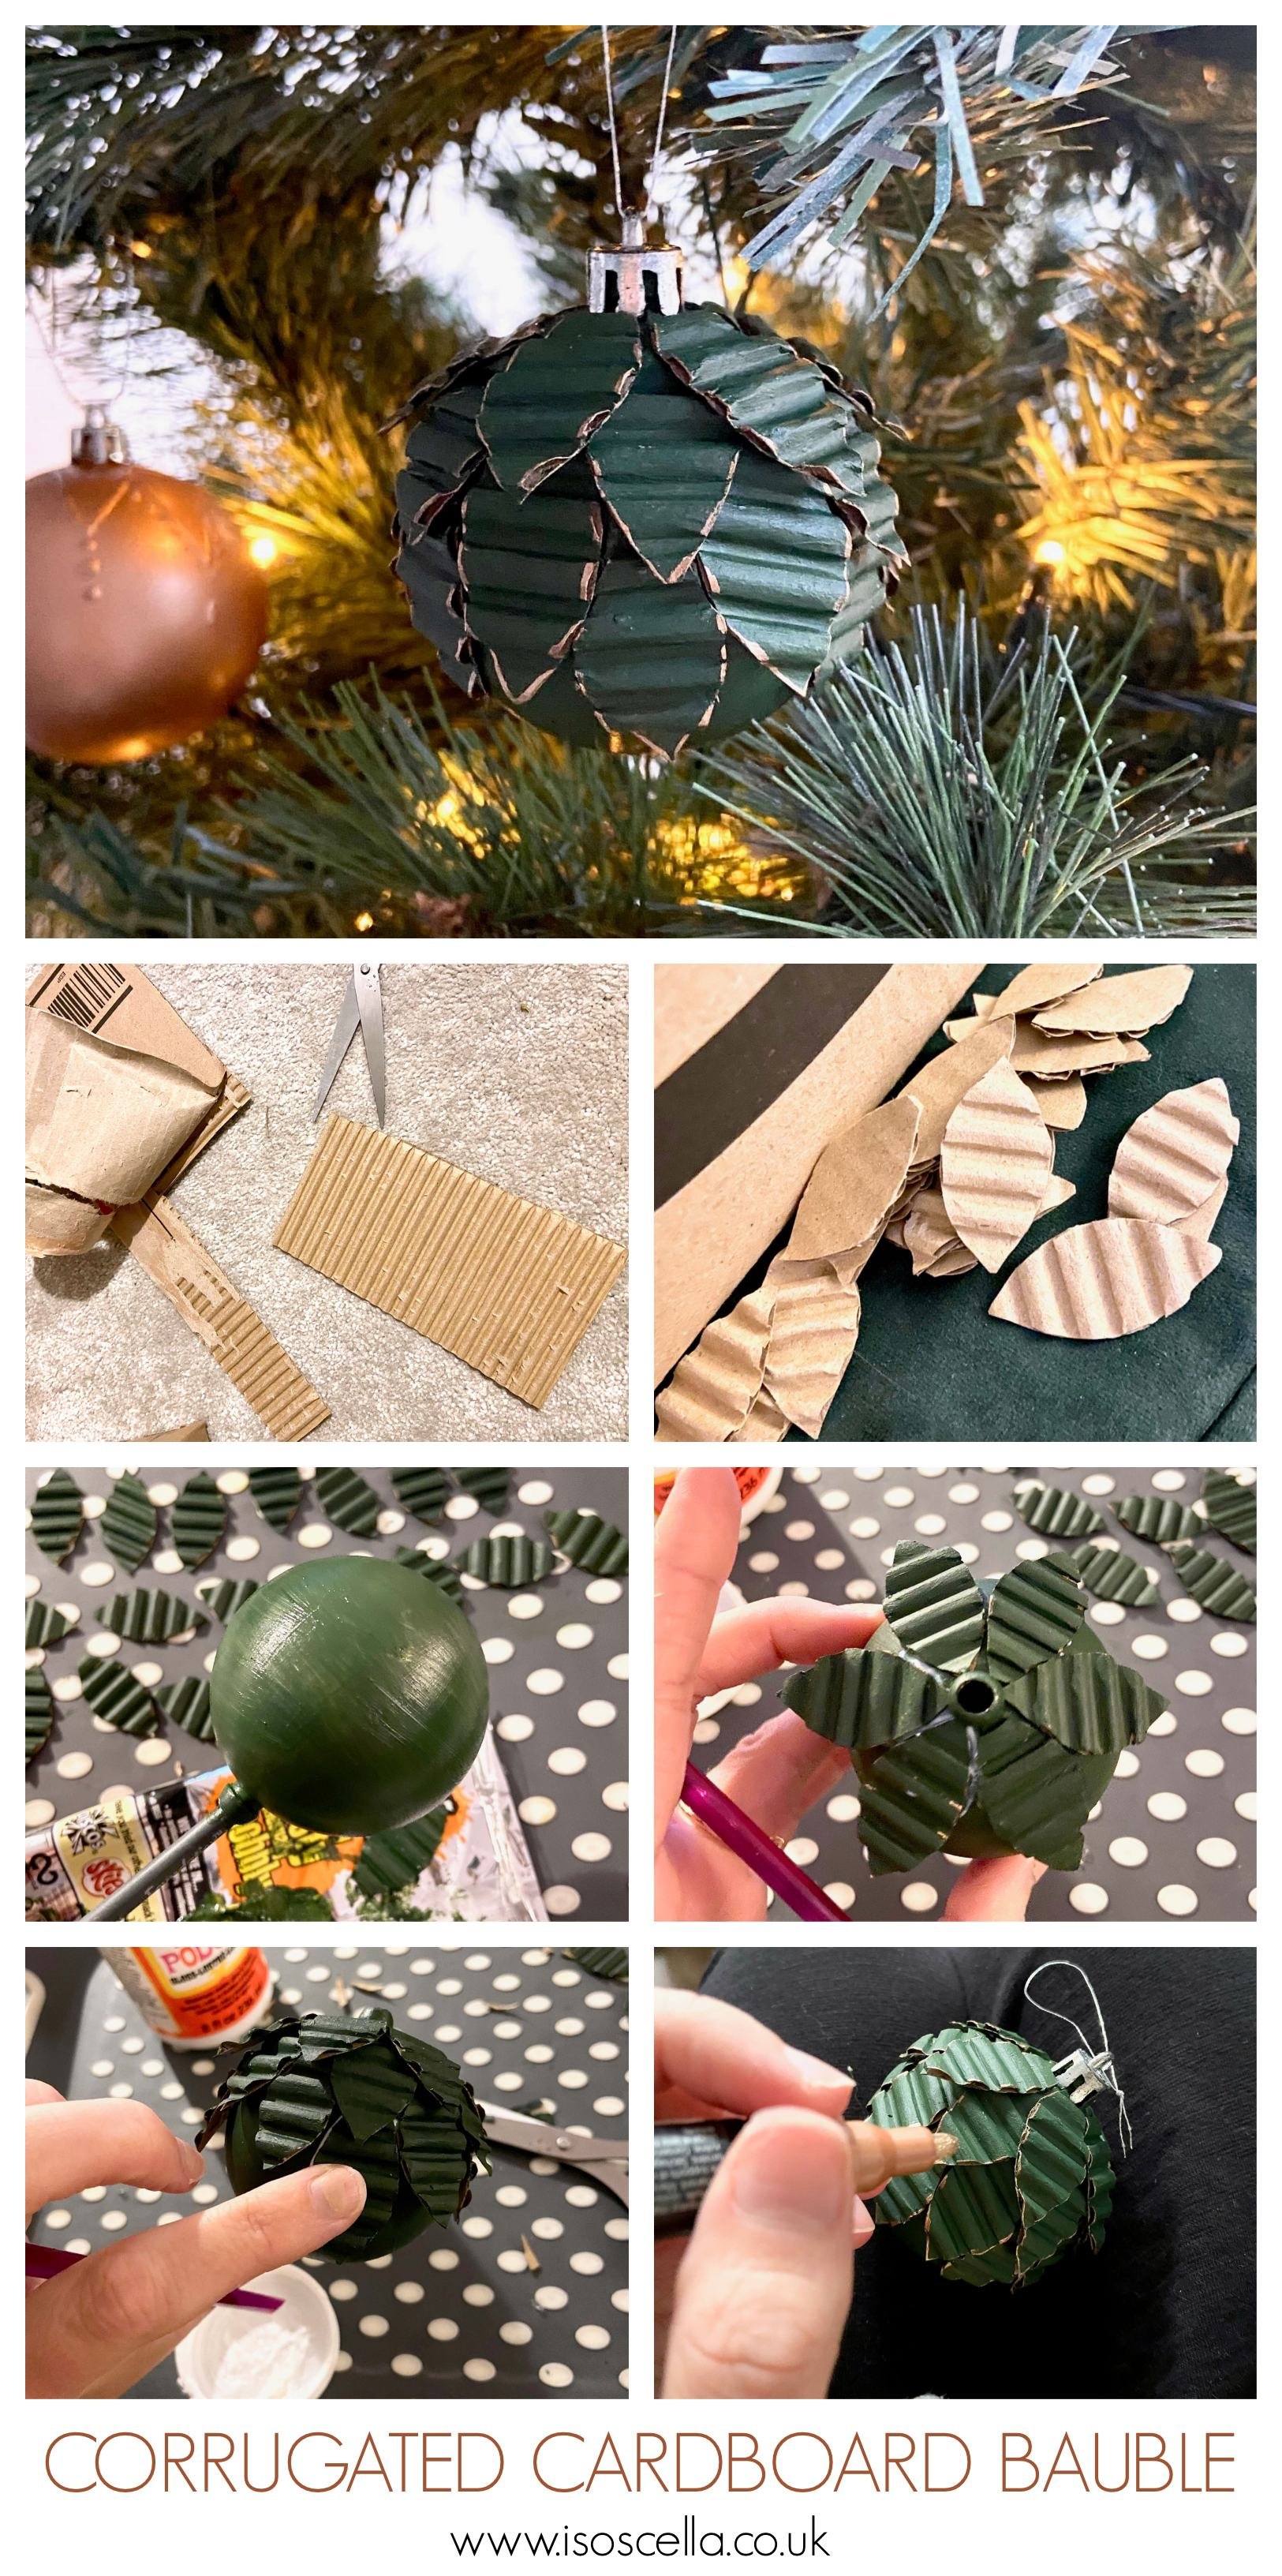
Christmas is one of the worst times of year for waste and packaging, and if you’re anything like us, you’ve probably ordered a few presents online and received them in corrugated cardboard boxes. Fortunately we don’t have received too many, but with those that we did get, I thought it would be fun to repurpose them and take the cardboard layers apart to get to the corrugated part.
I’d seen some baubles in an online shop somewhere, I can’t remember where now, which looked to me as if they were made of cardboard, and so I used that as the inspiration for these. Once you’ve pulled your cardboard apart, this is such an easy way to upcycle old baubles. It was a little fiddly getting the leaves to stick, but I used mod podge as my glue, so if you use something faster drying like hot glue I think this step will be much easier.
I love how just a few bits of cardboard have completely reinvigorated my old blue baubles. They have such an organic feel to them now, and to me sort of resemble pine cones or chunky little artichokes (in a chic way lol!). What do you think of them? I’d love to hear your thoughts below, and please do follow and share this idea on social media if you love it!


Corrugated cardboard
Mod Podge or Glue
Acrylic Paint
Old Baubles


1.
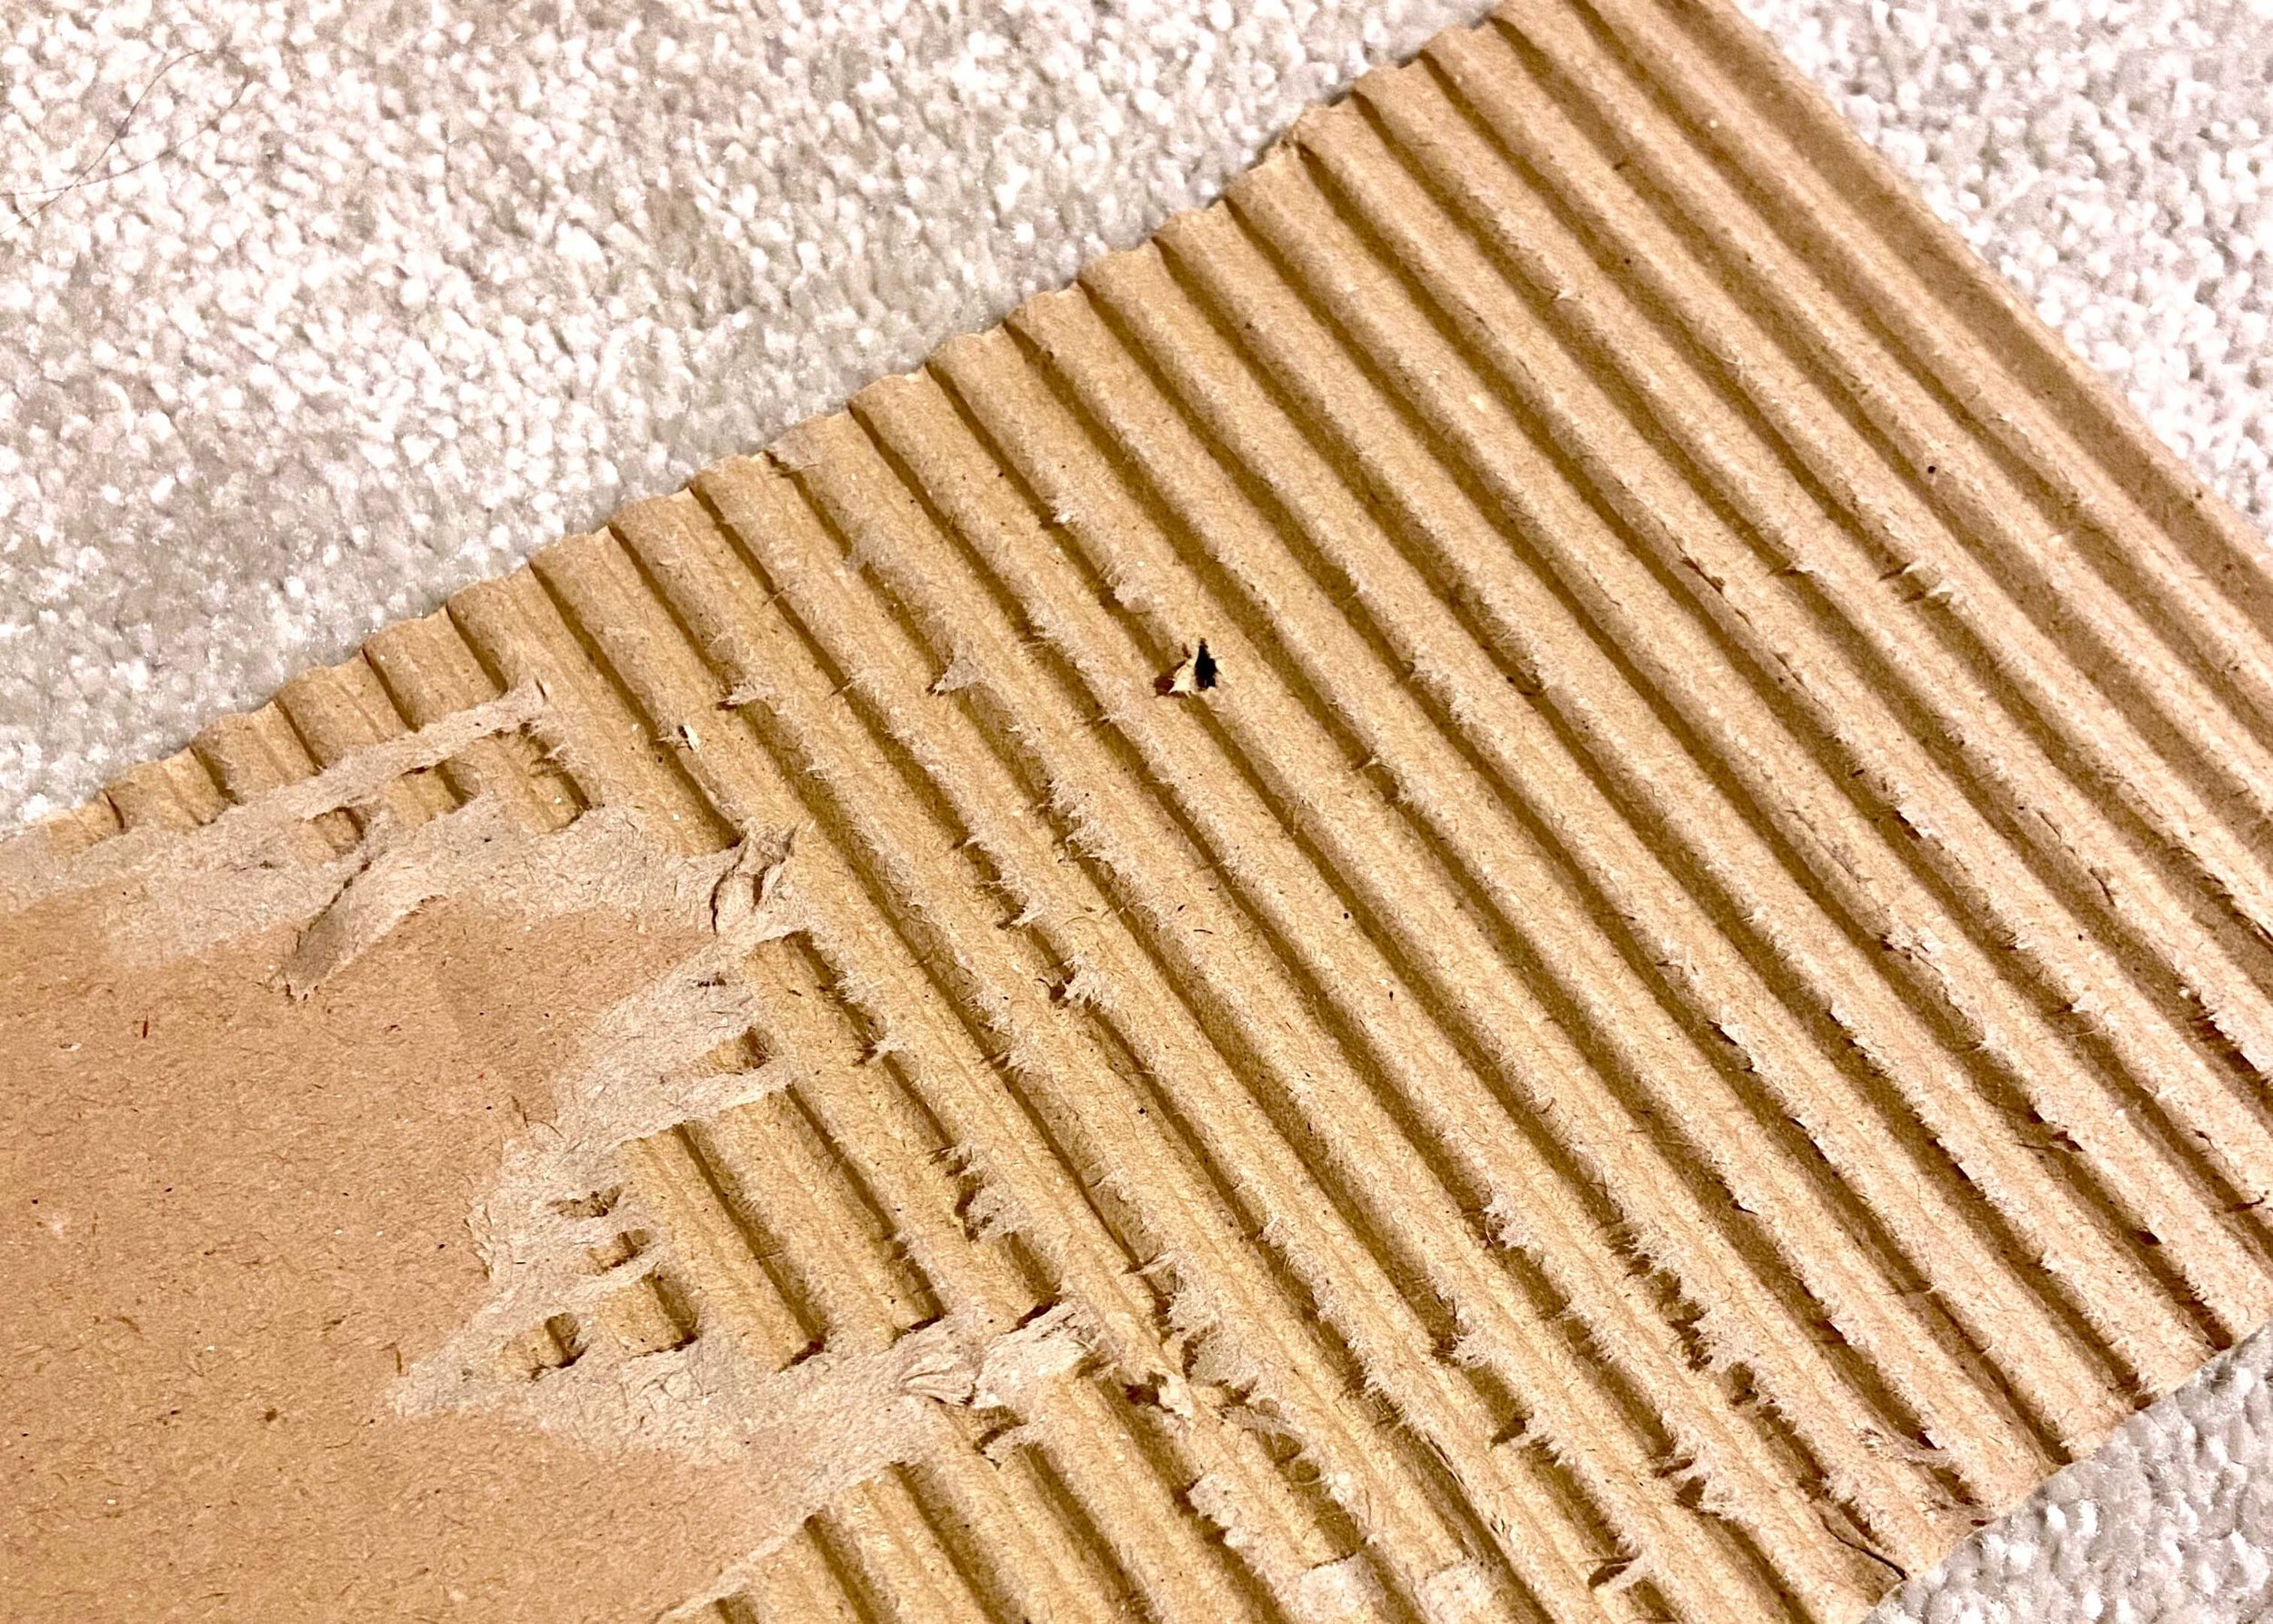
First of all, take a corrugated cardboard box (Amazon use these alot!) and cut off one of the flaps.
2.
Very carefully, prise apart the layer of paper/card covering the corrugated (ridged ) part. It can help to use a slightly damp cloth to get the top layer off.

3.
Once you have your ridged cardboard, cut off any furry bits and remove any leftover bits of paper.

4.
Next, decide how big you want each of the ‘petal’ shapes to be and cut out a template.

5.
Use this template to cut out lots of petals from the ridged cardboard.

6.
Next, remove the top of the bauble and prime it. I used mod podge for this.

7.
Once your primer is dry, mix up your desired paint colour in acrylic, and paint your bauble and petals.

8.
When everything is dry, take one of the petals and stick this to the bauble by only placing glue underneath the top part of it. You should still be able to lift the bottom of the petal away from the bauble.

9.
Continue all the way around the top of the bauble sticking petals on.

10.
Then begin adding petals underneath your top row of petals where two petals meet. Repeat this all the way around and down until you have enough layers of petals. Leave to dry and add the top of the bauble back on.

11.
As a final and optional step, you can use a metallic marker or paint to add some shimmer to the edges of each petal.