


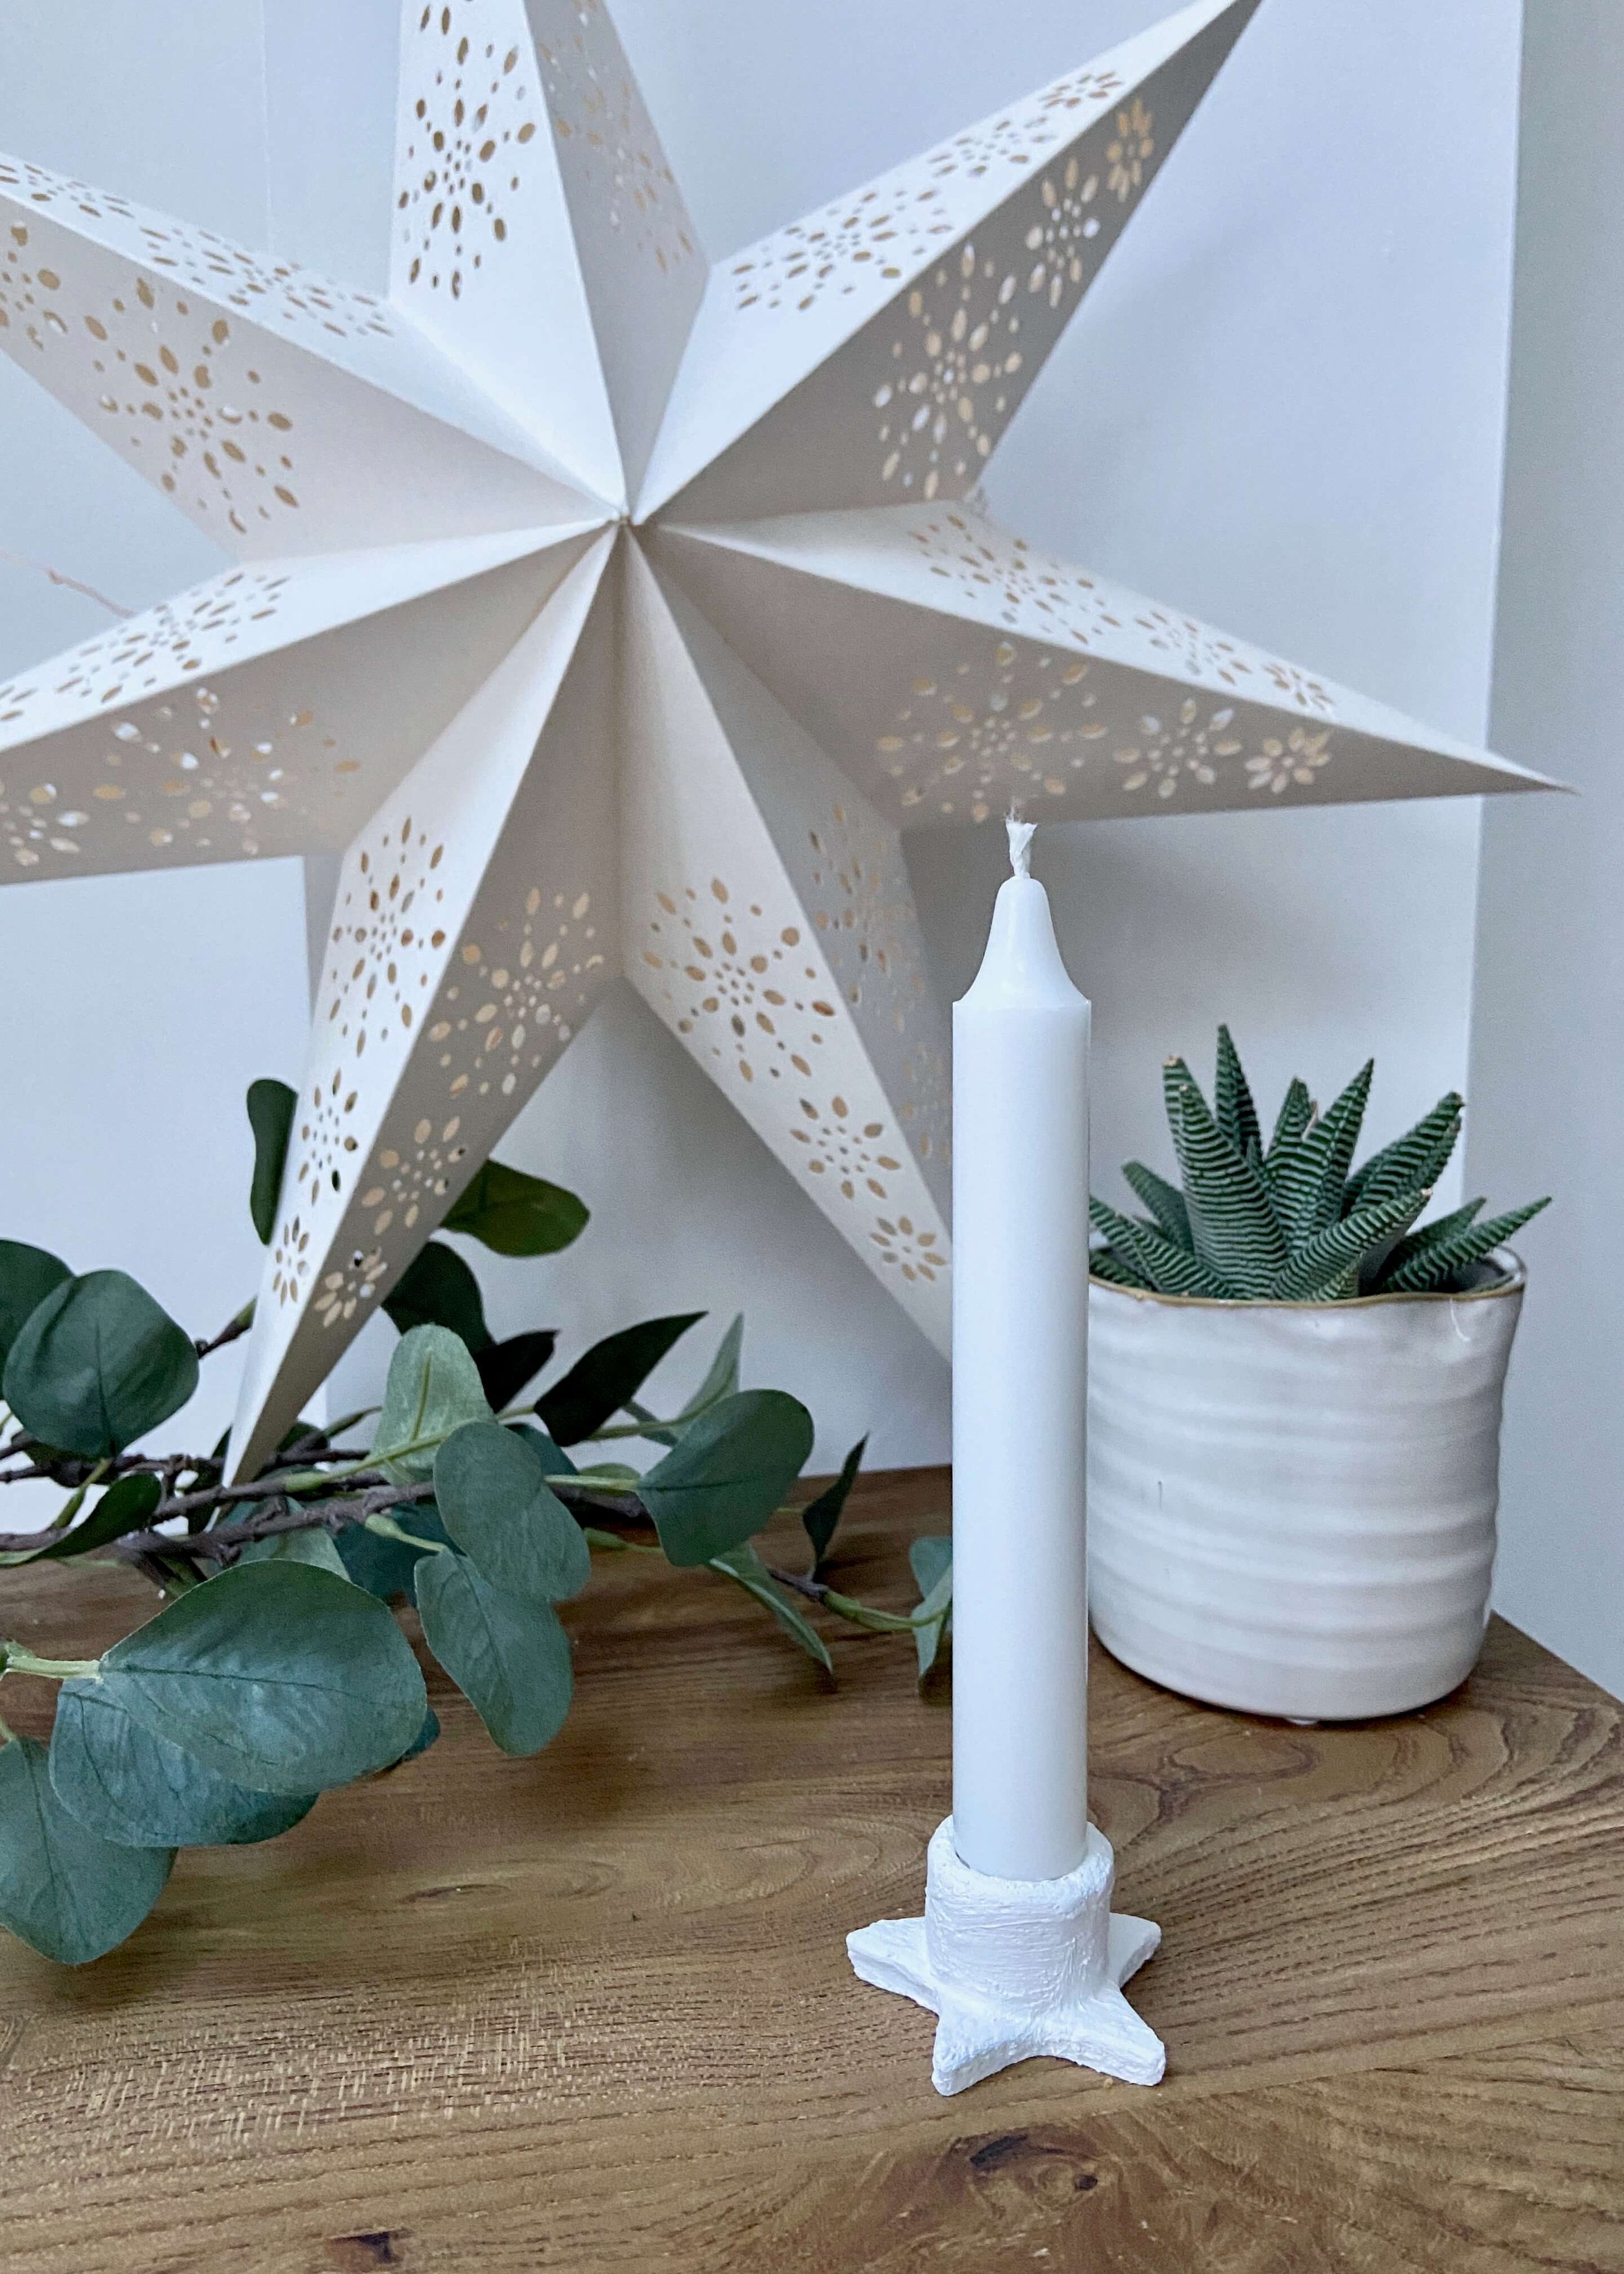
Make these festive clay candle holders with air-dry clay!
I love minimal and nordic decor at the best of times but I love it even more at Christmas. It may only just be November but the shops are slowly filling with Christmas decor and when I was having a mosey online, I came across some ceramic star-shaped taper candle holders and knew that I could make them myself. I mean, is there anything you can’t make with clay? Clay has to be one of my favourite mediums, the possibilities are endless, and as mediums go, I find it pretty forgiving. So once again, I got out my trusty air-dry clay, and had a go. This was such a simple project but such an effective way of displaying tapered candles in a minimal and festive way. If you like the look of these and want to have a go yourself, keep reading for the instructions…


1.
First of all, roll out some clay to your desired thickness.

2.
Use a star shaped cutter to cut out the base of the candle holder.

3.
Roll out some more clay, and cut out a rectangle shape from this. Make sure the height of this is sufficient to support your candle.

4.
Wrap this rectangle around your candle and cut off any excess. Use a clay slip to adhere the ends to one another to create a cylinder.

5.
Use the base of your candle to mark on the base where your candle will go, and use a craft knife to score where the cylinder will adhere.

6.
Use clay slip to adhere the cylinder to the star base and leave this to dry completely.

7.
Use the clay slip to smooth out the surface of the clay holder and again leave to dry.

8.
Seal the clay with mod podge. Once dry, paint over this with a mix of paint and baking powder to give a textured effect. Alternatively, paint and splatter black paint on.


