


Recycle those cardboard boxes into a textured standing Christmas tree decoration!
Everything seems to come in cardboard boxes at Christmas, so why not make good use of them and turn what would otherwise be rubbish into chic Christmas decor. H&M have some really lovely scandi inspired decorations this year, and one of the pieces that caught my eye immediately, was this metal tree table decoration. Unfortunately it was sold out when I spotted it, but with all the cardboard I have in my house at the moment, I grabbed my craft knife and made my own textured version. I like to keep my decor pretty neutral however you could paint this any colour you wanted or even spray it with a metallic spray paint to achieve a look a bit closer to the original. If you fancy making one yourself, keep reading for the step by step instructions!

Cardboard
Craft knife
Air-dry clay
Baking Powder
Paint


1.
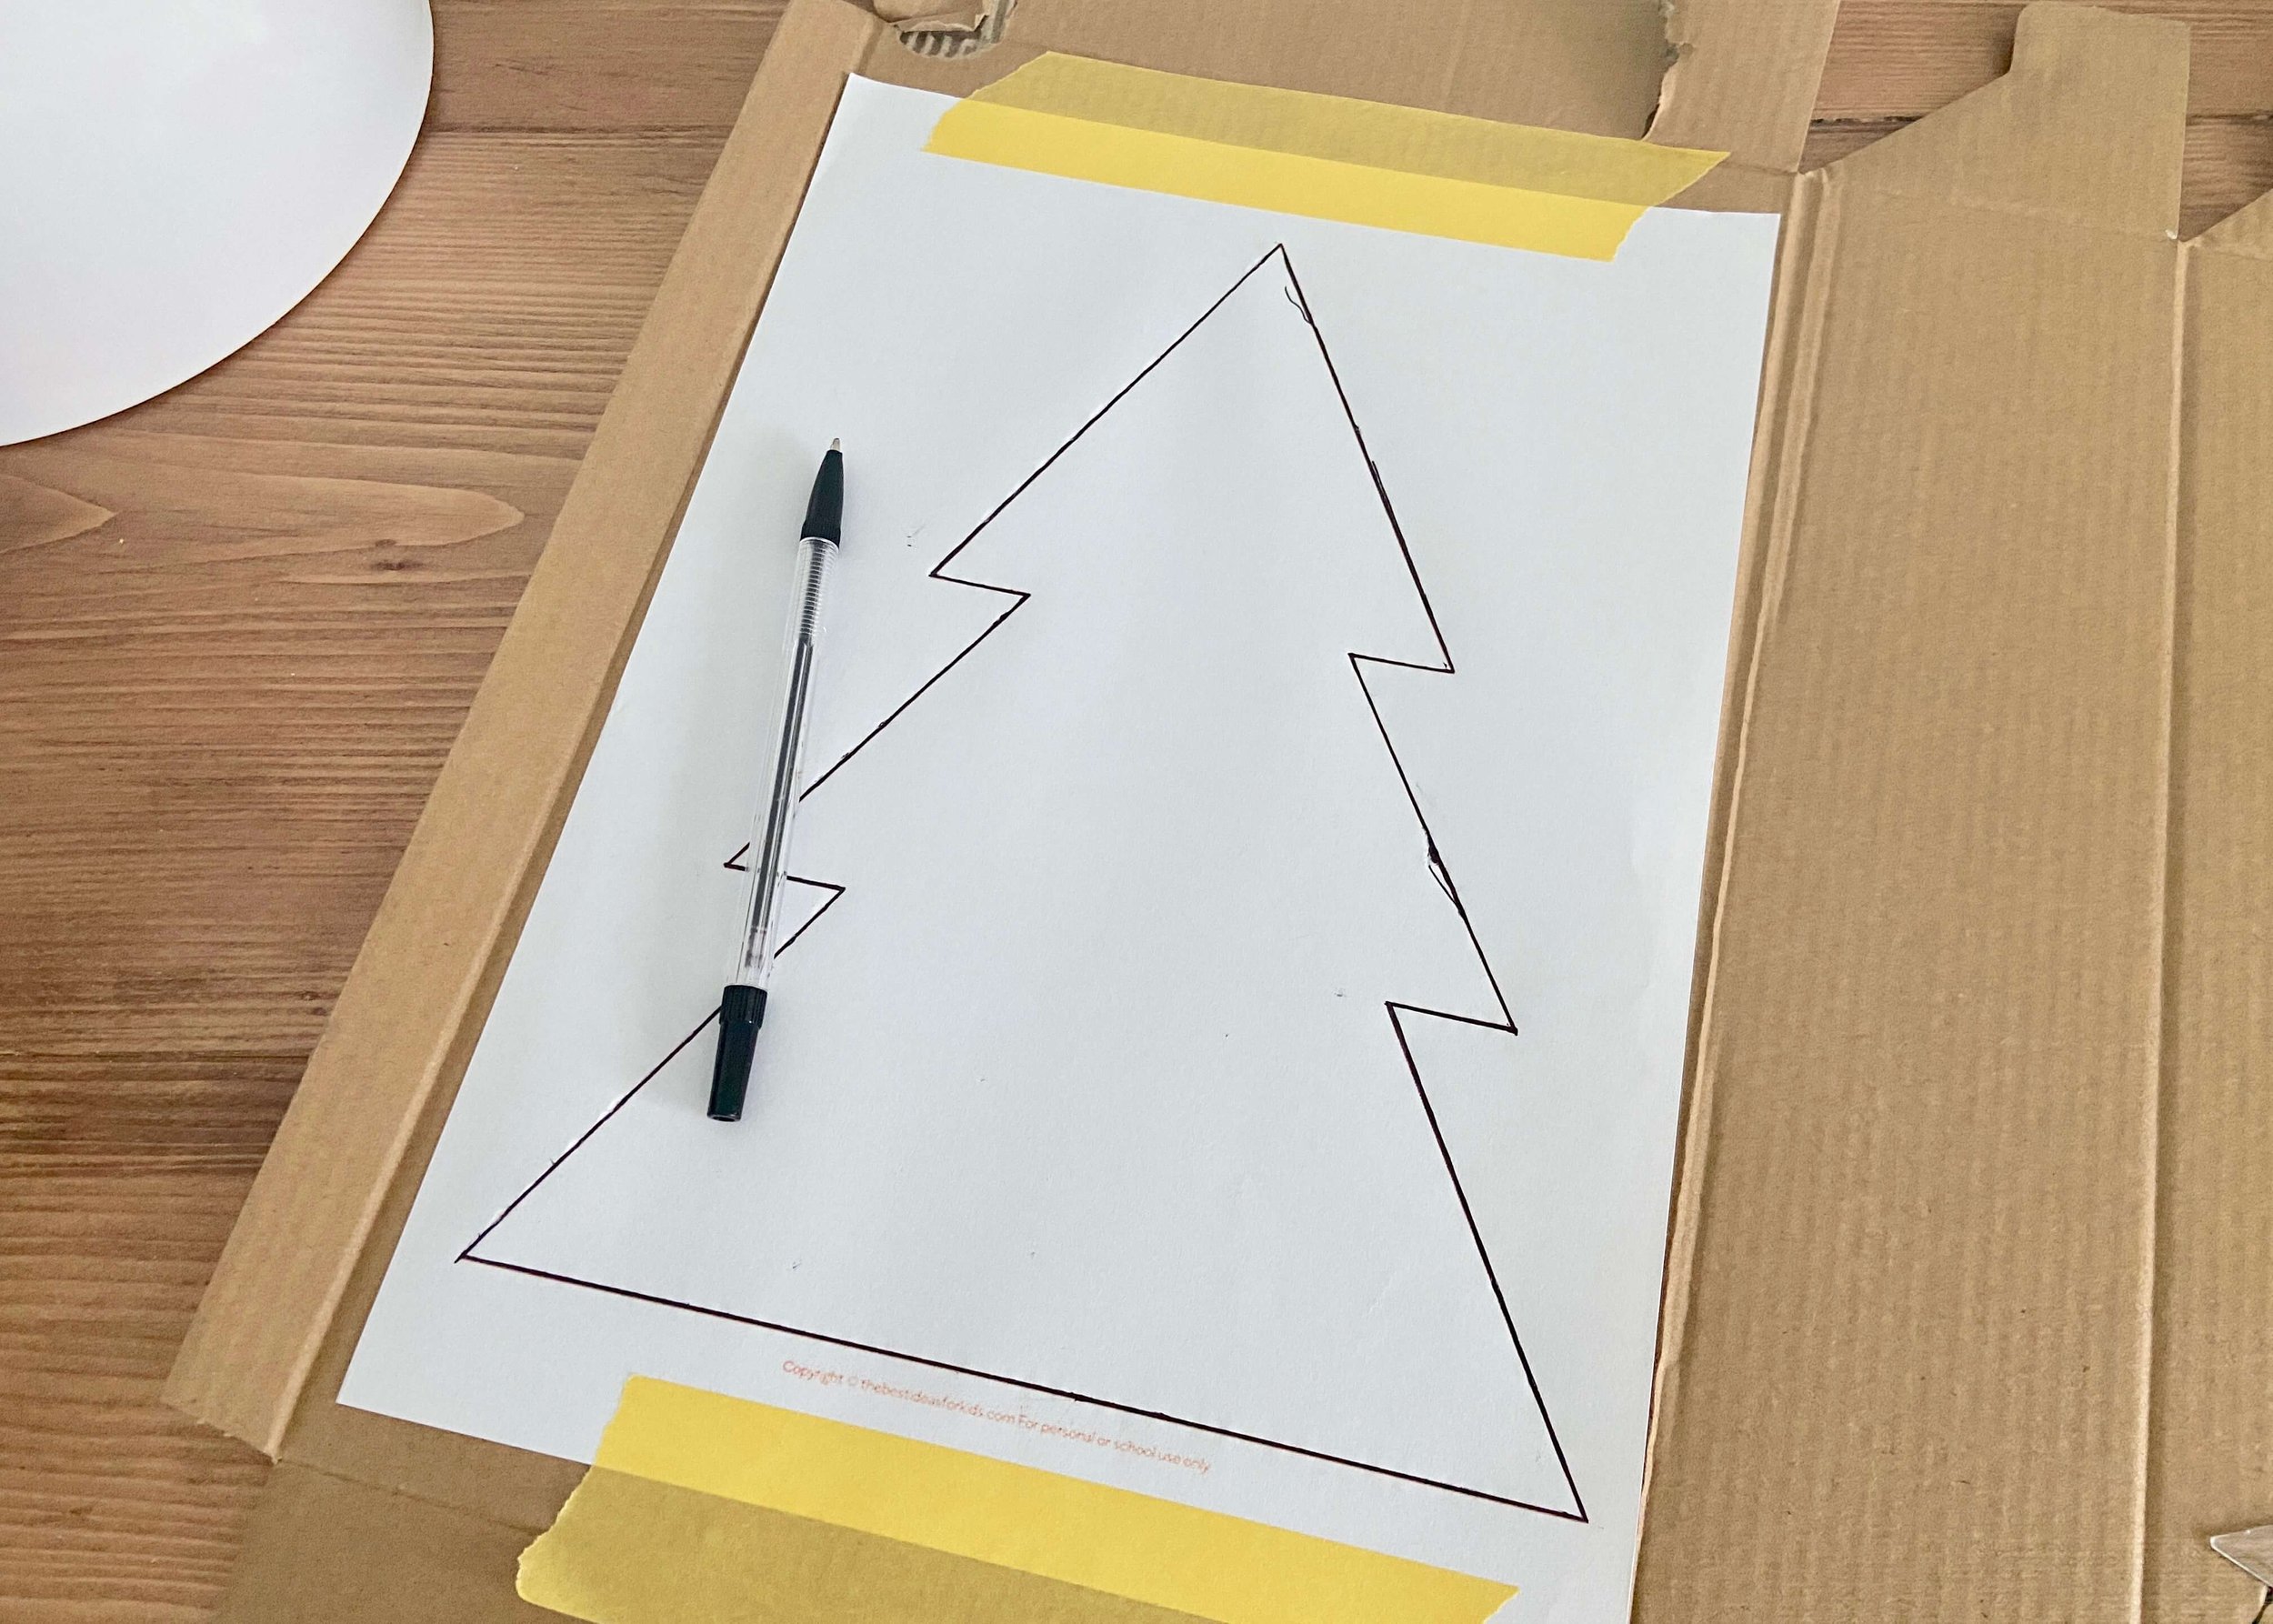
First of all, find a tree shape that you like in Google images and print this out full size on a sheet of A4 paper.
2.
Lay this over the top of your cardboard, and secure it in place with tape. Using a ruler and pen, draw over all the lines, pressing hard enough that it leaves an imprint on the cardboard underneath.

3.
Go over this imprint with the pen and ruler so that it is nice and clear to see.

4.
Cut out this tree shape using a ruler and a craft or stanley knife. Be sure to place your cardboard on top of a mat or chopping board so that you don’t damage your table underneath. Repeat steps 1-4 to make another identical tree shape.

5.
On both shapes, find the middle point, both height and width wise. Mark this, and on one shape draw a line from this down to the bottom, and on the other draw a line from this up to the top. Measure the depth of your cardboard, and widen these lines so that they are the same width as the depth of the cardboard.

6.
Cut these centre lines out, ensuring that they are the same width as the depth of your cardboard shapes.
8.
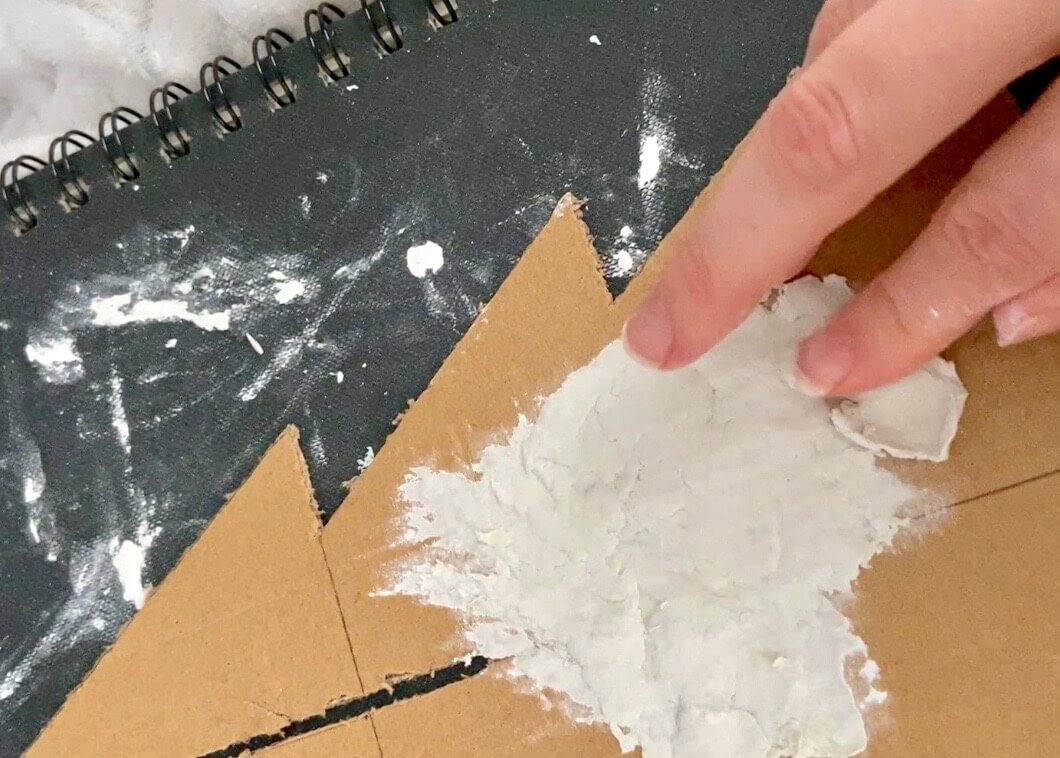
Use air-dry clay to add texture and to reinforce the edges of the cardboard. I found the easiest way to get the clay to stick was to take small pinches of clay and press, then spread these on top of the cardboard. Leave these to dry with some weights on the edges so that the cardboard doesn’t curl.

9.
I have to admit that in the end I didn’t cover the whole thing in clay, only really where it needed reinforcing or where the edges needed ‘blocking off’ as such. I then assembled it by sliding the piece with the cut at the bottom down into the piece with the cut in the top, and painted it in a mixture of baking powder and paint. Leave it to thoroughly dry, and if you find your cardboard bending, stand it up and place bottles in between.


