
Create this beautiful clay donut stem vase with clay and peppercorns!
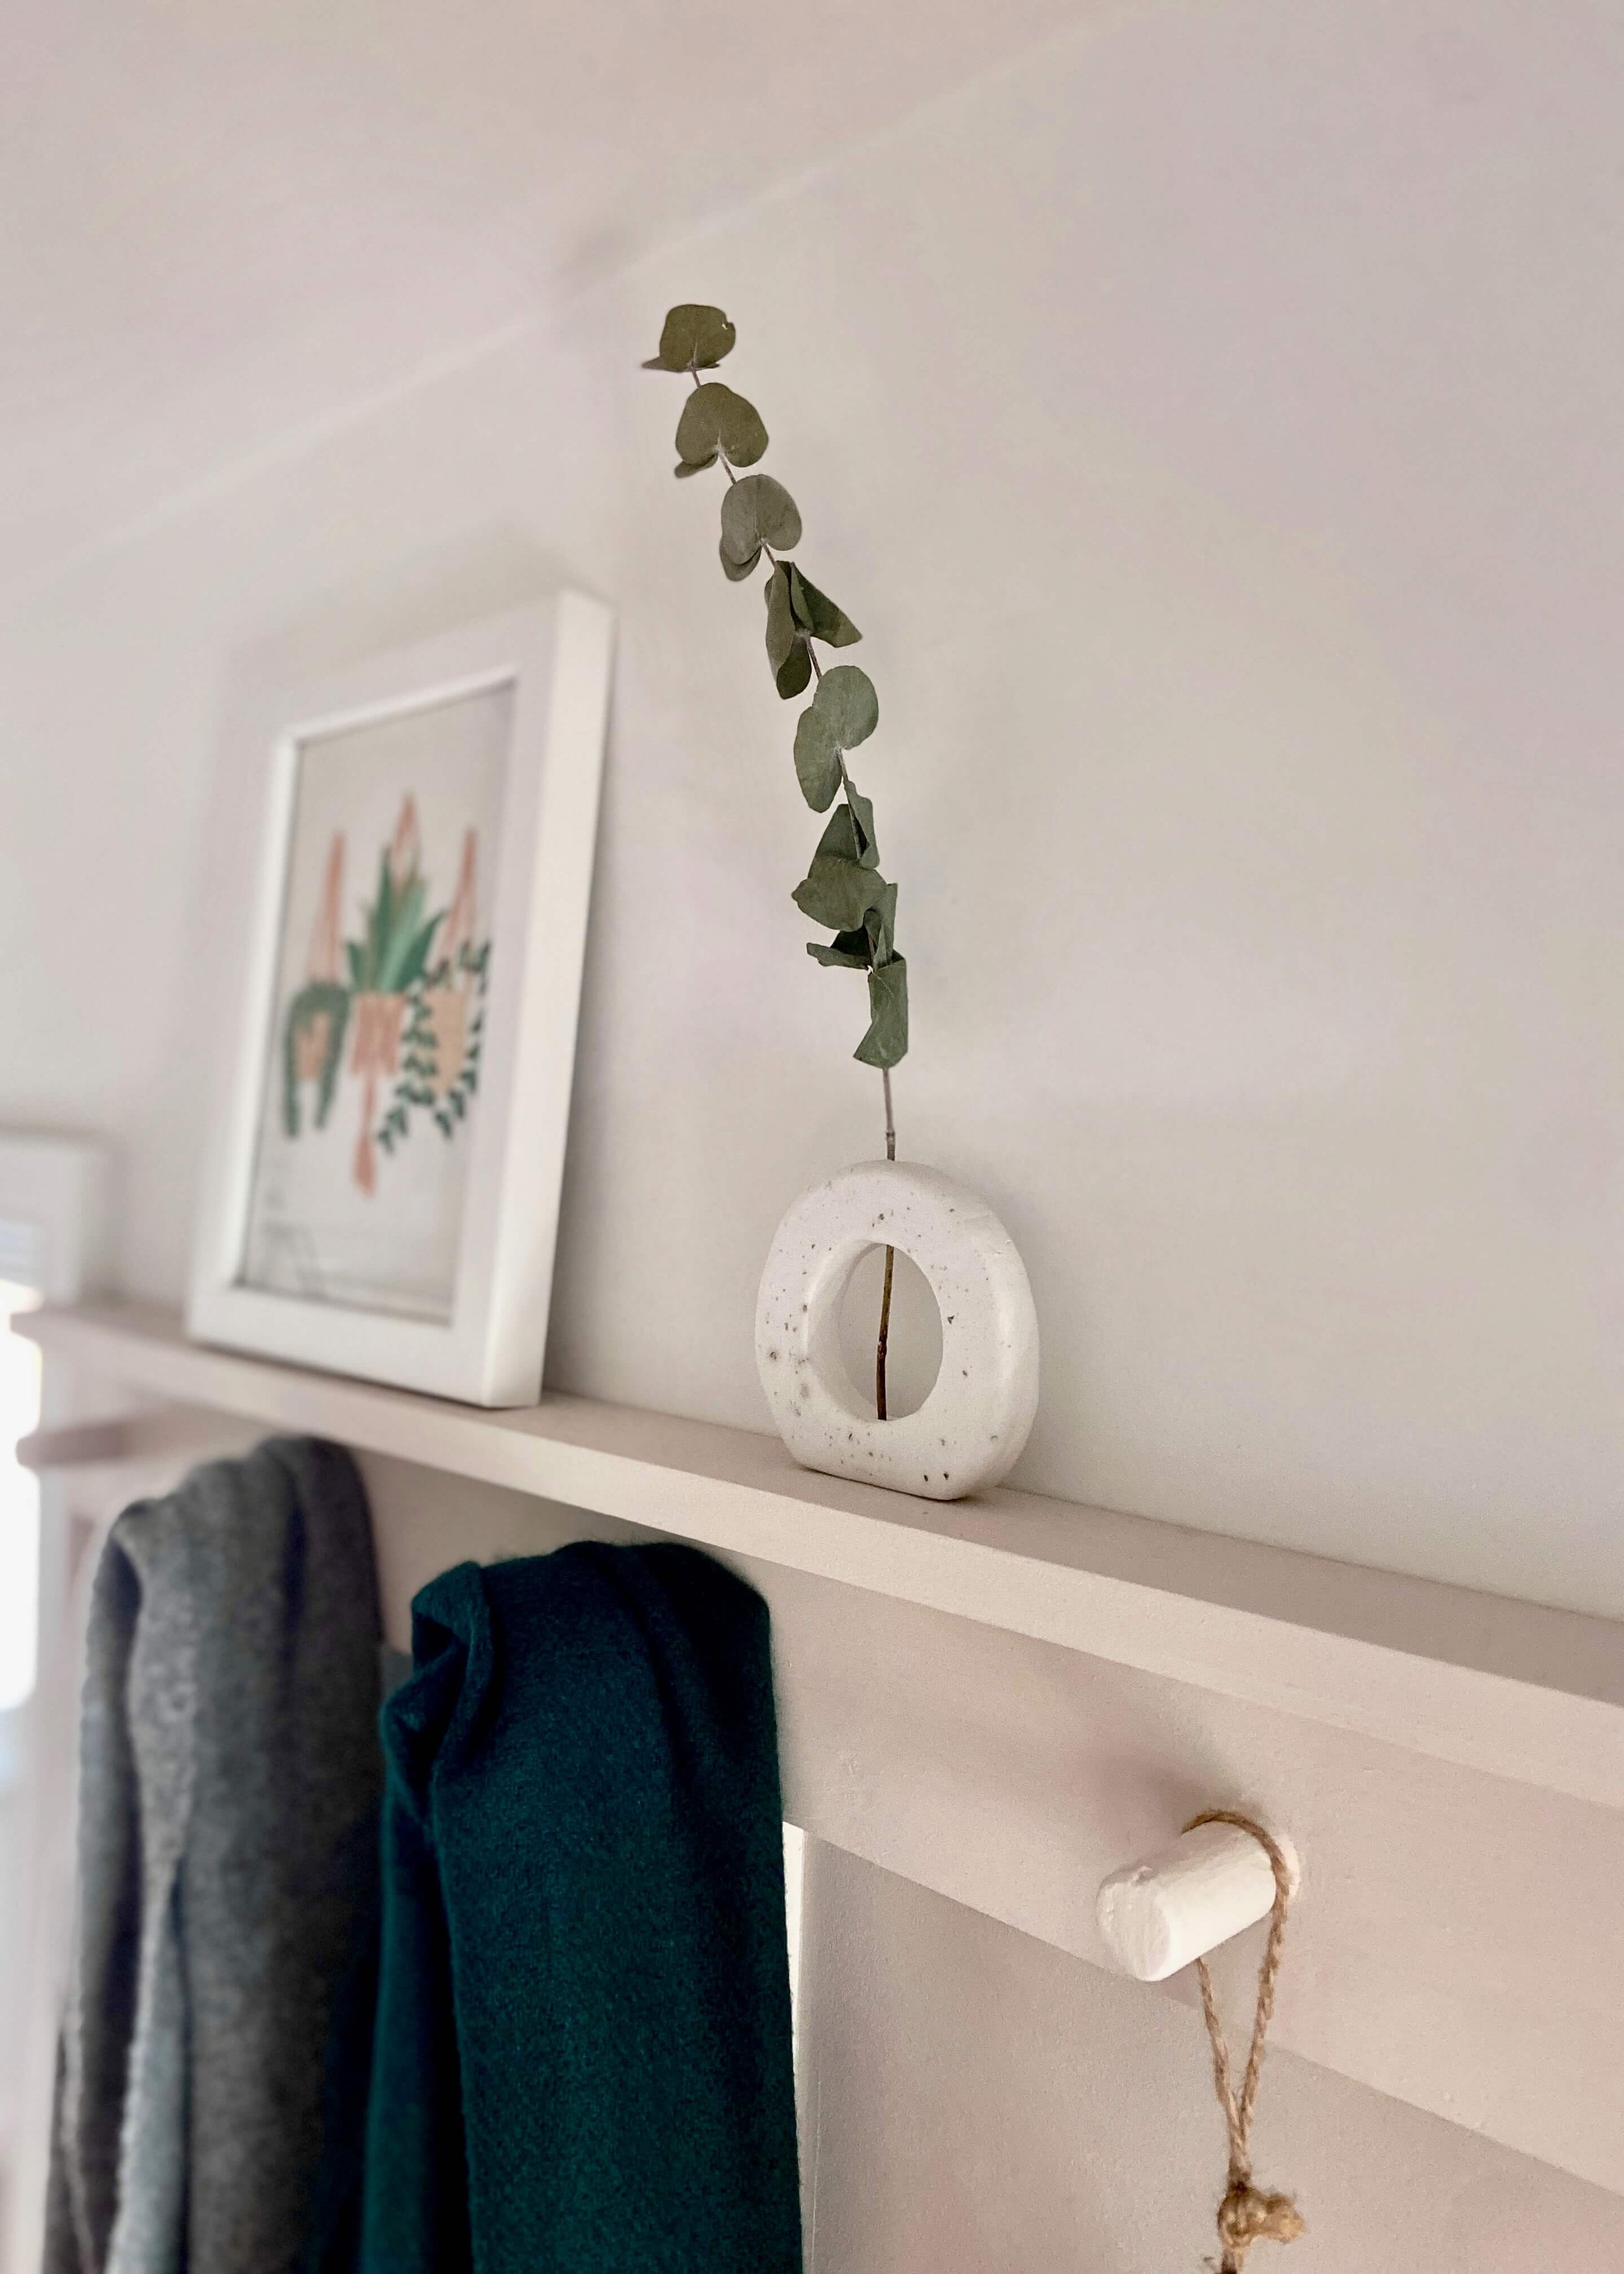
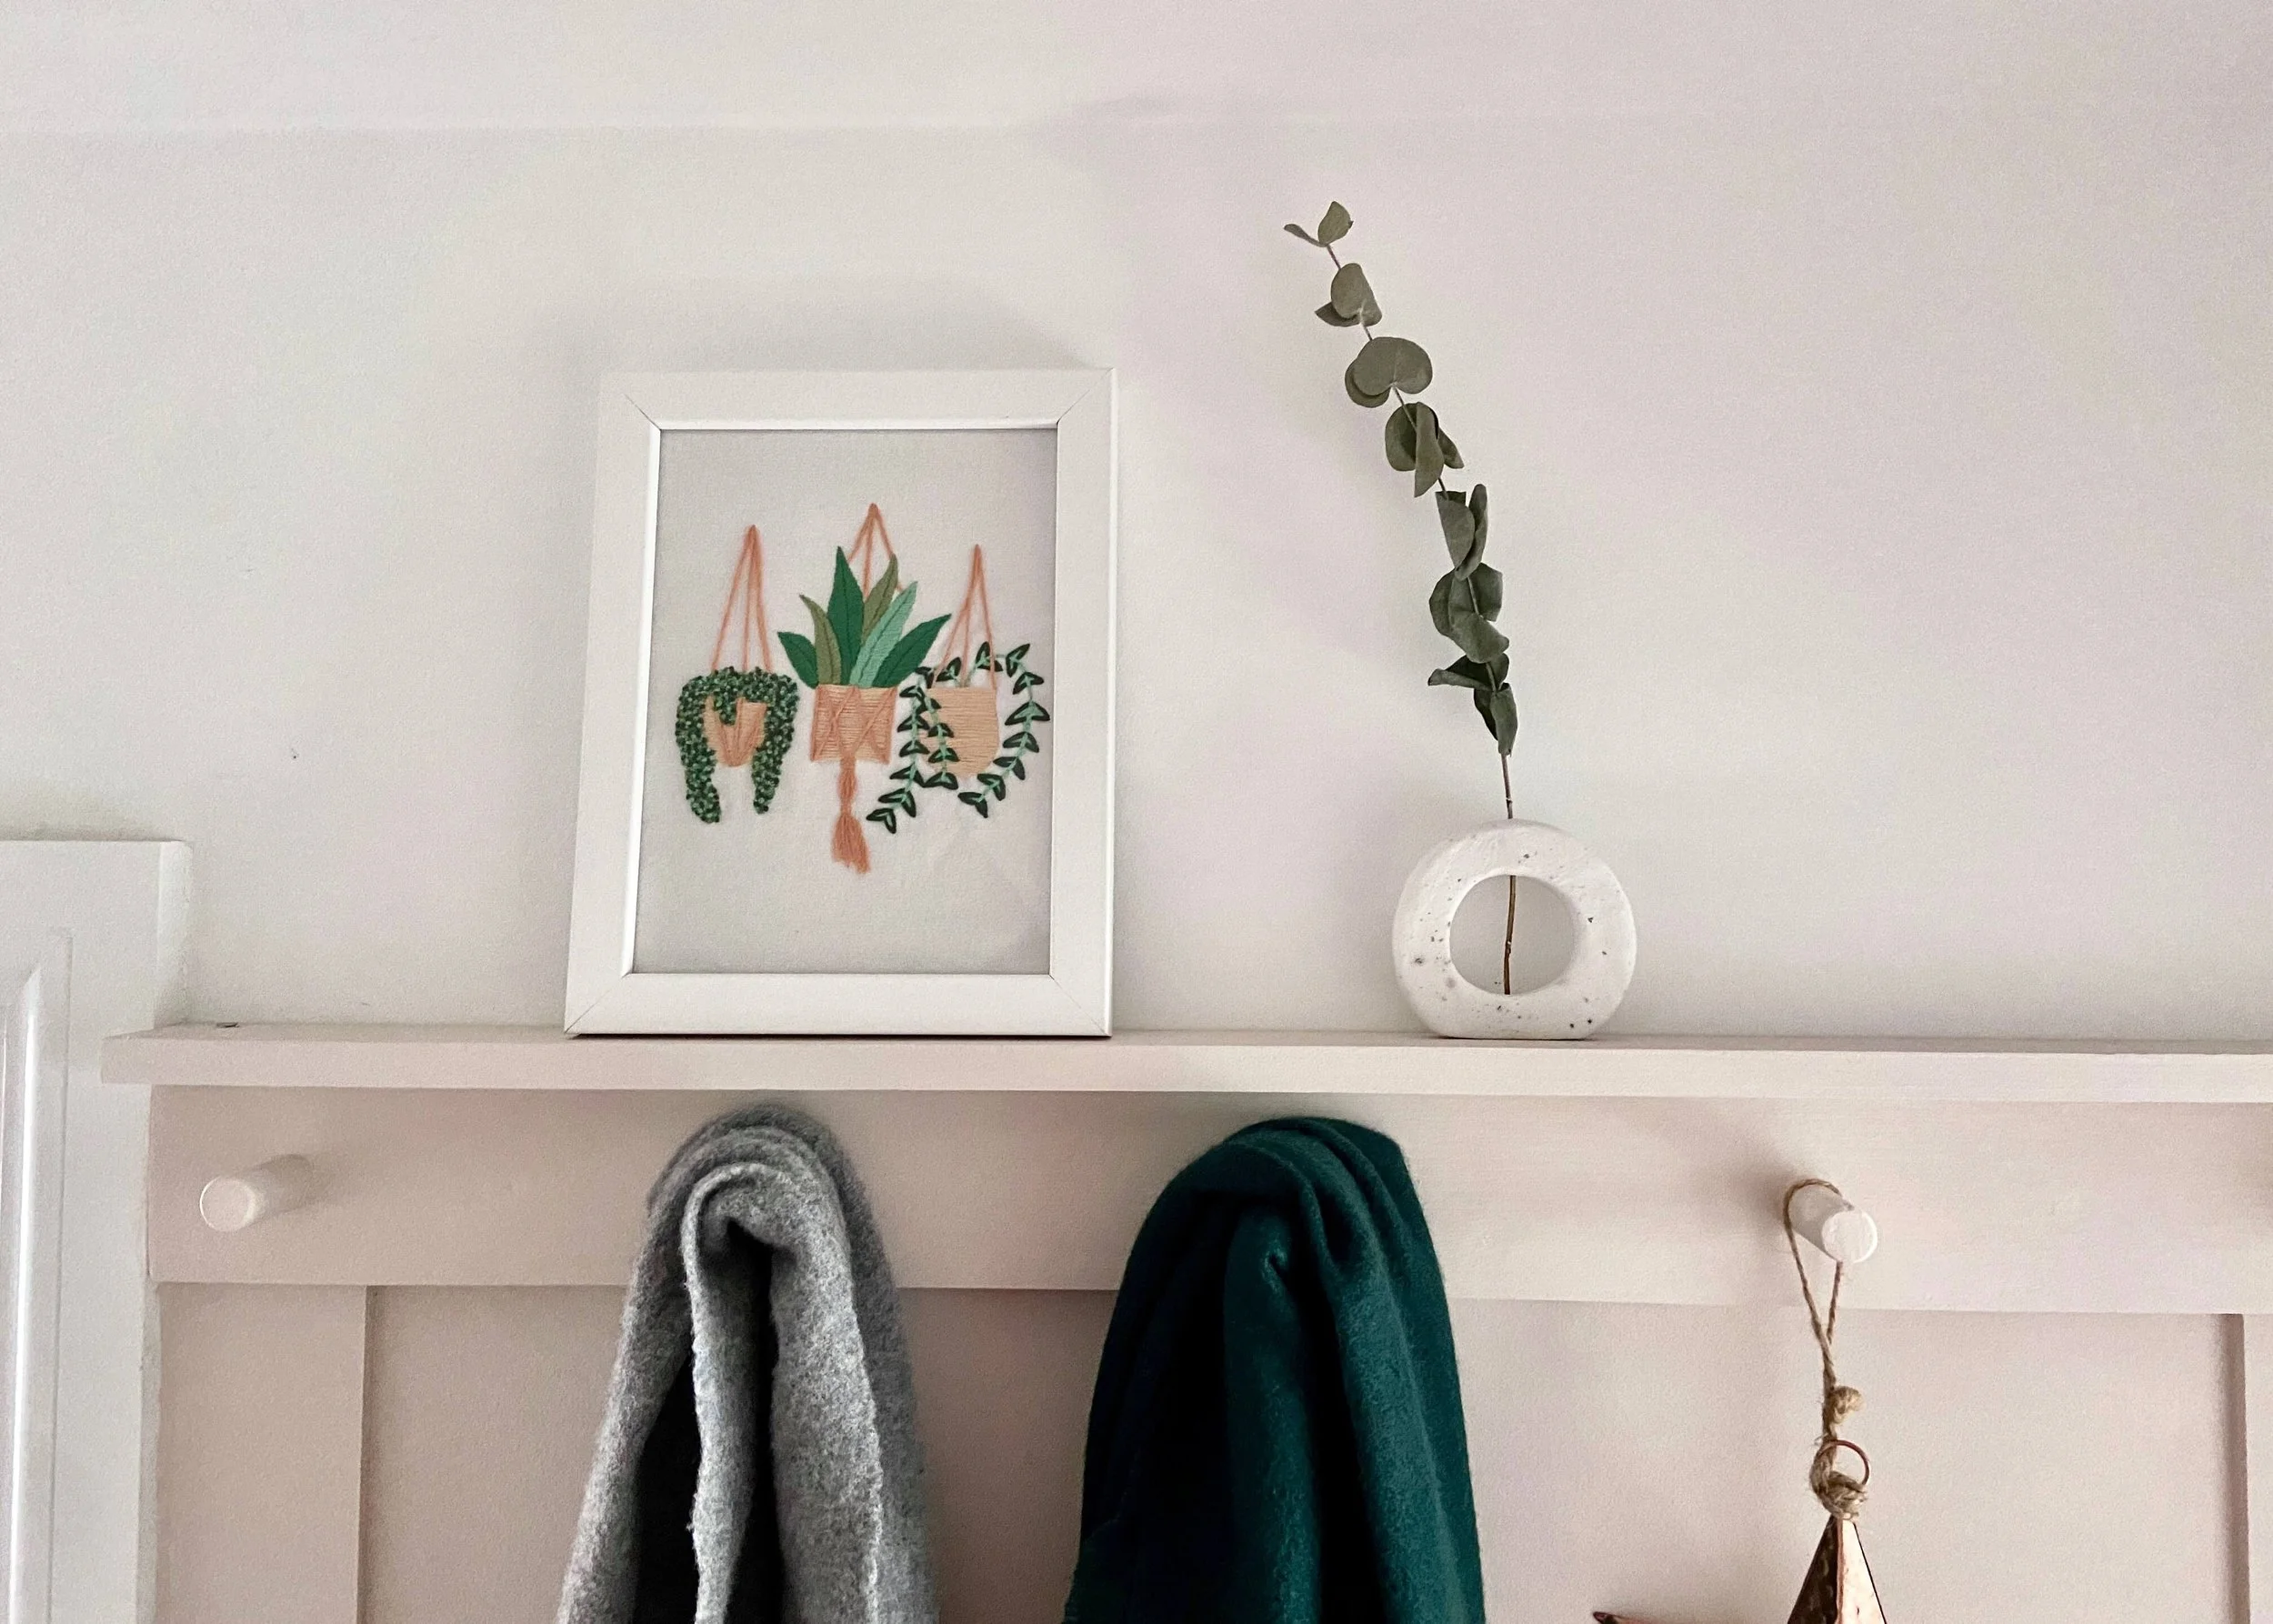
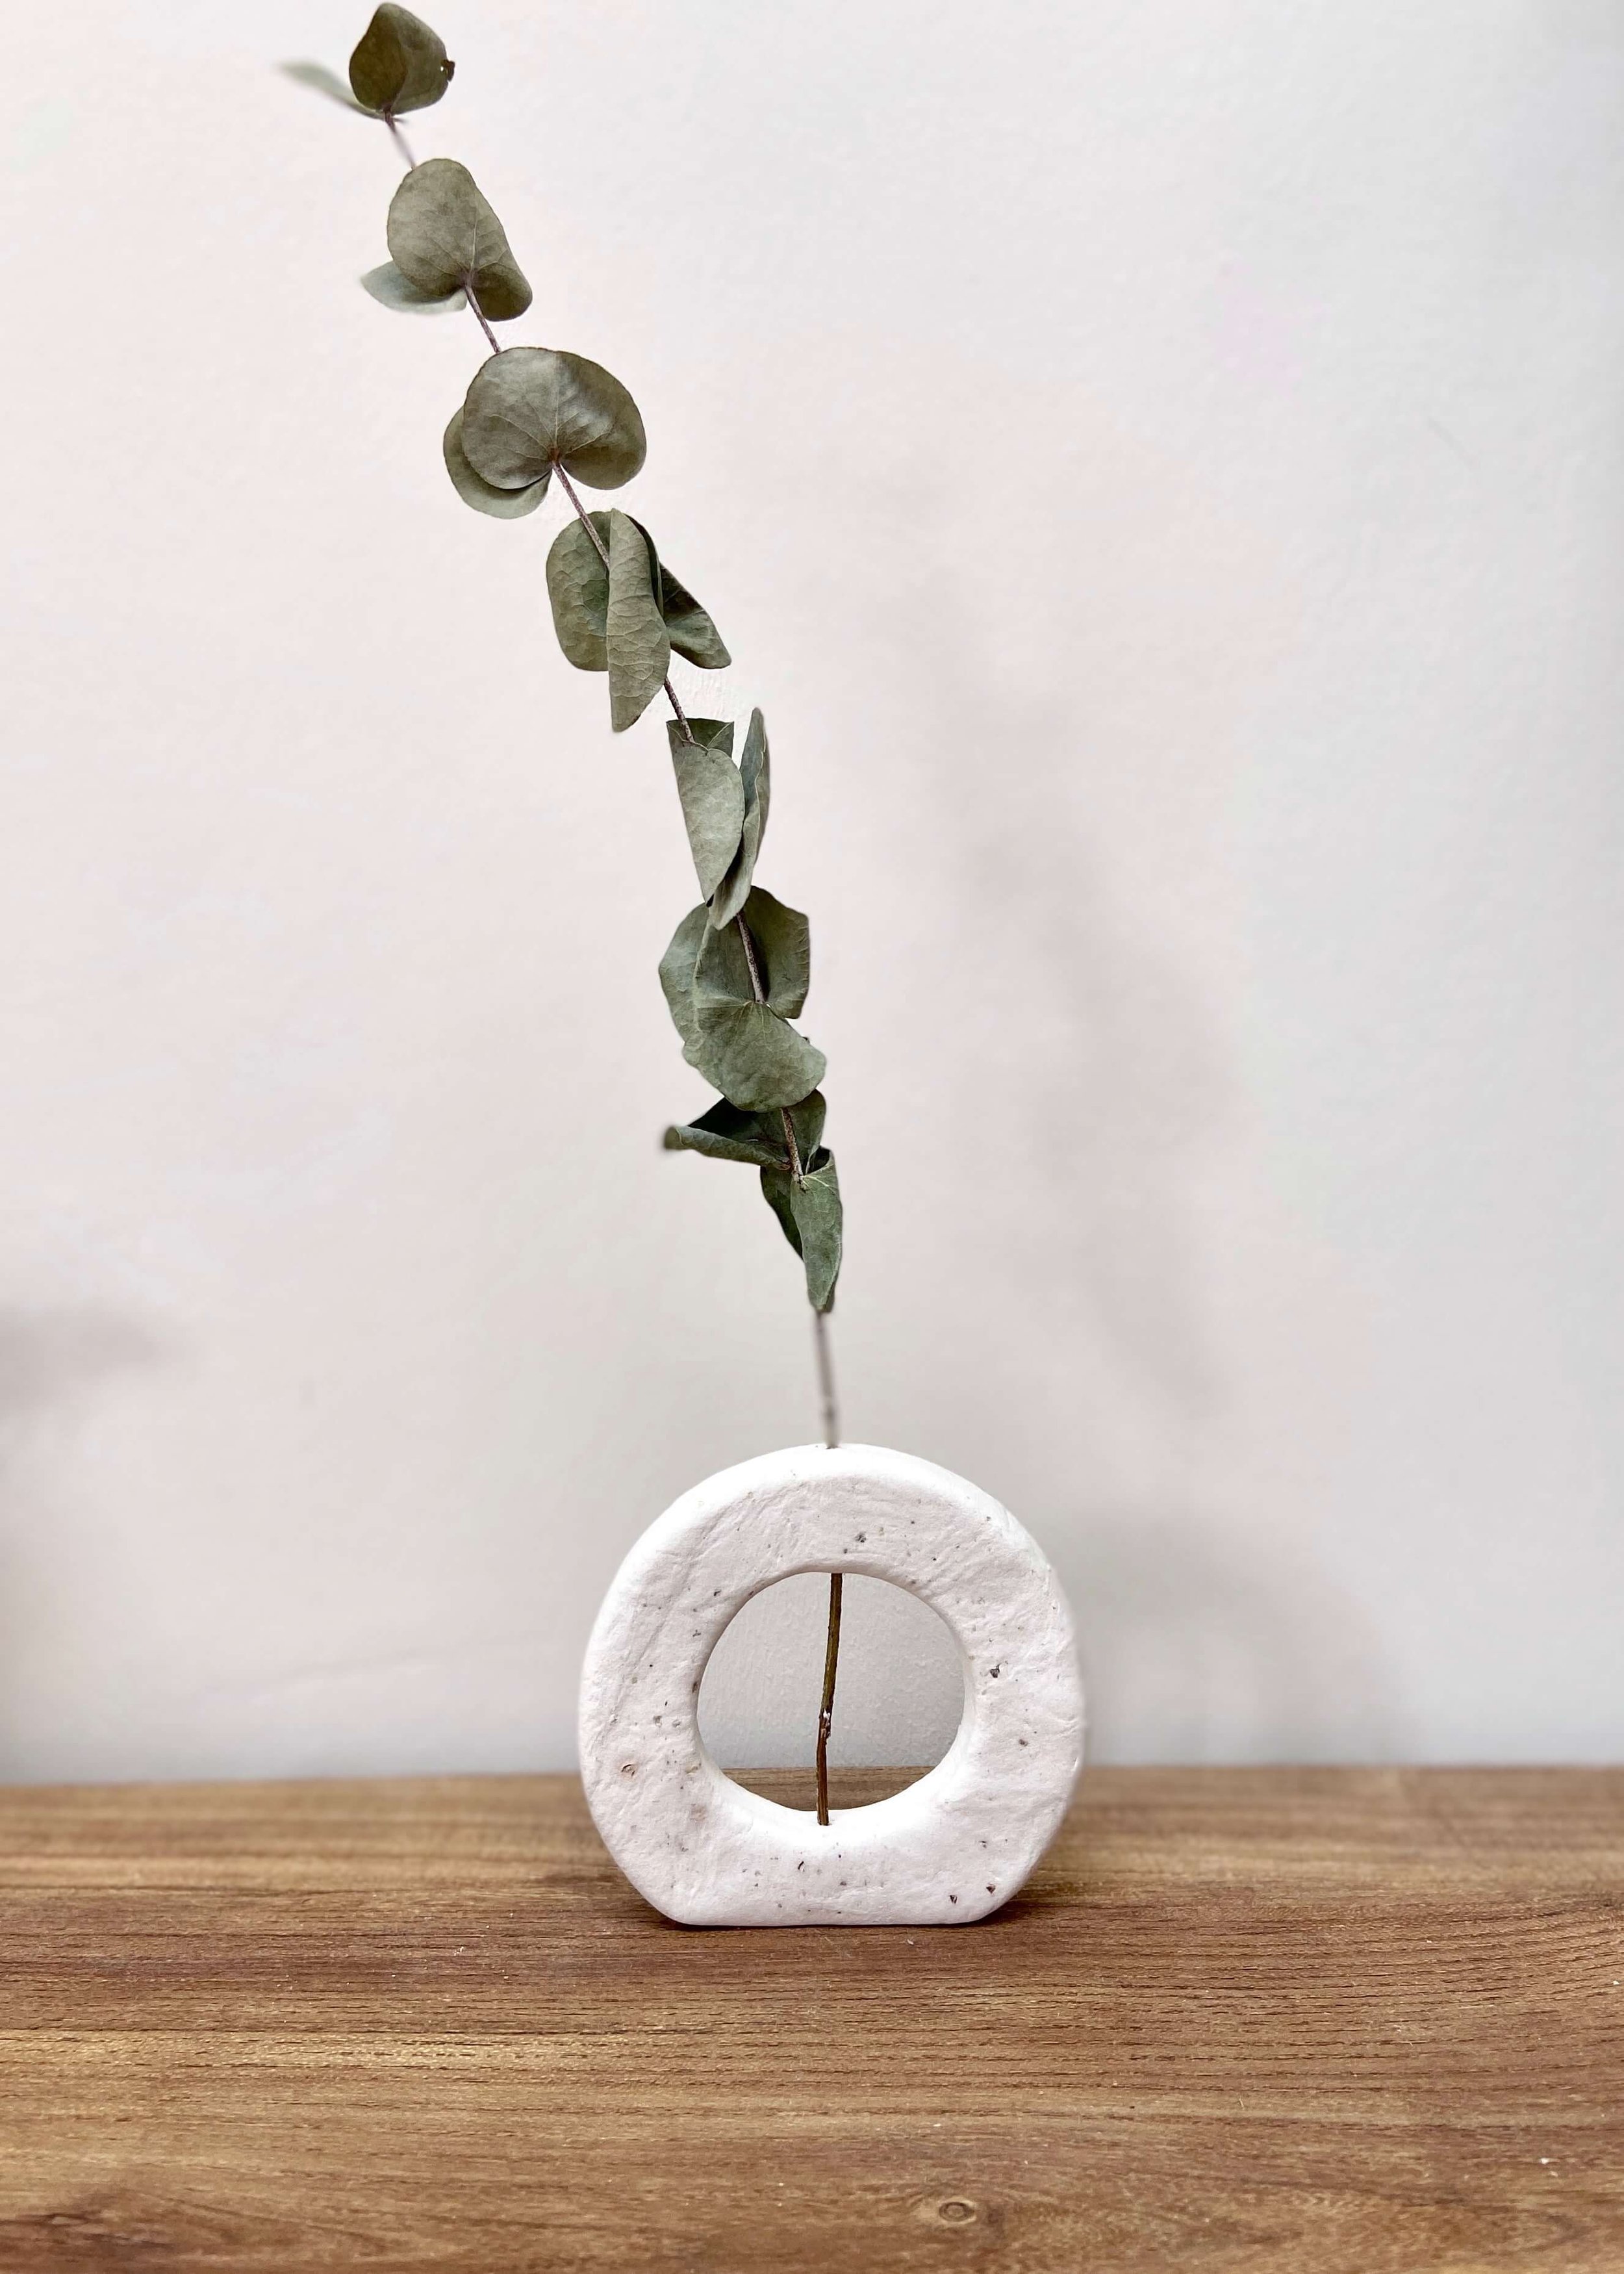
If you saw last week’s post, you’ll know that I had recently upgraded the hallway and added a dinky little shelf above the wall panelling and peg rack. I wanted the shelf to be quite subtle, and not stick out too much, however practically that means that I don’t have an awful lot of decor yet that I can put on it. To rectify that, I decided to make something myself from air-dry clay. I knew I need to make something that had a relatively slim profile, but also wanted it to have some impact, and hold a dried eucalyptus stem from our wedding. After some thought, I landed on the infamous donut vase. I’ve not seen anyone else try to make a donut stem vase entirely from air-dry clay, so I wasn’t 100% sure this was going to work. To my surprise, this project was pretty simple, and the longest part of the entire process was waiting for the clay to dry. I was quite conscious of the clay cracking, and so I kept an eye on it, and made sure to regularly turn it over so that it dried as evenly as possible. I think this looks lovely on my shelf in the hallway, what do you think? Let me know below, and don’t forget to subscribe and share this post on social media! Keep reading for the step by step instructions….


1.
First of all, grab everything you need and have it ready to hand. Place some non-stick parchment paper on a flat surface to work on. To stop this moving around, place a damp piece of kitchen towel underneath.

2.
Open your air-dry clay, and cut off the amount of clay you think you will need for this project. I used a new block of clay, so once I had cut off my clay, I cellotaped the packet back up and placed it in an airtight container. Work the clay you’ve cut off in your hands. Add water to your hands if needed.
3.
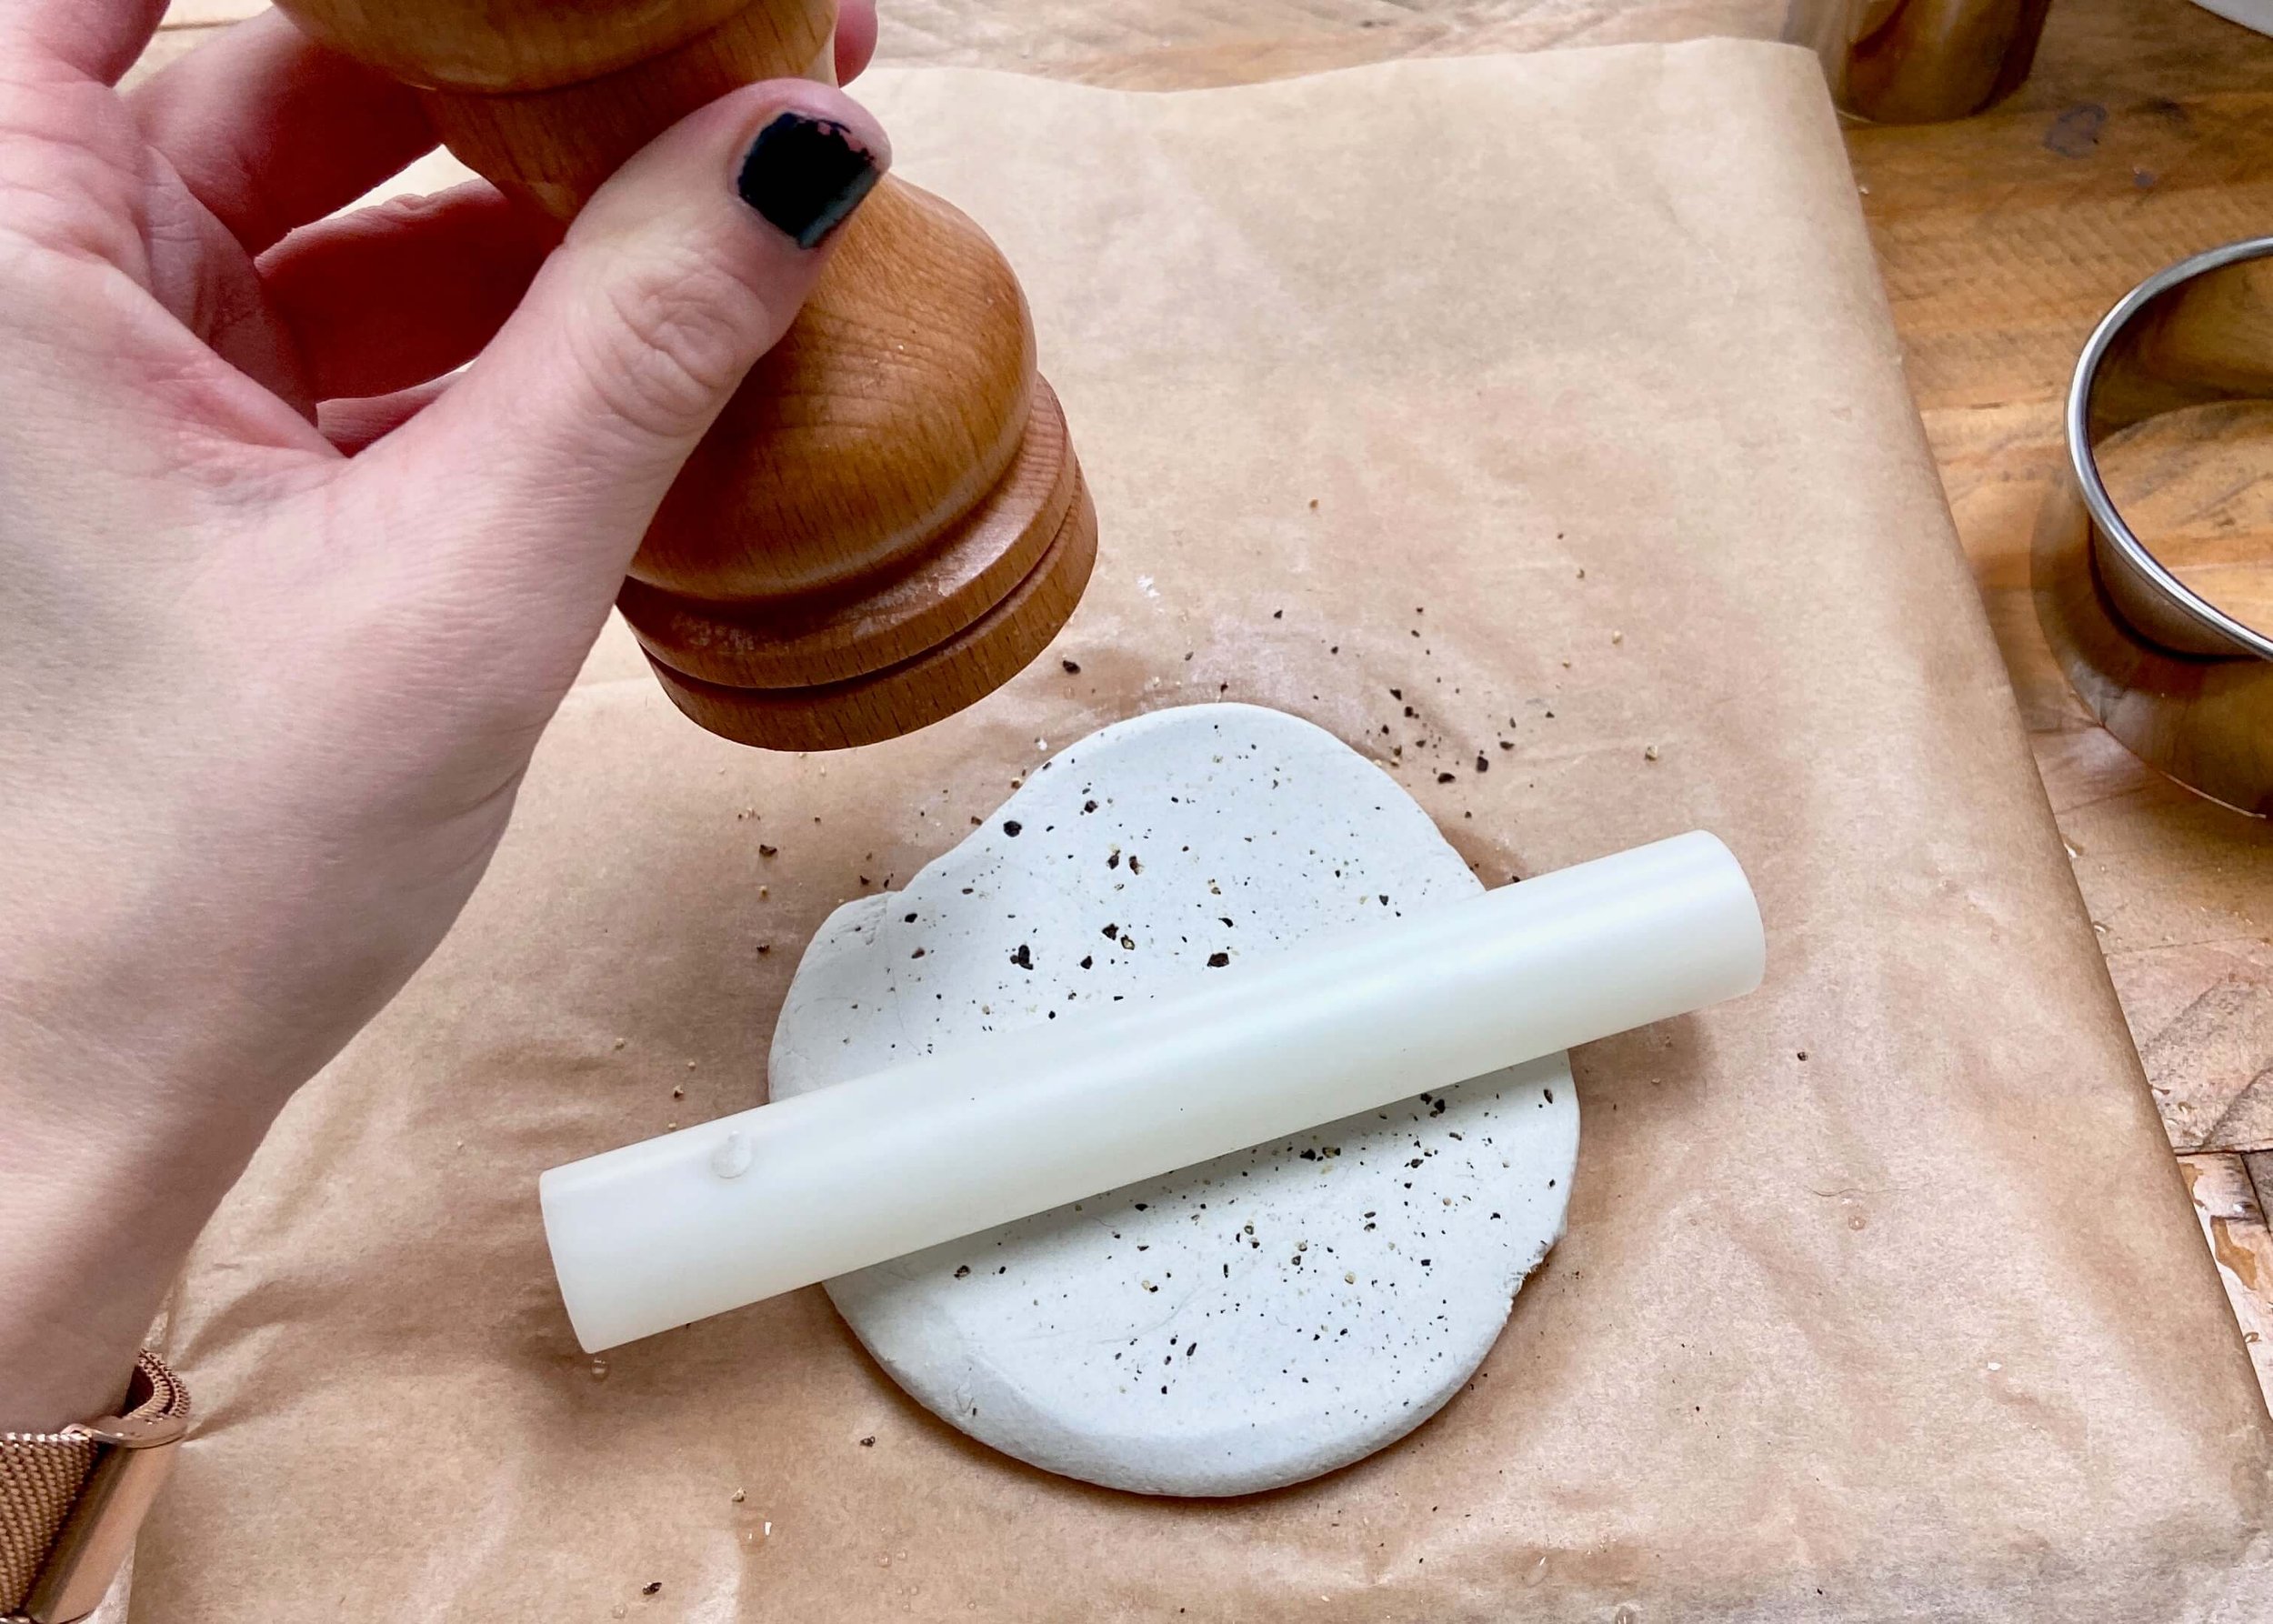
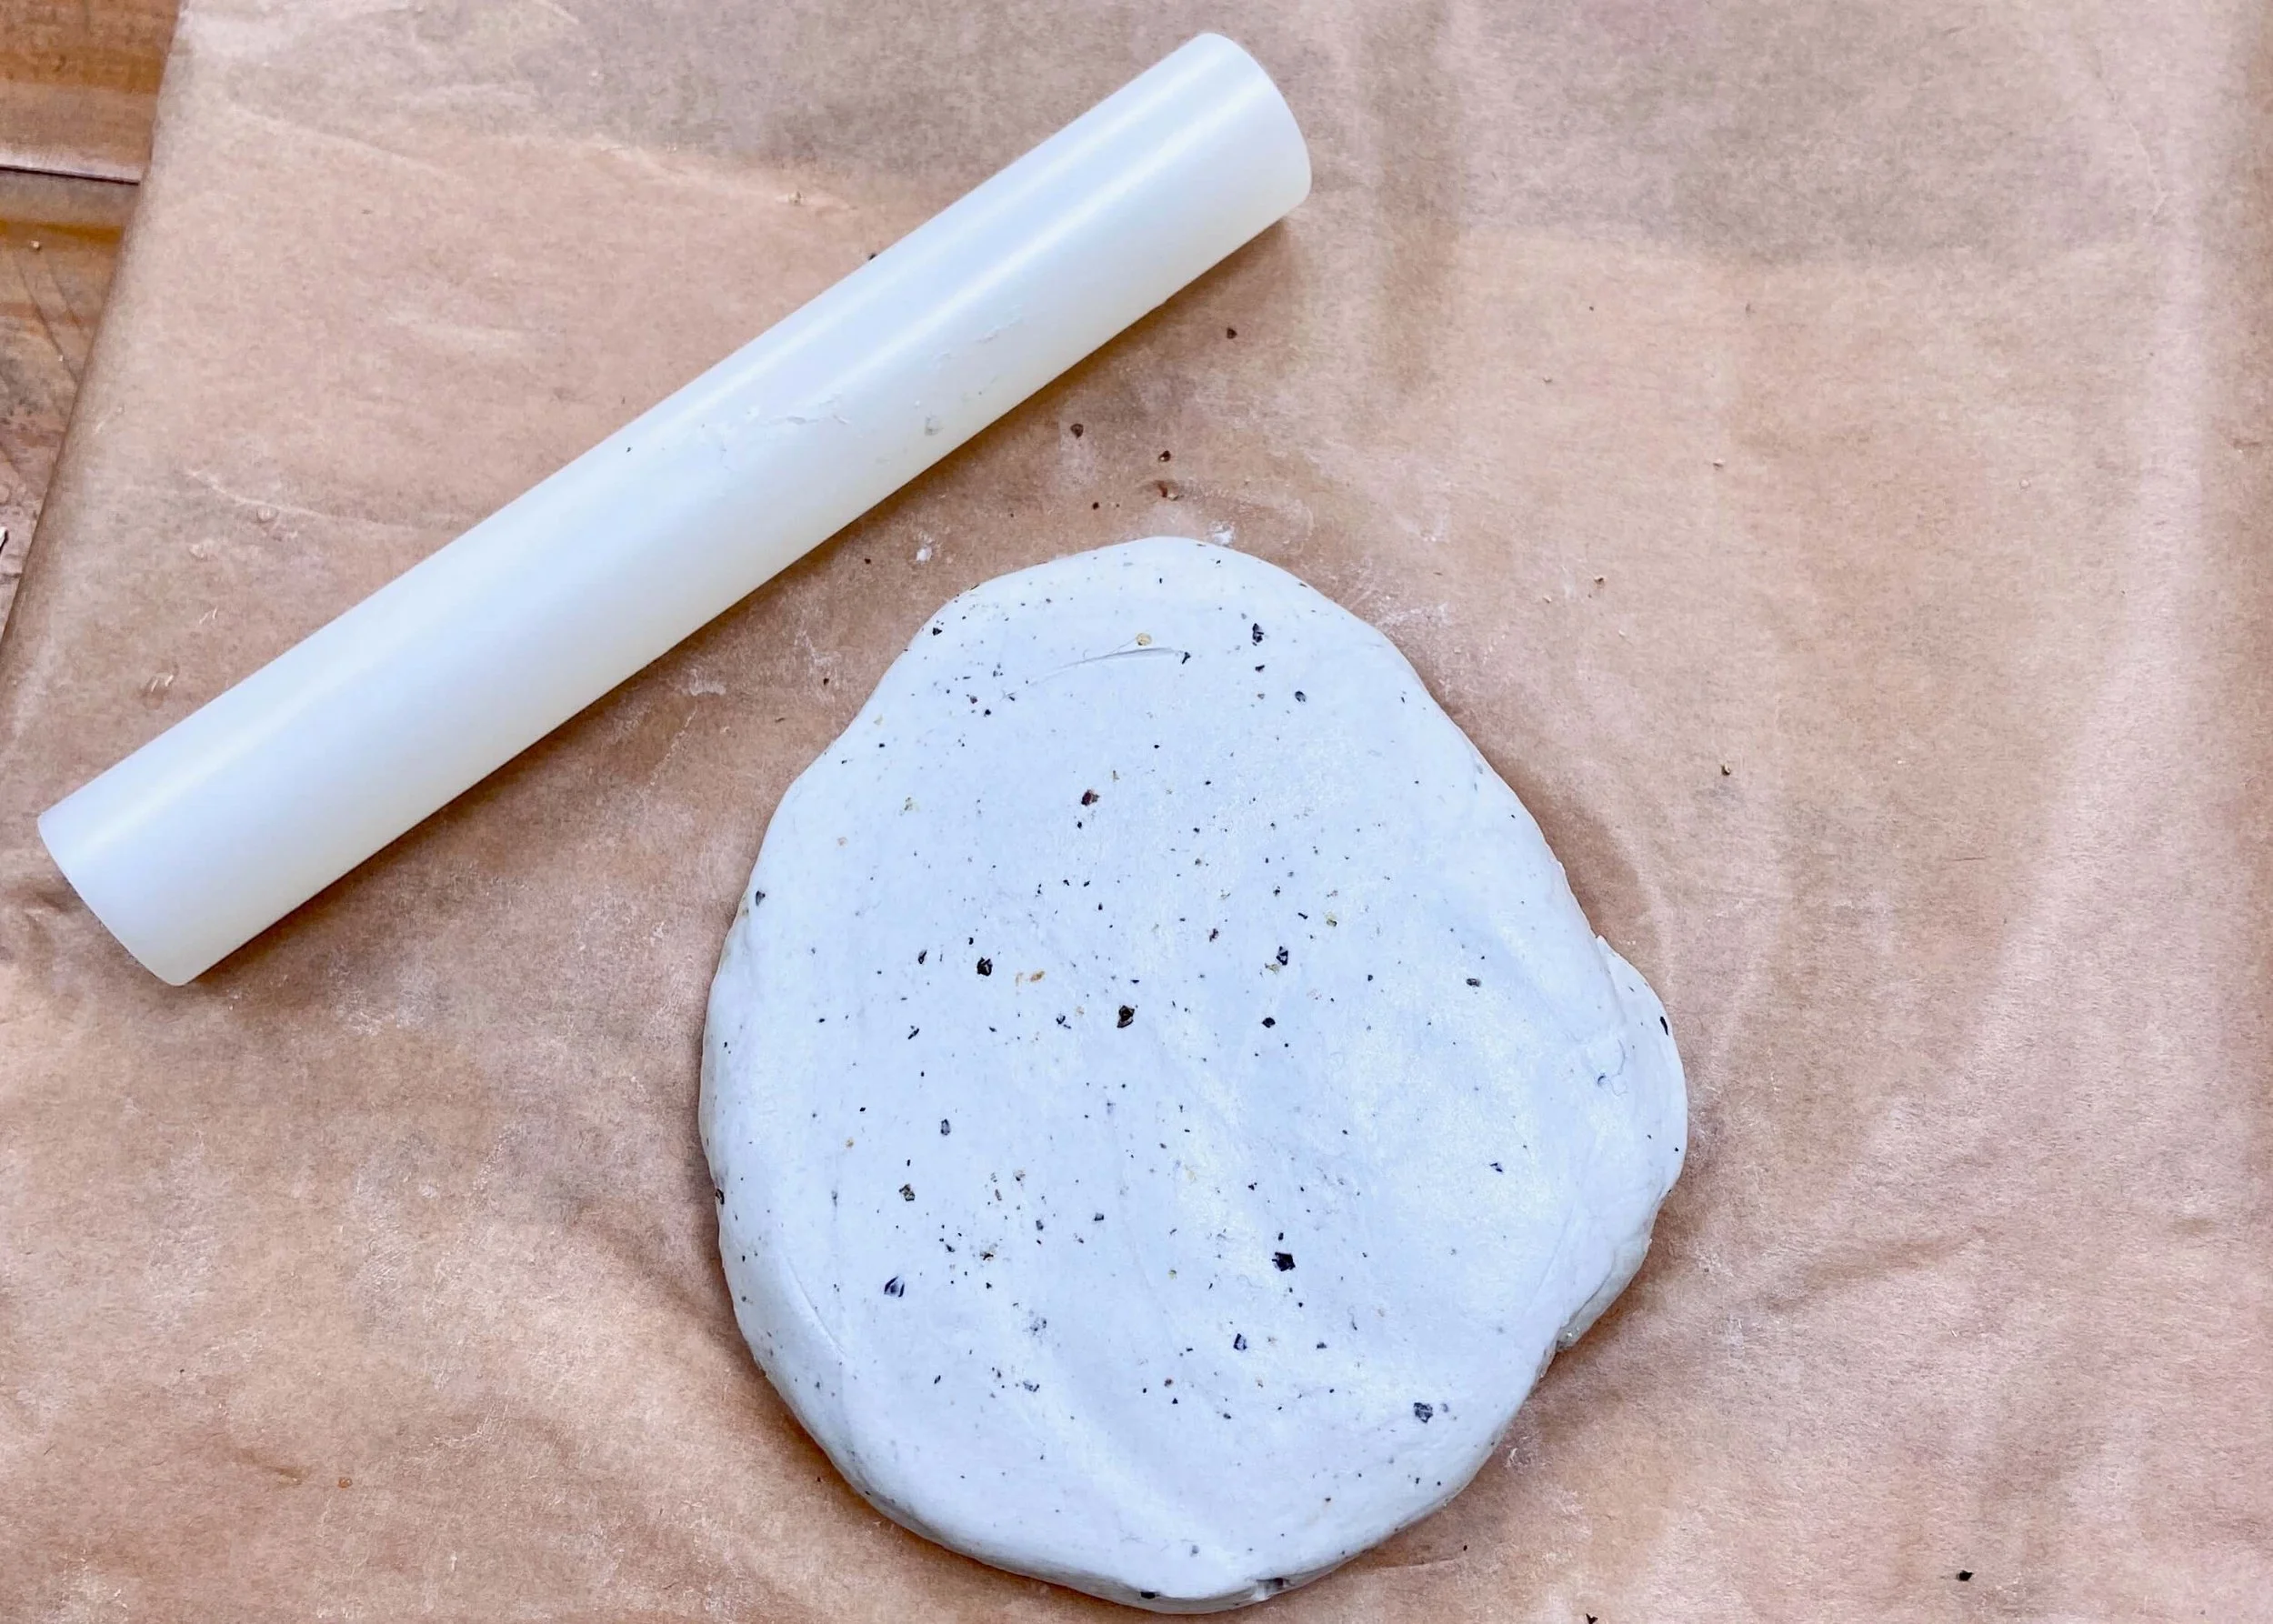
Next, roll out the clay onto your parchment paper and add pepper all over the clay. Knead this in to spread it evenly. Roll the clay out again and add more pepper. Roll this in with your rolling pin.
4.
Turn your clay over and add pepper to the other side. Roll the pepper in on this side.

5.
Next use some water to smooth out both sides, embedding the pepper and removing any cracks or wrinkles in the rolled out clay.

6.
Using your larger round cutter, press this into the clay and remove the excess clay around the cutter. Be sure to gather this up and place it inside clingfilm to use again another time.

8.
Using your finger and some water, smooth out all of the edges. I wanted my edges to be slightly rounded and so I did this at this stage.

9.
Use the smaller round cutter to cut out a hole in the middle of this. I positioned this slightly towards one side so that the base of the clay ring would be slightly thicker.

10.
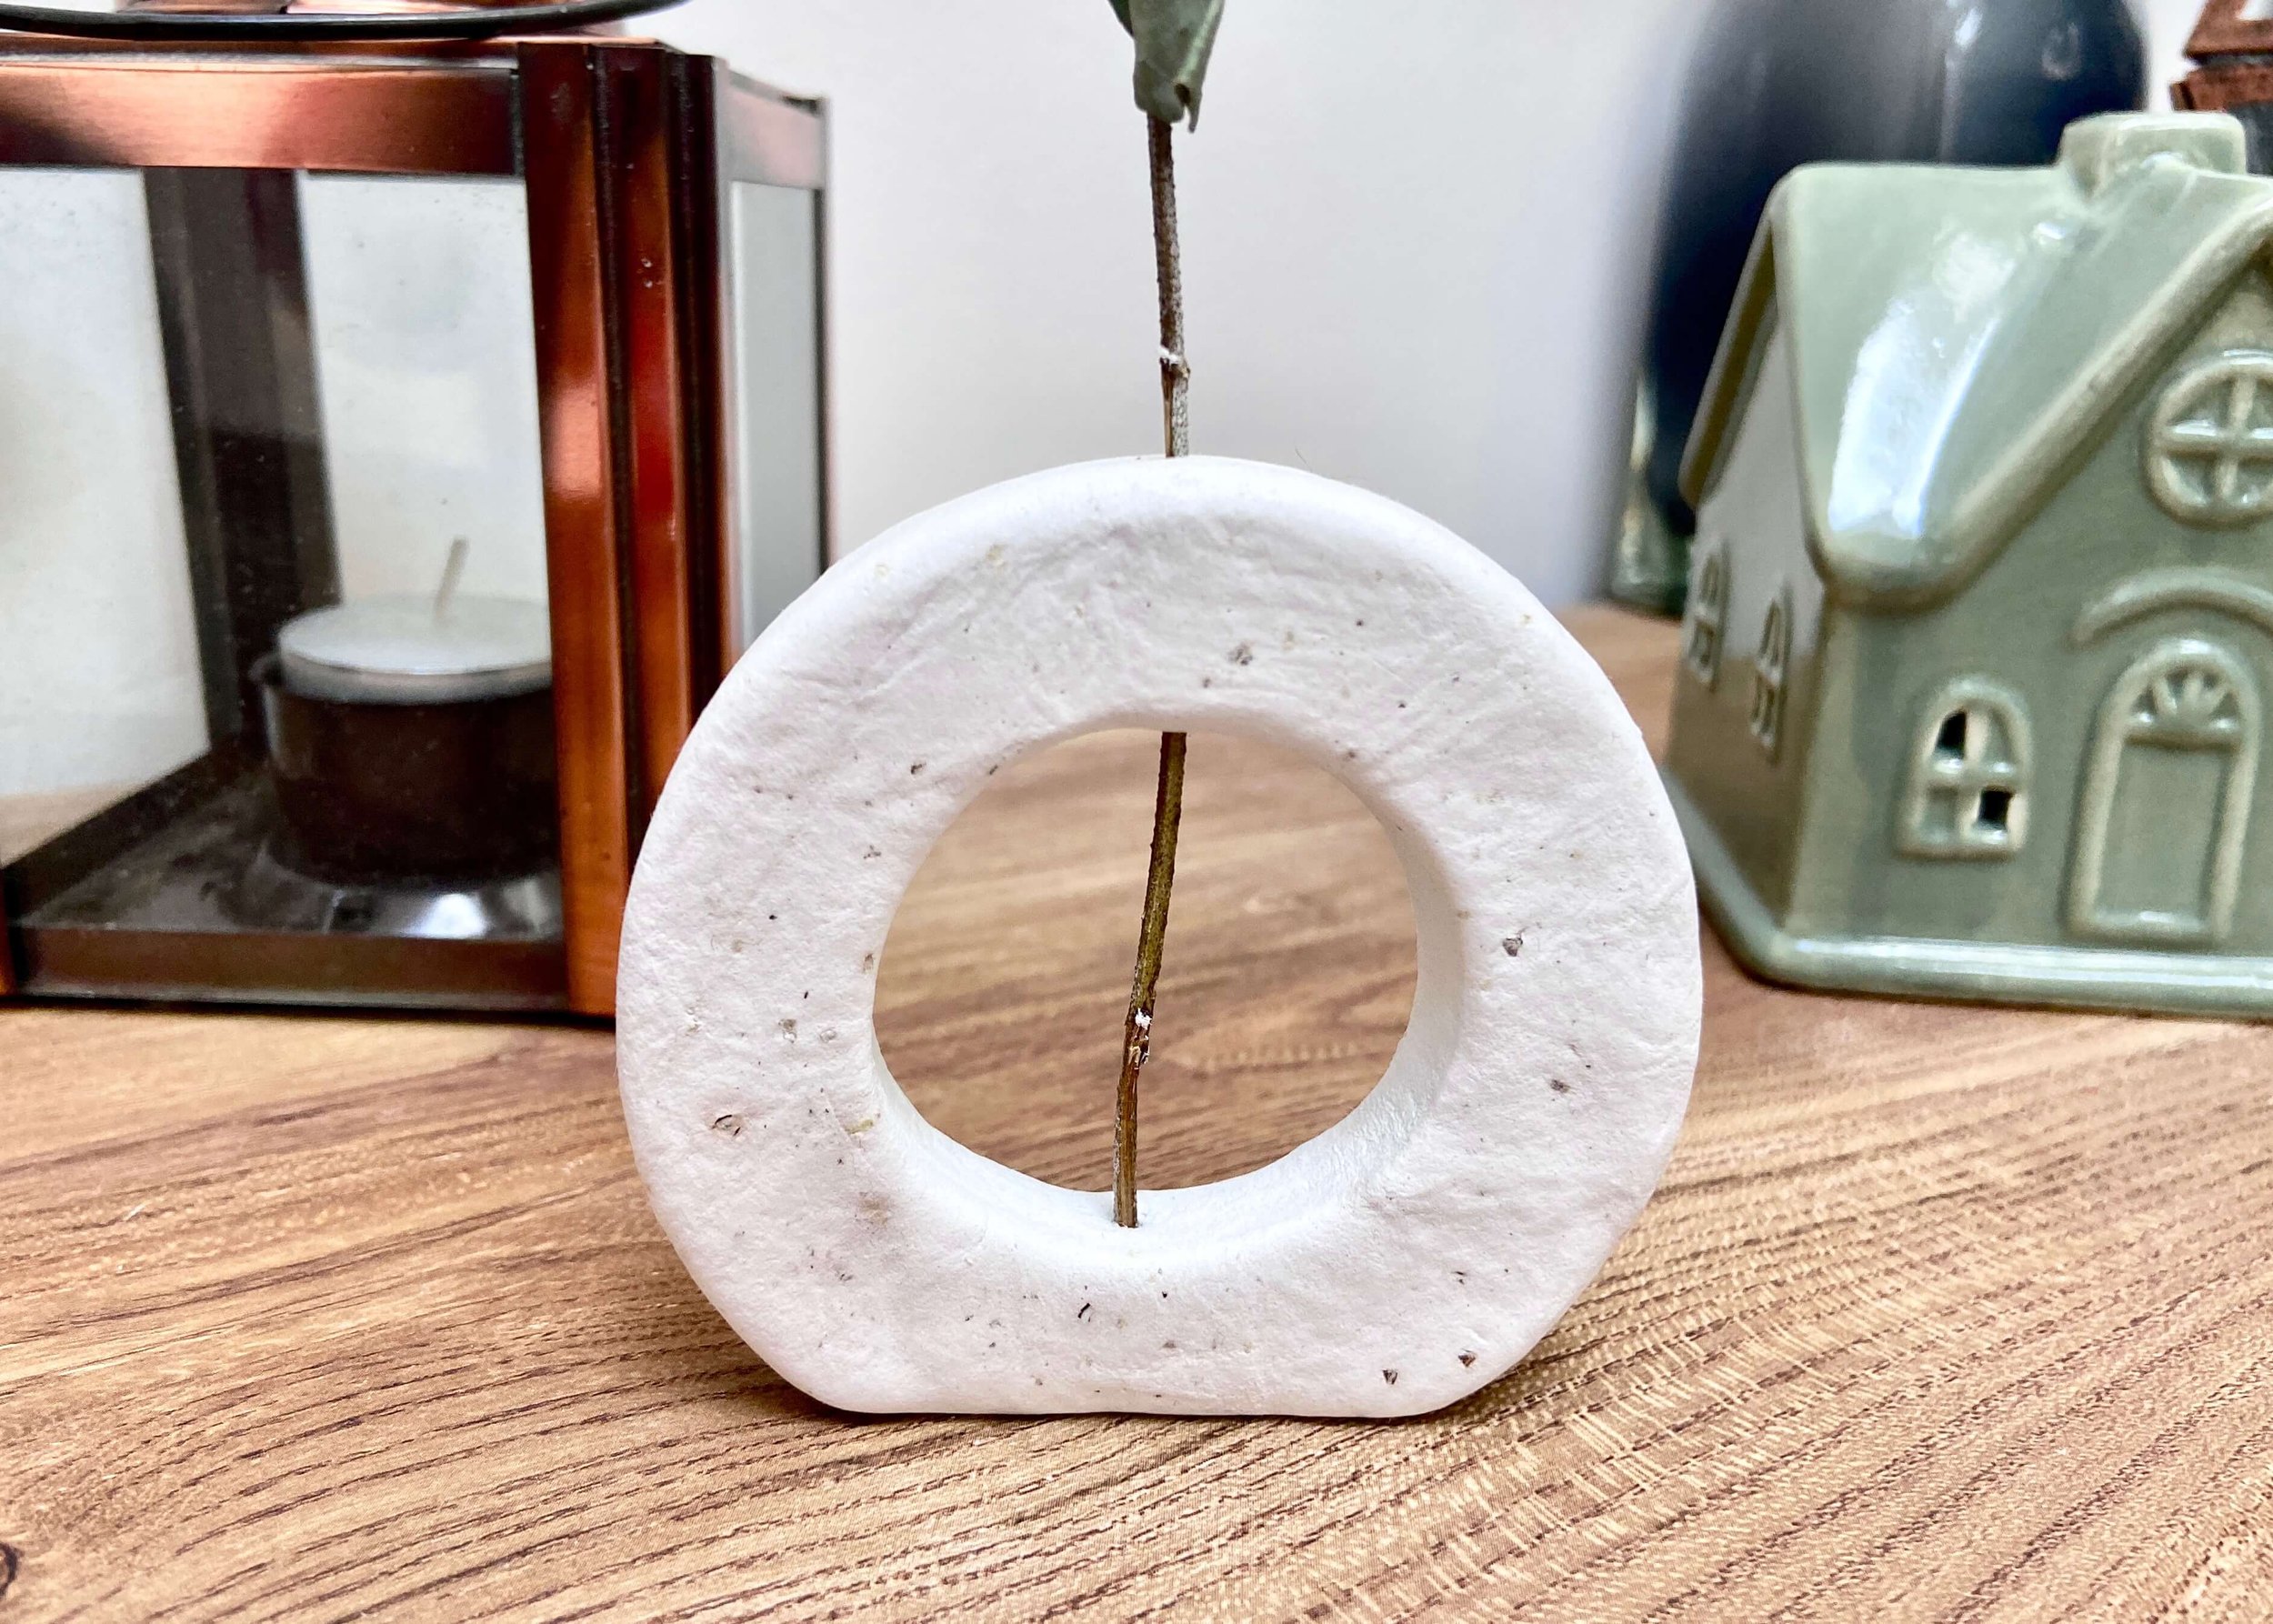
Use a blade or straight edge to cut off a small part of the bottom to create a flat edge for the clay donut vase to be able to stand on.

11.
Once again, use some water on your finger to smooth out the edges and any indents. I don’t know about anyone else but I always seem to accidentally nick clay with my nail!

12.
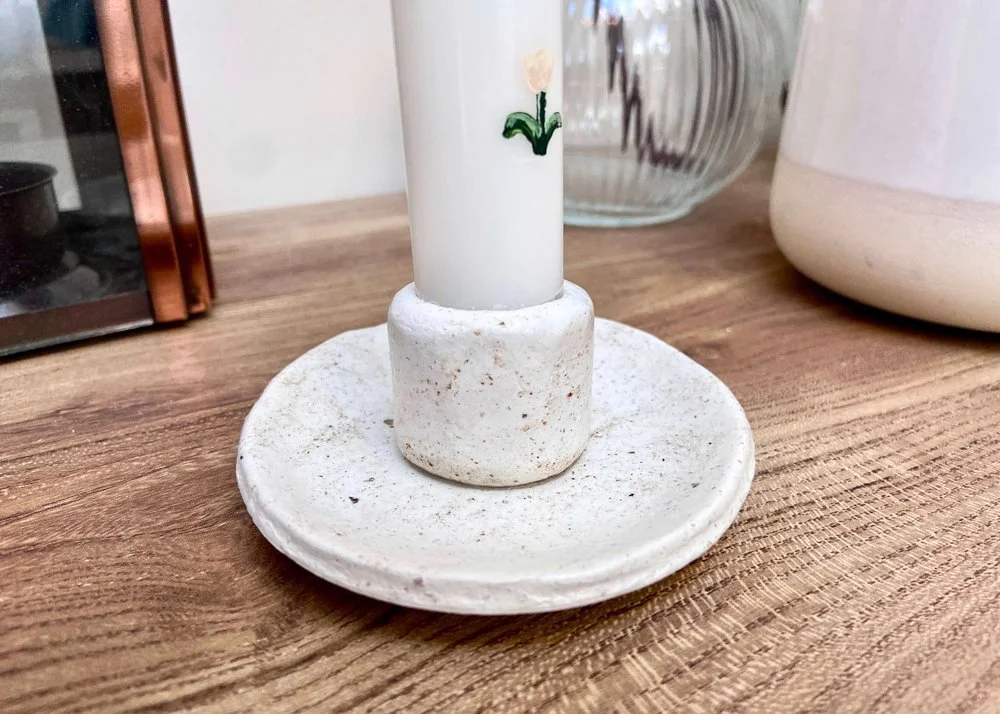
Then use a skewer or straw to create a hole through the top and slight indent in the bottom. This is where your stem will go through and stand. Leave this to dry thoroughly. As this is a thick piece of clay, you should leave it somewhere that is a normal temperature, and I find it helpful to turn them over semi-regularly so that it dries evenly.