
Updating the hallway with a lick of paint and wall panelling
New year, new hallway! It’s the part of the house you see first, and so I wanted it to feel more welcoming, cosy, and to find a way of hiding the hideous fuse box that the developers weirdly decided to put here (why?!).
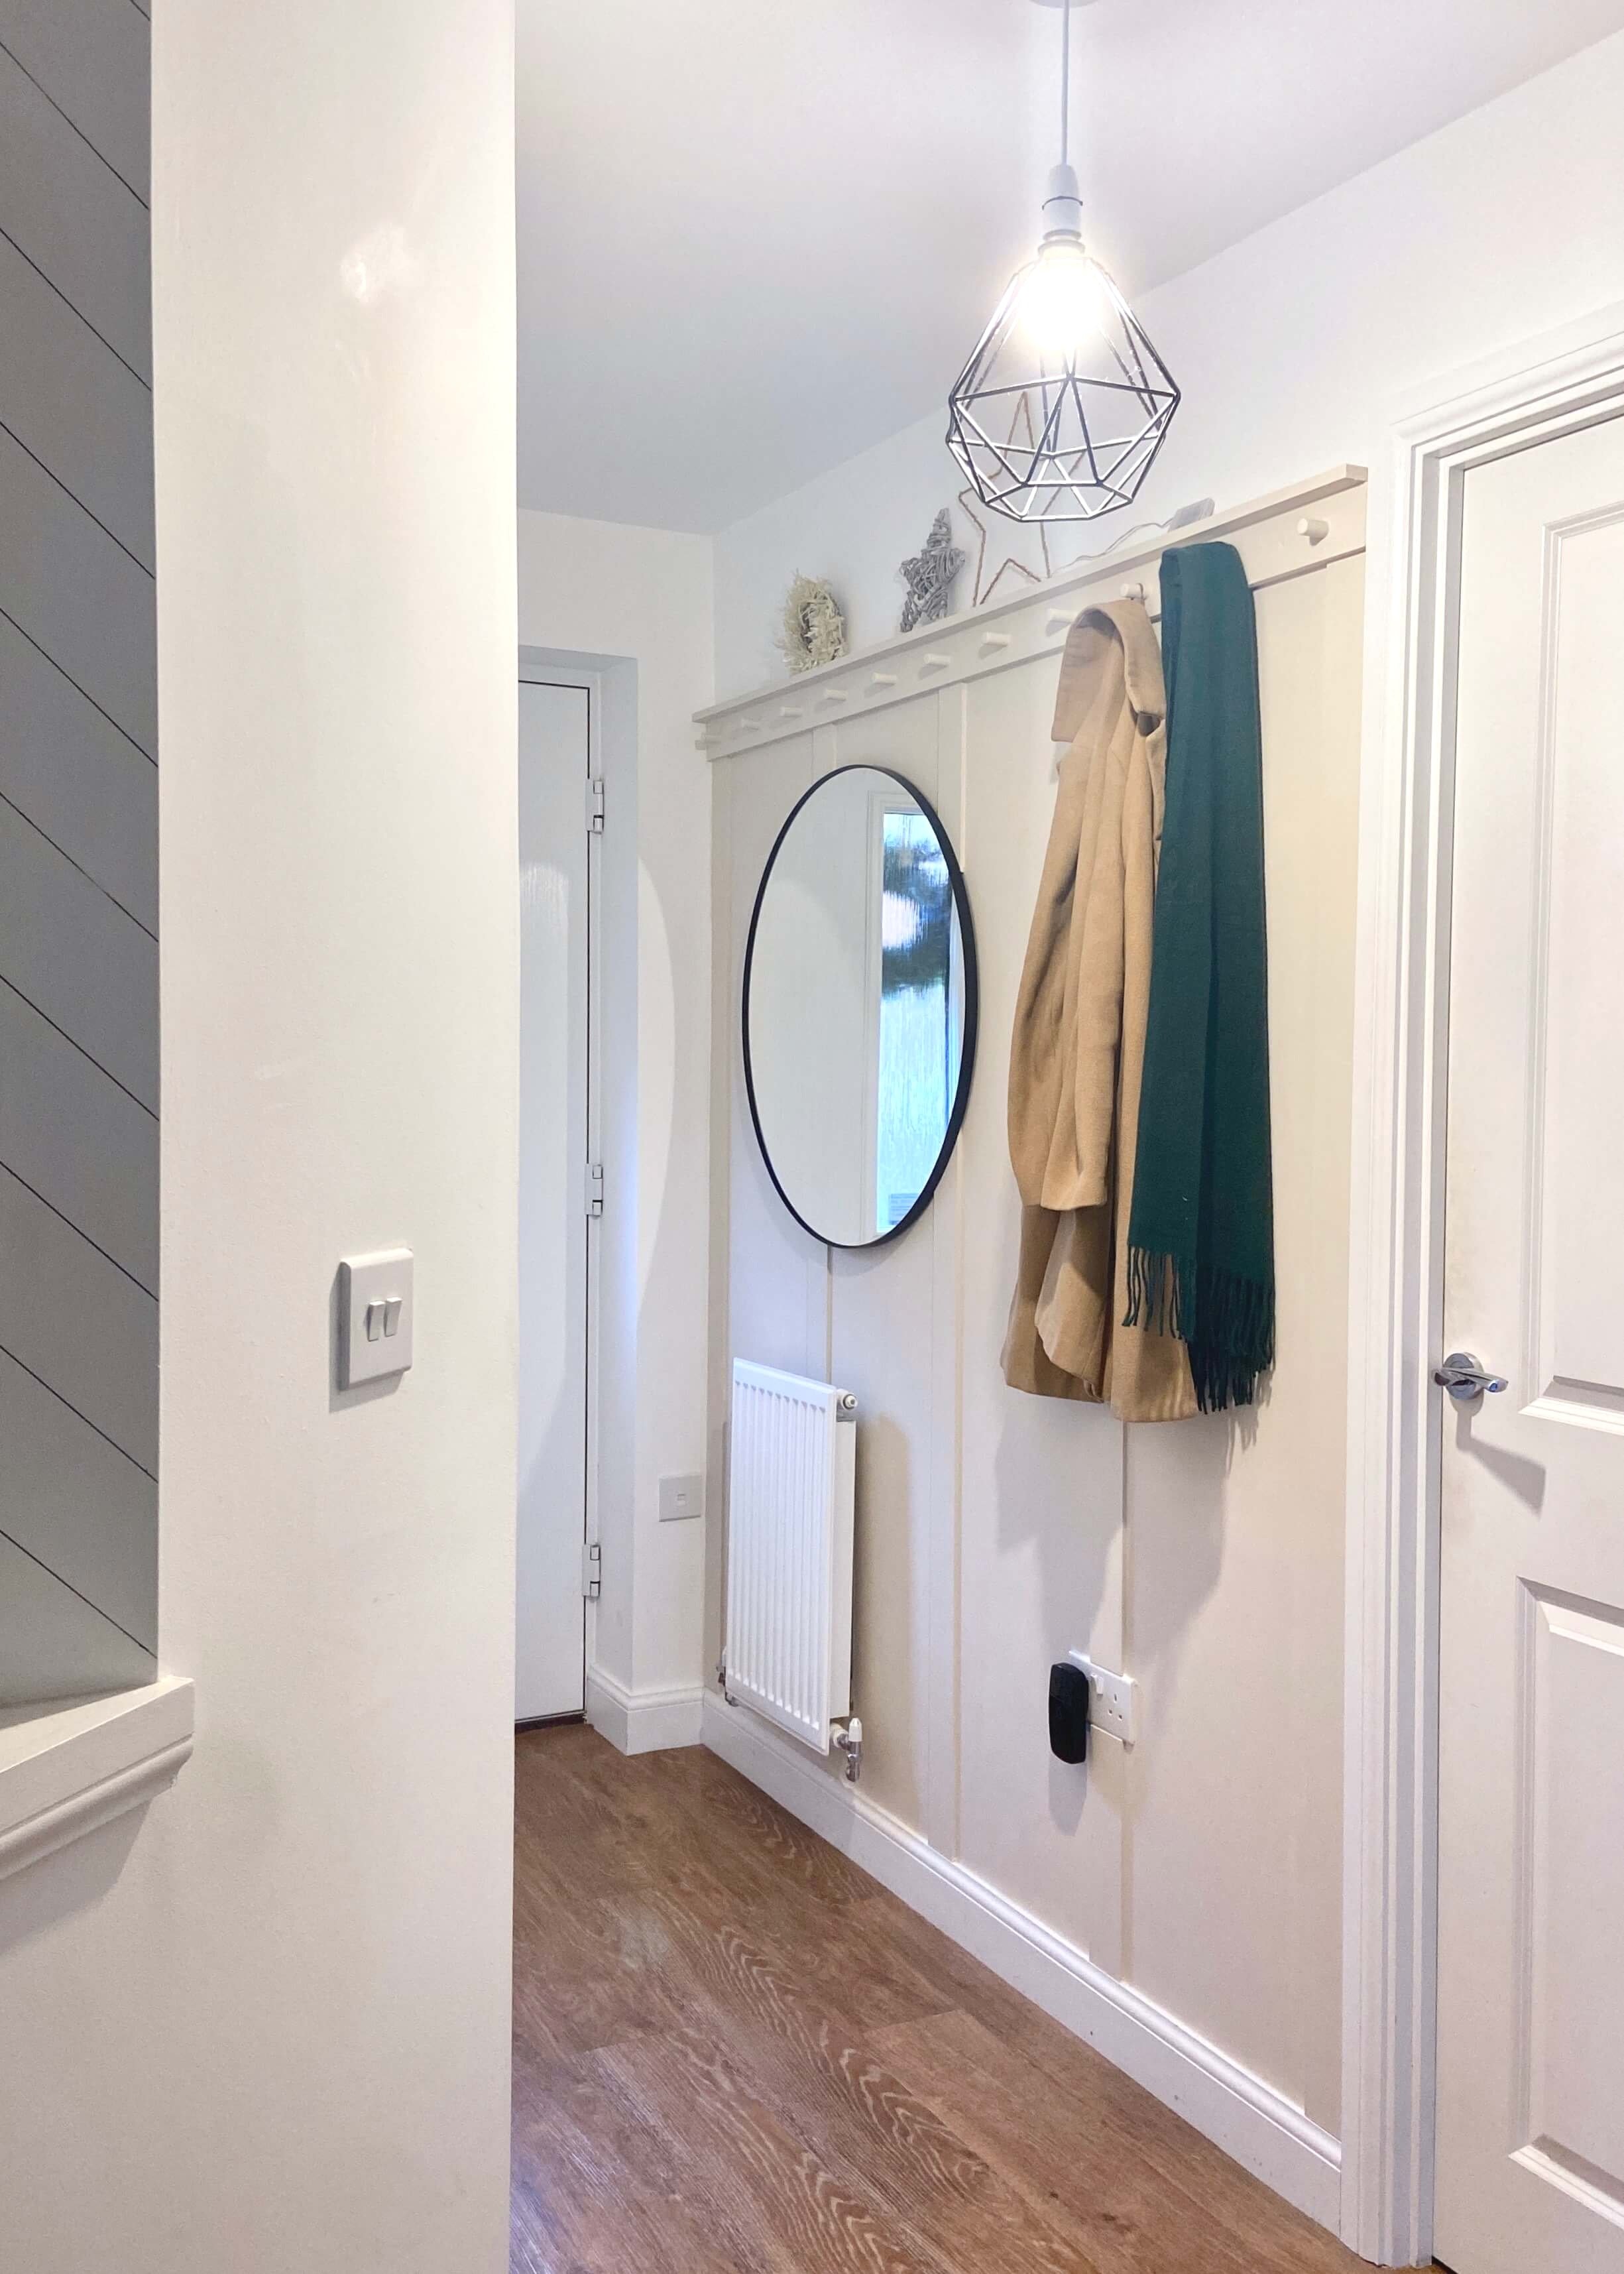
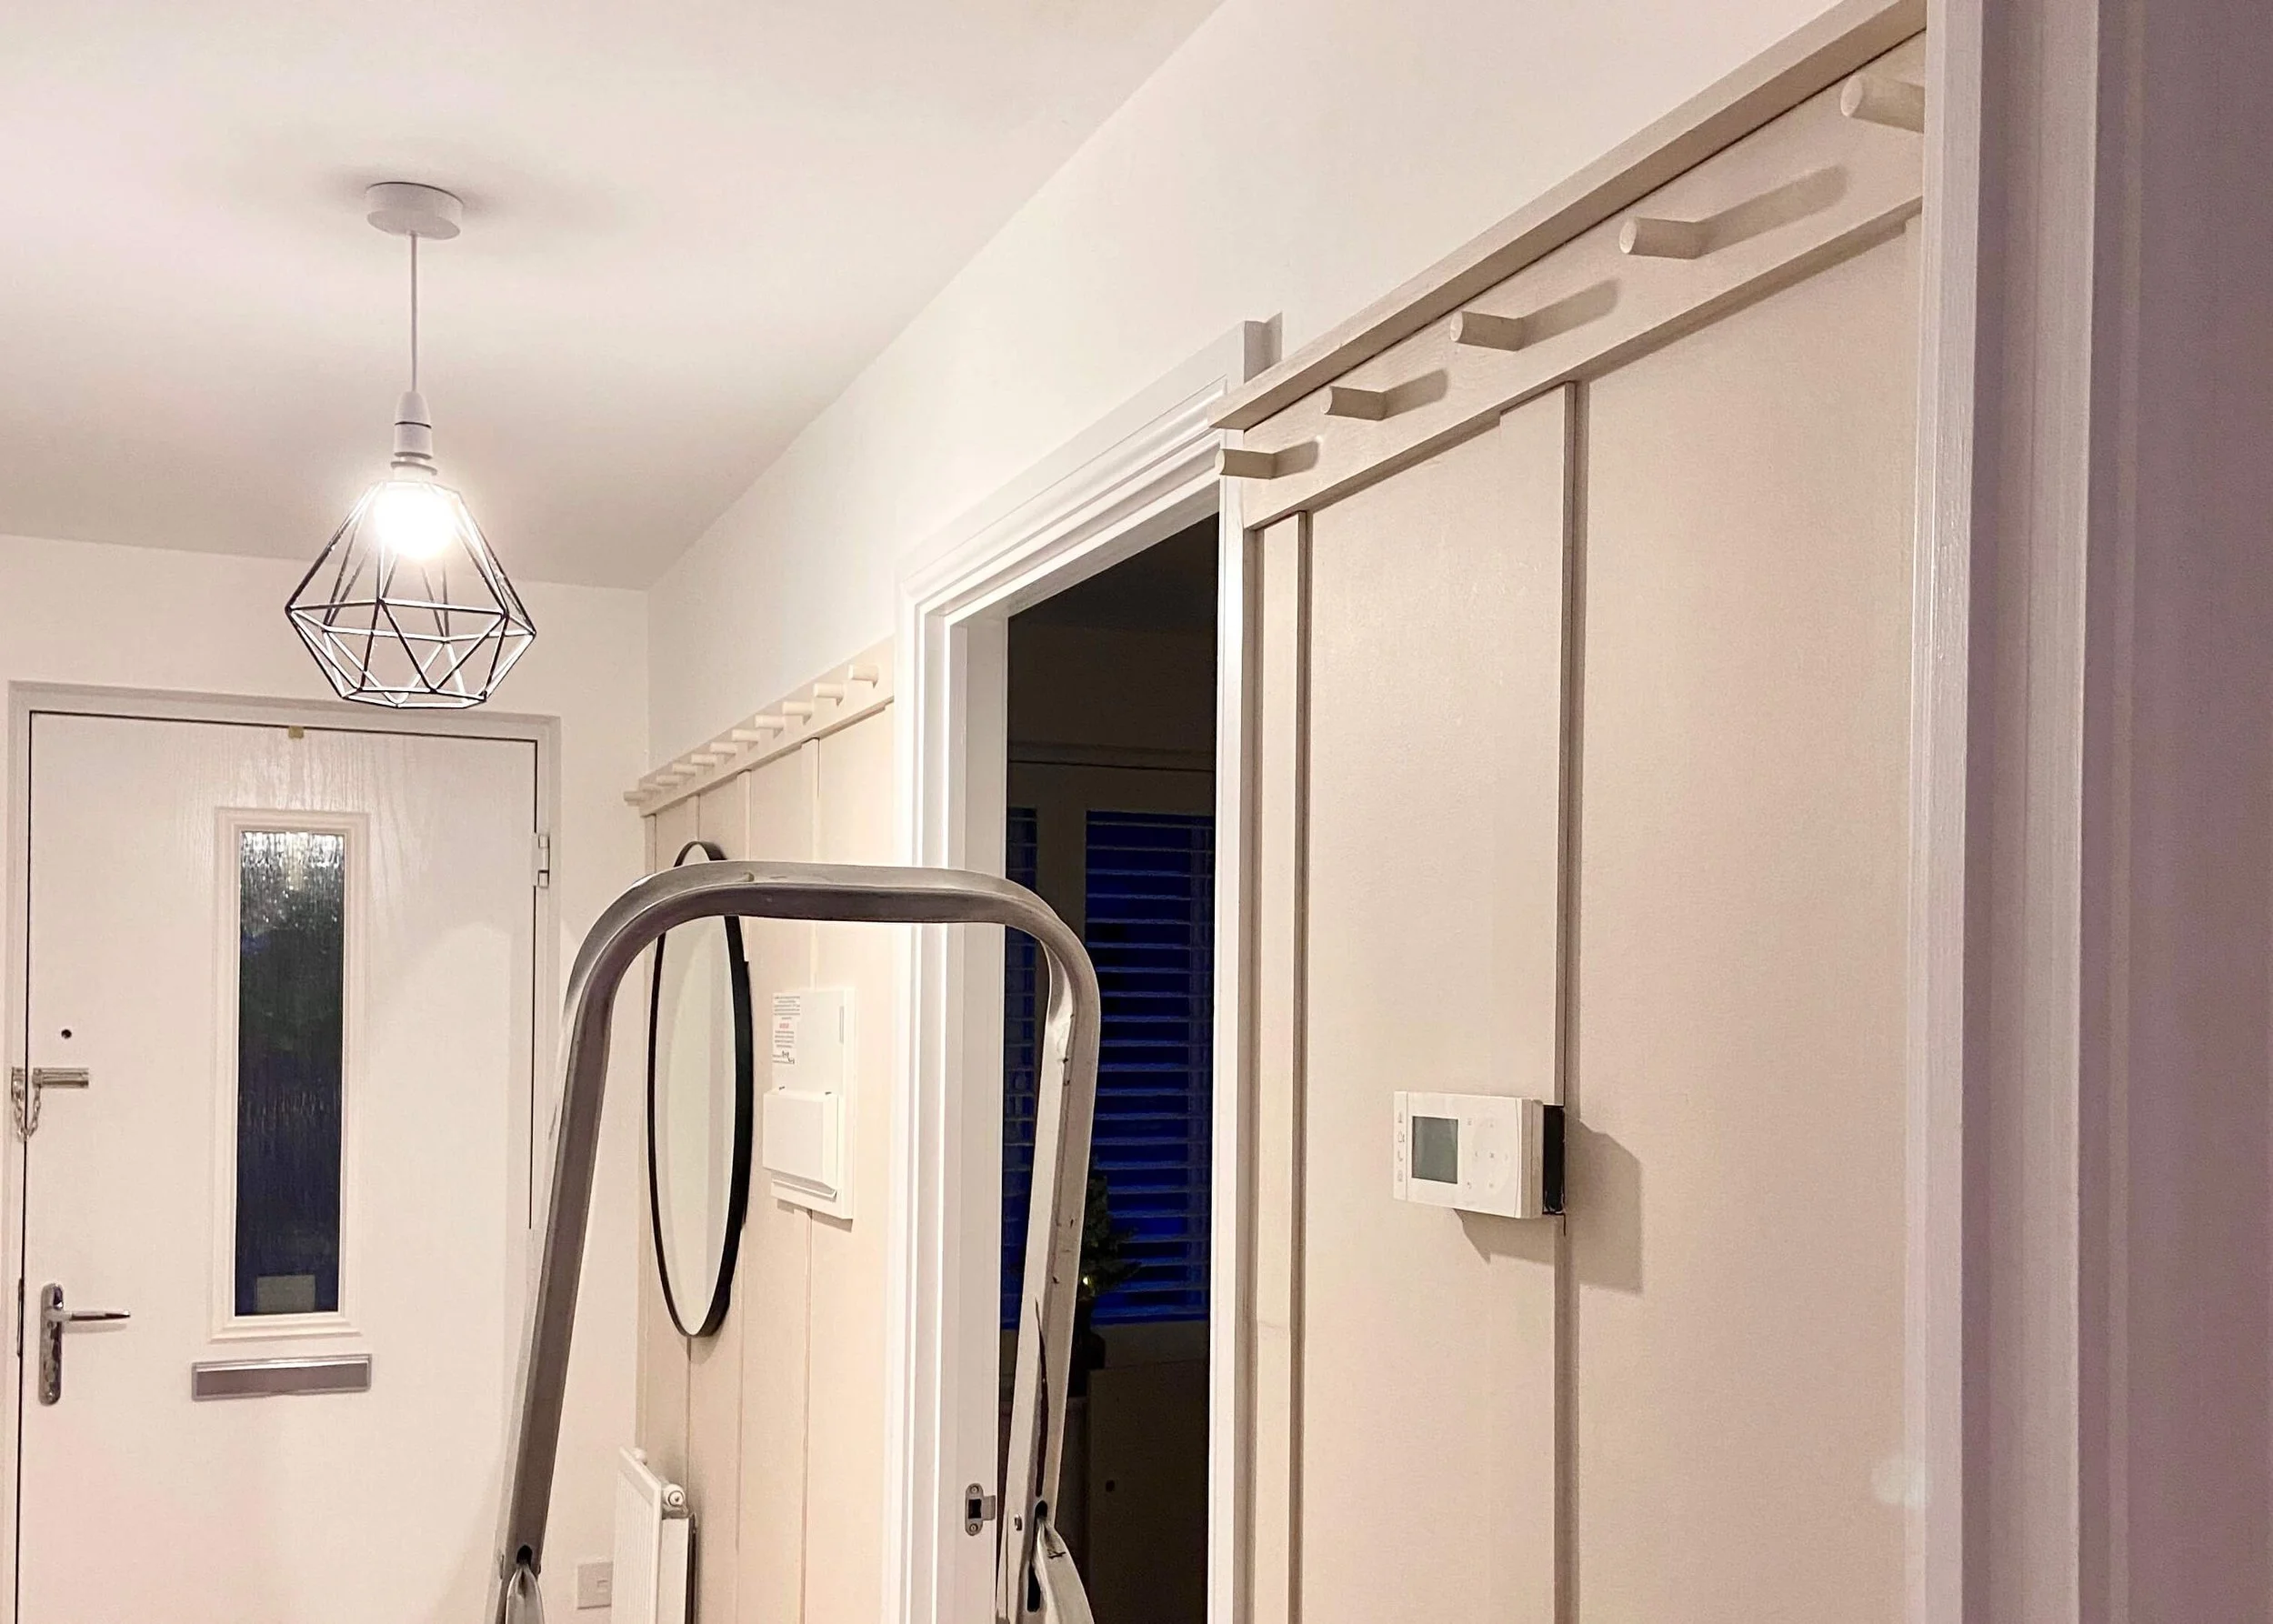
It was a completely blank slate when we first moved in, so in an effort to hide the fuse box, I created this peg rack from wood and dowels all along the wall. With a few carefully placed coats and scarves, it’s been working a treat. As time has gone on, and I’ve felt more confident in adding our own touches to the house, I’ve wanted to inject more texture and colour to this space. When I was looking for some inspiration, I came across a photo of a hallway with panelling and I knew straight away that’s what I wanted to do. I really wanted to add a shelf to be able to add some trinkets and art work, and so that’s exactly what I did,
I’m so happy with how this has turned out. There’s still some more updates I want to make to this room (possibly painting the door?! what do you think?) so stay tuned to see what else I do. Let me know what you think of this project, don’t forget to subscribe to see what I do next, and share on social media!


Wood filler
Decorators Caulk
Measuring tape
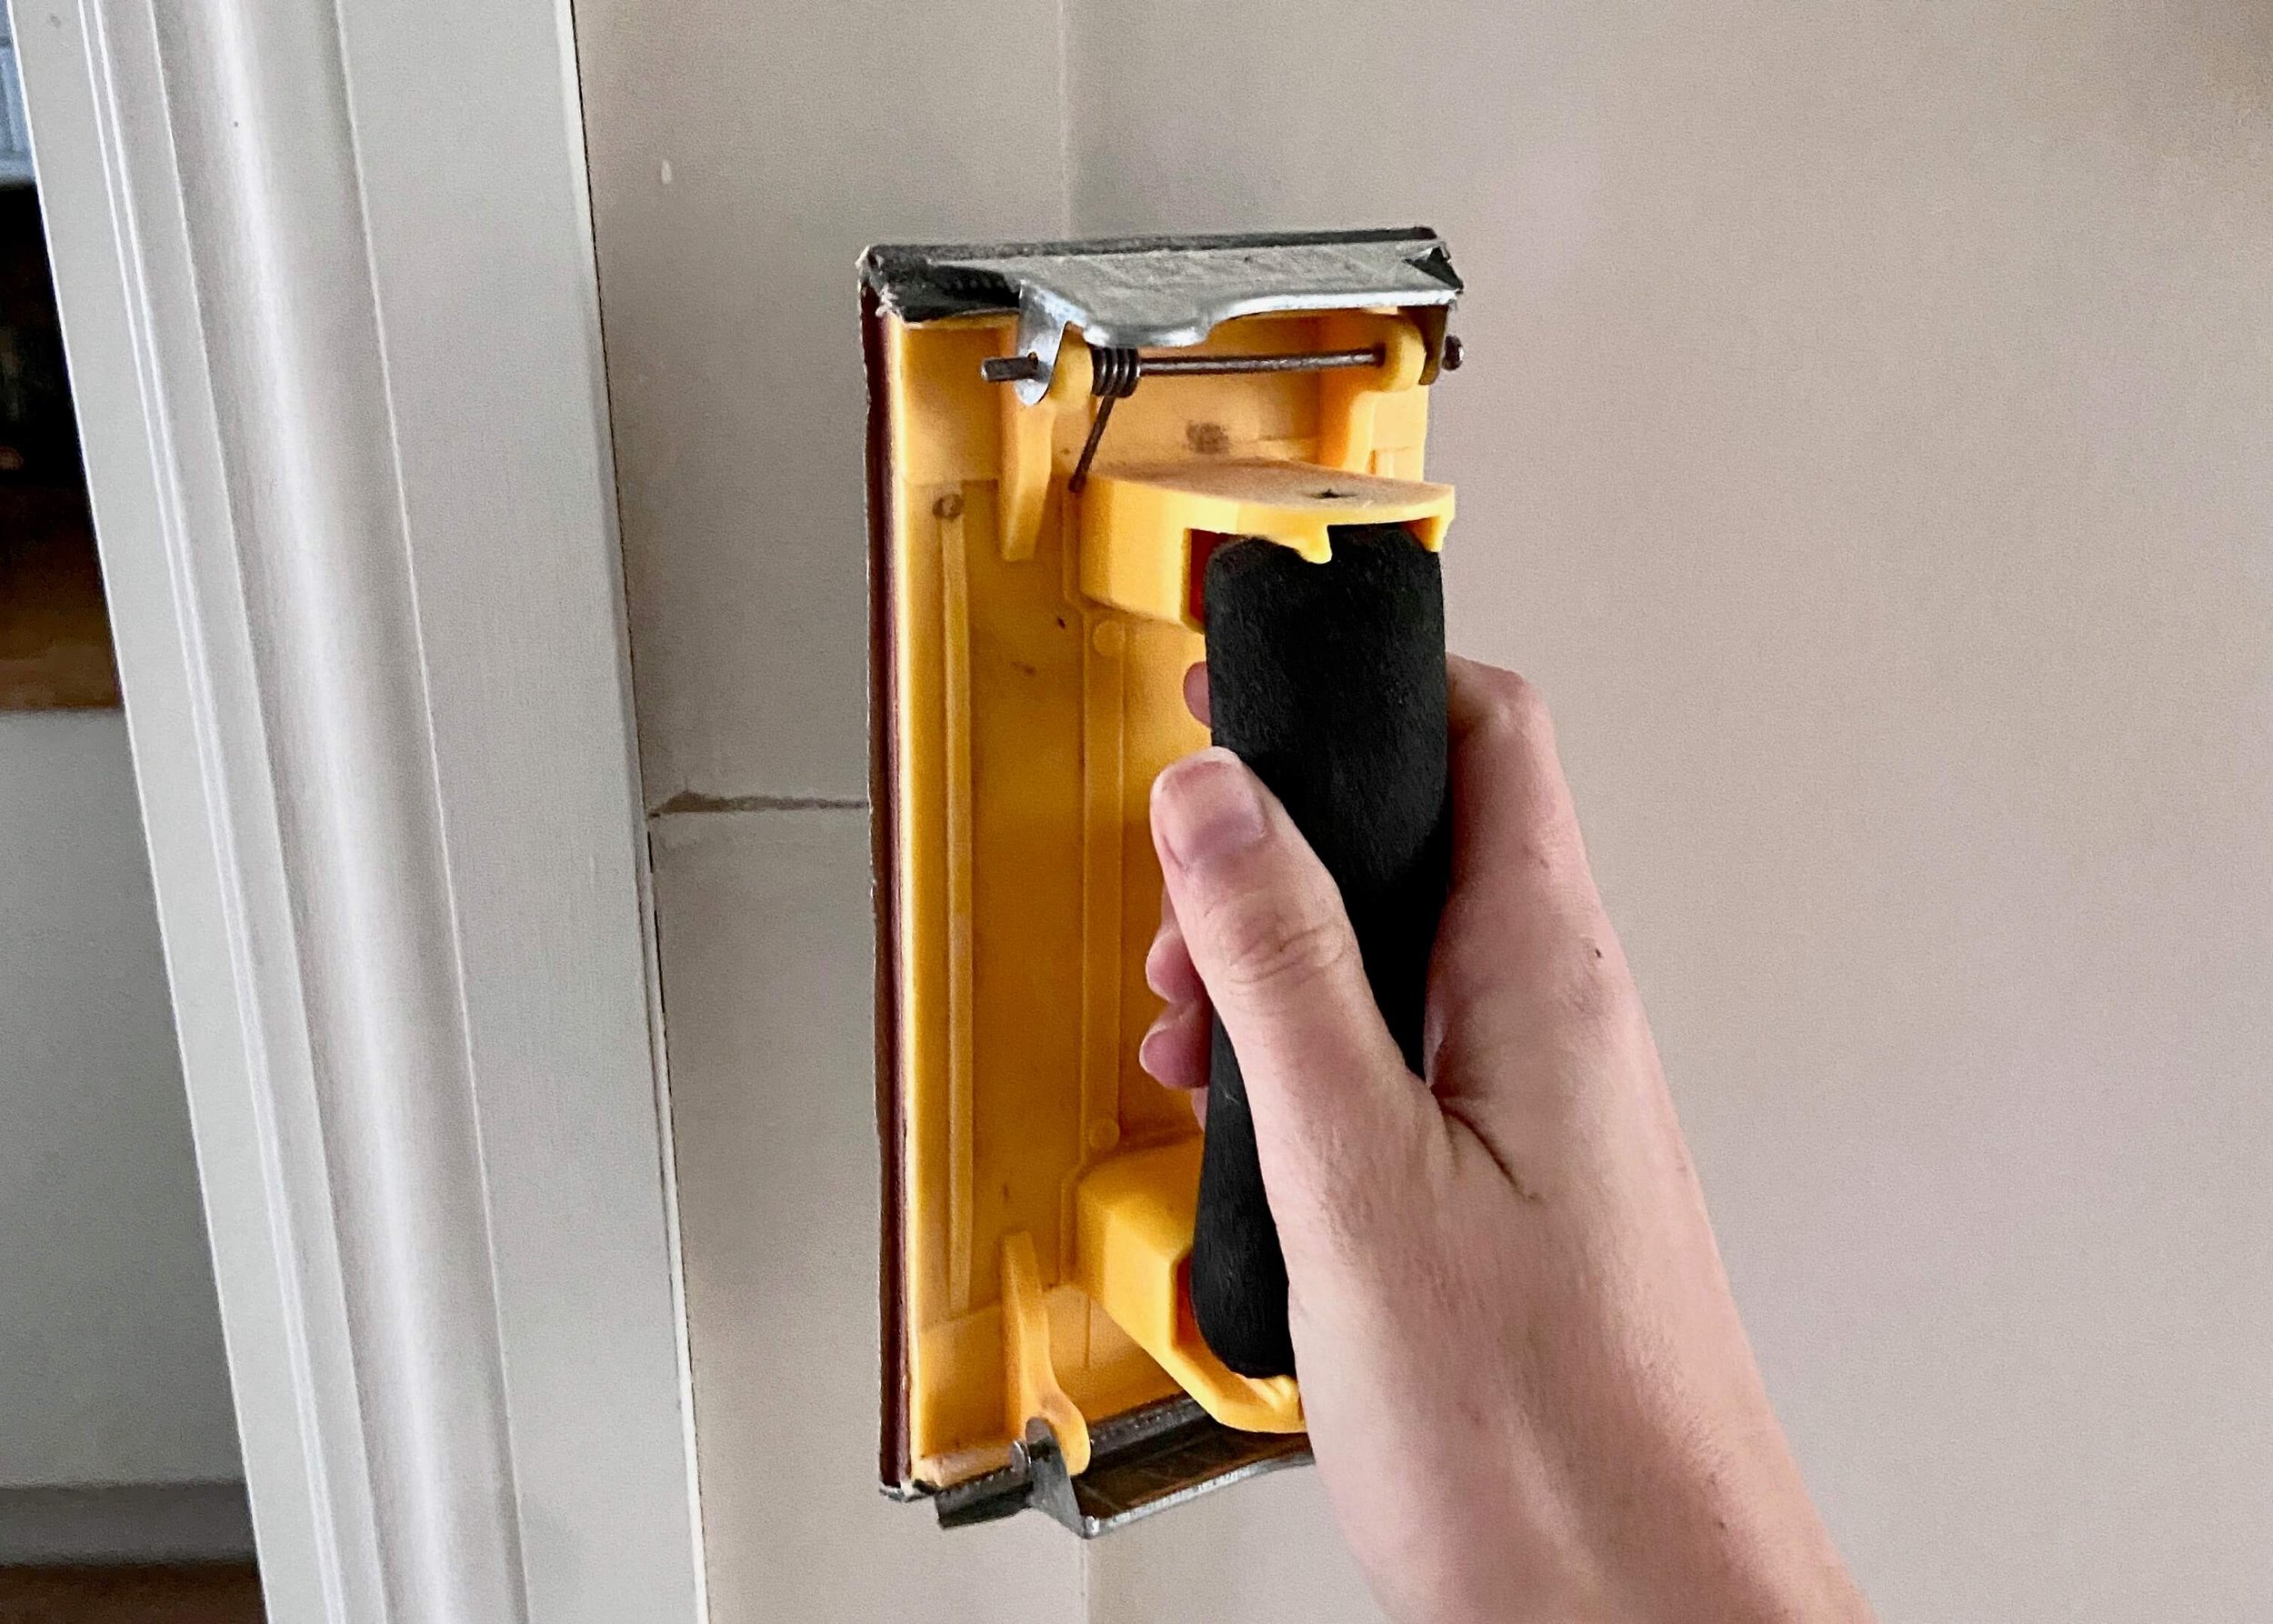
Screws & screwdriver


1.
First of all, I painted the wall and peg rack in Natural Hessian by Dulux. I always find it easier to get a good base layer on everything first. Then, after some calculations, I headed to B&Q and got my 7cm wide 9mm MDF strips cut. Unfortunately they didn’t have a 2.4m sheet in 9mm so I decided to get the smaller sheet and create each panel from two strips.
2.
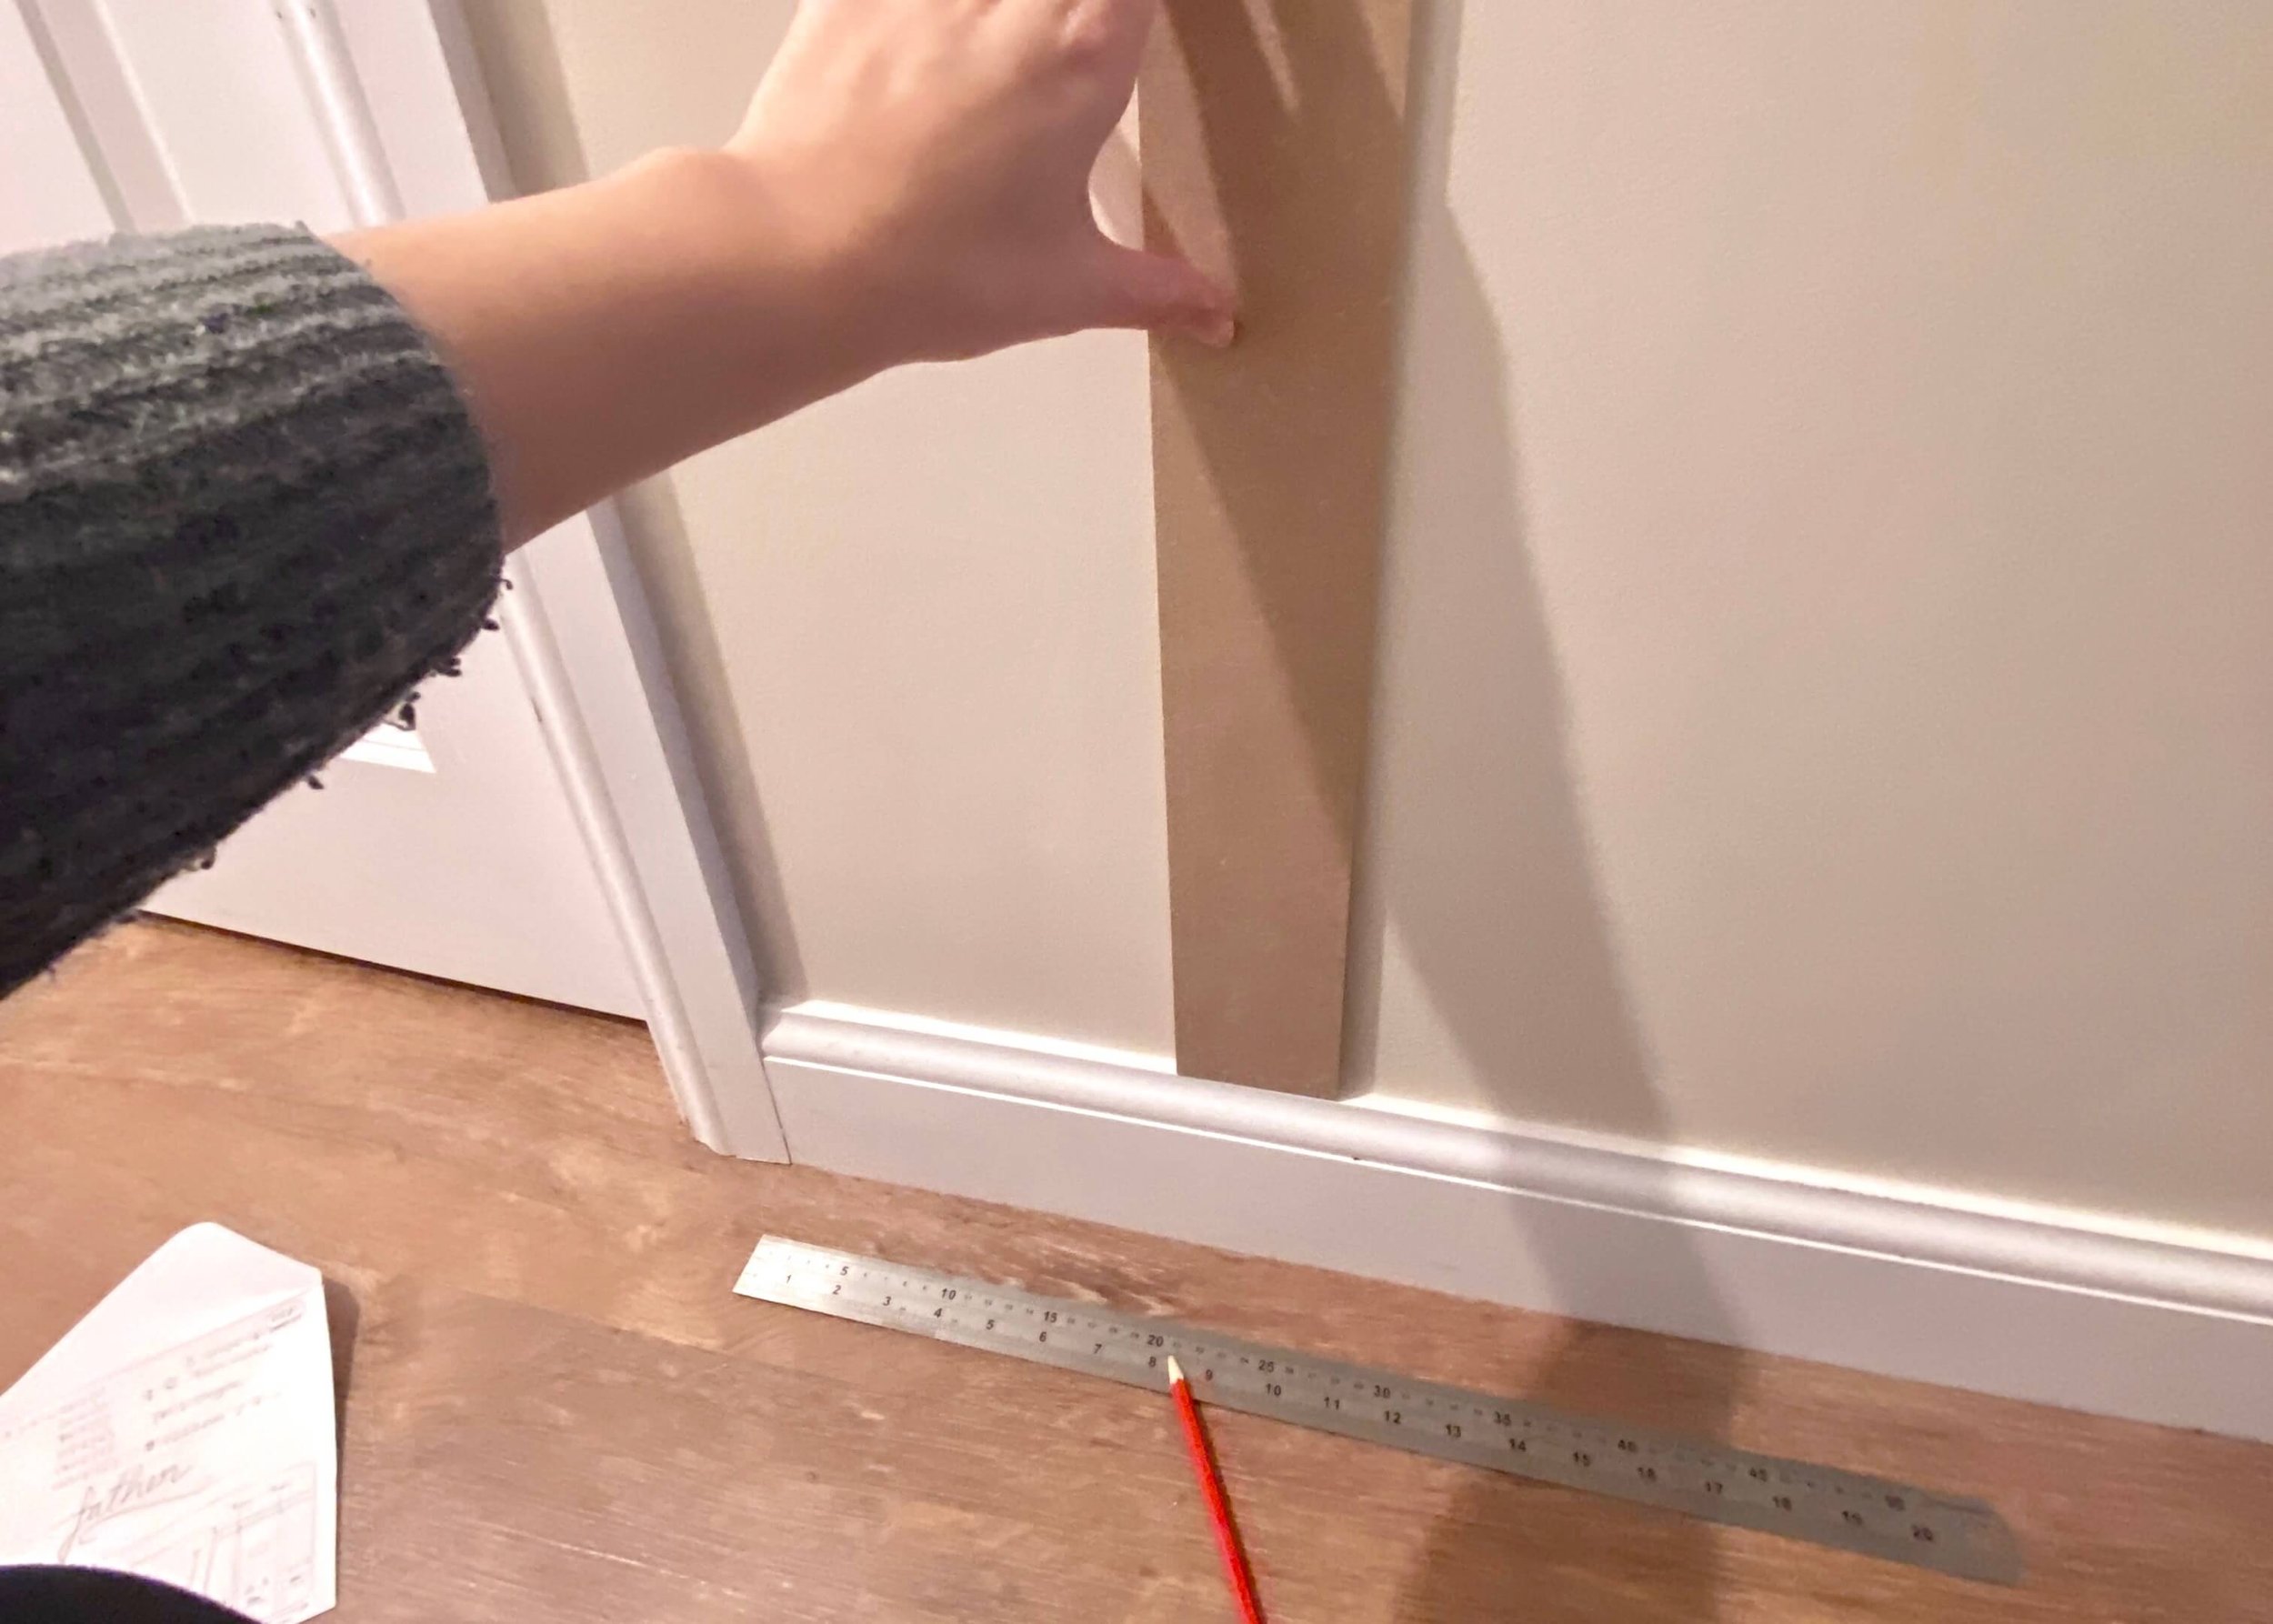
Next, I went along the wall marking where I wanted my panels to be. I used a pencil to mark either side of where the panels would go at the bottom.

3.
I then painted each MDF strip with two layers of a wood primer. This is really important as MDF is absorbent and so without a primer the strips may warp. Once the primer was dry, I applied two coats of the wall paint.
4.
When the panels were completely dry, I applied No More Nails to the back and using my level pressed them firmly to the wall in between the marks I made earlier. I held each to the wall until I was sure it was secure. I did this for each bottom half of the panels all the way along.

5.
Once I had stuck all of the bottom halfs on, I took the other lengths and positioned them on top of the bottom panel and marked where I needed to cut. I then used my wood saw and mitre box to trim these down to the right size. I repeated this for each top half of the panel.

6.
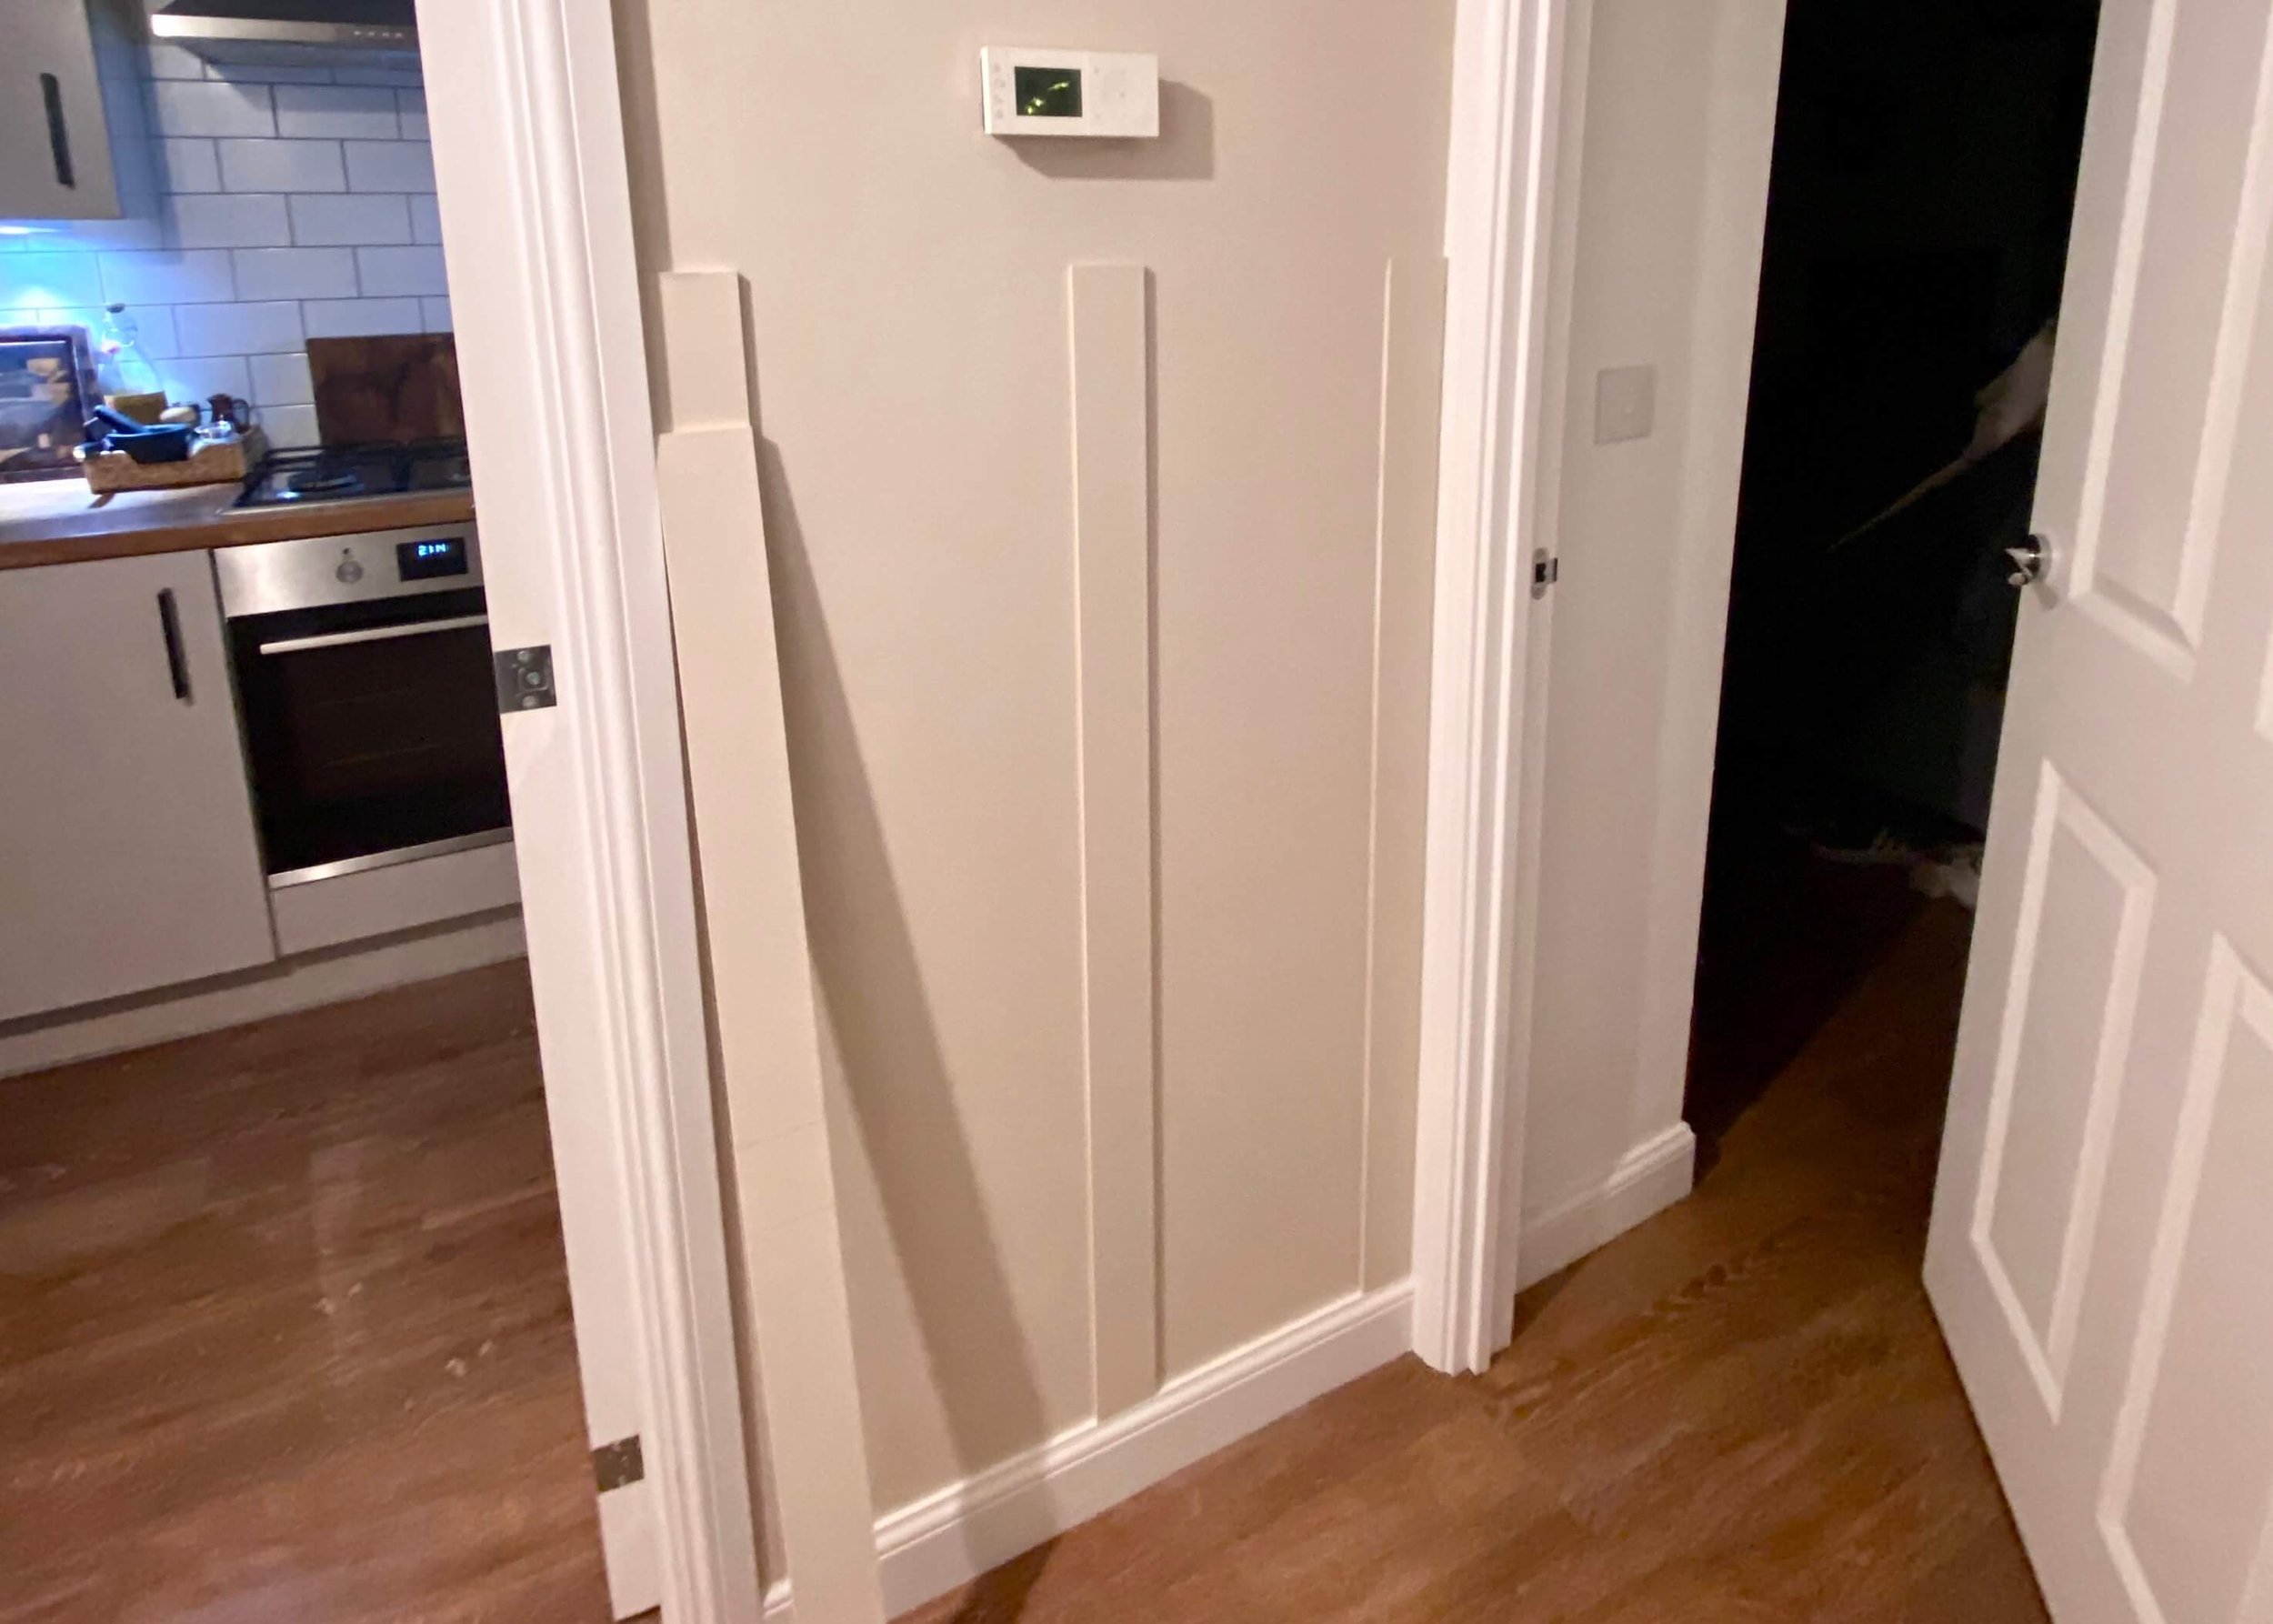
I then adhered each top half of the panel with No More Nails and used my level to ensure if was perfectly in line with the bottom half, and also square.

7.
I have a mirror in my hallway and annoyingly where I wanted my panels was going to cover the wall plug for this. To find where to cut out a hole from my panel, I added gold paint to the top of the wall plug and then positioned my top panel correctly and pressed it against the paint. I then used my saw and coping saw to cut out the hole.

8.
Once all the panels were stuck to the wall, I used wood filler to fill any of the gaps between the top and bottoms of the panels. I initially started doing this with a tool but then found it was easier using my finger.
9.
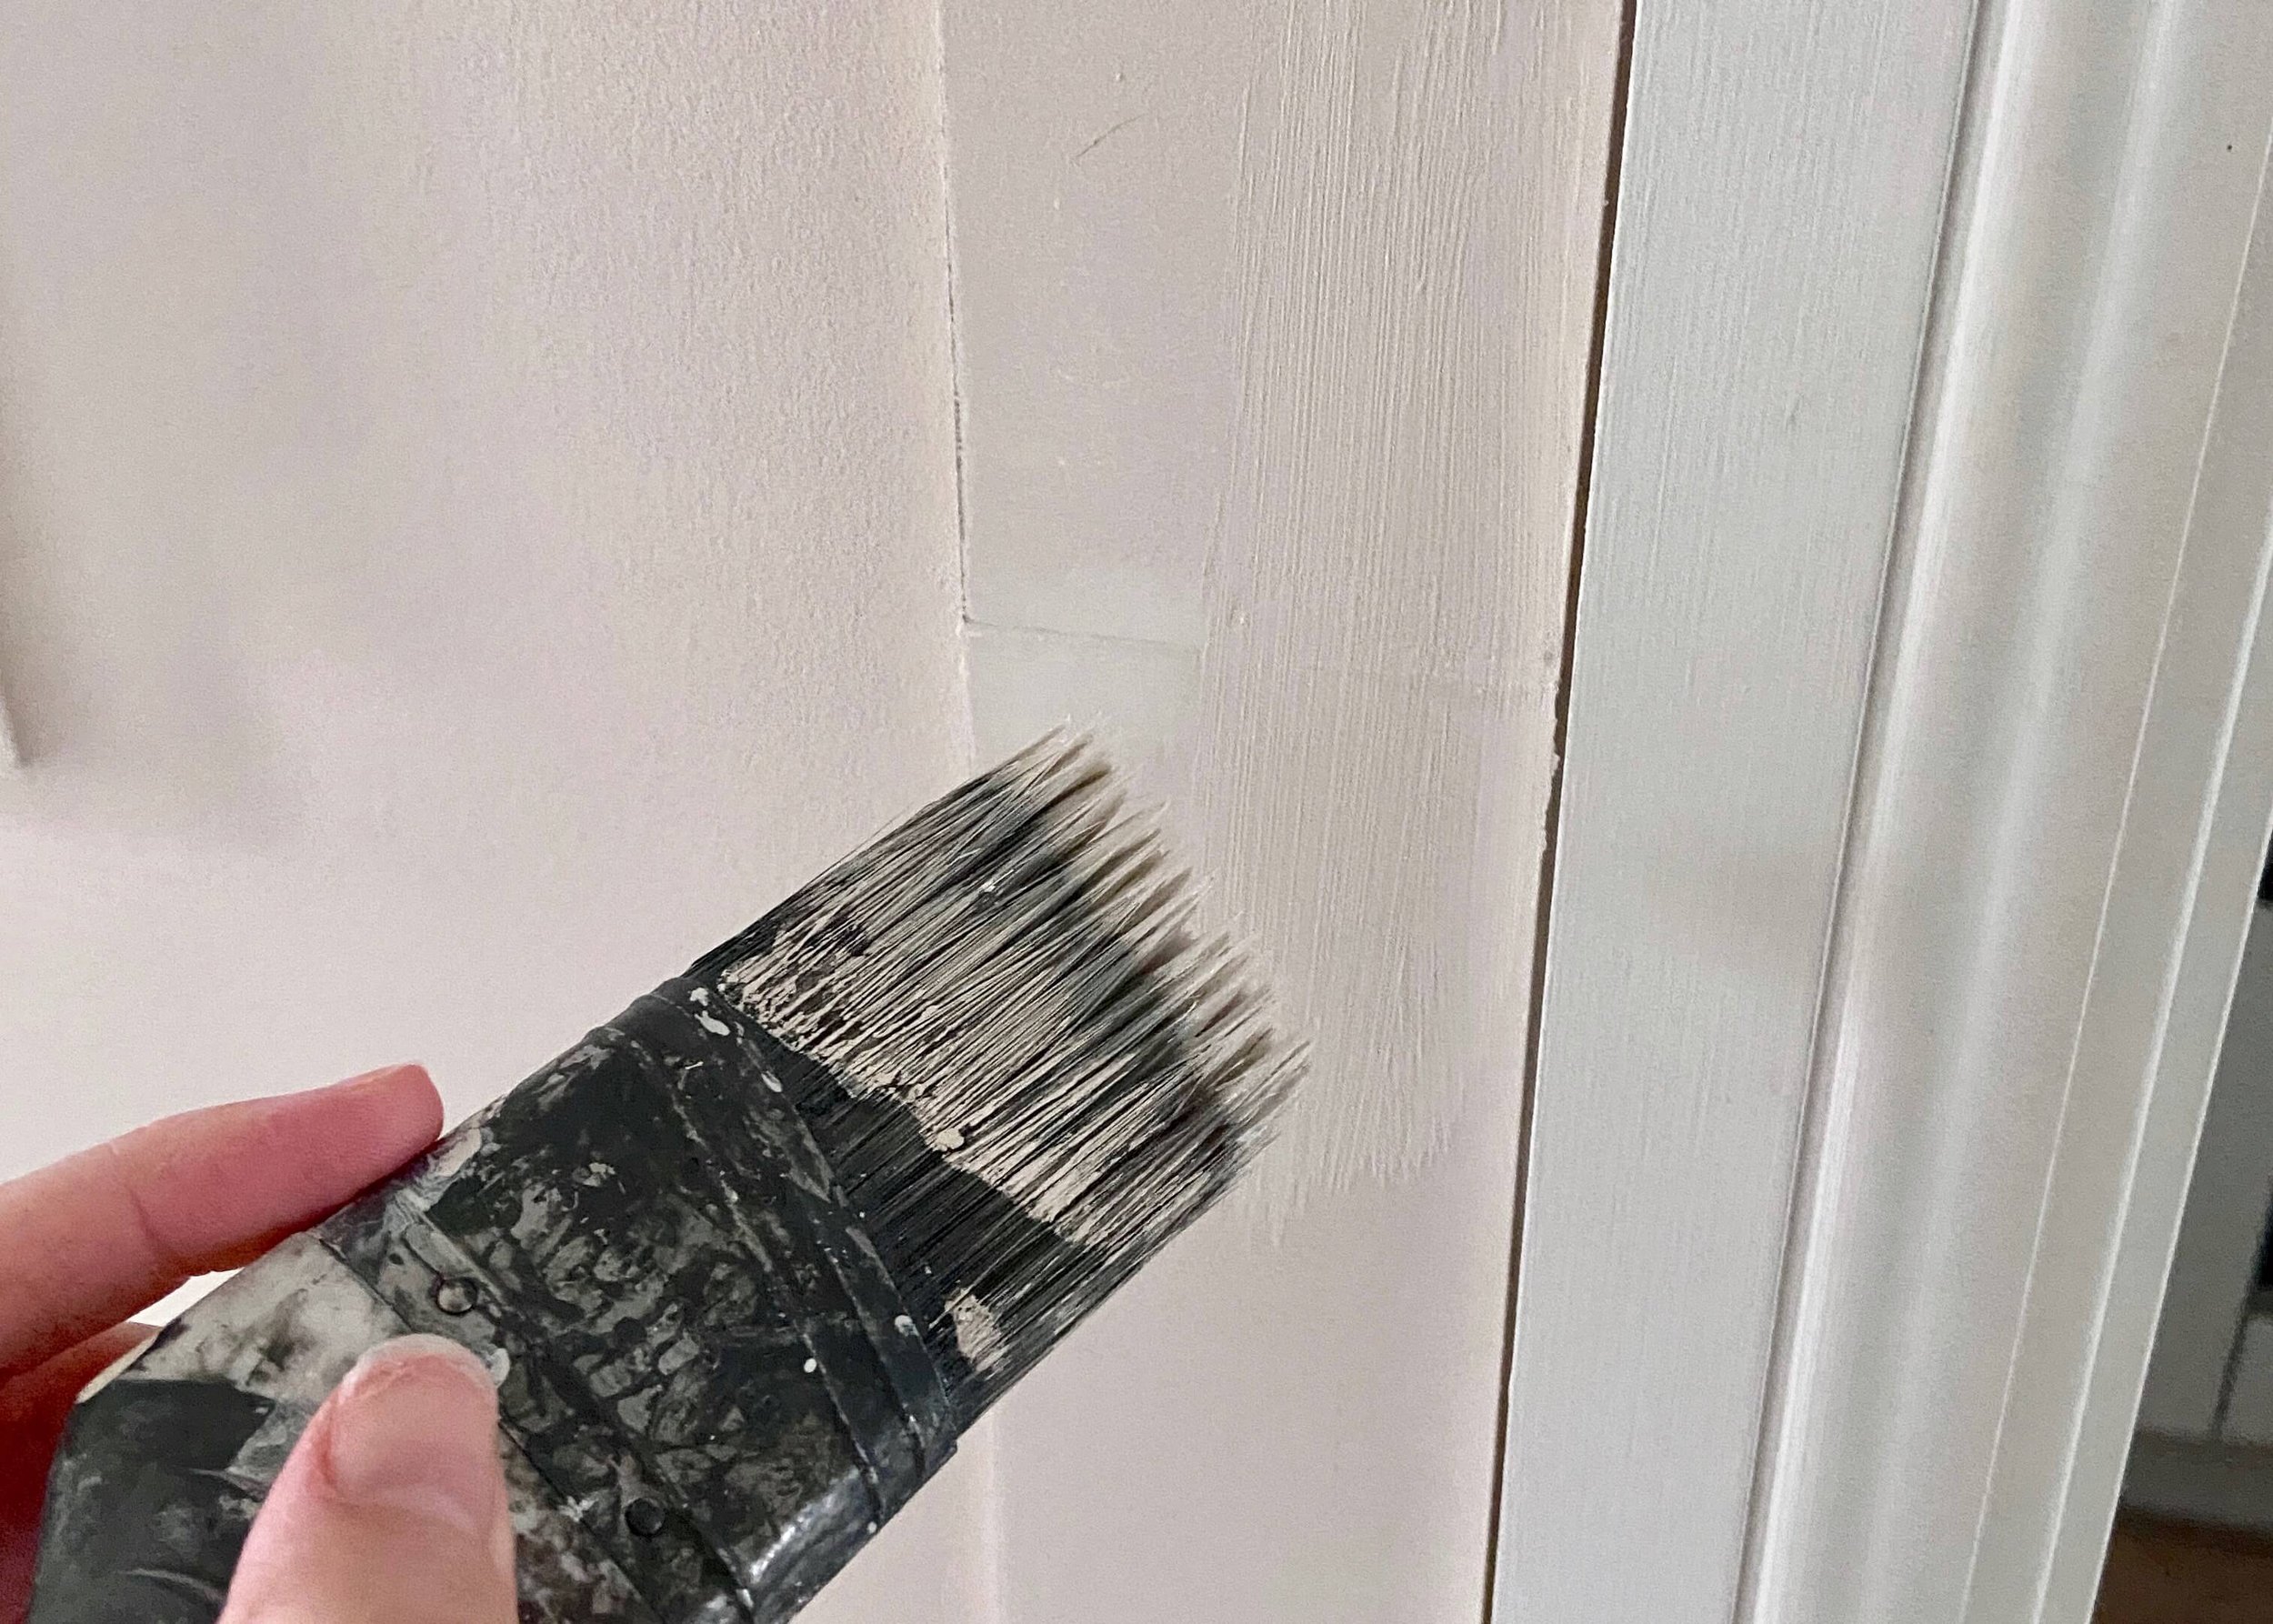
After allowing the wood filler to dry, I then went over the middle sections of the panels with sandpaper.
10.
Once I was happy that the joints between the panels were smooth and filled, I went over the middle of the panels with another coat of paint.

11.
I then measured the length of the walls and got two 2.4m lengths of pine (46mm x 15mm) and had these cut to the lengths I needed.

12.
I then primed and painted these lengths, before holding them above the peg rack and drawing a line where they meet. I used this to show on the shelf the depth of the peg rack, so that I could put my pilot holes in the right place.
13.
I also added No More Nails along this length (the part that will be in contact with the peg rack) and held the shelf in place until secure. My husband then kindly used a screwdriver to add some screws from the top down where my pilot holes were. Be sure to use screws long enough to go into the wall below.

14.
Finally, I used a paintable builders caulk to fill all of the gaps and seams, before painting over it all again with the wall paint.


