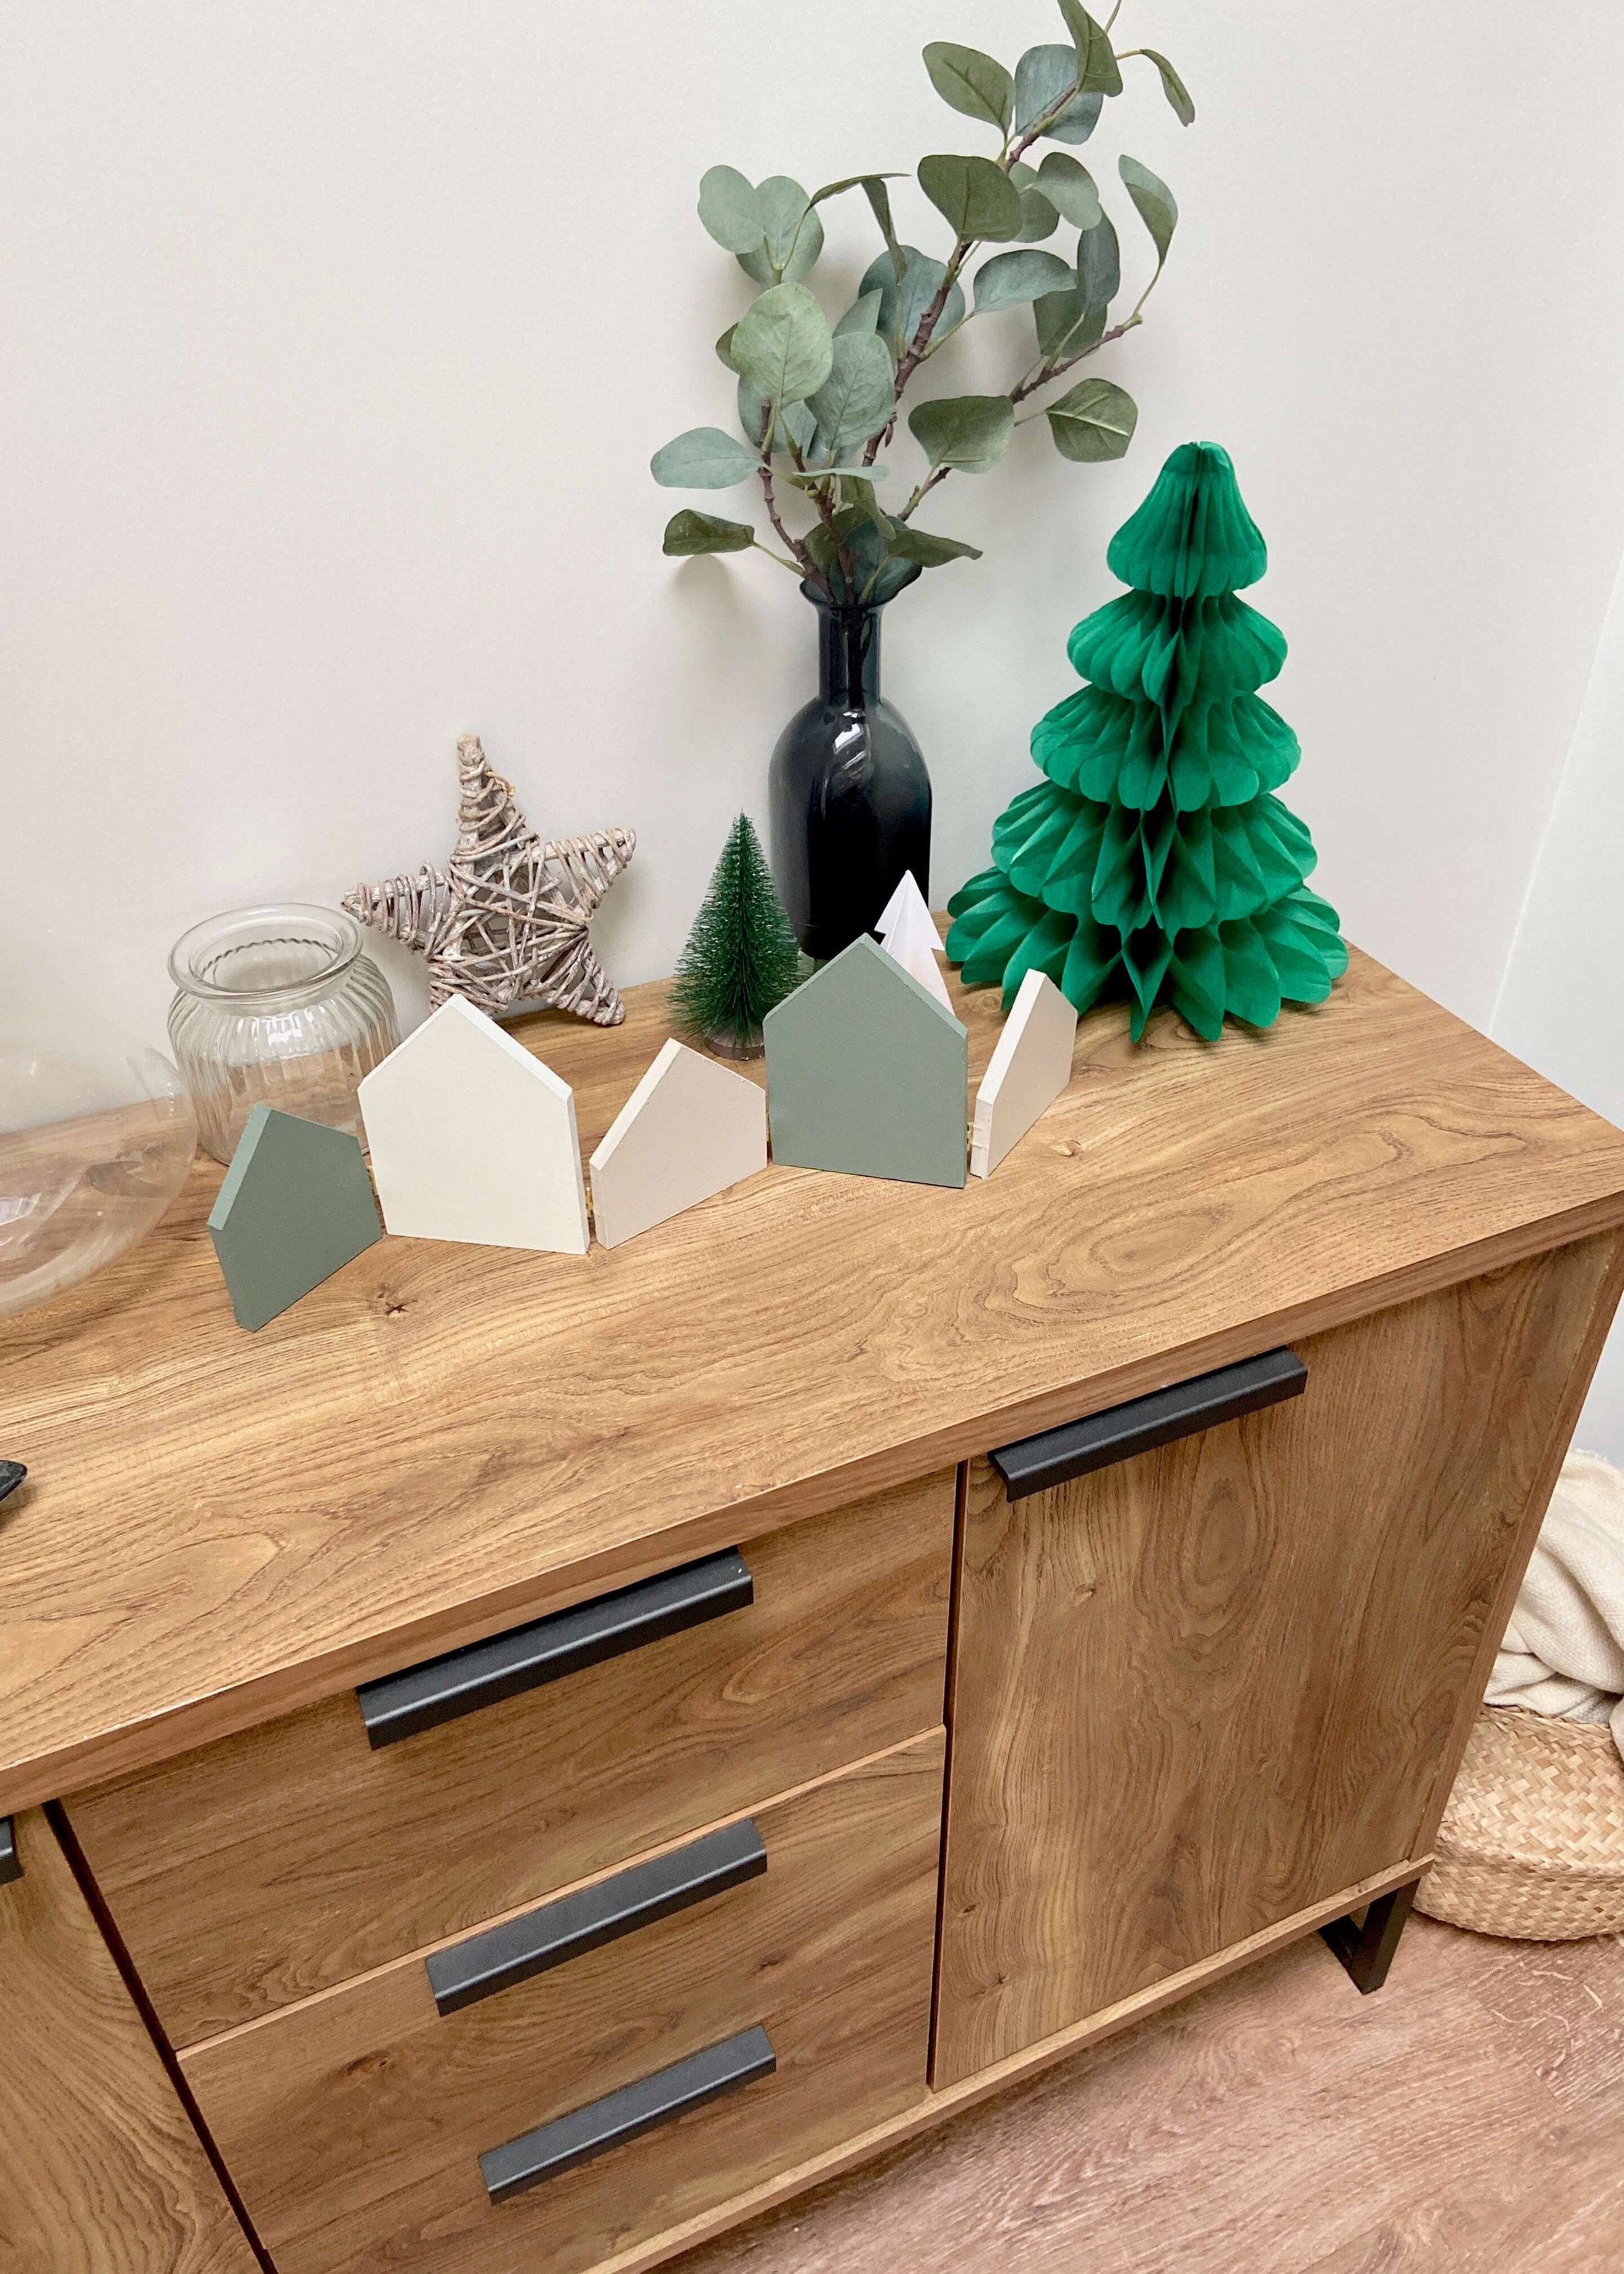
Make use of your wood scraps and create this cute Christmas village decoration!
Back in the summer, I gave our office a makeover and used MDF strips to create wall panelling. I used a pre-cut pack from B&Q and so some of the strips I had to cut to size. This left me with lots of short pieces of MDF which up until recently I had no idea what to do with and had just tucked away in a drawer. Then, I noticed some other crafters making Christmas villages with cardboard, and i got thinking about making one that would last a long time out of wood. Enter my off cuts, and with a few more cuts, I’ve got myself this simple wooden village. I thought about painting on some details, but I actually really like it’s simplicity, though I can of course always paint some more details on in the future if I change my mind. Keep reading for the step by step instructions if you fancy a go yourself…

Scrap wood
Saw
Mitre box
Paint
Small hinges & screws


1.
First of all, grab your scraps and plan out how large you want your wooden houses to be. I wanted mine in a few different sizes.

2.
Use a saw and mitre box to trim your wooden scraps to size. You’ll want to use the straight guides on your mitre box for this.

3.
Next, use the 45 degree angle guide on your mitre box to create the angled roof of your house.

4.
Repeat this process until you have your desired number of houses.

5.
If you’re using MDF like me, it’s always best to prime it first as it can otherwise warp with the moisture from your paint. I didn’t have any primer on hand and so used mod podge which worked pretty well.

6.
Next, paint your houses in your chosen colours. I used colours to match my decor and can always re-paint them in the future if my decor changes (it probably will!). I didn’t paint any details on as I liked its simplicity, but you definitely could, and I may well do in the future.

7.
Once your wood is dry, grab some small hinges, I used these little gold ones that I got from amazon, and attach each house to the next using co-ordinating small screws.

8.
I attached my hinges so that every other was attached to the back of the wood houses, whilst the ones in between were attached to the sides with the hinge facing the opposite direction. This gave my houses the concertina type look that I was after.