

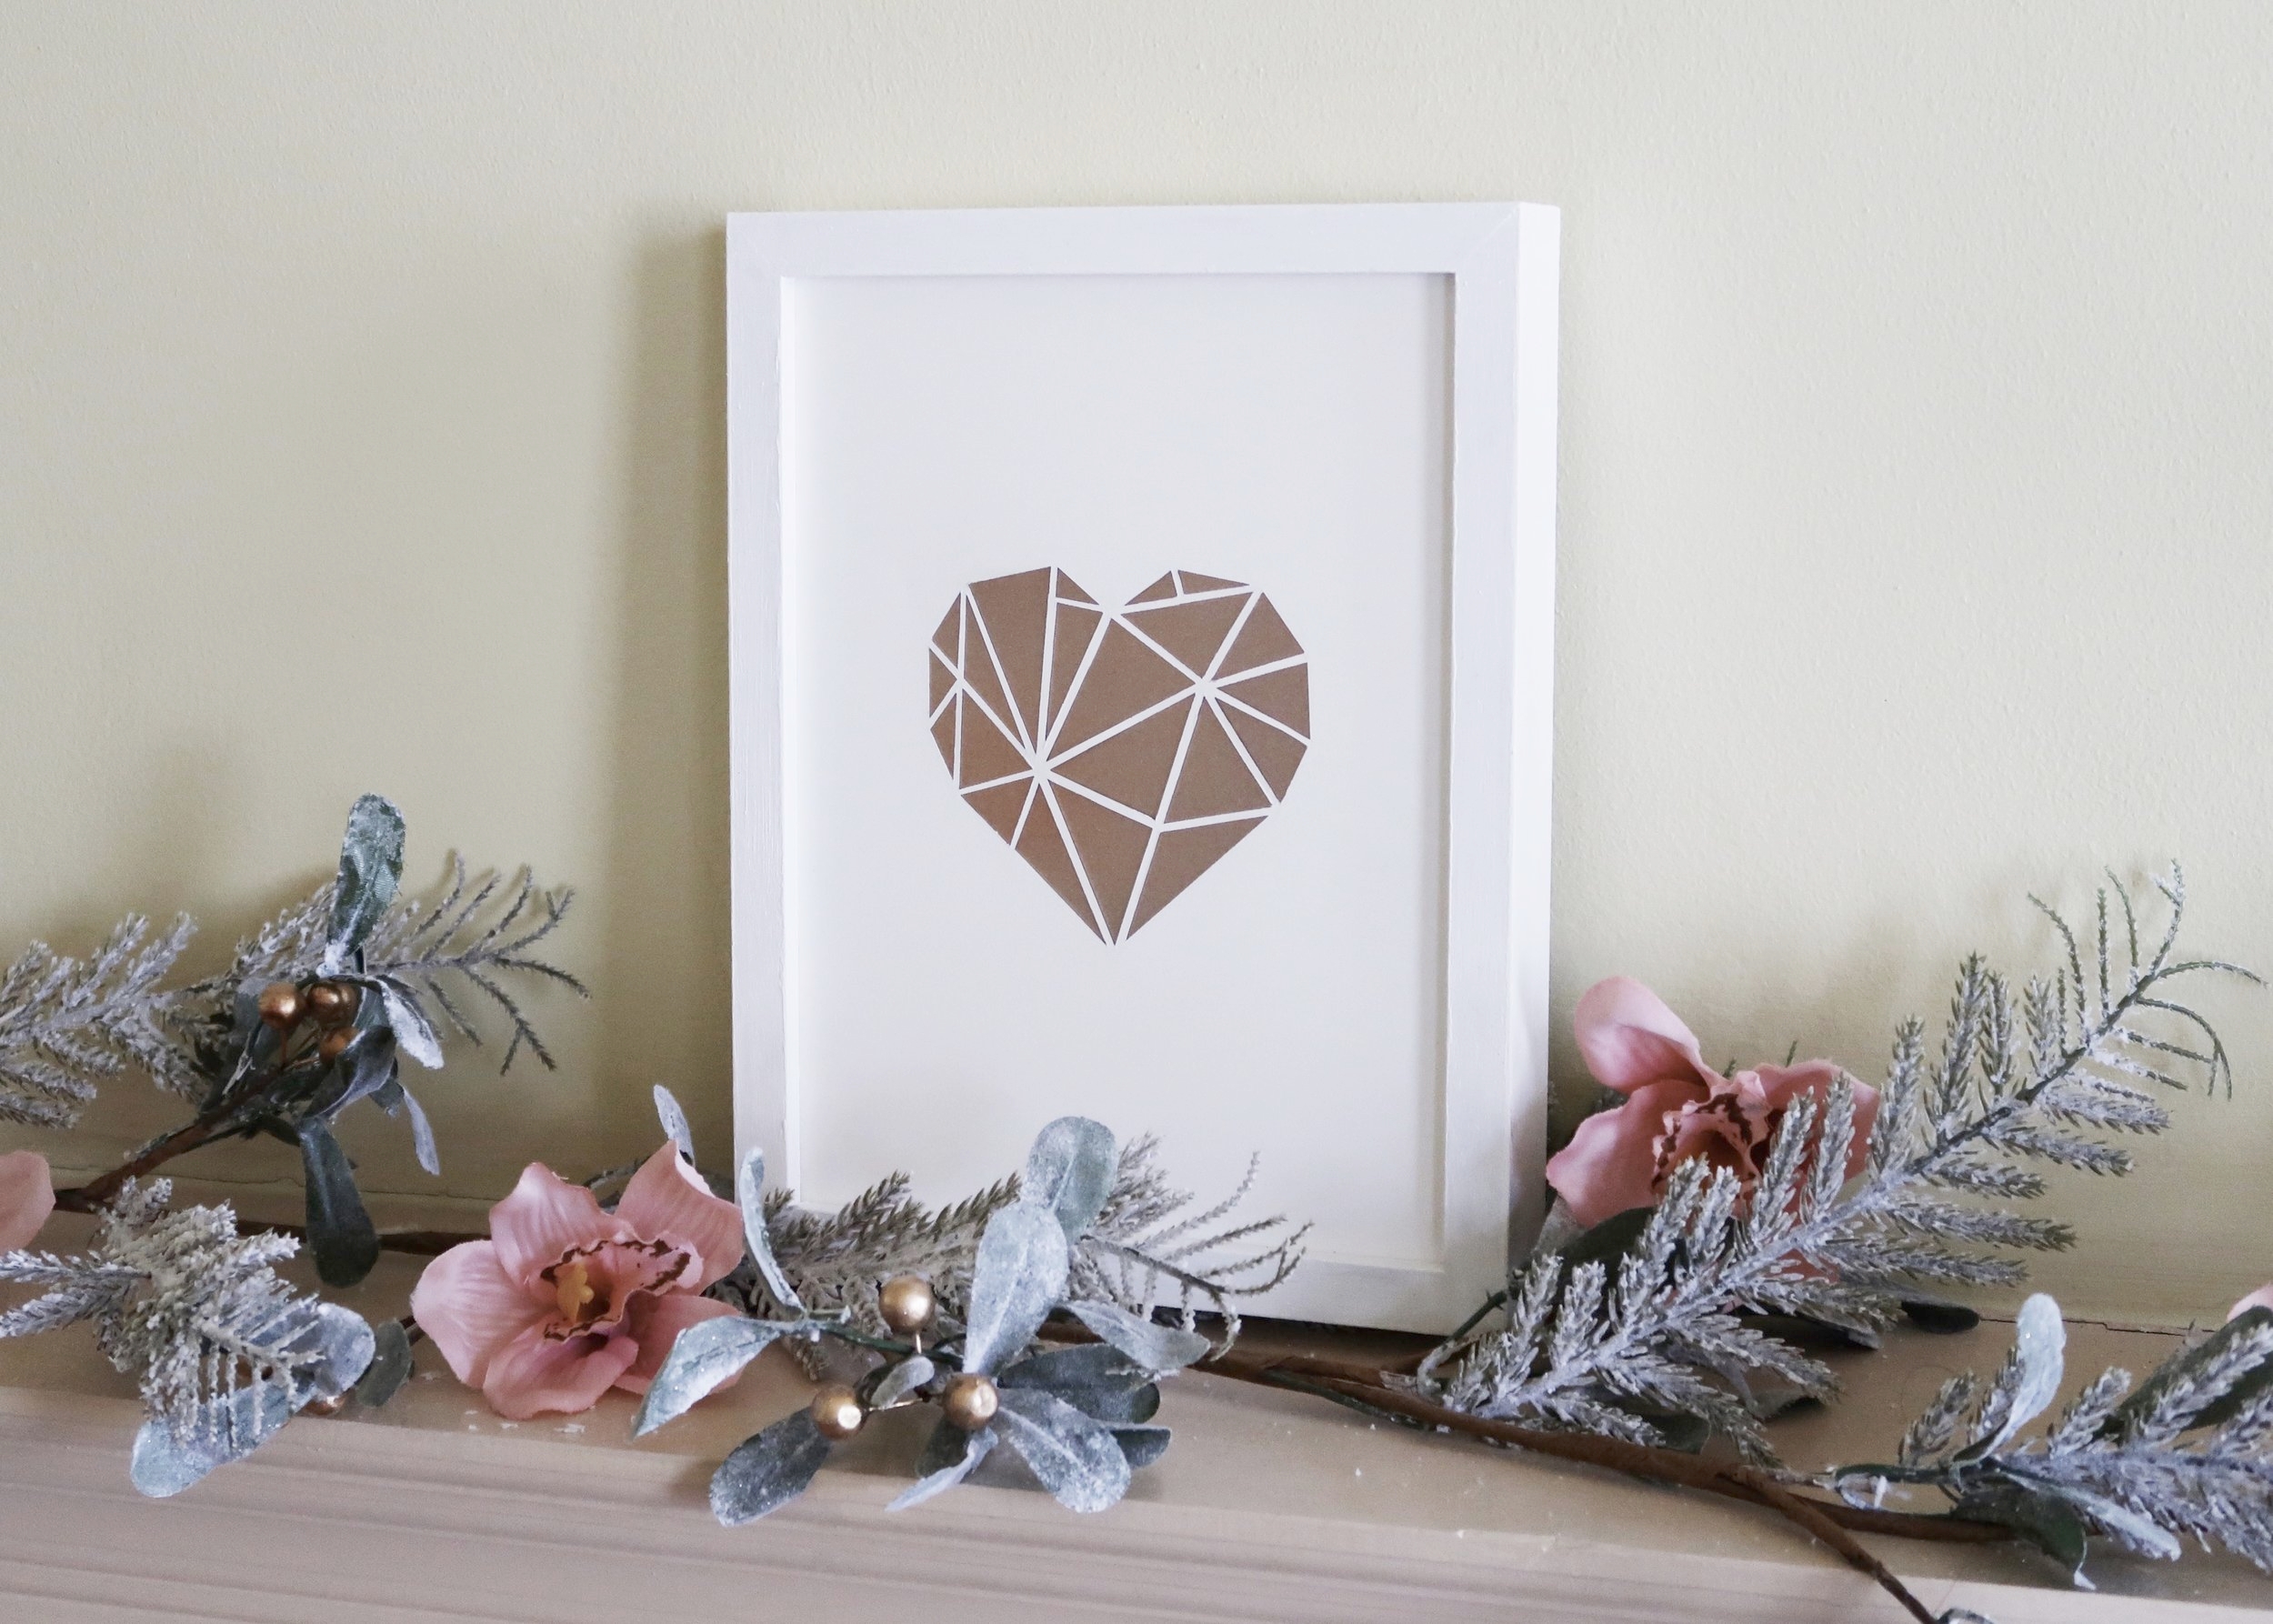

February is just around the corner and so if you're planning on crafting your Valentine's decor, now is great time to start. If like me you aren't massively into bright red and pink hearts everywhere but want a subtle nod to the occasion, then you'll love this DIY paper-cut heart wall art!
I don't think Valentine's day here in the UK is perhaps quite as big as it is over in the US (do correct me if I'm wrong), and as I pretty much say every year (sorry to any long time readers out there) my boyfriend and I don't really celebrate it. However, I do love any excuse to craft and so this year I thought I would update our decor with a handmade heart-themed piece of wall art. I'm always admiring paper-cut art work, so I knew I wanted to have a go at making my own, and also knew that I wanted to create something that was quite minimal in style and colour. On a side note, I had a hard time letting go of my Christmas decor this year, particularly this beautiful frosty garland from Wilkos, which you may recognise from my festive decor, so I've kept it out and am just hoping that I'm getting away with it as winter decor. Anyway, keep reading to find out how I made this wall art...


1.
First of all, draw a heart shape in the centre of a piece of paper. Next, mark points around the heart to simplify it whilst still looking like a heart. Join these points together using straight lines and then put two points inside the heart.

2.
Next, join these two centre points with a straight line. Continue drawing straight lines from each of these centre points to the points around the edge of the heart until you're happy with your design. Thicken these lines until they are approximately 4mm wide.
3.
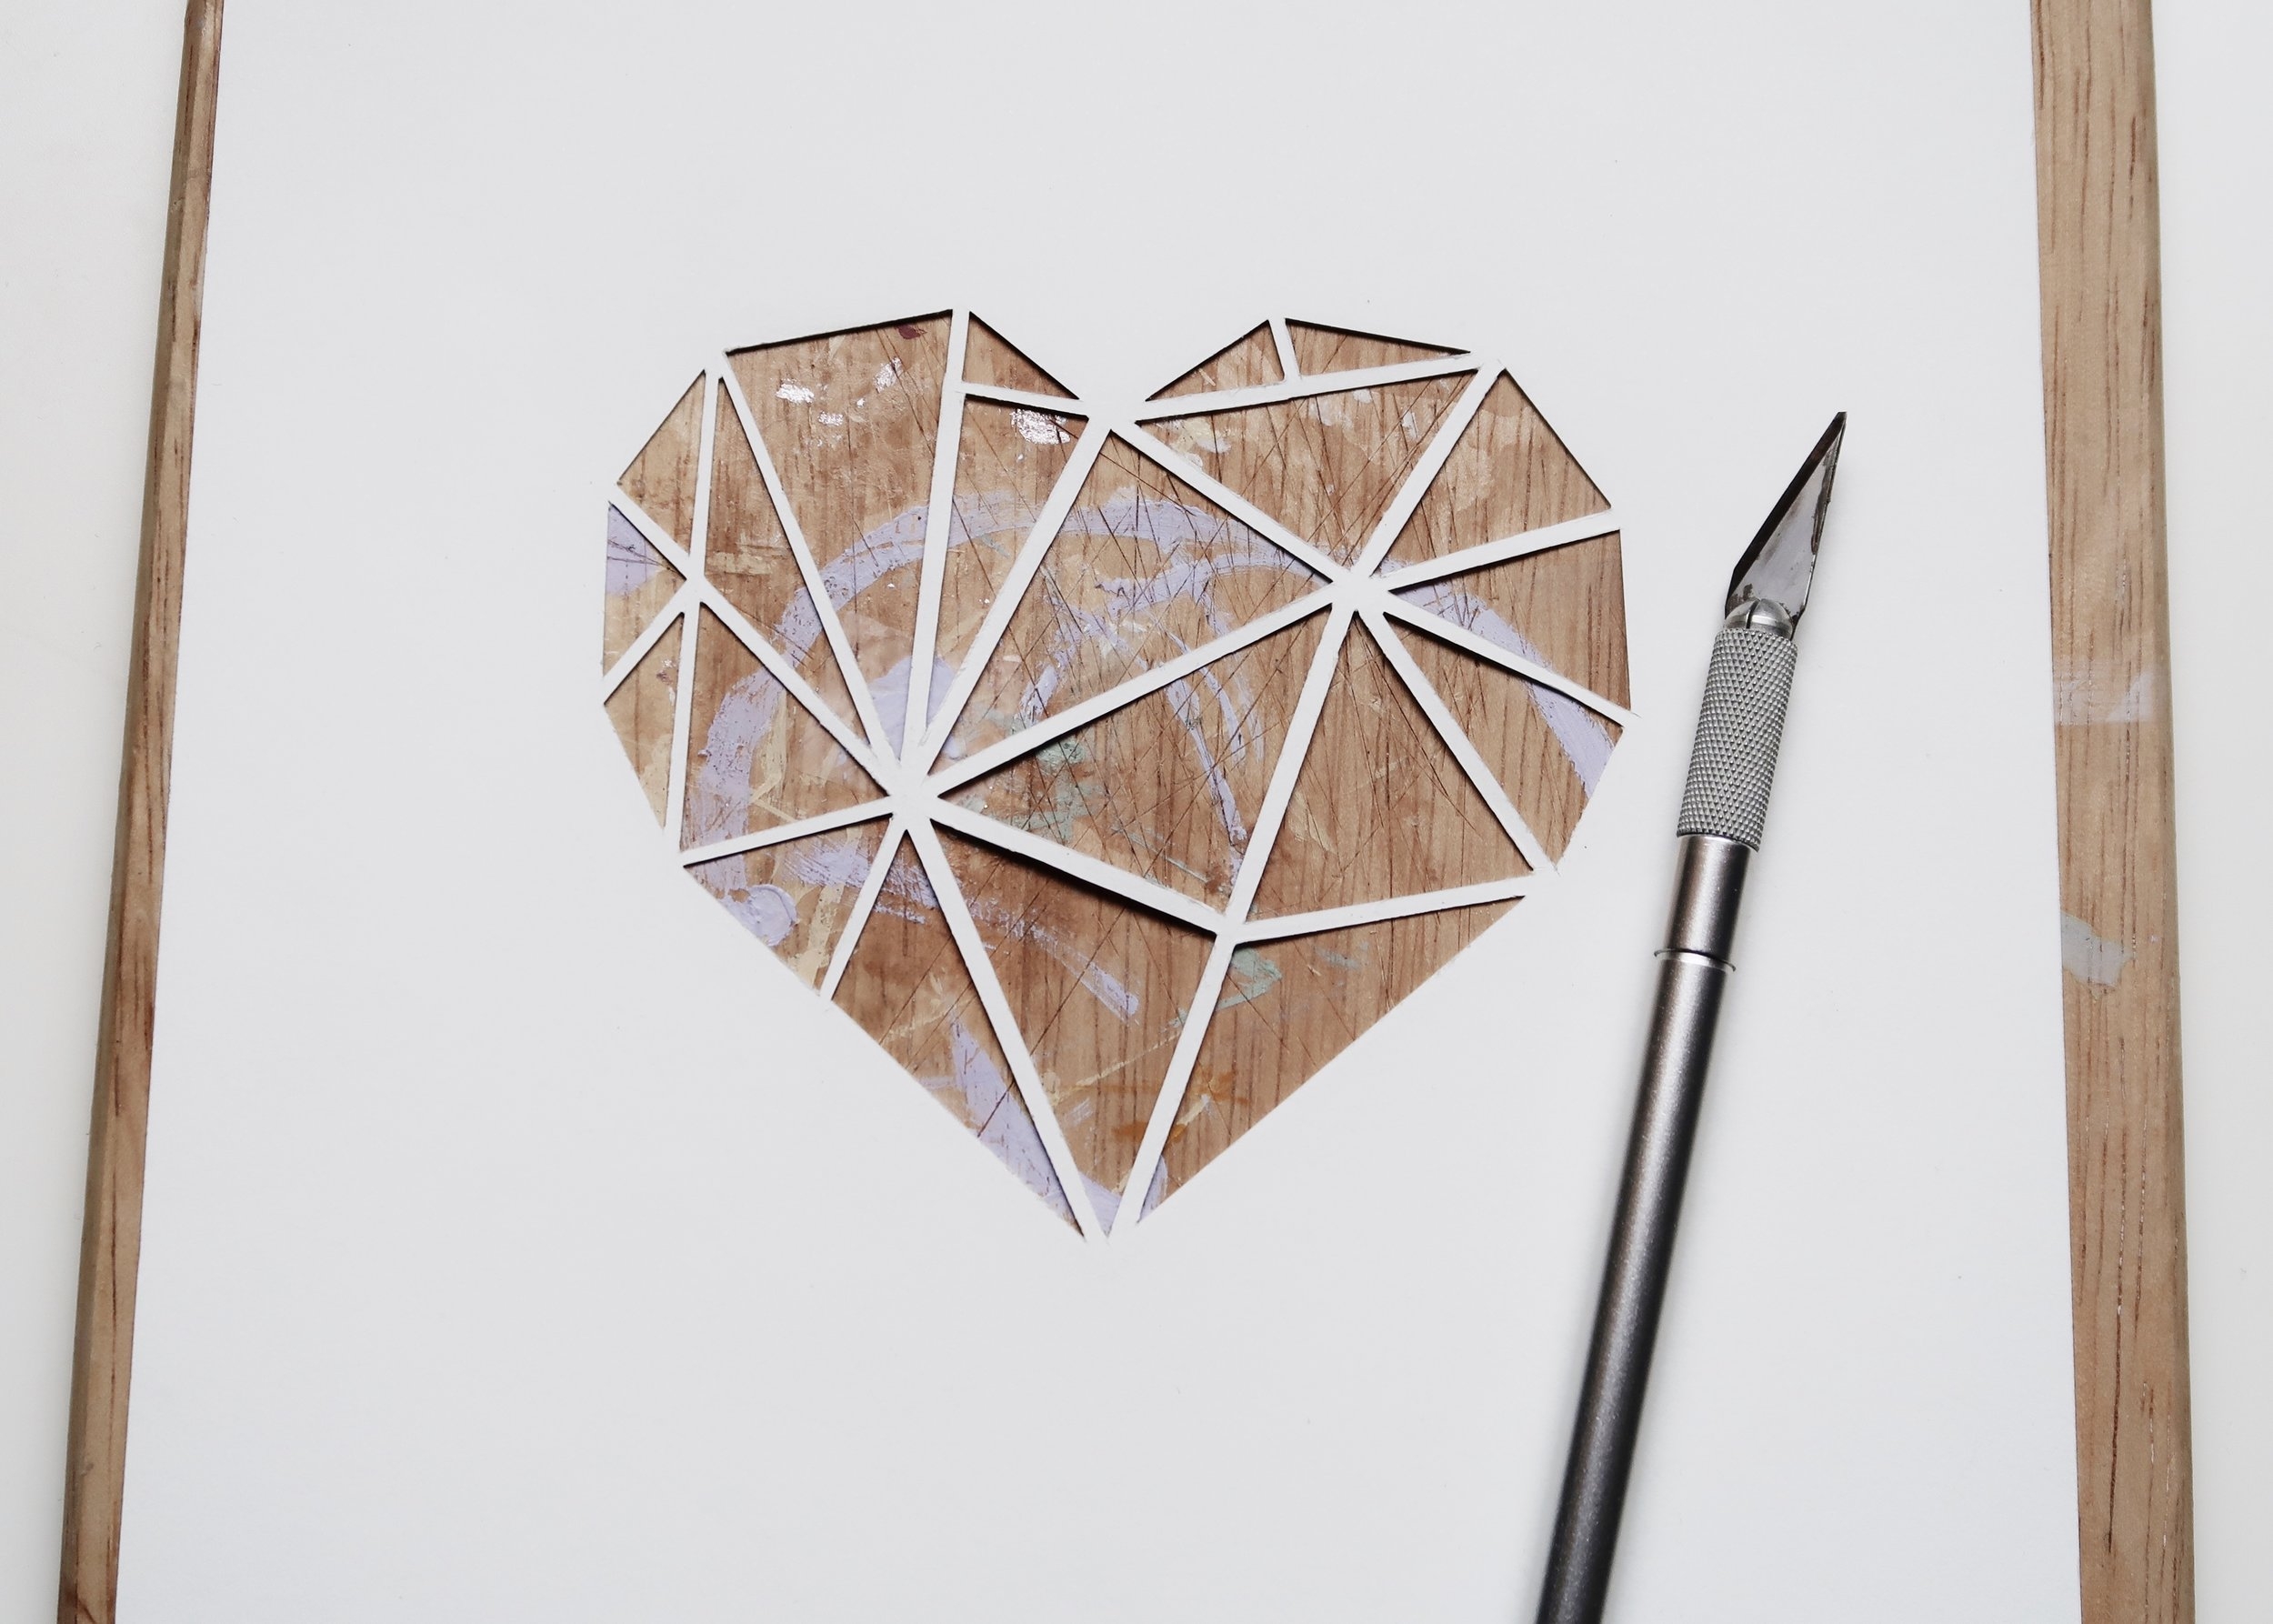
Using scalpel and cutting board (or an old chopping board in my case), cut out each of the triangles within the heart, leaving the pencil lines in tact and connected to one another. The side with the pencil marks on will be the back.

4.
I wanted a copper background for my heart (obviously!) so I sprayed a piece of card with my spray paint as I didn't have any copper card in already. This is just what I did but it's entirely up to you what material or colour you use as your background.

6.
Finally, I used a box frame to frame my paper-cut wall art. To make sure you get it in the right order, place your frame face down, remove the back and start by putting your paper-cutting front side (the side without pencil marks) down. Next, put your coloured card or material front side down and pop the back of the frame on.


