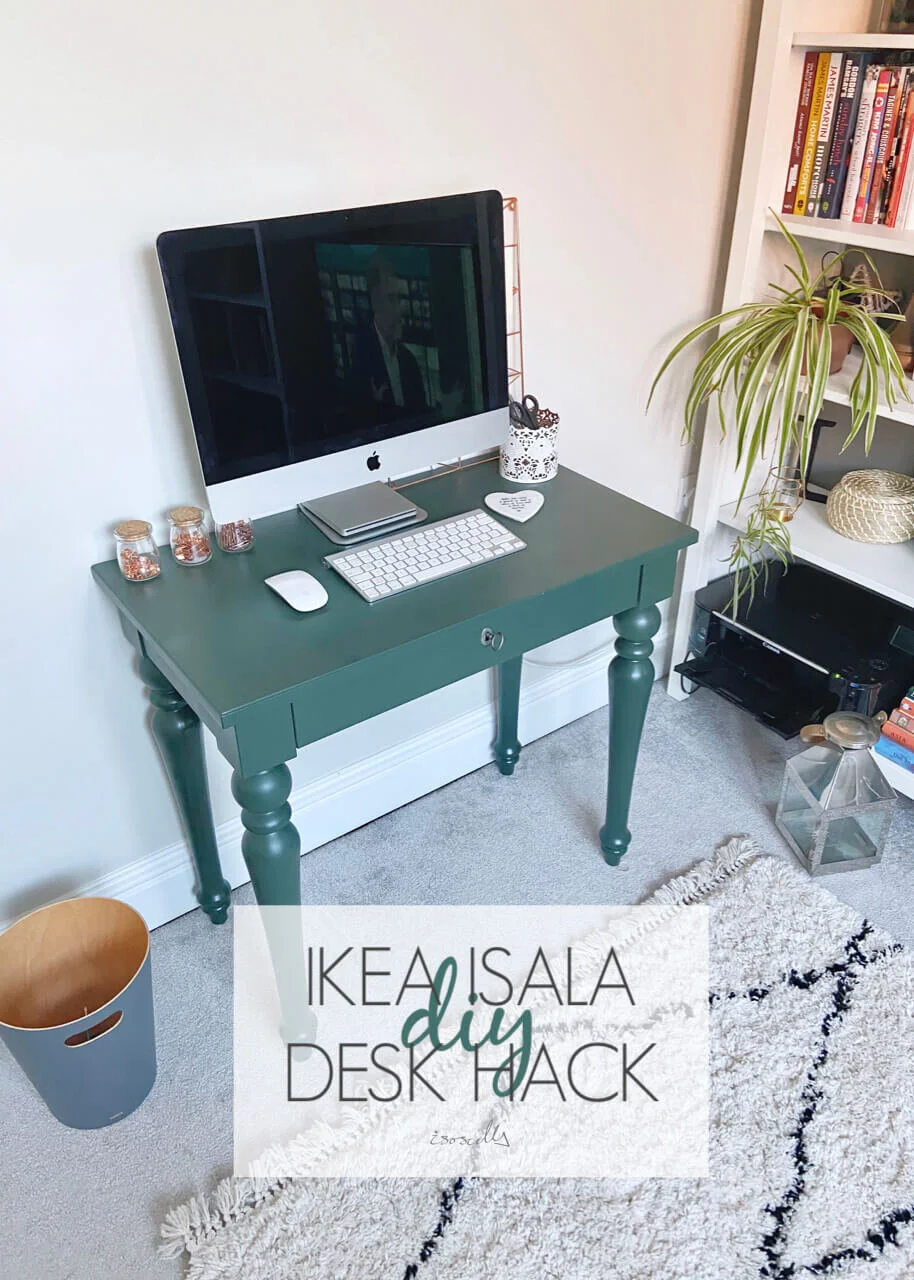
Give your old Ikea desk a new lease of life by repainting it with a new on trend colour!
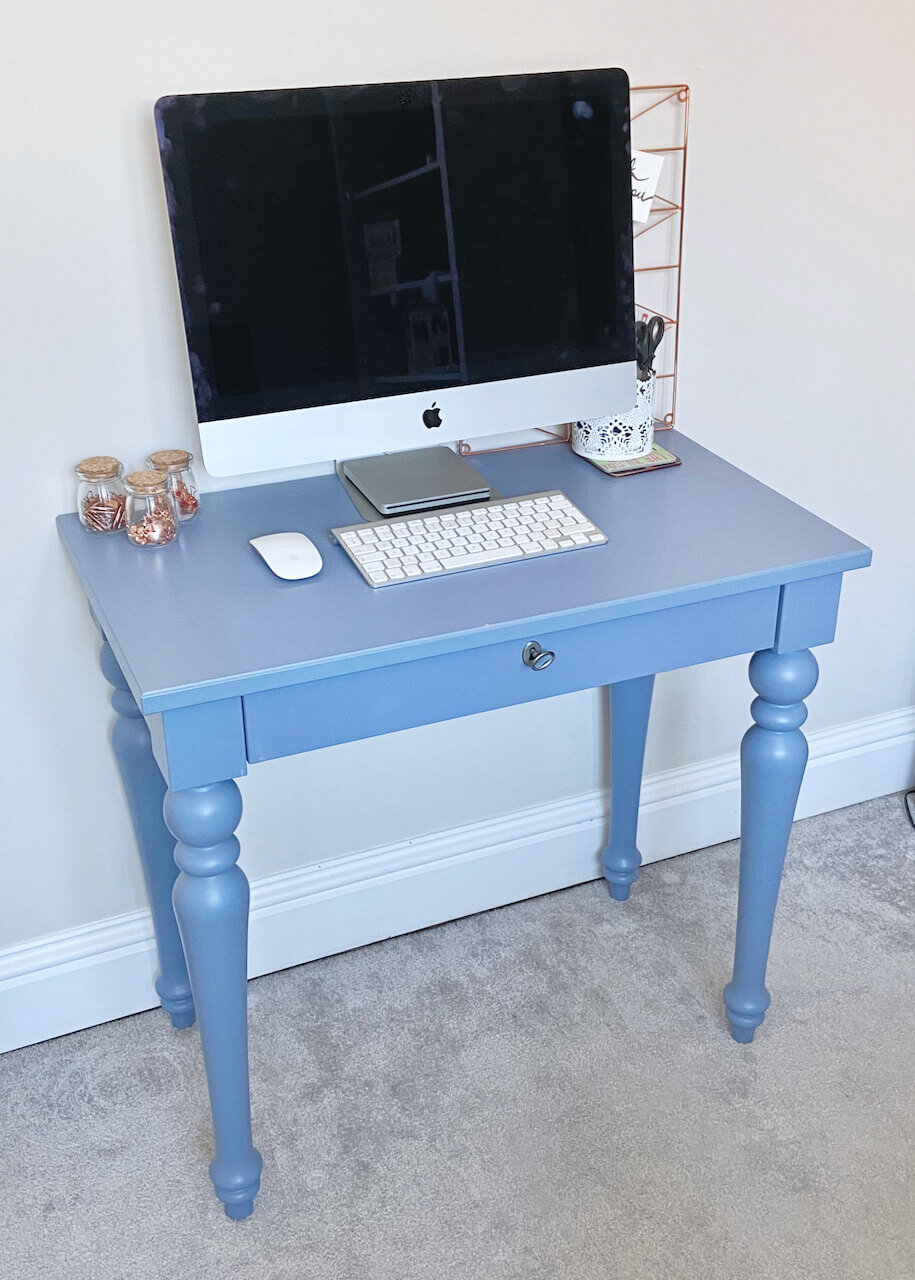
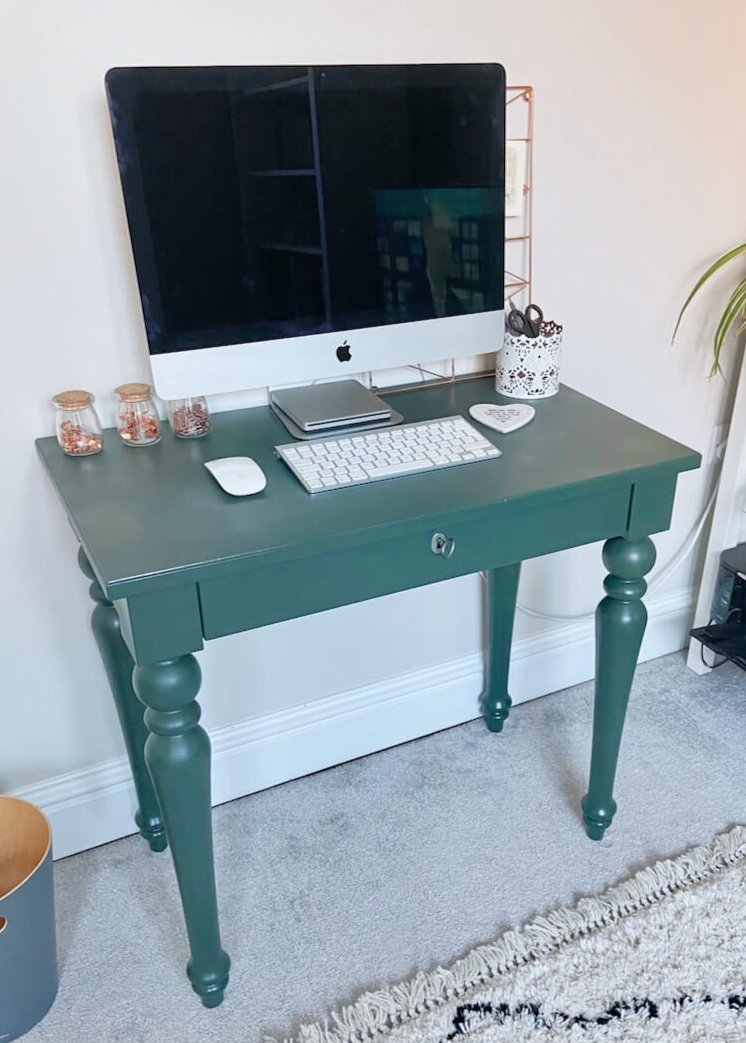
I’ve been staring at my old blue Ikea desk for some time now, thinking about how it stood out like a sore thumb and how it didn’t co-ordinate at all with our dark green and grey living room. Ikea products are renowned for being difficult to hack with many made from laminate coated particleboard or MDF, and laminate being nigh on impossible to paint without any preparation. My desk, the Ikea Isala desk, although not laminate coated, still had this super smooth surface, which was extremely hard wearing and which nothing seemed to adhere to. With all the extra time we’ve had on our hands and some dry weather, I finally decided to do something about it and to do my research to make sure I did it right. Initially I thought about painting the desk white so that it blended in, but then I decided to make a bit of a feature of it and to co-ordinate it with our green soft furnishings. I’m so pleased with how it turned out, and Iove this colour. So far we’ve not had any peeling, scratches or chips, and the polyurethane finish has given it a hard protective layer. The photos in this post I took before my sealer arrived, but it doesn’t look all that different, just a little smoother. If you fancy having a go yourself, then keep reading to find out what products I used and how I did it…
Ikea Isala Desk
First of all, you’re going to want to take your desk apart as much as you can. Ikea furniture is fortunately pretty easy to put together and take apart, and usually just requires a screwdriver. Be sure to keep all of your screws!
Next, sand your desk thoroughly. You need a rough surface for your primer to adhere to so make sure you to this properly. This step is pretty messy, so I’d recommend you do it outside or somewhere well ventilated and that you wear a mask to protect your lungs!
Brush off all of the dust from furniture, and make sure it’s completely clean by going over it all with a damp cloth. Leave the furniture to dry.
Use painter’s tape to cover any hardware that you don’t want to paint and use a craft blade to carefully cut off any excess.
Next, grab your primer, and paint all over with a brush or roller. The shellac-based Zinsser BIN Primer is well known for being great for Ikea furniture, but at the time of doing this, the shops were still closed and I couldn’t find any online. So instead I used the Dulux Difficult Surfaces Primer, which I read others had used on similar surfaces. I wasn’t sure how it was going to go on, but it worked really well. I did a couple of light coats, leaving a good 4 hours or so, and sanding in between in between.
Once both coats of the primer were completely dry, I put the legs back on and sprayed it with Rustoleum Painter’s Touch spray paint in Oxford Green all over. Again, for this step and the next, do this with a mask on and either outside or in a well ventilated area. I found it was best to do smooth, light coats and to not get too close as I was spraying. I made the mistake of only buying one can, so learn from my mistakes and get more than you think you’ll need!
When this is completely dry, you’ll want to protect it with a sealant of some sort. I went for the Rustoleum Polyurethane Finish Protective Finish. Again, I did a few light coats of this all over, spraying at a distance, and left it to dry thoroughly outside.
Finally, I peeled off all of the painter’s tape, and re-assembled the desk completely.


