Create this minimal scandi peg rack in just 12 steps
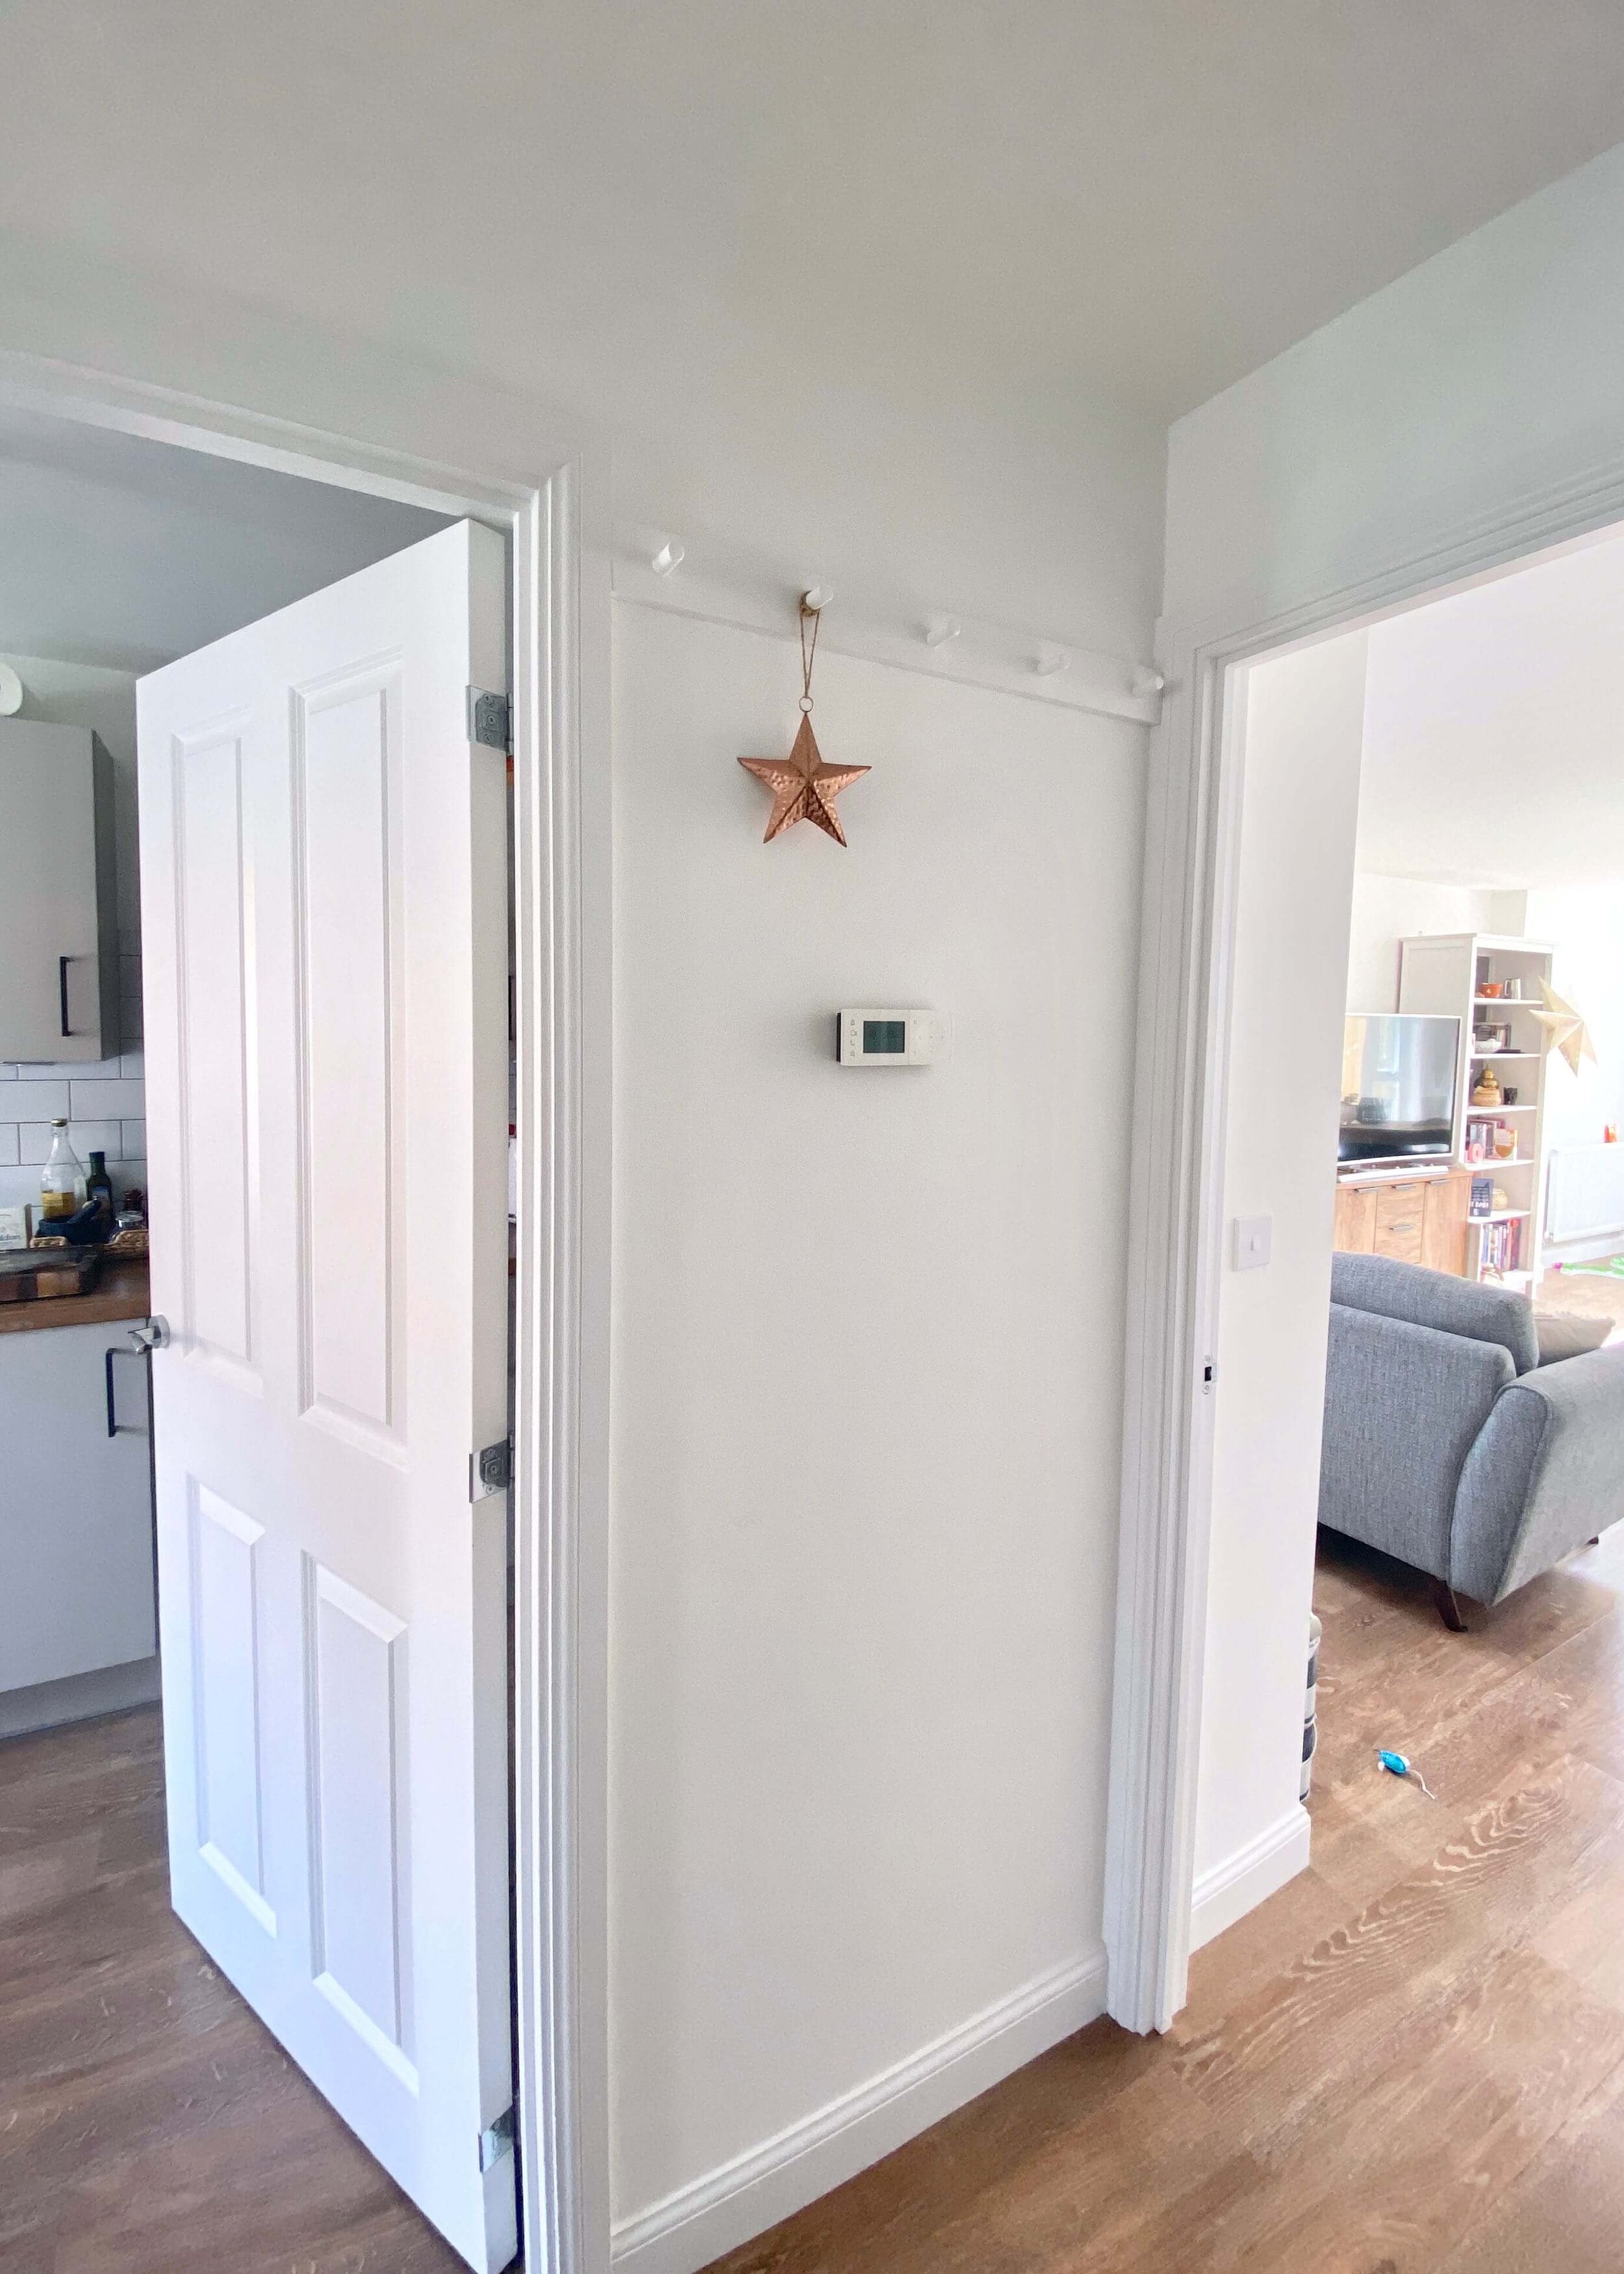
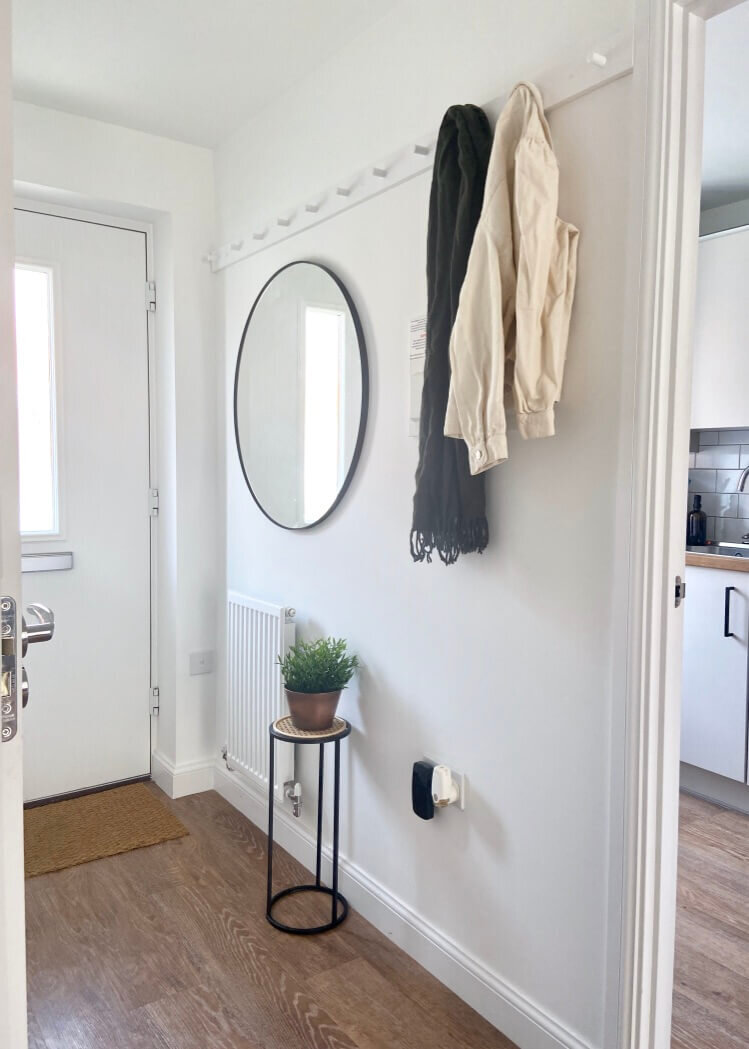
I’ve been trying to work out how to cover the fuse box we have in the middle of the wall in our hallway since we moved in. Who knows why the developers didn’t put it somewhere more discrete, but it is what it is, and I knew I had to work with it. After seeing so many peg racks or rails around, I got thinking about how it could be the perfect way to add texture and storage to the hallway whilst giving us a way of hiding the box without the stereotypical fuse box cover. I couldn’t quite find exactly what I was looking for though, and it seemed a waste to buy something to then change it, so I decided to have a go at making my own minimal peg rack from start to finish. I didn’t want it to stand out too much, it was important to me that it was the same colour as the walls and the pegs weren’t too big or bulky. I’m really pleased with how it turned out, and it’s proving so handy for hanging those extra coats and jackets when we have guests over. Keep reading to find out what I used and how I did it…
1.
First of all, decide where you want your peg rack and measure how long your peg rack needs to be. Cut your stripwood to this length and sand the cut edges so they are smooth.
2.
Decide how many peg hooks you would like along your length of wood, and divide the total length of your stripwood by this number. This is the distance between each of your pegs. Use a tape measure to measure along and mark where each peg will go.
3.
Cut your dowel to shorter lengths. I cut each of mine to around 2 inches, taking into account that a couple of centimetres will be lost in fixing the peg to the rack.
4.
Using a holesaw drill bit that is the same diameter of the dowel, drill holes along the stripwood in the places that you marked in step 2. When drilling these holes, don’t go all the way through the depth of wood, leave around 0.5cm.
5.
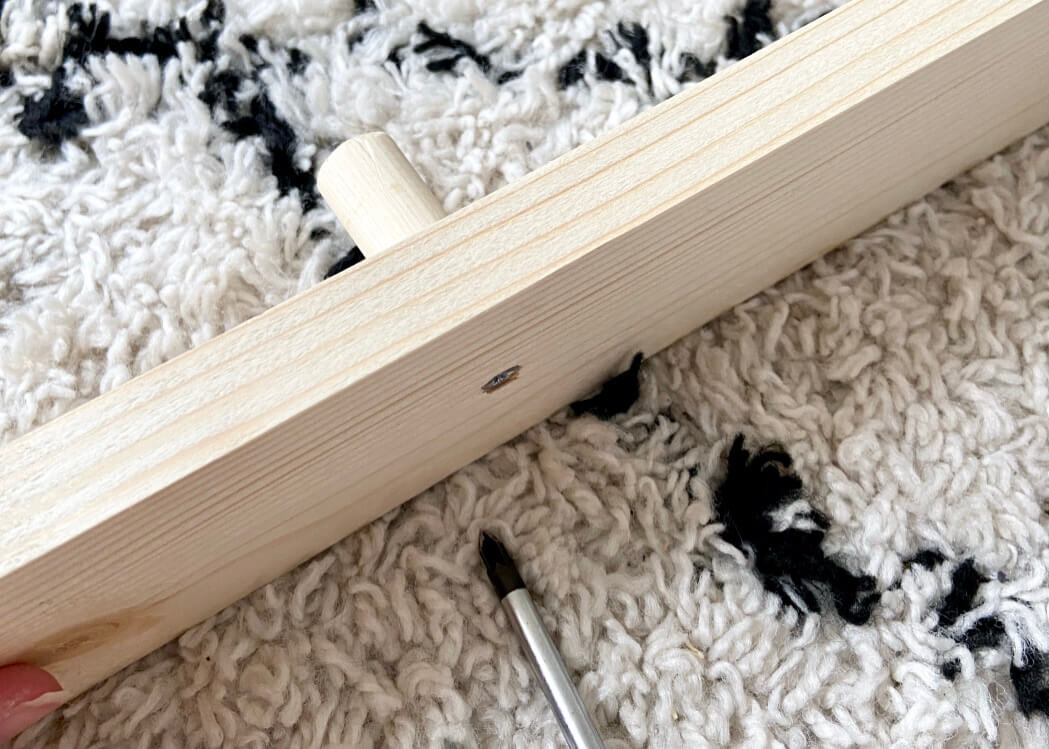
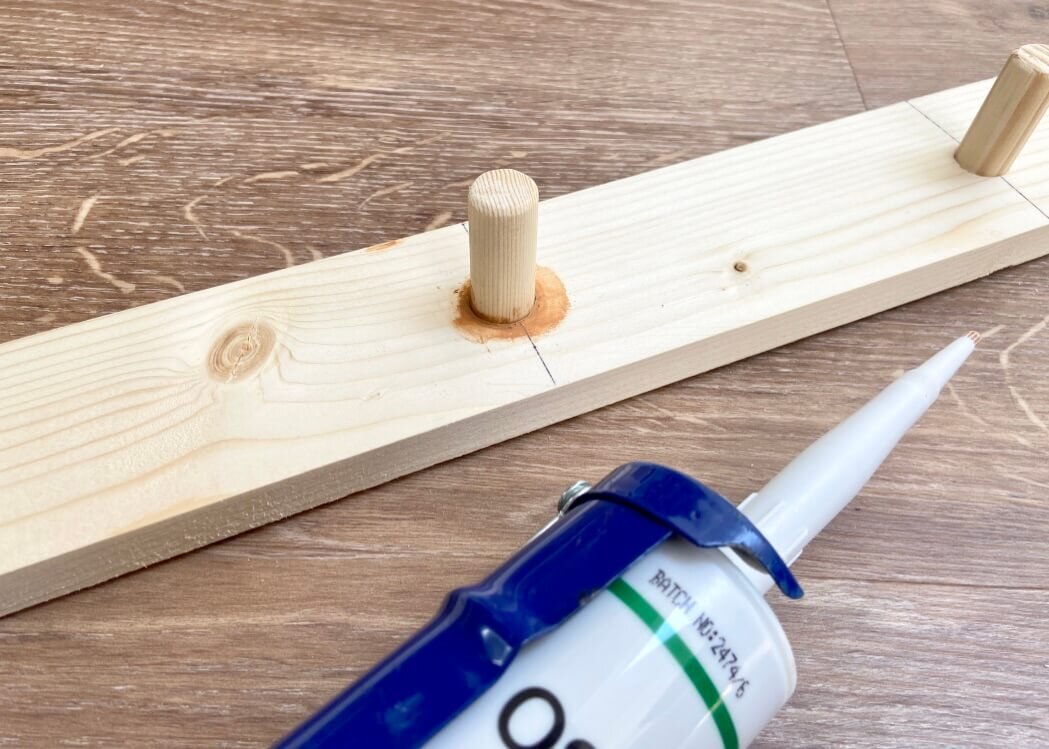
Put some No More Nails or wood glue into the holes and hammer each dowel into the holes. Use a screw on the bottom of the stripwood into the dowels to secure in place.
6.
I found I still had some gaps between the dowel and the edge of the hole of the stripwood, so I filled these with woodfiller.
7.
Once the woodfiller was dry, I painted the entire rack with a white wood primer.
8.
Once the primer is dry, sand down any rough patches of wood and then paint with another coat of primer. Sand any rough patches again.
9.
Once dry and smooth, paint the rack with wood paint in your desired colour. I went for the same paint that the wood in our house is painted in, which was is a White Satinwood by Dulux. I did two coats of this, leaving each to completely dry in between.
10.
Once completely dry, ask someone else to hold your rack in position, make sure it is level and use a small drill bit to drill through the rack into the wall. Remove the rack, and then use an appropriately sized drill bit to enlarge these holes so that your wall plugs fit. Hammer these in, then place your rack in place and screw the rack into the wall plugs.
11.
Screw the screws further in than the top of the wood and then fill these holes with wood filler or decorators caulk. Leave this to dry and then sand down so that it’s level.
12.
Finally, paint over the filler/caulk with your wood paint. You may need to do a couple of layers.


