

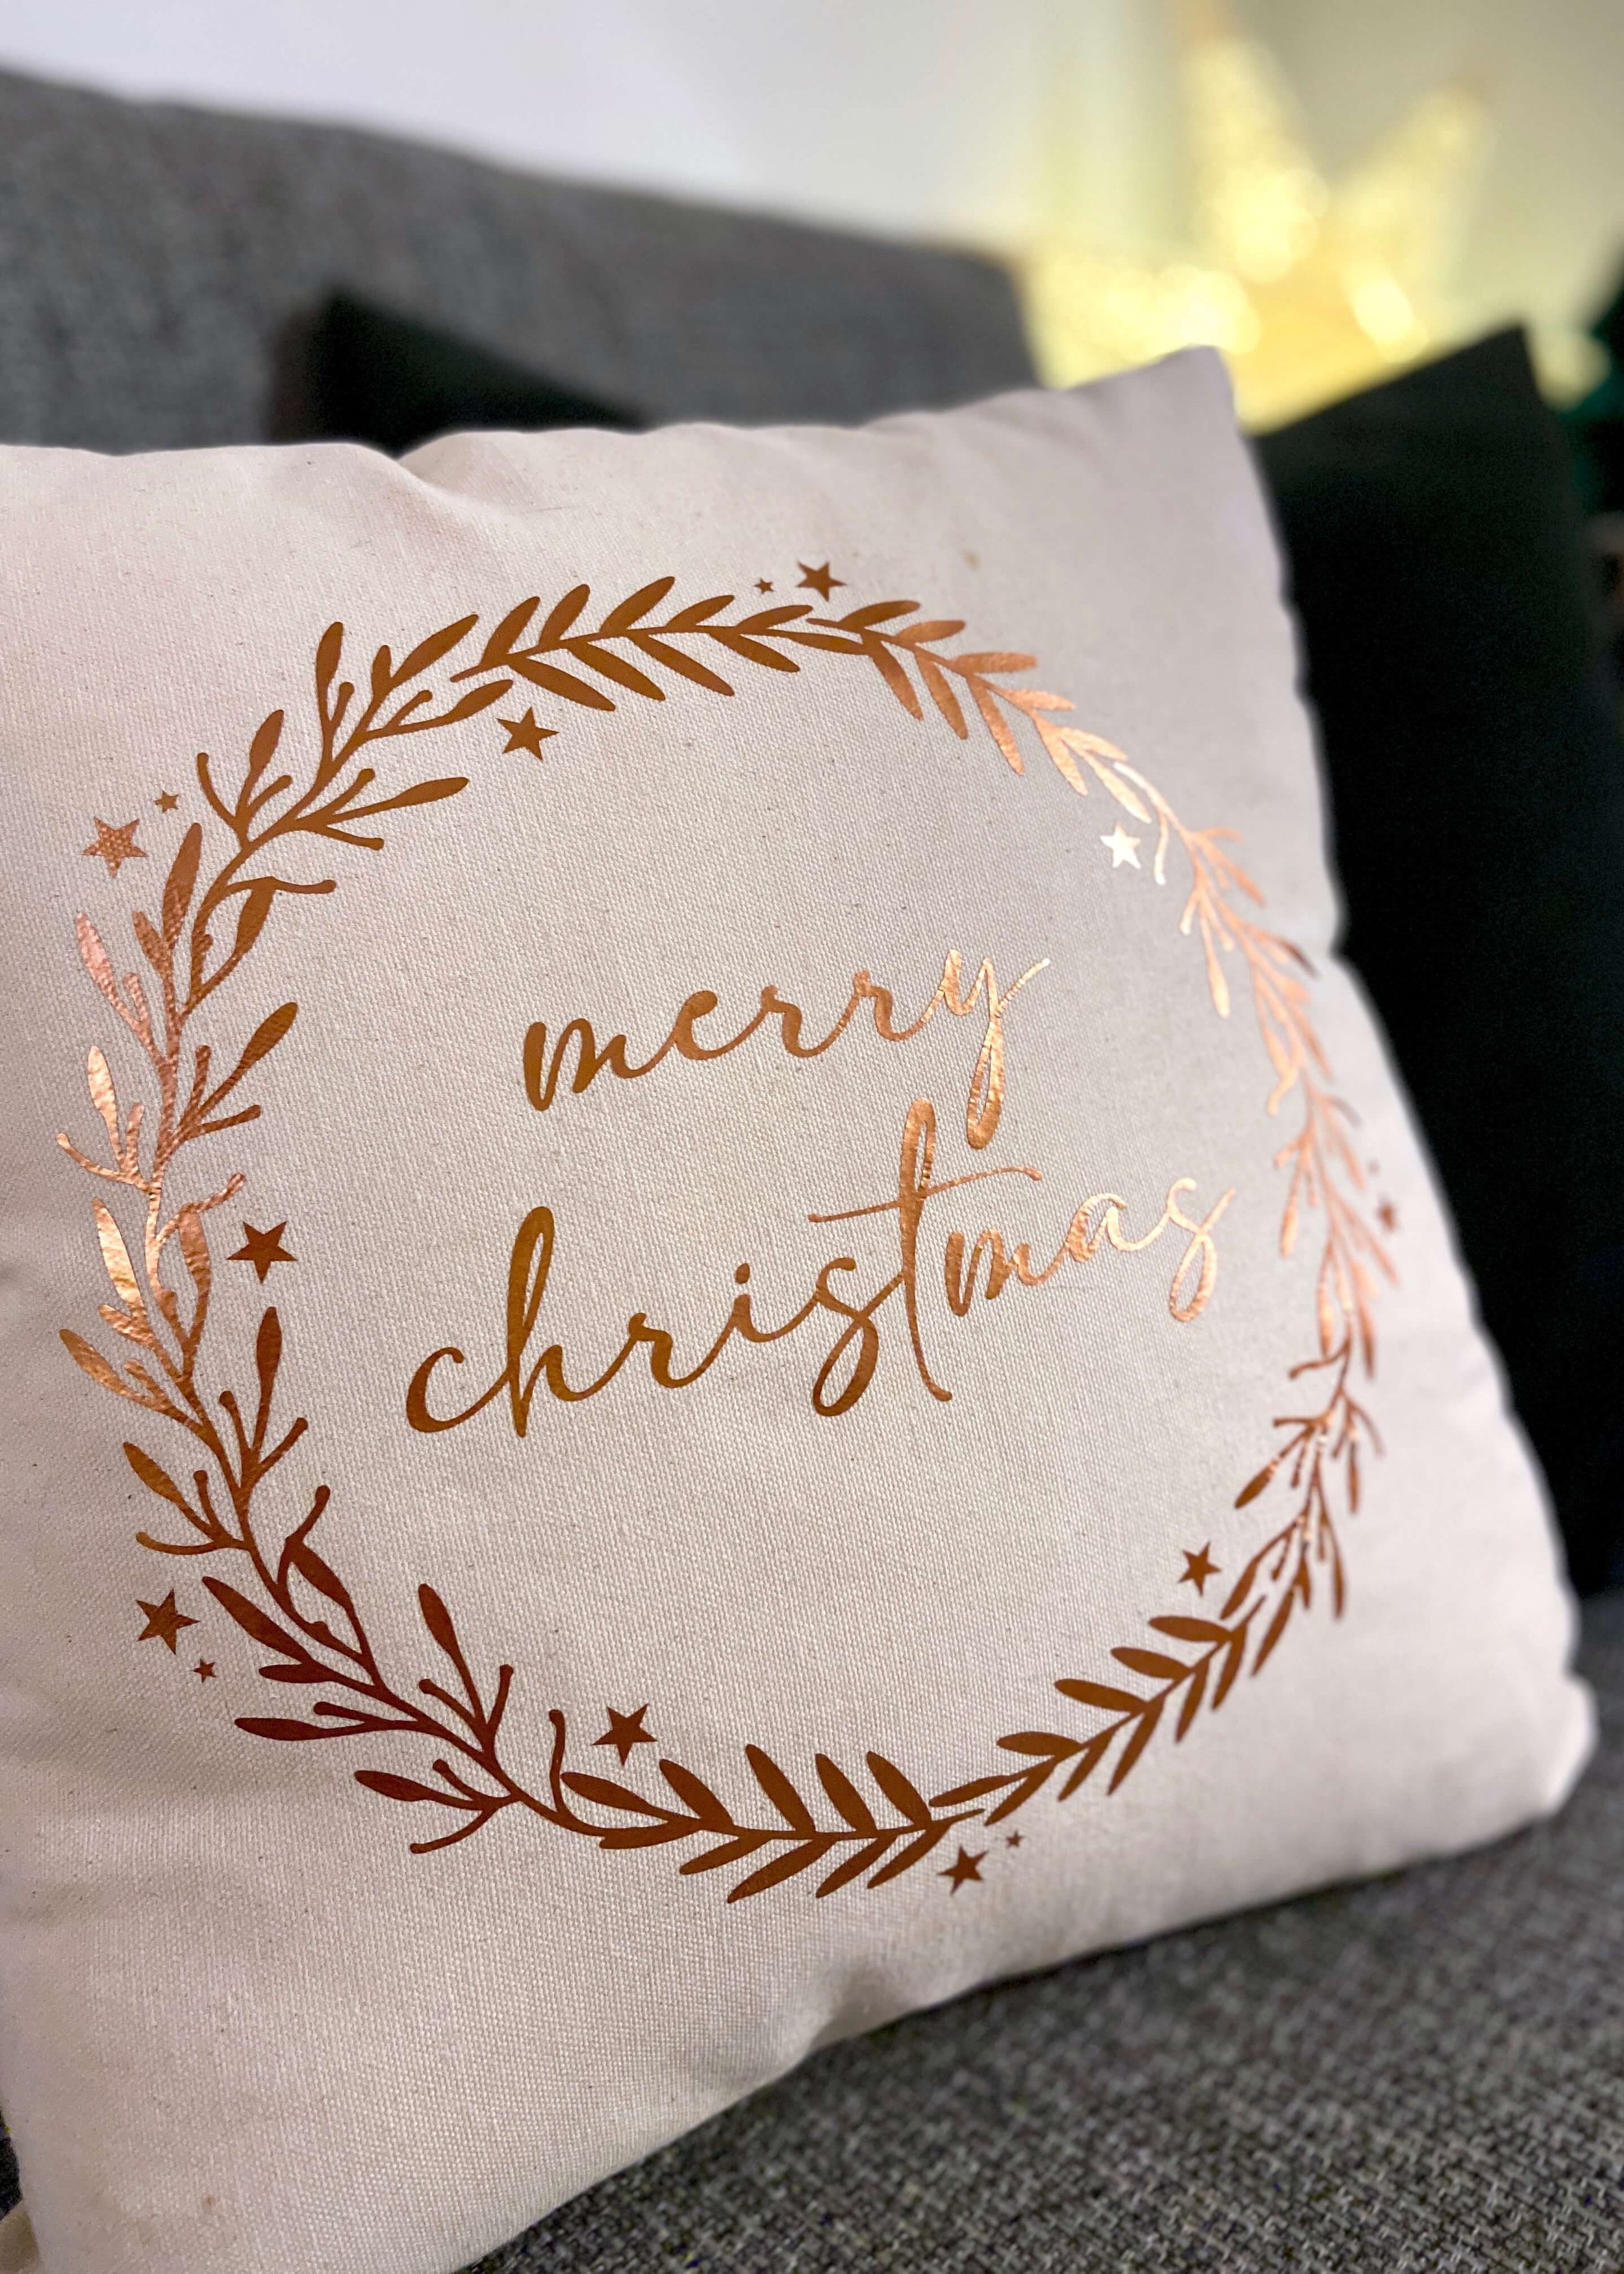
Create your own minimal Christmas wreath cushion in just a few steps!
This year I was intent on buying some festive cushions. I loved last years selection, particularly the black and white minimal and vintage cushion covers I’d seen on H&M. With the wedding out of the way I thought I’d finally treat myself but when I went to look at this years selection, none of them grabbed me. Last years are no longer available, and despite hunting high and low online, I couldn’t find any that were similar in style for a comparable price. Coincidentally, I also just happened to come across a plain canvas cushion I’d bought from Hobbycraft many moons ago. I had a really good idea of what I wanted my Christmas cushion to look like, and so armed with my Cricut Maker, I made it myself.
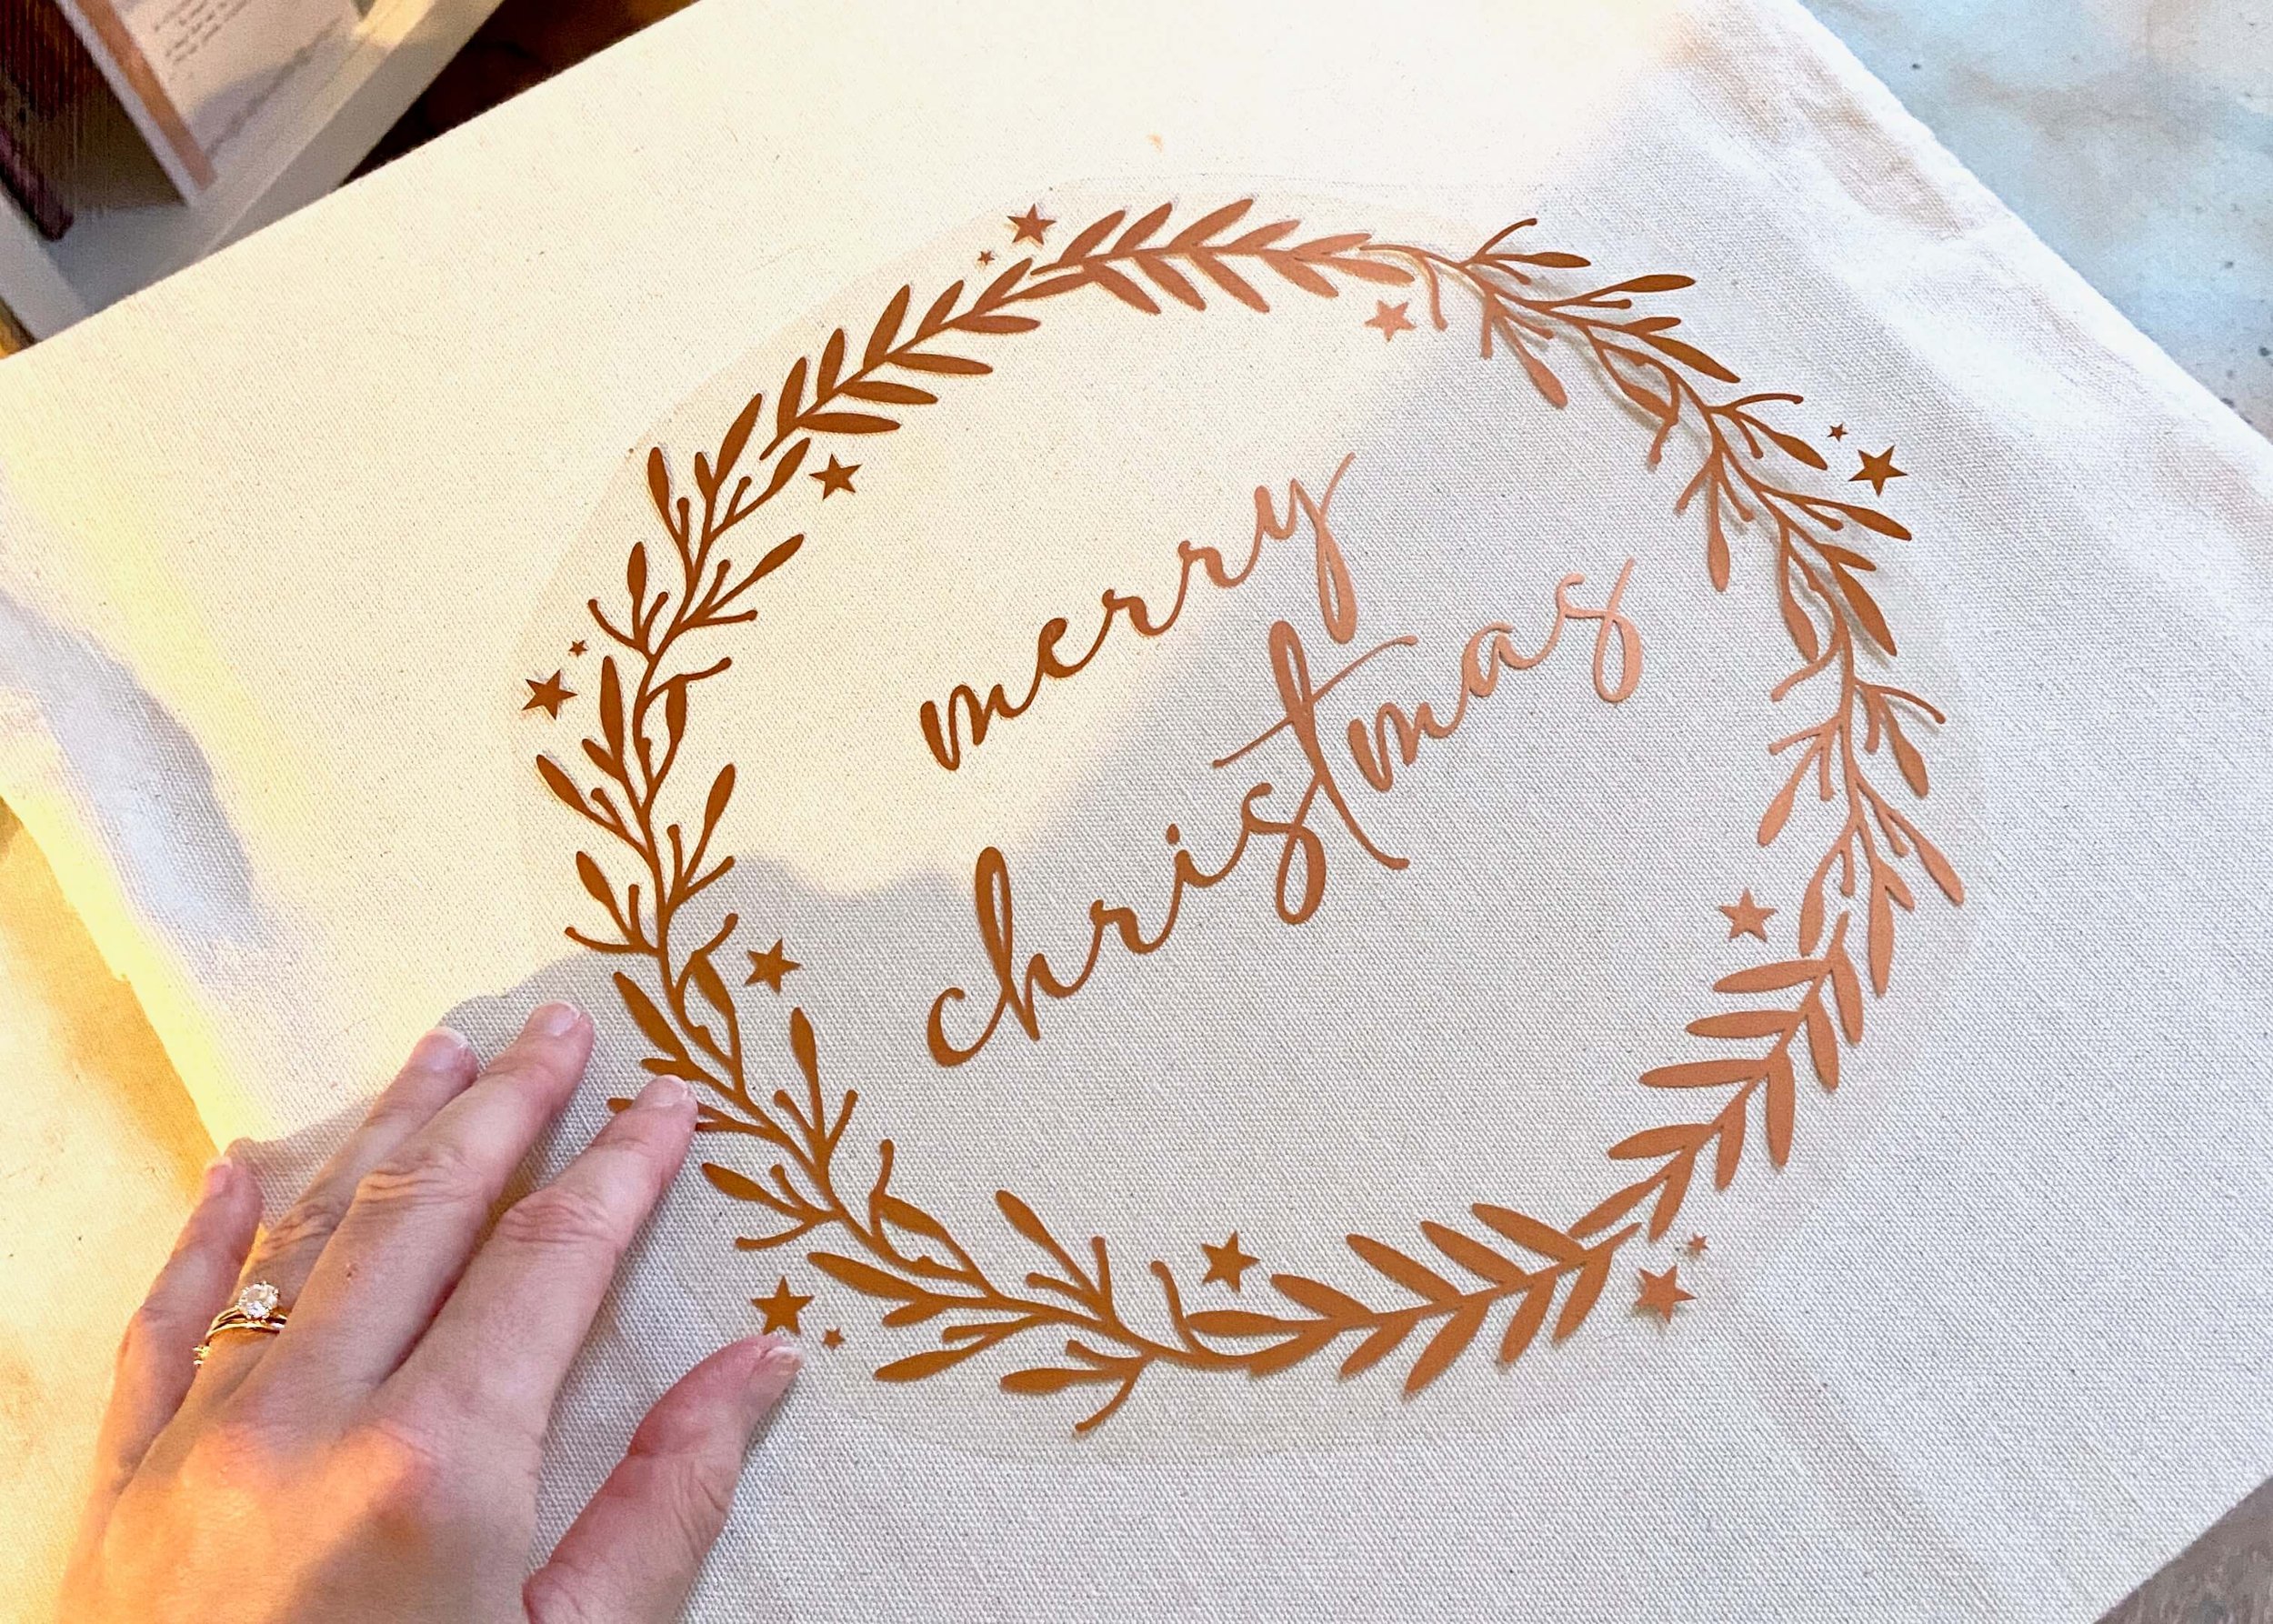
I found a free to use wreath design online from a website called Freepik, to save me some time, and edited this to exactly how I wanted it in Cricut Design Space. I then cut this out onto a pretty metallic copper iron-on vinyl and simply ironed this on to the cushion cover. The Cricut Maker cut the intricate wreath design out with ease, and made this project so quick, easy and clean. I’ve got lots of other festive cushion ideas, so this will probably not be the last Cricut cushion idea you see on here.
Let me know in the comments below what design you would do on a festive cushion and don’t forget to like and share it too.


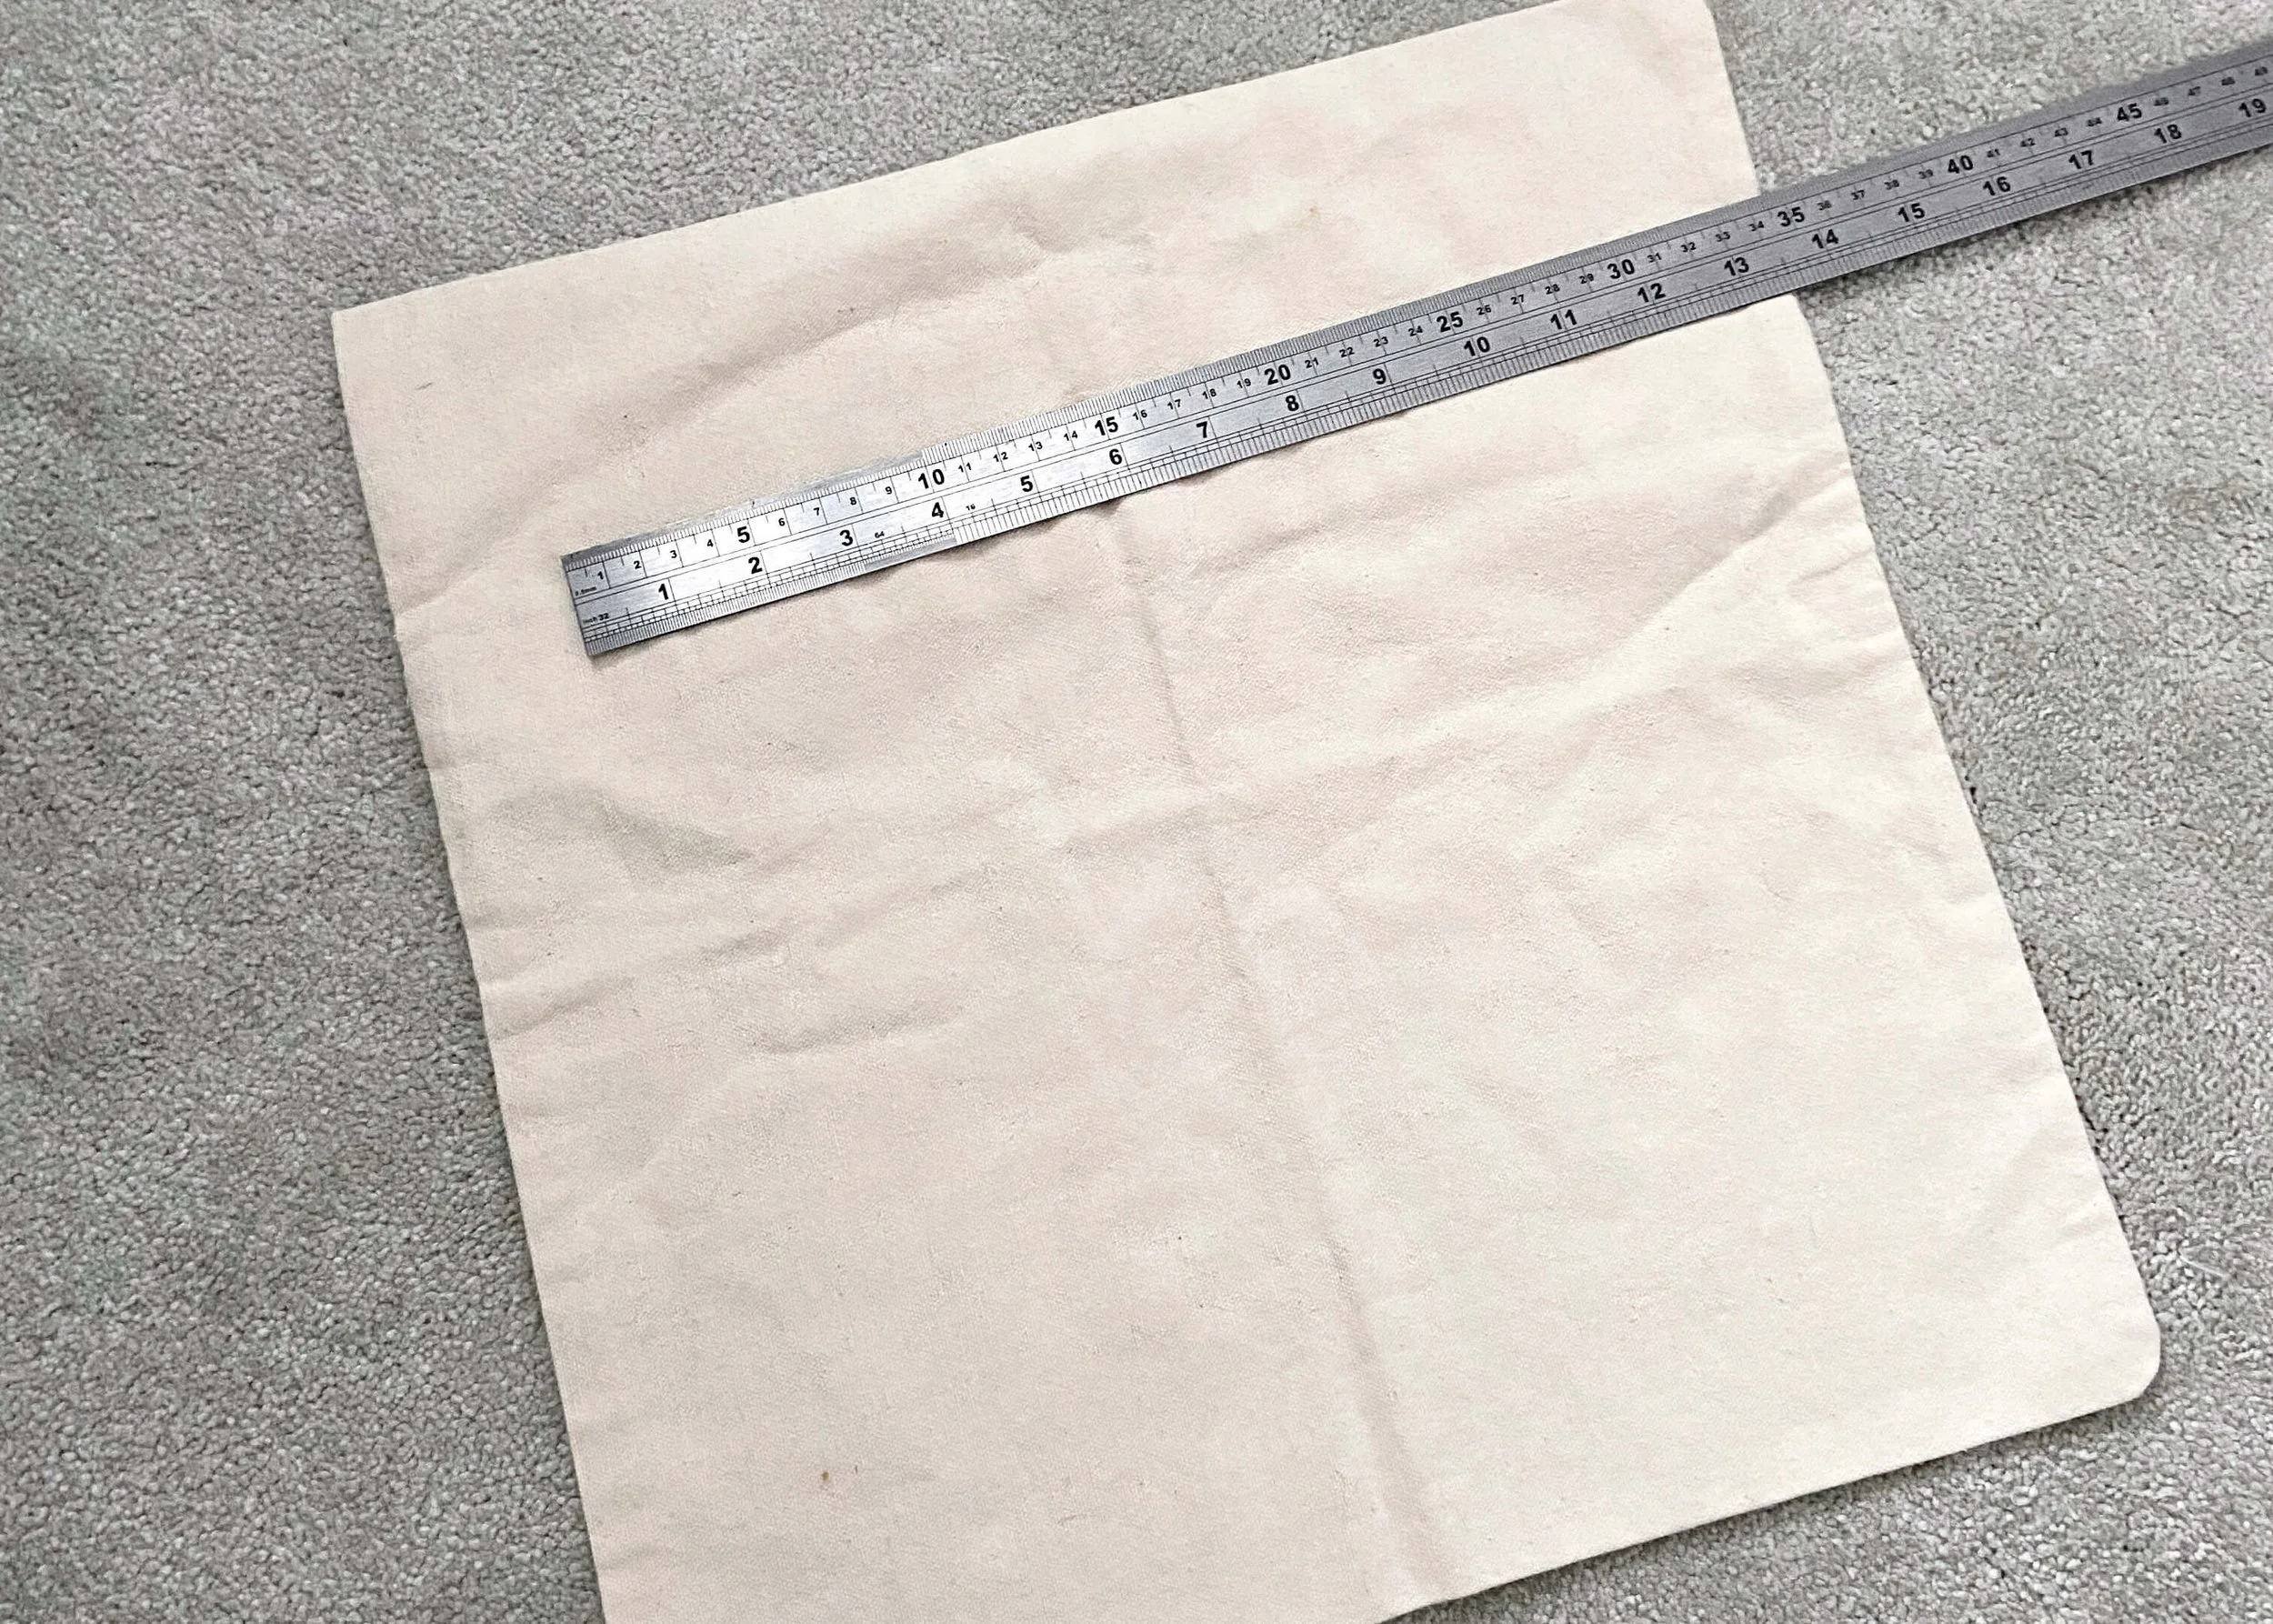
1.
Measure your cushion and work out how large you want your festive wreath and text to be.

2.
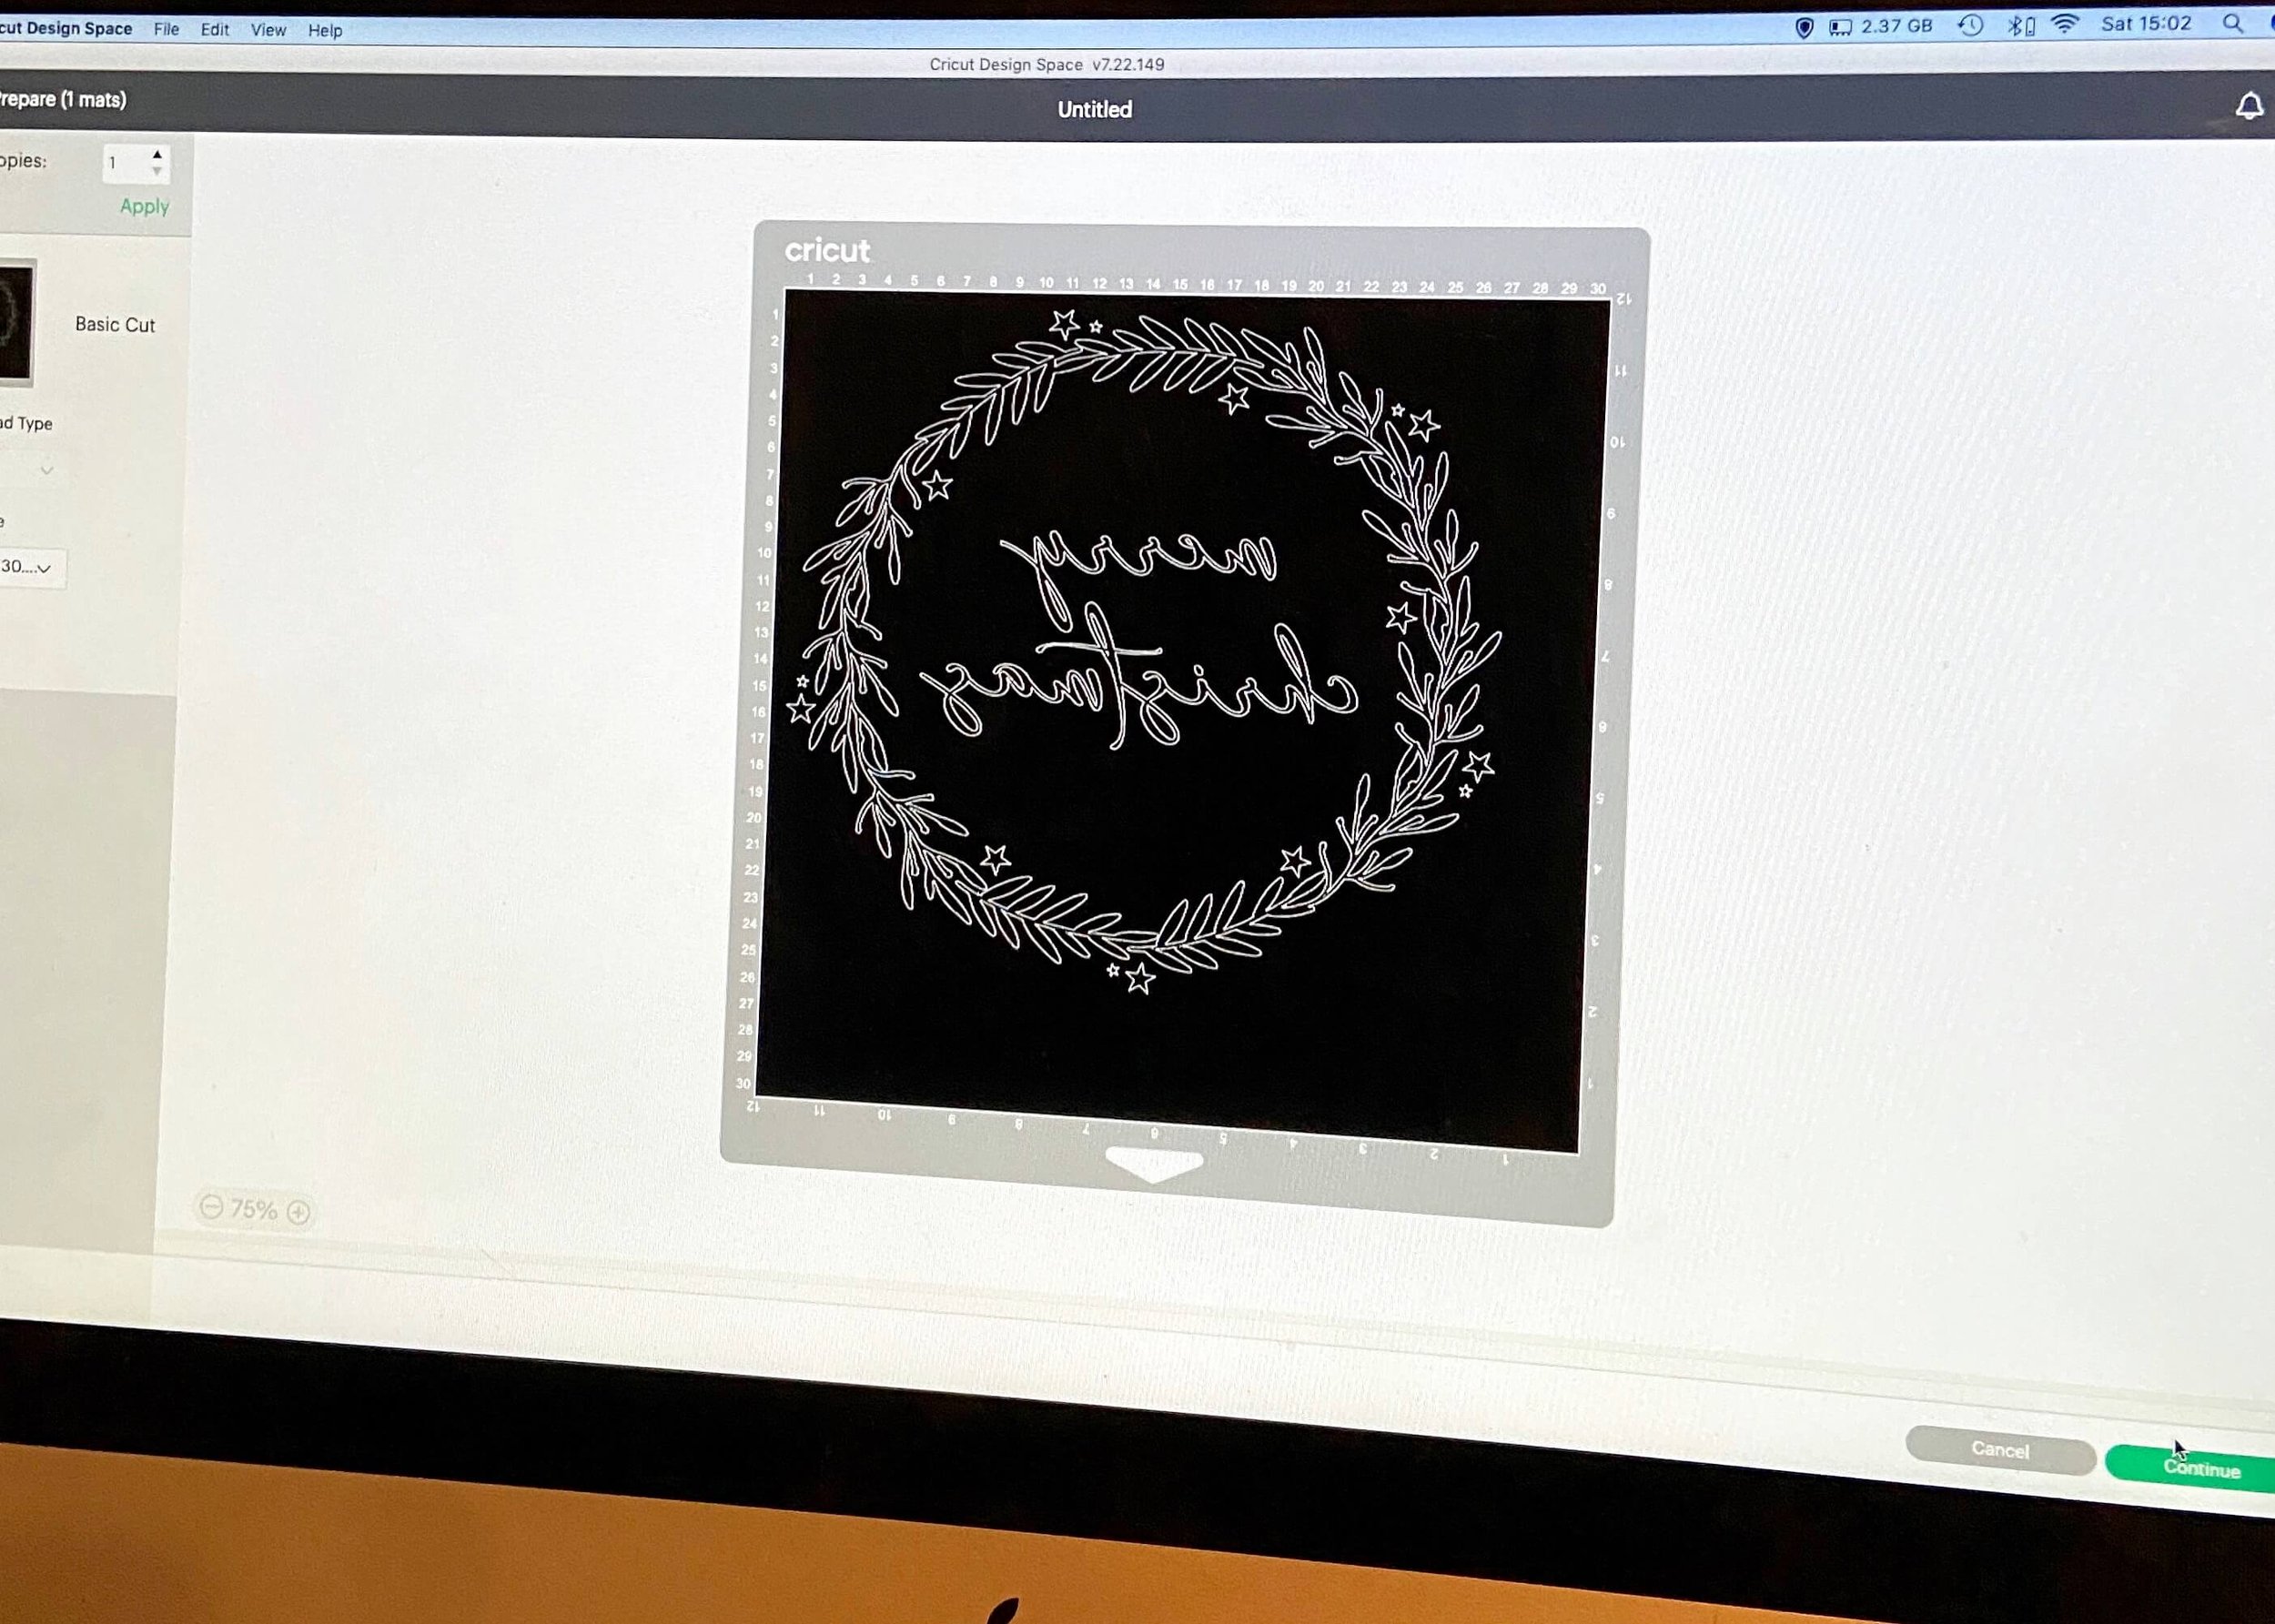
Download a free wreath image and upload this to Cricut Design Space. I downloaded this wreath, designed by lesyaskripak, from Freepik and uploaded it as a cut file. I resized this on my canvas to my desired size.
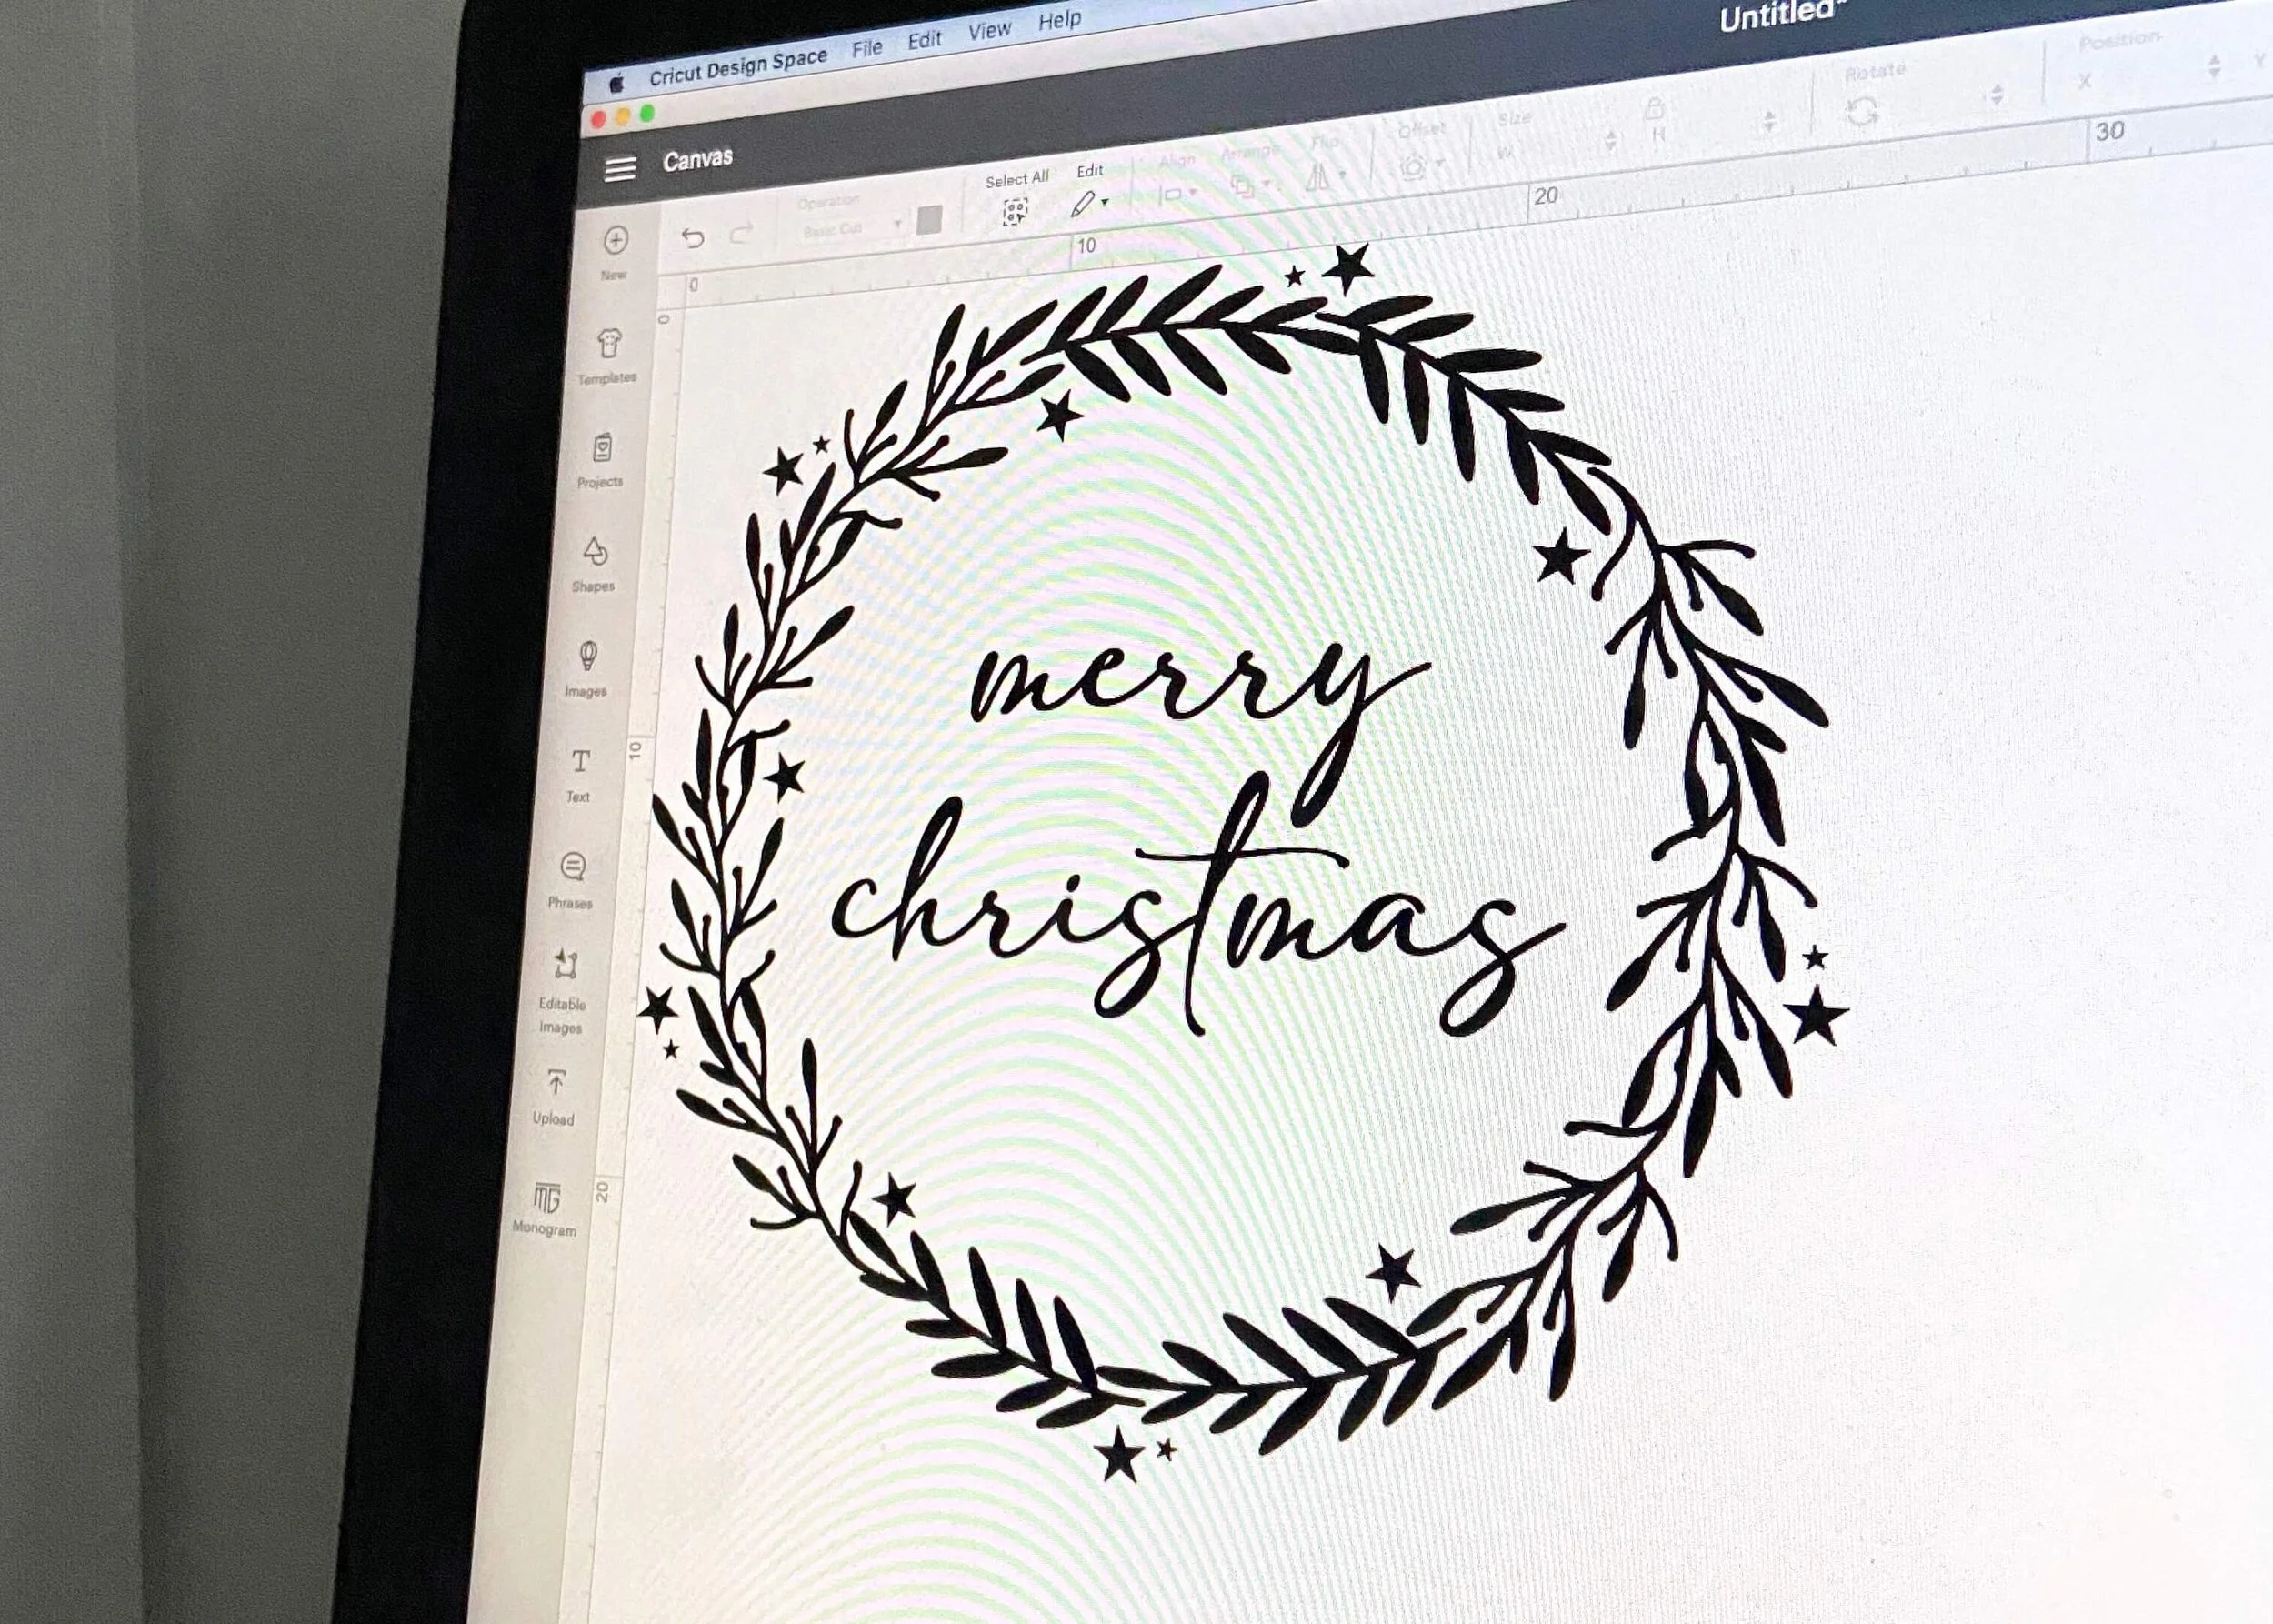
3.
Next I added some stars using the shapes tool in Cricut Design Space and added some text in the middle in the font ‘Adelia’. I purchased this font from Etsy. I then selected the wreath, stars and text and clicked ‘attach’. This will ensure they all cut in situ.
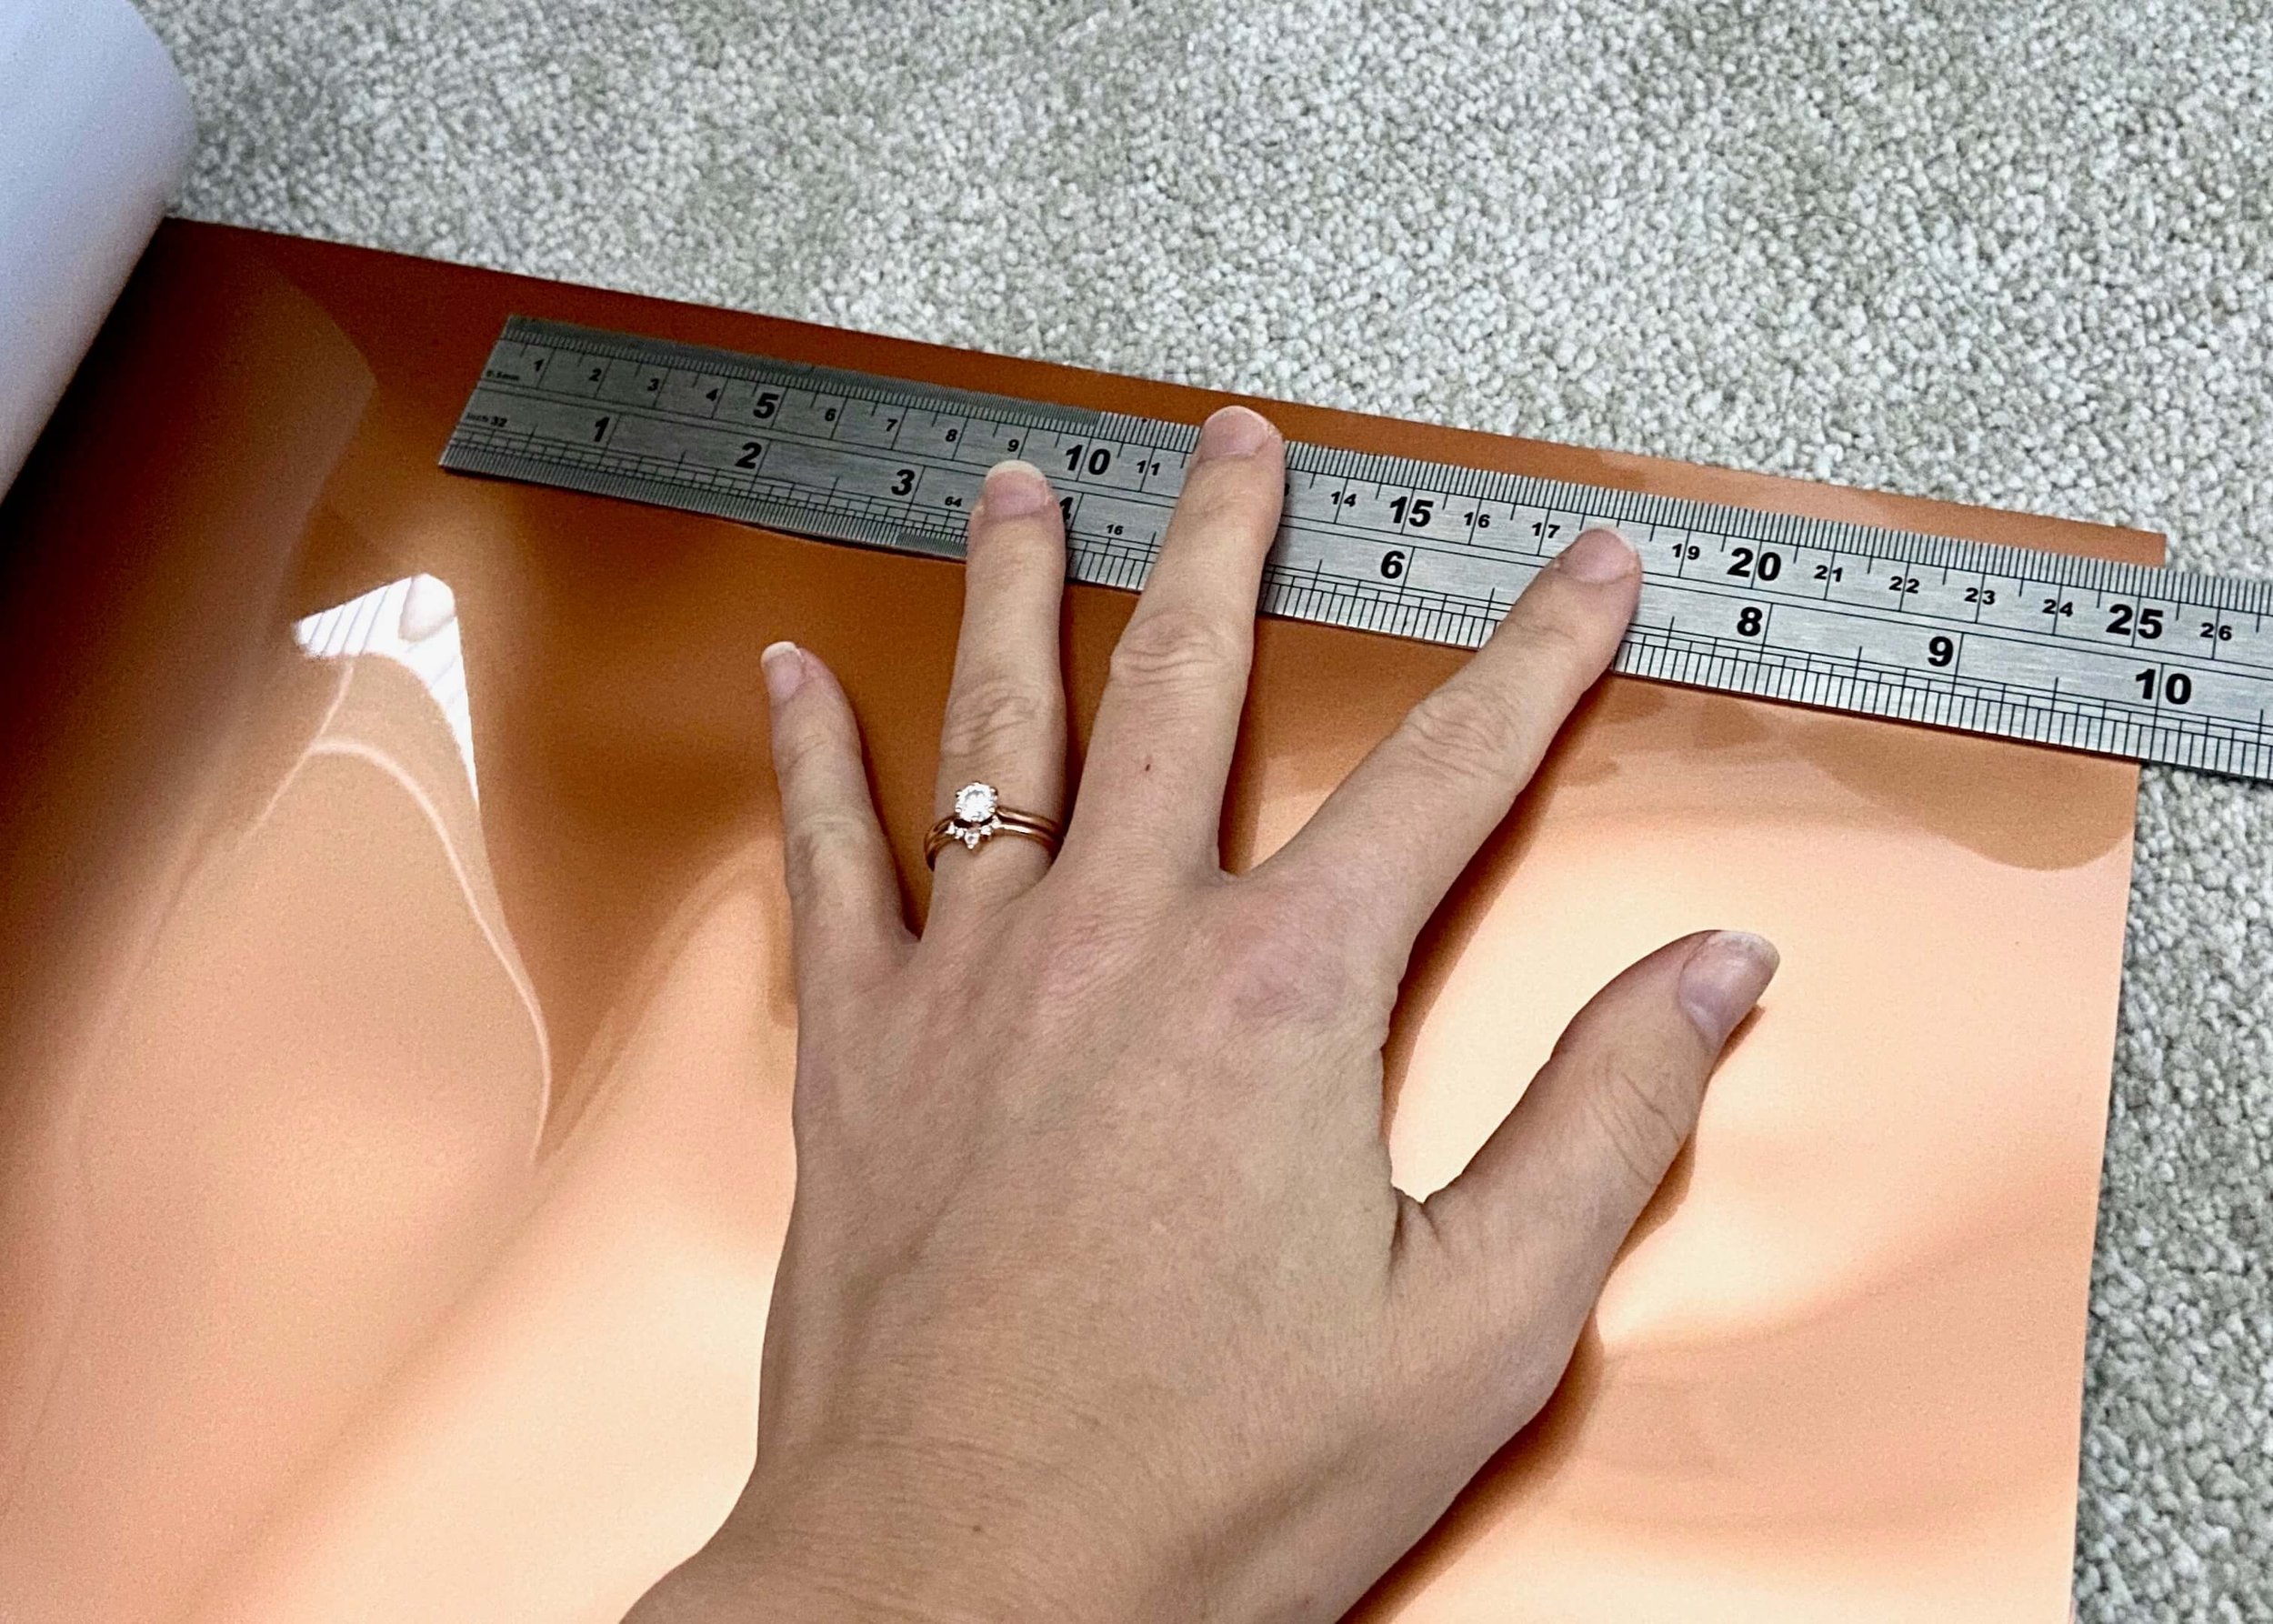
4.
Next cut out a square of copper iron-on vinyl. Ensure that this square is larger than your design but smaller than the cutting mat. Stick this onto a strong grip cutting mat with the copper side face down.
5.
Prior to cutting, load the mat, ensure to use the mirror image option and select ‘everyday iron-on vinyl’ from the material options. I had the fine point blade already loaded in my Cricut Maker machine.

6.
Next press the cut button on your Cricut machine. Using the everyday iron-on vinyl setting I found I only needed to cut once.
7.
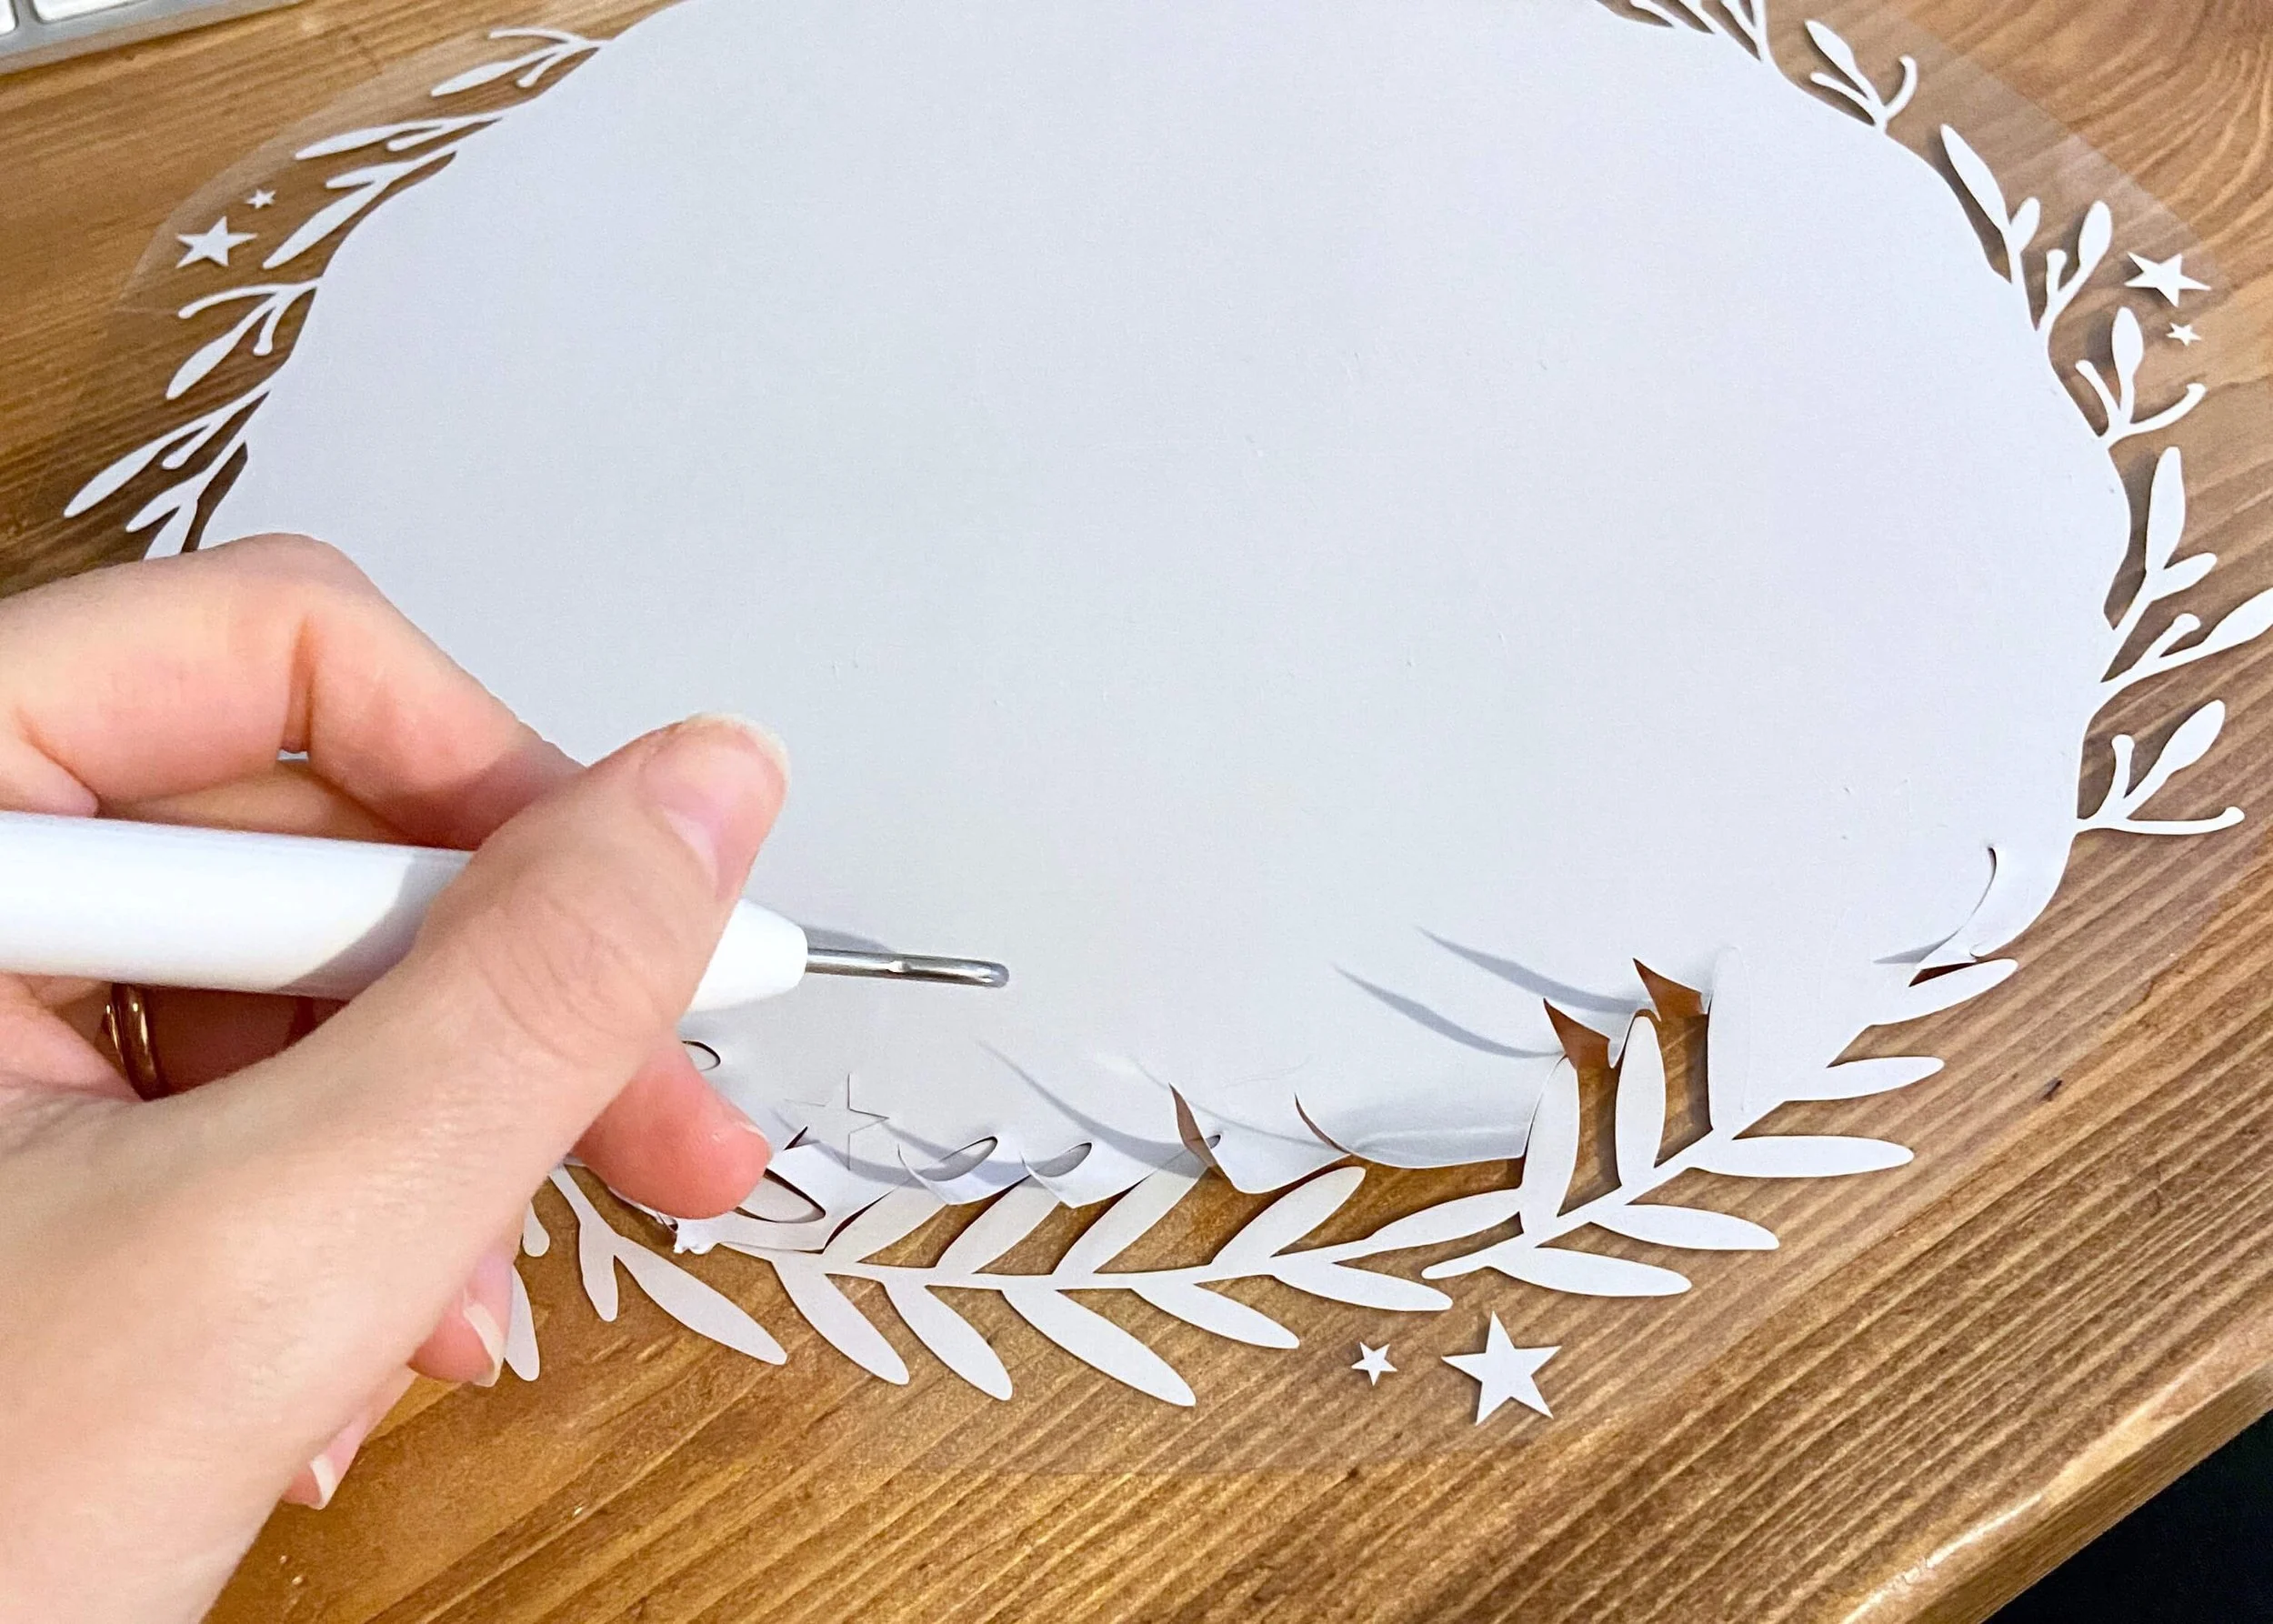
Once cut, unload the mat and carefully remove the vinyl. I used scissors to trim off the excess vinyl around my wreath and then weeded out the rest of the vinyl around my design.

8.
Next, iron your cushion to ensure it is nice and smooth.
9.
Place your vinyl image into the centre of your cushion with the white side down.

10.
Place some parchment paper on top of the vinyl and iron over your image. I had to do this quite firmly and several times.

11.
Remove the parchment paper and carefully peel off the clear plastic top sheet of the vinyl when ready. Place the parchment paper back over the now transferred image and give it a final iron.


