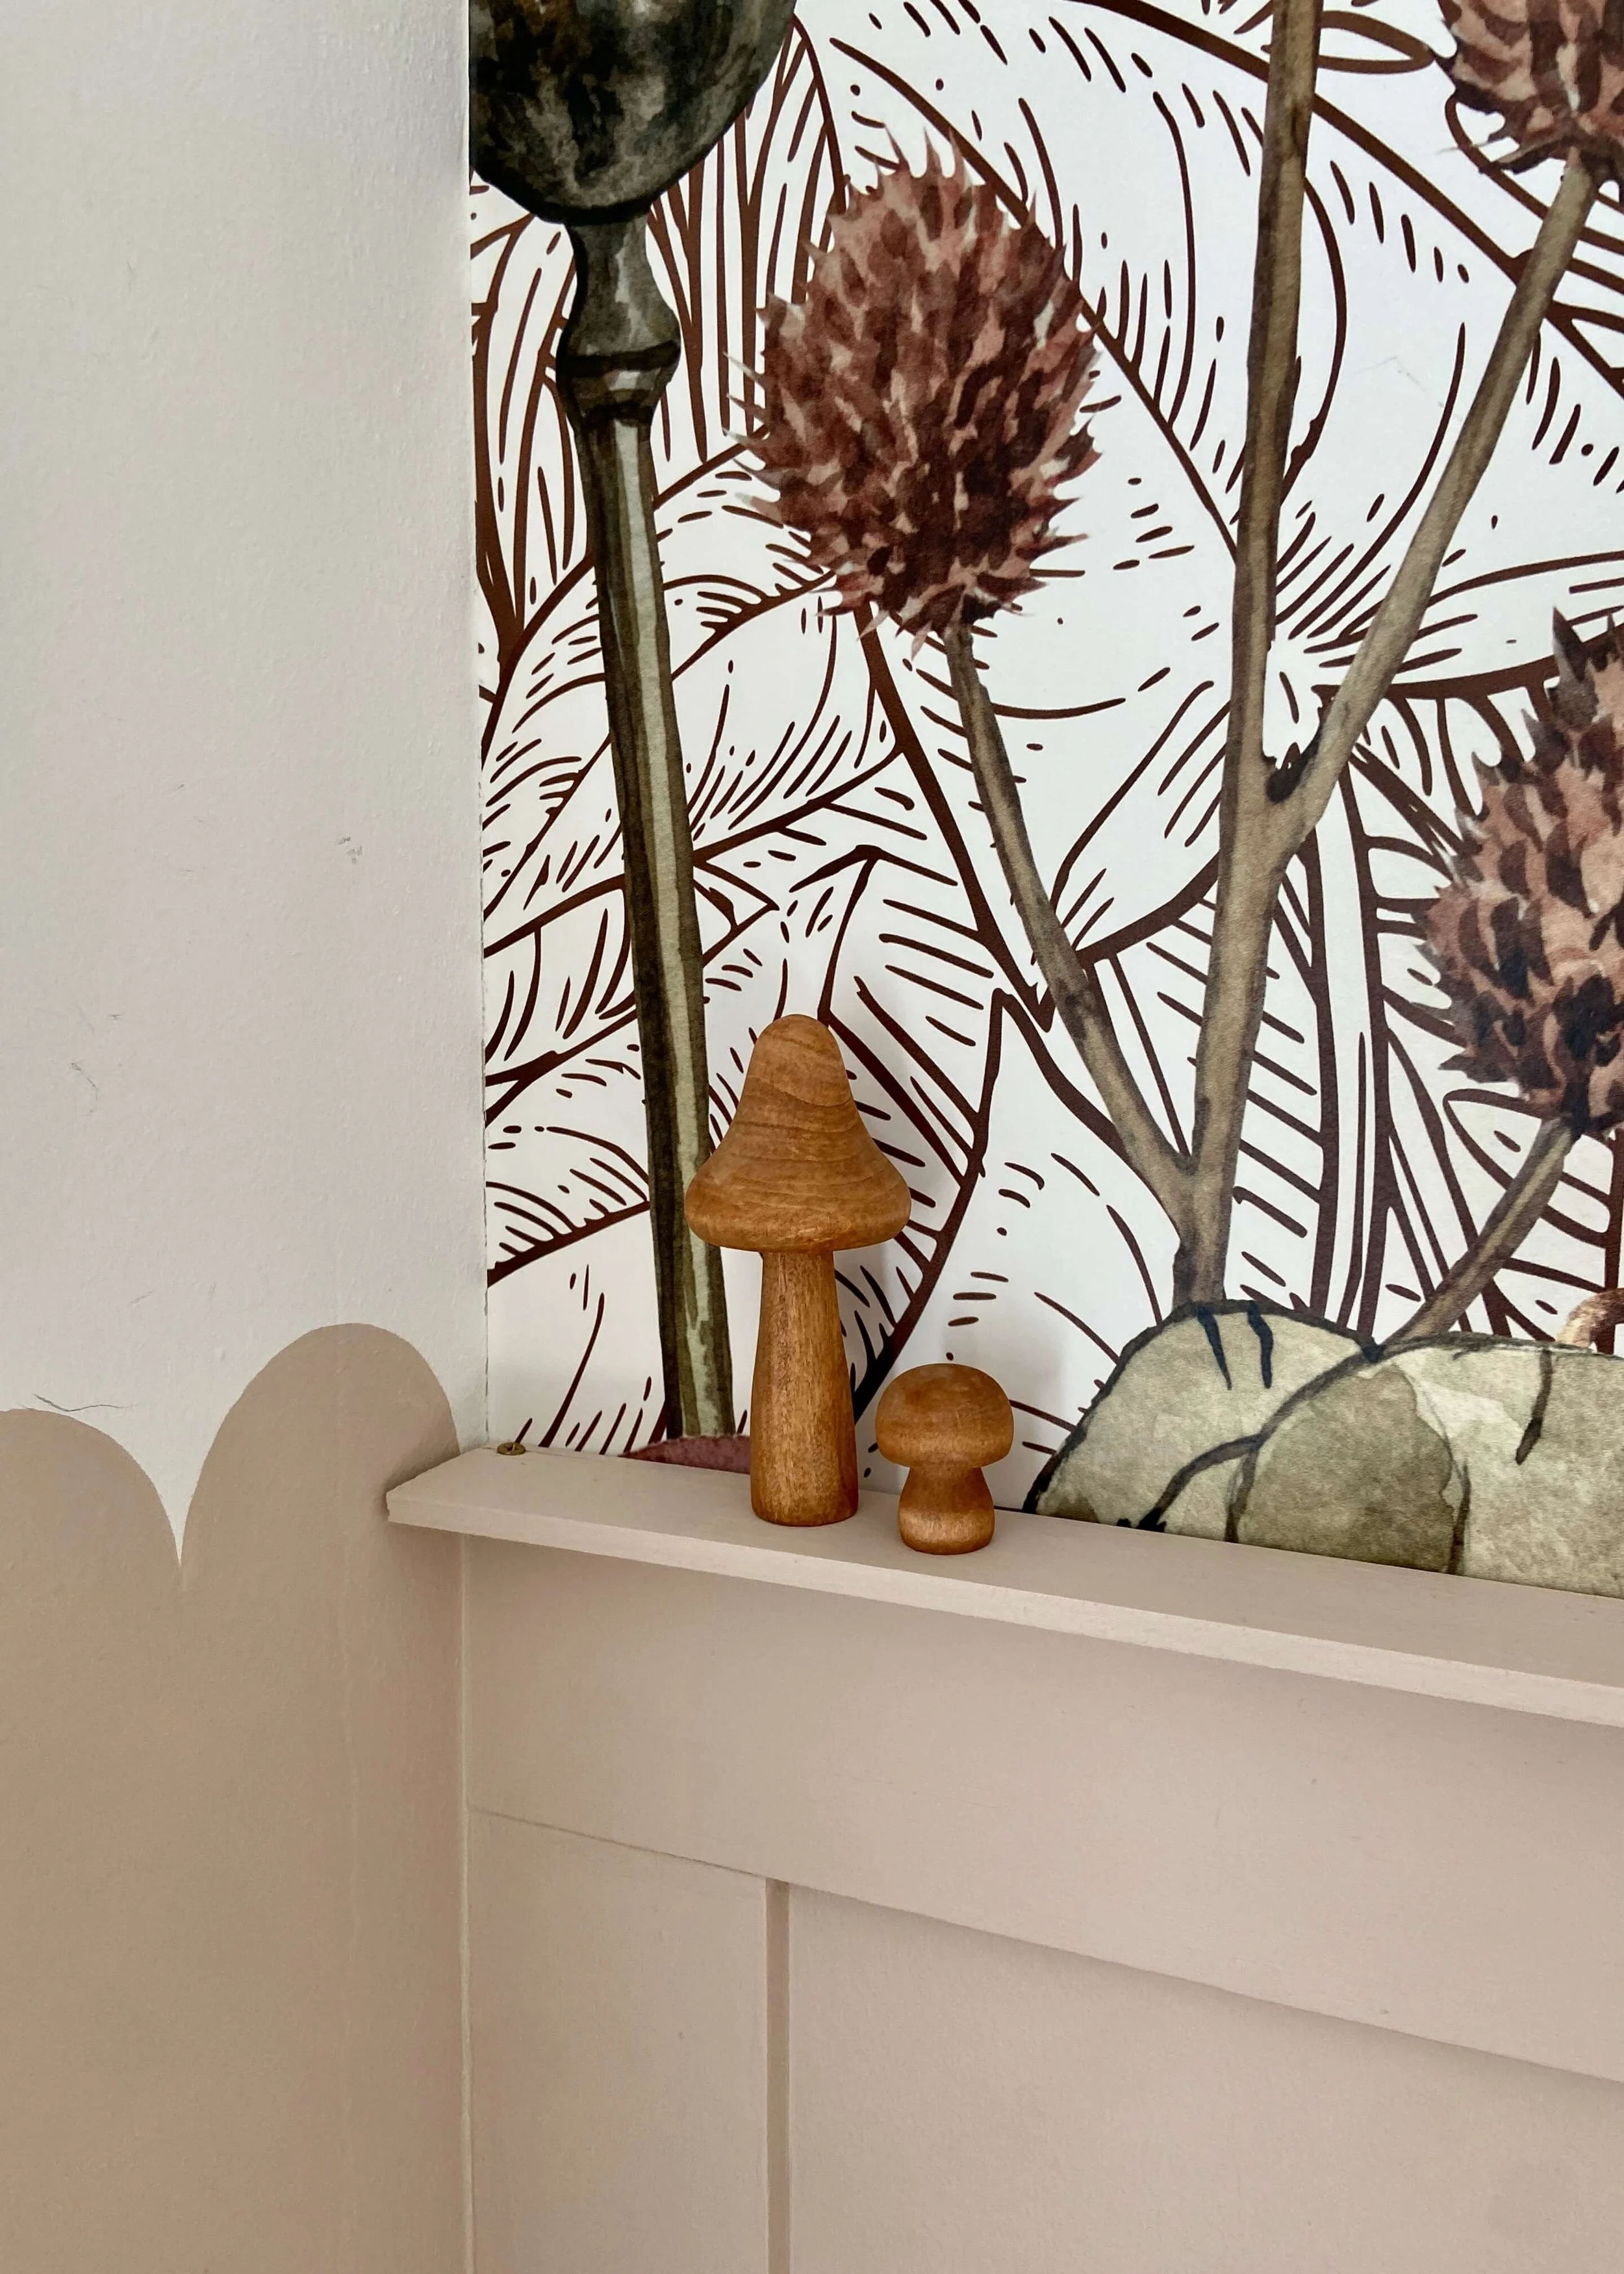
Add some interest to a wall with an arch colour block
I’ve been pretty slow to take to this trend. The arched colour block has been around for a while now but it was only when I was thinking about how to fill the space between the windows in my guest room that it occurred to me to give it a try. I’m trying to keep some consistency in the colours throughout the house, and as my single tin of green paint (Serenity by Rustoleum) is STILL going, it made sense to use it here. I’m planning to make or add some narrow picture shelves into the arch, and also thinking it could be interesting to add some vertical slats somewhere, but as I’m still mulling that over, I wanted to share how easy it was to create the arch on here first. This guest room will potentially be a nursery someday, but I think that this will probably be a feature we keep regardless, as I really love the pop of colour and interest it gives this area. Let me know what you think and keep reading for how I did it…
1.
Find the middle of your wall and decide how wide you want your arch to be. I marked the width at the bottom on either side, and then using a pencil and level created straight vertical lines all the way up.
2.
Next, tie some string to the tip of a pencil and cut the string so that is the same length as half the distance between the vertical lines in step 1.
3.
Decide where you want the tip of your arch to be, and mark this in the centre. Mark where the centre point is directly below this between the two vertical points. Place the pencil on the top mark and your finger on the end of the string on the bottom mark. Swing the pencil round to the left and round to the right without moving the bottom of the string to draw your arch.
4.
Use painters tape or masking tape to outline the vertical lines and stop when you get to the arch,
5.
Use a paint that is the same colour as the wall and paint over the inside edge of the tape. This will ensure you get a really sharp edge with no bleeding.
6.
Use an angled brush to free hand the arch at the top. Go slow and steady, adding the majority of the paint away from the line and gradually working it towards it and smooth movements.
7.
Paint down the vertical sides and around any plugs or sockets with your angled brush.
8.
Then grab a roller and fill the rest in. I did two coats all over.


