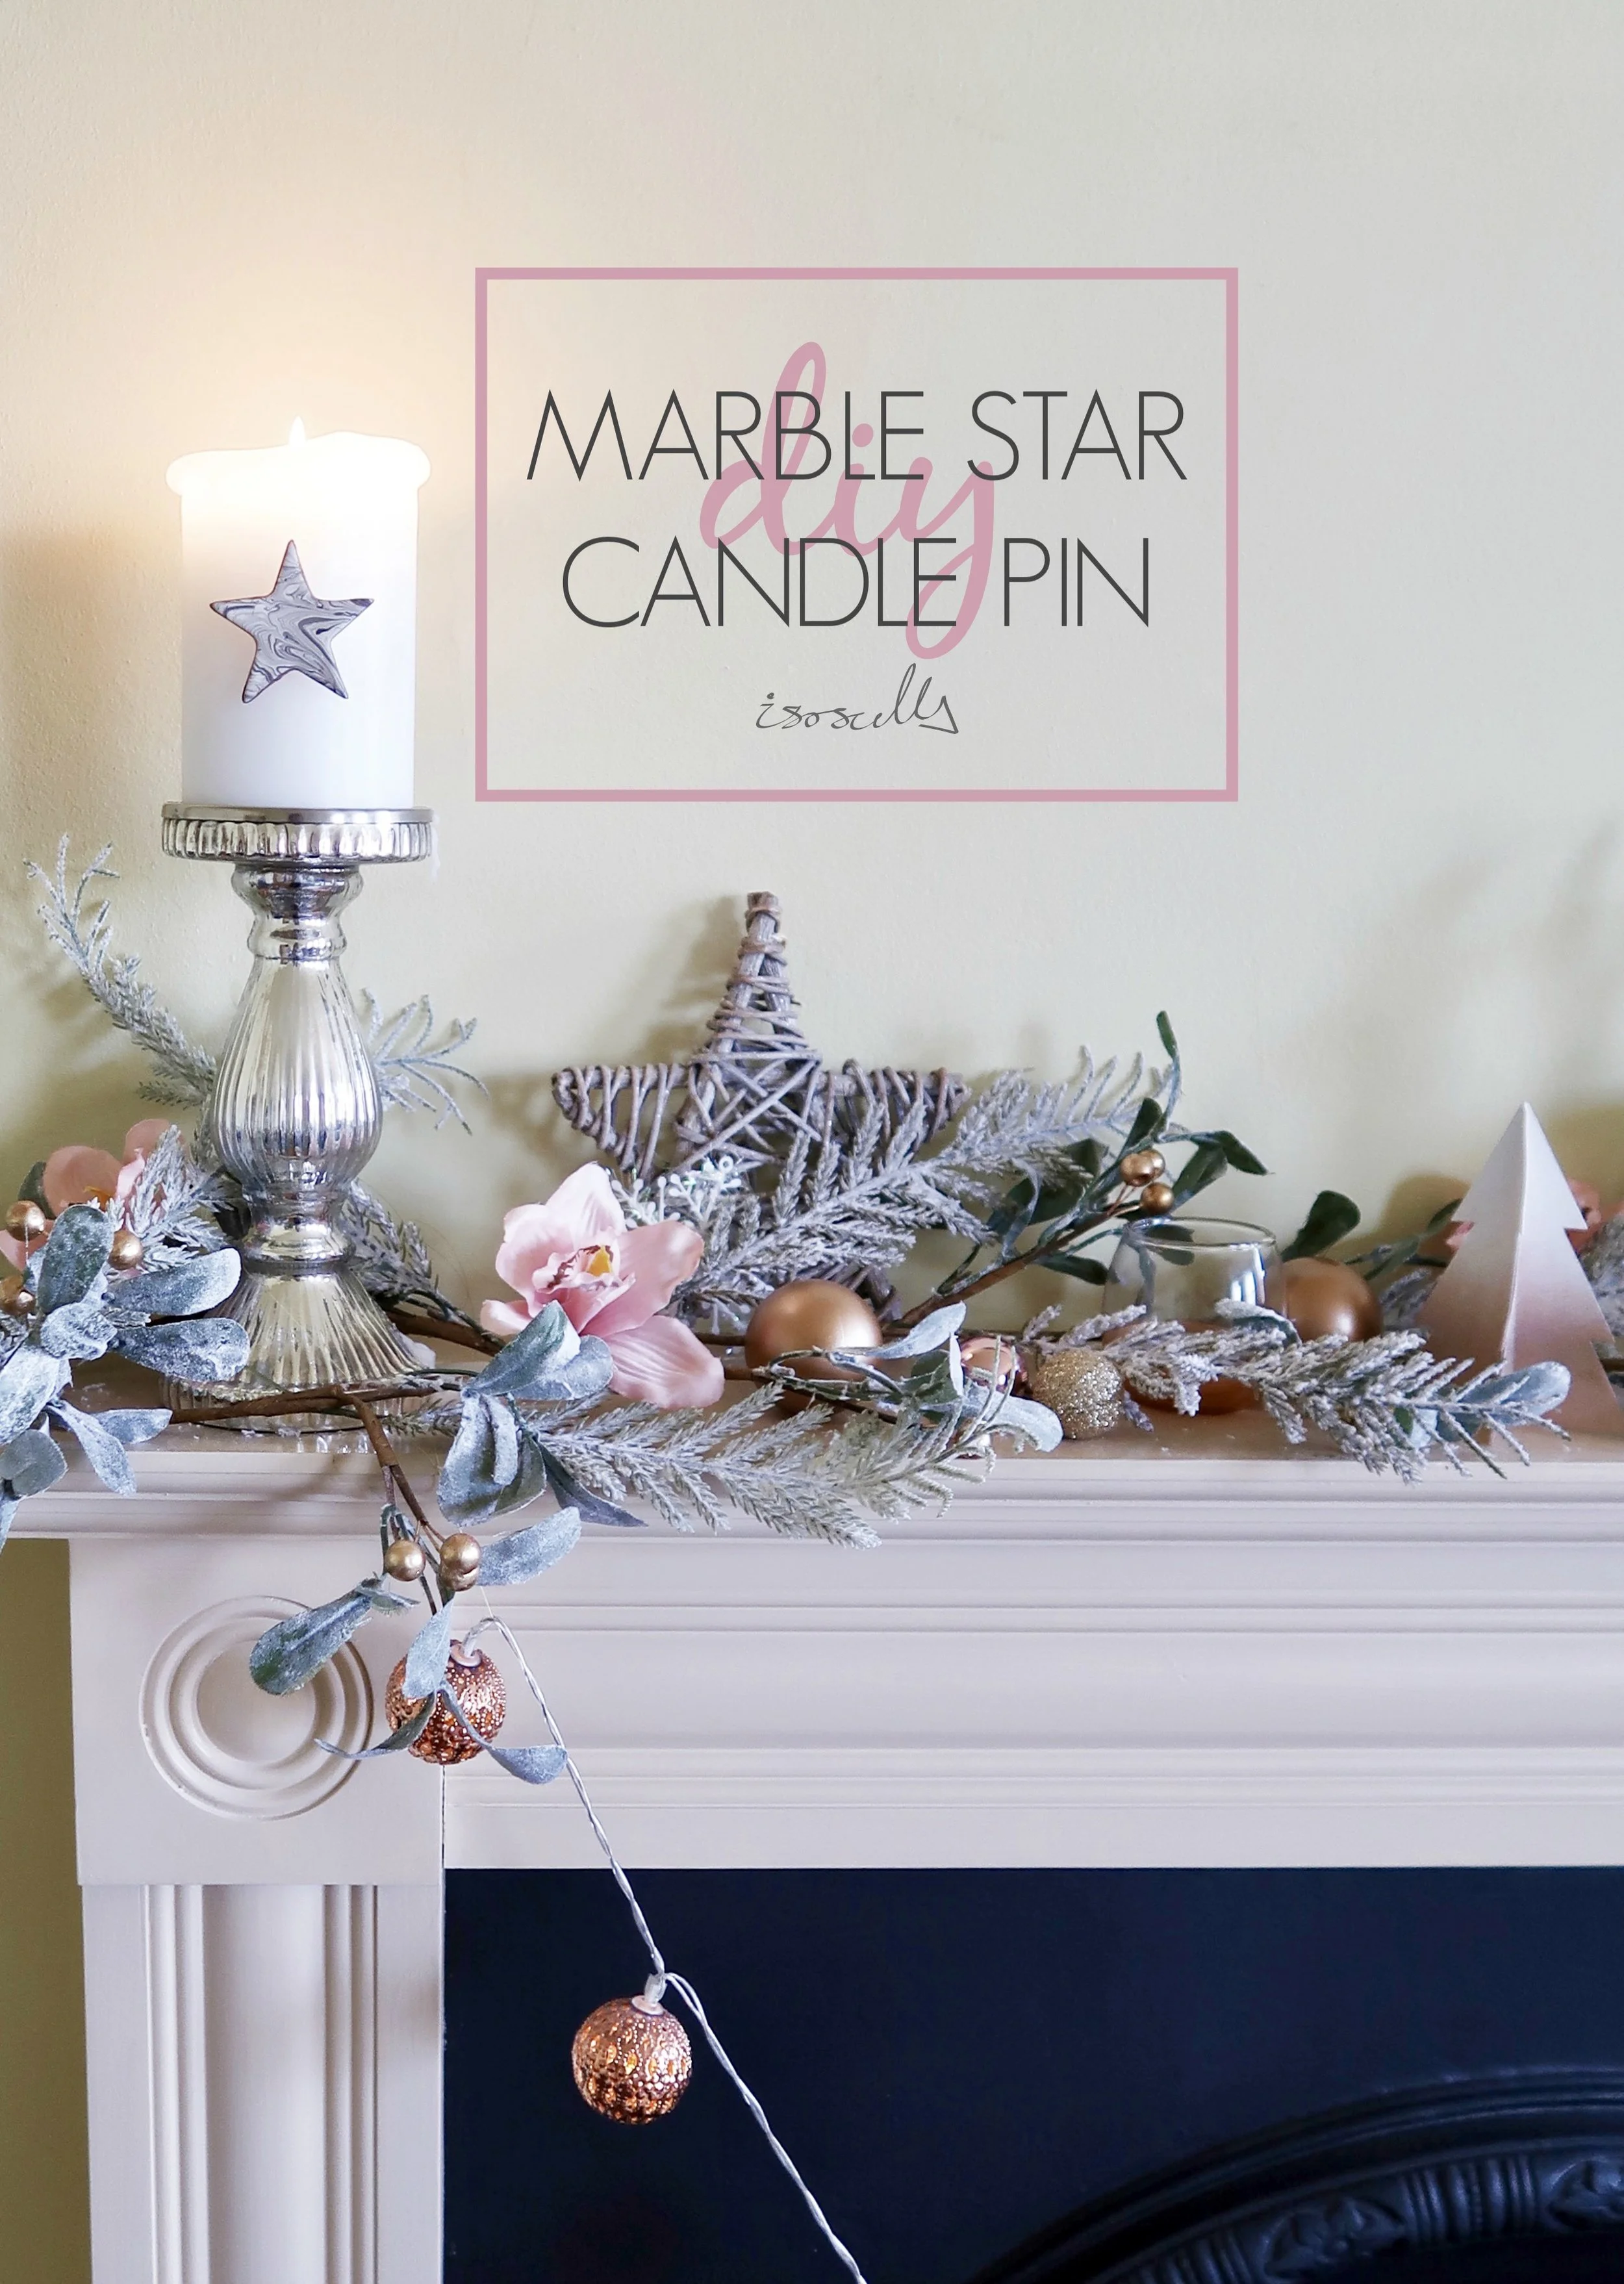
Pillar candles are a staple for my festive fireplace and I love seeing how other people decorate theirs. However at this time of year I get through them so quickly that it always seems a bit pointless to try and decorate them. If you feel similarly, then you're going to love this easy reusable candle pin decoration!
There's not long to go now, just over a week, but there is always still time to make some handmade Christmas decor. Candles are something I love to have in the flat throughout the year anyway, but during the festive period I light them as soon as I get in from work and have them lit in whichever room I happen to be in. Because of that, I get through candles pretty quickly in my flat, even the pillar candles on our fireplace, and so I've always thought it pointless to do anything to them. I've always loved seeing the various ways that people decorate theirs for Christmas though and so this year I decided to make these marble-effect candle pins, which I can use again and again. When I thought of these candle pins, I had a look around on the internet and couldn't seem to find any other similar ideas or products. Are candle pins a thing? If not, they really should be - I'm loving mine so far! Keep reading to find out what I used and how I made them...
1.
First of all, you want to soften some clay in your hands and roll it out so that it is larger than your cutter or cookie cutter. Although I didn't use it myself this time (I seem to have misplaced it!) an acrylic roller works really well for this.
2.
Next, press your cutter firmly into the clay. Give the cutter a little wiggle (technical term there) and remove the excess clay around the shape. Repeat step 1 and 2 until you have the number of clay shapes you need.
3.
Carefully place these onto a tray and pop them into a preheated oven for the amount of time indicated. I used Fimo clay and baked these for approximately 30 minutes on 110 degrees celsius. Once baked, leave these to cool completely.
4.
Next, fill a bowl or plastic container (that you don't mind getting messy) with water and choose some nail varnishes. In the end I chose to just use a grey nail varnish but I did some experimenting with these Ciate nail varnishes.
5.
Placing the nail varnish close to the water line, pour some nail varnish carefully into the water so that it remains floating on top. Immediately use a cocktail stick to make a swirly pattern in this.
6.
When you're happy with the design on the water, drop your clay shapes face down onto the nail varnish pattern. Remove the shape from the water and leave it to dry completely. I preferred the grey in the end and so just used these. Once dry, I used a bronze sharpie to colour the edges in copper.
7.
Using a hot glue gun, add a dollop of glue into the middle of the back of each clay shape and press an earring stud firmly into the glue. Once completely dry, push your clay candle pins into the side of your pillar candles, a good distance away from the top and flame.

