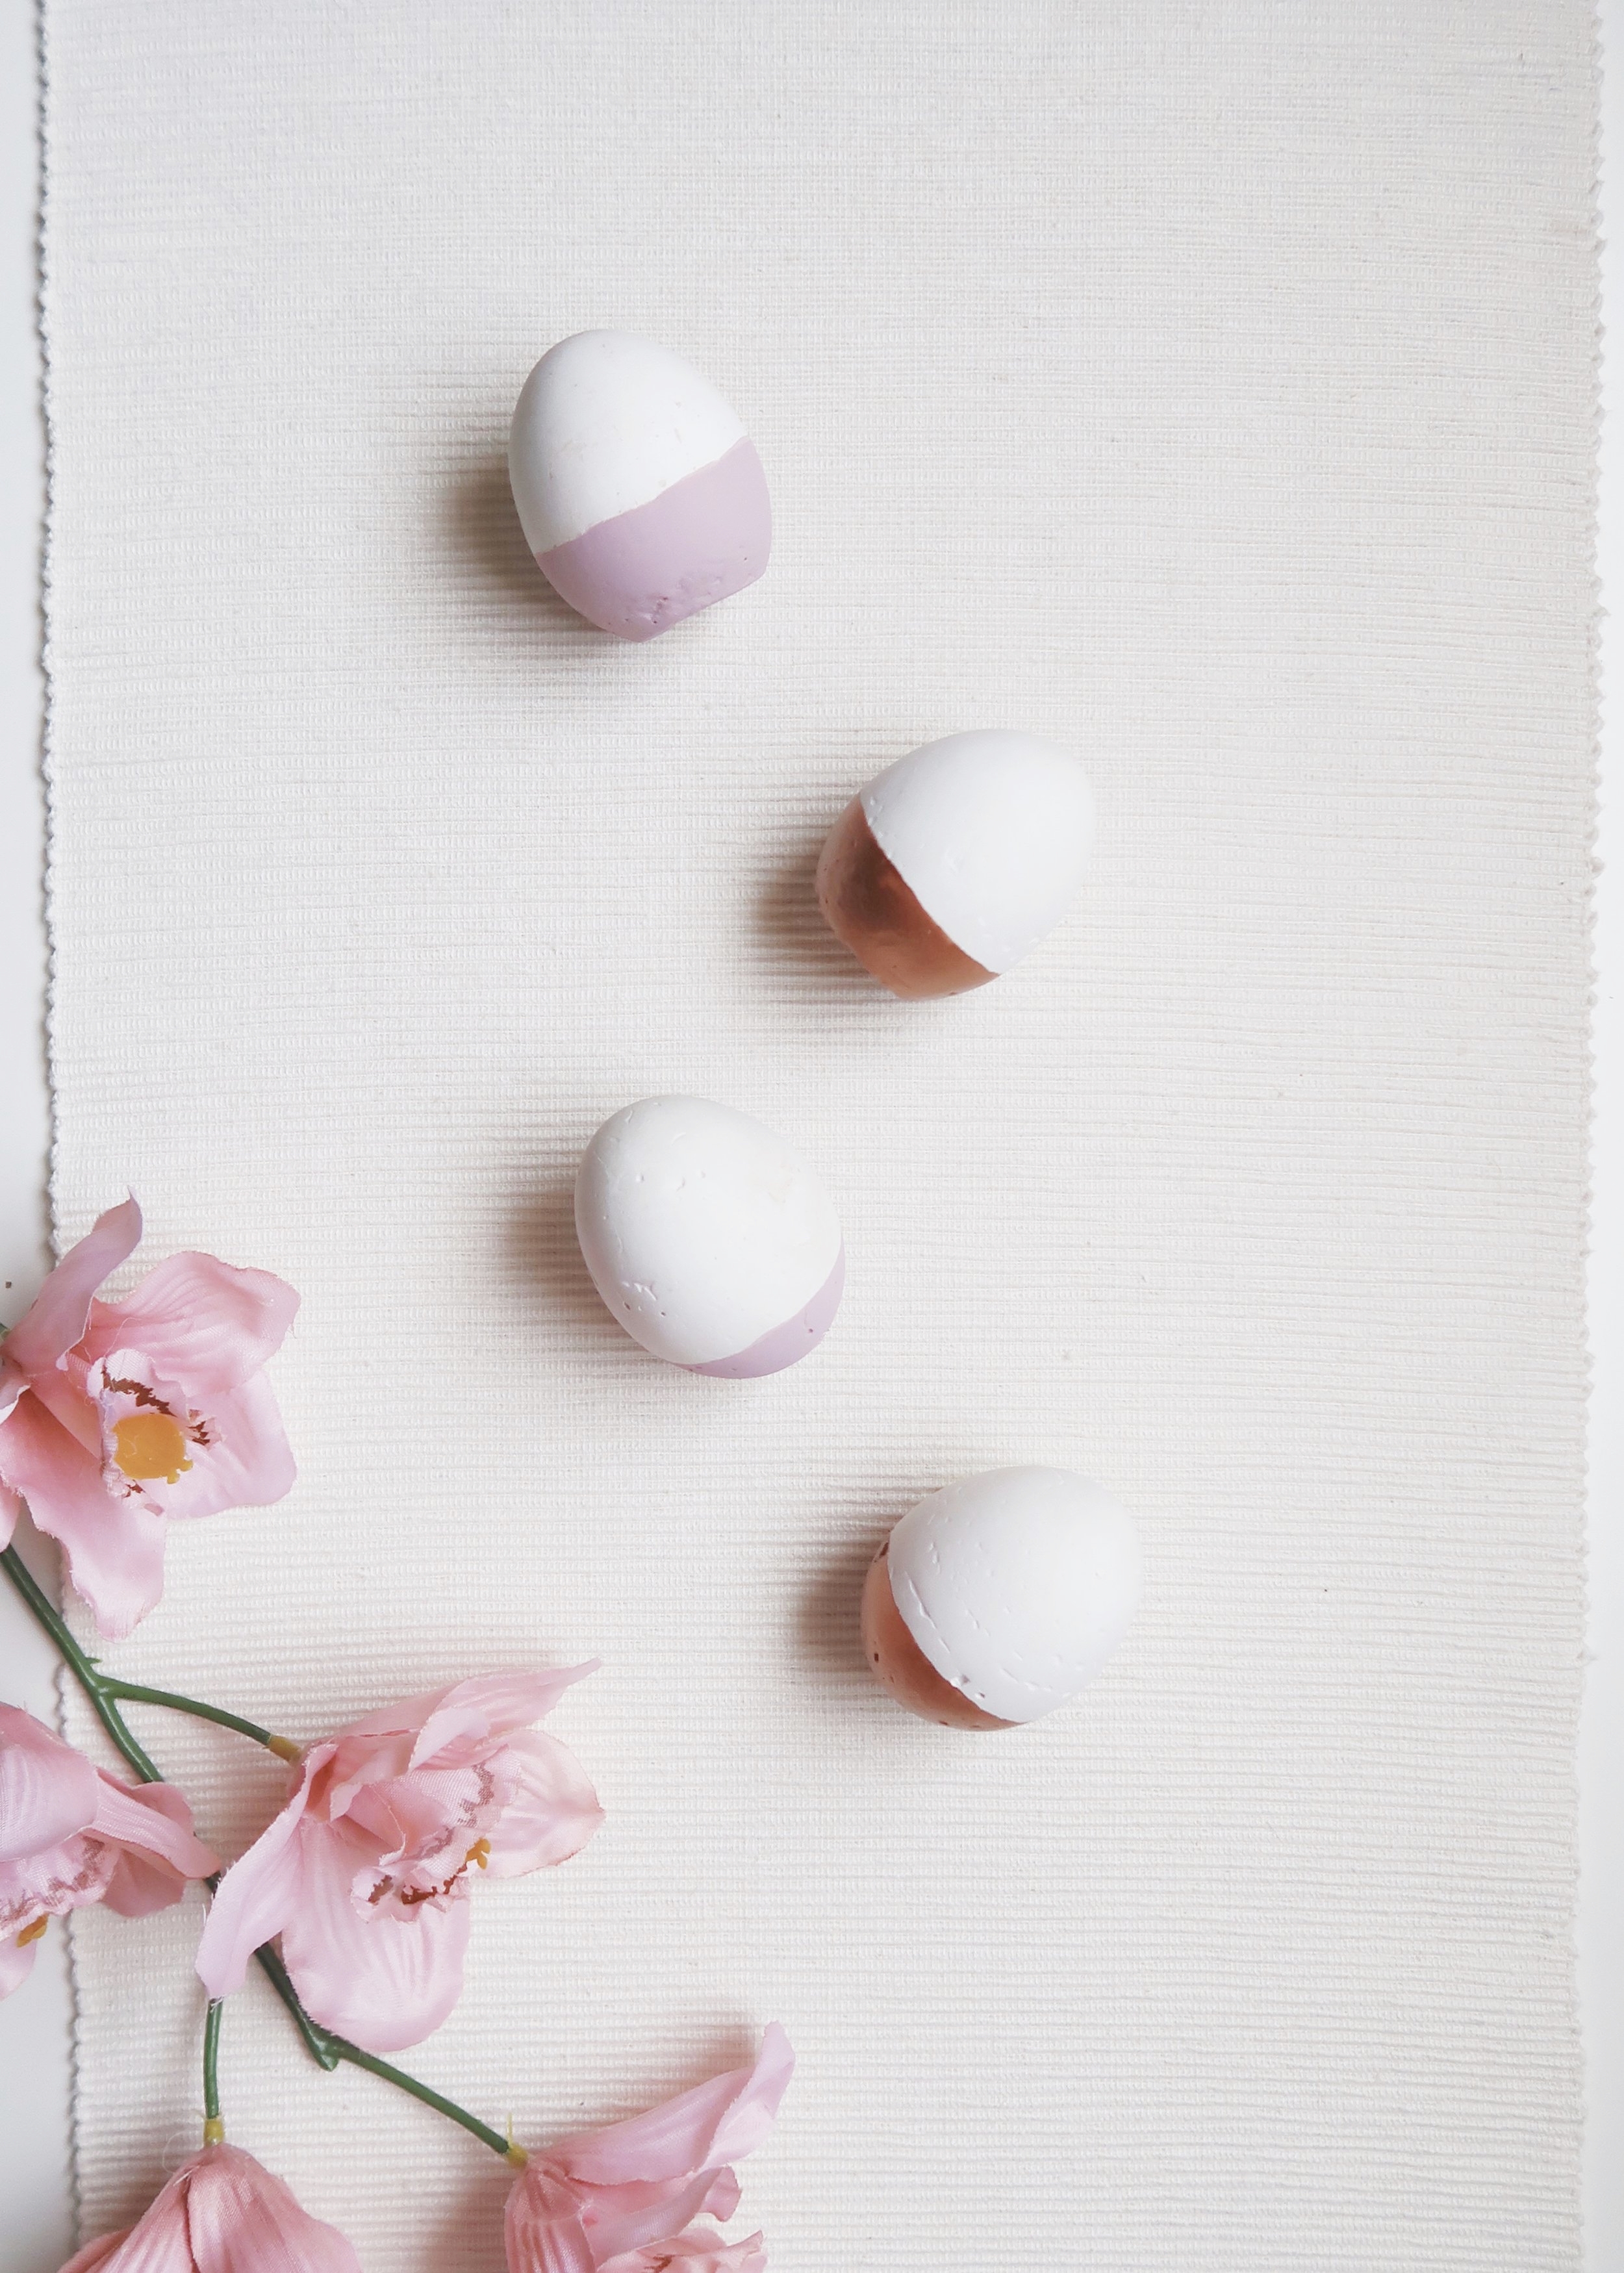
Who else has been counting down the days until the Easter weekend? Get you and everyone else into the spirit with these simple but chic DIY pink and copper-dipped egg decorations!
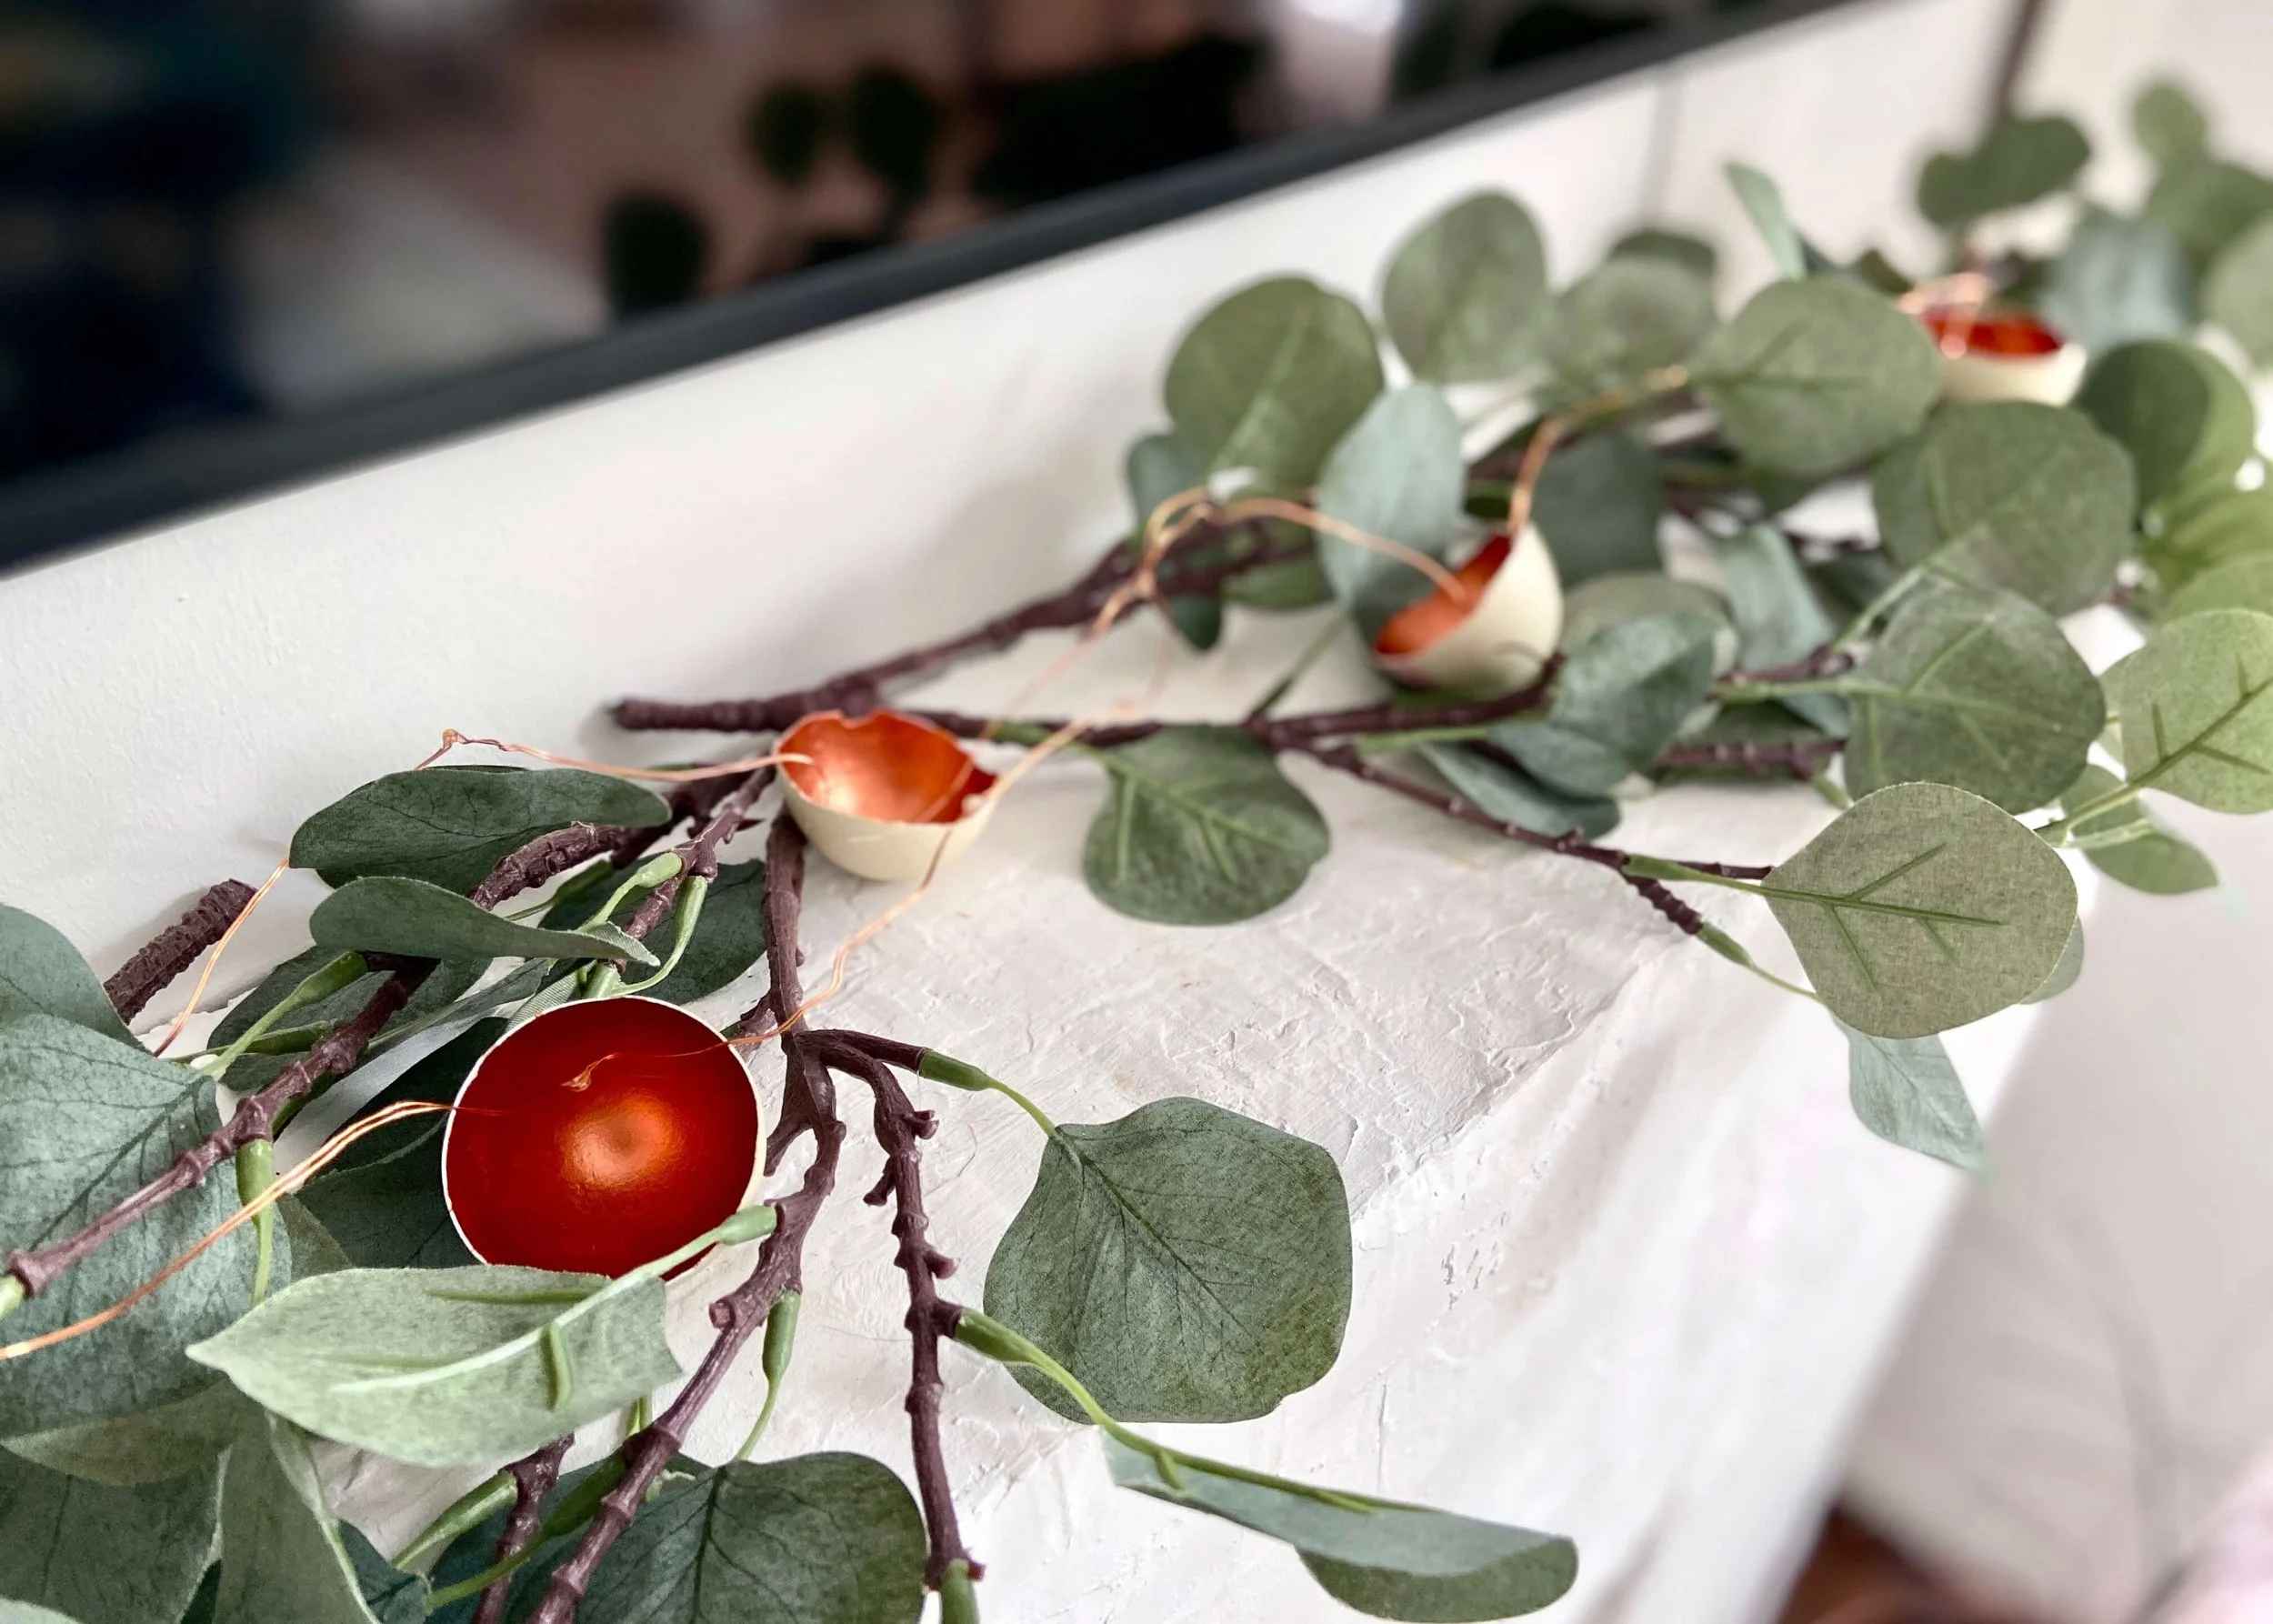
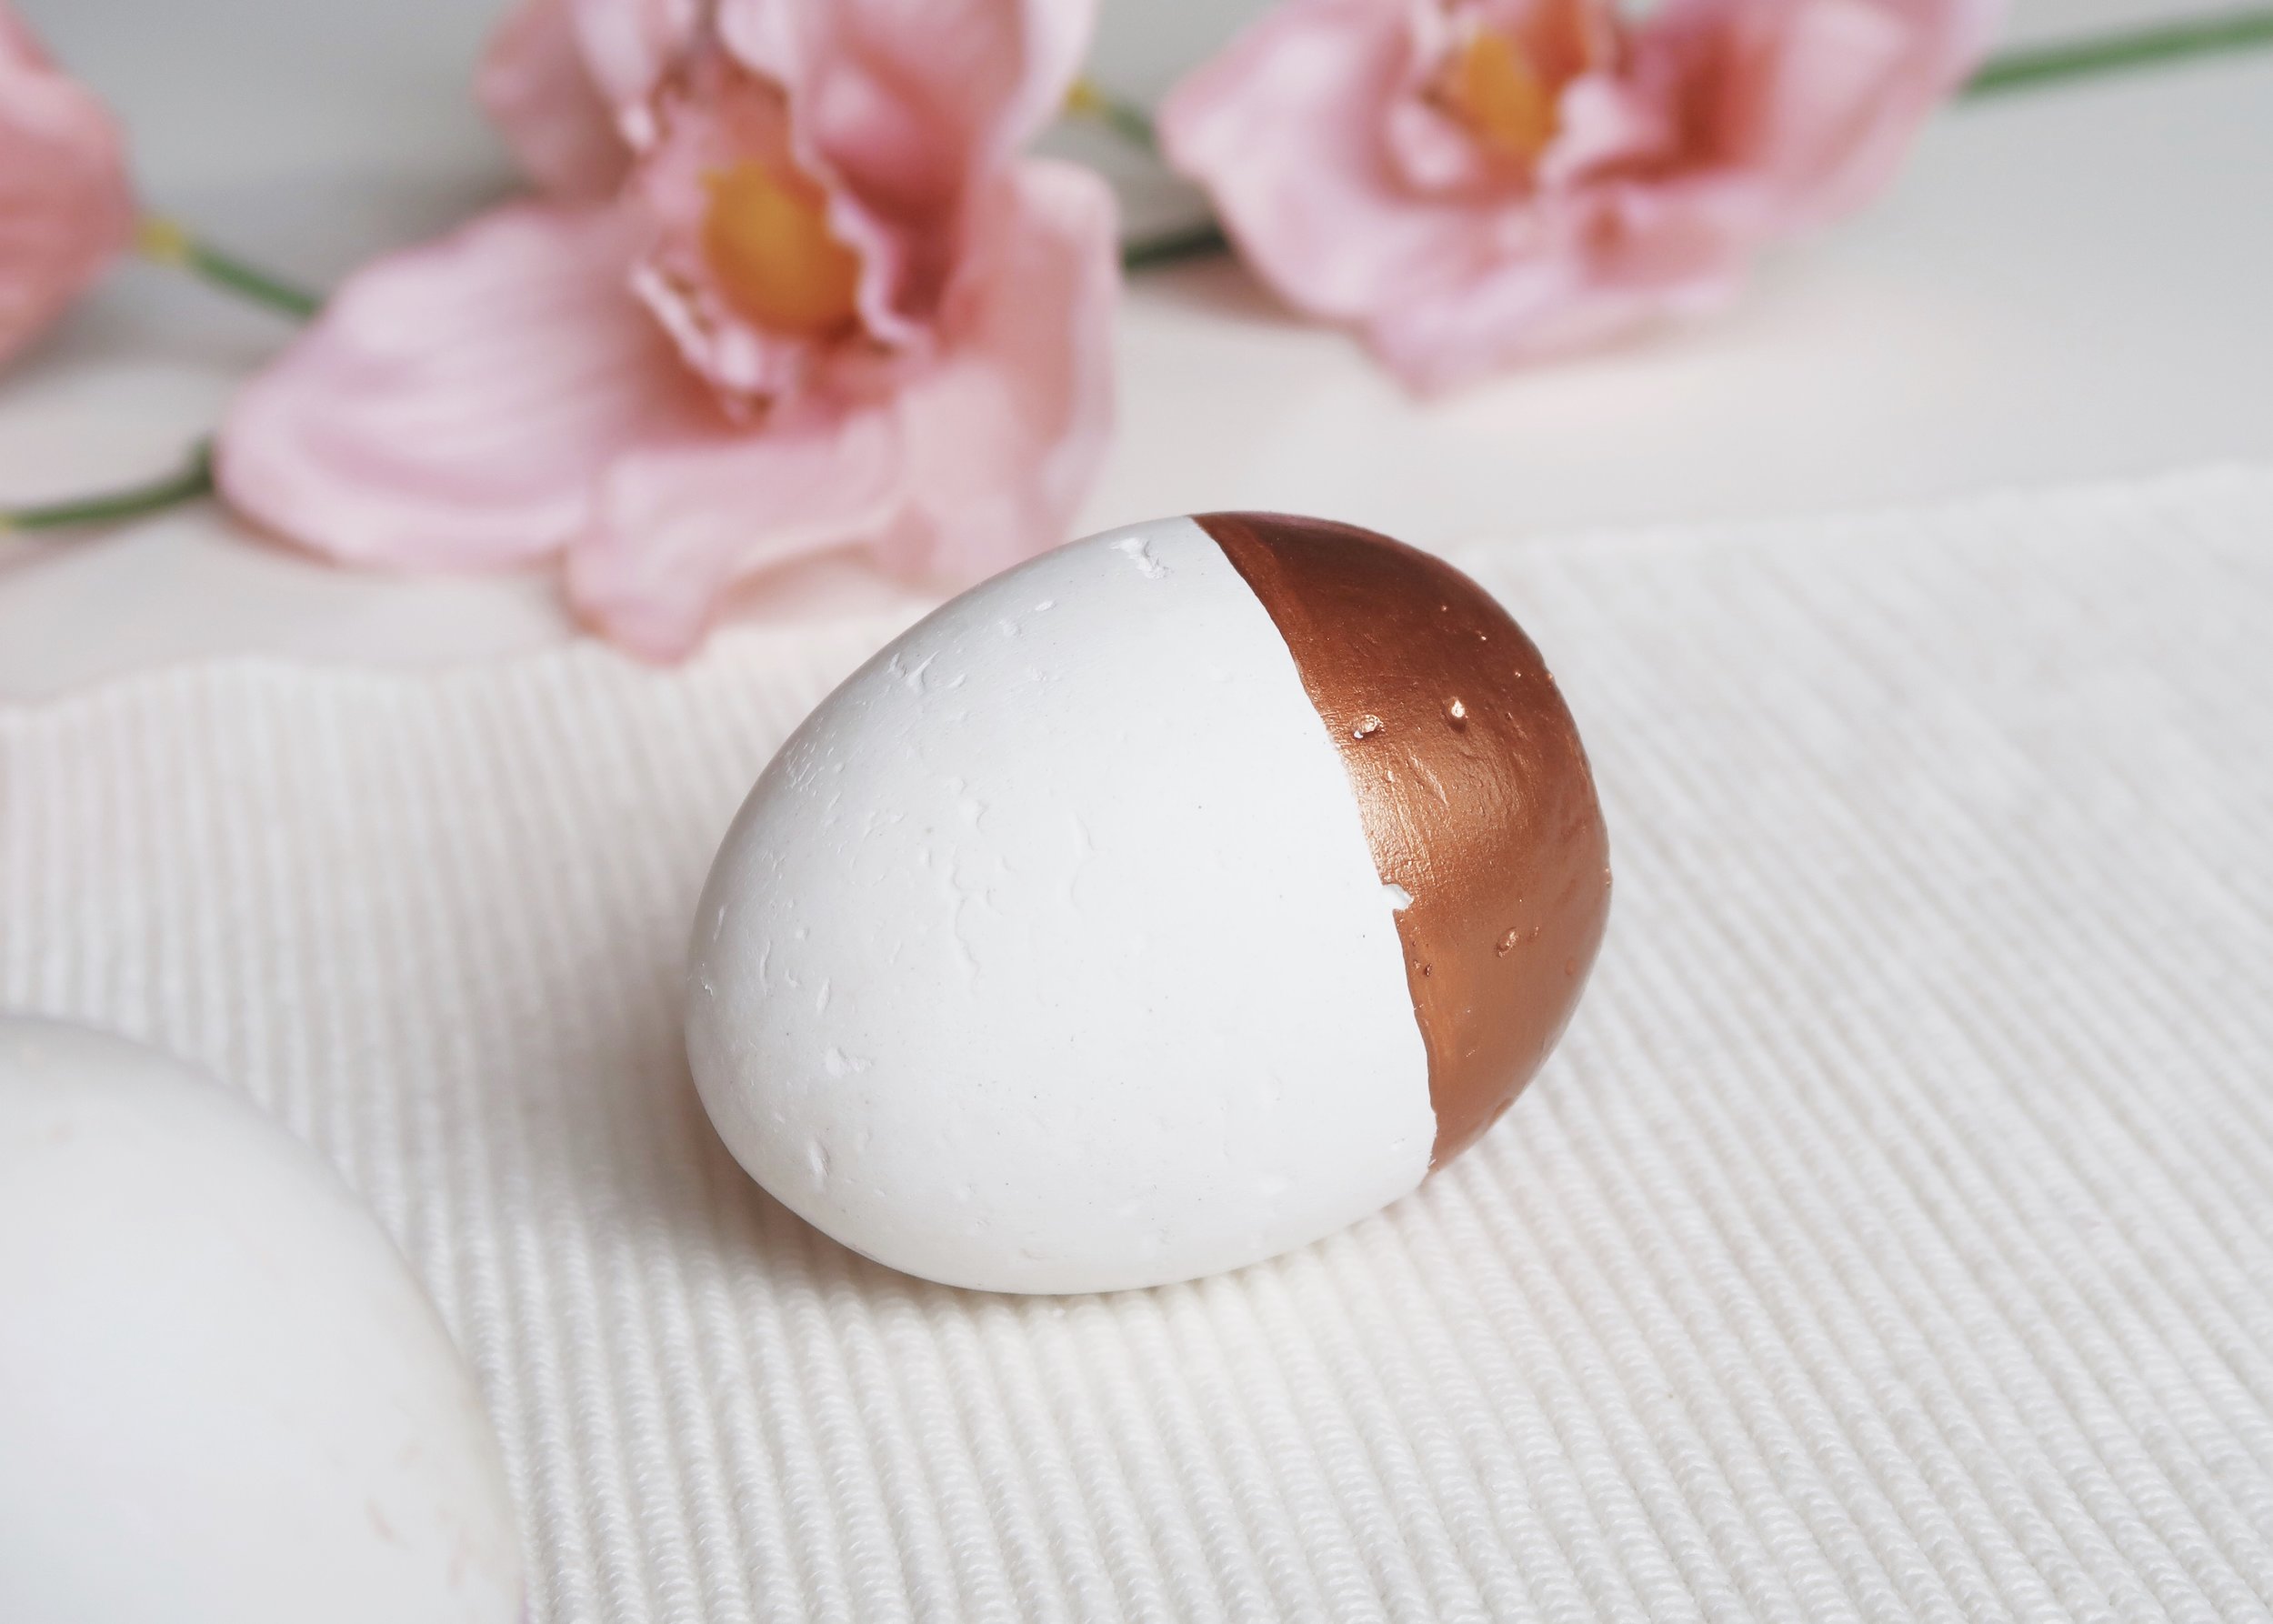
I've never really 'done' Easter decorations but as I get older changing up our decor with the different seasons is something I'm increasingly enjoying. I don't have the time or the funds to completely change our decor (who does!) and so instead I like to just add bits and pieces here and there, and if I can DIY them, even better. So as the centrepiece for our Easter table, I decided to make these minimal eggs from plaster of paris, which I painted on the bottom in copper (obviously) and a dusky pink, to give them a dipped effect. I love how each turned out slightly differently and how they can be used year after year. Keep reading to find out what I used and how I made them...


1.
First of all, decide which end of the egg will be the 'top', and at the 'bottom', create a large hole to empty out the egg yolk and white. Rinse out the shells and let them dry.

2.
Next, mix two parts plaster of paris with one part water in a clean container. Using some parchment paper as a funnel, pour your mixture into each of the shells and pop them by the radiator to dry.

3.
When the exposed plaster feels dry, use the end of the craft knife to tap all over the egg shell so that cracks develop all over. Next, use the blade of the craft knife to carefully peel the shell away from the plaster.

4.
Once your plaster eggs are shell free, use some sandpaper to smooth the surface out a bit. I found my plaster was still damp at this point, so after a bit of wet sanding, I then popped them by the radiator to complete dry out.

5.
When your plaster eggs are completely dry, you can grab your acrylic paint or spray paint and decorate them however you like. I chose to use copper and dusky pink, and to paint only on the bottom half of each egg to give them a dipped effect. To protect your paintwork, spray all over with a sealer.