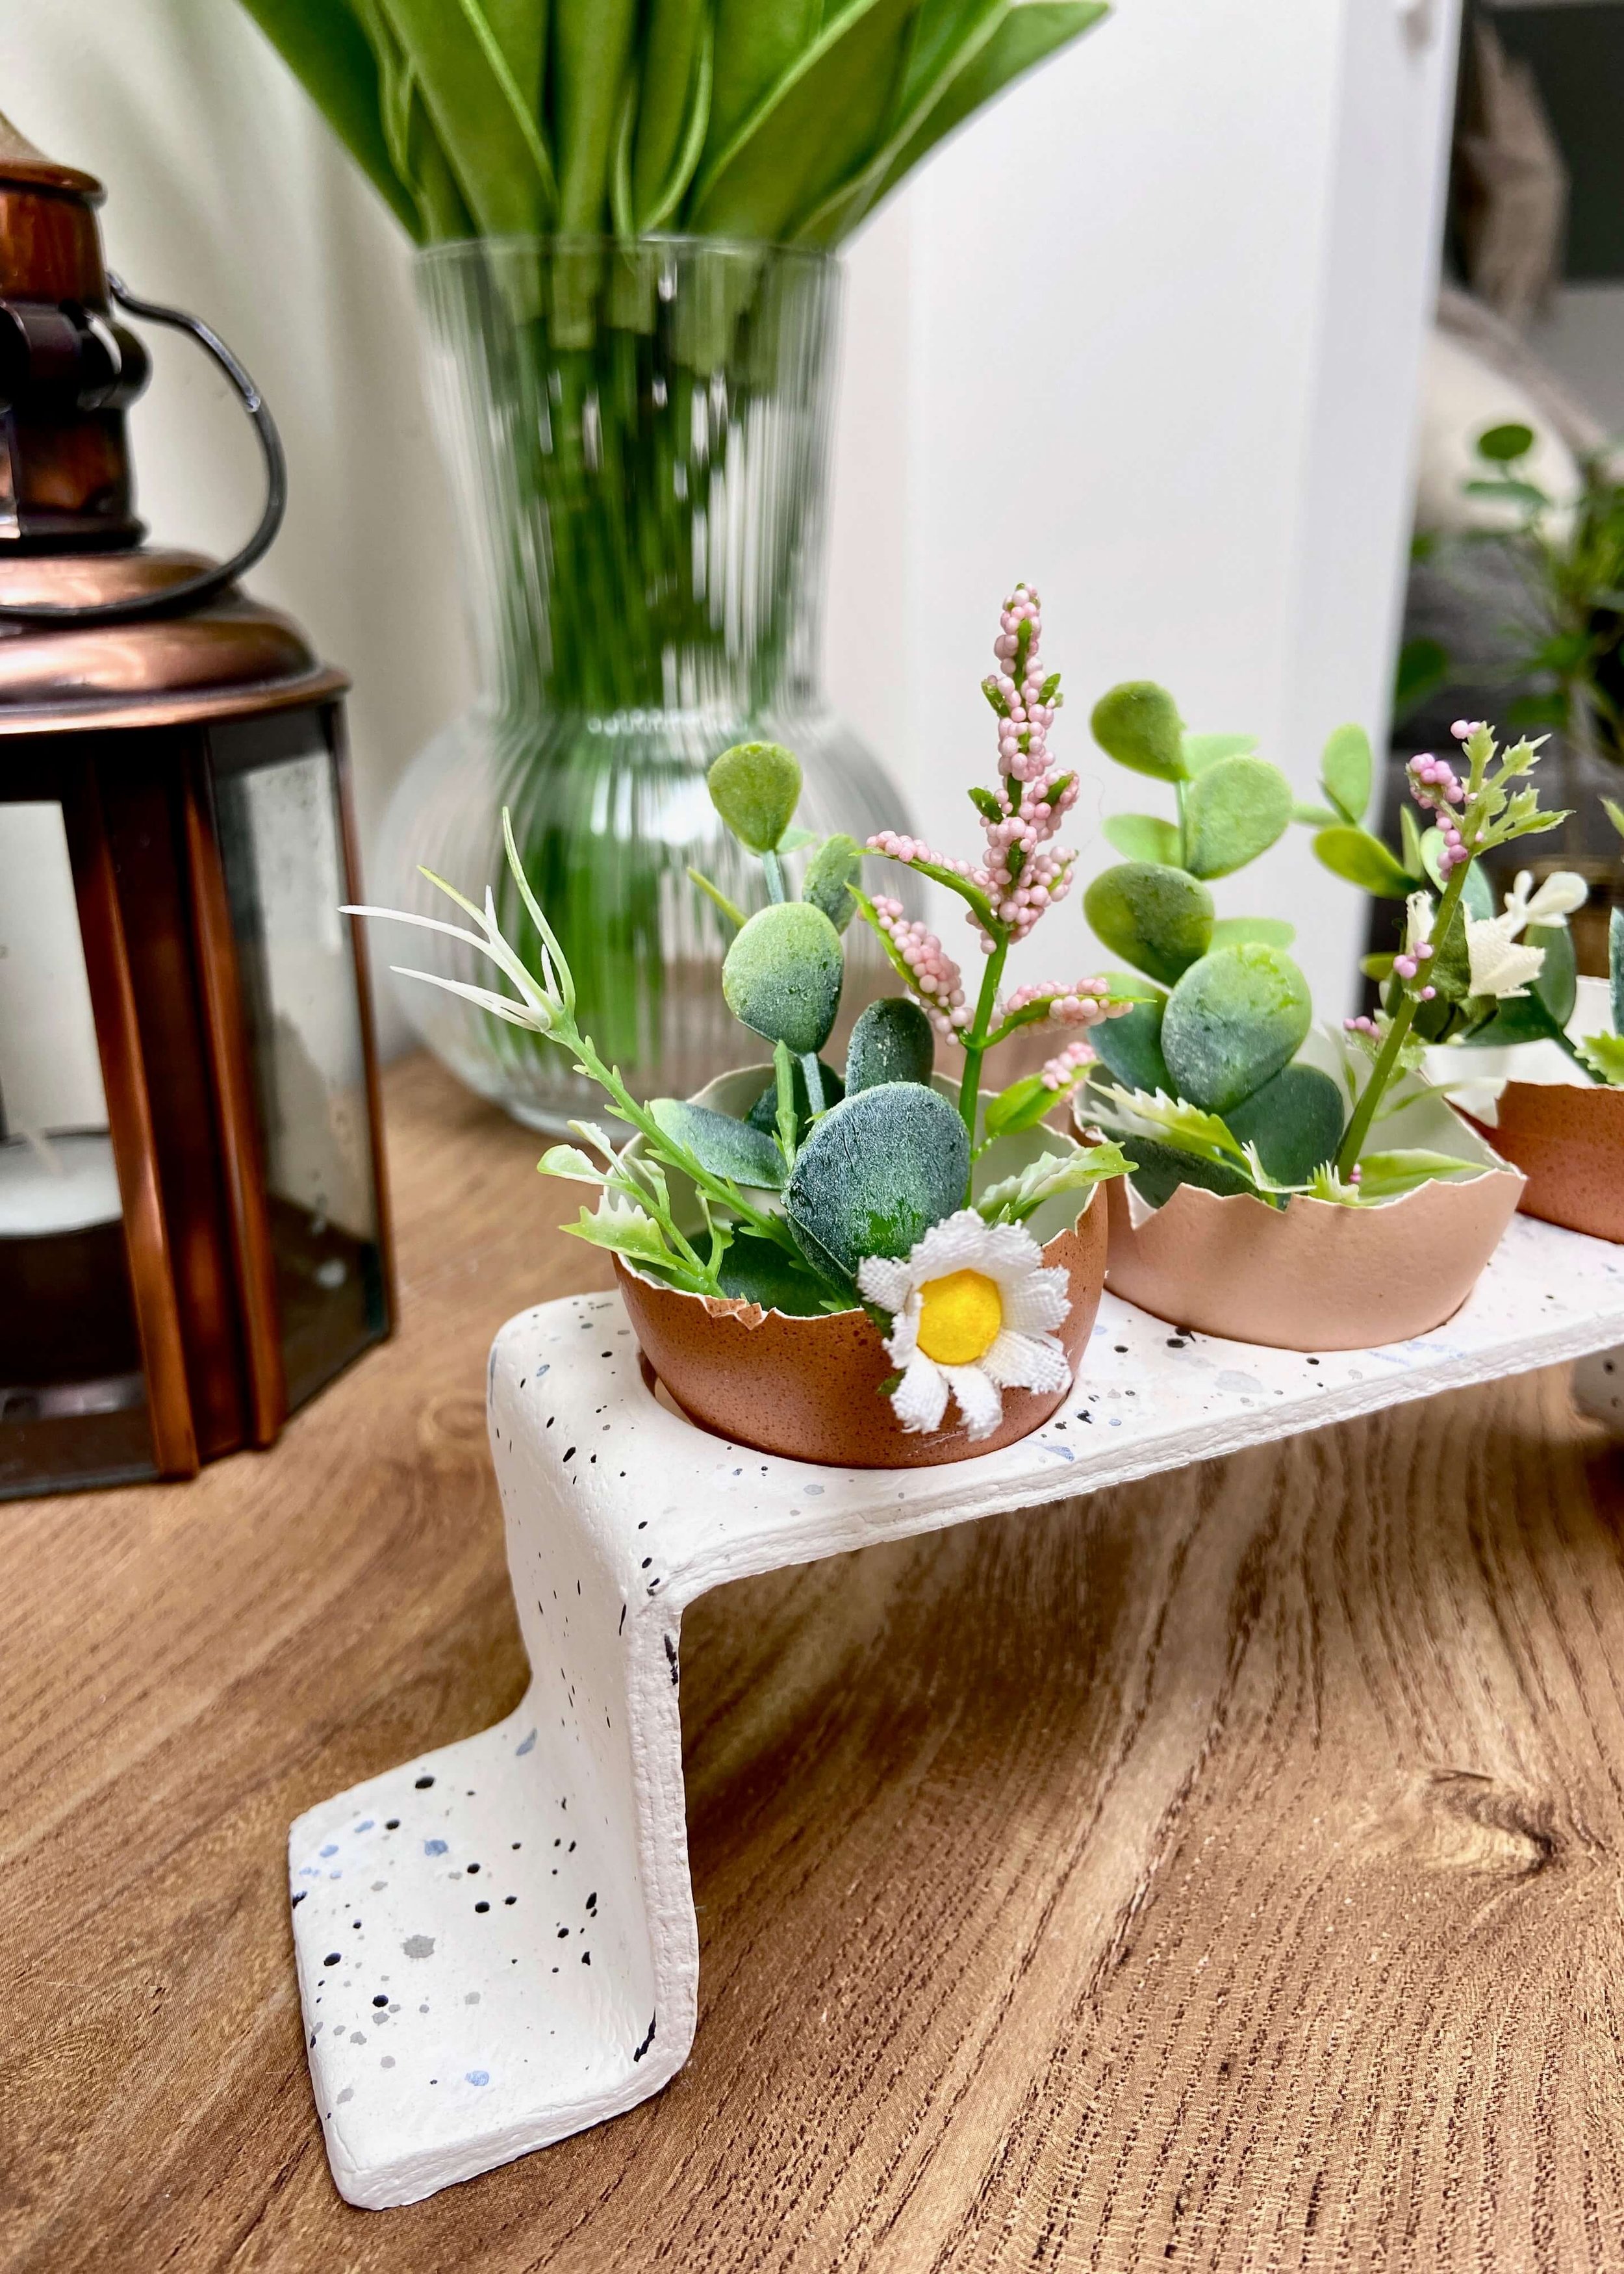
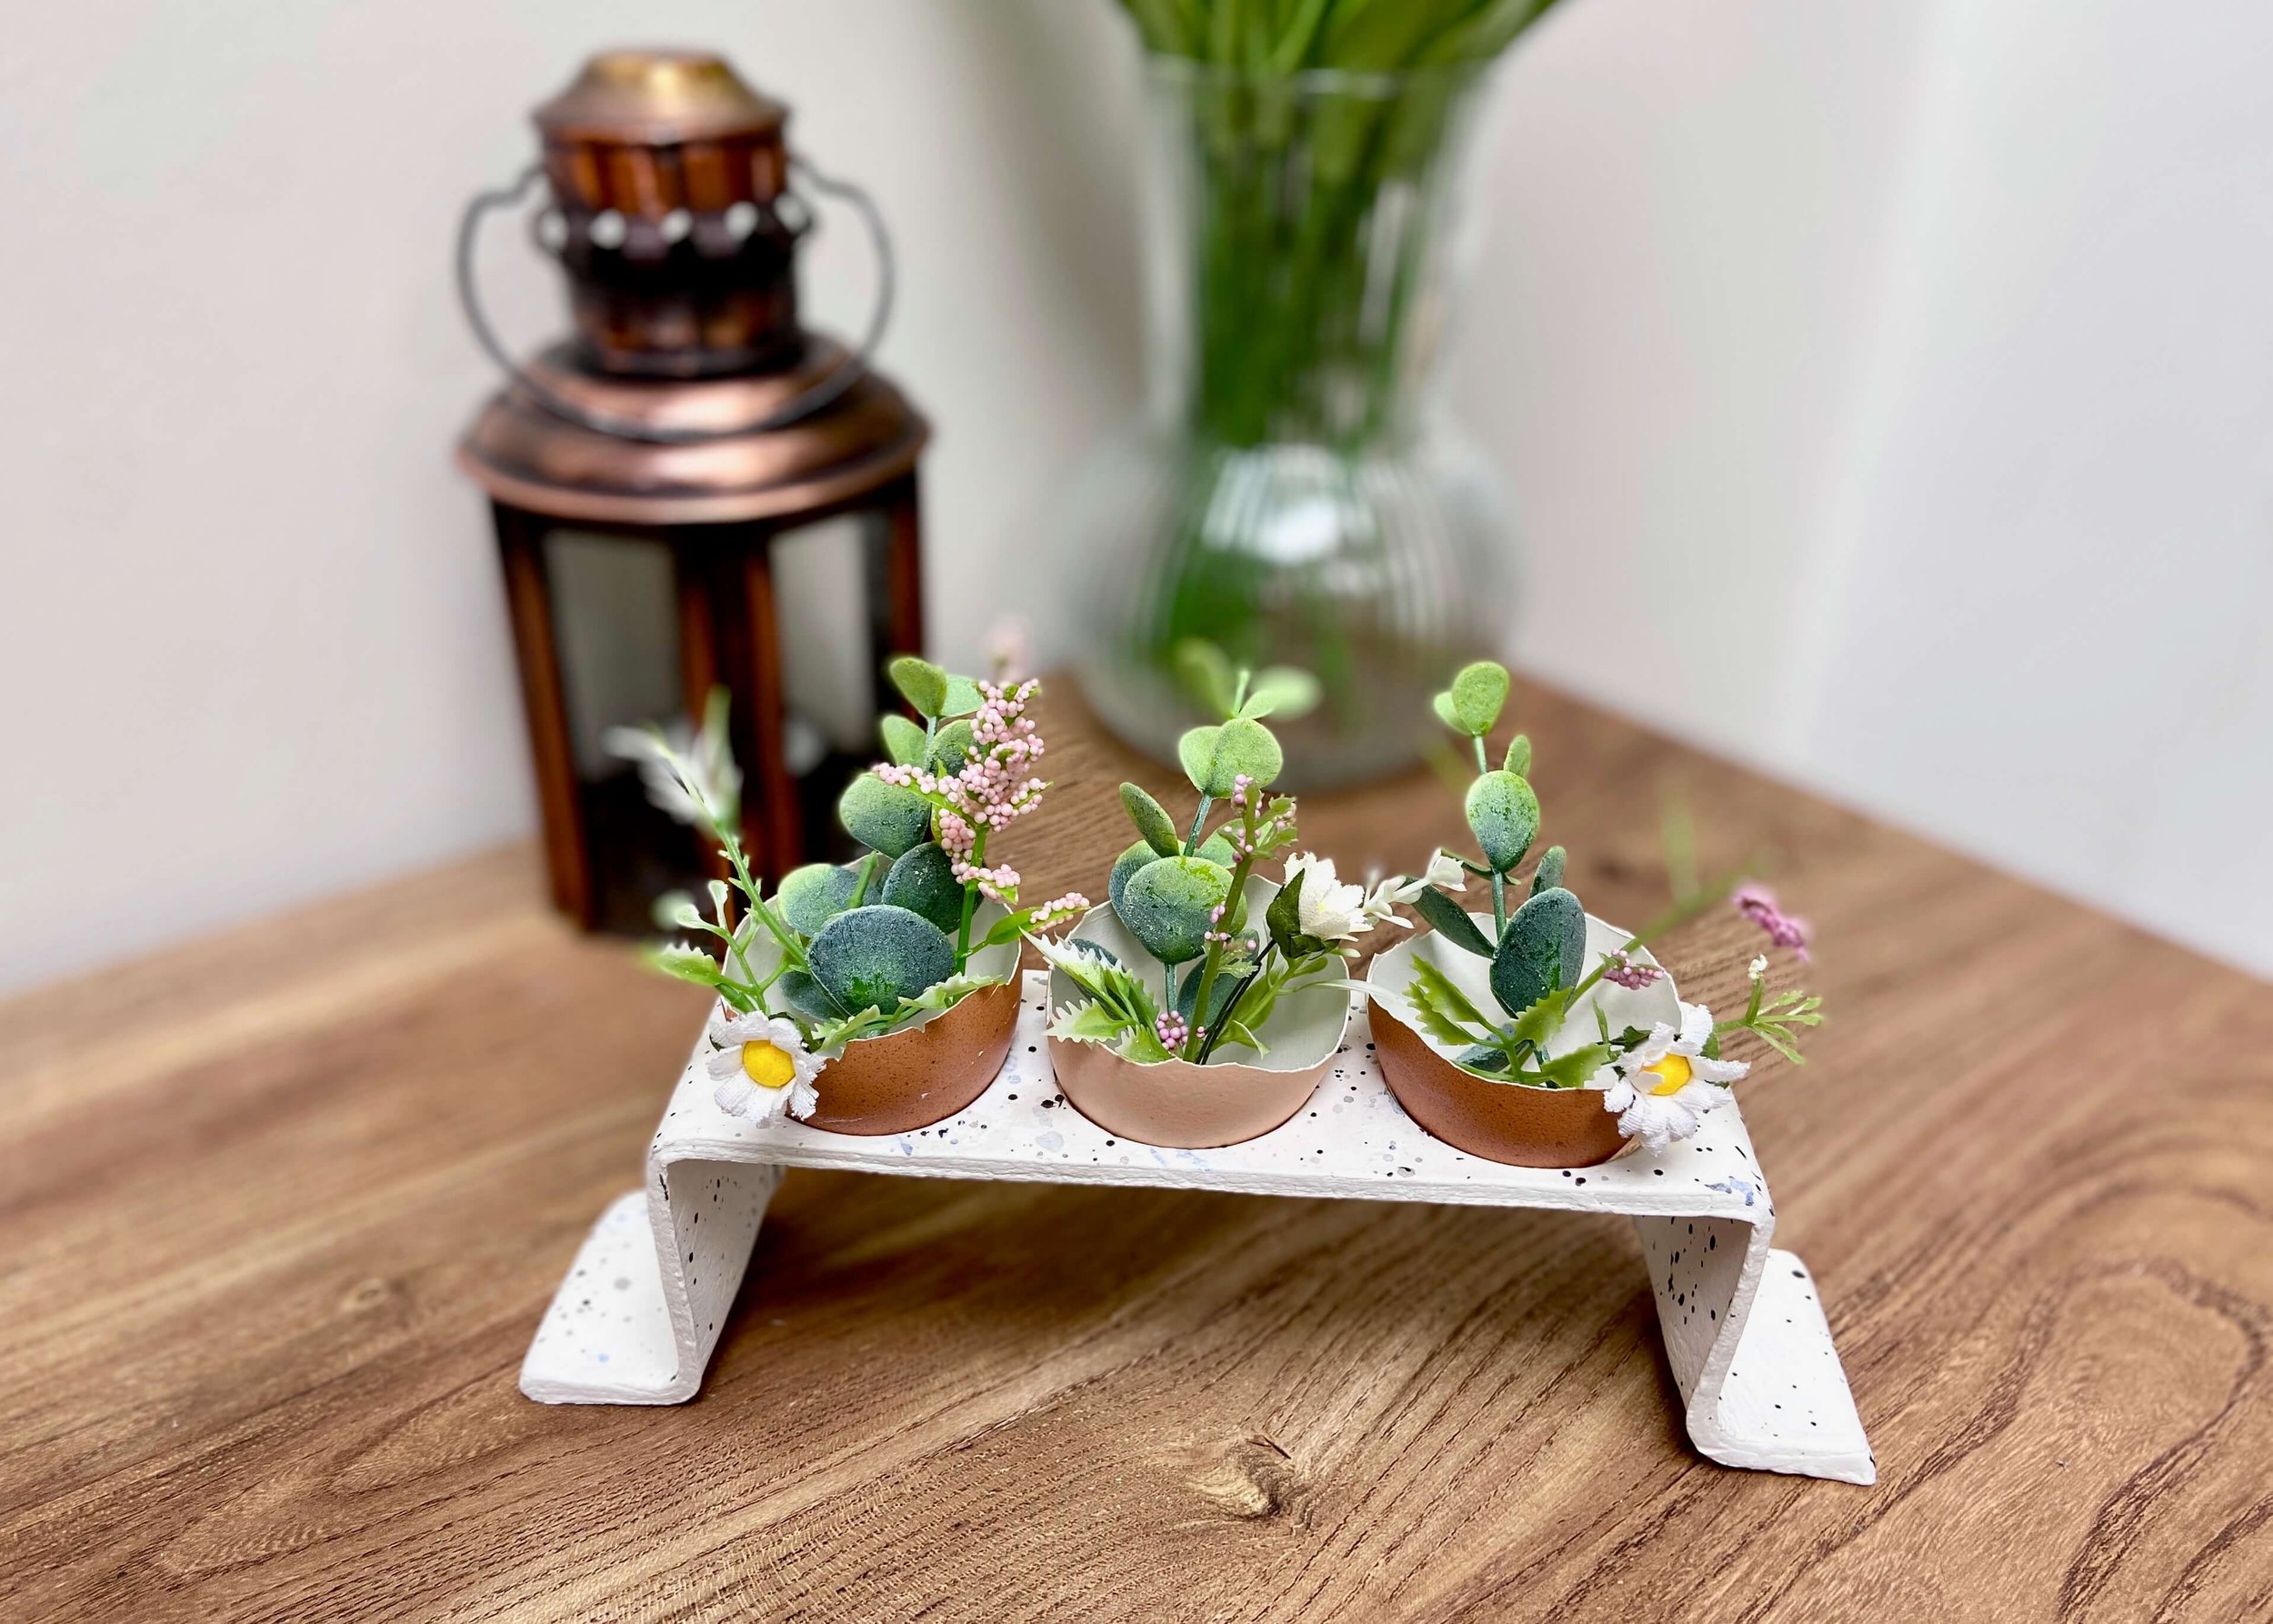
This cute clay egg holder is perfect for your Spring and Easter decor!
I’m so in love with this project, it’s definitely up there with one of my favourite Spring projects and Easter projects. I’ve seen lots of people using eggshells as little plant pots but I wanted to put my own spin on it. Air dry clay is one of my favourite mediums to create with, it always feels the possbilities of what you can make are endless, and so I knew that I wanted to use it to make a minimalistic stand for my eggshell planters. I wasn’t sure how stable it would be once dry but it doesn’t move at all and it’s perfectly able to hold the weight of the artficial foliage and eggshells that are in it.
It’s little projects like this that just give me such a sense of joy. It was relatively simple to make once I’d planned how I would do it and had everything I needed, and aside from the drying time for the air-dry clay it was pretty quick. I’ve got it in our office window, but I think this would make such a cute Easter tablescape or Spring coffee table centrepiece. I’d love to hear what you think of this project, and if you like it, please do share on social media and subscribe for updates! Keep reading for the step by step tutorial and list of materials you’ll need…


Craft knife
Acrylic paint
Artificial or dried foliage


1.
First of all, break off some air-dry clay. Don’t forget to secure the packet again afterwards to keep the clay you aren’t using nice and fresh for next time.

2.
Use your hands to soften the clay slightly and knead it into a ball. Add a little water to your hands if your clay feels dry.

3.
Roll out your clay using an acrylic roller onto a flat surface covered with parchment paper. Be sure to have the shiny side up of the parchment paper.
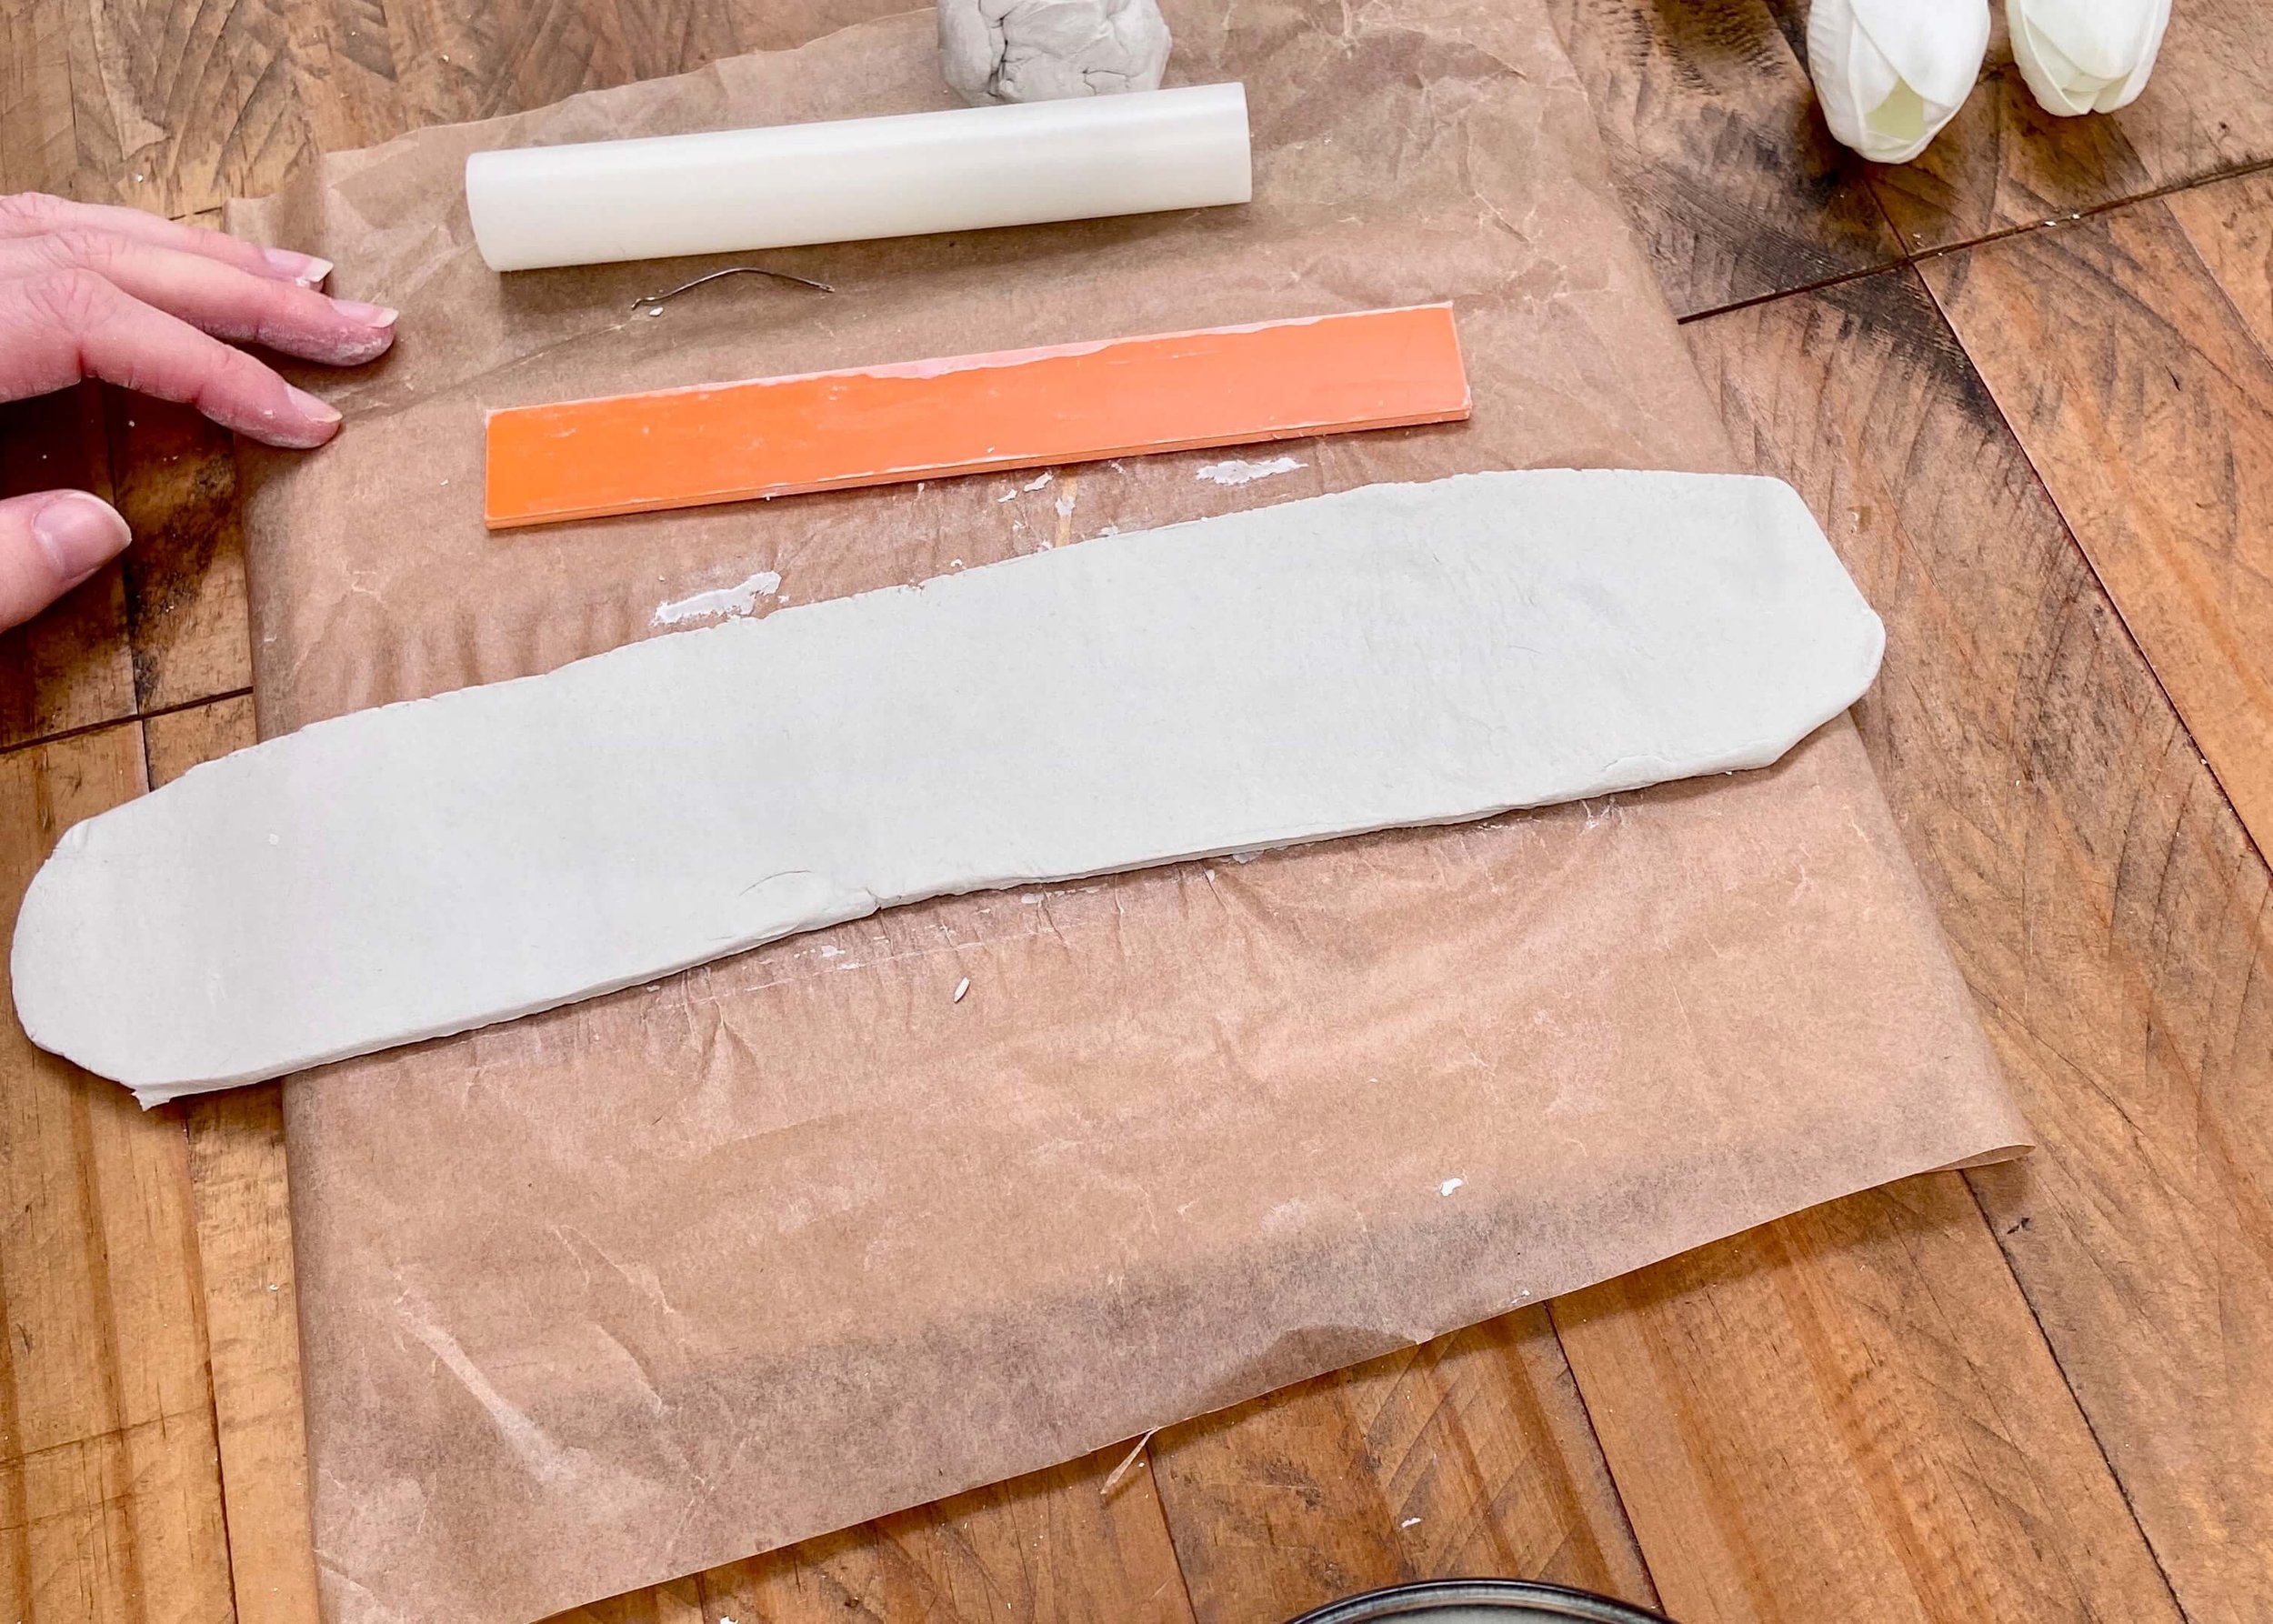
4.
Roll your clay so that it is much longer in height than it is in width. I rolled mine until I was happy the clay would fit around the box I was using as mould.

5.
Next, use a long ruler or straight edge (I couldn’t find a ruler so had to resort to a piece of MDF!) and use a scalpel or piece of wire to cut off the edges of the clay and may it rectangular.
6.
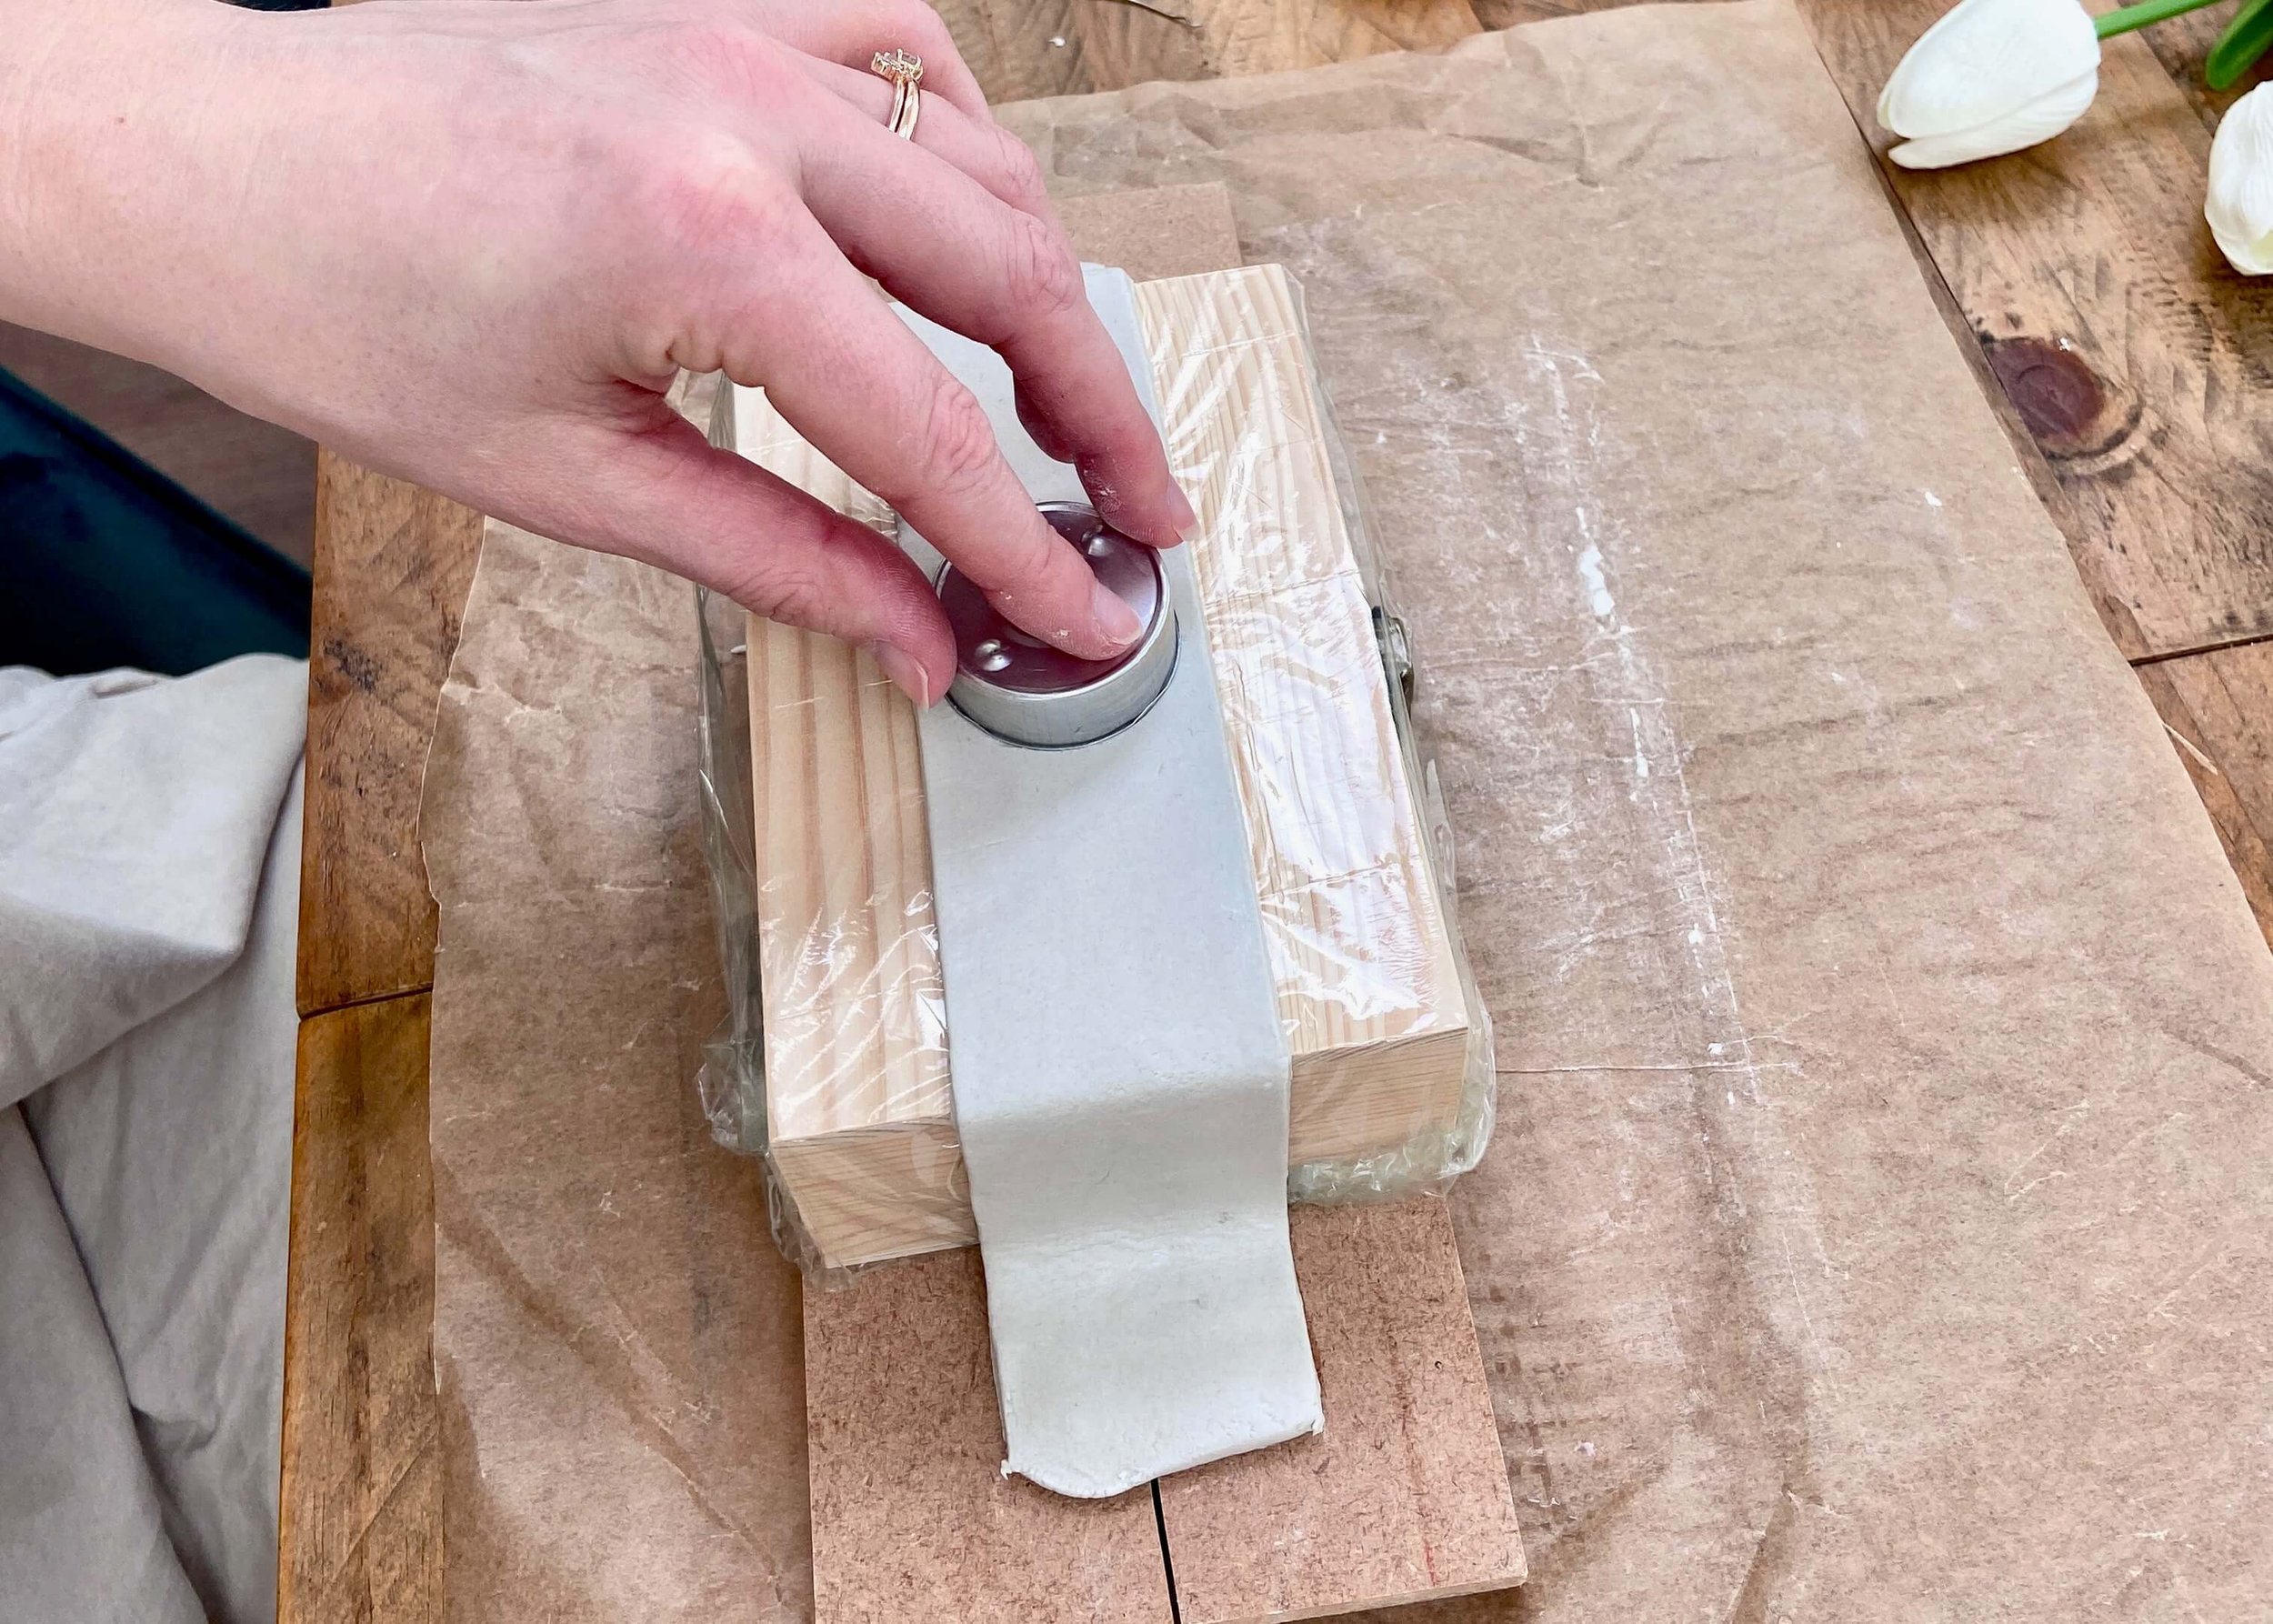
Cover the box you will be using as a mould in clingfilm and drape the clay over this. Press the sides down the side of the box and to the surface below. Use a circle cutter to cut out three holes on the top.

7.
Next, use water and a paintbrush to smooth any edges in the holes and fill any cracks.

9.
Leave the clay to dry in an environment that remains a consistent temperature. I left mine for around 24 hours.
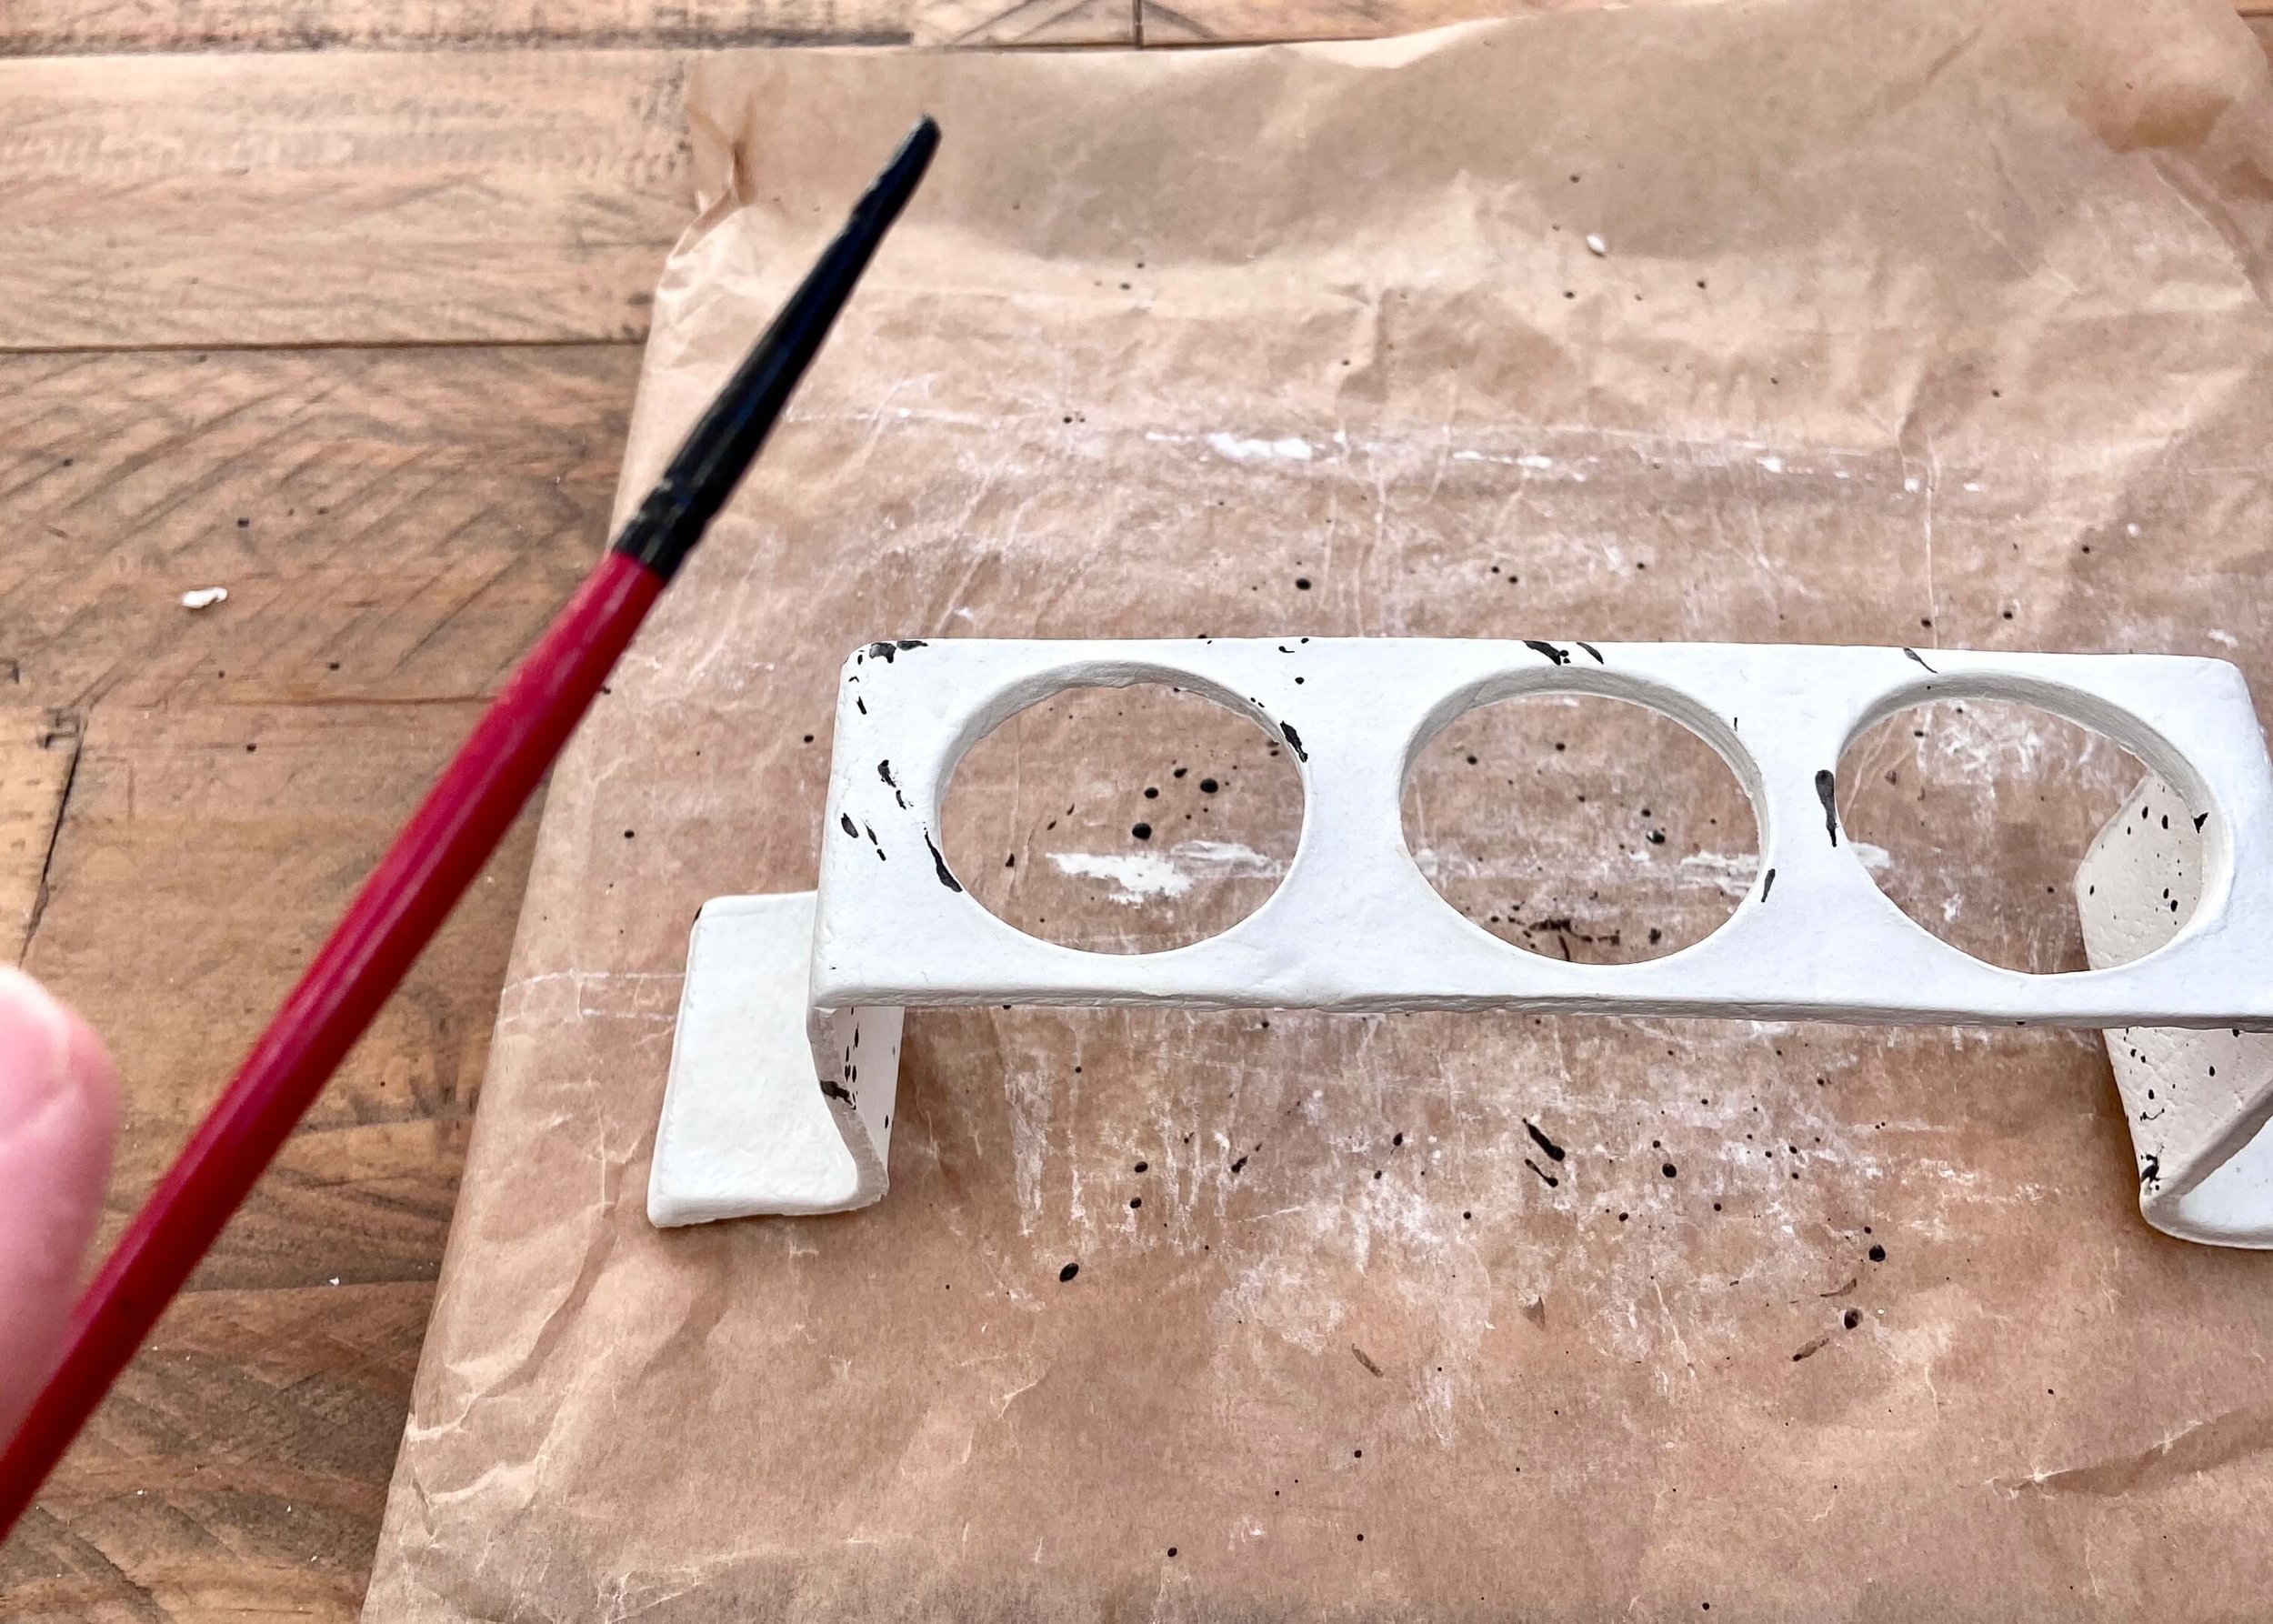
10.
Once the clay was dry, I mixed up some black paint in water and then flicked this using a paintbrush all over the clay piece to create a speckled effect.

11.
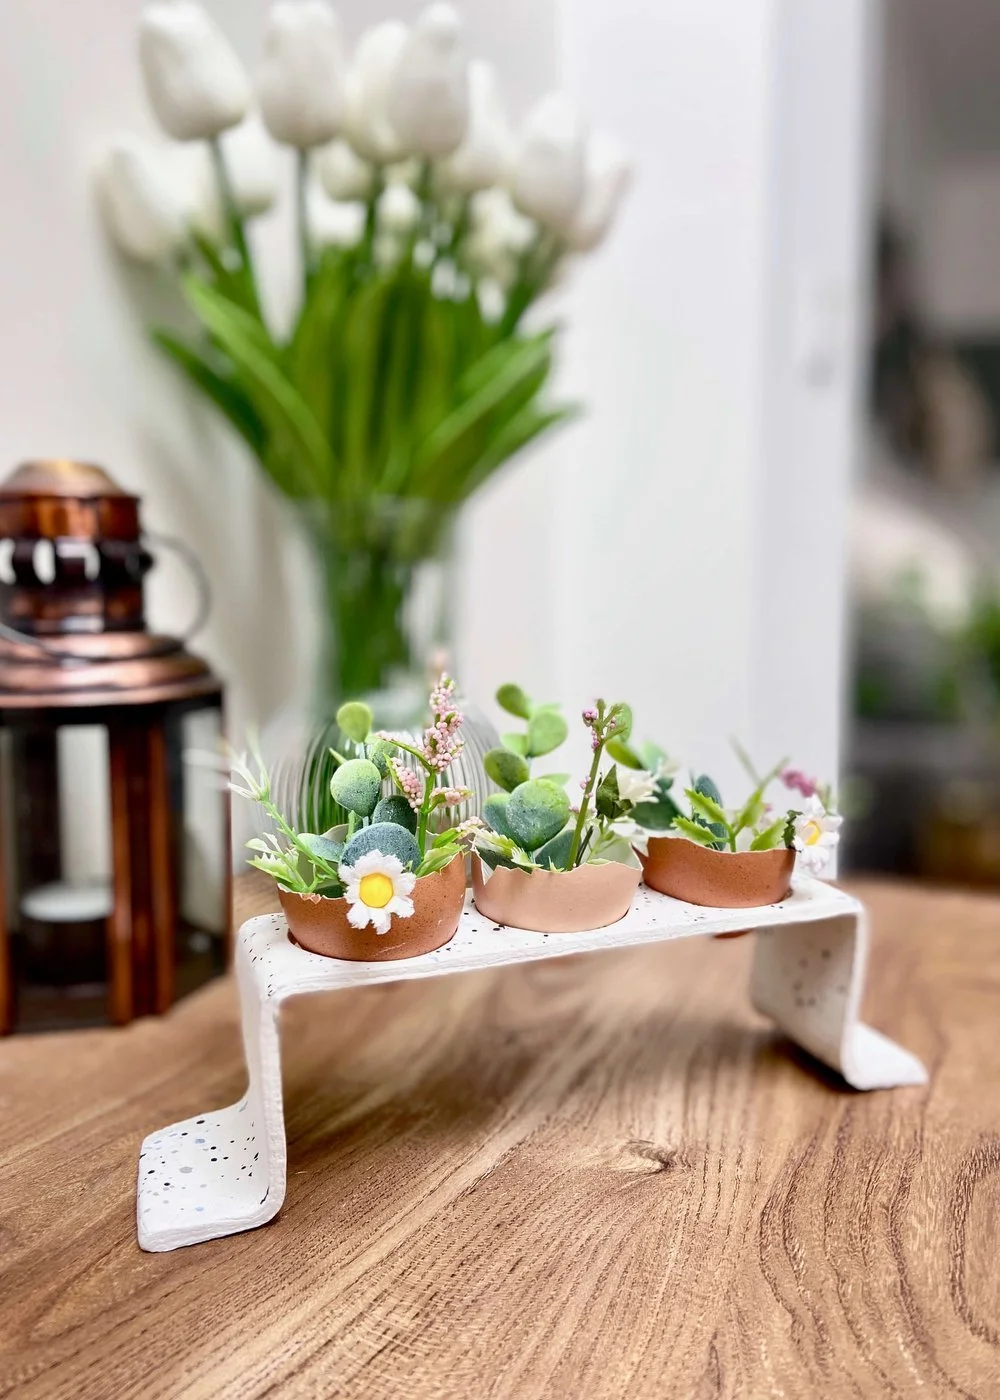
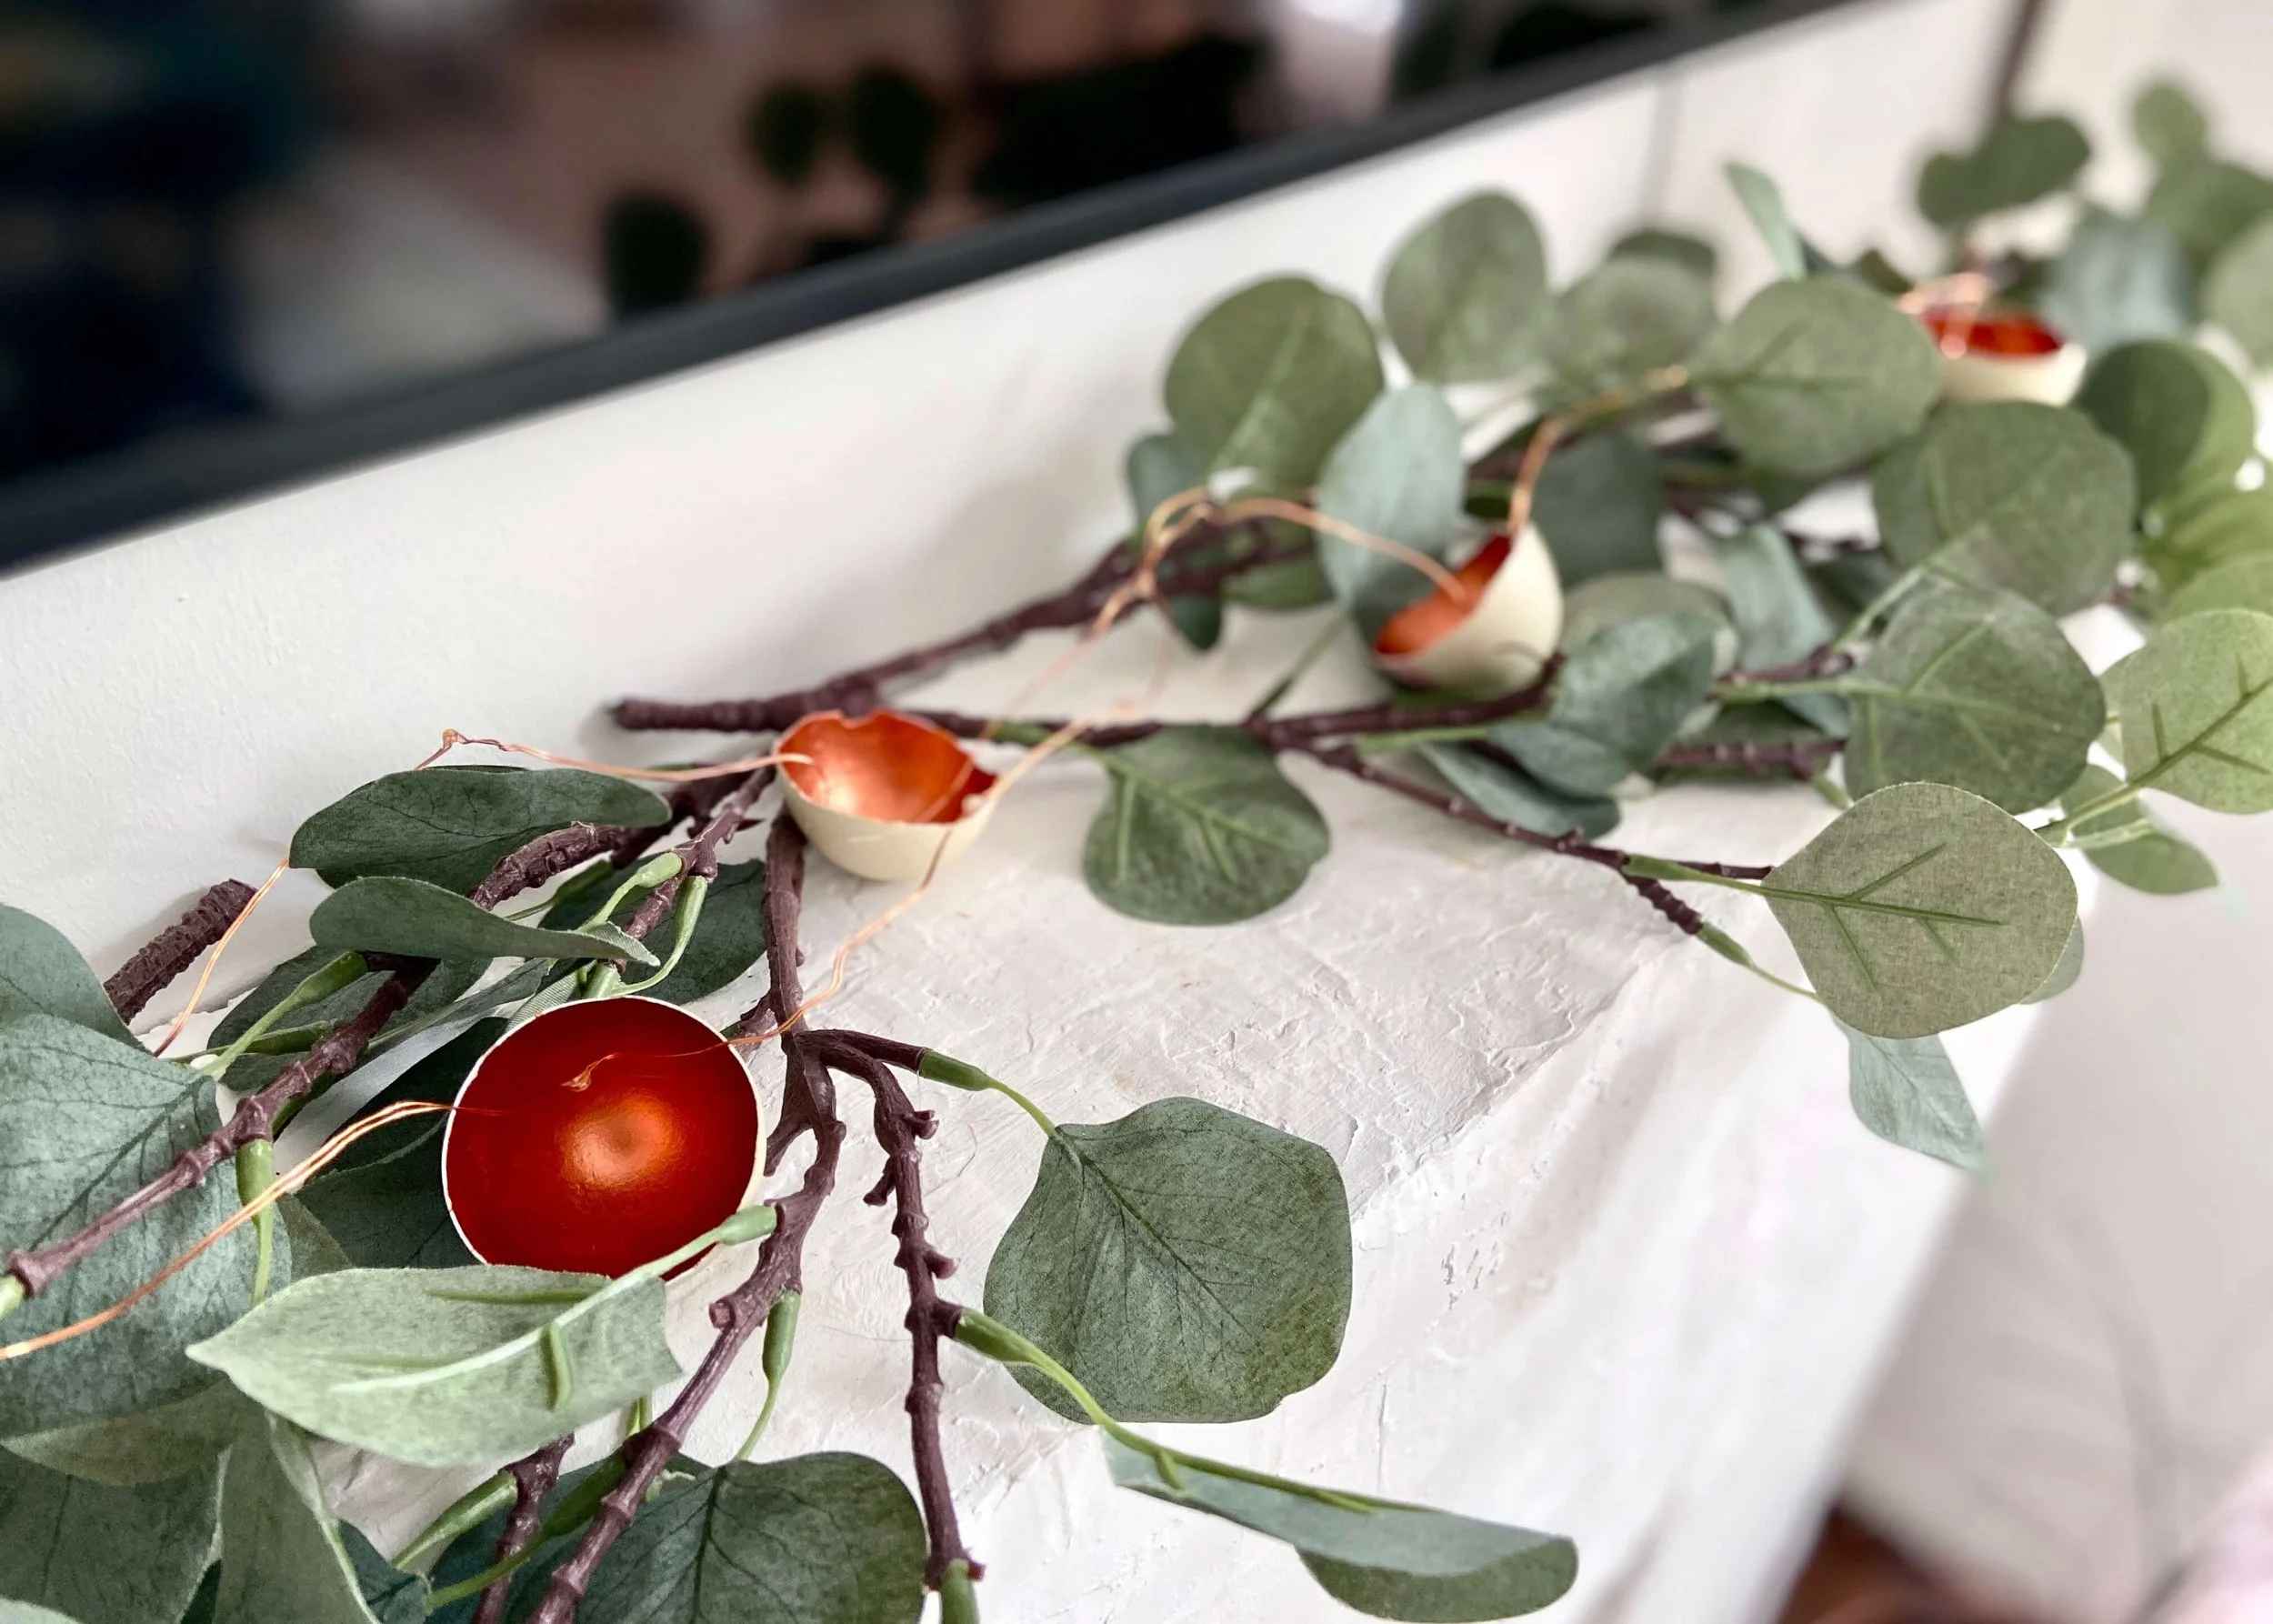
I then used some eggshells and popped one into each of the holes in the clay holder.
12.
FInally, I gathered some artificial foliage sprigs and added these to each of the egg shells.