

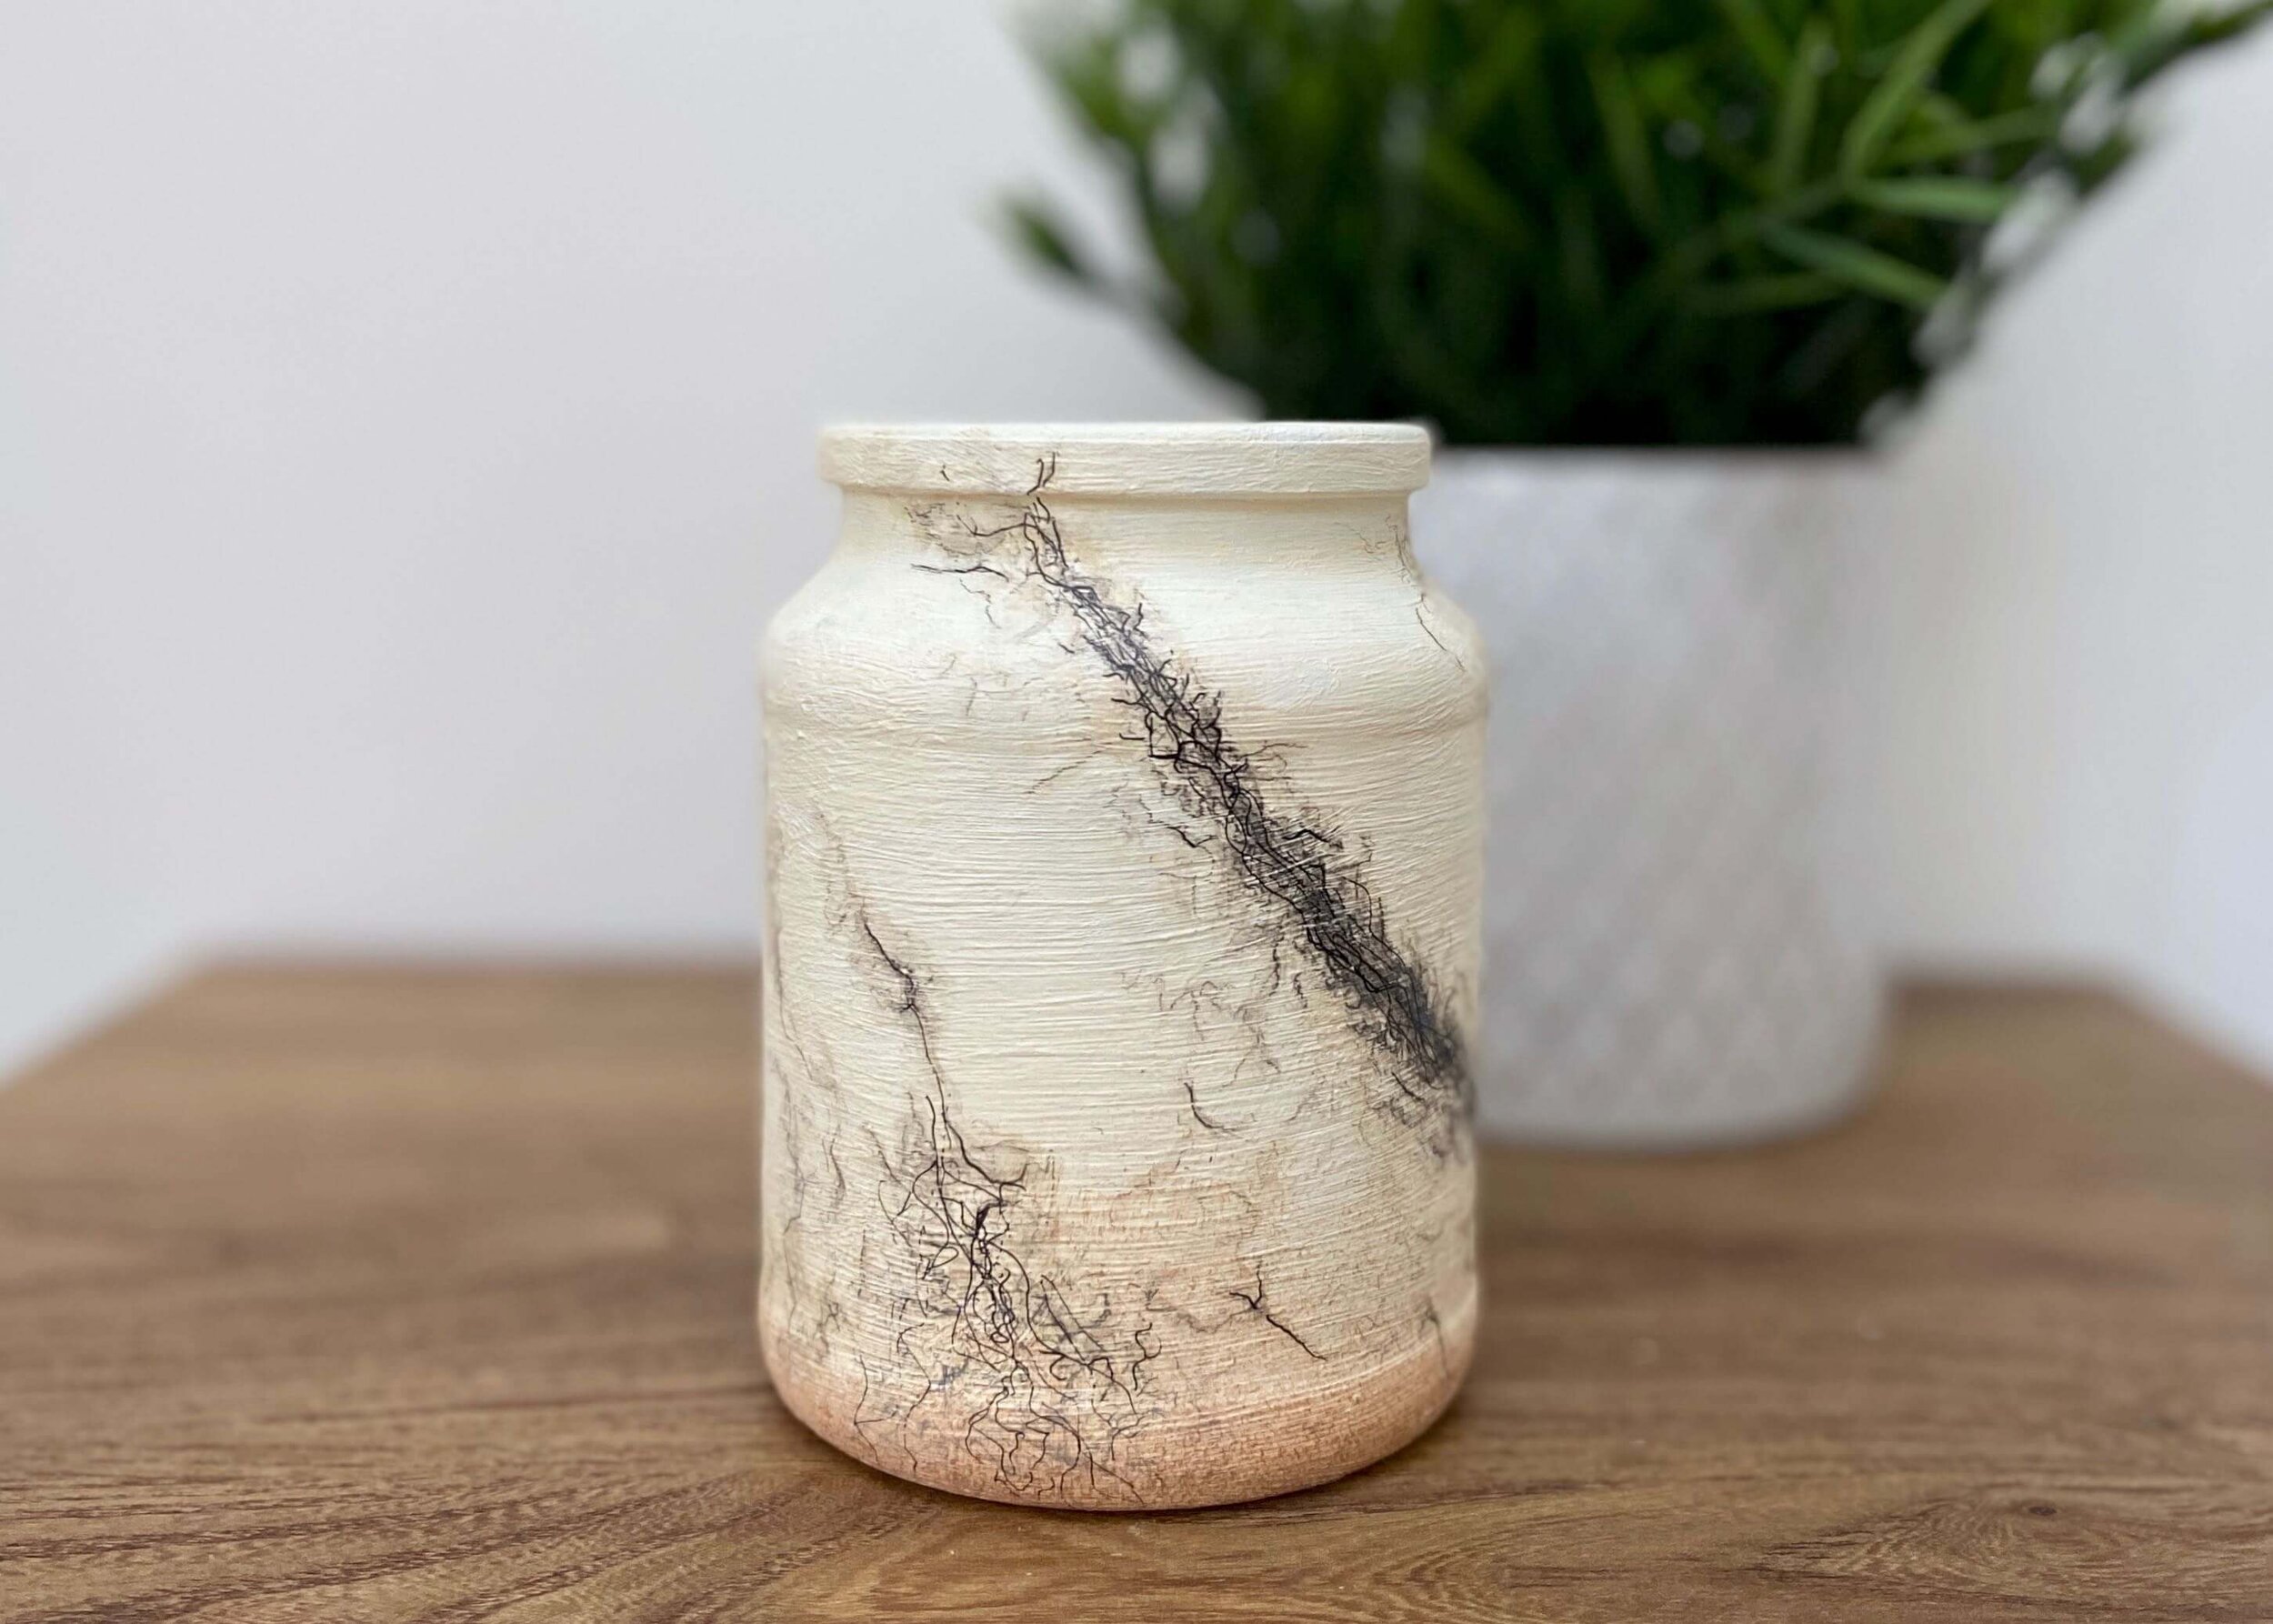
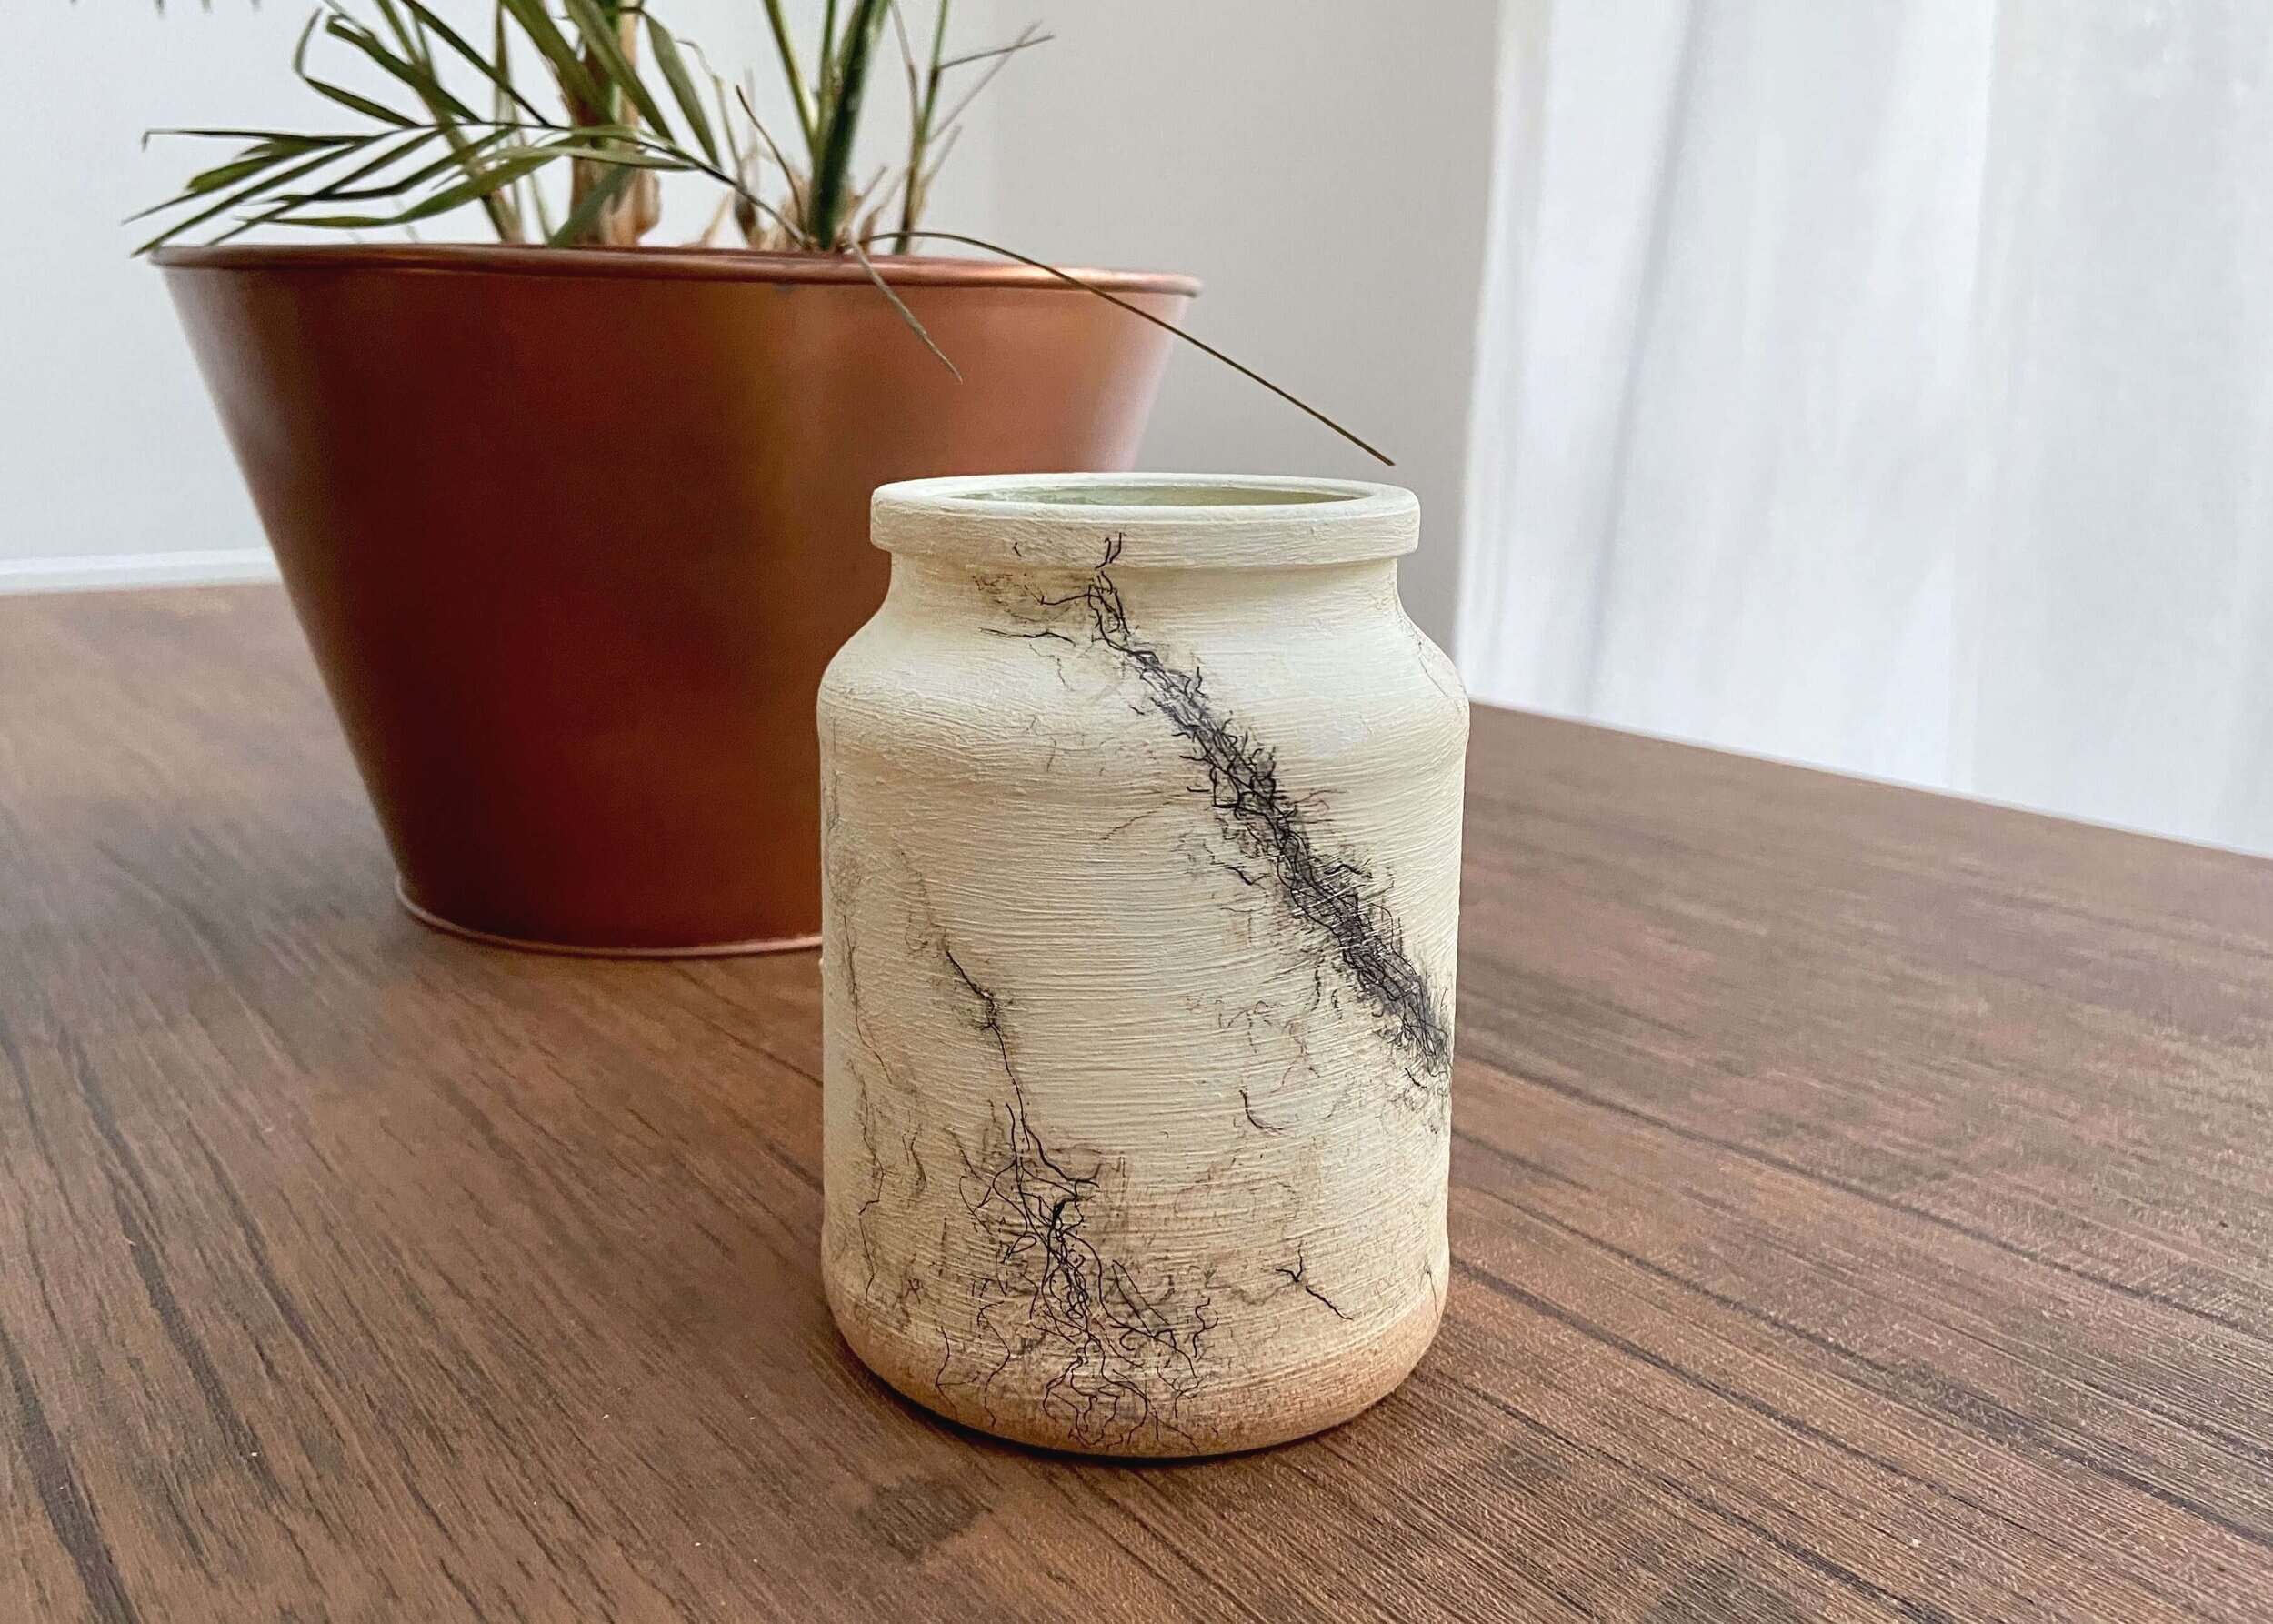
Upcycle old jars into fancy faux raku porcelain style vases!
Ok, who else is loving the Great Pottery Throw Down this lockdown? Alongside Netflix’s multitude of true crime documentaries and Channel 4’s Married At First Sight Australia, the Great Pottery Throw Down has been getting me through this slog of a lockdown. Pottery is such an art; I’m in total awe of the process, and this year they did an episode using a process called 'raku’, which I found just completely mesmerising. Based on a traditional Japanese process, raku pottery is made by removing it from the kiln whilst red hot and placing it into, or placing combustible materials onto, the hot porcelain. Some of the artists used horsehair which created these beautiful white pieces with intricate black hair-like patterns on it. Each piece is unique, and each entirely dependent on the process.
I’m no potter; I’ve never never tried pottery before, and given the level of skill and equipment needed to do this, I’m unlikely to ever make my own raku pottery. So, I got thinking about how to upcycle some old coffee jars into vases, and using some paint and colouring pencils, I was able to create this faux raku effect. They of course can’t compare to the real deal, and so if you have the means, you can find many beautiful real pieces over on Etsy. Otherwise, keep reading to find out how to create this effect…


Old Jar
Watercolour pencils
Acrylic paint
Paintbrush
Sealer/Varnish


1.
First of all, thoroughly clean out your coffee jar and remove any labels.

2.
Next, paint your jar in an off white colour. I used several layers of acrylic paint with a paintbrush, but a spray paint would give a smoother and nicer finish.

3.
When your paint is thoroughly dry, take a brown water colour pencil and create delicate slightly squiggly lines like hairs over the vase. Go over this with a black watercolour pencil.

4.
Next, use a sponge and acrylic paint to place a light brown at the bottom of the jar (to give a burnt effect). Then use a small paintbrush with water on to go over the pencil marks.

5.
Finally, use a permanent and waterproof black marker to add some marks on top of the pencil marks to define some areas a bit more.


