Repurpose a wooden pallet into a garden ladder herb shelf
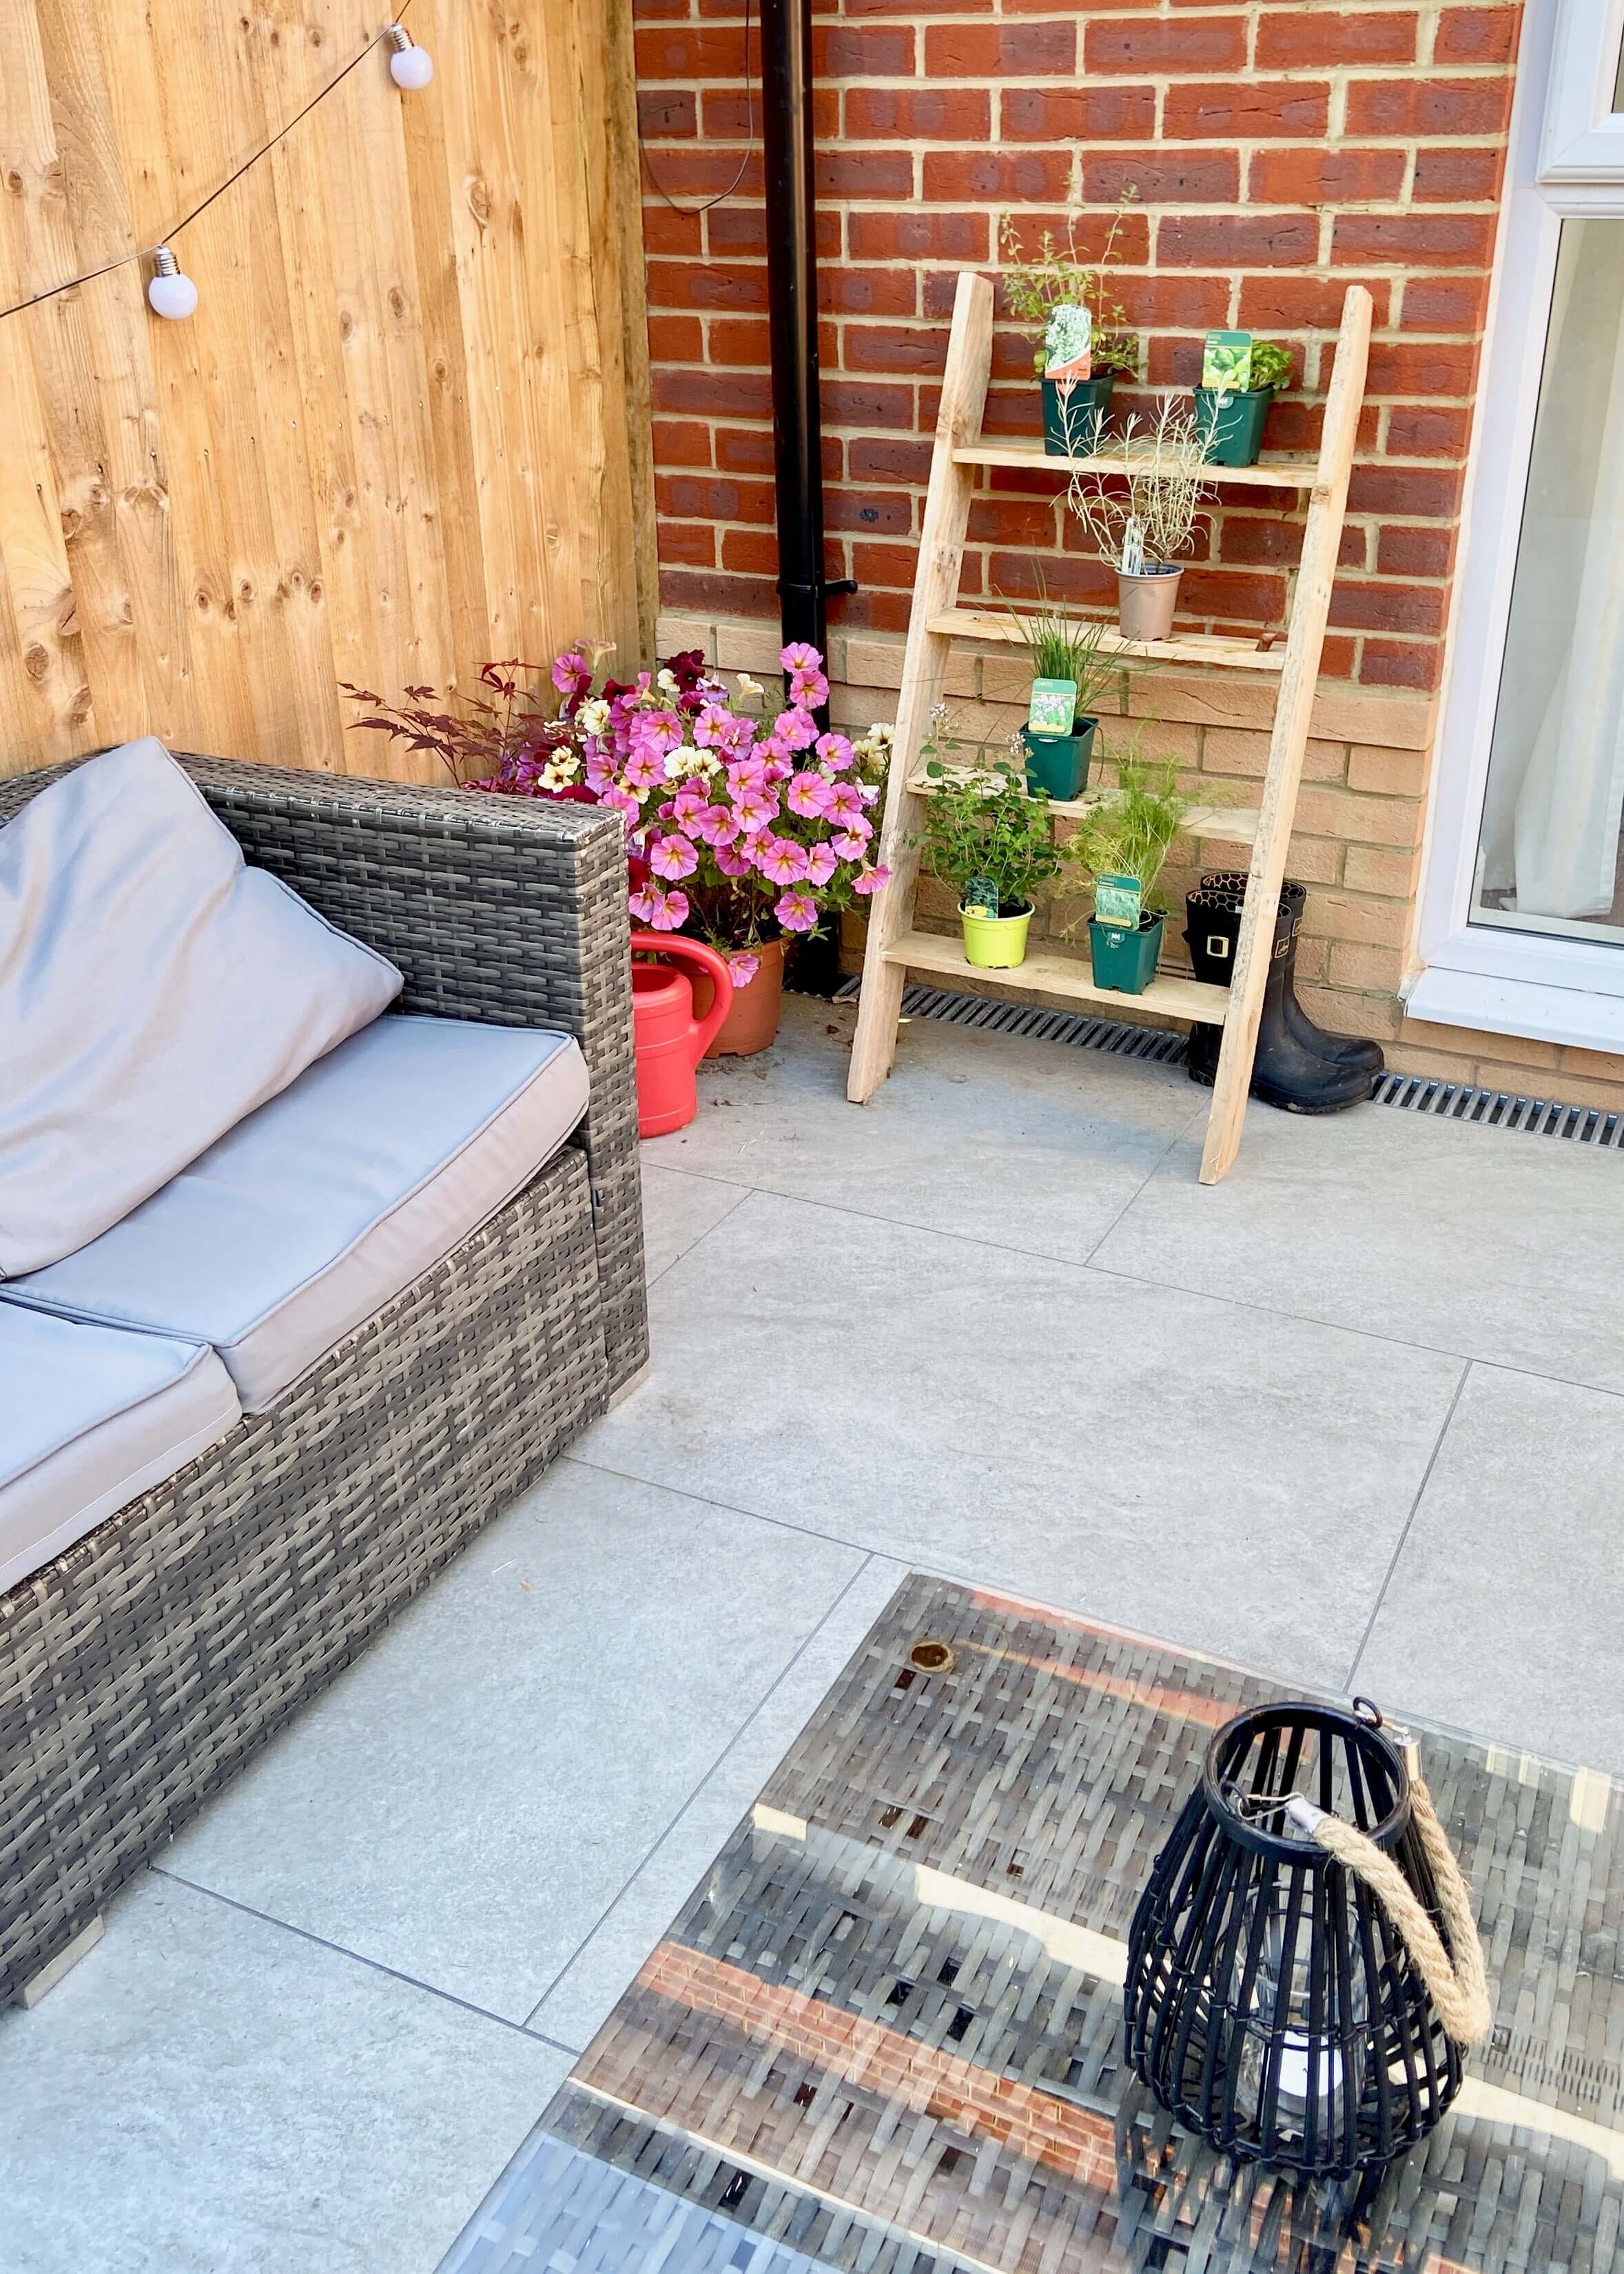
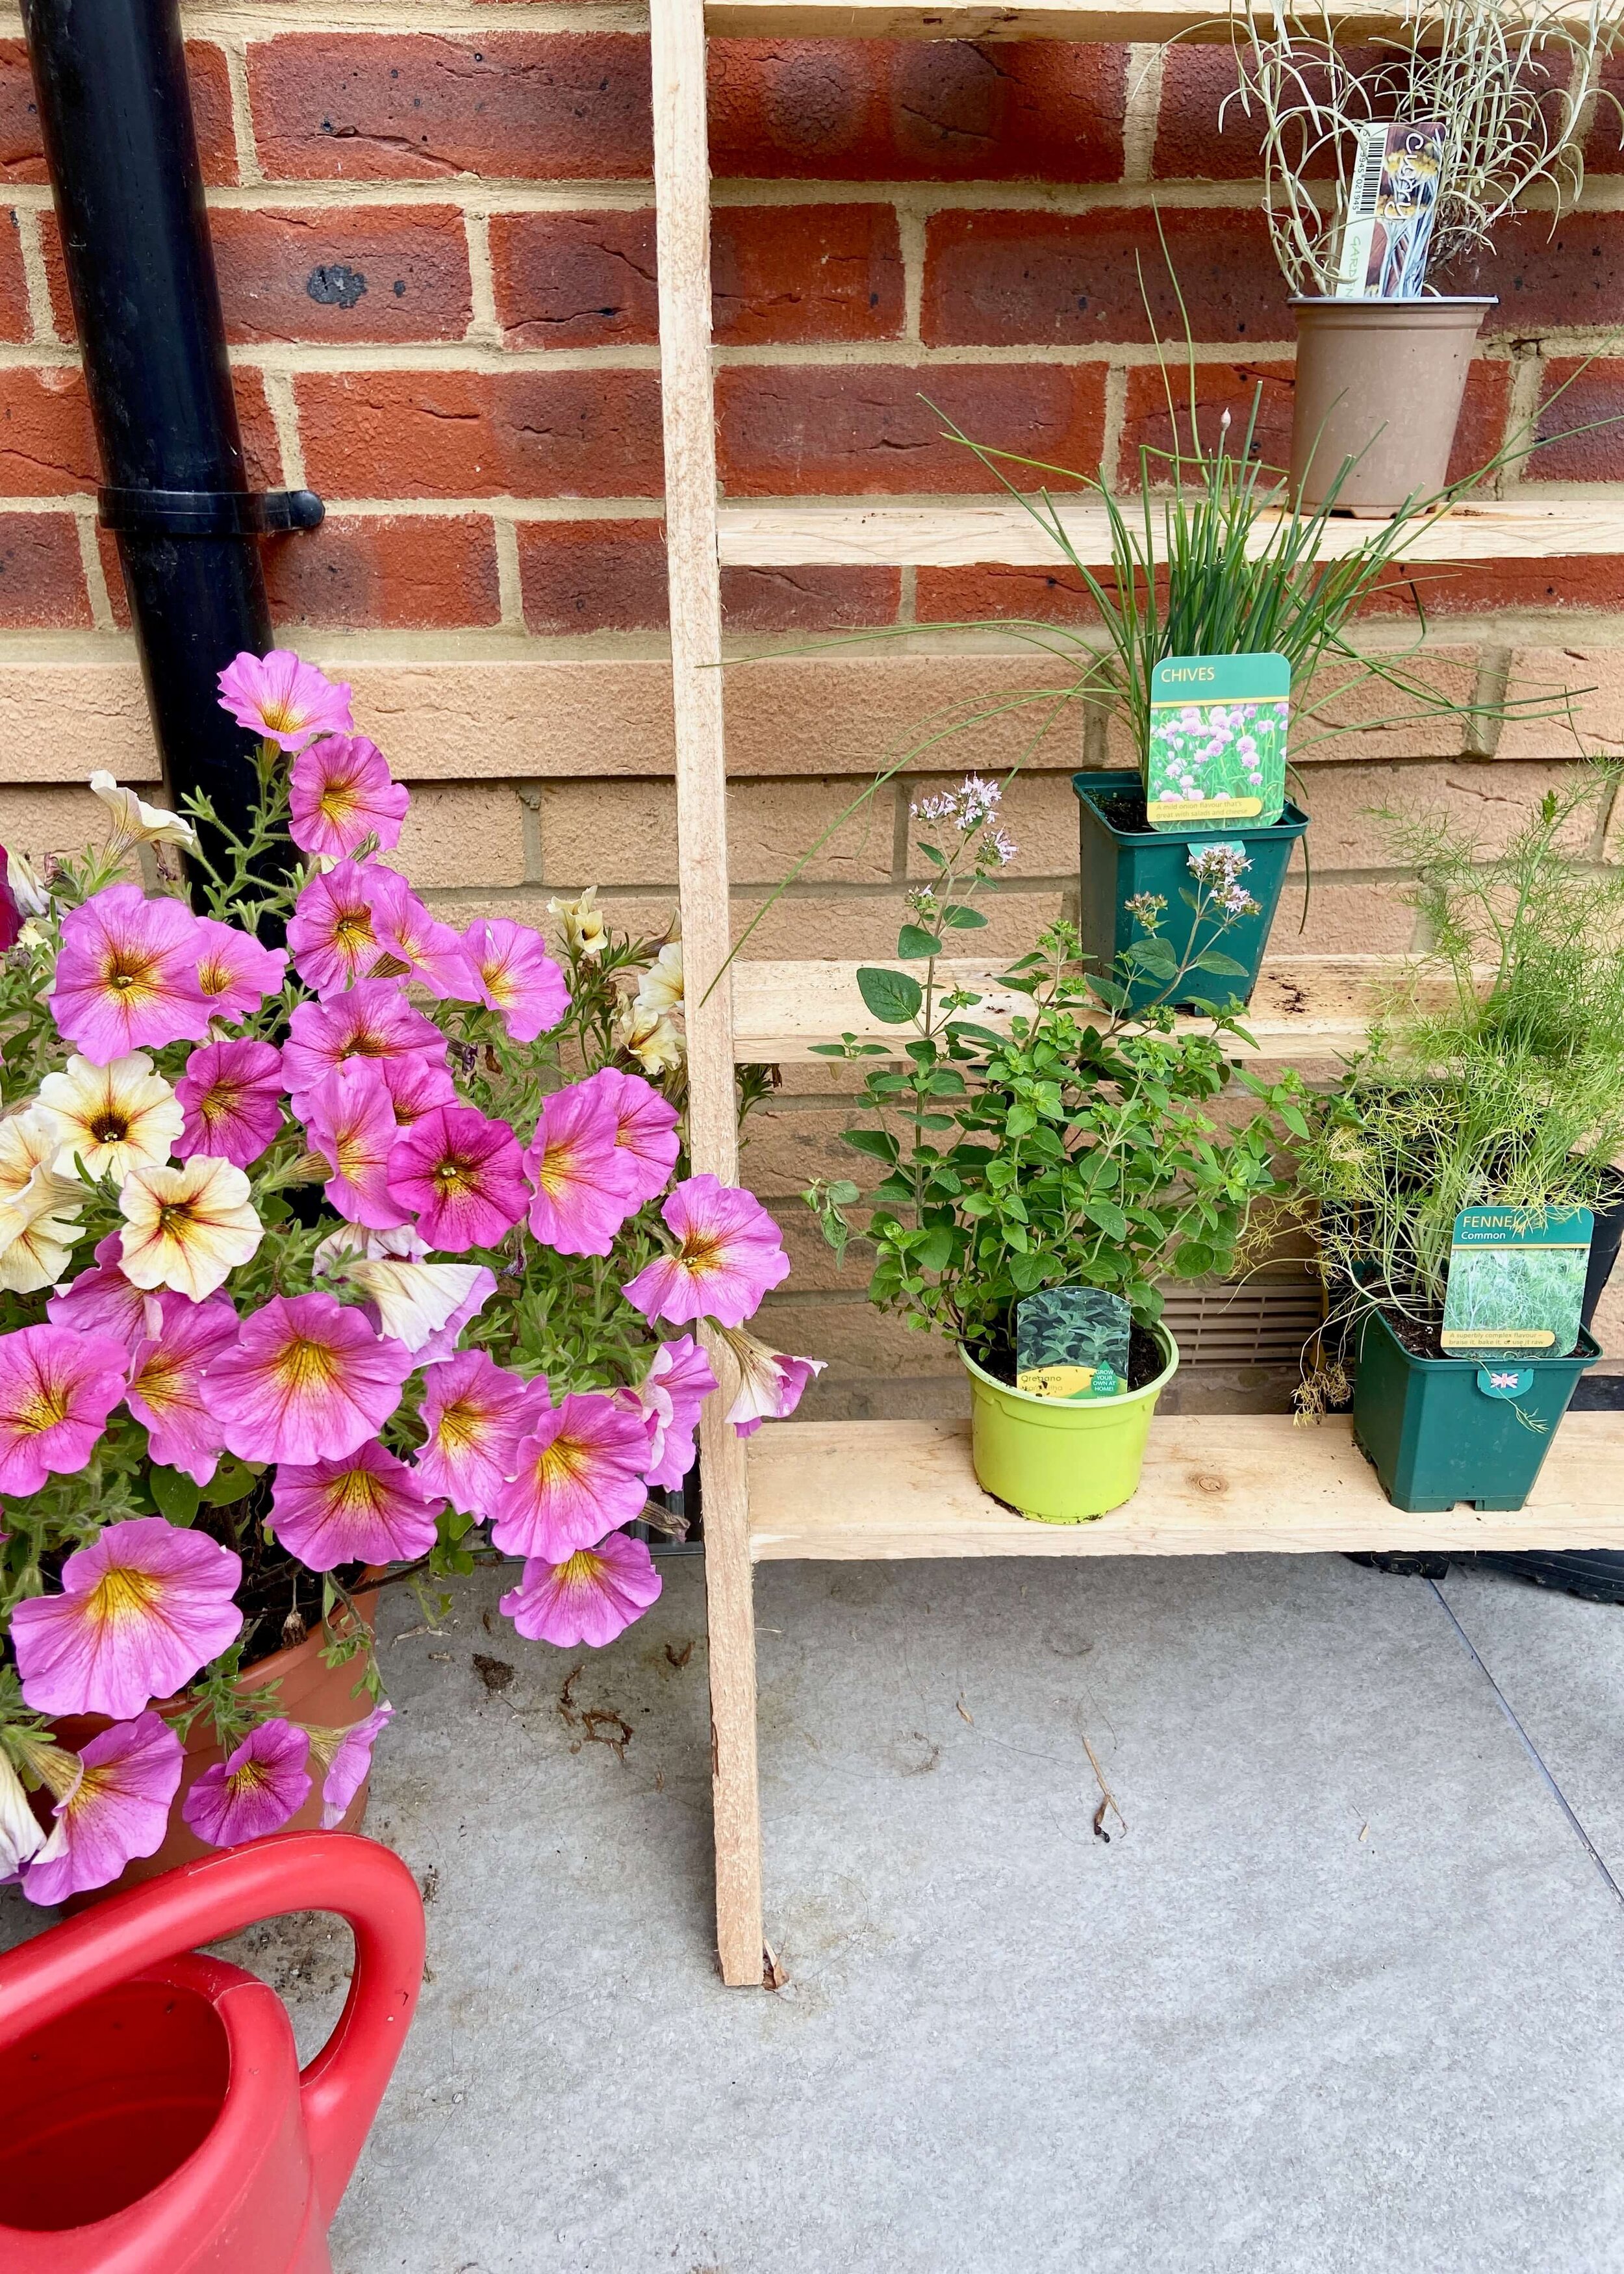
After our garden patio was finished, we had so much tidying and clearing to do from all the rubbish and materials left over. One of the items we gained was a wooden pallet, which I believe some of the patio slabs came on. The other half quite rightly knew I would want to keep it and attempt to make something from it, so he put it to one side for me. I’ve seen a fair few wooden pallet’s used in DIY projects on Pinterest and Instagram, and so I knew it was possible to repurpose it into something that we could both use and love. Something that we’ve been wanting to get for the garden for some time were ladder shelves to store and display our herbs on. My partner is a massive foodie and it’s always been his dream to have herbs readily available in the garden, and so this felt like the perfect idea to try and create. Actually dismantling the wooden pallet was the hardest part of this project, and I had a few mishaps with the drill, but with a bit of team work, we managed to get this done in less than a day. I love how it looks, and at some point I will probably stain or treat it but I want to try out a few options before I commit to a colour. Follow me on instagram if you want to see what I choose, and keep reading to find out what I used and how I did it…
Wooden Pallet
Drill
Wood saw
Screws
Varnish
1.
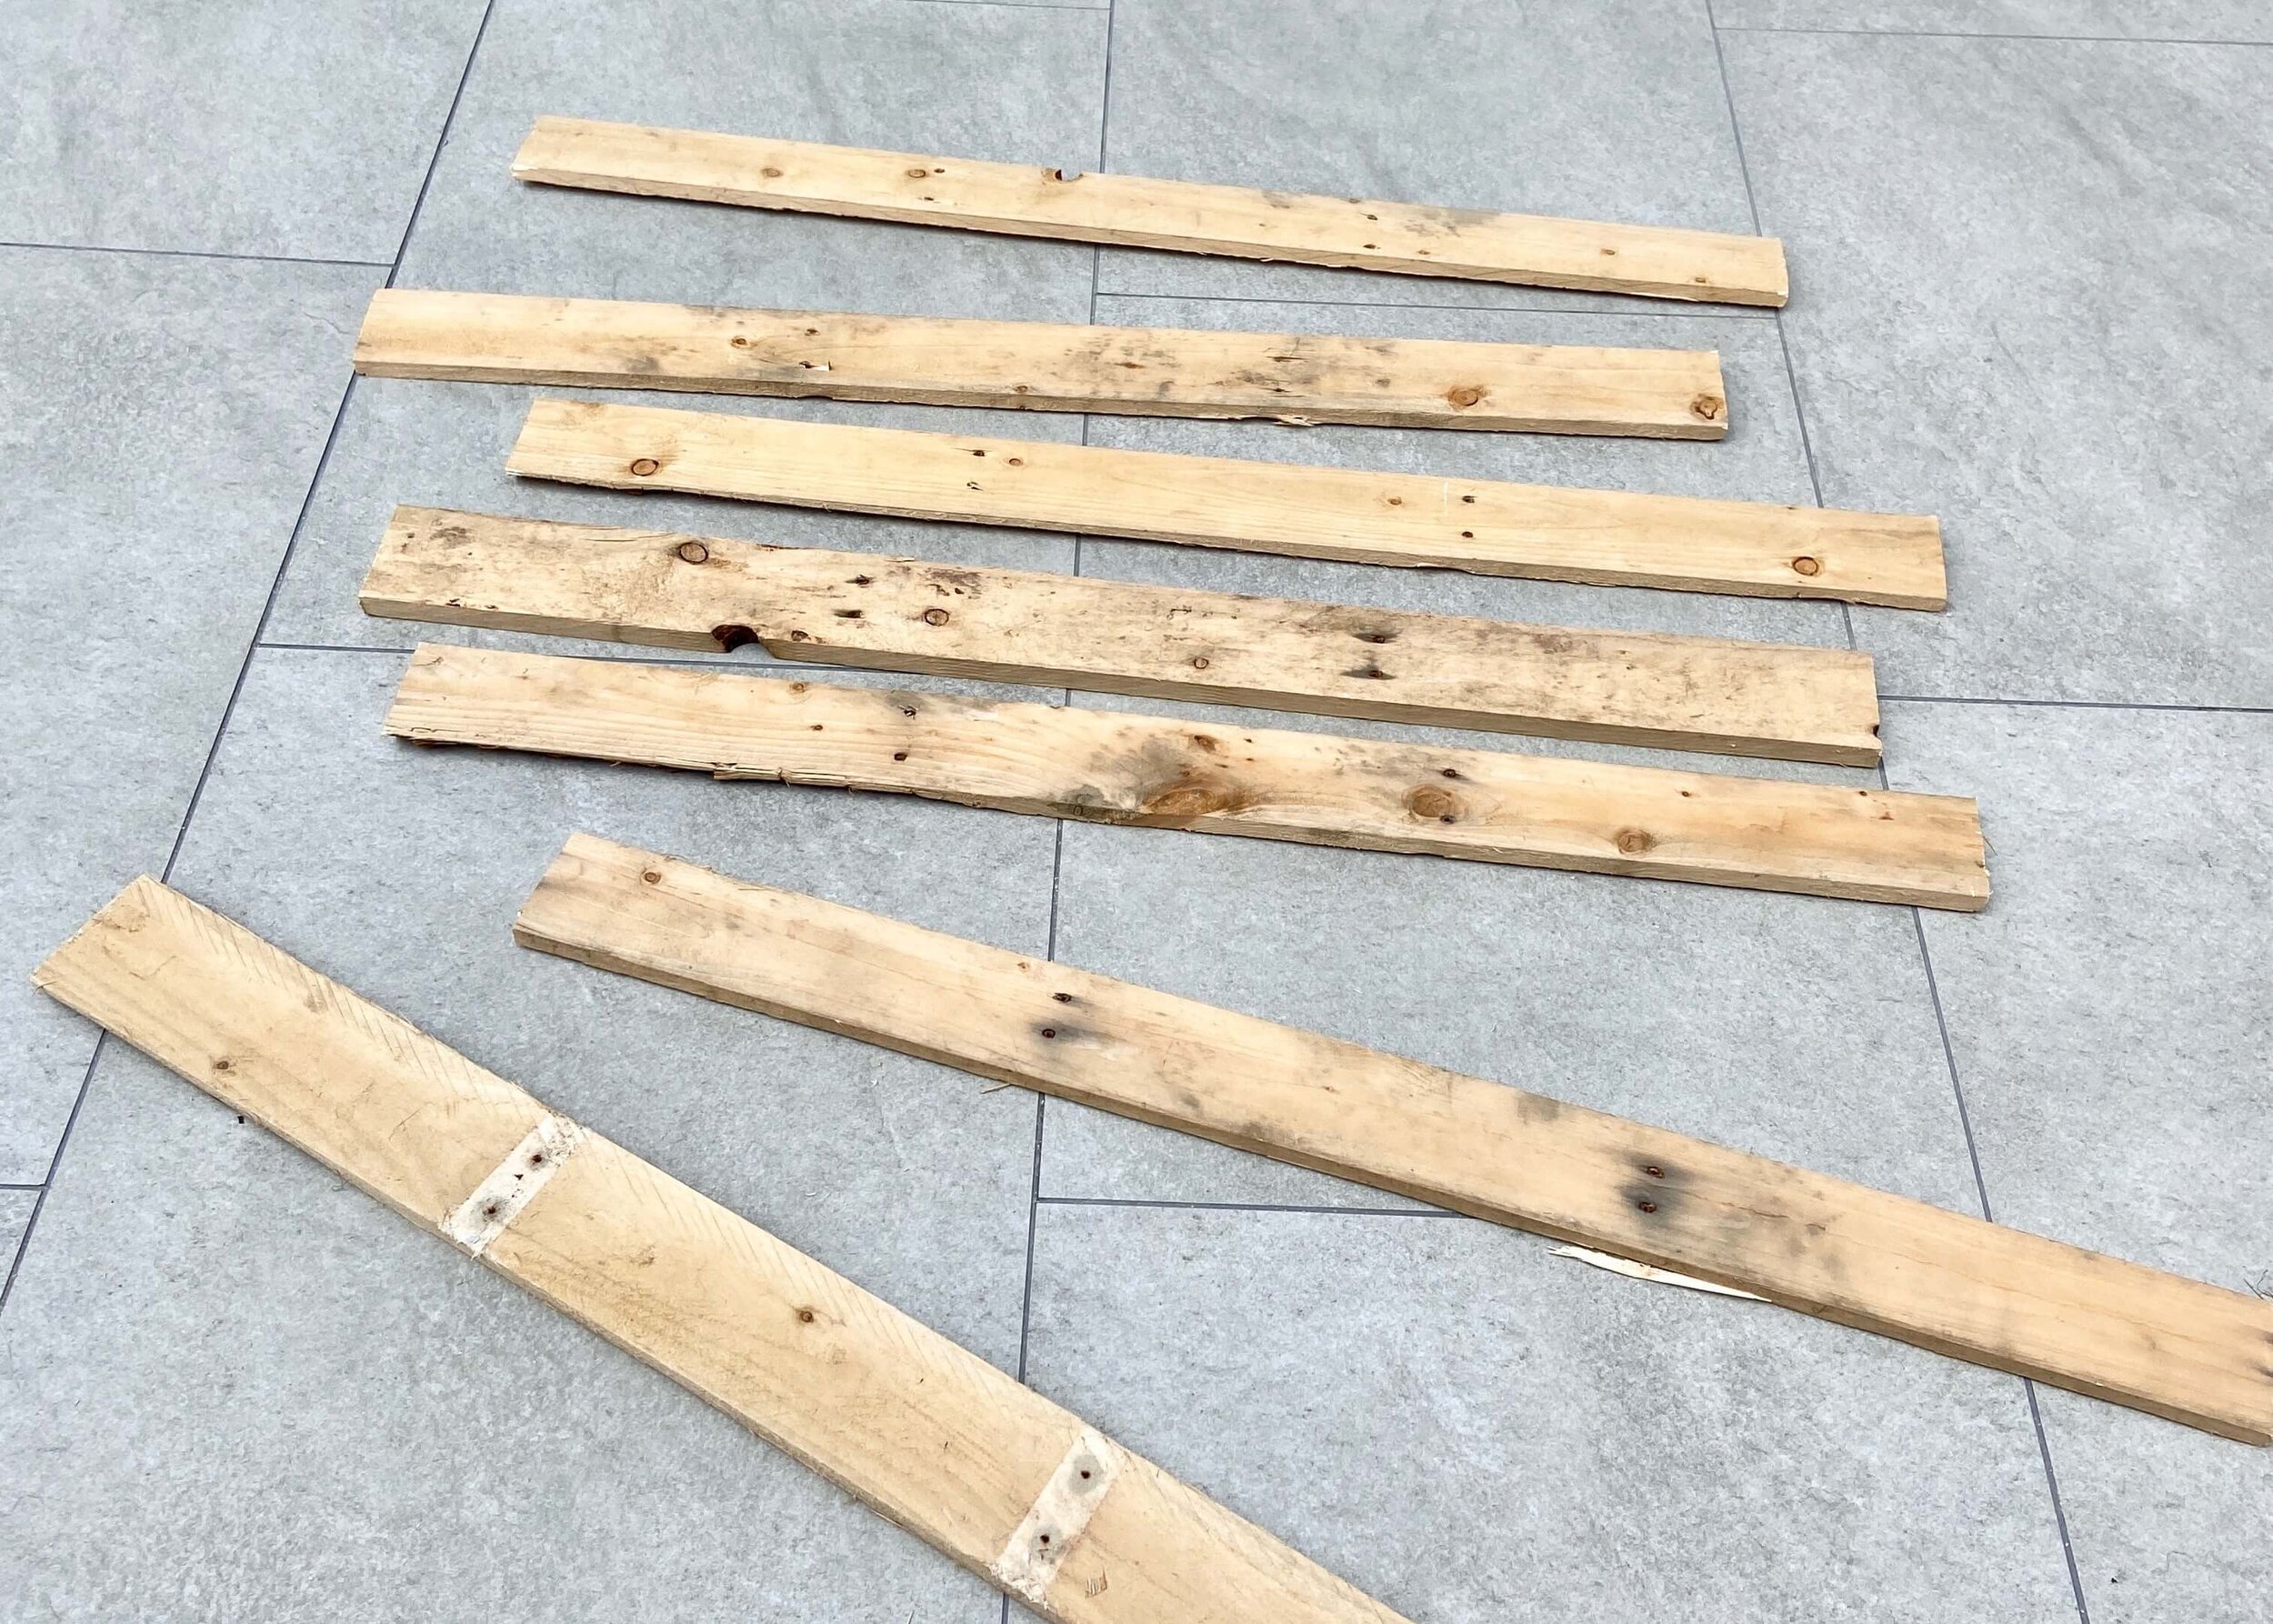
First of all, you’ll need to dismantle your wooden pallet. If like mine the nails are hammered really far into the wood, you may need to saw off the ends and use a combination or a hammer, chisel and crowbar to release the nails in the middle of each wooden board.
2.
Once you have freed your wooden boards, decide which ones you want to use and where. I used slightly chunkier planks for the sides of my shelves, and chose the boards that were the least mouldy/beaten up for the shelves.
3.
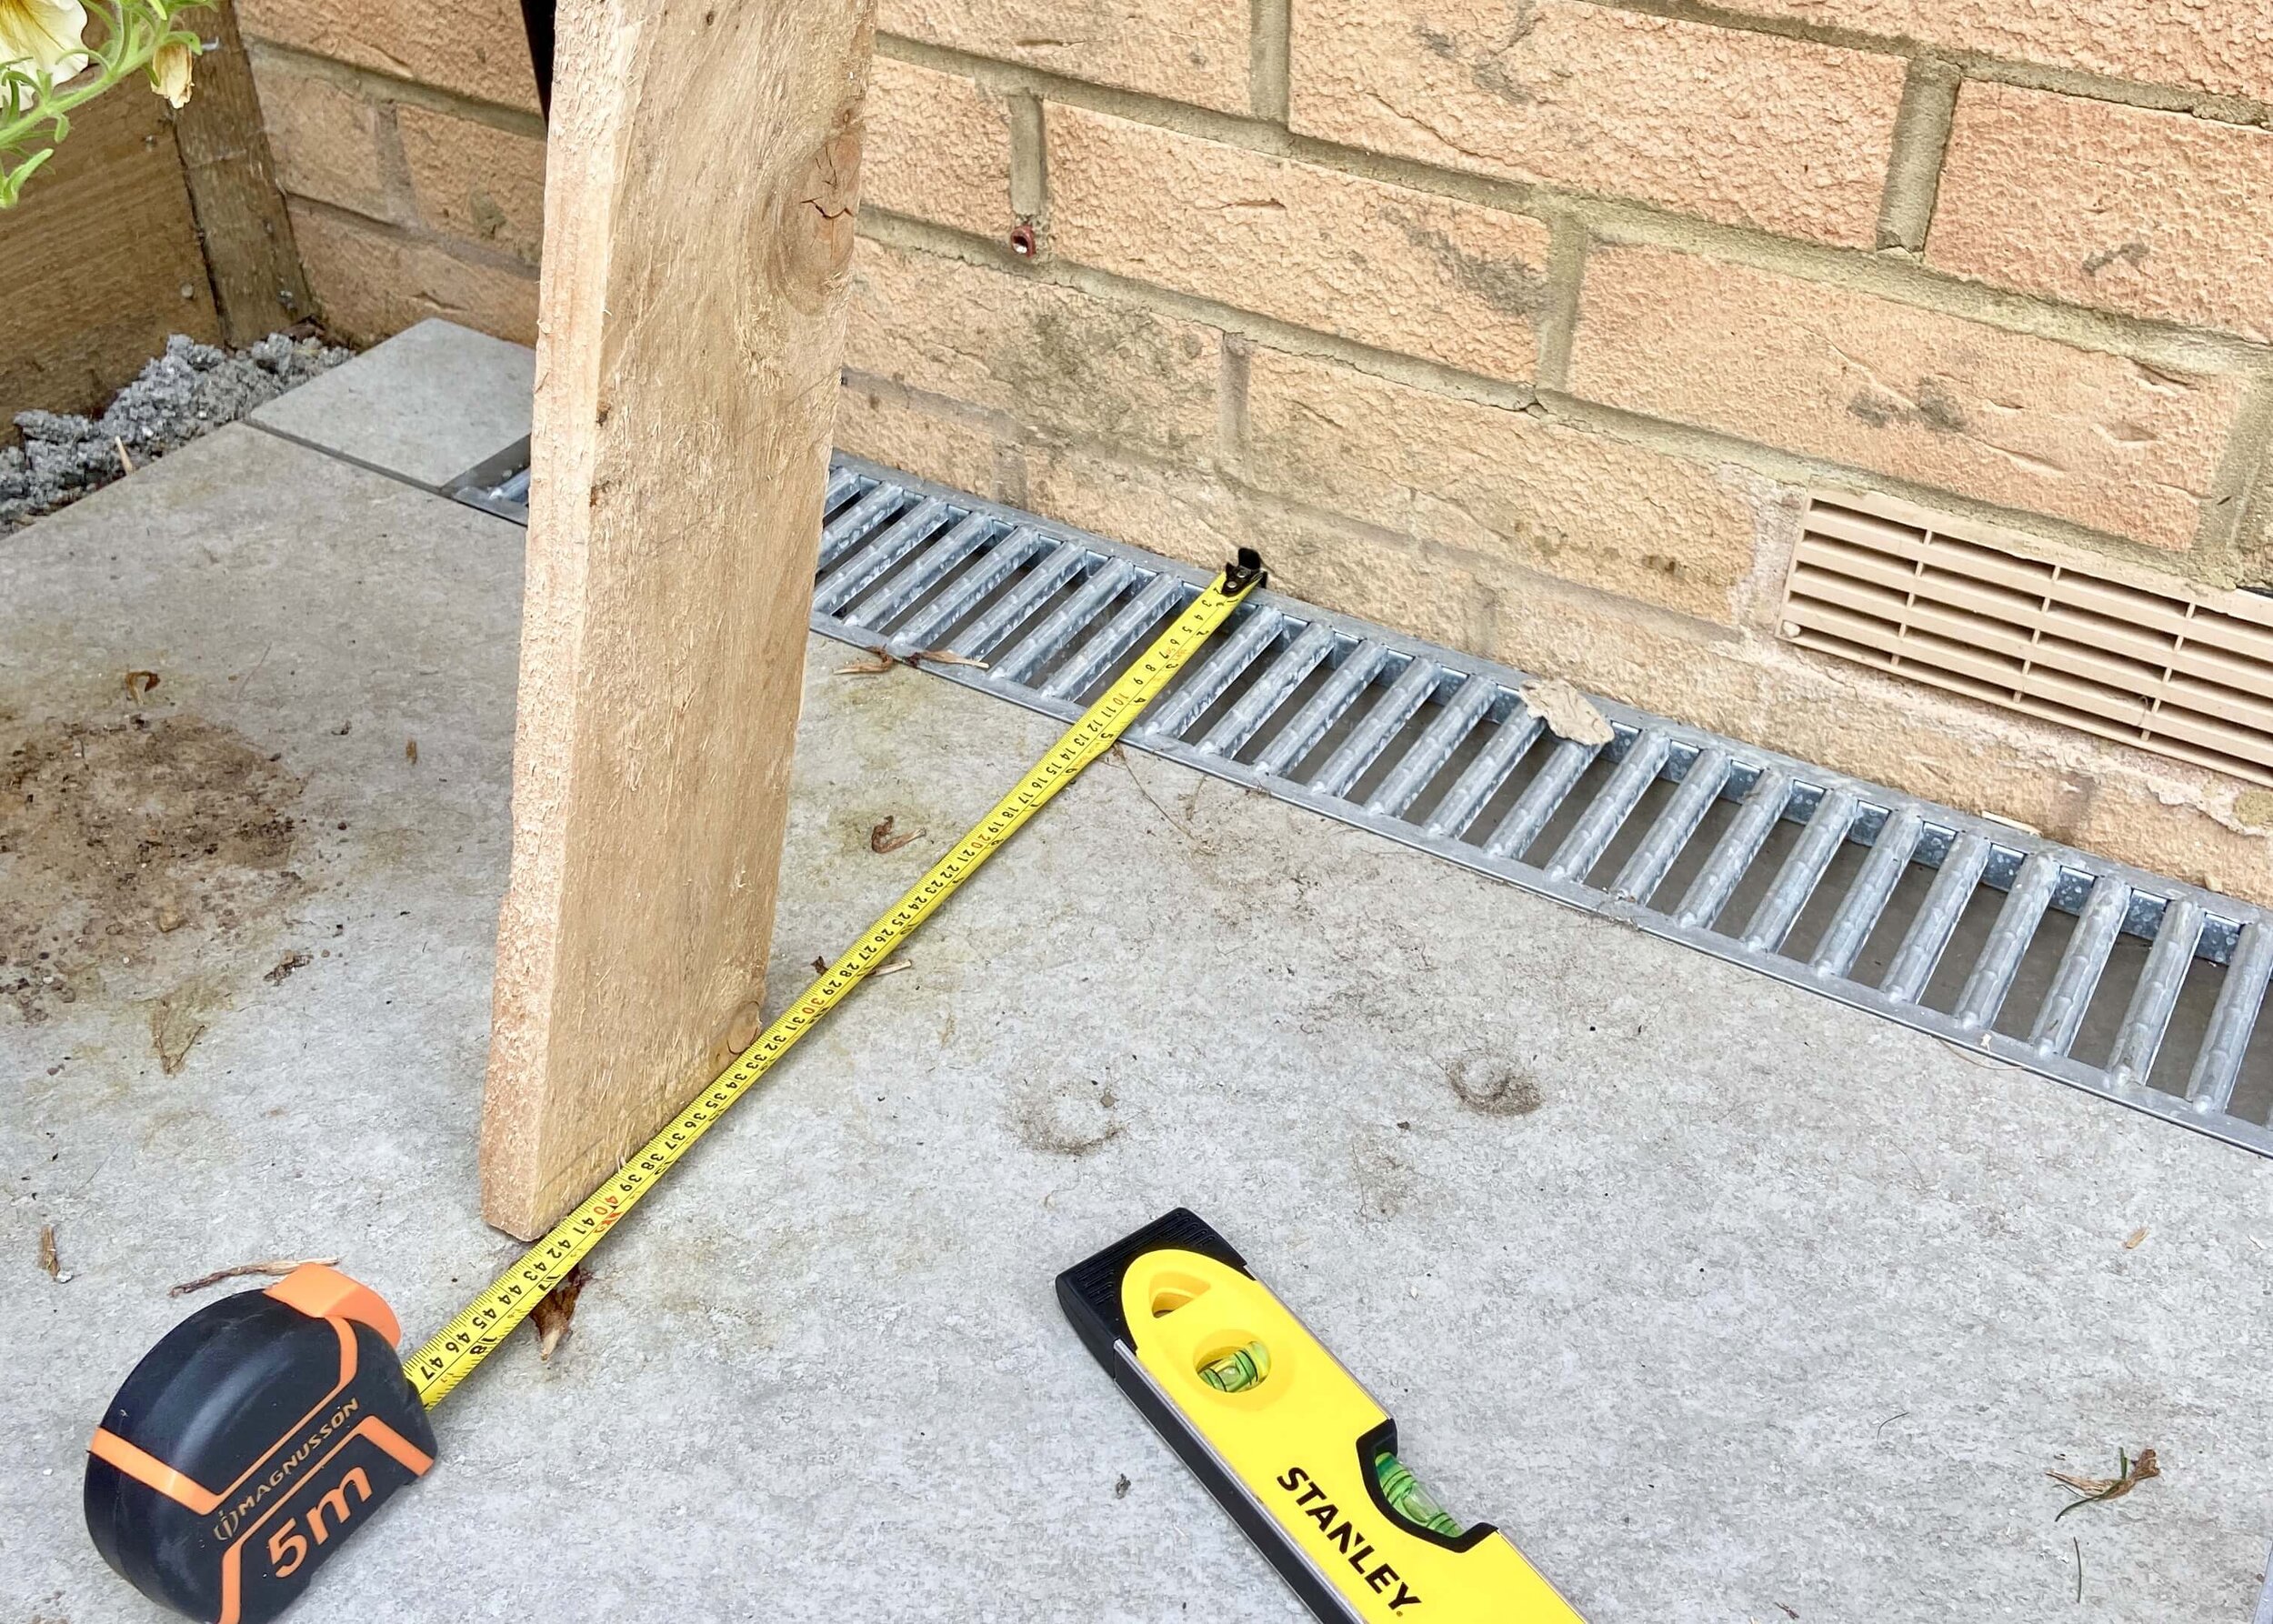
Take your two planks that will make the sides of your shelves and lean them against the wall at the angle you want them to sit at. Use another board to mark off this angle at the bottom of each plank (perpendicular to the floor) and at the top of the plank (perpendicular to the wall).
4.
Use a saw to cut the top and the bottom of these two planks at the angle drawn on in step 3. Check that you are happy with how they fit against the floor and the wall.
5.
Next, decide how wide you want your shelving unit to be, and cut 4 (or however many shelves you want) as this length. I decided to have 4 shelves, each at 50cm in length.
6.
Next work out where you want your shelves to be positioned. I chose to have mine approximately 23cm apart from each other. I then measured 22cm up from the bottom of the left side plank (both at the front and the back) and drew a line between these two points.
7.
Use a drill to create pilot holes on the inside of one of the side planks below this line and hold your shelves at the correct angle whilst you put in screws to attach it from the outside.
9.
Next, position the sides and shelf against the wall and use a level to mark on the other side of the shelving unit where the shelf will sit. Drill pilot holes where the shelf will go, hold the shelf in place here and then use screws to secure.
8.
Repeat the steps above for the other shelves, ensuring each time that the shelves are level to the ground and not tilting forward or backward.
10.
Once all of your shelves are attached, you can stain or varnish, and when dry, add your herbs or plant pots.


