
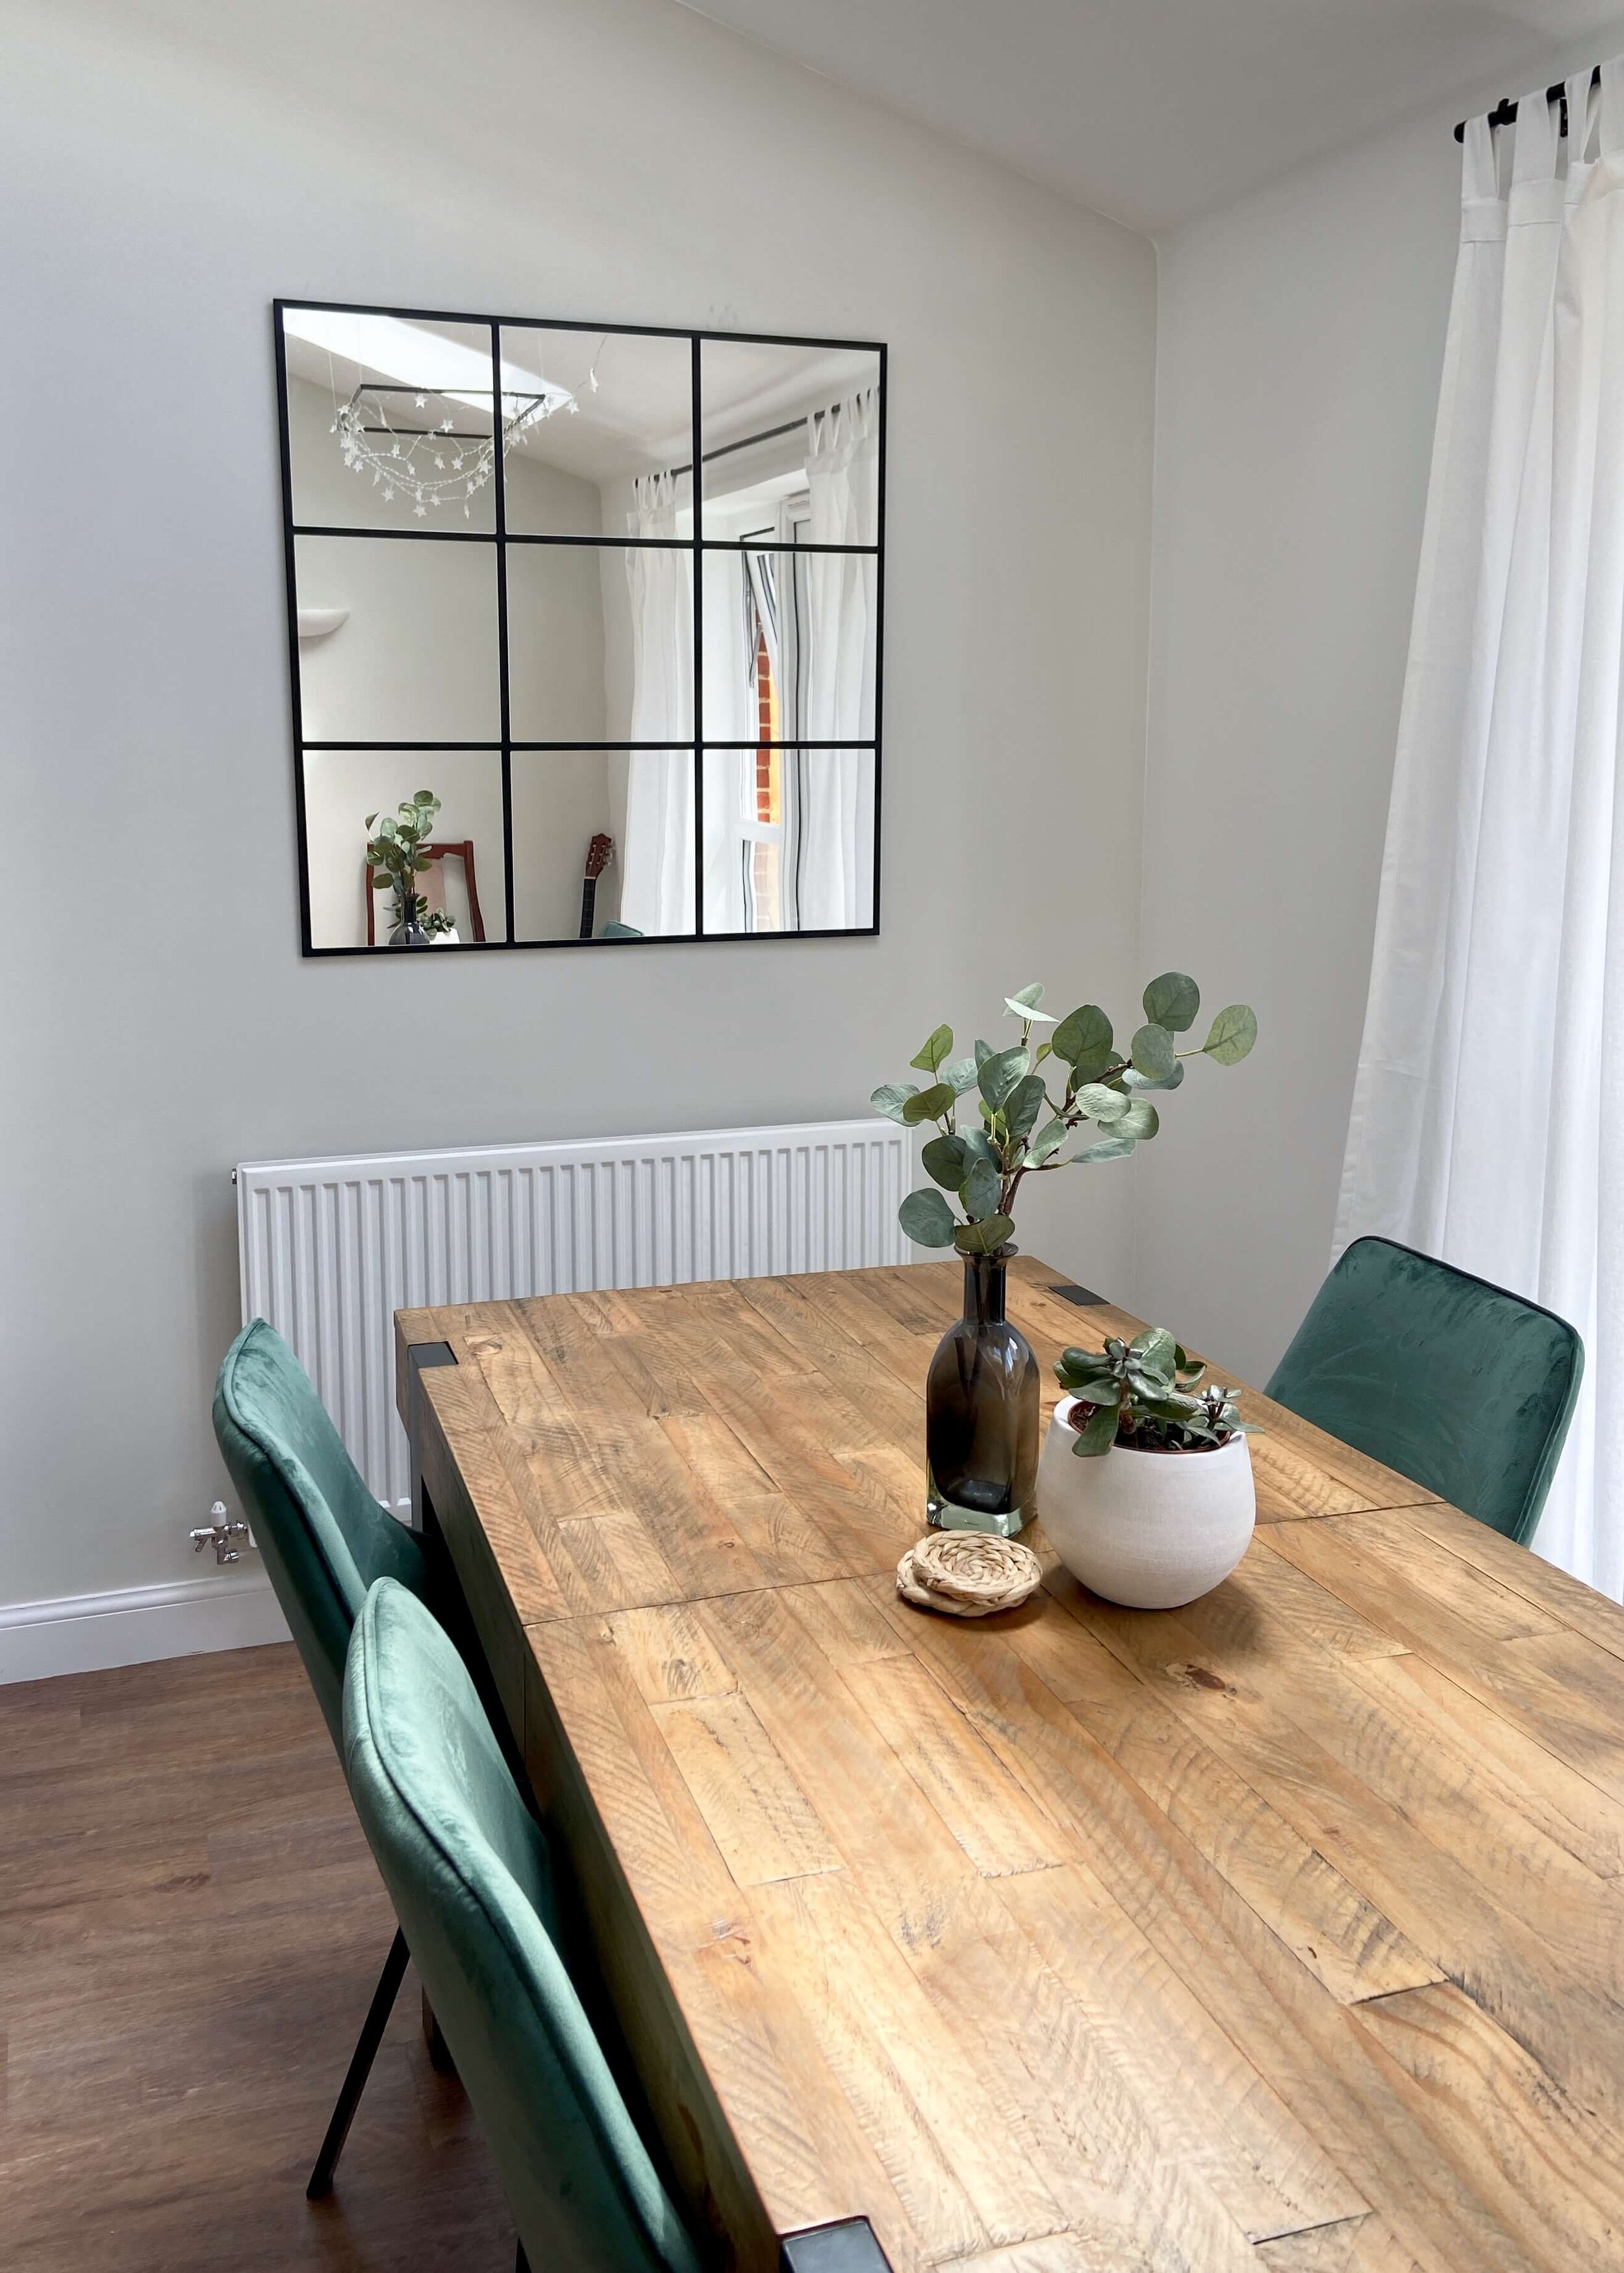

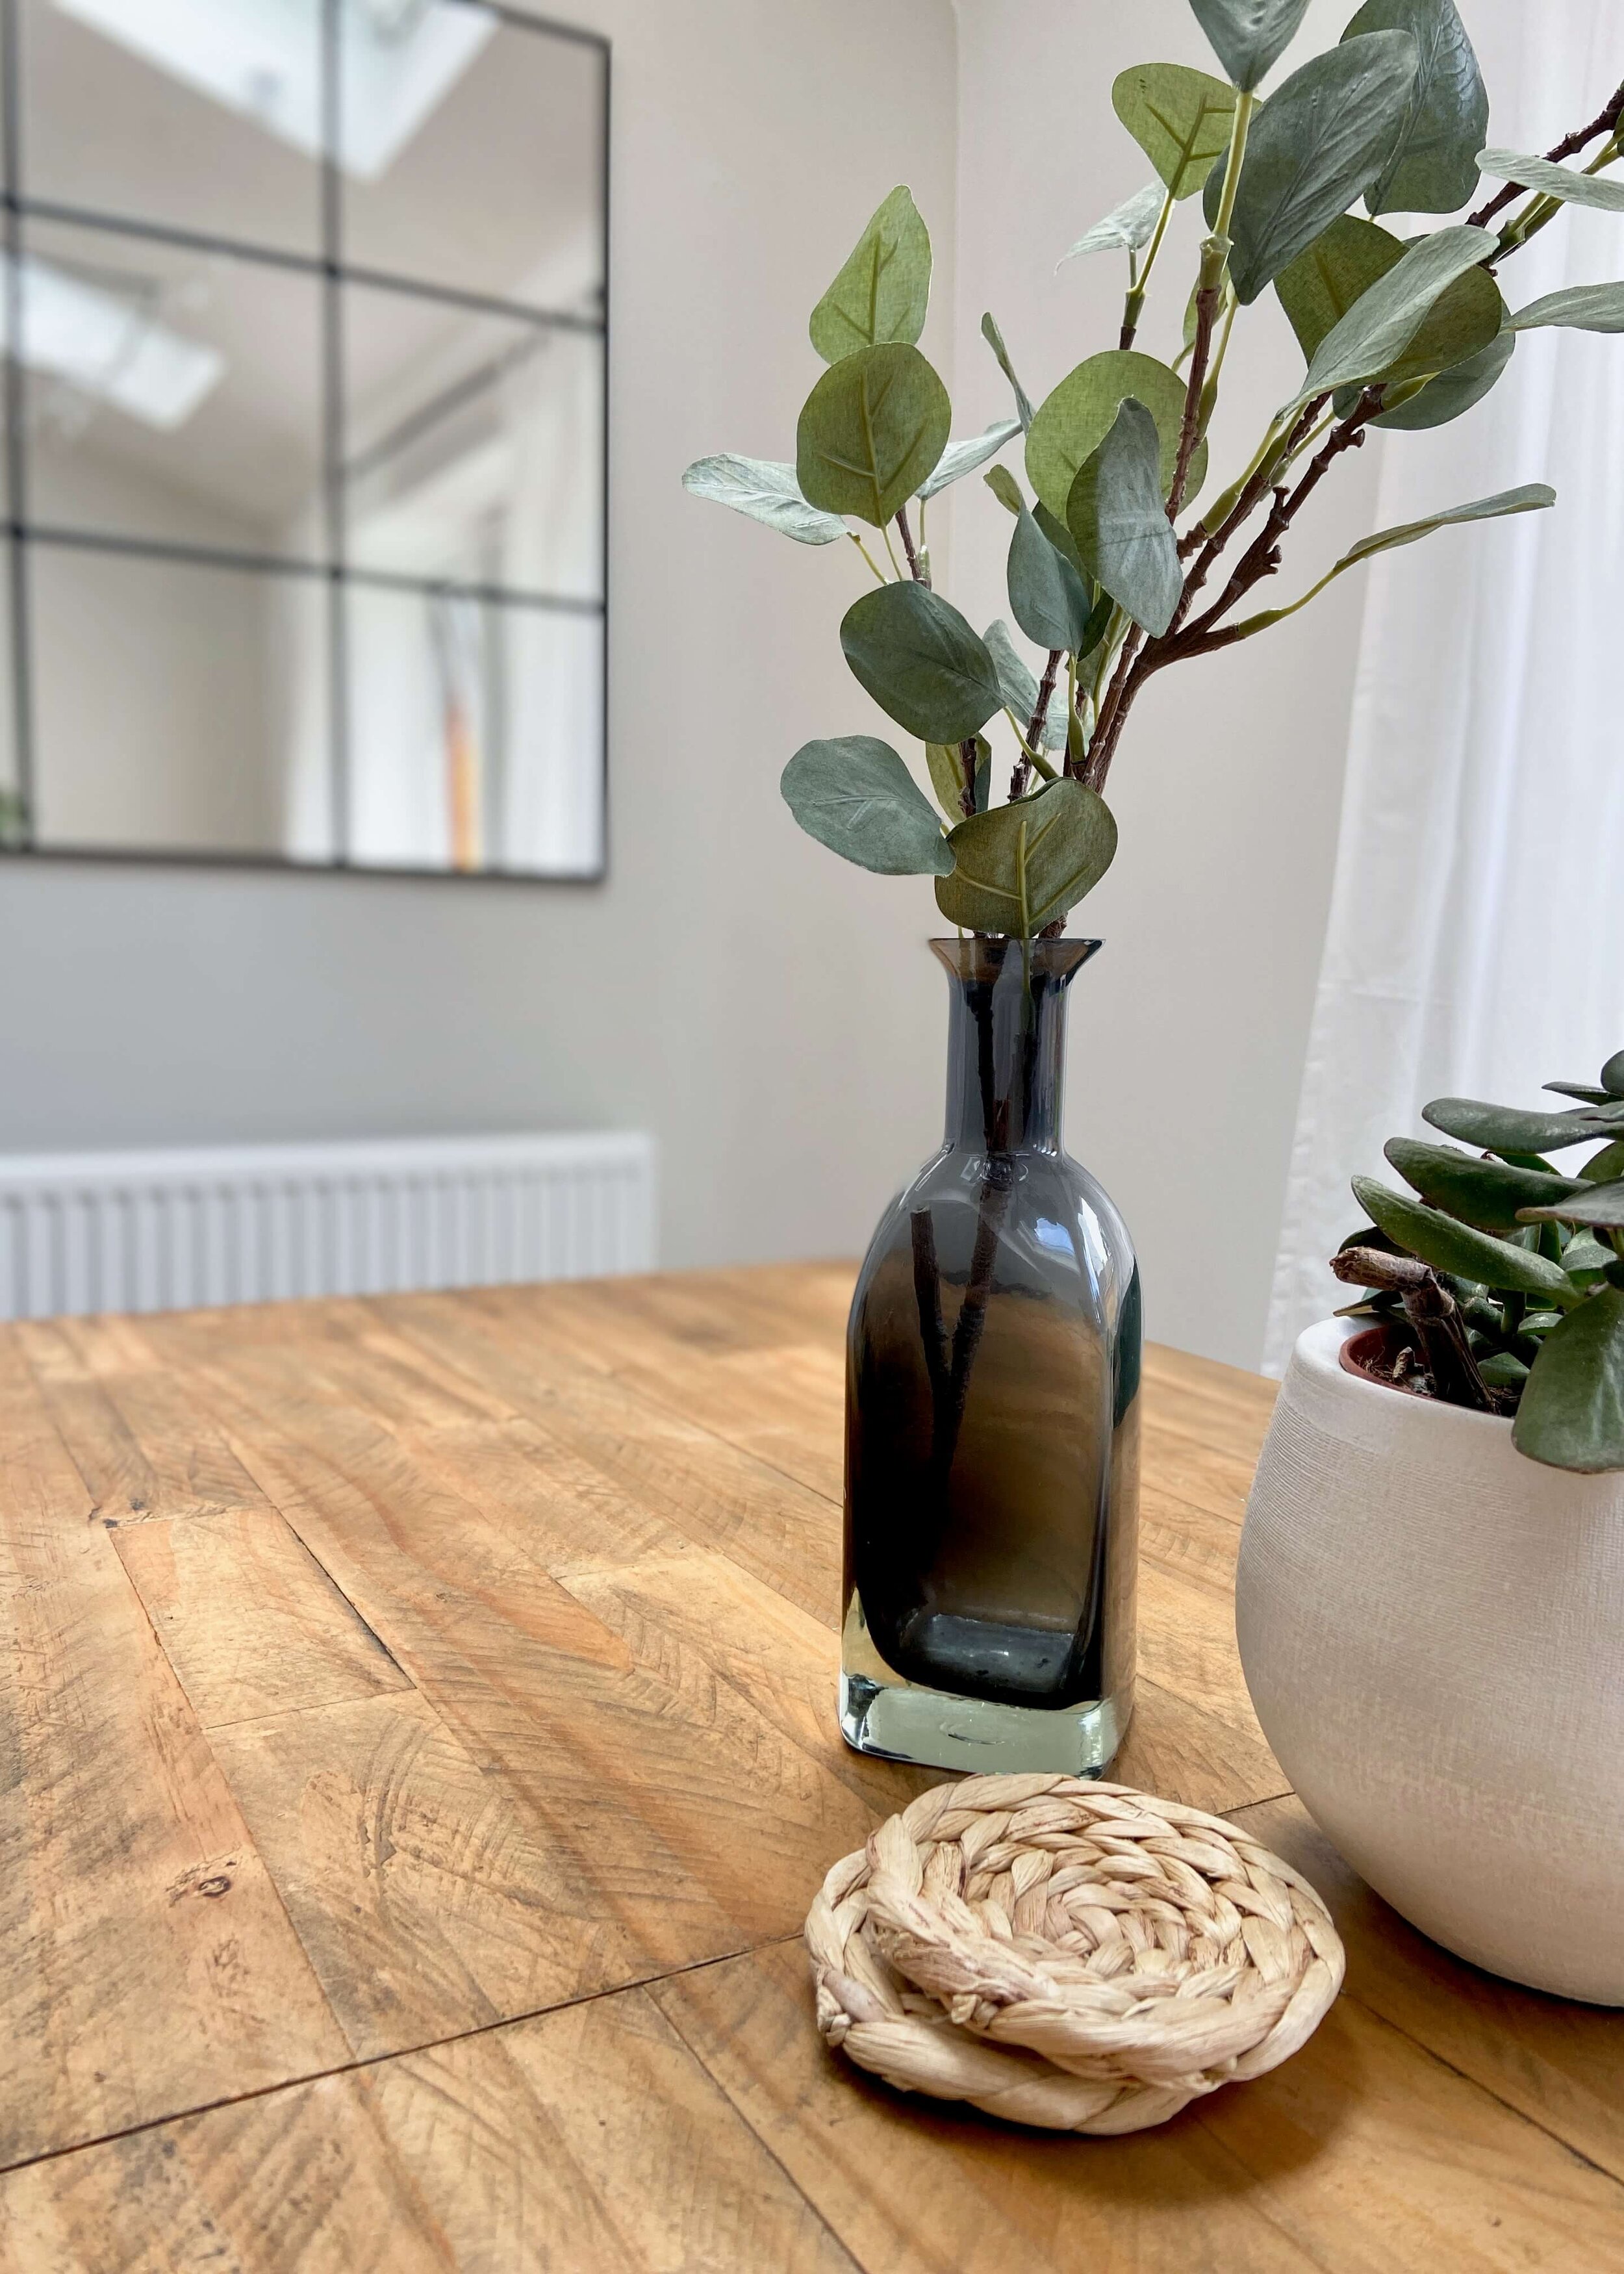
Create a industrial window mirror using MDF and mirror tiles
I’ve wanted an industrial-style grid or window mirror for so long and finally I’ve got one. Even more satisfying, I made it myself, and it was really very easy. There are plenty of places that sell these sorts of mirrors with some real bargains to be had out there, but for the size I wanted, I knew I would be looking at around a couple of hundred pounds. Given we’re saving for a wedding, I just didn’t feel we couldn’t justify that sort of money on a mirror, and so I did some research and made my own.
Wood is pretty expensive at the moment and so I’d recommend ordering it cut to size online, I used Cut My Plastic and got my 95cm by 95cm of 9mm MDF for around £20, which compared to shops like B&Q and Homebase seemed pretty good. I then bought mirror tiles from Ikea at £7 for 4 tiles, which meant I needed 3 packs and spent £21. I already had black furniture paint, adhesive and screws so I didn’t need to spend a penny on this, but finally I bought a french cleat to hang the mirror on the wall for around £12. In total, this project cost me about £50, which is around a third or quarter of what I would have been expecting to pay from a shop.
I love how this mirror turned out, it’s quite possibly my favourite project so far, and as well as saving me quite a bit of money, it took less than a day to complete (with a night to dry before hanging). I may add some wood strips in between the mirrors, but when I made this we were self-isolating and it’s giving me the look I was after as it is. If you fancy having a go yourself, keep reading to find out what I used and how I did it…


1.
FIrst of all, decide on the size you want your window mirror to be. I wanted mine to be square, and I wanted to have 9 square mirror tiles on it. The mirror tiles I picked up were 30cm by 30cm, and so I decided to order a pre-cut piece of 9mm MDF at 95cm by 95cm. This gave a border and gaps in between each mirror tile of around 12mm.

2.
Once you' have your wood, paint it all black in an appropriate paint. I used Furniture Paint appropriate for all wooden surfaces and so I didn’t prime, but be sure to follow it’s recommendations. MDF is very porous and not all paints can go straight on it without a primer underneath. I painted two coats in total and made sure to paint the edges.
3.
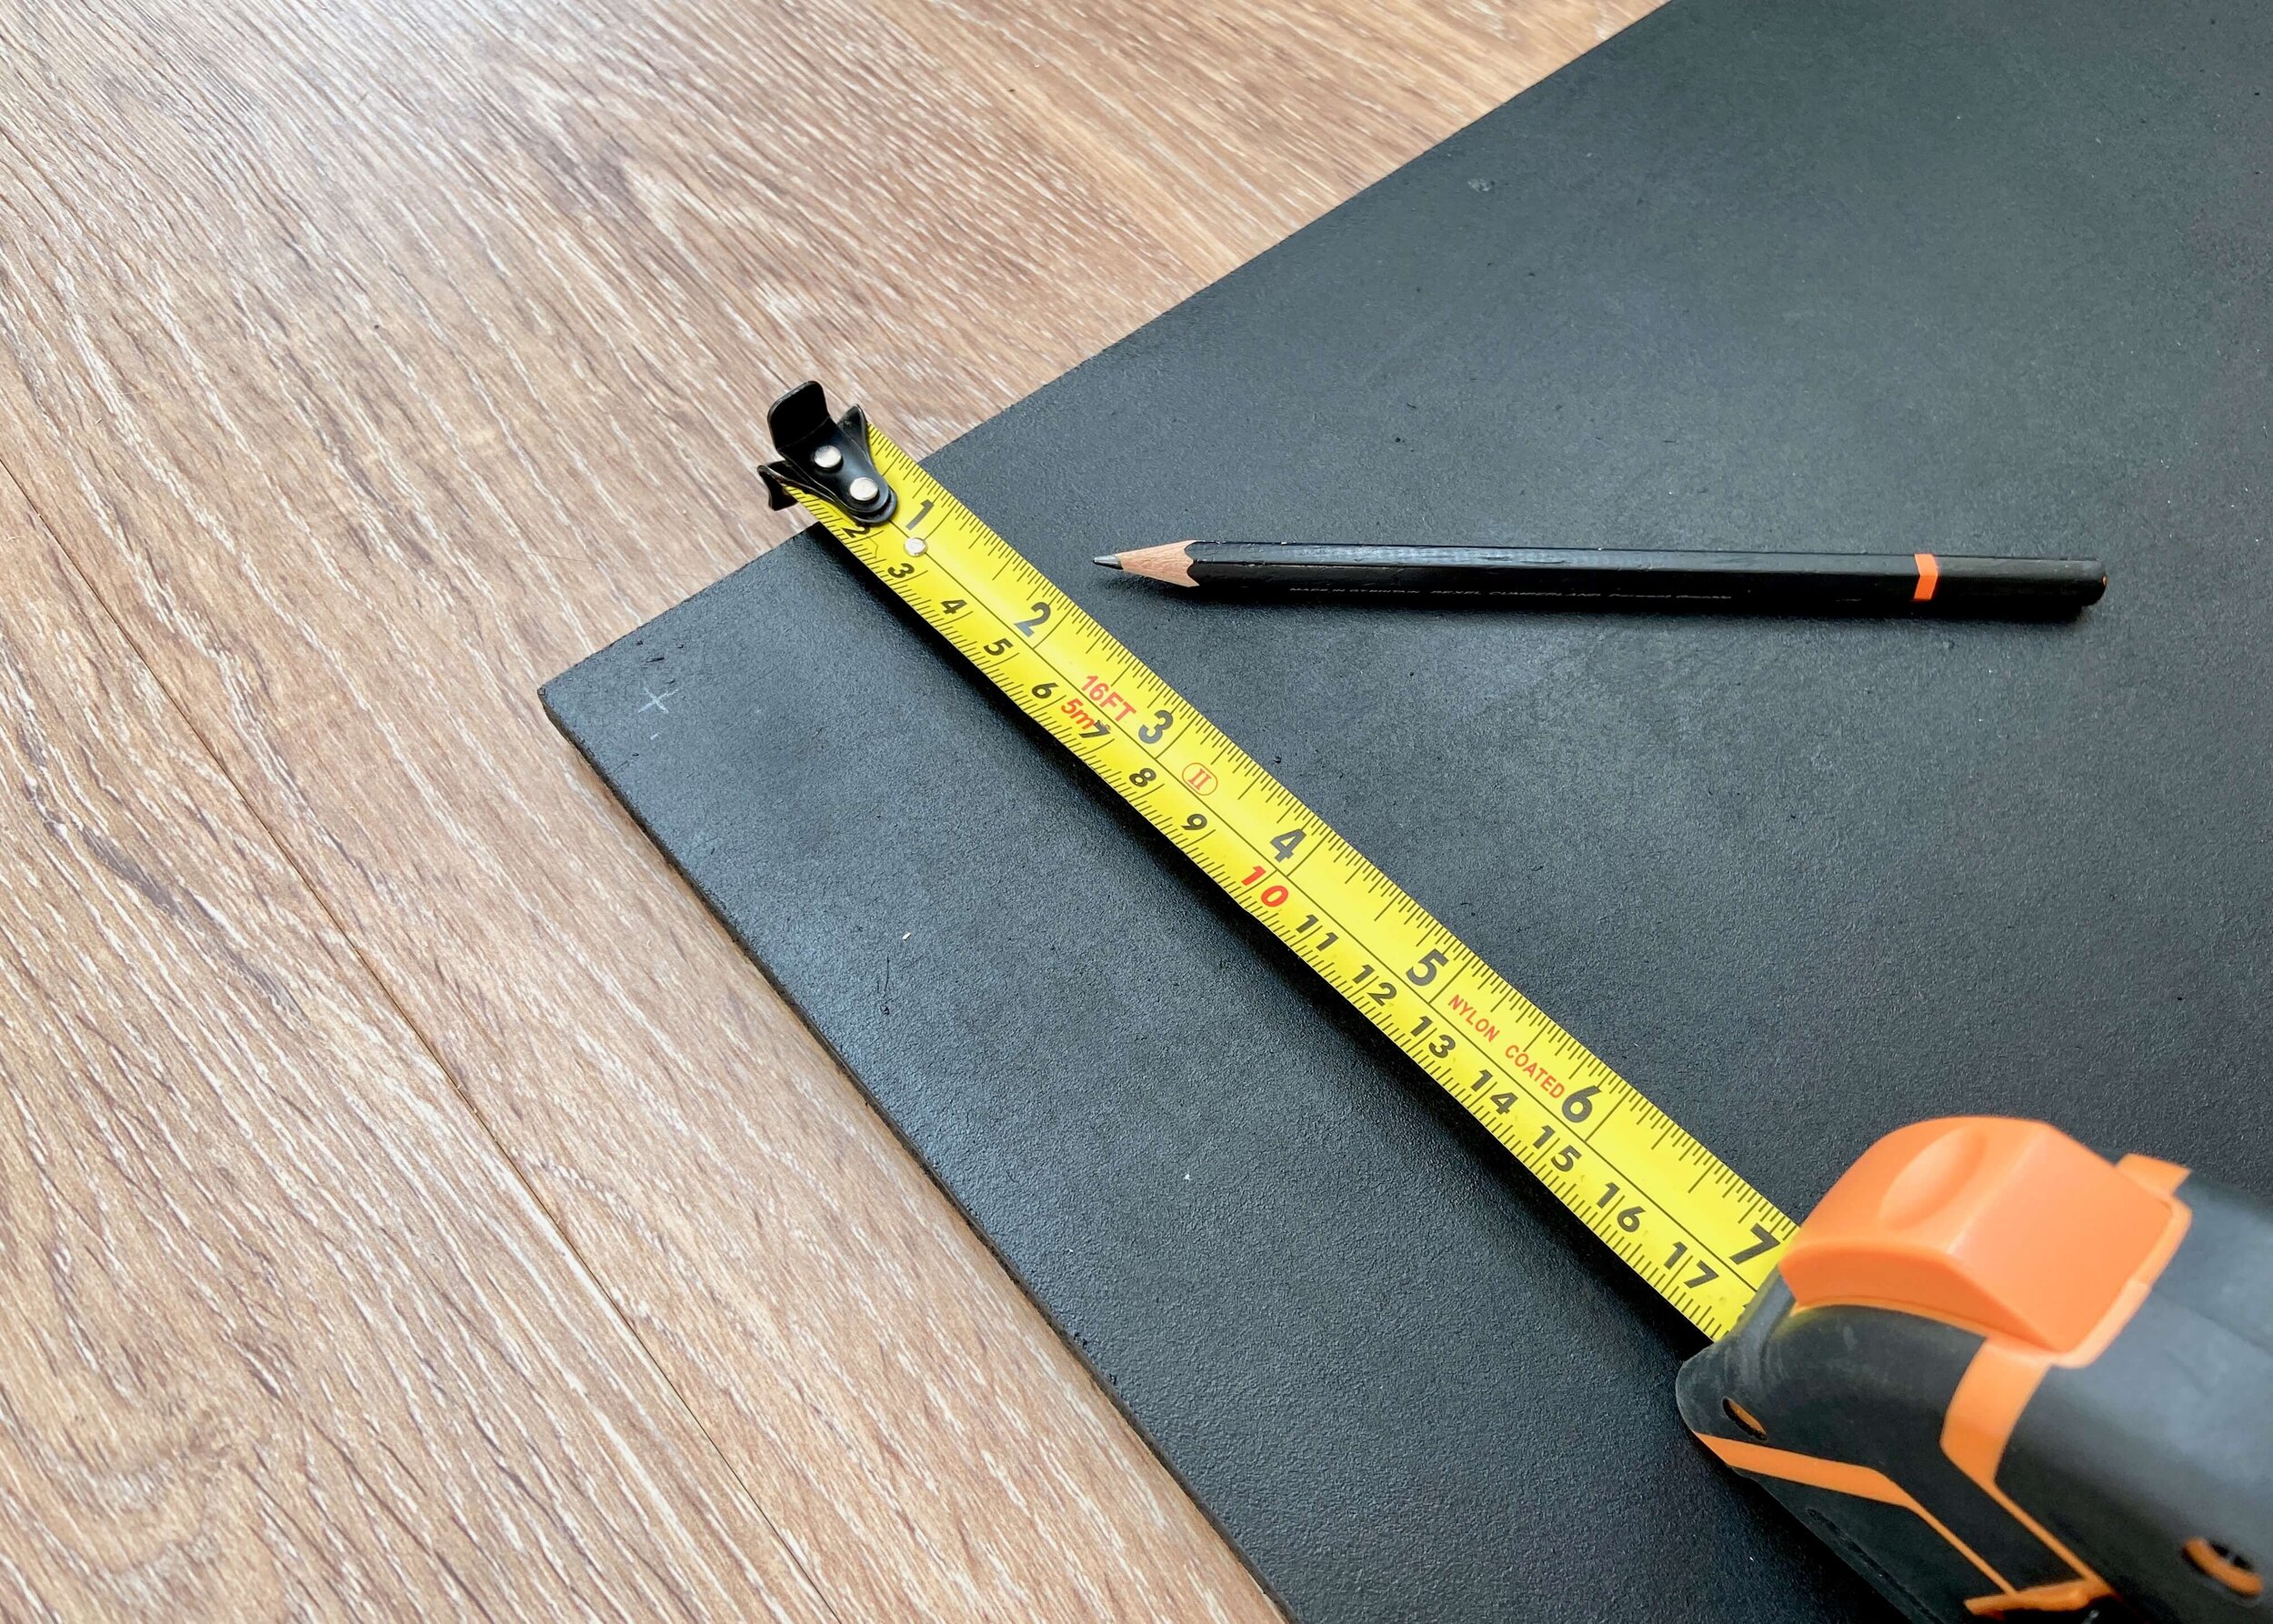
When your wood is dry, use a measuring tape to mark the outer border where the edges of your mirror tiles will sit. Work out where the bottom of the top row of mirror tiles will be, and mark this along the back of the wood.

4.
Open your french cleats. One of these metal brackets will go on the back of the mirror, and the other will go on the wall. The screws that come with it will be too deep, and so use alternative screws that will not go all the way through your wood.

5.
Draw a line across the back of your wood where you marked the bottom of the first row of mirrors would be. Draw another line 12mm below this, and find the centre point of these two lines.

6.
Position one of the french cleat brackets so that the holes are flat to the wood and nearest the top, with the raised part of the bracket facing downwards. Pre-drill some holes into the wood through the bracket holes. Apply No More Nails to the back of the bracket, place the bracket on top of the pre-drilled holes and use a screwdriver or drill to fix the bracket to the wood using screws.

7.
Next, measure from the top of your wood to the bottom of the metal bracket (let’s call this measurement A). Here you can see mine is about 13.5 inches below the top of the wood. Hold your wood up to the wall and decide how high you want your mirror to be. Mark on the wall where the top of the mirror will be.

8.
Now, measure 13.5 inches down (or whatever measurement A is for you) from the mark you just placed on the wall. Use a spirit level to draw a straight line across this point. Then, find the centre point of the wall and mark this. Using the other bracket, line the top of this (the part that stands out from the wall) up to your horizontal line, and mark where the bracket holes will be on the wall.

9.
Use an appropriately sized drill bit to make holes where the screws need to go. Be sure to check for any wiring or pipes before doing this. Tap in the appropriate rawl plugs, place your bracket on top so that the holes line up and fix the bracket to the wall using the screws provided.

10.
Finally, use No More Nails to stick your mirror tiles to the front of the wood. Use a measuring tape to make sure they are as evenly spaced as possible. Leave to dry for at least 12 hours, and then hang by dropping the bracket on the back of the mirror down into the bracket on the wall.


