
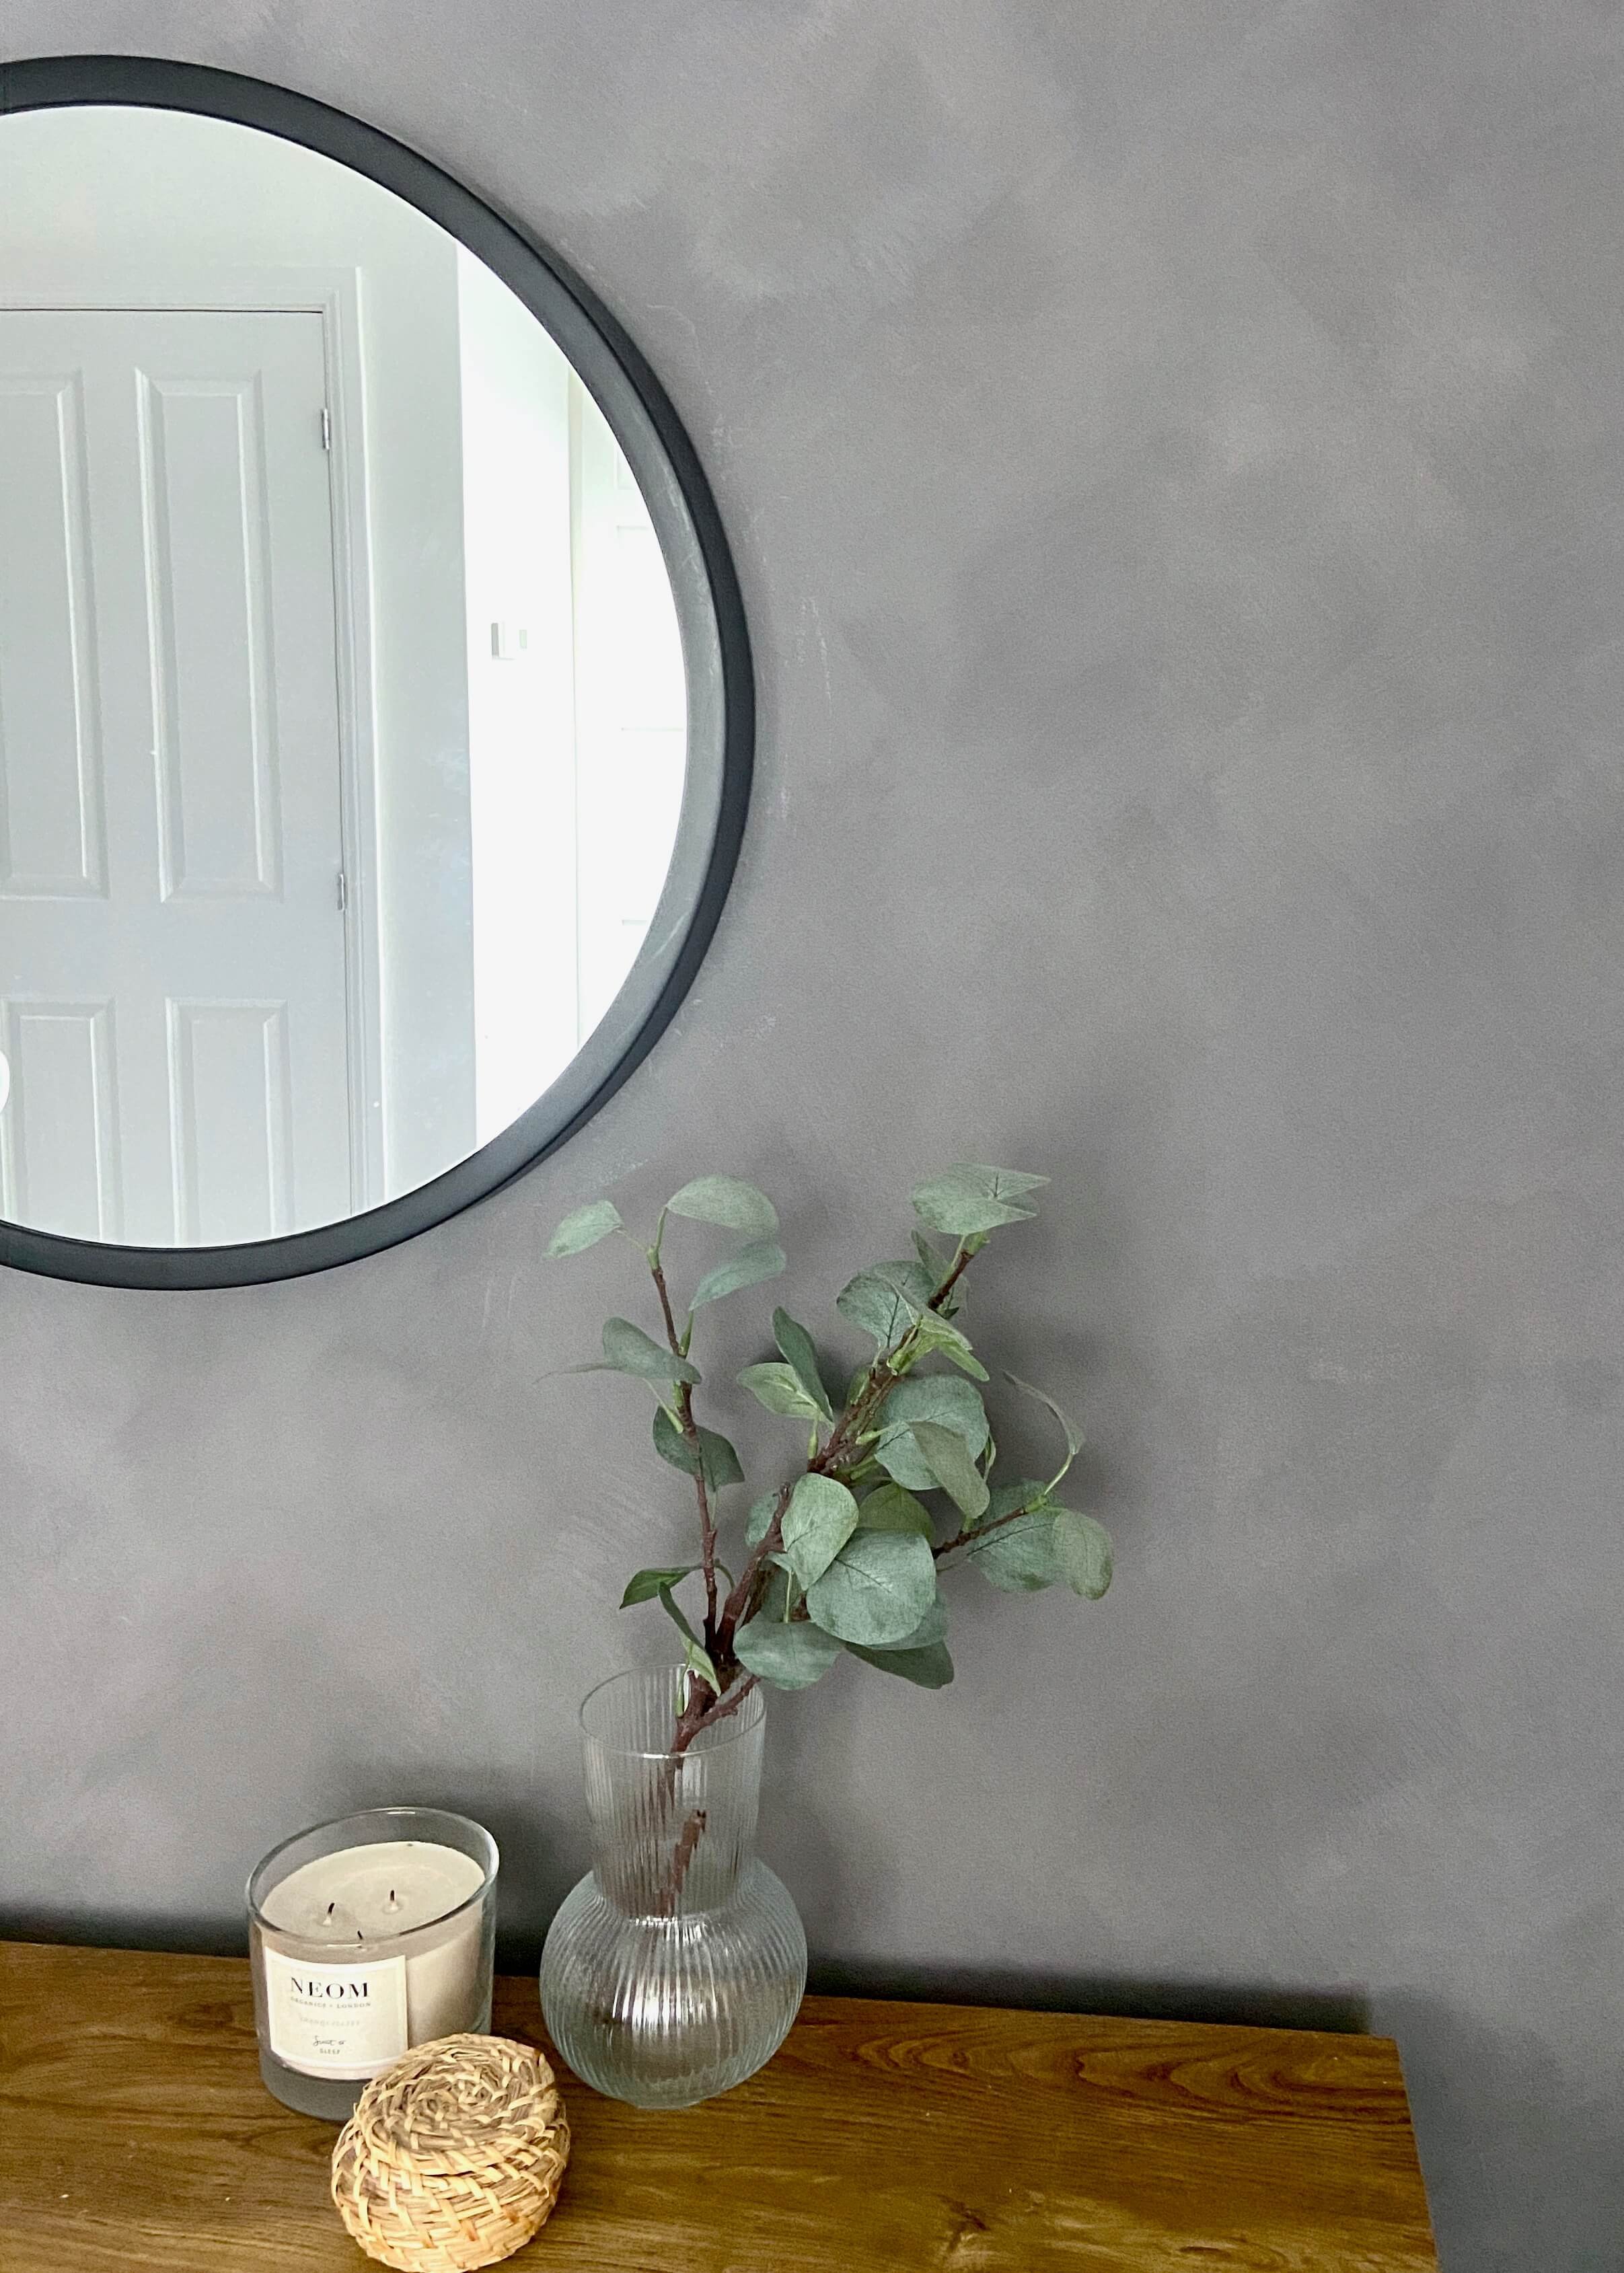
Create lime wash walls in a few easy steps!
Lime wash walls are having their moment and I love them. They can be created in a variety of ways, ranging in complexity, from mixing water with lime powders, to watering down ordinary paint. I don’t see the point in overcomplicating a process that can be done otherwise simply, and so when I came across a chalk wash paint that could create a lime wash effect in just a couple of coats, it was a no-brainer for me to give it a go. Just a quick disclaimer that this isn’t a sponsored post, not that I imagine my little corner of the internet would catch a big brand like Rustoleum’s attention! Anyway, keep reading for how you can create a lime wash effect really easily with chalk wash paint…


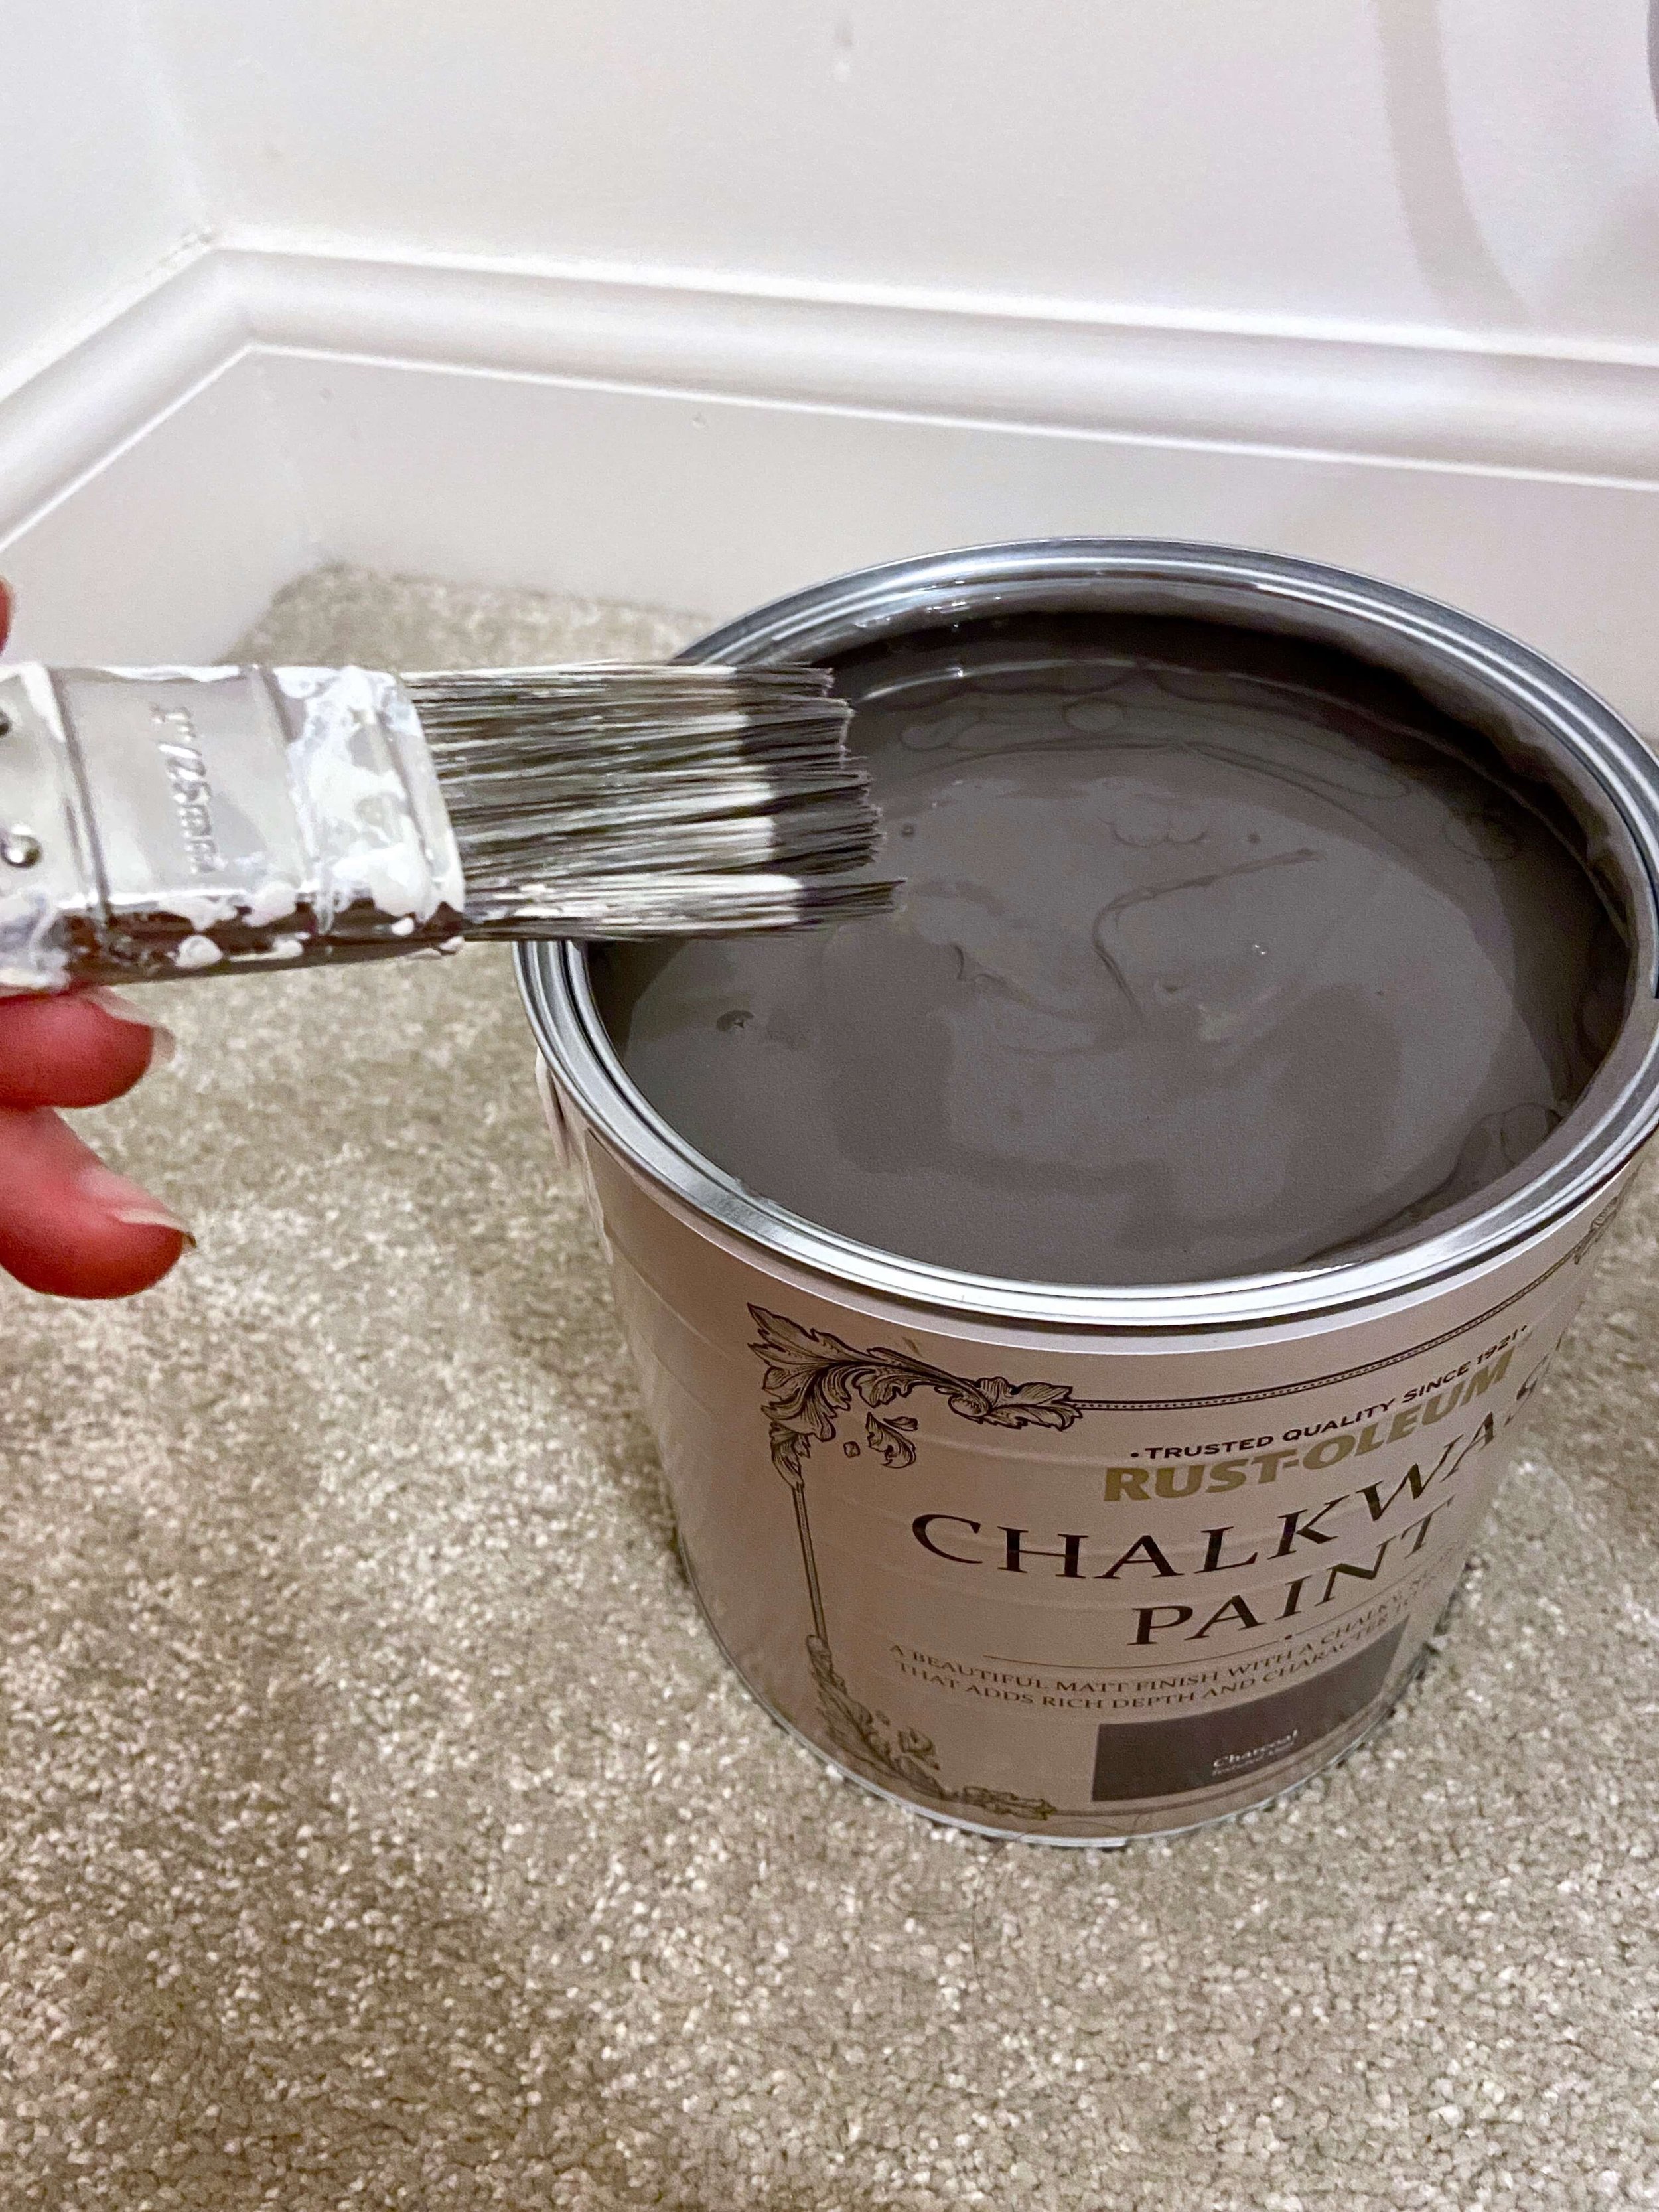
1.
First of all, give your paint a good shake and stir.
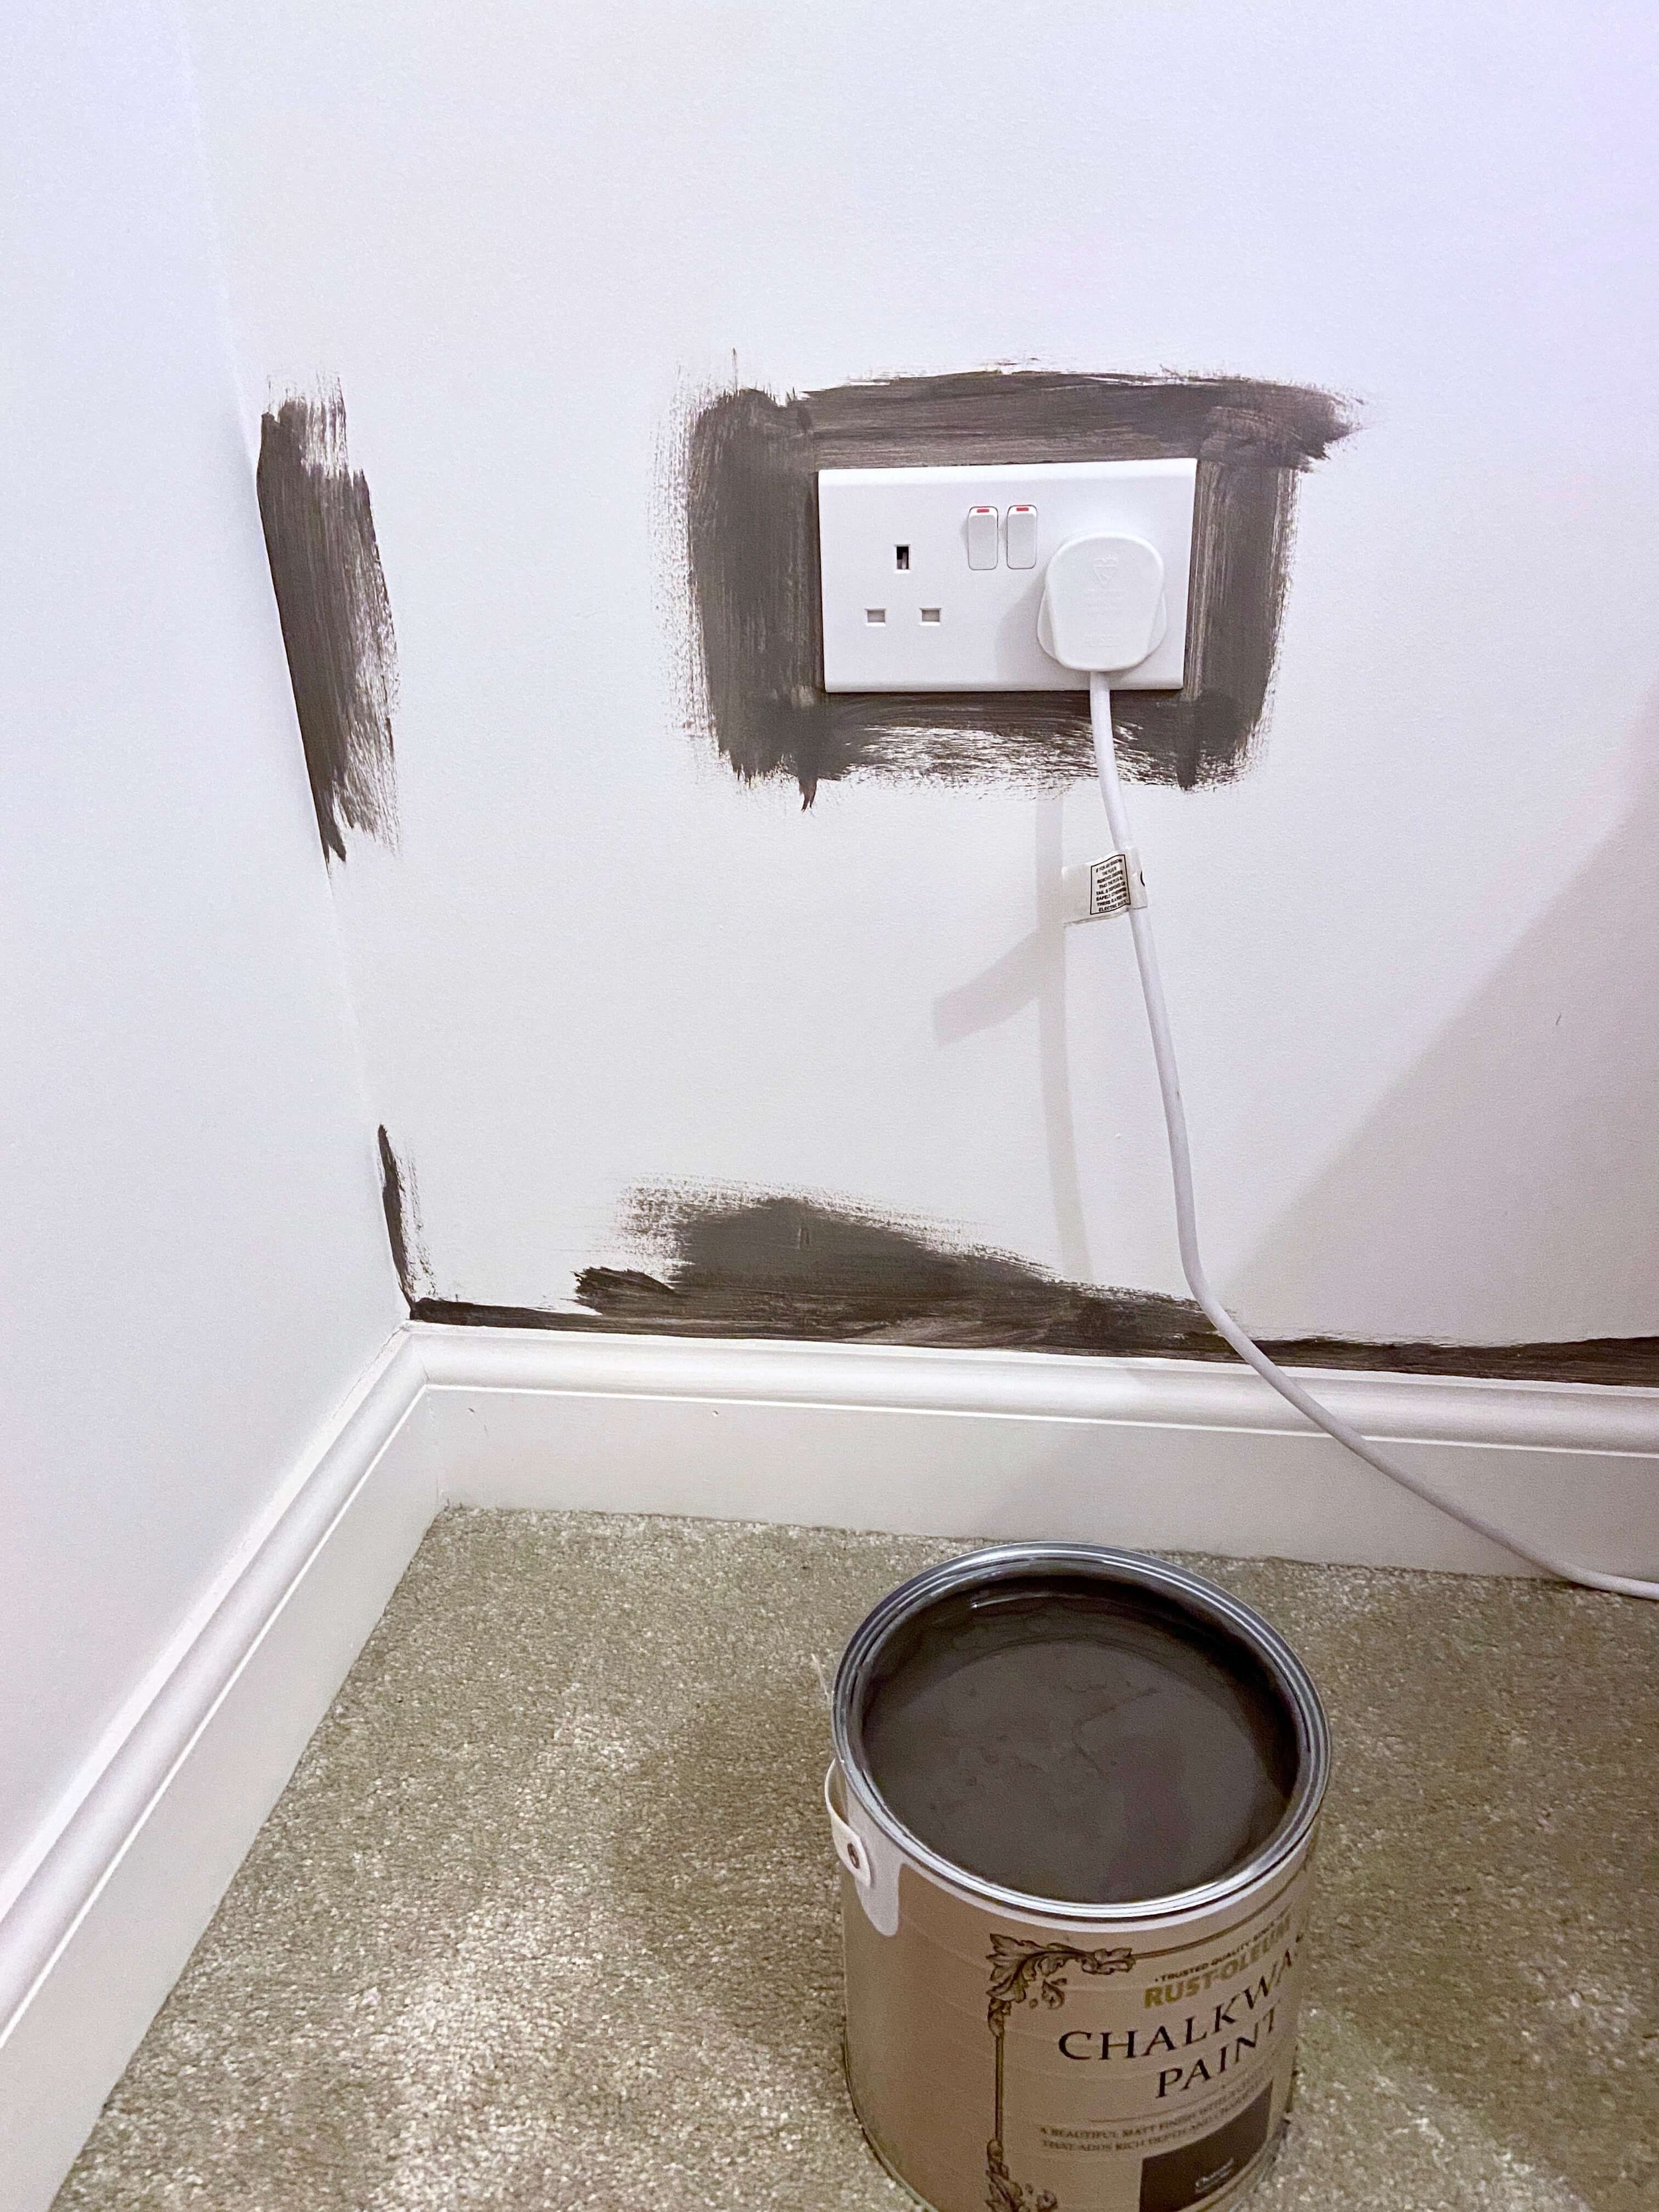
2.
Next, use a cutting in brush to go all around the edges of your walls, including around power points. You could also use painters tape to get all of your edges nice and crisp, but I chose not to out of sheer laziness!
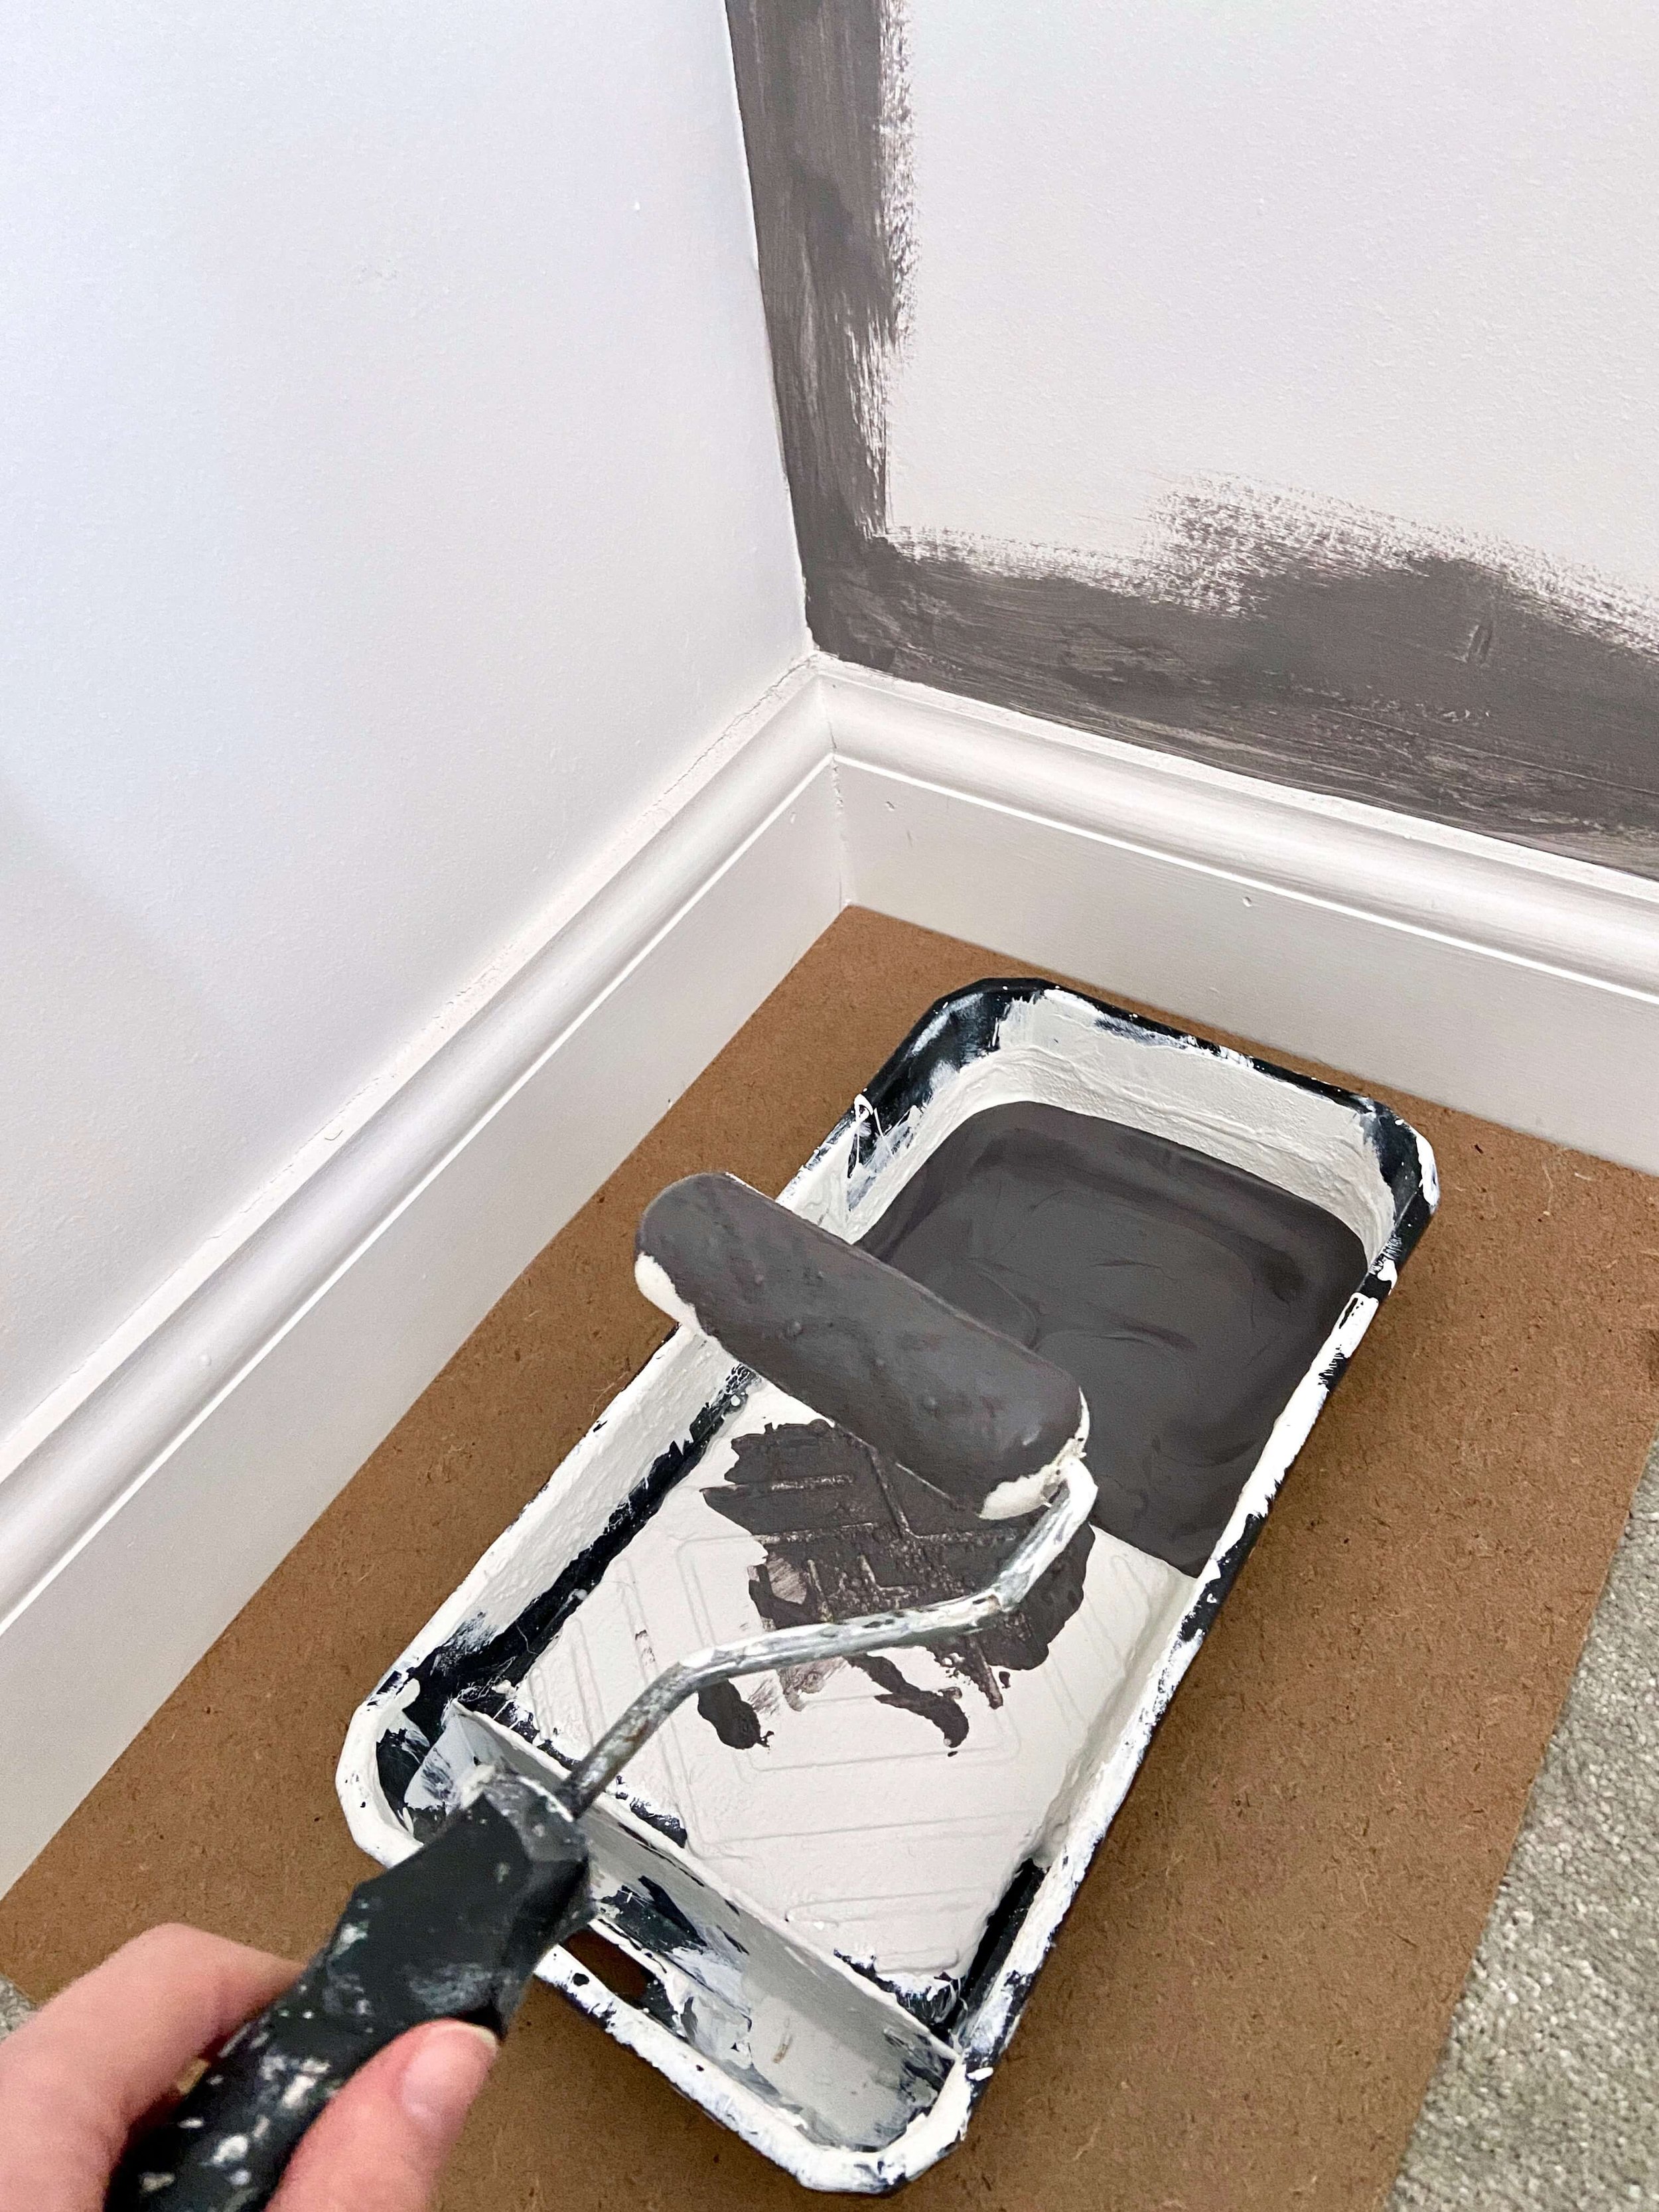
3.
Next, pour some paint into a paint tray and use a roller to cover the rest of the wall in a first layer of paint.

4.
Don’t be alarmed as you paint this first layer, it will be patchy and blocky, but this is just the undercoat.
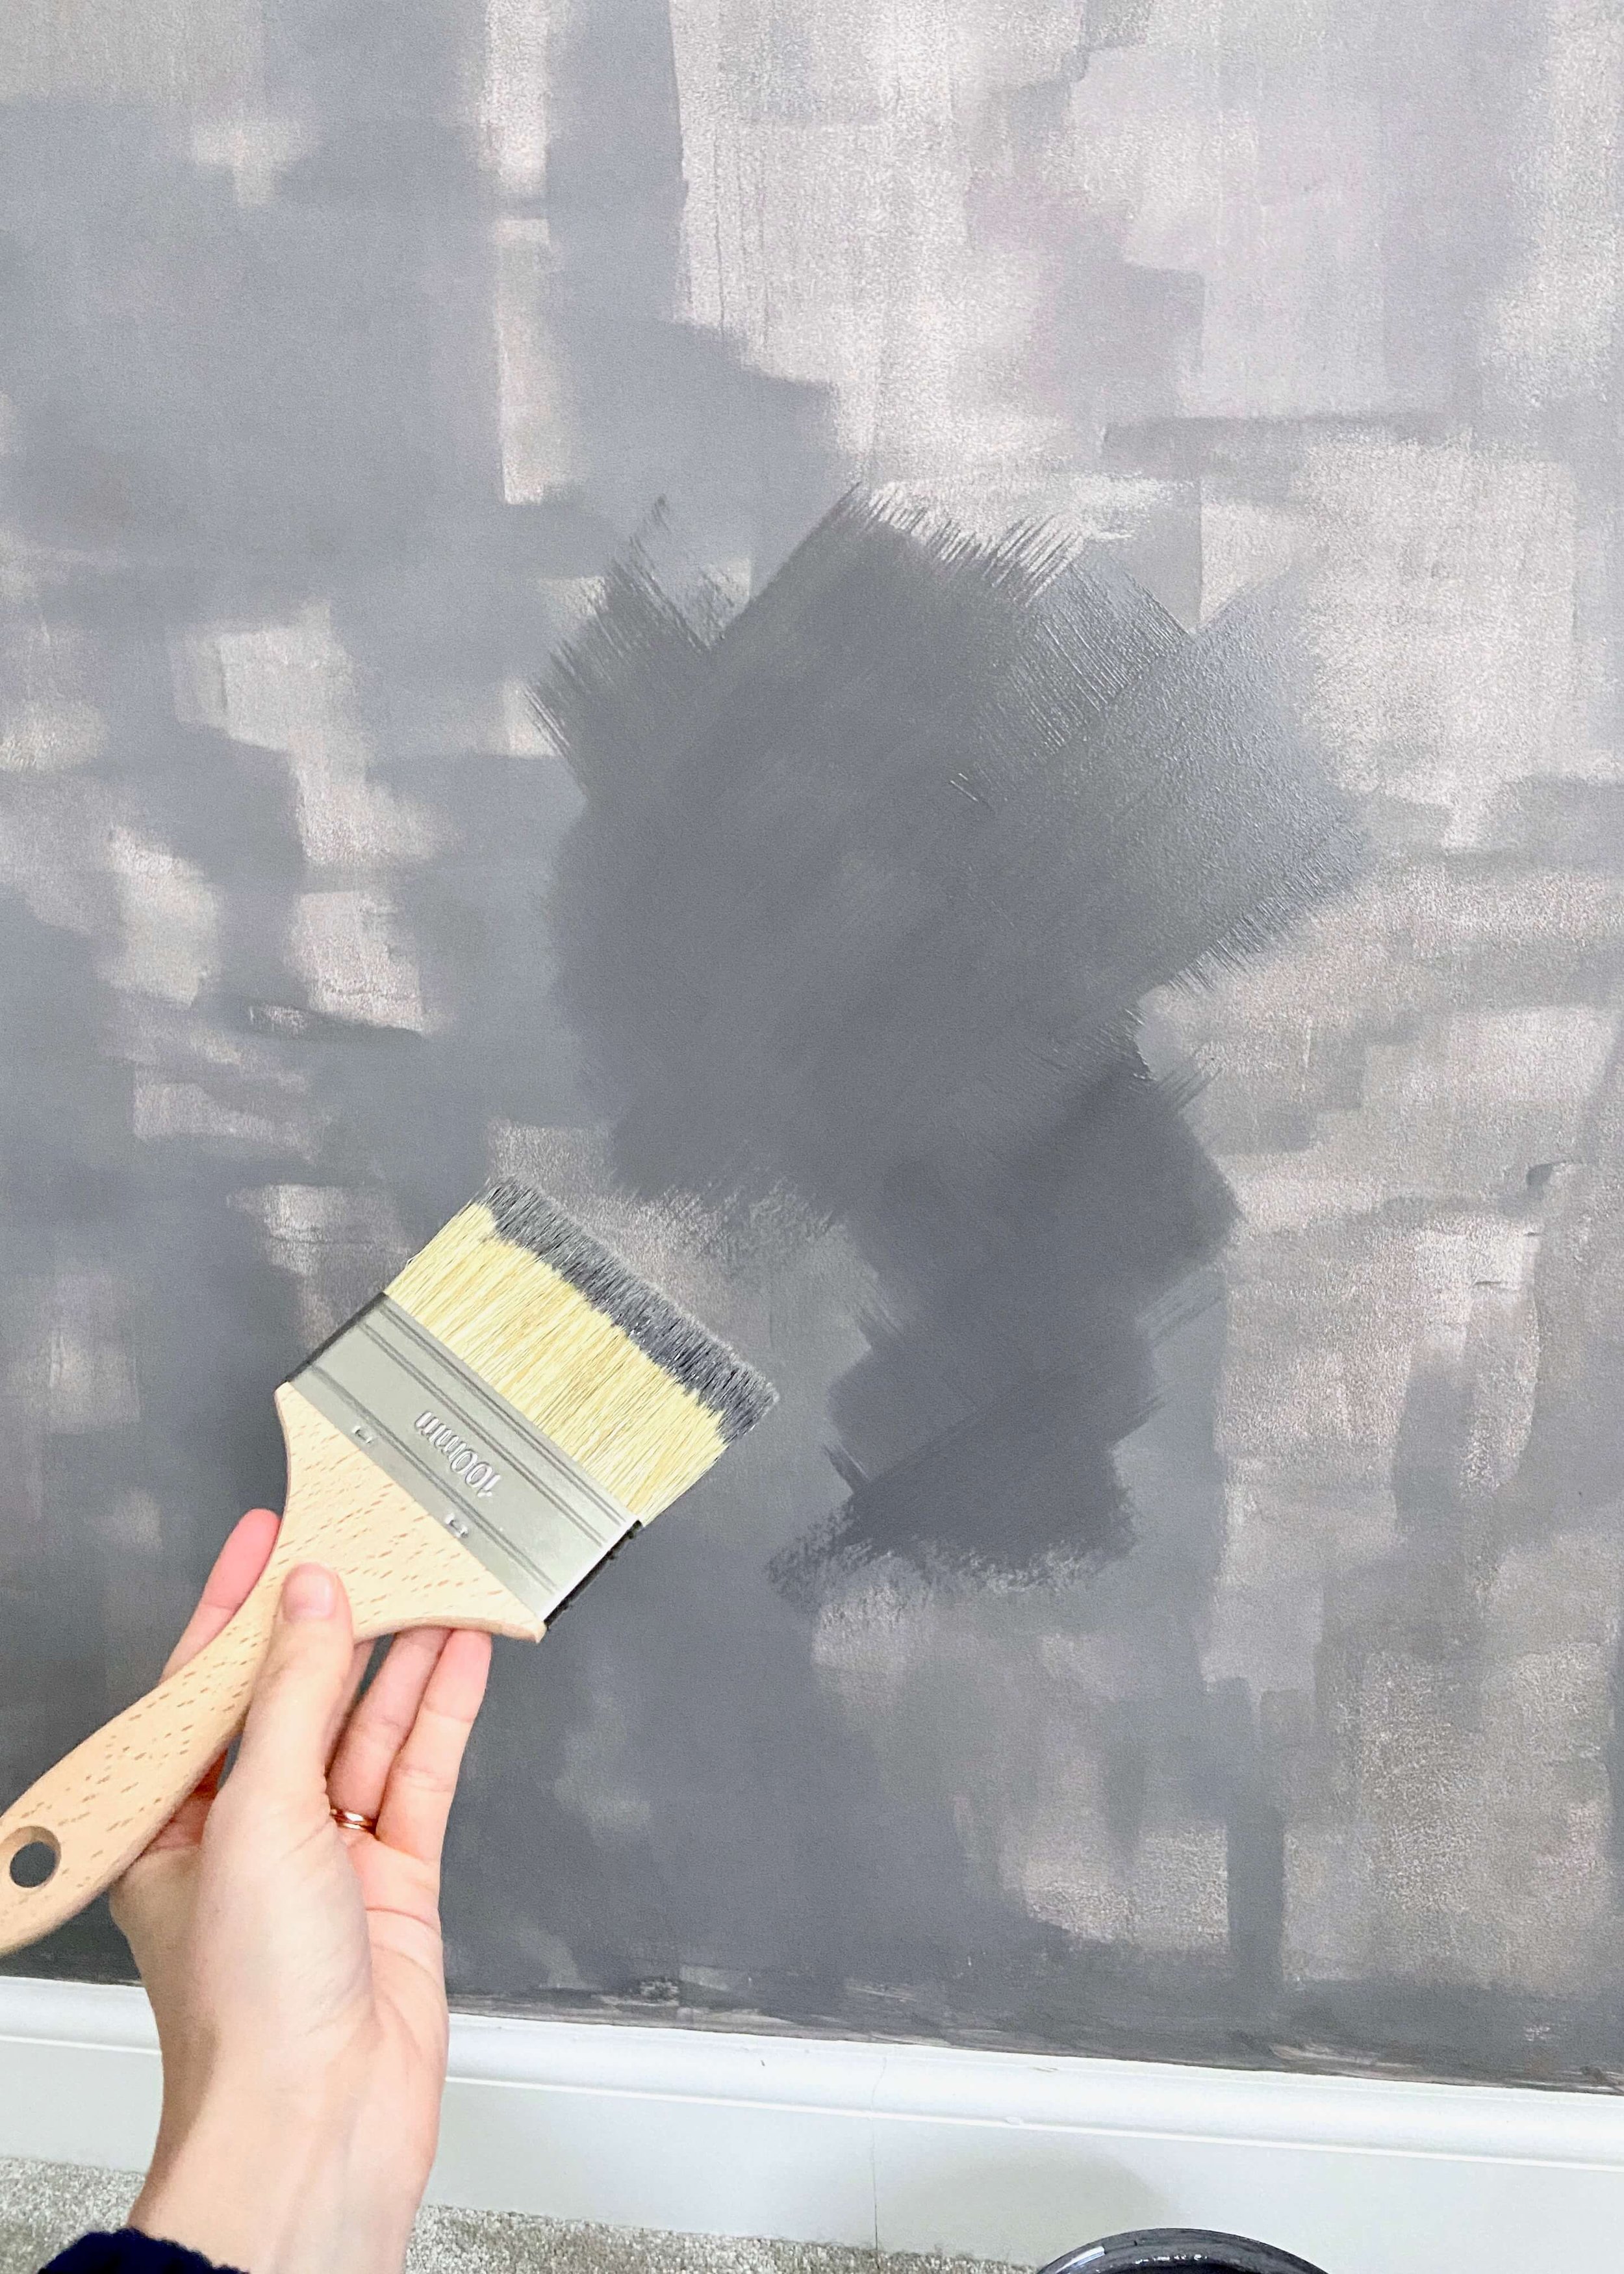
7.
Once this first coat is dry, use a wide brush to paint the second coat on. They key here is to apply the paint in a cross pattern or by painting an X shape on.

8.
Repeat this cross pattern all over. The edges are a little tricky when doing this and so to get really neat edges you may want to use painters tape. As before, I didn’t, and so I just took a little extra time making sure I did the cross pattern right up to the edge neatly.


