

Add some cuteness to a room with a scalloped edge colour block!
The nursery makeover is in full swing, though now we have a baby it is a much slower process than decorating used to be. The first step of decorating the nursery, and changing it from being the guest room, was to paint the walls. I didn’t want to remove the half wall panelling that we had up already, but knew that I wanted to bring the colour already on the walls (Homespun by Rustoleum) onto the others. I wanted to make it a little more interesting than just a square block of colour, but I didnt want to panel the entire room, and so I opted to create a pretty scalloped edge on top of the colour block. It did take some patience, but it was quite a cathartic process and I love how it looks. Let me know what you think and if you’d like a go yourself, keep reading for the materials I used and the step by step process…


1.
First of all, decide where you want your scallop-edged colour block to go. As we had a panelled block of colour on one wall already, I decided to use this as the height for the the colour block on the other walls.
2.
Once you’ve decided how high to have your colour block, use a long spirit level to draw a line at this height all along your walls.

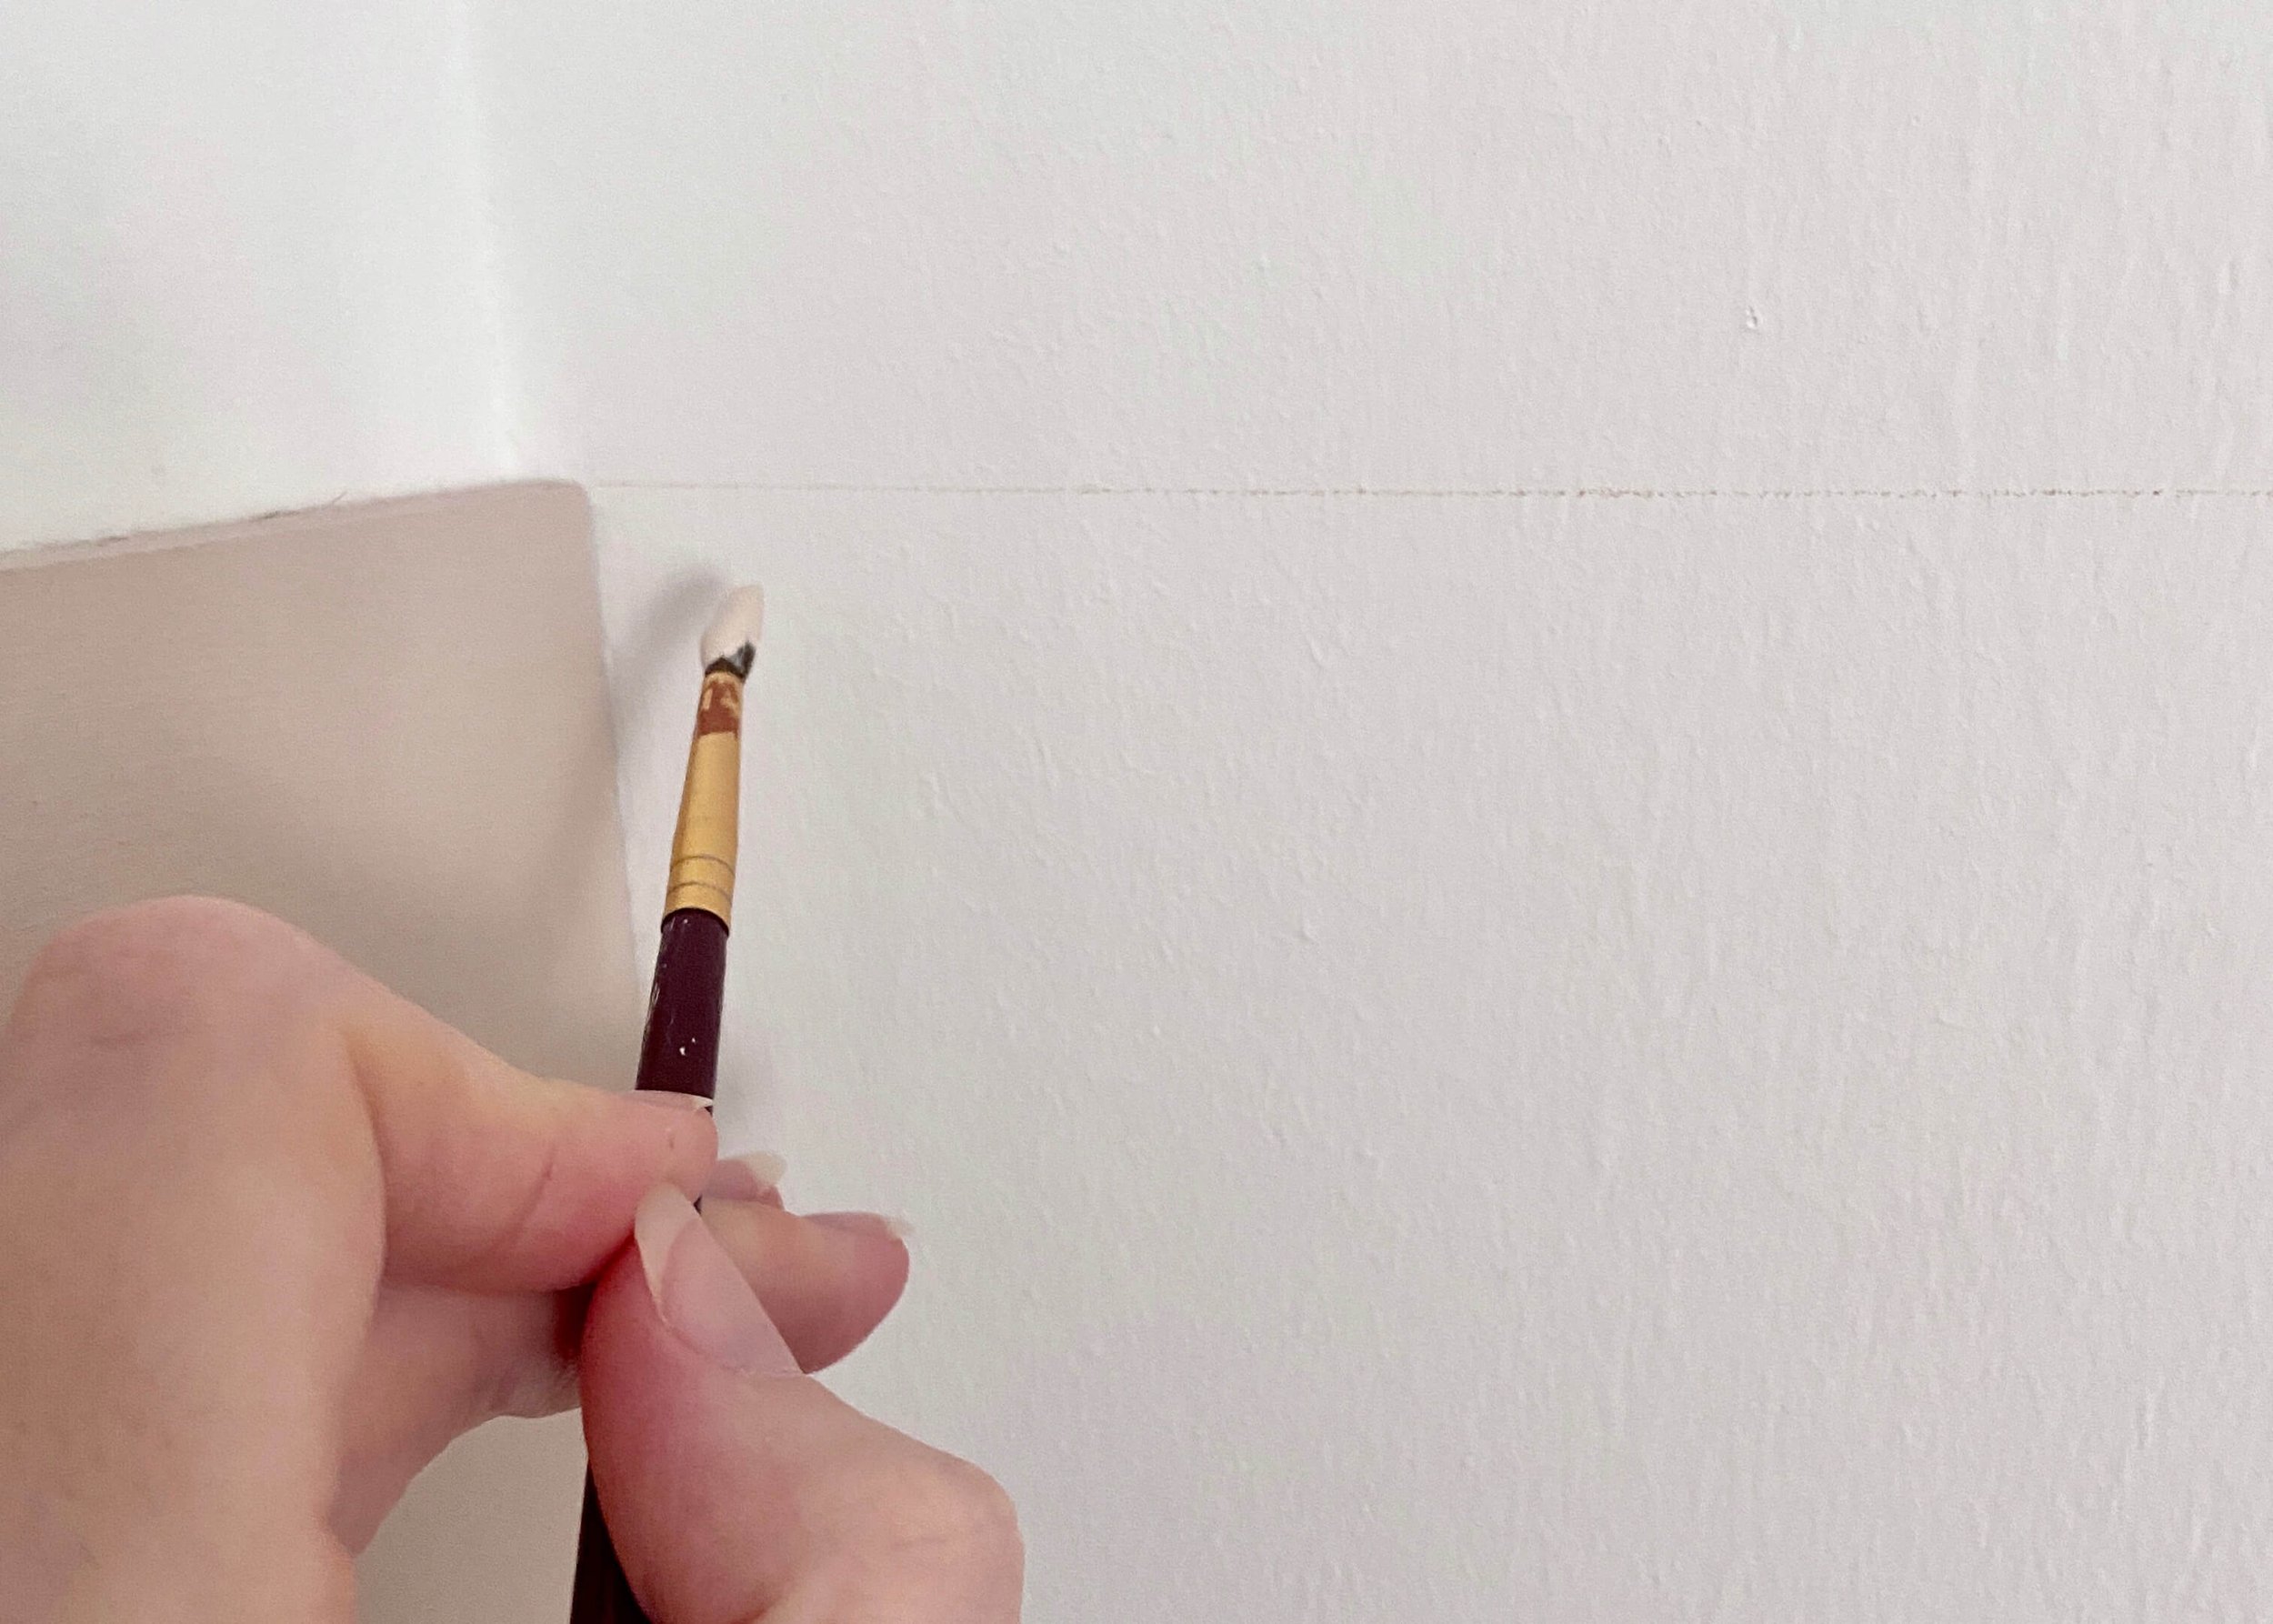
3.
Using small paintbrushes, cut in your colour block.

4.
Using a paint roller and tray, fill in the rest of the colour block.

7.
Once dry, use a flat lid (I used a cocoa powder one!) and use tape to mark halfway across it. Use the line created by the tape, to place the lid halfway across the top of the colour block and draw around the top half onto the wall.

8.
Repeat along the wall before filling in each scallop with a small flat paint brush. Take your time and start a few mm away from the edge before pushing the brush closer and closer.


