

Recycle old paper and flowers into this pretty paper wall art!
Is it just me who hates to throw out old flowers? Some of them seem to be able to live on as ‘dried flowers’ but others, particularly those with coloured petals, just really aren’t up to much once they start to die. My sister-in-law very kindly bought me some flowers after I painted her wedding invites so I was even more loathed to let them go once they started to fade. If I’d planned ahead I would have have pressed them - a classic way of preserving flowers - but I left it just a little too late and they were already looking a little too crispy.
We probably all remember making paper at school, it seems to be one of those things that just about everyone does, and after a bit of research, saw others making recycled paper and adding petals and flowers to them. It’s such a delicate art, and really doesn’t compare at all to the paper making you might have done at school. Although I didn’t have any of the equipment the experts seemed to use, I had a blender and a lot of enthusiasm, and so i decided to have a gave at making my own recycled paper.
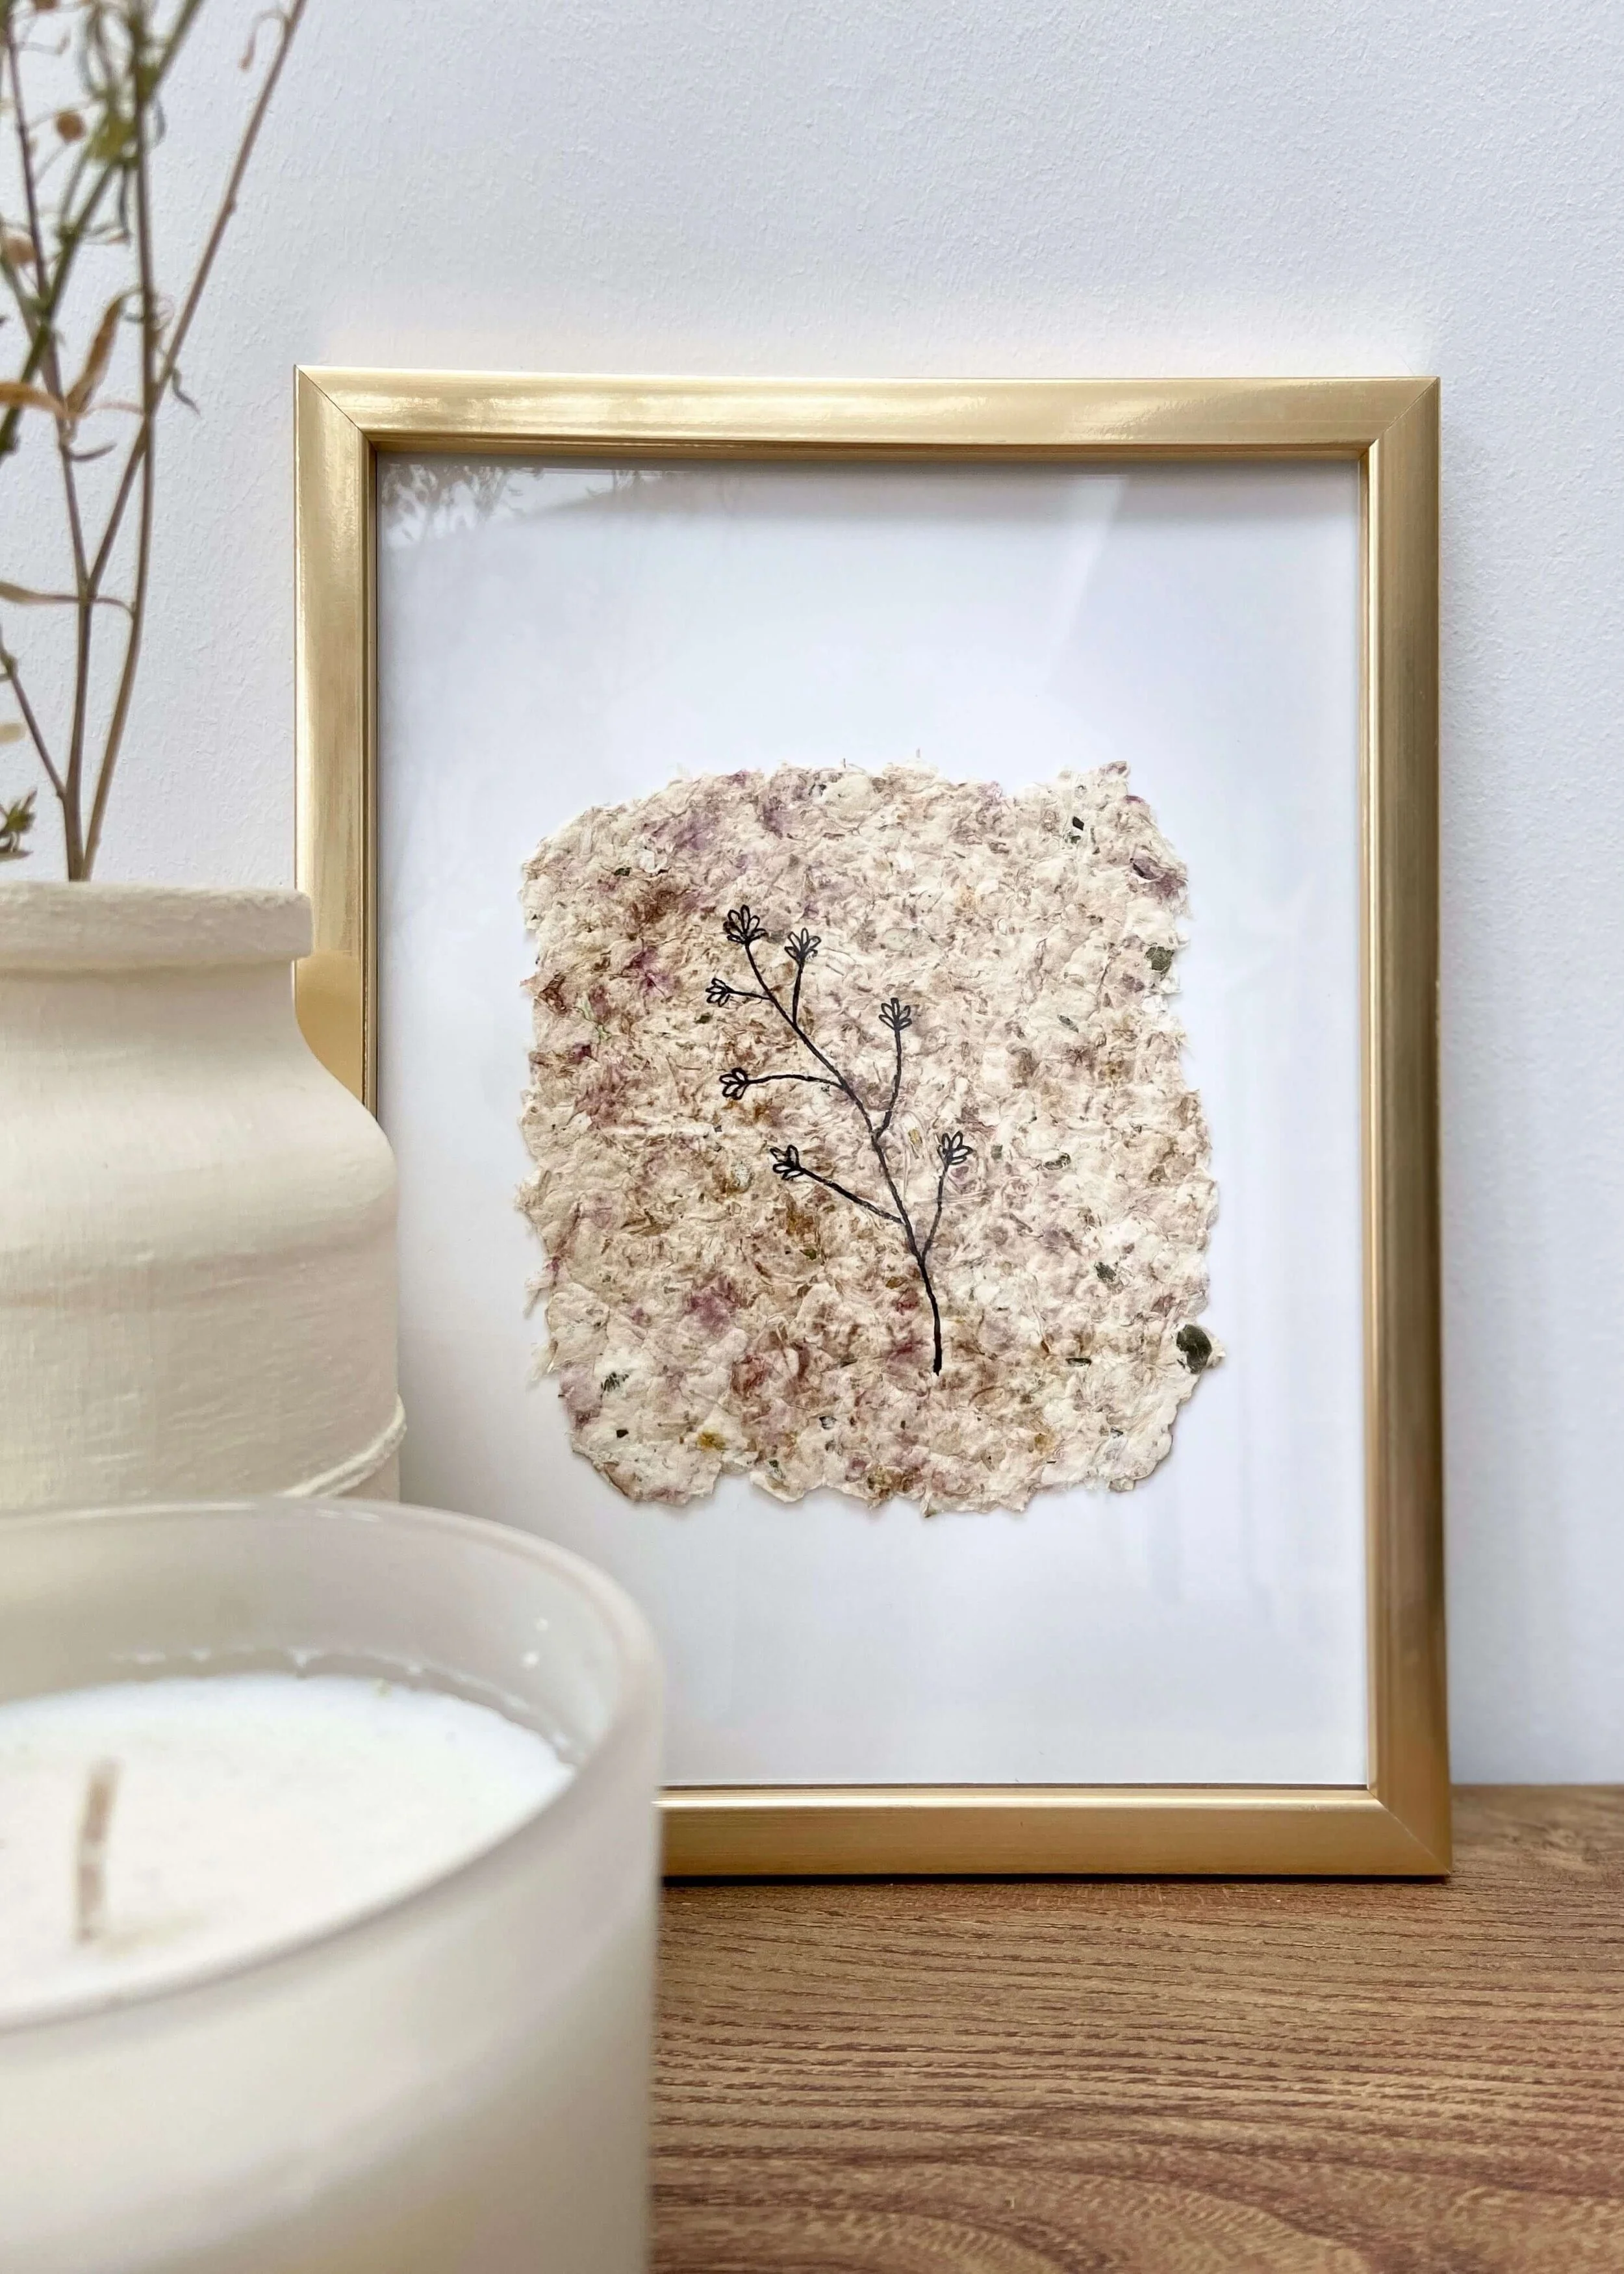
Once I’d managed to make my paper, I decided to create some simple line art on top of it and frame it for safe keeping. I’m chuffed with how it looks, and love knowing that the paper is made from an old page of my sketchbook and flowers that were given to me. Keep reading to find out how I made this, and the step-by-step tutorial so that you can too!


Old paper
Blender
Old flowers
Frame
Black liner


1.
First of all, tear up the paper you want to recycle, and put this in a bowl. Pour over hot water and leave to soak.

2.
Break off the dried petals from your flowers and put these in another bowl.

3.
After soaking your paper for 10-15 minutes, put the paper and water mix into a blender. Blend this until it is a pulp. Add your flowers to this pulp and blend until you’re happy with the consistency.

4.
Pour the paper and flower mix out into a sieve over a bowl. Use water to get any paper remnants out of the blender and pour into the sieve.

5.
Collect the pulp in the sieve together and push as much water out of it as you can against the sieve into the bowl.

6.
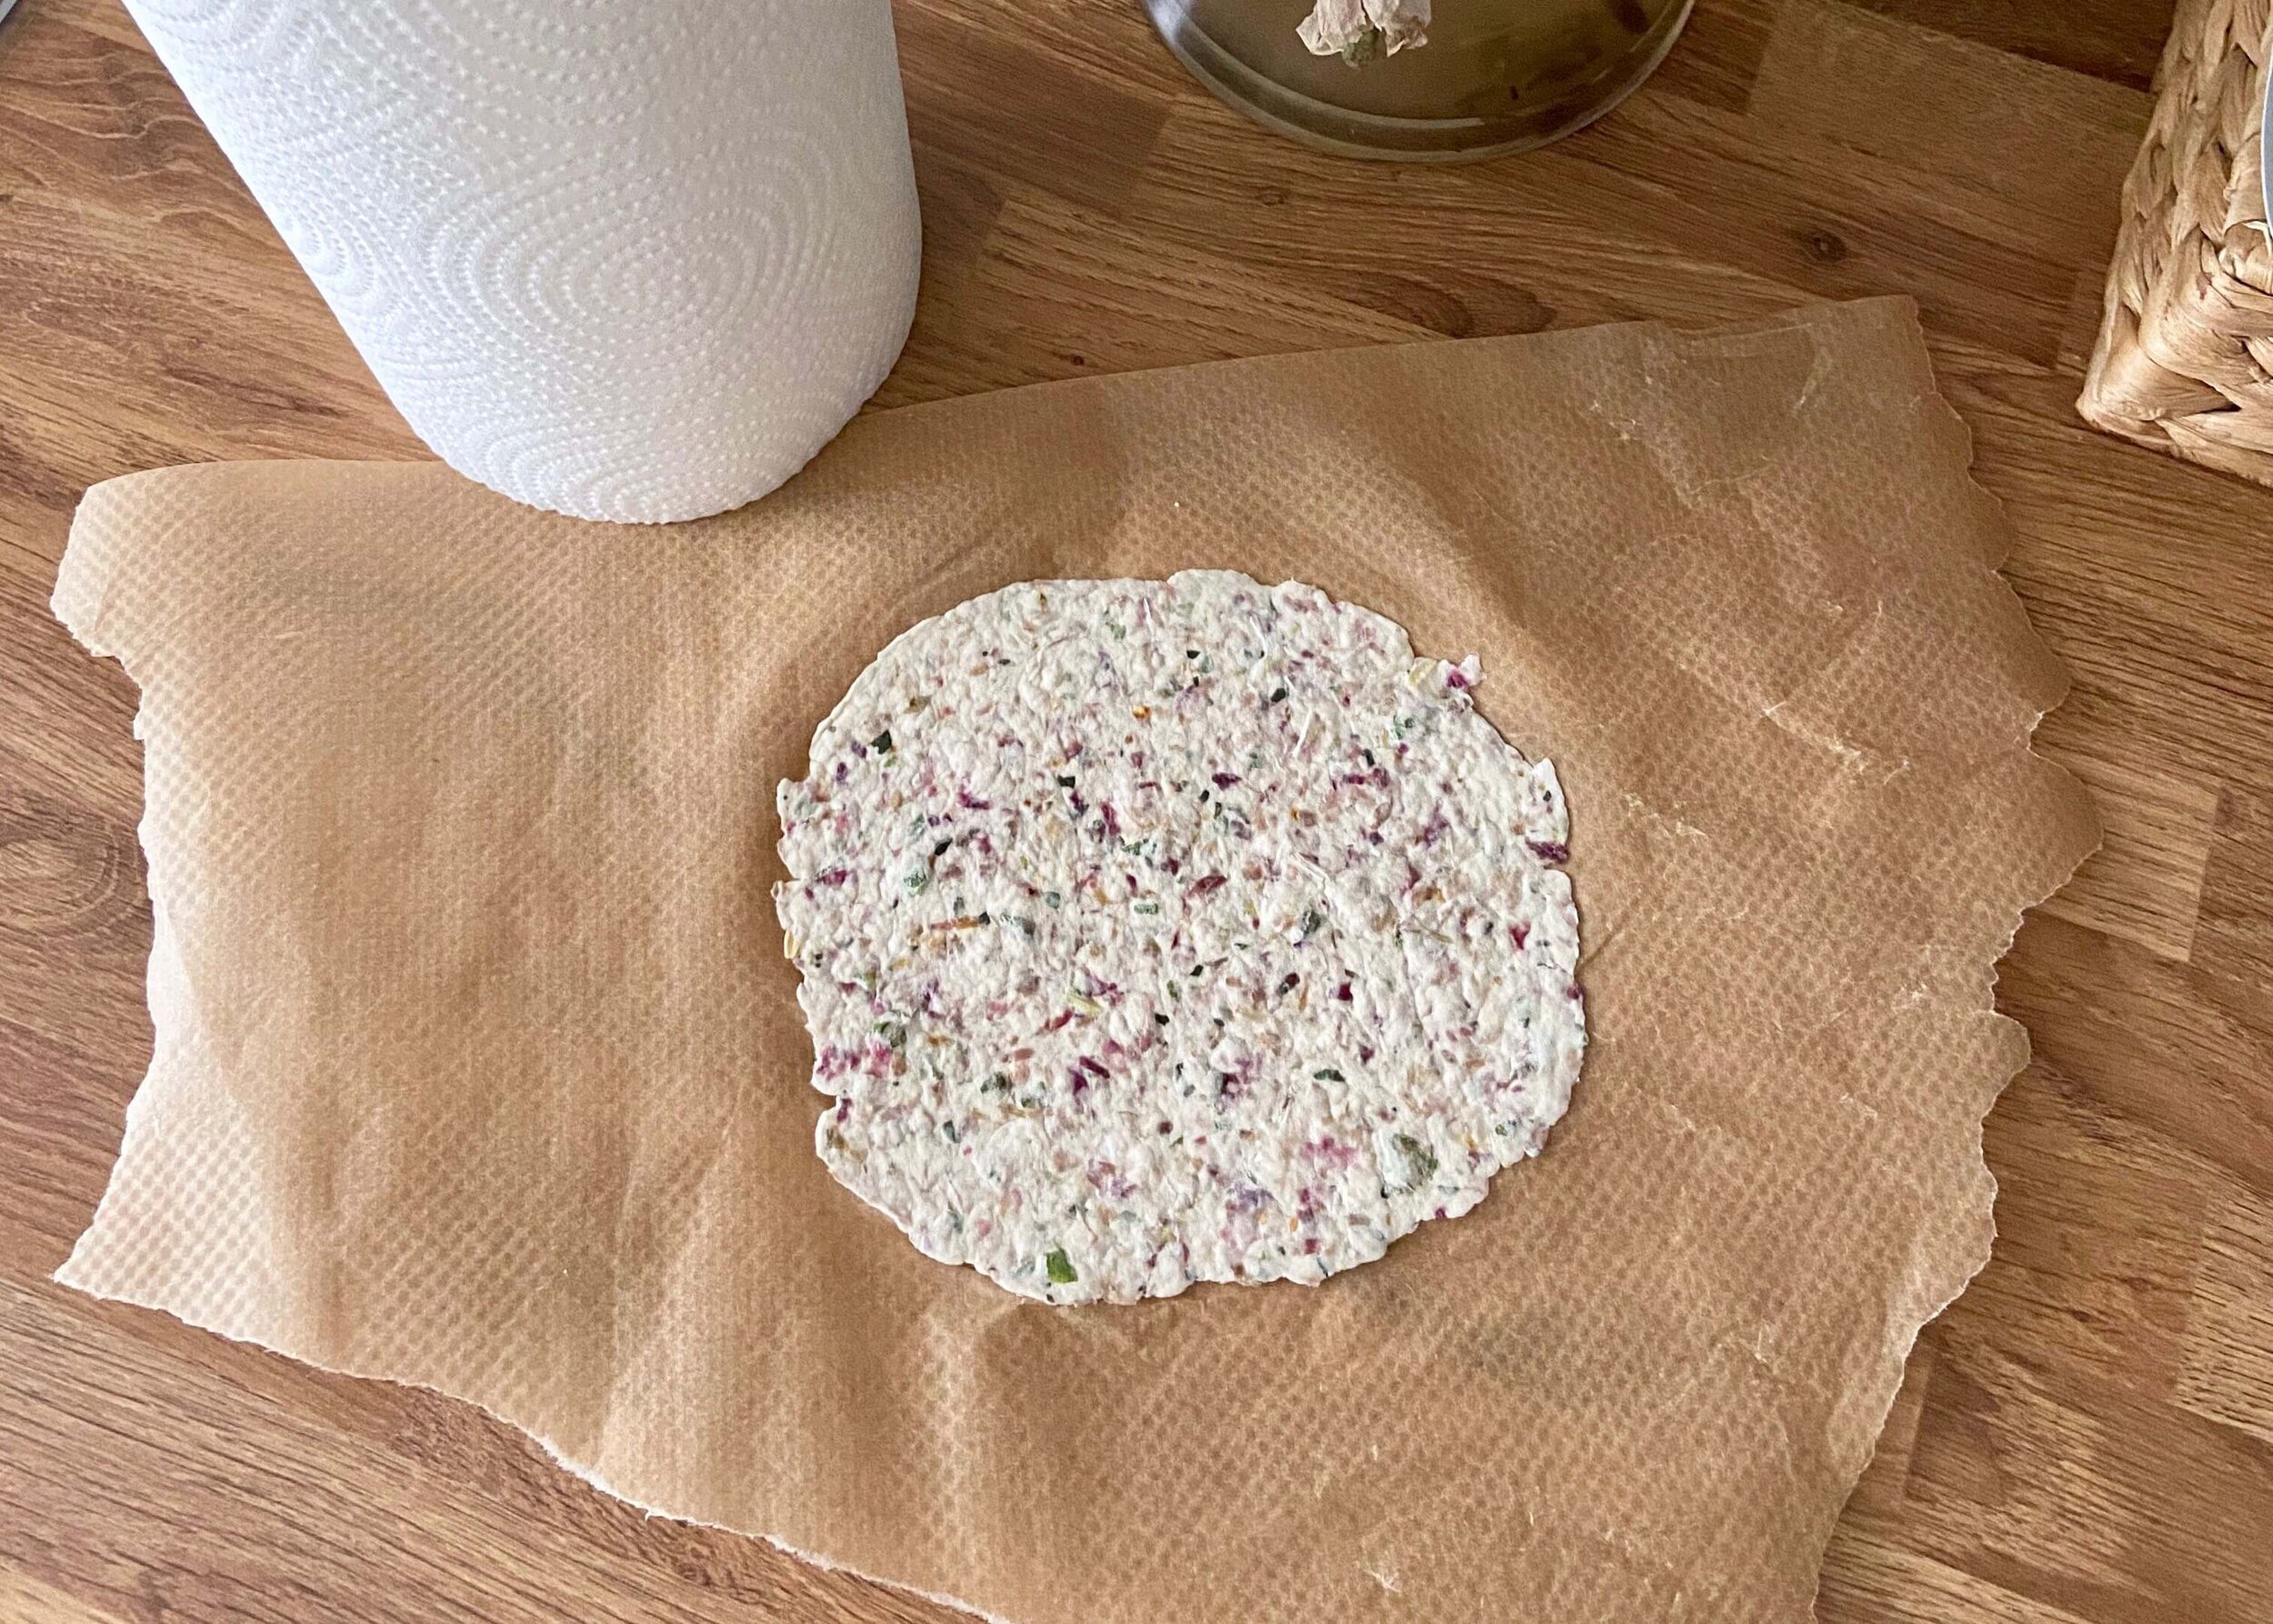
Place a piece of parchment paper on top of a tea towel, and place your pulp onto this. Spread it out with your hands.

7.
Place kitchen towel onto of the pulp and use a rolling pin to roll out the pulp whilst absorbing the excess water. Repeat this until you have your desired thickness and size.
8.
Leave your pulp on the parchment paper to dry overnight. Be sure to keep it completely flat.

9.
Once your paper is completely dry, cut or tear it to size. If it’s still a bit damp, you can use a hair dryer or pop it on the radiator to help it along.

10.
Use a black liner or marker to carefully draw a simple line drawing in the middle and then frame.


